Valentine Mug Rug
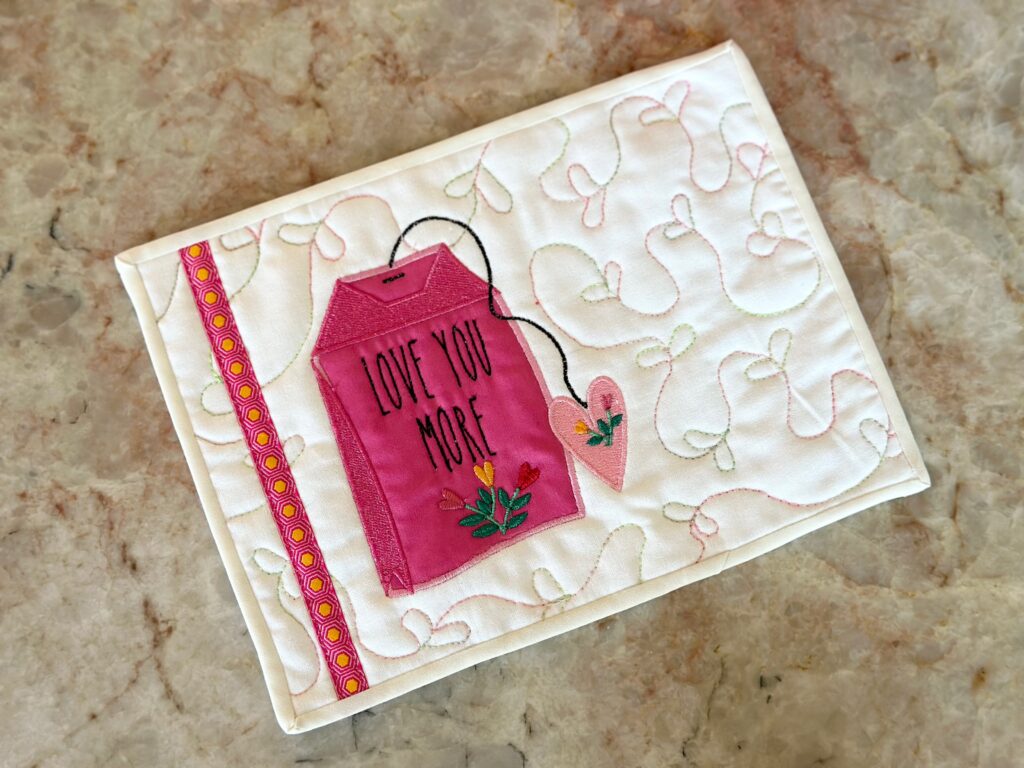
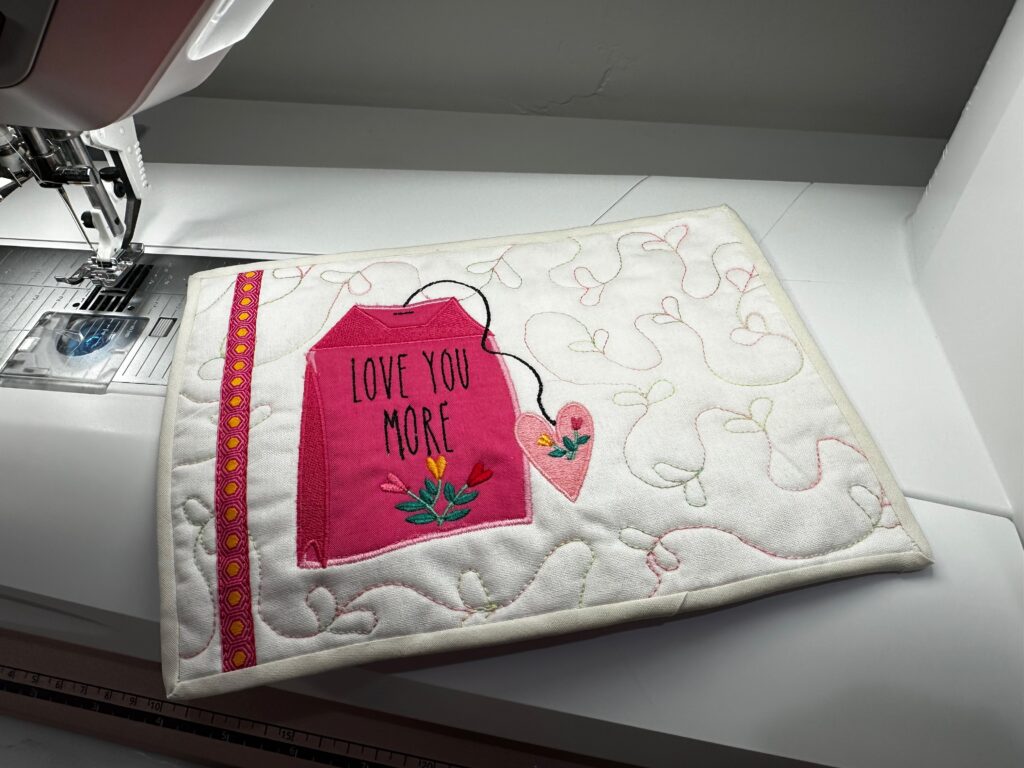
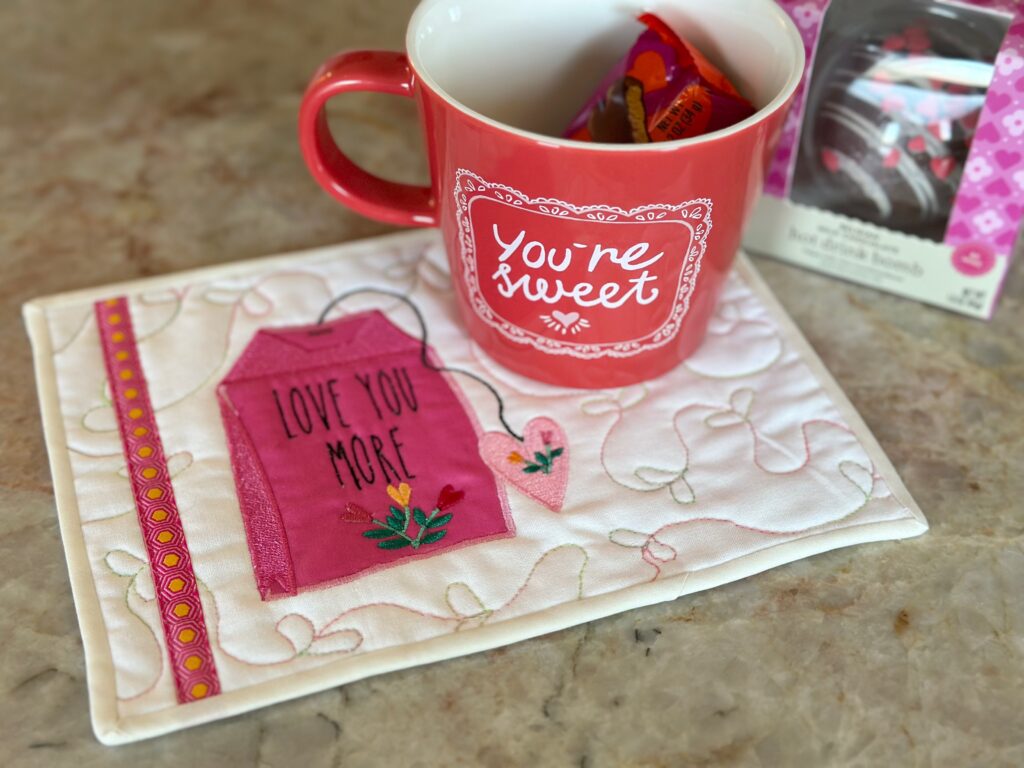
A Valentine Mug Rug makes a great gift for “gal-entine’s” day, and also makes for cute décor during the month of February and beyond. Choose from one of our Cup of Tea Machine Embroidery designs, and grab a thread palette to have all the threads needed for this cute project.
Valentine Mug Rug Supplies
- Sulky Soft ‘n Sheer™ Stabilizer
- Cup of Tea Machine Embroidery Palette (includes 10 spools of Sulky Rayon Thread and six machine embroidery designs in 3 sizes; featured design: Love You More)
- Sulky Thread
- 50 wt. Cotton Thread (construction)
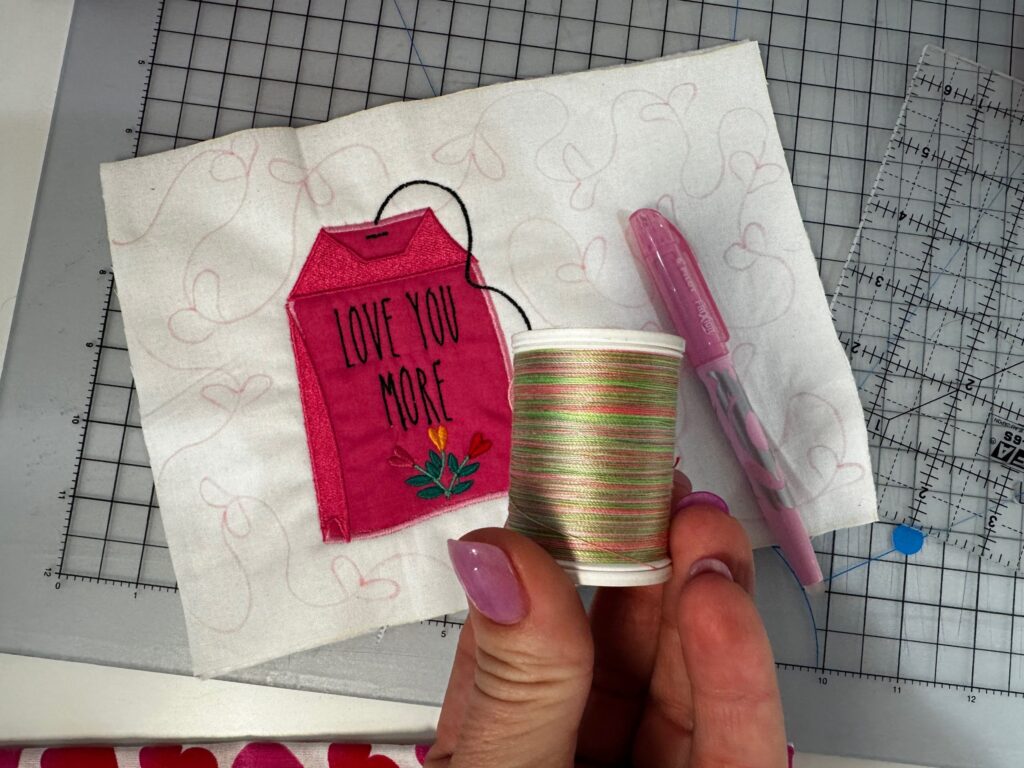
- 30 wt. Cotton Blendables® (quilting)
- 60 wt. Bobbin Thread (embroidery)
- Organ® Needles
- size 90/14 Embroidery
- size 90/14 Quilting
- size 70/10 Universal (construction)
- Sulky KK 2000™ Temporary Spray Adhesive
- 10″ x 12″ rectangle of batting (size depends on hoop size)
- 10″ x 12″ rectangle (or larger) each of two coordinating fabrics (front & back)
- Scrap of fabric for ITH appliqué (if using an appliqué embroidery design, as shown)
- 6 3/4″ length of 3/8″-wide decorative ribbon
- Removable fabric marker
- Self- or pre-made binding
VALENTINE EMBROIDERY
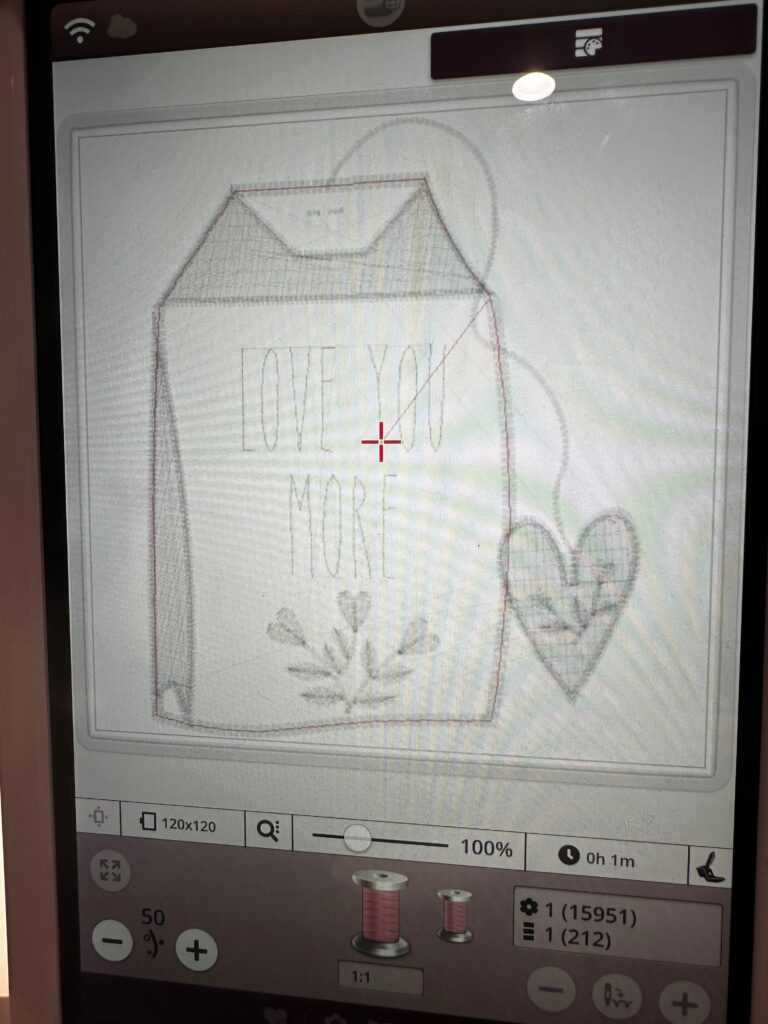
Load the chosen design into the machine.
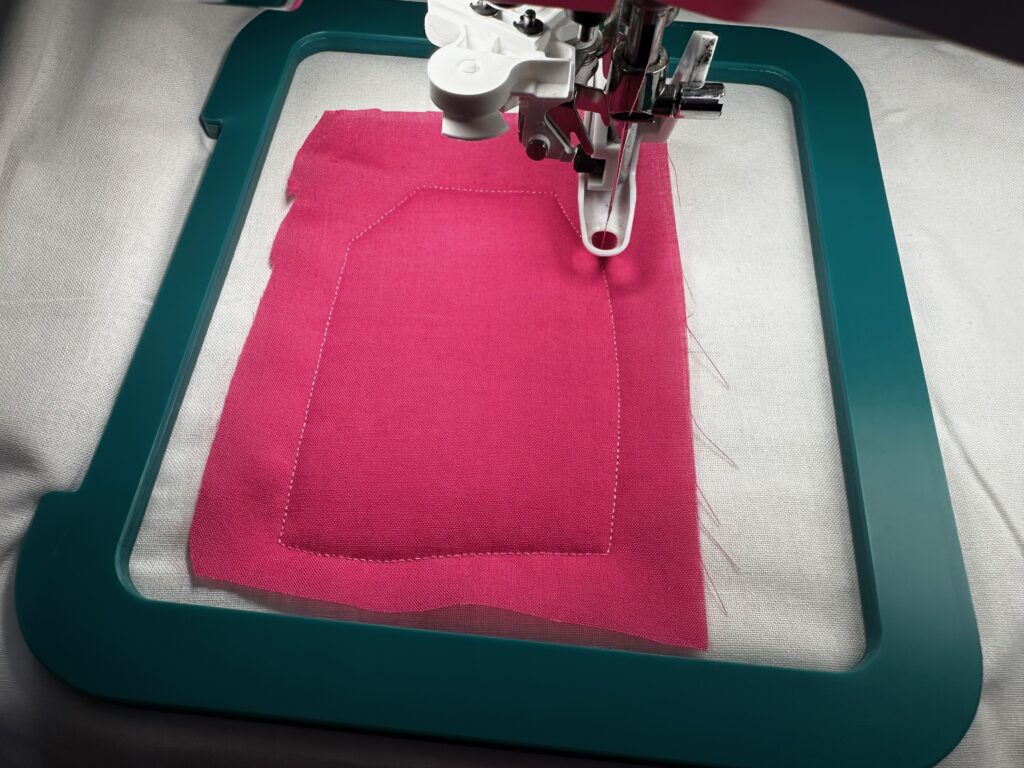
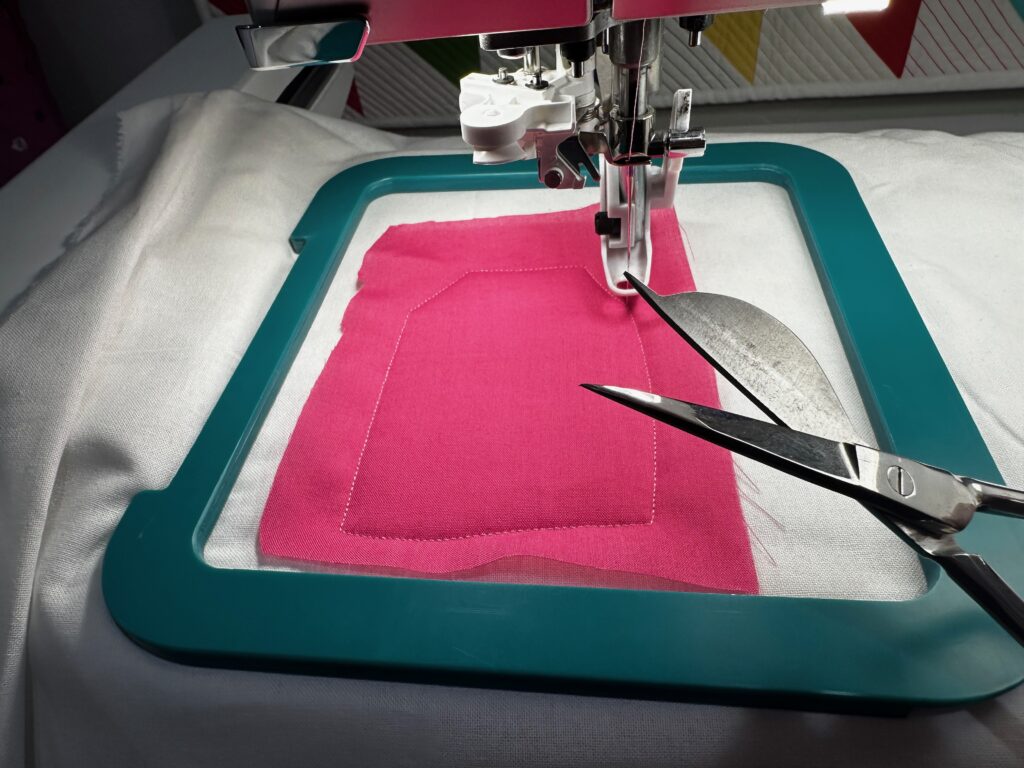
Place a 10″ x 12″ rectangle (or larger for hoop parameters) of Soft ‘n Sheer Stabilizer on a flat work surface. Place the batting rectangle over the stabilizer. Use Sulky KK 2000™ Temporary Spray Adhesive to secure the layers.
Then, place the front fabric right side up over the batting; use more KK 2000 to secure.
Mark the center cross marks for the embroidery onto the front fabric right side.
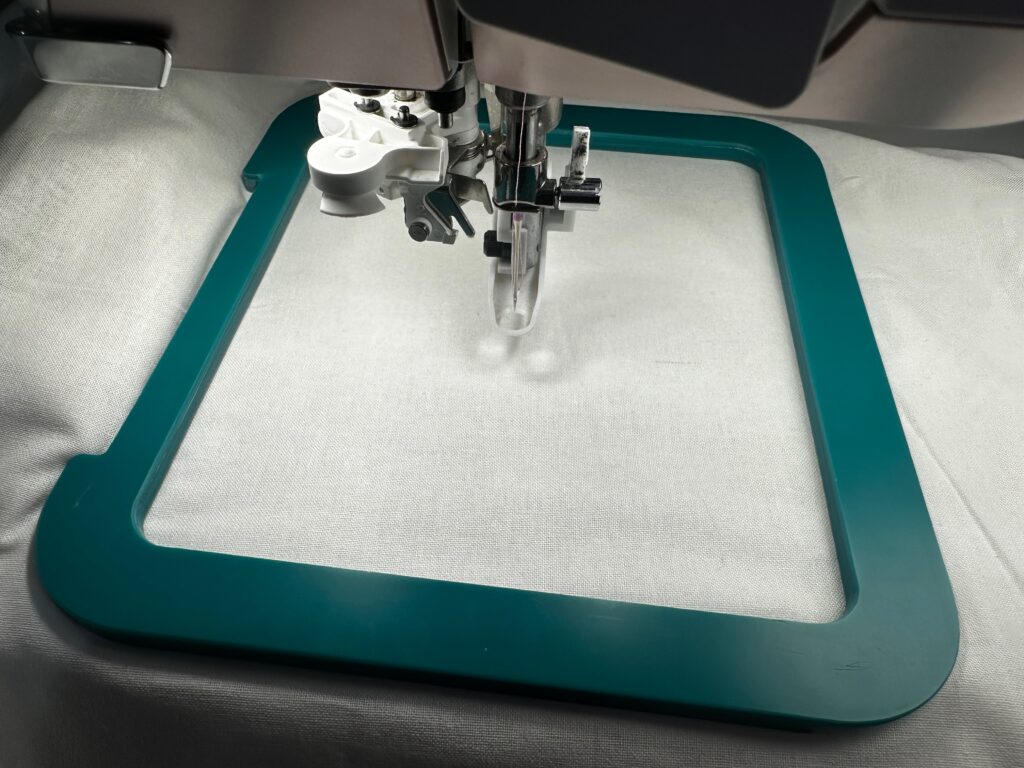
Hoop the “sandwich”, if possible, centering the marks in the hoop and using the inner hoop markings for perfect placement. Note: If the layers are too thick to fit securely in the hoop, either use a Magnetic Hoop or hoop a piece of Sulky Sticky+ Stabilizer, remove the paper backing within the inner hoop frame, and stick the sandwich to the stabilizer for “hoopless” embroidery.
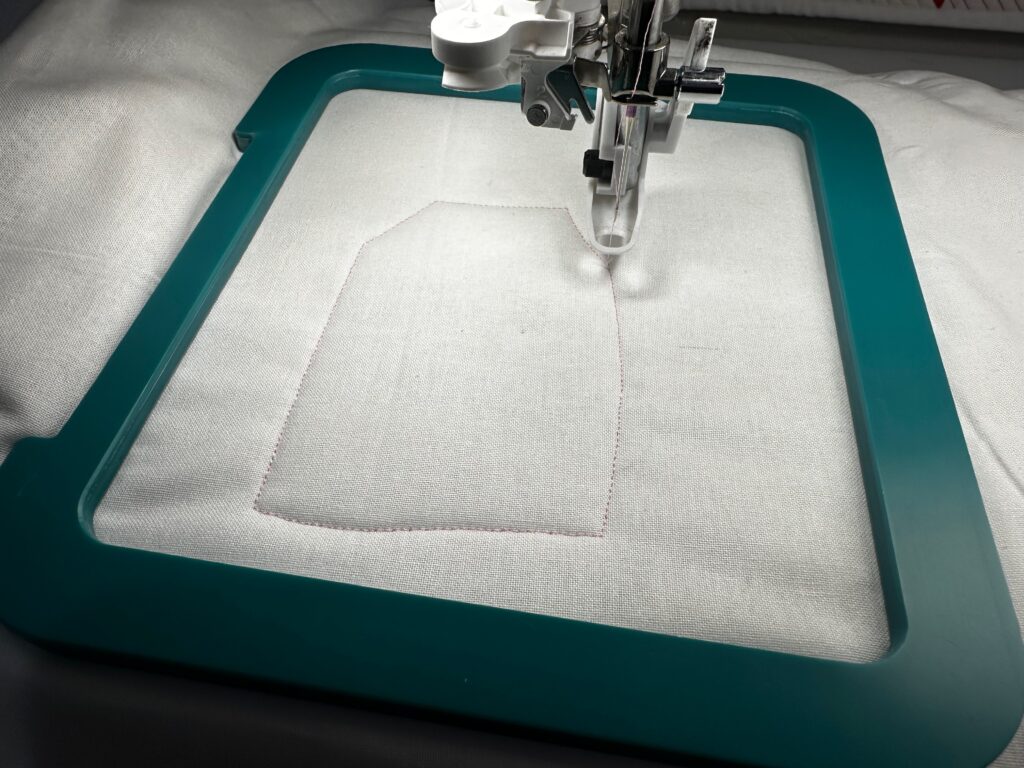
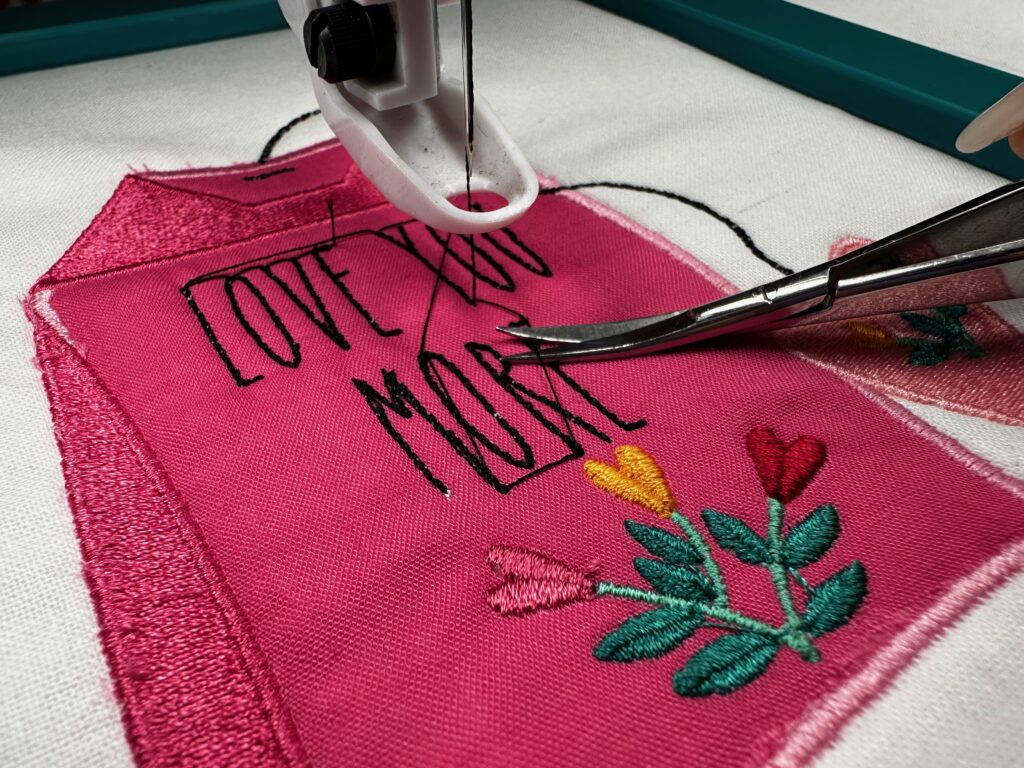
Begin the embroidery, using Sulky Bobbin Thread in the bobbin, a size 90/14 Embroidery Needle and the Rayon Threads in the Cup of Tea Machine Embroidery Palette that correspond to the chosen design.
When the embroidery is complete, remove the sandwich from the hoop. Trim it to 9″ W x 6 3/4″ H, positioning the design where desired. TIP: Place the design to the left or right of center to leave room for a mug or cake while still being able to see the pretty threads.
MUG RUG QUILTING
Place the back fabric rectangle over the quilt-sandwich batting, with the right side facing out. Use KK 2000 to secure the back fabric.
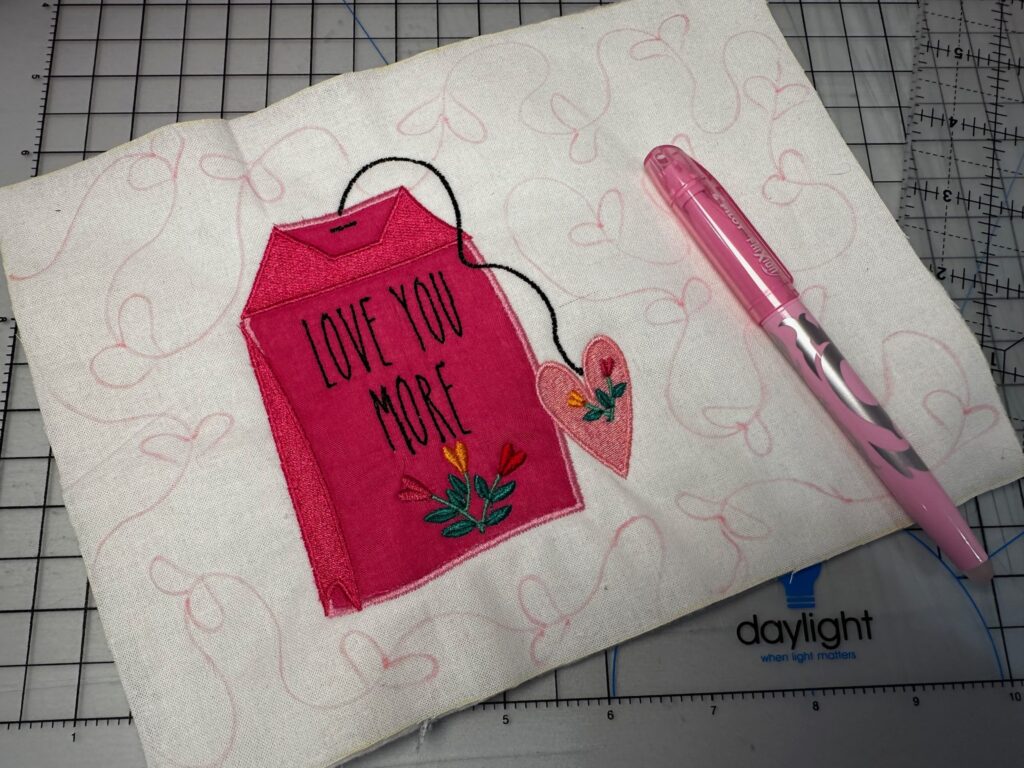
Plot the quilting lines on the fabric sandwich right side using a removable fabric marker.
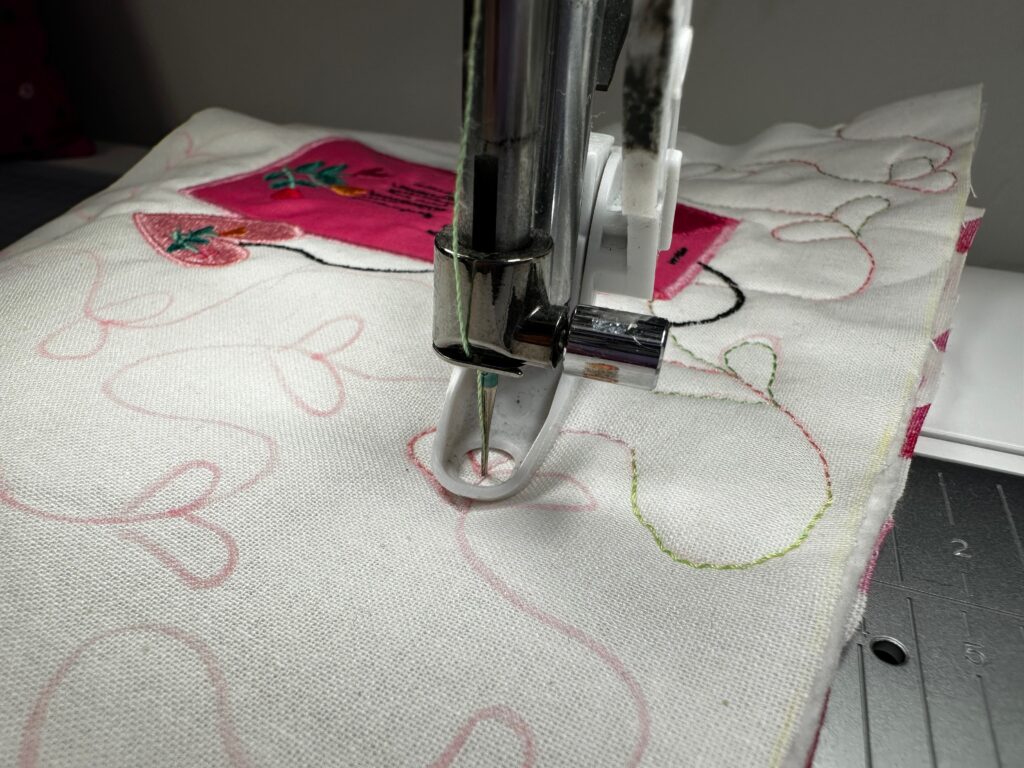
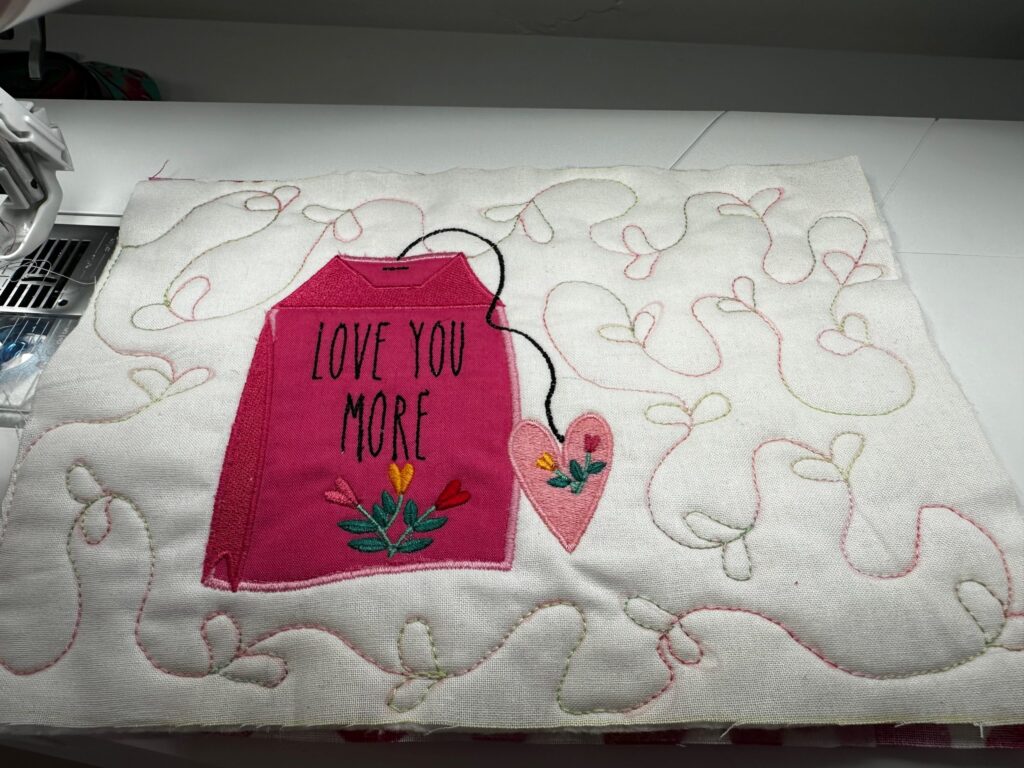
For the featured Valentine Mug Rug, Meadering Quilting lines are plotted with little hearts along the line every so often. If not planning to free-motion quilt the piece, plot straight lines or echo quilting to make things a bit easier to follow.
Quilt the fabric sandwich, leaving the embroidery area free from stitching, using 30 wt. Blendables Thread in a 90/14 Quilting Needle and either Bobbin Thread or 50 wt. Cotton Thread in the bobbin.
After the quilting is complete, trim the edges so they’re even, if needed.
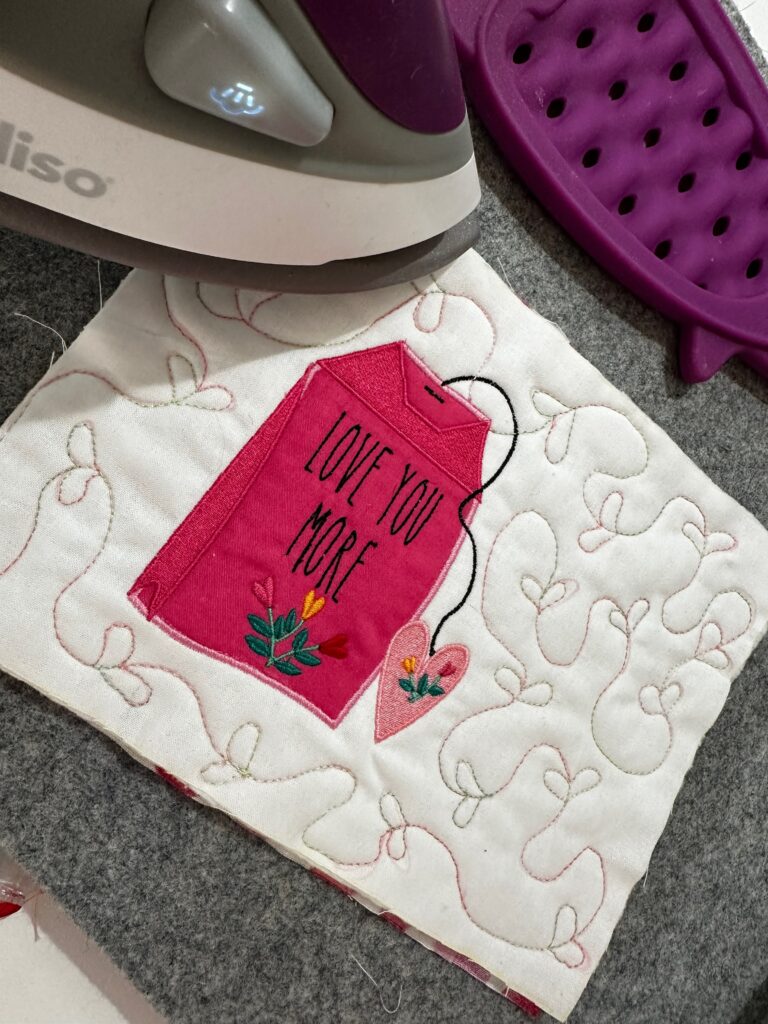
Remove the fabric marker, following the manufacturer’s instructions.
RIBBON EMBELLISHMENT
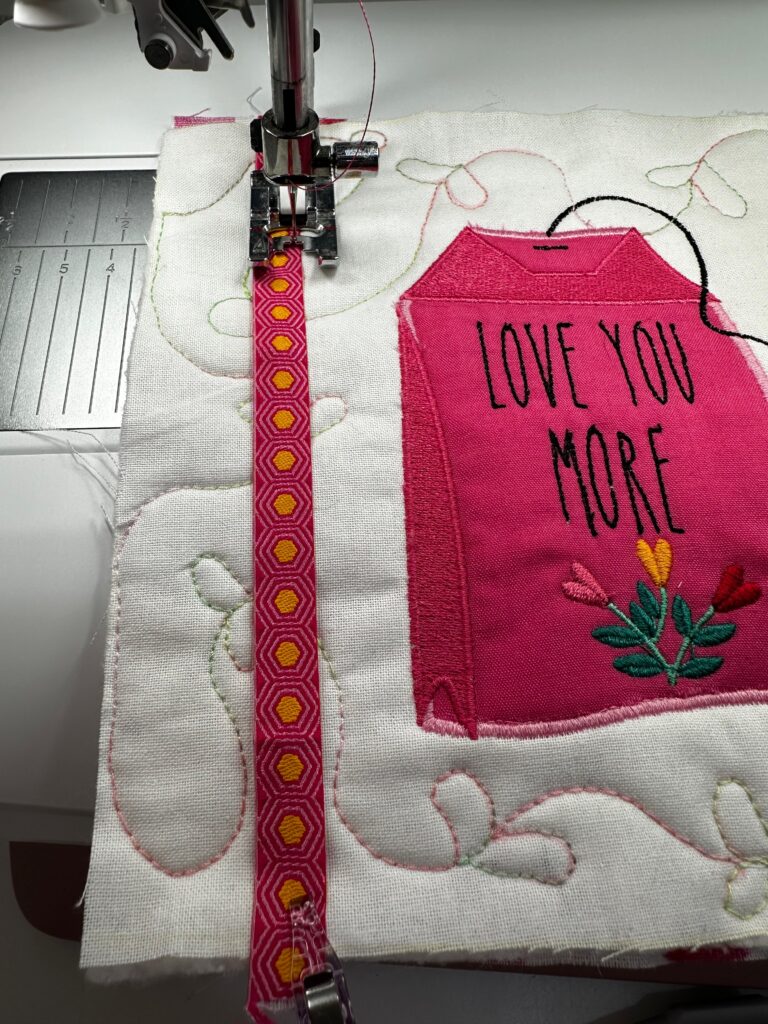
Determine the ribbon placement on the mug rug right side. For the featured Valentine Mug Rug, the ribbon is positioned 1 1/2″ from the left edge.
Straight stitch along both ribbon long edges using the same thread in the bobbin and Sulky 50 wt. Cotton Thread in a size 70/10 Universal Needle.
BINDING & FINISHING
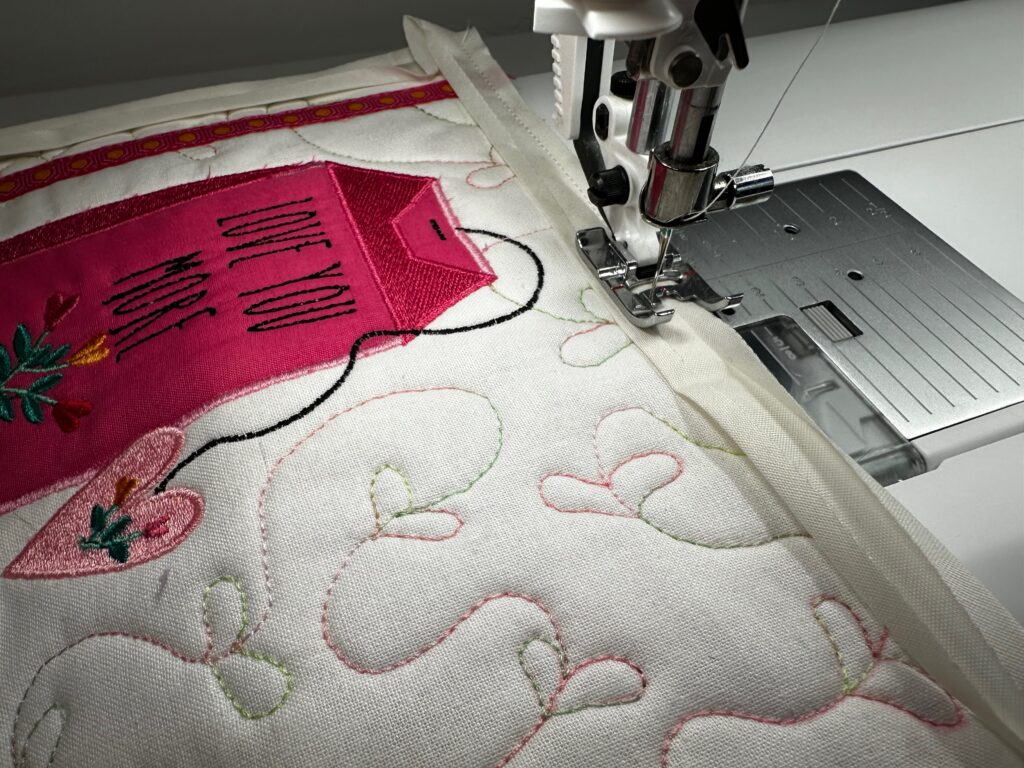
Use the self-or premade binding to bind the Valentine Mug Rug, in the method of your choice.
TIP: Narrow binding works best for small projects, such as this Valentine Mug Rug.
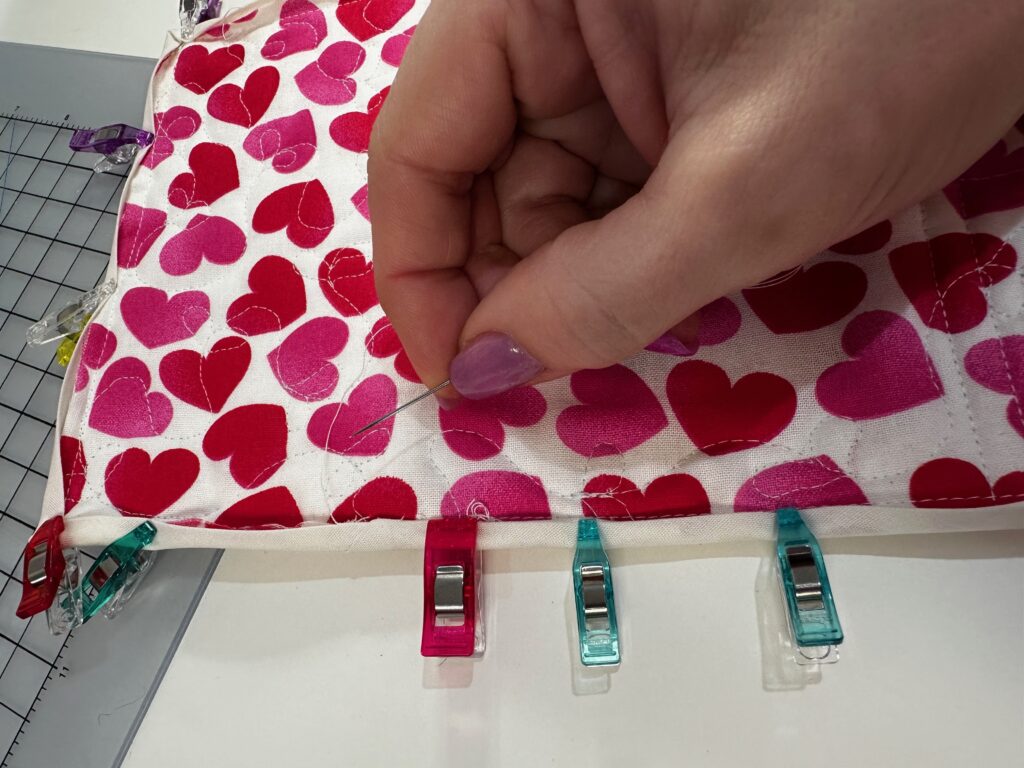
Hand stitch the binding fold to the mug rug backing fabric. Or, choose a decorative stitch on the sewing machine to finish the binding with more embellishment.
Gift the Valentine Mug Rug with a cute mug and a hot cocoa bomb or box of delicious tea!


I love this mug rug
Thank you!
Cute and I have the embroidery designs!
It comes together quickly. Glad you already have the design and can make one right away!