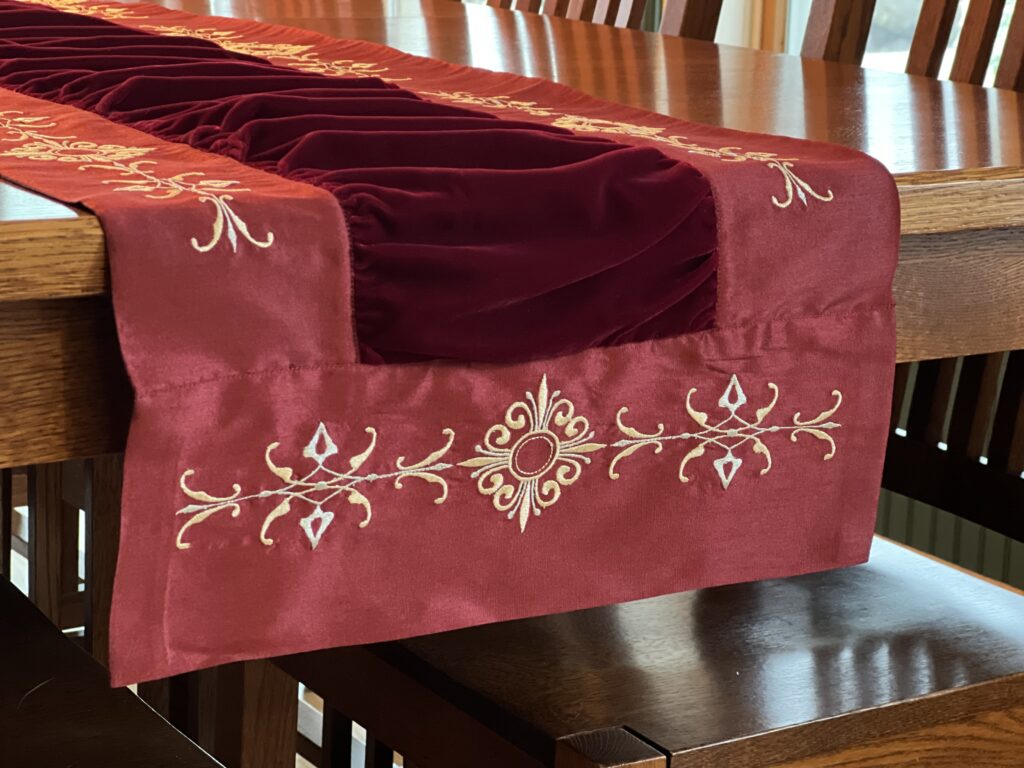
Velvet Table Runner with Ruching & Embroidery
by Katrina Walker
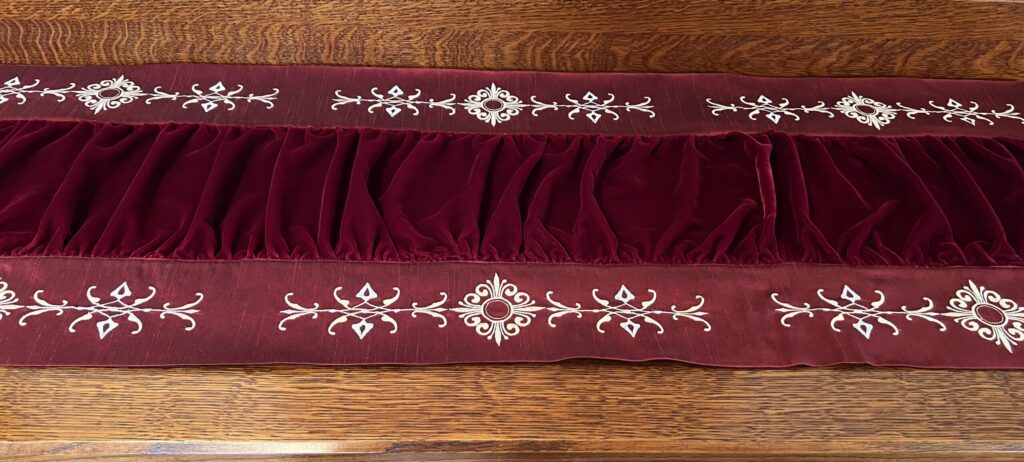
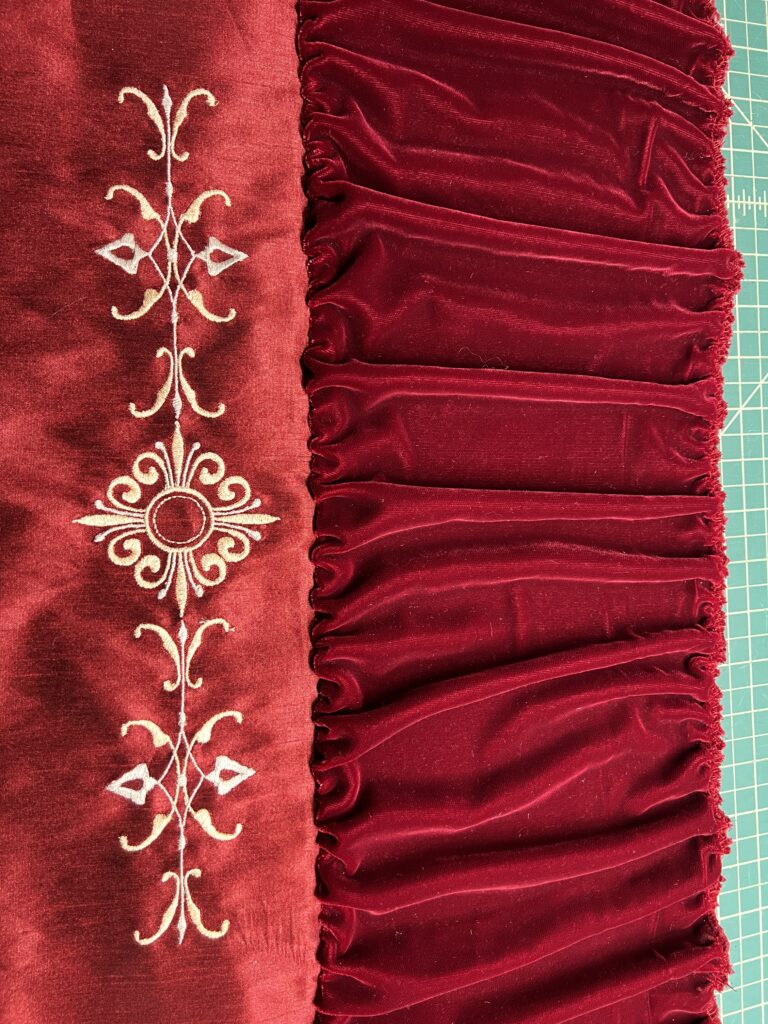
Add a little glam to your next festive gathering by combining luxe ruched velvet, softly shimmering silk dupioni, and sparkling machine embroidery in one beautifully elegant table runner. Use a gathering foot on your serger to make the ruching fast and easy. This table runner works for an upscale holiday dinner party or Valentine’s Day dinner.
Note: Yardage will vary depending on the desired length of the table runner. It is recommended to cut the velvet fabric twice as long as the main dupioni piece to ensure it will fit. You can piece the velvet if needed to achieve enough length but be careful to keep the nap direction the same for all pieces.
VELVET TABLE RUNNER SUPPLIES
- Fabric
- Velvet – Burgundy or Wine colored: 1 piece 9” wide x twice the desired length of table runner minus 10”
- Dupioni – Burgundy or Wine colored
-
- 1 piece 26” wide x desired length of table runner minus 10”
- 2 pieces 18”x 11”
-
- Sulky Thread
- Poly Sparkle™ – 1 spool each (for embroidery)
- Sulky Poly Deco™ (for topstitching)
- 963 – 1035 Dk Burgundy
- Sulky 50 Wt. Cotton Thread – 3 spools (for serging)
- 755-0169 Cabernet Red
- Sulky Stabilizer
- Sulky Tear Easy™ – enough for two layers for each hooping
- Sulky KK2000™ Temporary Spray Adhesive (optional)
- Embroidery Design
- Holiday Centerpiece (for large 360mm hoops), or Holiday Centerpiece Center and Holiday Centerpiece End (for smaller hoops)
- Serger (optional but recommended)
- Gathering foot
- Clover Wonder Clips (Optional)
TABLE RUNNER EMBROIDERY
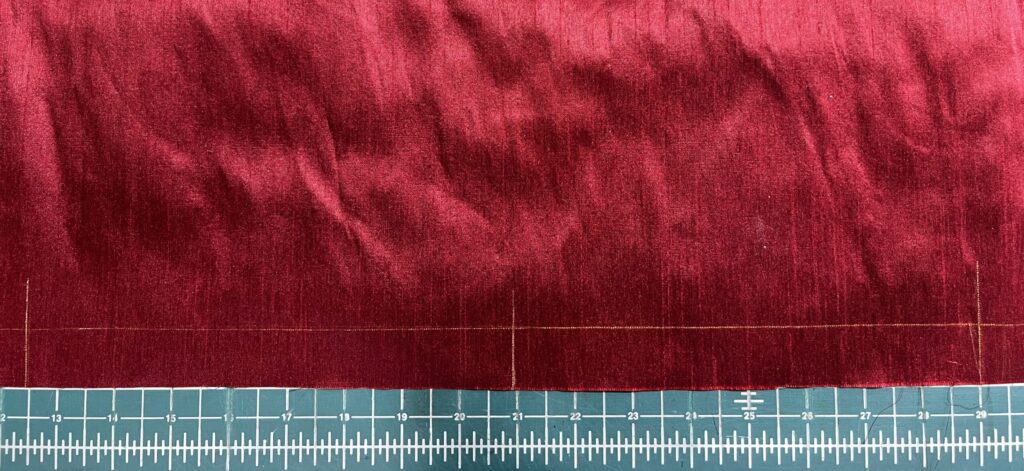
Mark (using chalk or similar removable marking) 1” away from the raw edge of each long edge (parallel to the raw edge) of the large dupioni piece. Fold the fabric in half lengthwise and mark the center along each 1” mark as well.
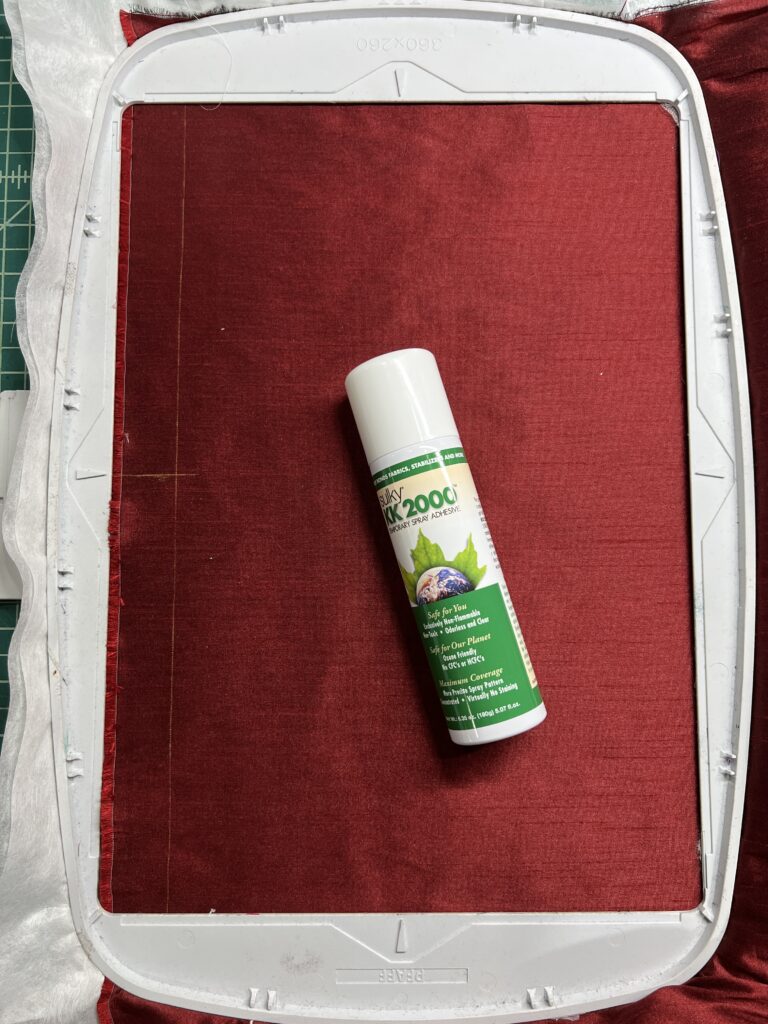
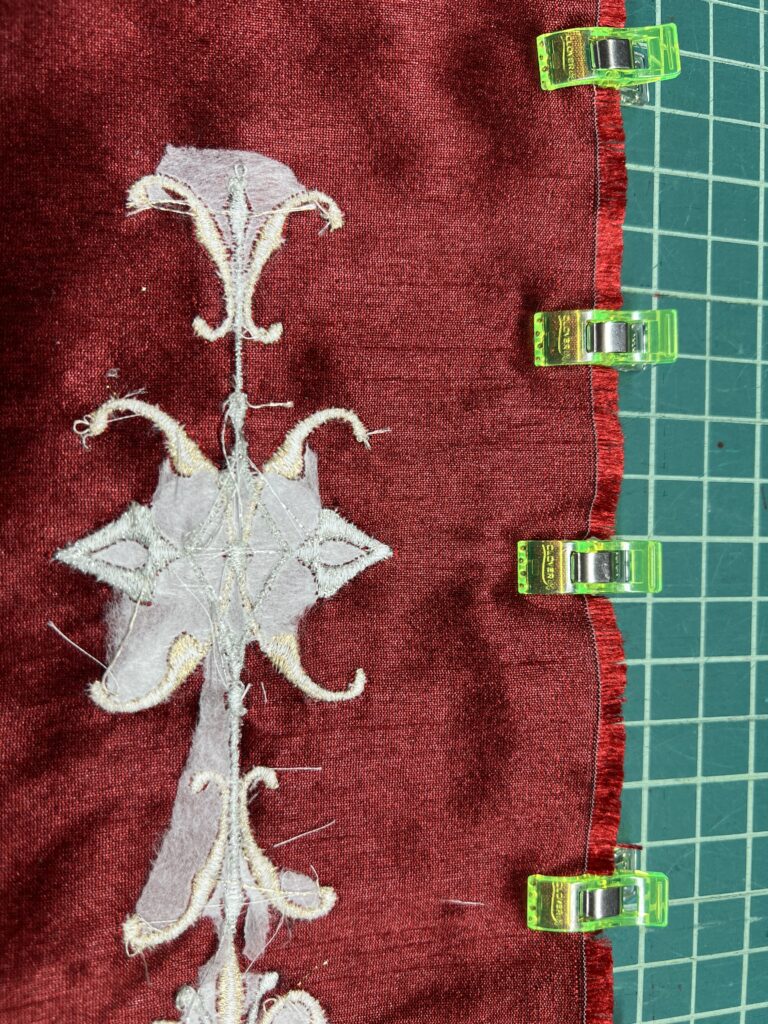
Hoop the embroidery with two layers of Sulky Tear Easy stabilizer. It is helpful to use Sulky KK2000 basting spray to baste the dupioni to the stabilizer for easier hooping along the edge of the fabric.
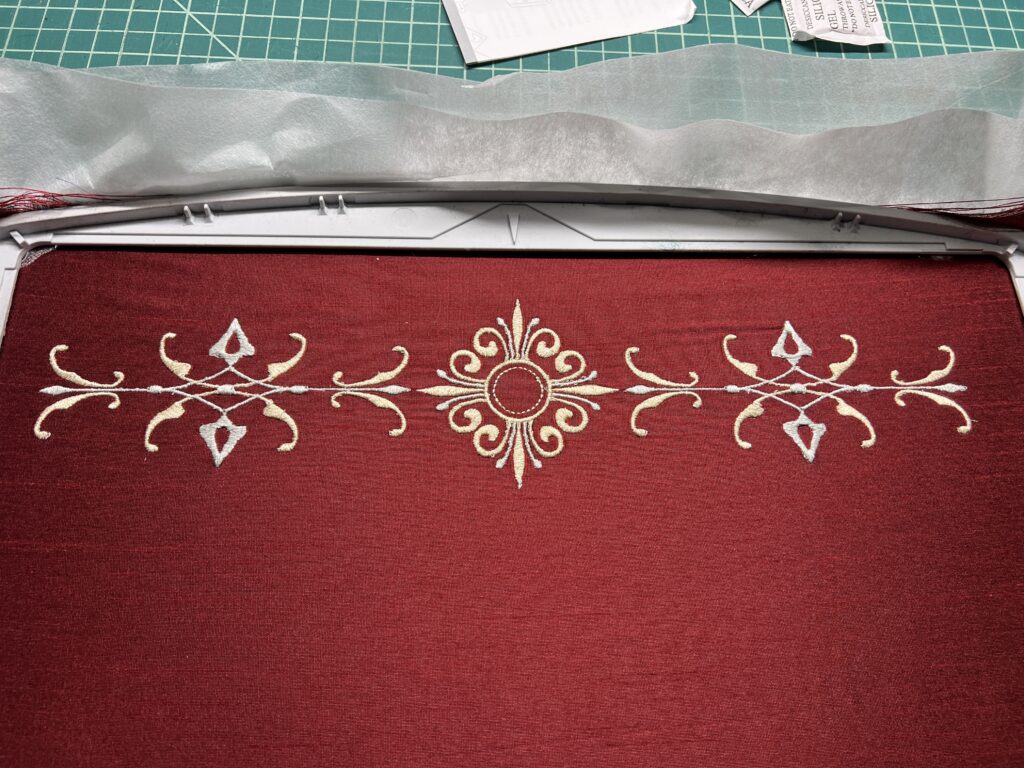
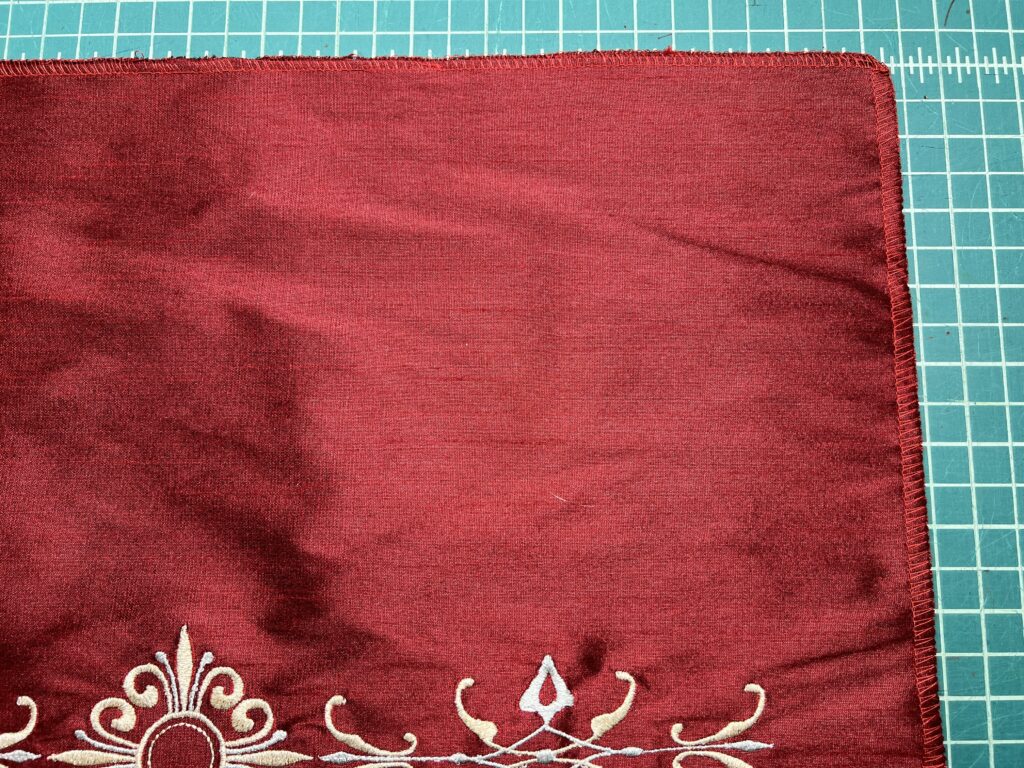
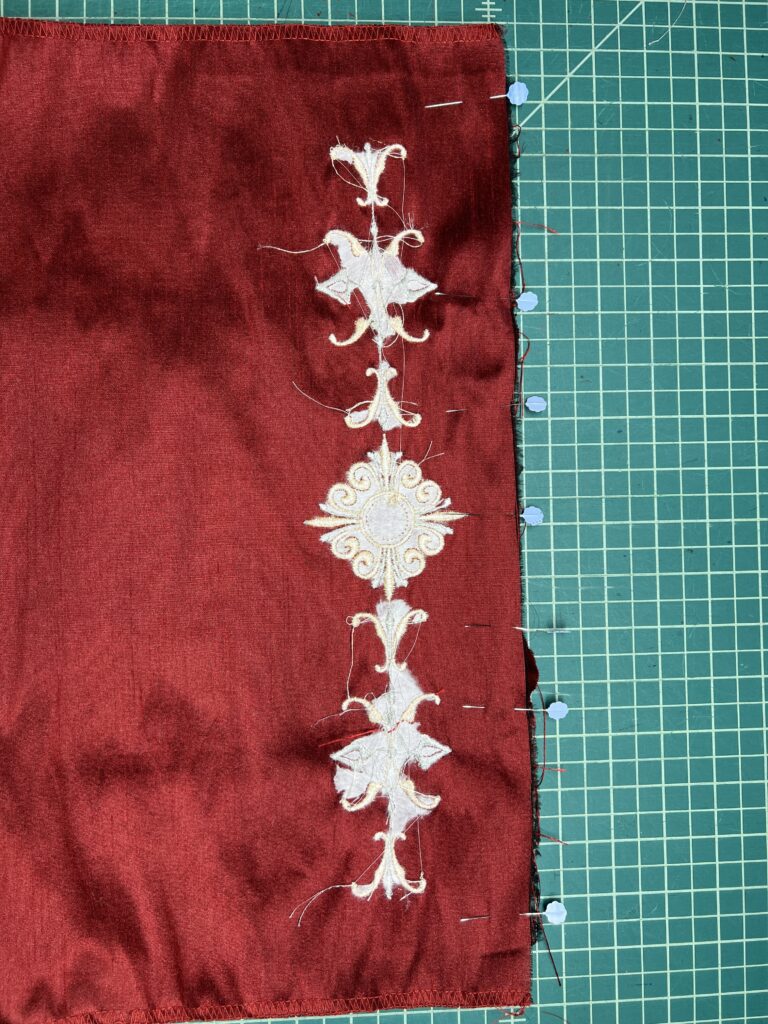
Embroider the Holiday Centerpiece design onto the large dupioni piece with the center of the embroidery motif (or the Holiday Centerpiece Center if using smaller hoops) aligned with the marks. The center of the design should align with the center mark, and the tip of the design with the 1” mark. If using three hoopings (for smaller hoops) embroider the center motif first, and then embroider the ends, spacing the ends 1/4” away from the center motif, with the centers aligned.
Once the center of each long edge has been embroidered, check the length to see if you have space to embroider additional motifs. If space permits, add more embroidery symmetrically to the left and right of the central design on each side.
Next, embroider the Holiday Centerpiece design 1” away from one long edge of the smaller dupioni piece, centered widthwise. Do this to both pieces.
Gently tear away the stabilizer from around the design.
TABLE RUNNER CONSTRUCTION
Gathering (Ruching) the Velvet
Using a Serger
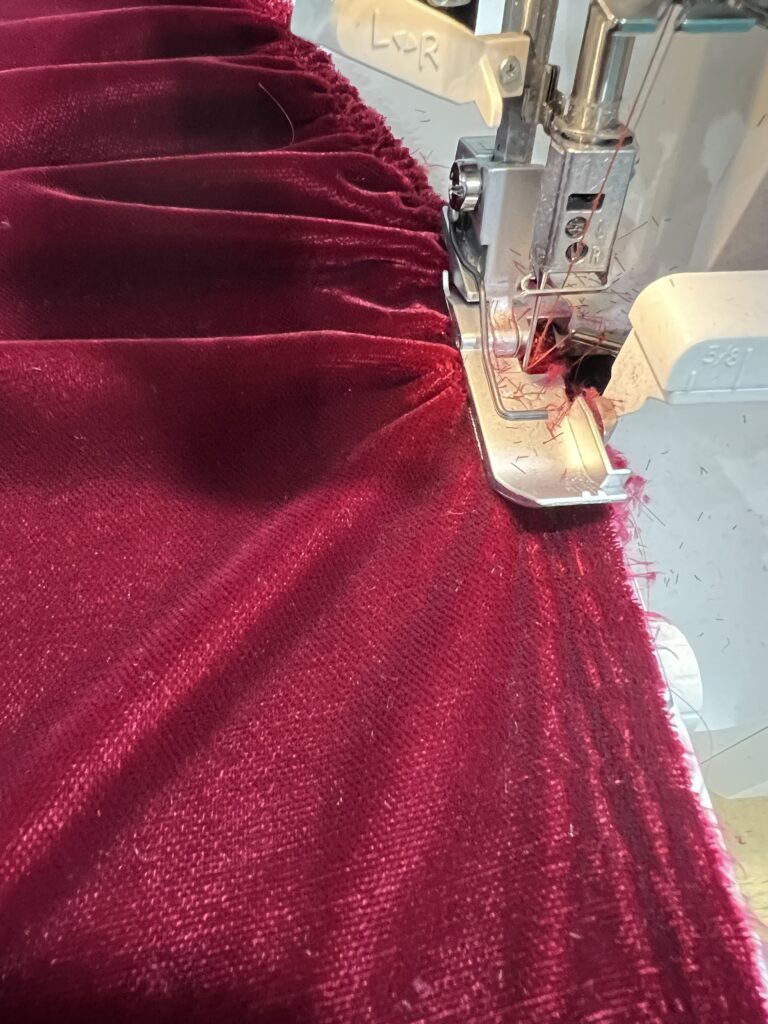
Thread your serger for a wide 3 thread overlock. Place a gathering foot on the serger.
Set the differential feed for the highest number (for the most gathering).
Serge along one long raw edge of the velvet to gather it. Be sure to allow the fabric to feed freely and smoothly for consistent gathering.
Tip: Practice with a scrap before serging the project. Sometimes you can gather more easily if you gather onto a piece of ribbon or narrow scrap.
Use the serger and gathering foot to gather the remaining long raw edge using the same technique.
Alternative (Sewing Machine) Method:
If you do not have a serger, sew two sets of long stitches (4.0mm or longer) along the long edges of the velvet. Gently pull the sewn threads to gather the fabric to the needed length.
Assembling the Table Runner
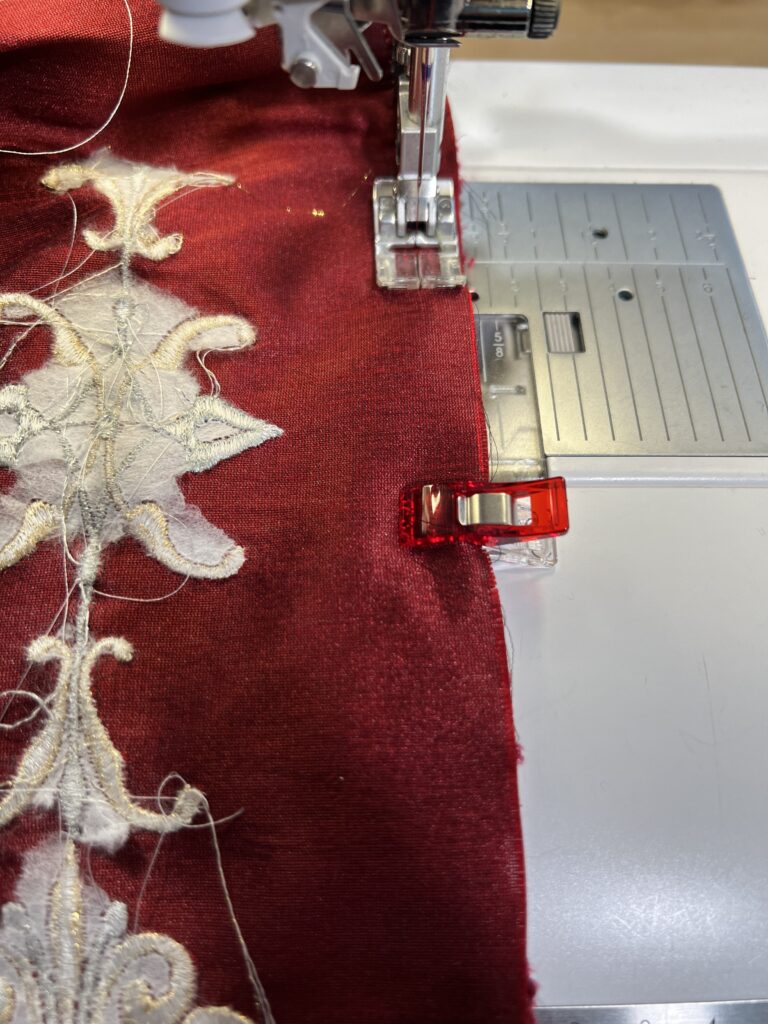
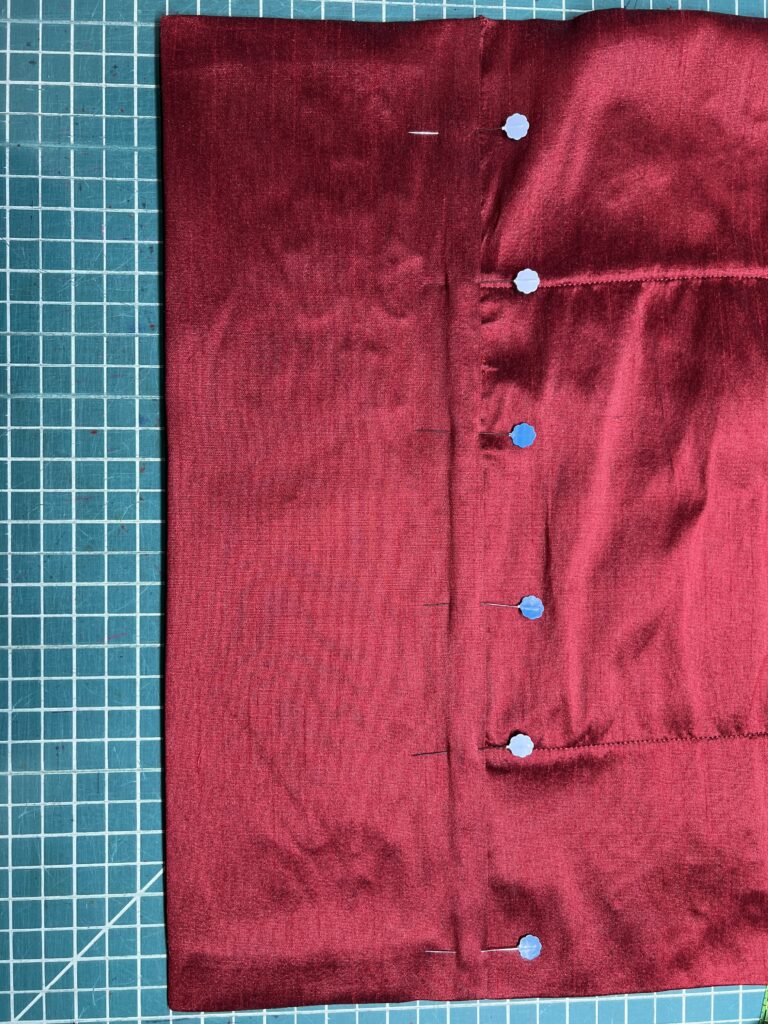
Align one gathered long edge of the velvet with one long edge of the large dupioni piece, right sides together. Use Wonder Clips to hold the slippery velvet in place securely.
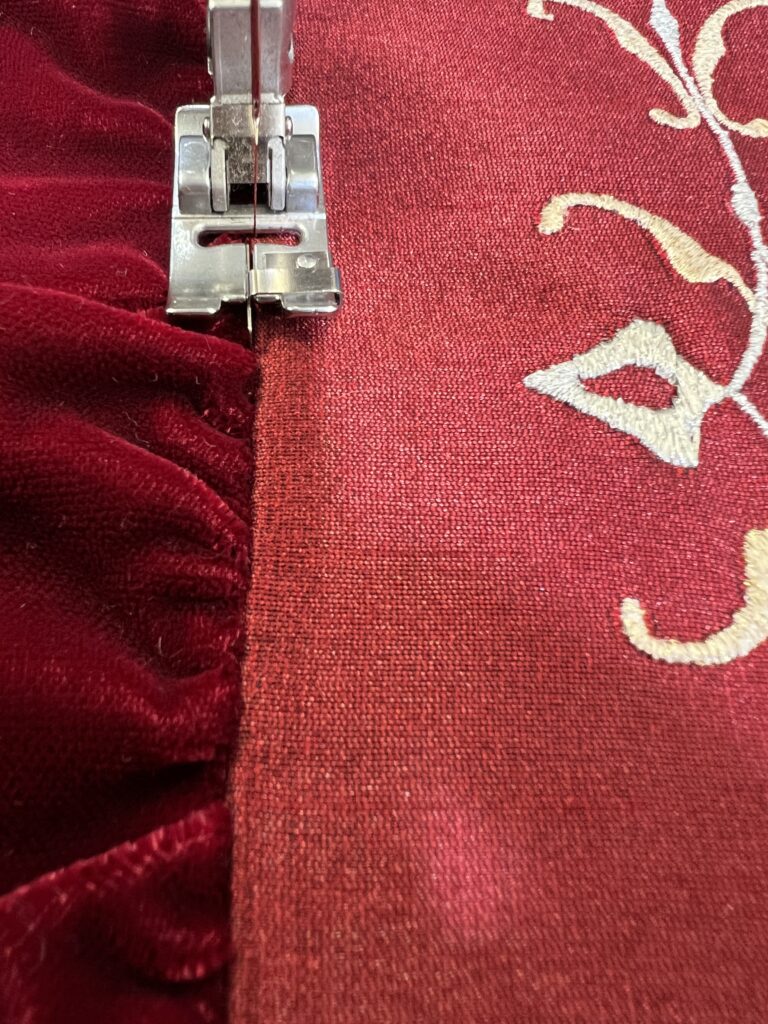
Baste the velvet to the dupioni using a sewing machine with a ½” seam allowance.
Check the seam to ensure the velvet has been sewn in place evenly. If it looks good, serge the basted seam with the serger to secure and finish it using the ½” seam allowance.
Tip: Align the basted stitching with the left needle marking on your serger foot for accurate seaming.
Trim the velvet to match the length of the dupioni if necessary.
Repeat with the remaining long raw edge of the velvet and the dupioni, basting and then serging them together right sides together with a ½” seam allowance. Be sure to check the appearance of the basted seam before serging.
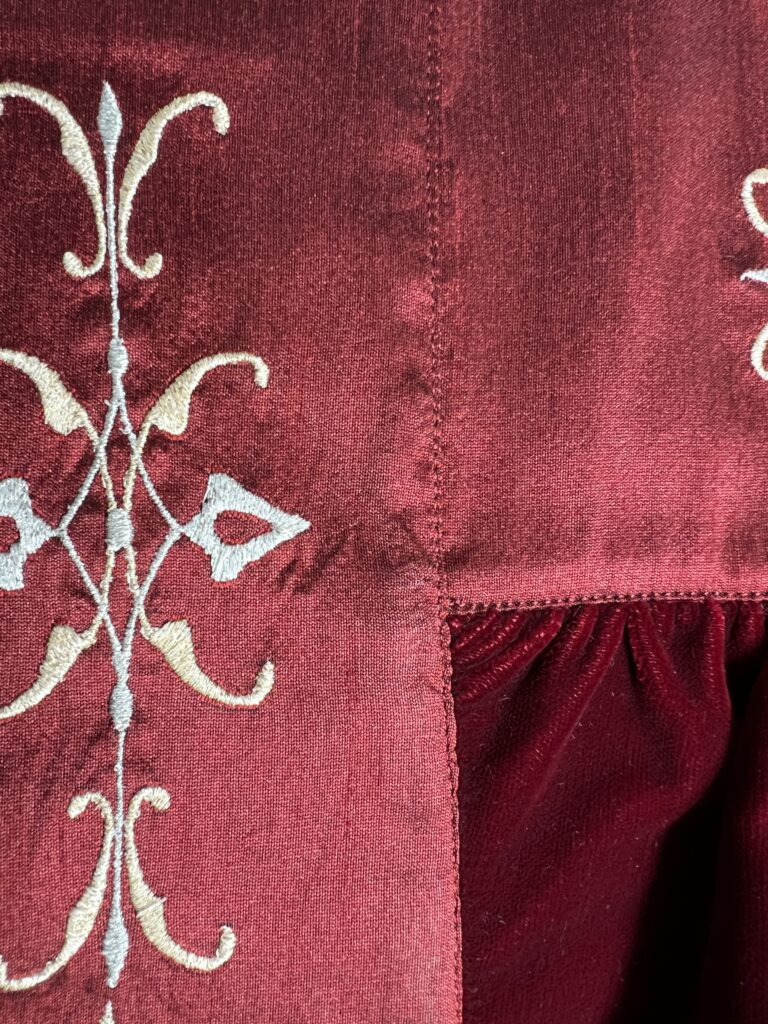
Finger press or gently seam the seam allowances toward the dupioni, being careful not to press the velvet.
Turn the tablerunner right sides out, with the velvet centered in the middle. Press along the edge of the tablerunner, being careful not to press the velvet. Topstitch the dupioni along the edge of the velvet with your sewing machine to secure the seam allowance in place.
Finishing the Table Runner
Compare the length of the long edge of the remaining two pieces of embroidered dupioni with the table runner. The table runner should be approximately 16” wide. Each piece should be 1” wider than the table runner (width of the table runner plus two ½” seam allowances). Trim to fit if necessary.
Use the serger to finish the raw edges of the seam allowances of the non-embroidered edges. Be careful to only finish the edge – do not trim the seam allowance. If using a sewing machine, wait until after sewing to finish the seam(s).
Center one piece of the remaining embroidered dupioni pieces along the table runner with the embroidered edge against the top side of the table runner (with right sides together).
Sew the end onto the table runner using a ½” seam. Check the seam, and then serge the seam allowance to finish it. Press (finger press or gently steam if necessary) the seam allowance toward the end piece, being careful not to press the velvet.
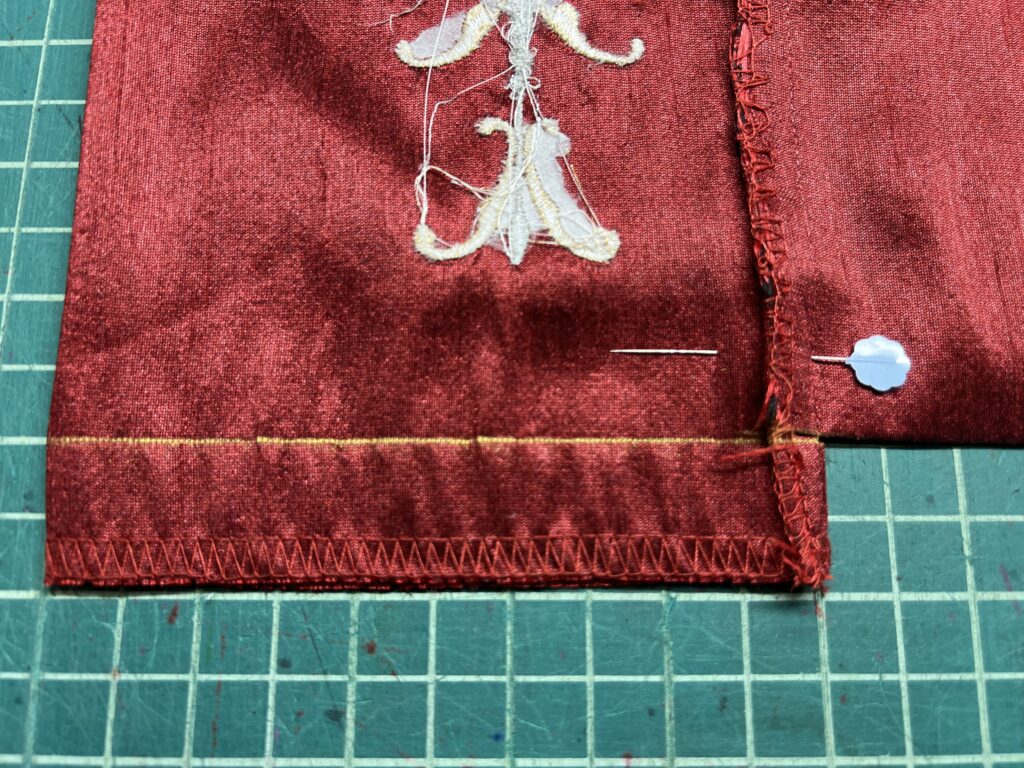
Create a ½” fold toward the wrong side on the remaining long edge of the dupioni.
Fold the duponi back along itself (right sides together) so that the edge of the ½” fold is aligned with the stitched edge. This will form a cuff that will finish the end of the table runner. Pin in place with the folded edge extending slightly past the stitching line.
Mark a stitching line (should be ½” but adjust if necessary) on both sides of the folded back dupioni. The stitching should run snugly along the edge of the table runner.
Stitch along the marked line with your sewing machine.
Turn the cuff right sides out and align the folded edge so it barely covers the previous stitching. Pin the cuff in place.
Edgestitch along the end cuff to secure and finish the end.
Repeat the process with the remaining dupioni piece for the other end of the table runner.
Enjoy your beautiful new embroidered table decoration! The Velvet Table Runner with Ruching and Embroidery will add a touch of elegance for the entire holiday season, and is also perfect for a New Year’s Eve and Valentine’s Day dinner!

