Machine Embroidery Basics: Everything You Need to Get Started
Machine embroidery is one of the most rewarding ways to personalize and embellish your sewing projects. Whether you’re adding a monogram to a tote, stitching a decorative motif on a sweatshirt or creating in-the-hoop projects, learning the fundamentals will set you up for success.
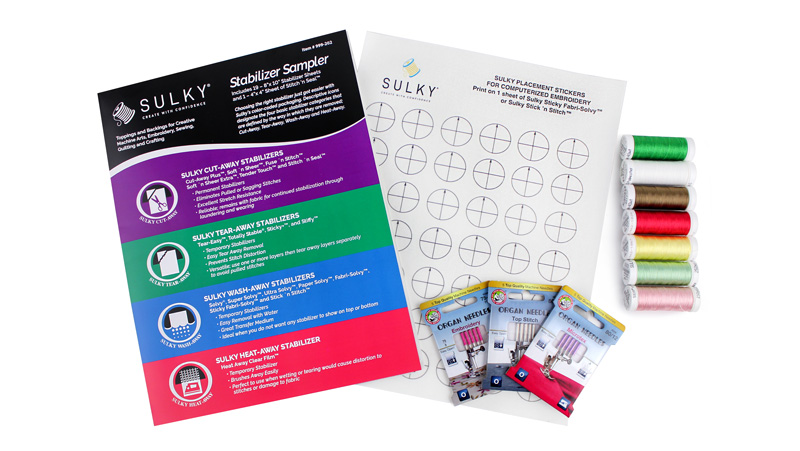
If you’re brand new, the Sulky Beginner Machine Embroidery Video Series is a fantastic step-by-step resource that walks you through each stage of the process. You can also register for the FREE Machine Embroidery Basics & Beyond Webcast, which comes with a collection of embroidery designs to try. GRAB A KIT to have all the threads featured in the designs, assorted needles and stabilizers and a printed Placement Sticker Sheet that comes on water-soluble stabilizer for easy removal.
Here’s a helpful overview of the essentials, so you can begin your machine embroidery journey without fear!
What Is Machine Embroidery?
If you’ve never watched a design stitchout happening by machine, you’re in for a treat. In order to do machine embroidery, your machine must have an embroidery module, which is either built in (always on the machine) or swapped with a “standard” sewing machine bed. The computerized embroidery machine stitches designs automatically onto fabric, as the module moves up and down and side to side to help the needle and thread form the design. Instead of manually guiding the stitching, like with free-motion sewing, you load a digital design file, hoop the fabric and stabilizer, thread the machine and let it stitch while you monitor the process.
With just a few tools and some practice, you can create professional-looking embellishments on garments, accessories, home décor and more.
Basic Supplies You’ll Need
Before you start stitching, gather these core supplies:
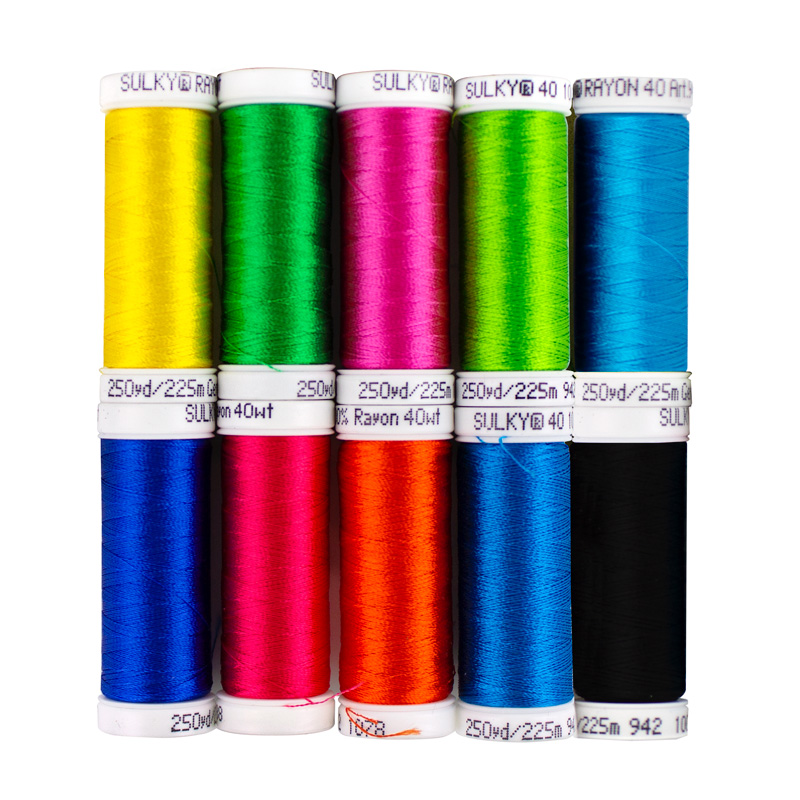
- Sulky Thread (Start with either Rayon or Poly Deco, and then move to specialty threads like Metallics when you’re more confident. Grab an Assortment Pack to have a bunch of popular colors on hand for various designs.)
-
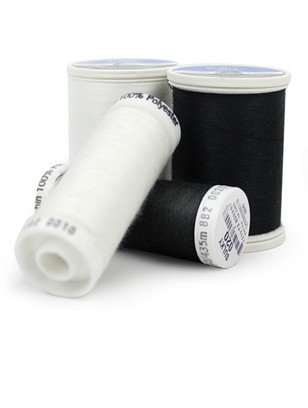
Bobbin Thread (lightweight and smooth)
-
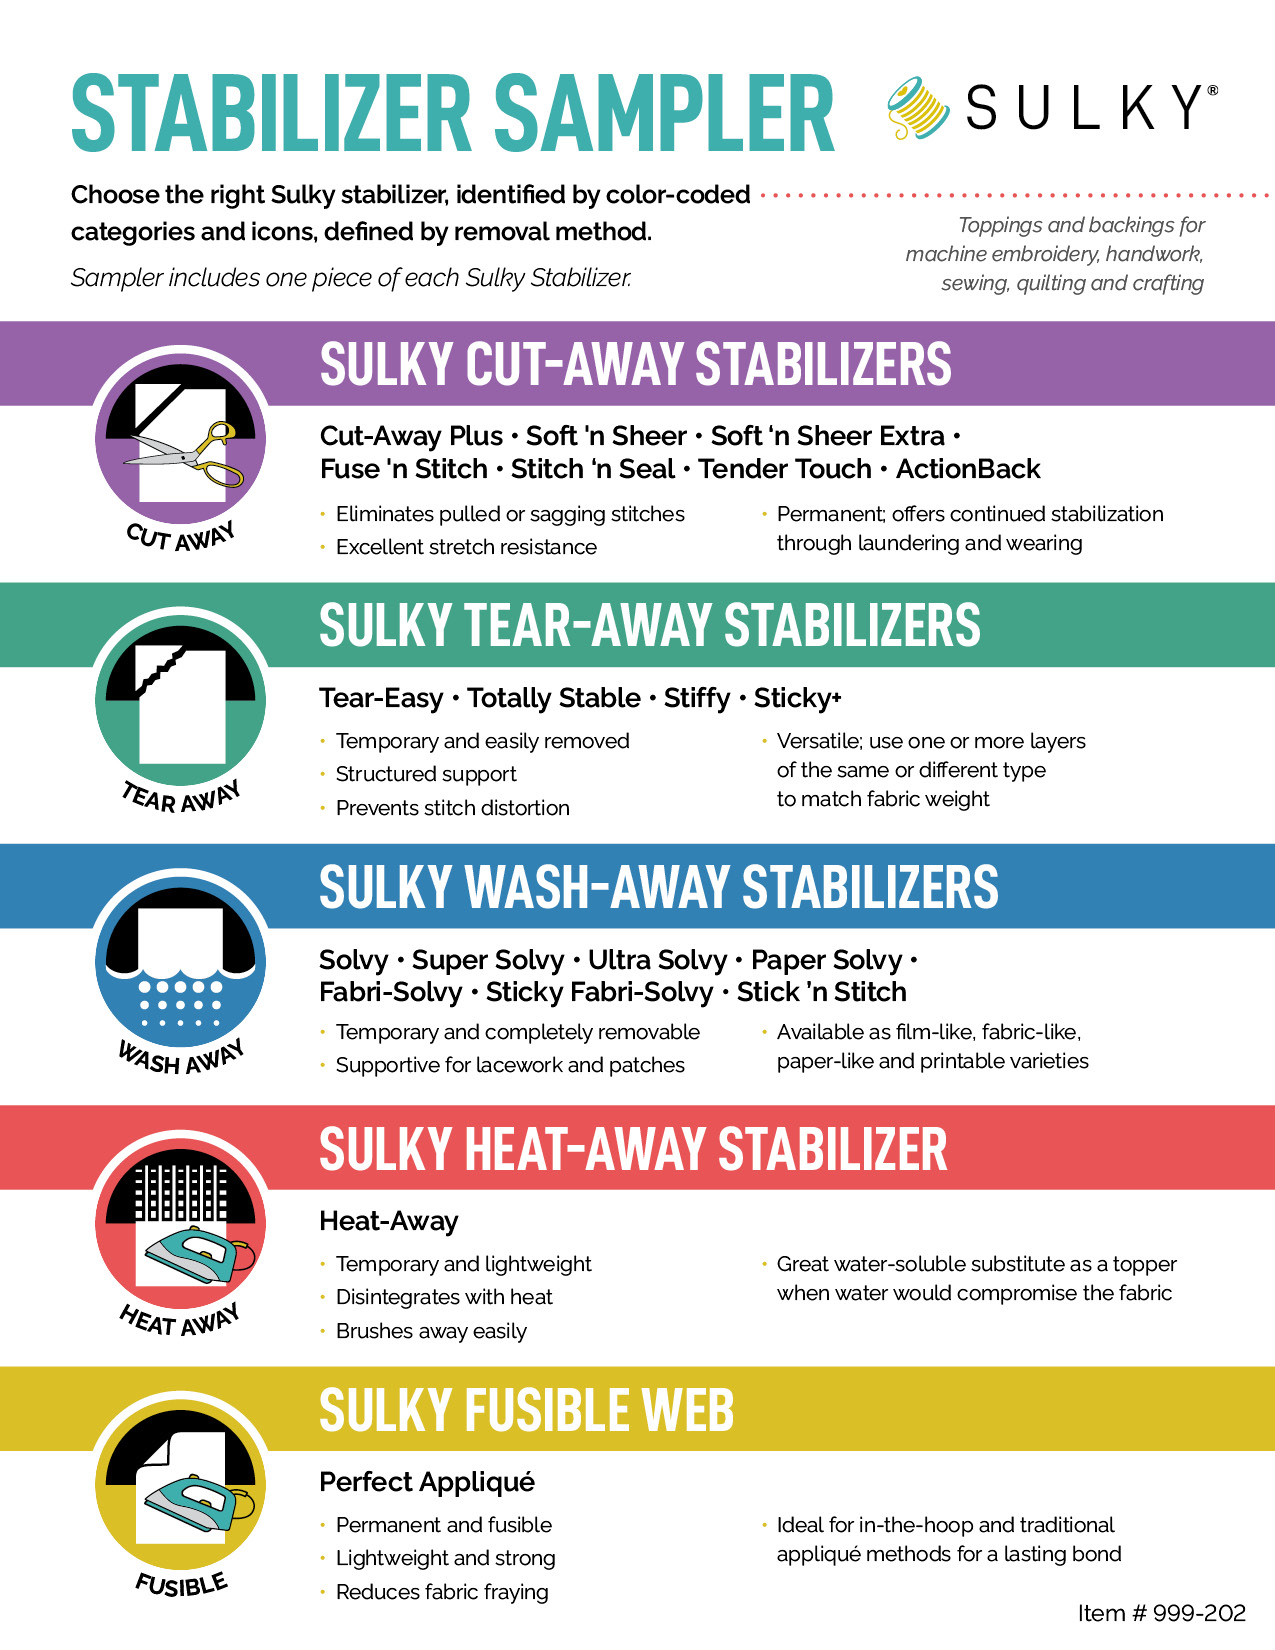
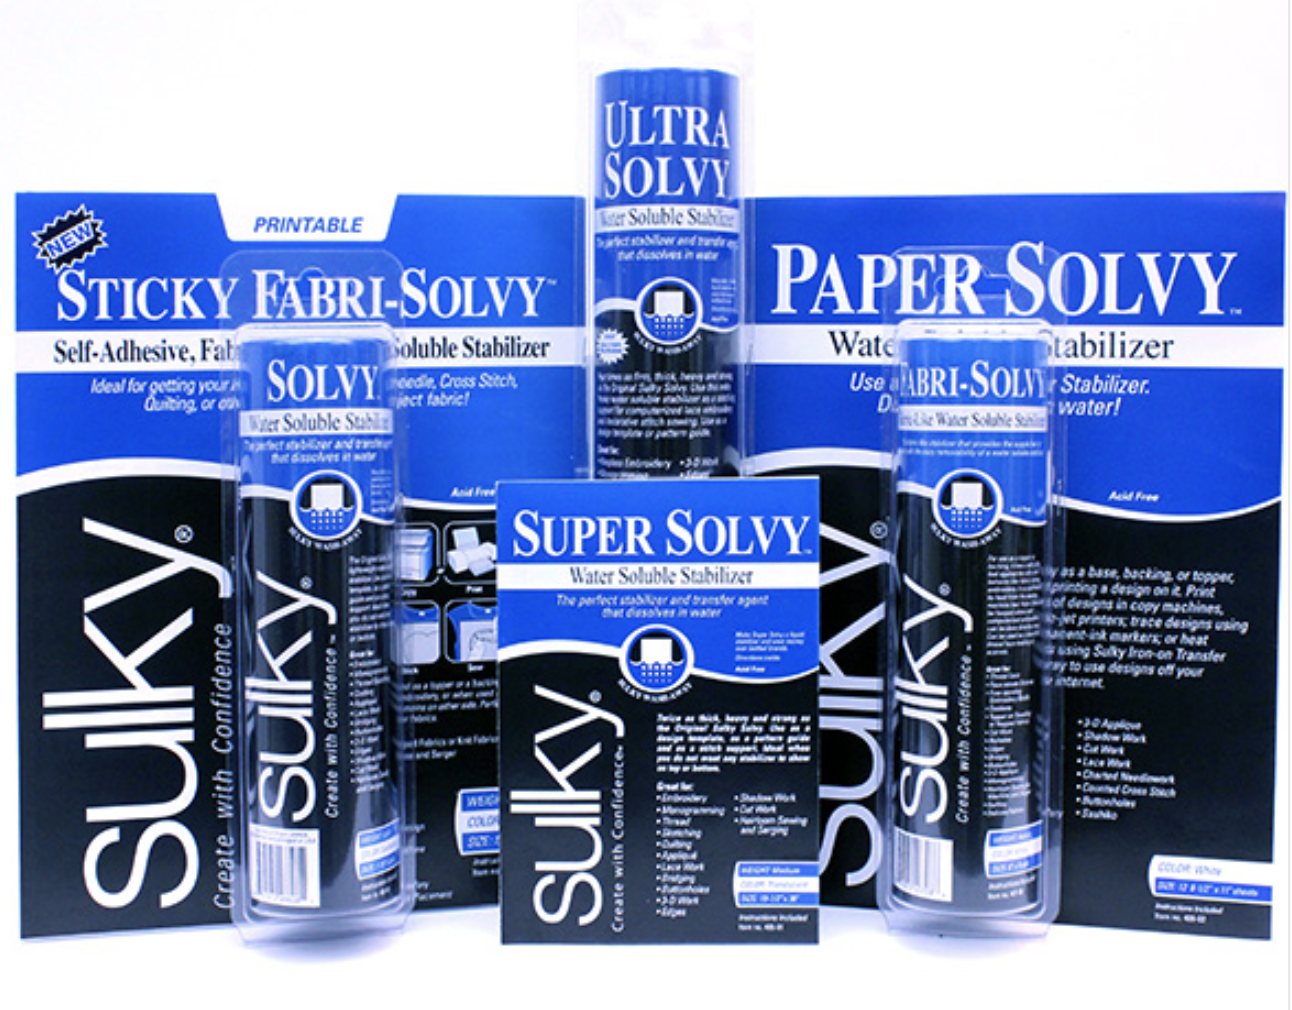
Stabilizer (tear-away, cut-away, wash-away or specialty types; grab an assortment pack or sampler to understand the different types and how/when you’ll use them)
-
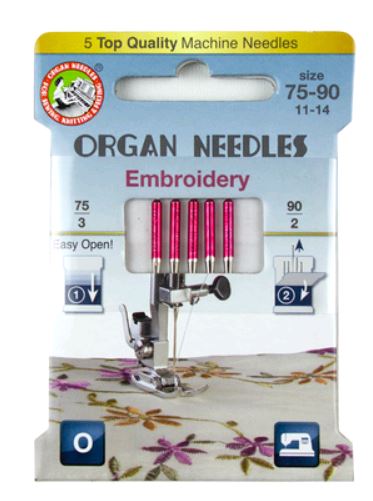
Embroidery Needles
- Embroidery designs in a compatible file format (Try the ones that are already built into your machine for practice. Then move to more designs as you build your skills.)
TIP: Using quality thread and the correct stabilizer is key to preventing puckering, thread breaks and poor stitch quality.
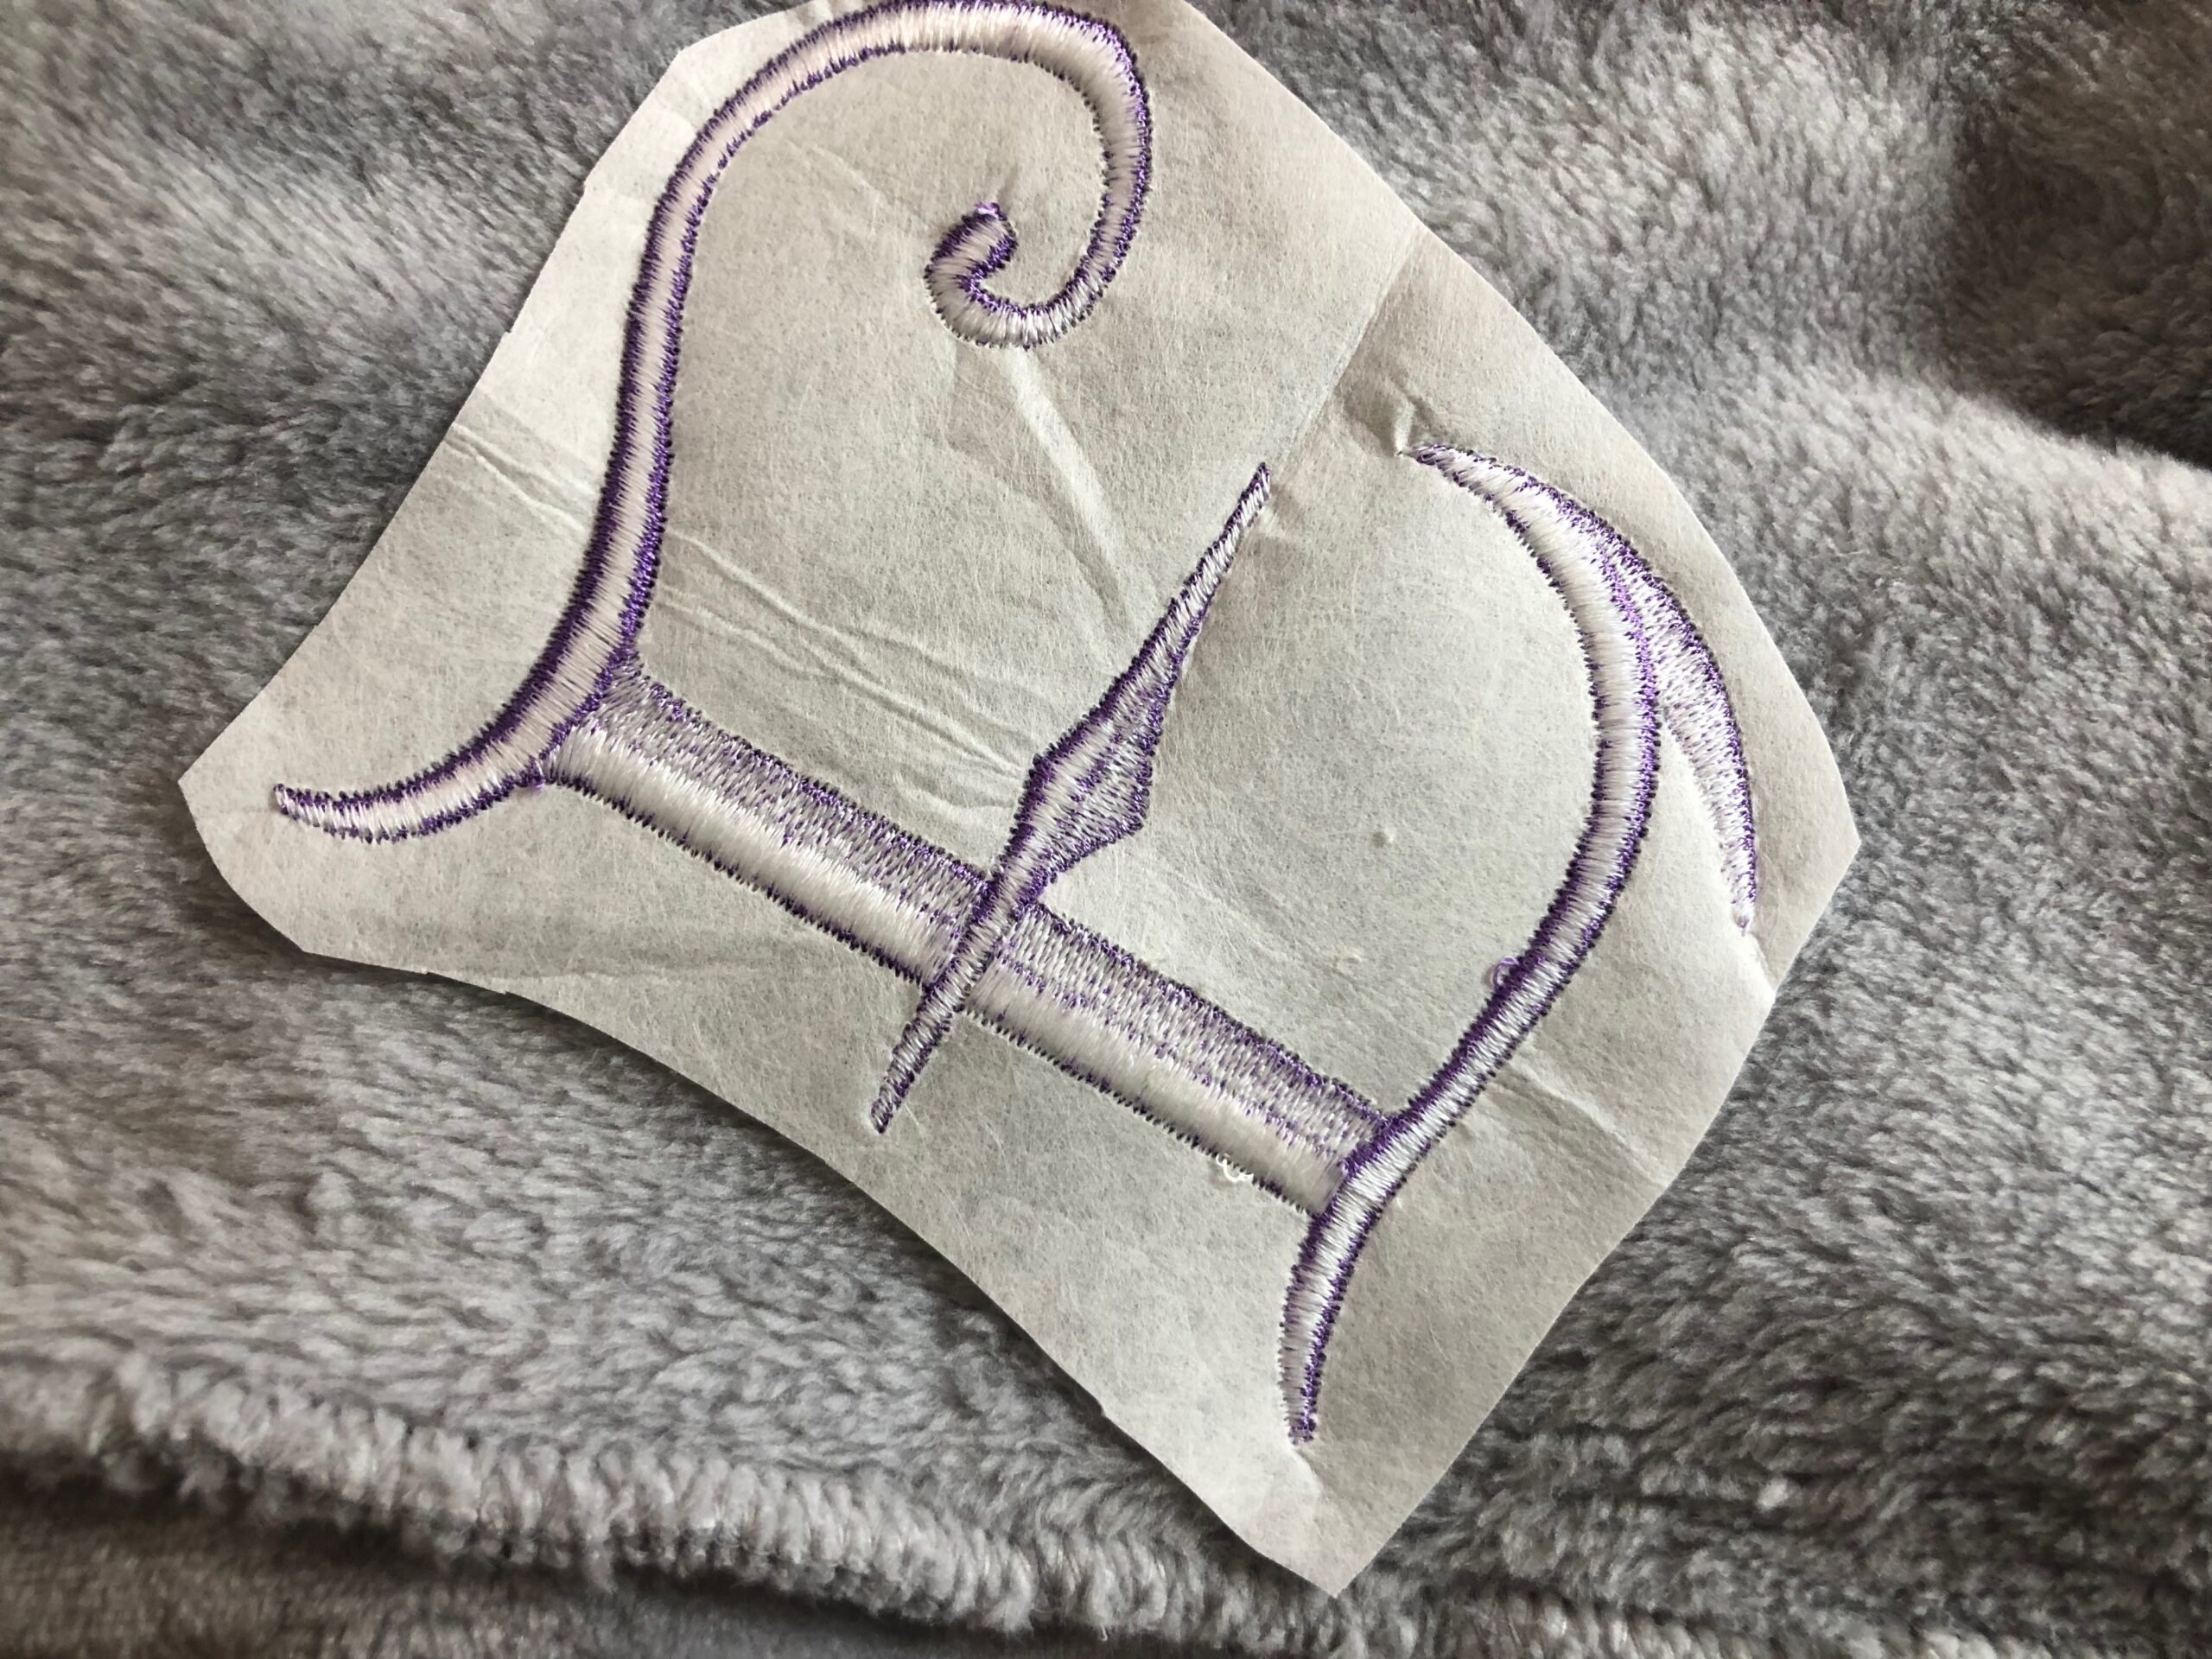
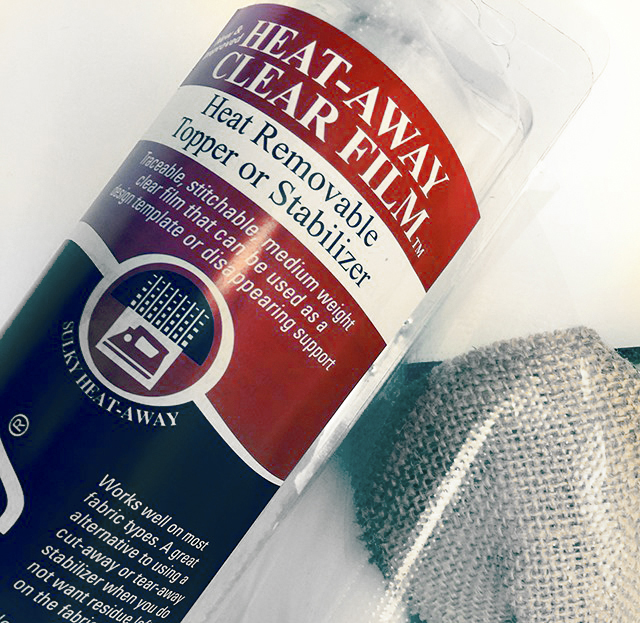
Understanding Stabilizer
Stabilizer is one of the most important elements in machine embroidery. It supports the fabric during stitching and helps the design form correctly.
Common types include:
-
Tear-Away: Great for stable woven fabrics and designs with lighter stitch counts
-
Cut-Away: Ideal for knits or dense designs that need long-term support
-
Wash-Away: Perfect for freestanding lace or projects where stabilizer must disappear
-
Heat-Away: Mostly used as a topper when water can’t be used on the fabric
TIP: Always match the stabilizer to both the fabric type and the design density.
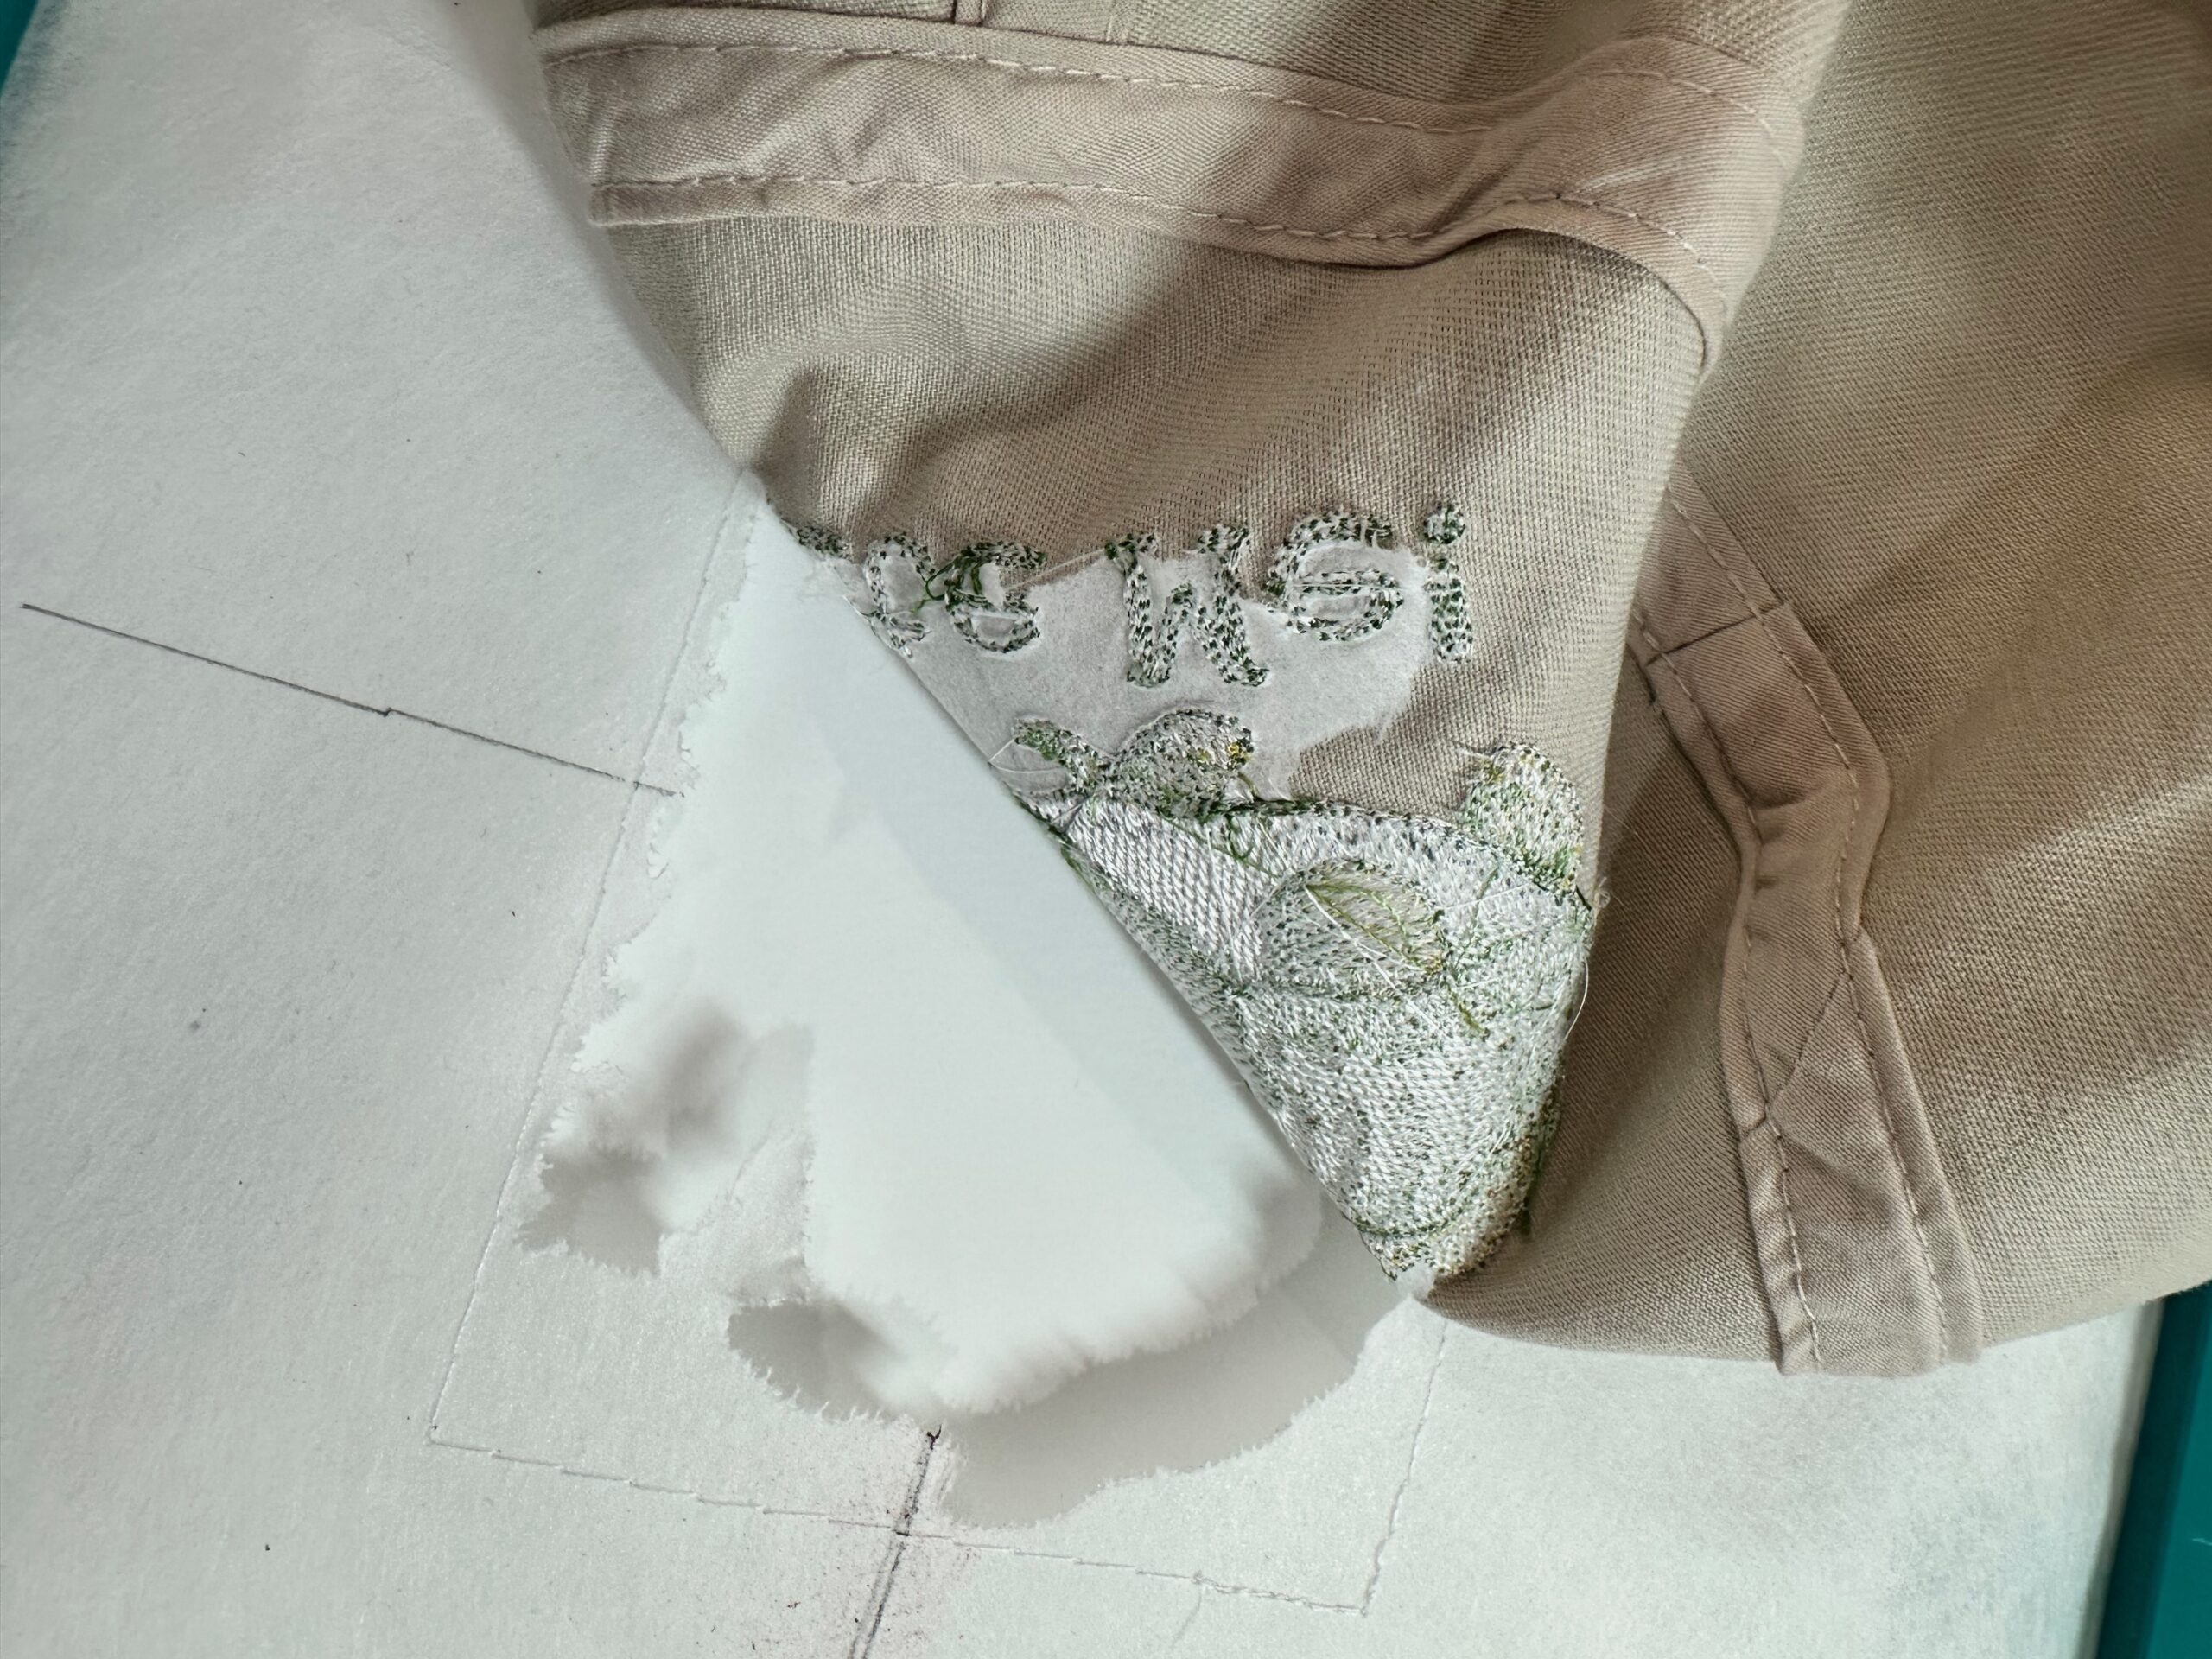
Hooping Basics
Proper hooping ensures smooth, professional results.
Steps for success:
-
Hoop the stabilizer first so it’s taut like a drum. (There are some instances where the fabric cannot be hooped. Begin with easy-to-embroider, stable woven fabric, like simple quilting cotton or lightweight canvas and then move to more difficult fabrics as you build your skills.)
-
Place the fabric on top (or hoop both together if appropriate).
-
Make sure the fabric is smooth and straight.
-
Avoid stretching the fabric in any direction after it’s hooped.
TIP: Don’t over tighten the hoop to prevent shifting and help keep stitches aligned.
Loading & Positioning Designs
Once the machine is threaded and hooped:
-
Load the design file into your machine.
-
Select the correct hoop size.
-
Check the design placement using the machine positioning tools.
-
Perform a trace or baste box to confirm alignment.
Taking a moment to preview placement prevents costly mistakes and ensures designs land exactly where you want them.
Monitoring the Stitchout
Even though embroidery machines stitch automatically, you should always supervise the process.
Watch for:
-
Thread breaks (This is almost always due to the needle being too small for the thread weight or threading the machine wrong.)
-
Running out of bobbin thread (Your machine should alert you with a warning before this happens.)
-
The hoop hitting a wall or other things during the process. (Make sure to have ample space around and behind the embroidery module to prevent this.)
-
Needle issues (Even the slightest burr or bend in the needle can cause major issues. Always begin with a new needle with each stitchout/project.)
With each thread change, trim any jump threads as needed for a clean finish.
Practice Makes Progress
Like any skill, machine embroidery improves with practice. Start with simple designs on stable fabrics and gradually try more advanced techniques like appliqué, freestanding lace or in-the-hoop projects.
Machine embroidery opens the door to endless creativity. With the right supplies, proper hooping and a bit of patience, you’ll be stitching custom projects in no time.
If you’re just getting started, watching a video series from a brand you trust and practicing on small projects is the best way to learn. Soon, you’ll be adding embroidery to everything from gifts to garments, and wondering why you didn’t start sooner!
