
Is The Witch In or Out?
Stitch a Reversible Halloween Door Hanger
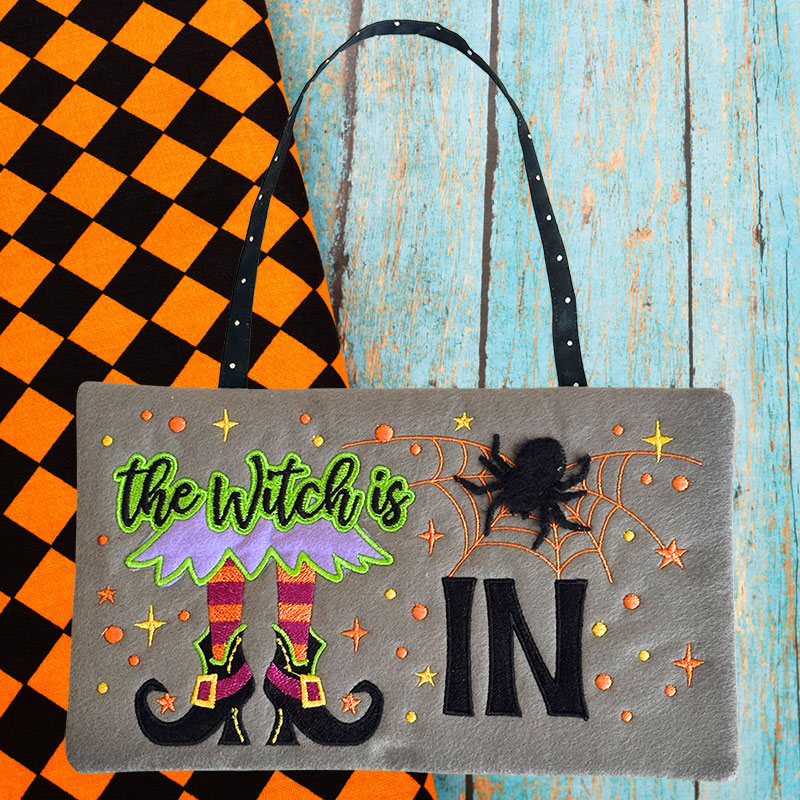
Cast a spell on your Halloween décor with a project that’s equal parts spooky, stylish and fun to stitch!
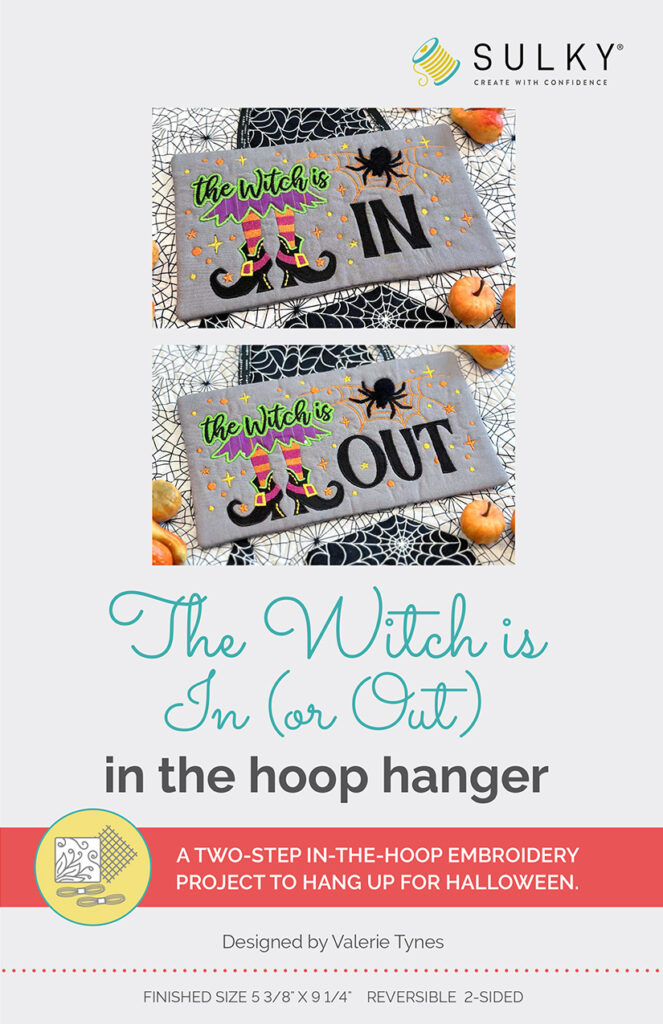
The Sulky Witch Is In/Out Reversible In-the-Hoop Door Hanger Kit has everything you need to create a bewitching Halloween decoration using your embroidery machine. One side announces “The Witch Is In,” while the reverse lets everyone know “The Witch Is Out.” Simply flip the hanger to suit your mood—no broomstick required!
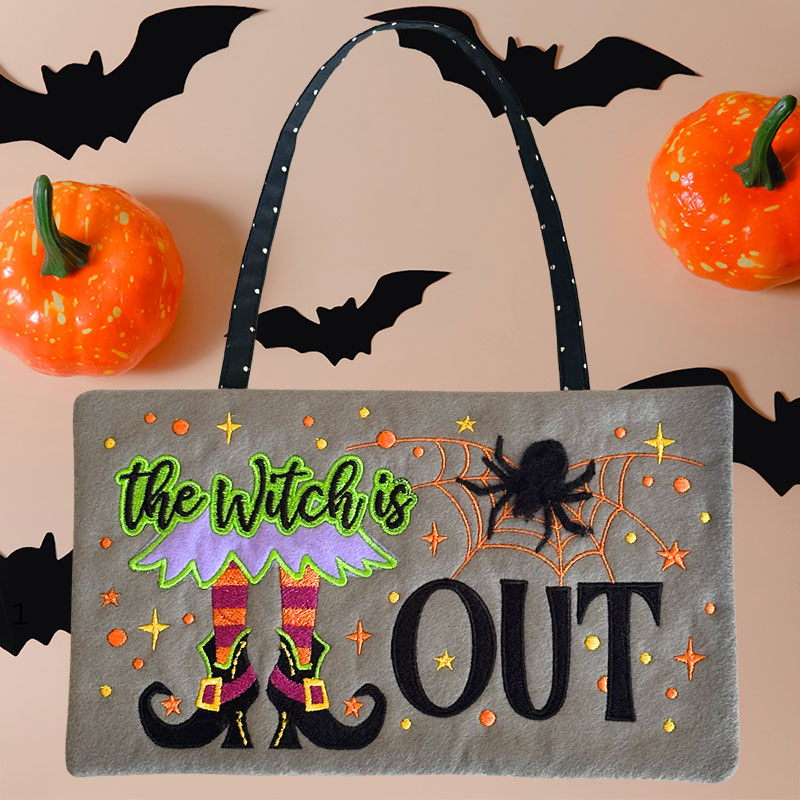
Hang it on your front door to greet trick-or-treaters, add it to your sewing-room décor or display it anywhere that could use a little extra hocus pocus this Halloween.
Two Sides, Twice the Halloween Fun
Why settle for one Halloween design when you can have two?
This reversible door hanger is created in two hoopings, with your embroidery machine doing much of the work. The two designs come together to form the front and back of the finished hanger, so you can change your message with a quick flip.
Feeling crafty? The Witch Is In.
Headed out for a night of Halloween fun? The Witch Is Out.
It’s a playful addition to your seasonal décor that you’ll want to bring out year after year.
Everything You Need for a Spellbinding Stitchout
Part of the fun of this project is the combination of colors, textures and specialty threads. The kit brings those elements together for you, so you can spend less time gathering supplies and more time stitching.
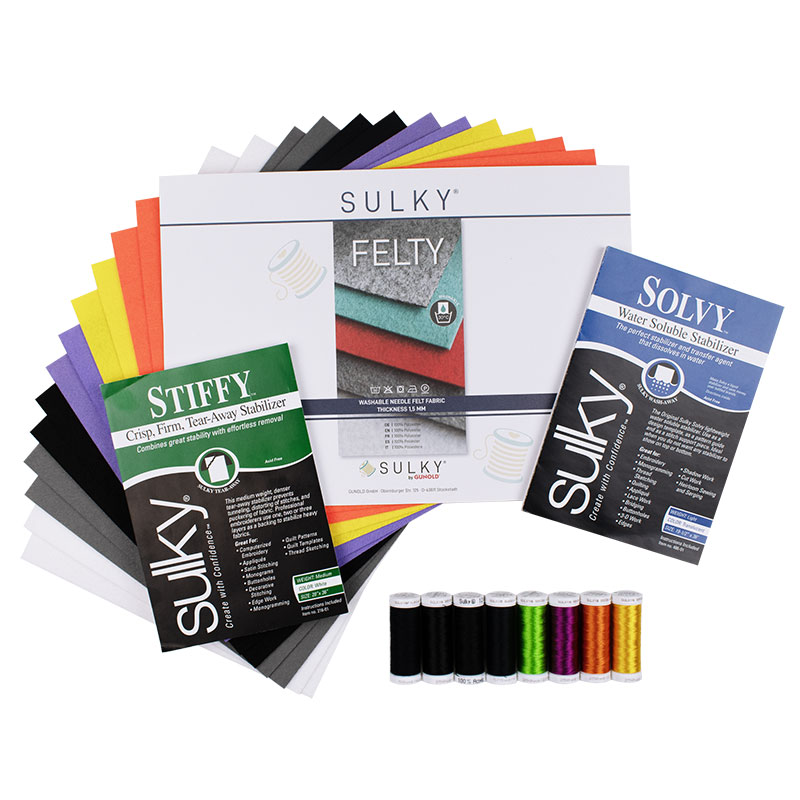
In-the-Hoop Embroidery Designs
The kit includes the two embroidery designs needed to create the front and back of the reversible door hanger. Follow the in-the-hoop process (instructions included) to build each side using your embroidery machine.
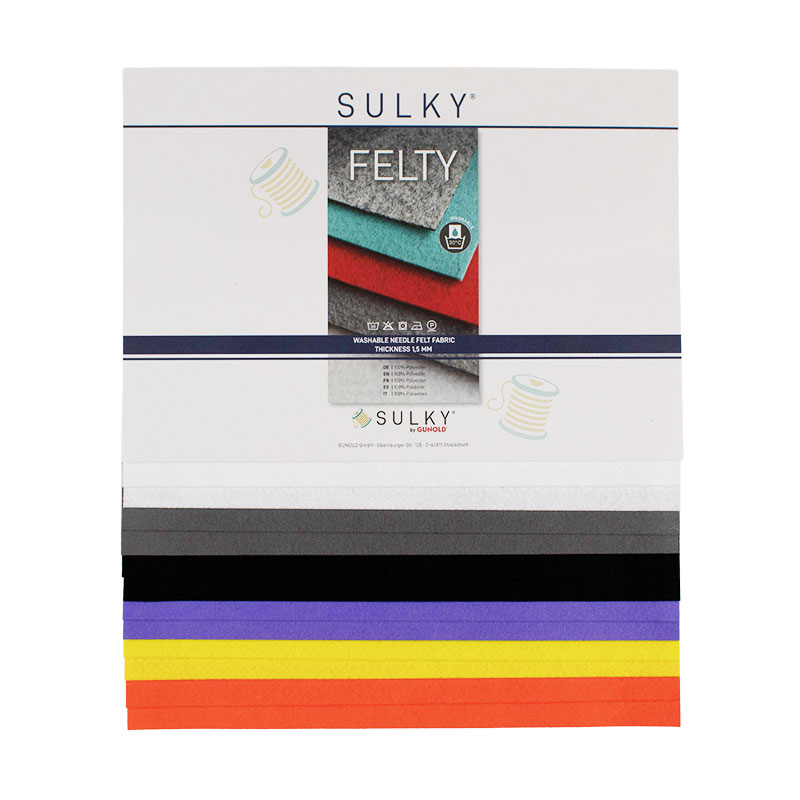
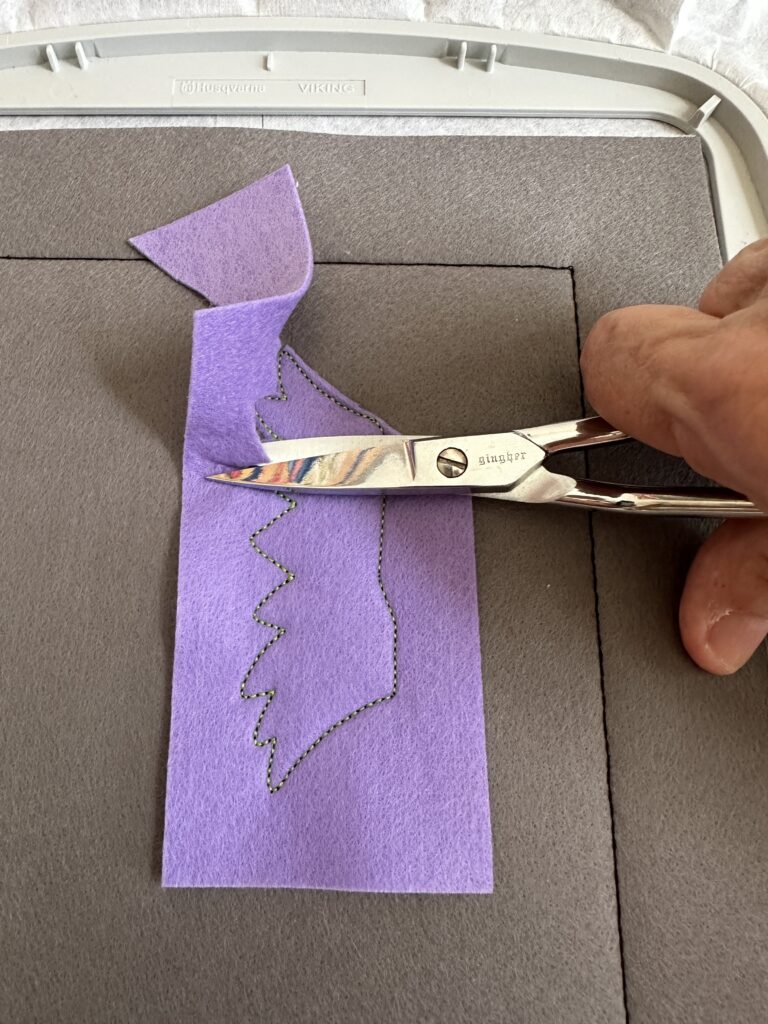
Sulky Halloween Felty Assortment
Bright, Halloween-ready Sulky Felty provides the foundation for the project as well as the witch skirt appliqué. The assortment gives the finished hanger plenty of seasonal color while providing a great surface for machine embroidery.
Witch Is In/Out Thread Palette
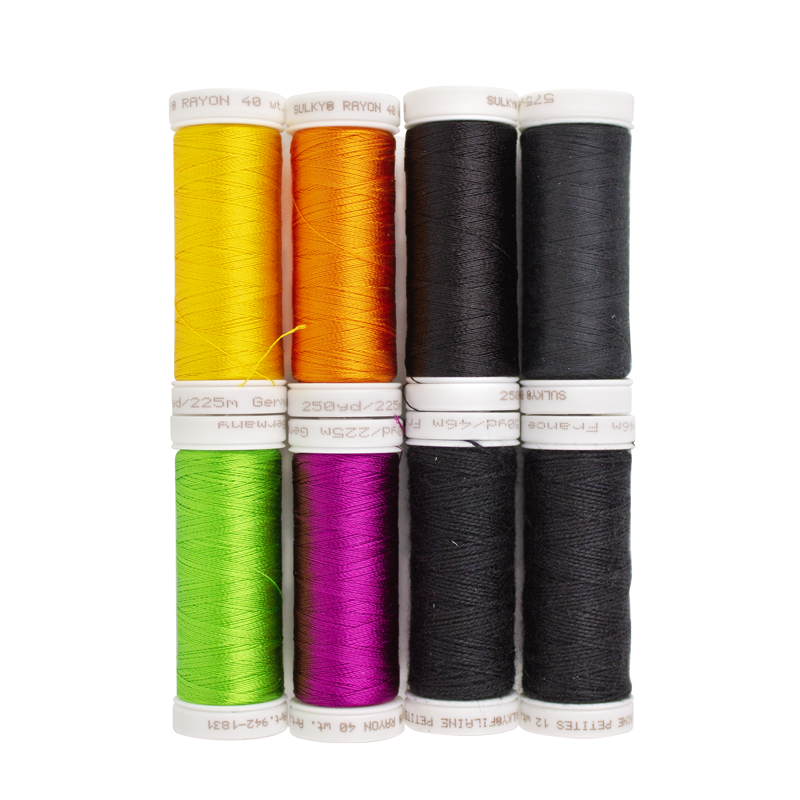
The coordinating Witch Is In/Out Thread Palette takes the guesswork out of choosing colors. It includes Sulky Rayon, Bobbin and Filaine Threads selected to bring the witchy details to life.
Sulky Rayon provides beautiful sheen and rich color, while Sulky Filaine adds a fuzzy, dimensional effect that makes this project extra special.
A Little Filaine Magic
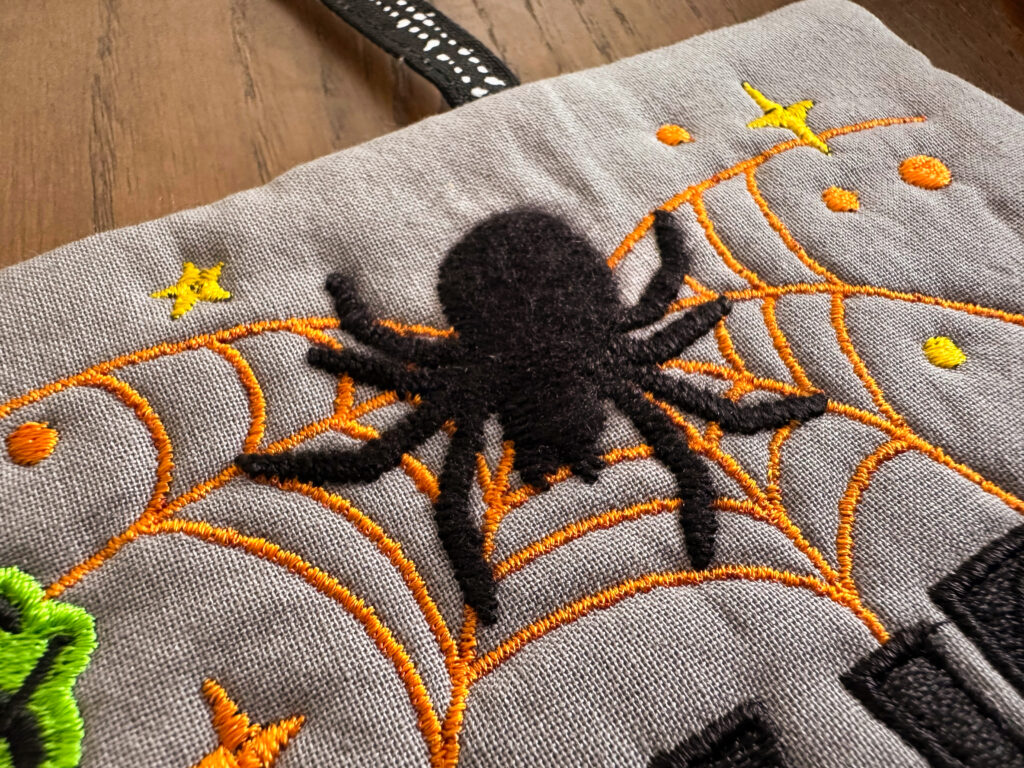
One of the most fun parts of the design is the texture created with Sulky Filaine Thread.
Filaine can be brushed after stitching to create a soft, fuzzy effect, adding dimension and personality to the finished embroidery. It’s a simple technique with a dramatic result, and the kit includes the stabilizer you need to help protect the Felty during the process.
Sulky Solvy® Stabilizer
A layer of Sulky Solvy® helps protect the Felty while you’re wire brushing the Filaine stitches. It also helps keep detailed embroidery looking smooth and polished.
Once its job is done, Solvy tars and then washes away with water, leaving all that wonderful texture behind.
Sulky Stiffy™ Stabilizer
A door hanger needs enough body to hang nicely, and that’s where Sulky Stiffy™ Stabilizer comes in.
Stiffy provides the added structure and stability needed to help the finished project hold its shape and hang straight. That extra support also makes this a decoration you can pack away after Halloween and enjoy again next year.
Tips from the Test Stitch
A few lessons learned during the stitchout can make your Witch Is In/Out project go even more smoothly.
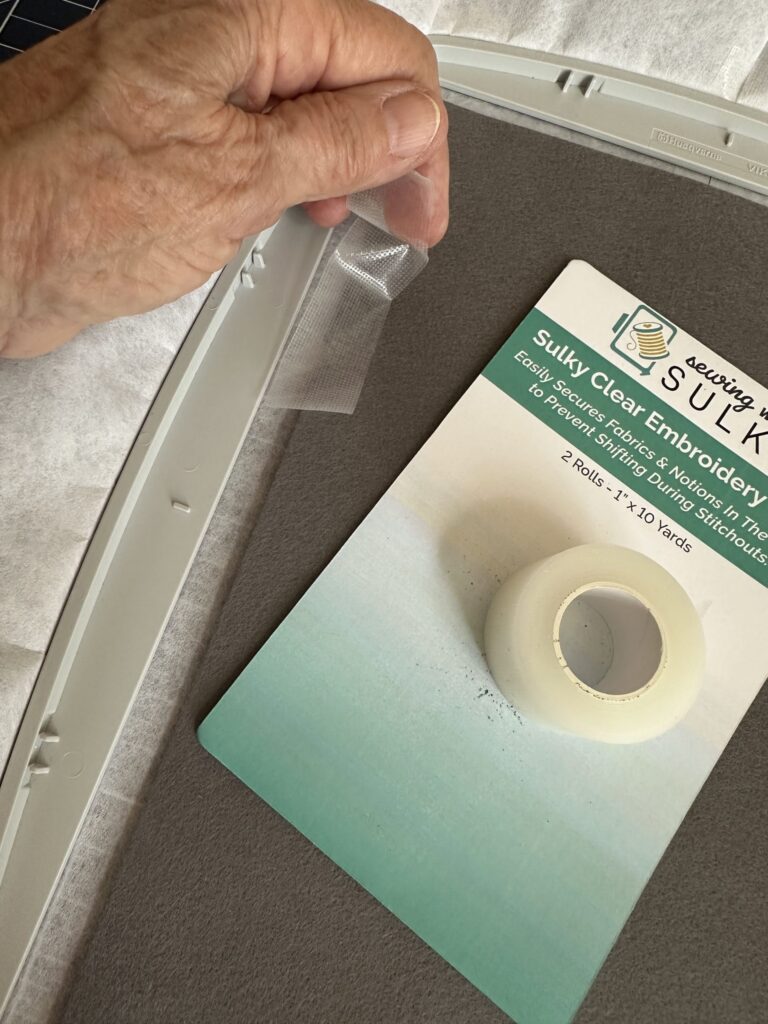
Keep Embroidery Tape Away from the Design Area
If using Sulky Clear Embroidery Tape to secure the Felty, as recommended, be sure to position the tape outside the design area whenever possible. The tape can be difficult to remove from Felty without roughing up its soft surface, so keeping it away from areas that will remain visible will help your finished project look its best.
Having Trouble with Filaine? Try a Different Needle Size
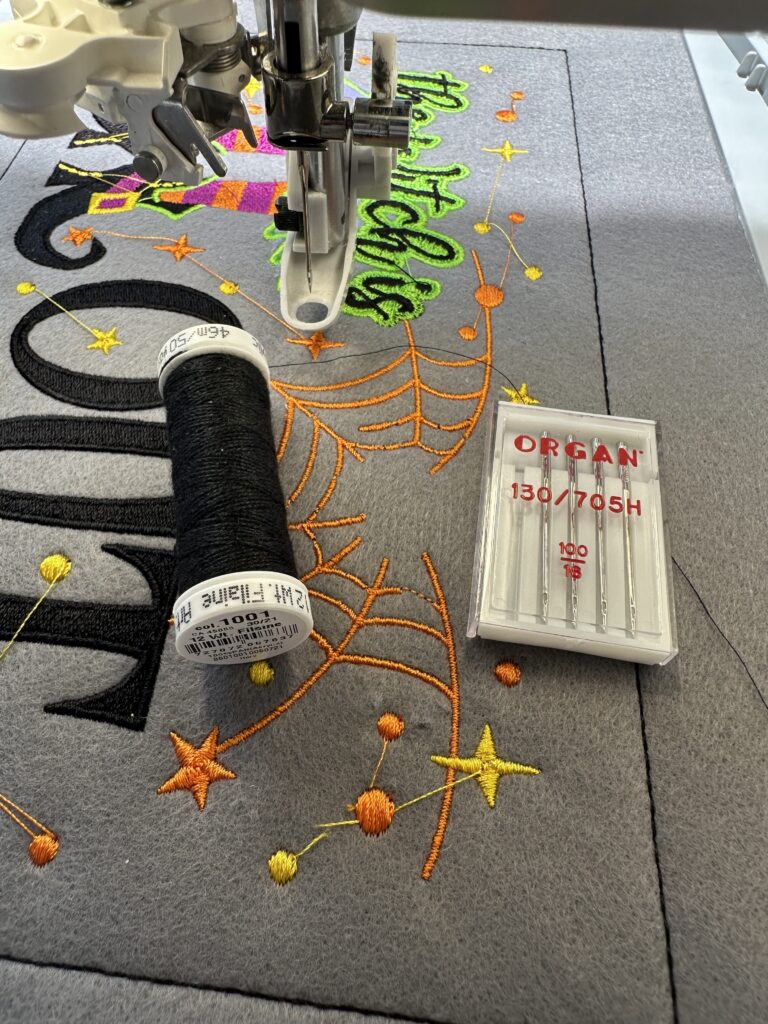
During the test stitch, the Filaine Thread initially had trouble stitching with the recommended size 100/16 needle. The thread would stitch only three or four stitches before breaking.
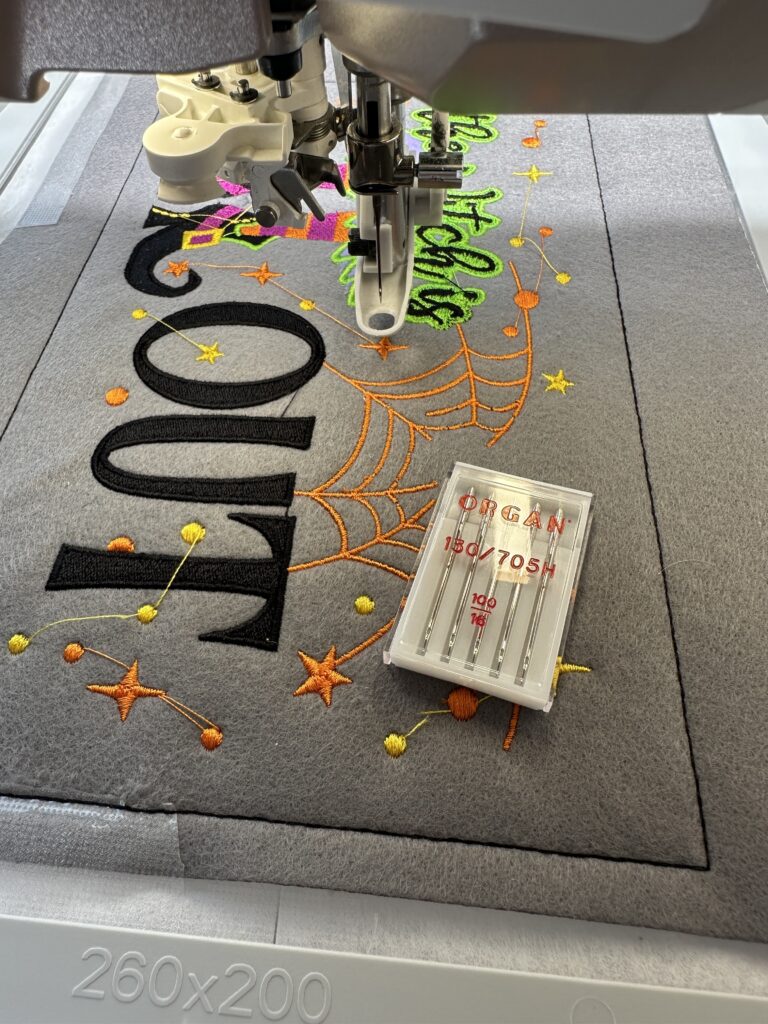
Changing the machine tension up and down didn’t solve the problem, and slowing the stitching way down with the foot pedal didn’t help either. Upon closer inspection, it appeared that the needle was actually cutting the thread.
The solution was surprisingly simple: switching to a size 90/14 needle.
Once the smaller needle was inserted, the Filaine stitched smoothly with no further problems.
Every machine, needle and thread combination can behave a little differently, but if you experience repeated Filaine breakage, try changing your needle—particularly the needle size—before spending too much time adjusting thr tension.
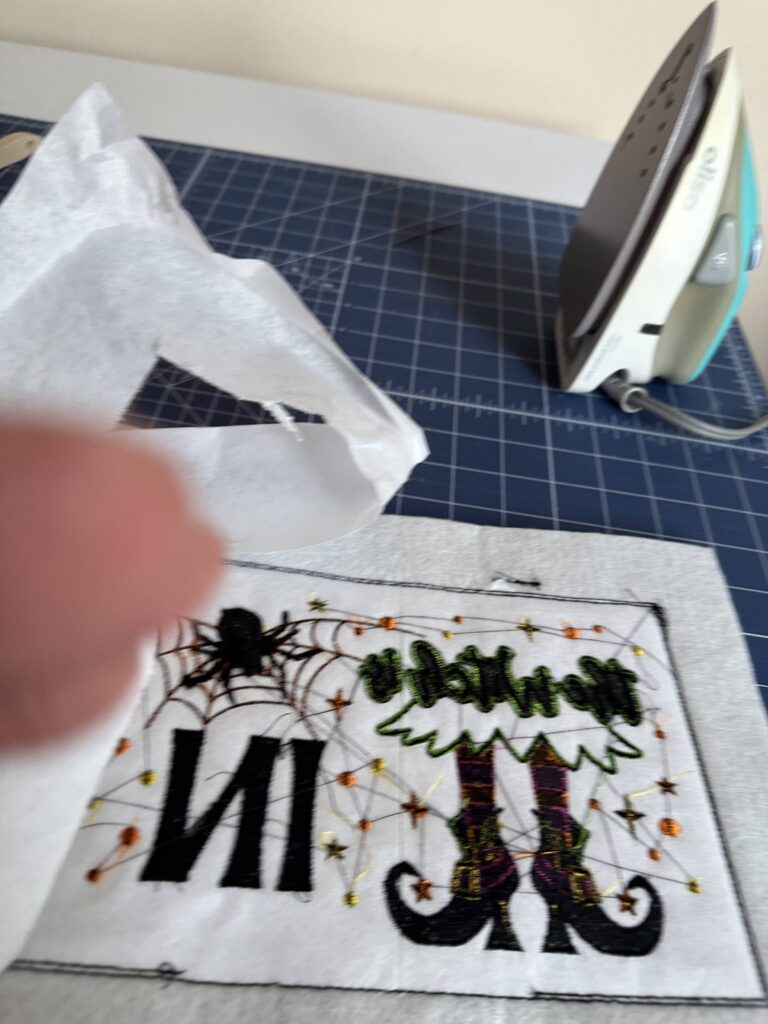
Use Sulky Solvy for Protection & Pop
The original instructions don’t list Solvy as a supply. However, when stitching the projects onto Sulky Felty, the Solvy protects the material from getting marred when brushing the Filaine Spider. The Solvy also helps the spider stitching pop off the surface, giving it an even more 3D appearance.
Before stitching the spider steps, first swap the thread to Filaine. Next, place a piece of Solvy over the area that the spider will stitch.
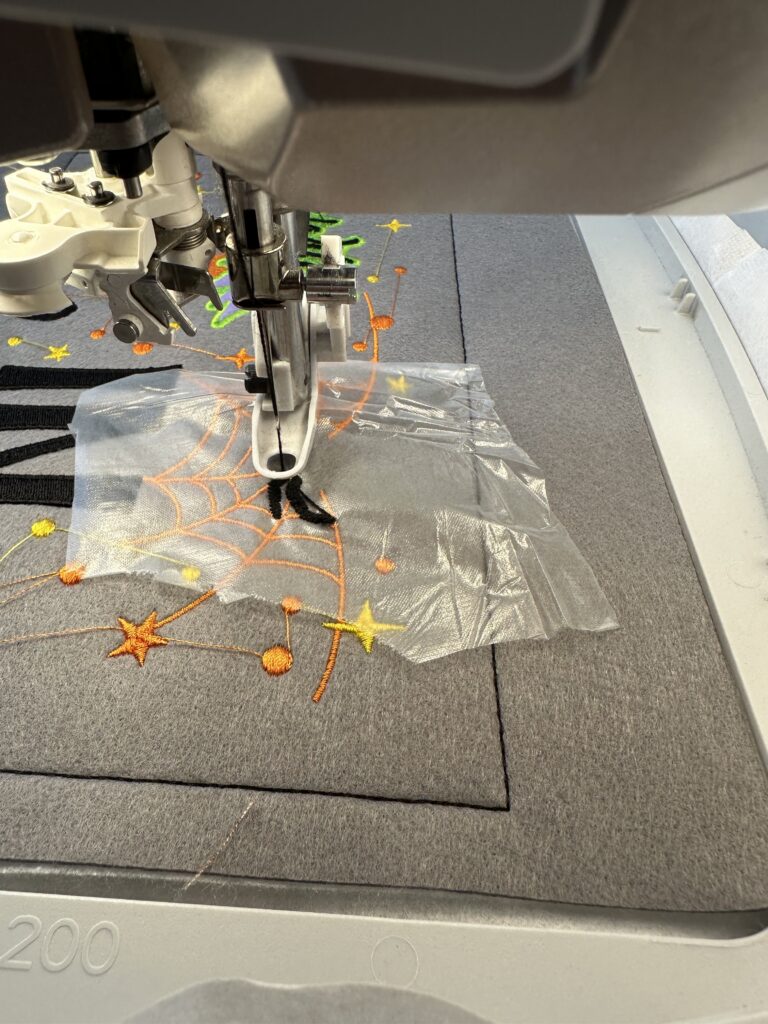
Do not remove the Solvy until after the spider is brushed with the Filaine Brush. (You can wait to do this until the door hanger is completely finished – remember there will be a spider on both sides!)
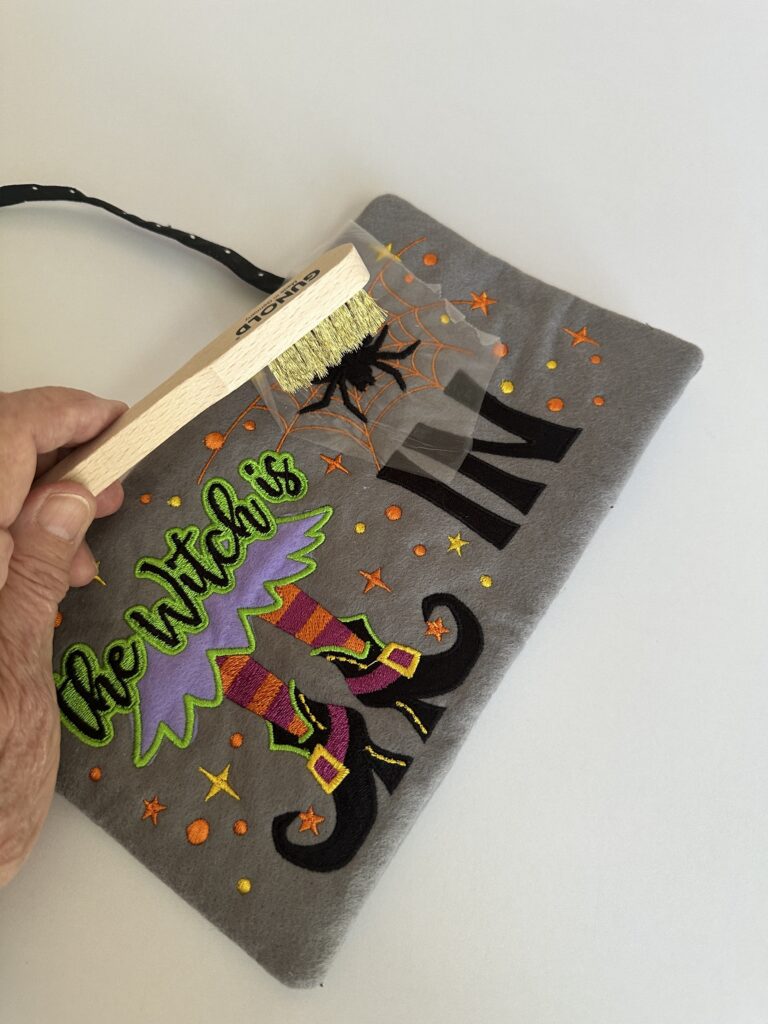
Then, remove the Solvy by gently tearing it away from the completed and brushed design.
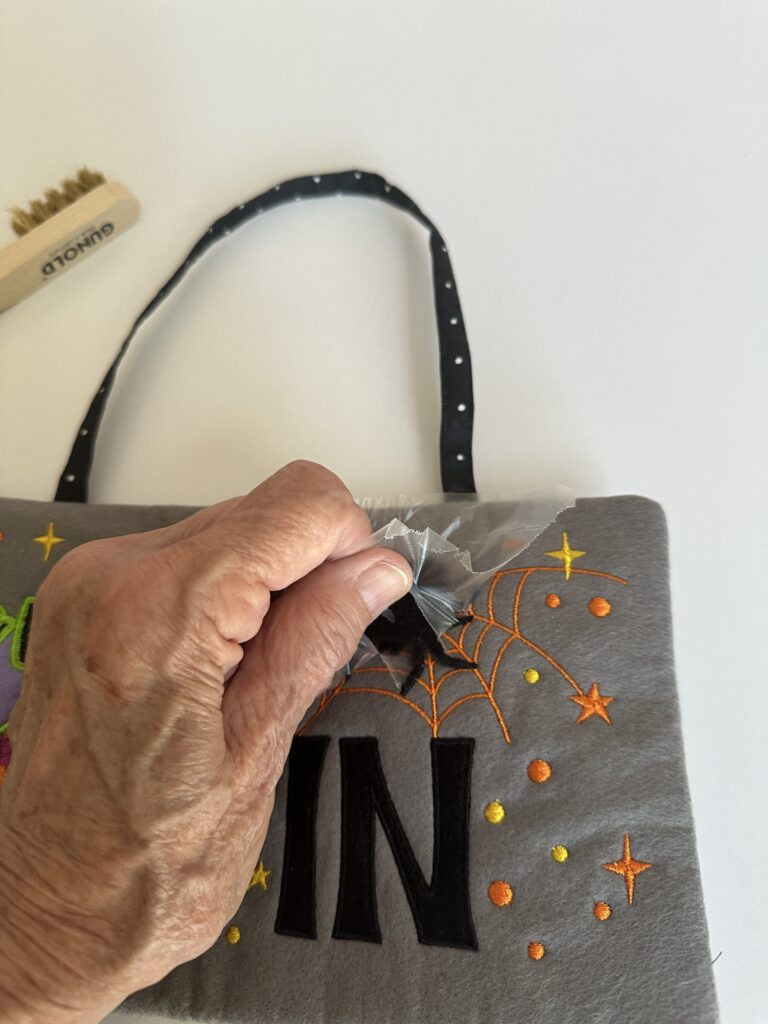
If any Solvy remains, remove it with a dampened cotton swab or cloth.
Use Straight Pins to Perfectly Align the Two Sides
Getting the “In” and “Out” pieces aligned is an important step in creating a polished reversible door hanger.
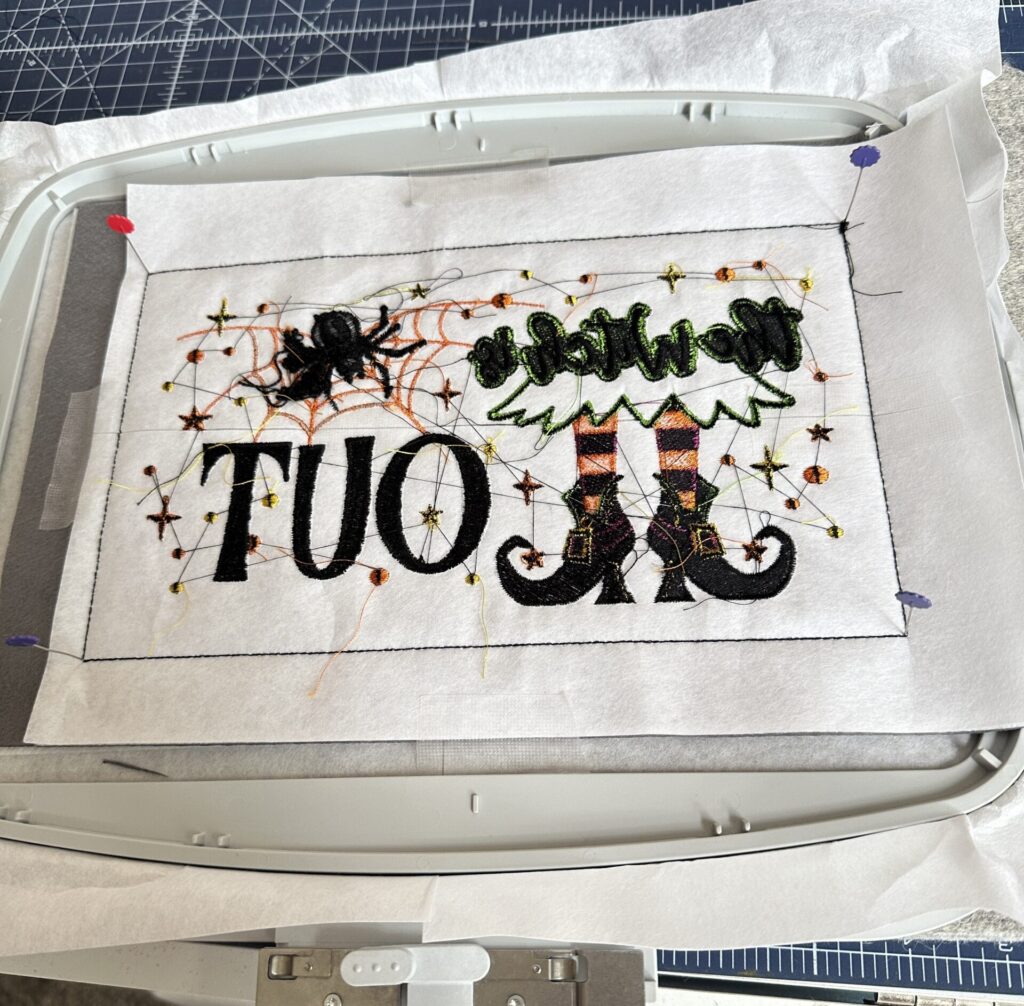
To make this easier, place the hoop on a wool pressing mat or ironing board before positioning the “Out” piece on top of the completed “In” piece.
Insert a straight pin through one corner of the “Out” design and into the corresponding corner of the “In” design underneath. Repeat at each corner. The pins act as temporary alignment points, making it much easier to match the two designs before securing everything with Embroidery Tape.
Once all four corners are aligned, add the Embroidery Tape as directed and carefully remove the pins before continuing with the embroidery.
What’s Included in the Sulky Witch Is In/Out Kit?
The kit includes the supplies needed to stitch your reversible door hanger:
- In-the-Hoop Embroidery Files – Two designs for creating the front and back
- Sulky Halloween Felty Assortment – Halloween colors for the background and witch skirt appliqué
- Witch Is In/Out Thread Palette – Coordinating Sulky Rayon, Bobbin and Filaine Threads
- Sulky Solvy® 1-yard pack
- Sulky Stiffy™ 1-yard pack
With the design files, coordinating threads, Felty and stabilizers already gathered for you, you can get straight to the fun part: making!
The Witch Is Ready to Stitch!
Whether your witch is inside brewing up her next creative project or has flown off on her broomstick, the Sulky Witch Is In/Out Reversible In-the-Hoop Door Hanger Kit is a fun way to make your Halloween décor uniquely handmade.
Stitch it, flip it and show everyone whether the witch is in… or out!
