Witch Wall Hanging
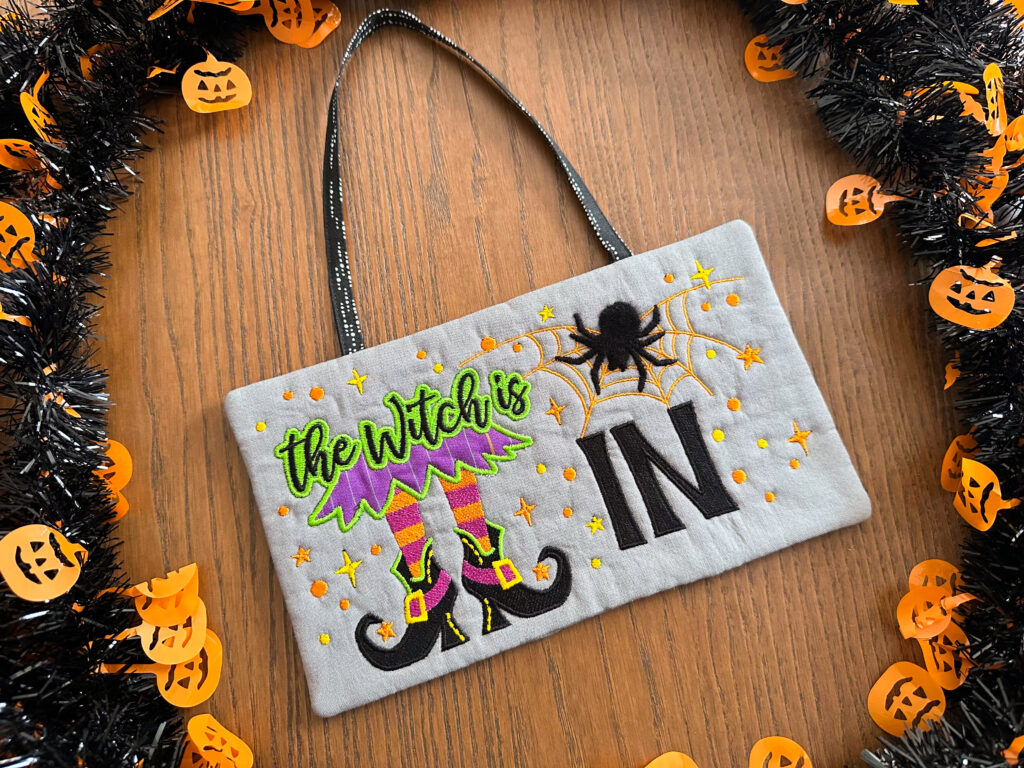
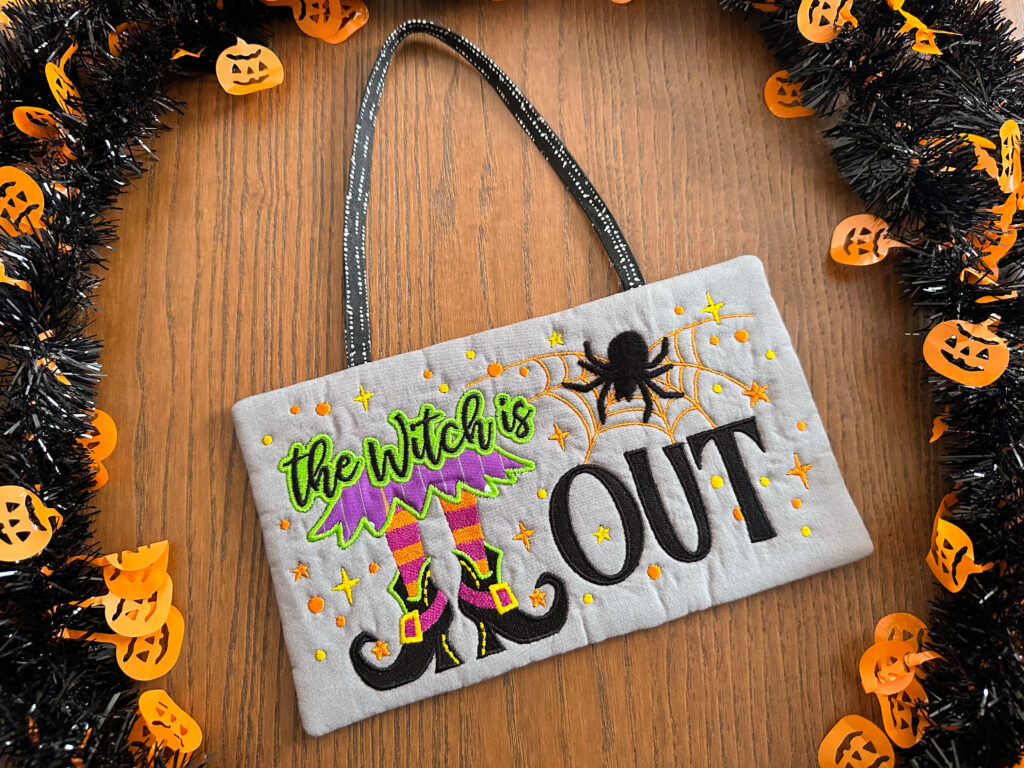
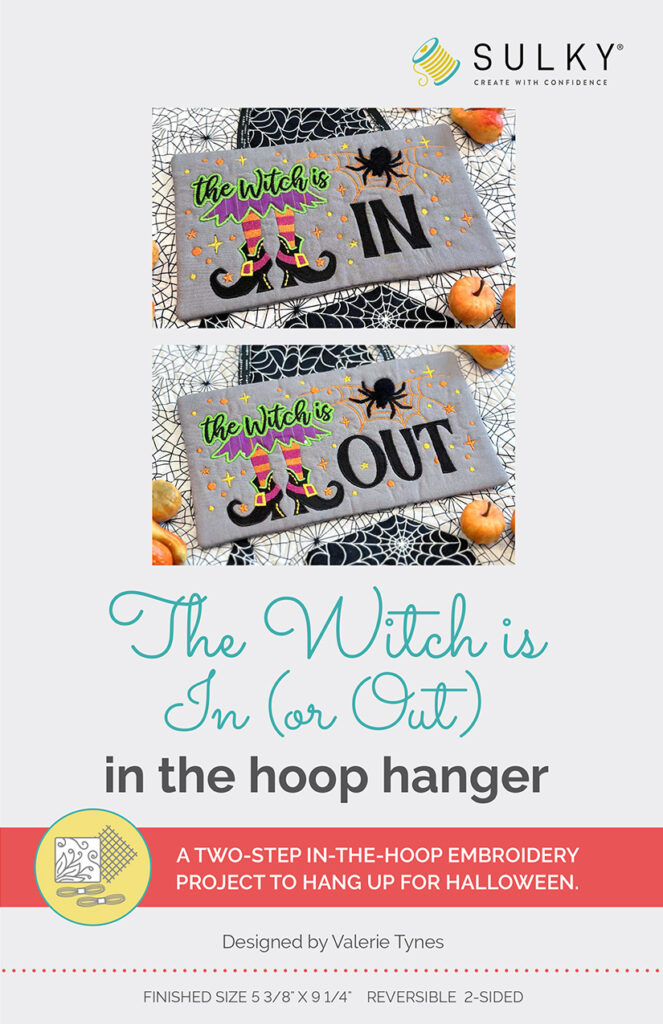
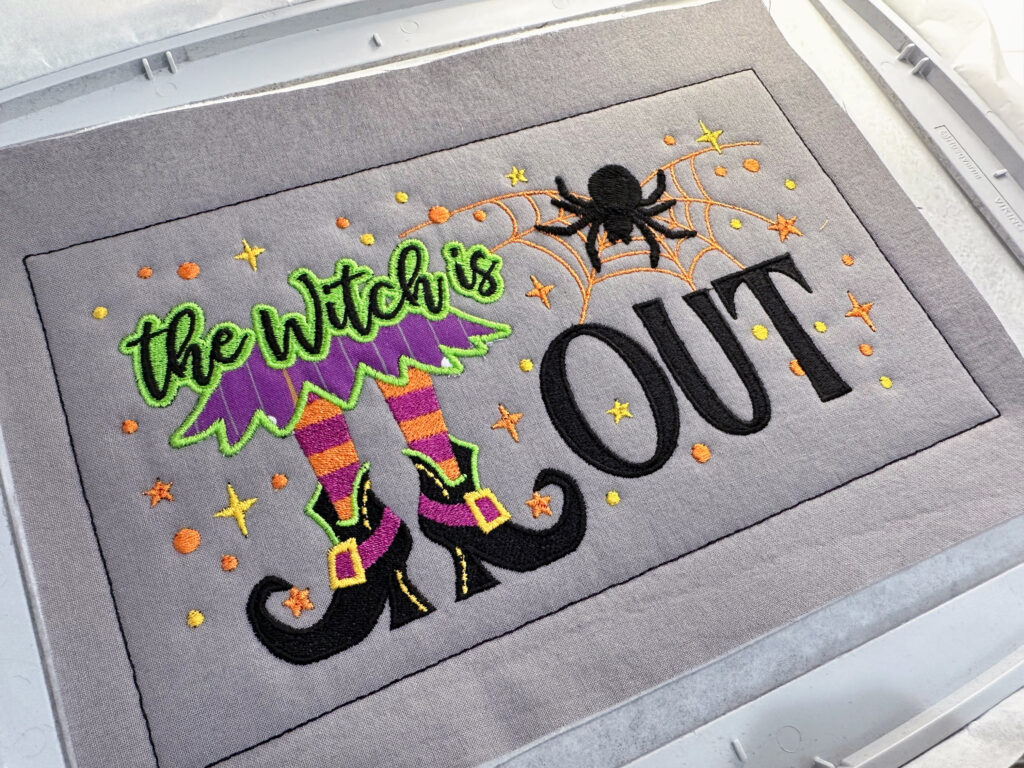
Stitch a festive Halloween Witch Wall hanging or mug rug that’s reversible, to show whether the witch of the house is “In” or “Out.” The spider is stitched in heavyweight Sulky Filaine Thread, which when brushed takes on a faux-fur appearance. The following instructions are for a door hanger that includes a basic tie for hanging. To create a mug rug, simply omit the ties and construct in a similar fashion.
NOTE: This ITH project is done in two hoopings, and at least a 6×10 (or 260mm x 200mm) hoop is required for the project.
WITCH WALL HANGING SUPPLIES
- The Witch is In/Out ITH Machine Embroidery Collection
- Sulky Thread (Grab the Witch is In/Out Machine Embroidery Palette to have all the thread and designs included with purchase!)
- 40 wt. Rayon
- 12 wt. Filaine
- 60 wt. Bobbin
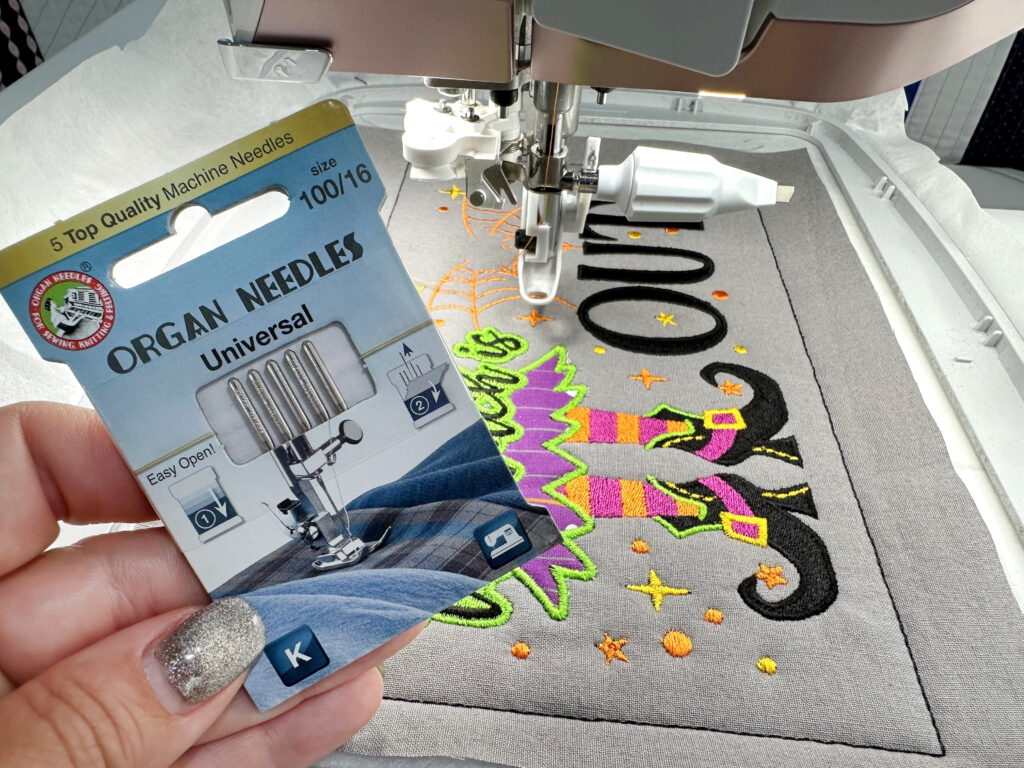
- Organ® Needles
- Sulky KK 2000™ Temporary Spray Adhesive
- Filaine Wire Brush
- Sulky Stiffy™ Stabilizer
- Sulky Clear Embroidery Tape
- (2) 8” x 11” rectangles of quilting cotton fabric (solid or blender for background)
- (2) 2 ½” x 5” rectangles of purple (or similar) quilting cotton fabric (witch skirt appliqué)
- (1) 1 1/2” x 15” rectangle of cotton print fabric or 15” length of ¼”-wide ribbon (hanger)
- (2) 8” x 11” rectangles of low-loft batting or fusible fleece
- Scissors
- Sulky Perfect Appliqué Fusible Web
- Clover Wonder Clips
- Mini iron (optional)
- Wool Pressing Mat (optional)
- Clover Hot Ruler (optional)
- Double-Sided Basting Tape or hand sewing needle
WITCH WALL HANGING DESIGN NOTES
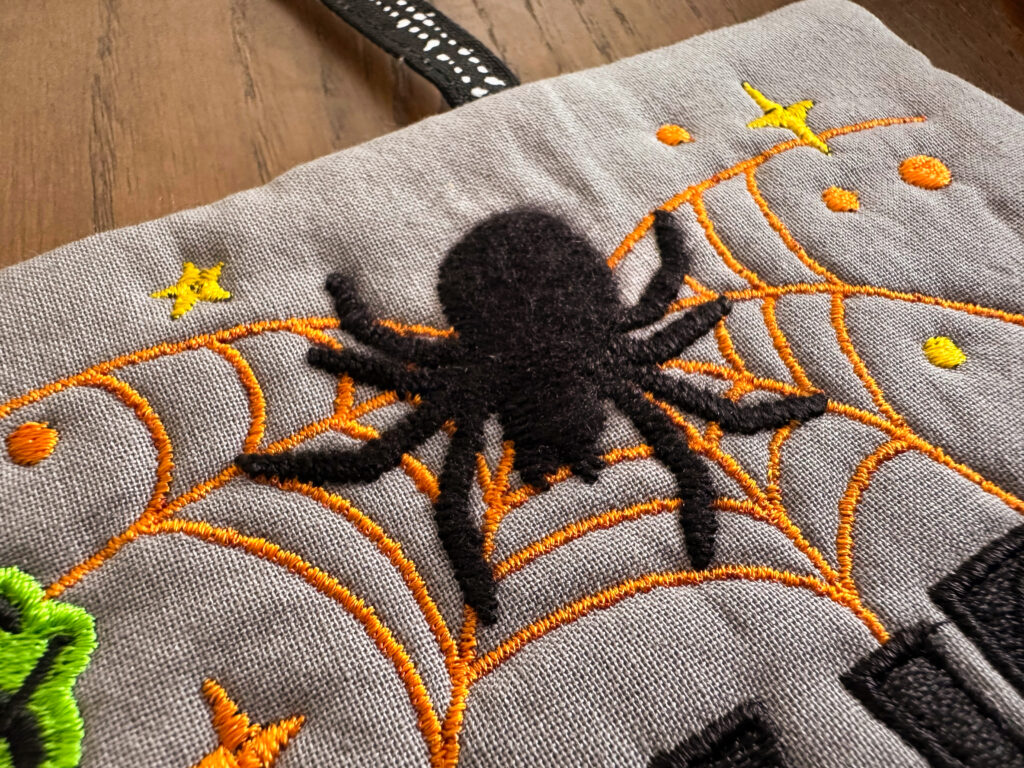
Be sure to read the design color chart when embroidering this project. Near the end of the stitchout process, the spider will stitch. This motif is done in Sulky FIlaine Thread, which is a very heavy 12 wt. acrylic thread. This thread “blooms” when brushed with a Filaine Wire Brush, mimicking the appearance of faux fur. The cool effect makes for a spooky spider that pops off the wall hanging with 3D hair.
It’s very important to make a few machine modifications when swapping this thread during the stitchout process.
- Slow the machine speed as low as it’ll go.
- Turn off the auto-thread cutter function, if possible.
- Change the needle to a size 100/16.
There is also a multi-page instructional PDF that guides you through the design steps, included with purchase of the design collection and/or Machine Embroidery Palette.
Load the Witch is OUT design FIRST and complete that stitchout. Once this side of the reversible wall hanging is complete, the instructions direct you to layer it over the Witch is IN design to complete the wall hanging.
WITCH DESIGN VARIATIONS
As mentioned previously, to make a mug rug simply omit the hanger (made of fabric or ribbon) and skip the hanger basting stitch steps within the design. Follow the directions to finish the project in the same way.
Make a hanging pillow by stuffing the wall hanging with a bit of fiberfill until the desired plumpness is achieved. Or omit the hanger and stuff to create a shelf-sitter pillow.
All variations are reversible, just like the wall hanging! Grab your Witch is In/Out Machine Embroidery Palette and create one today!


Love it
Want to make several for my witchy friends. Hope they get a kick out of it!
I’m sure they will love it! Thanks for reading!