Add a Ruffle to a Knit Dress
& personalize with matching hand embroidery
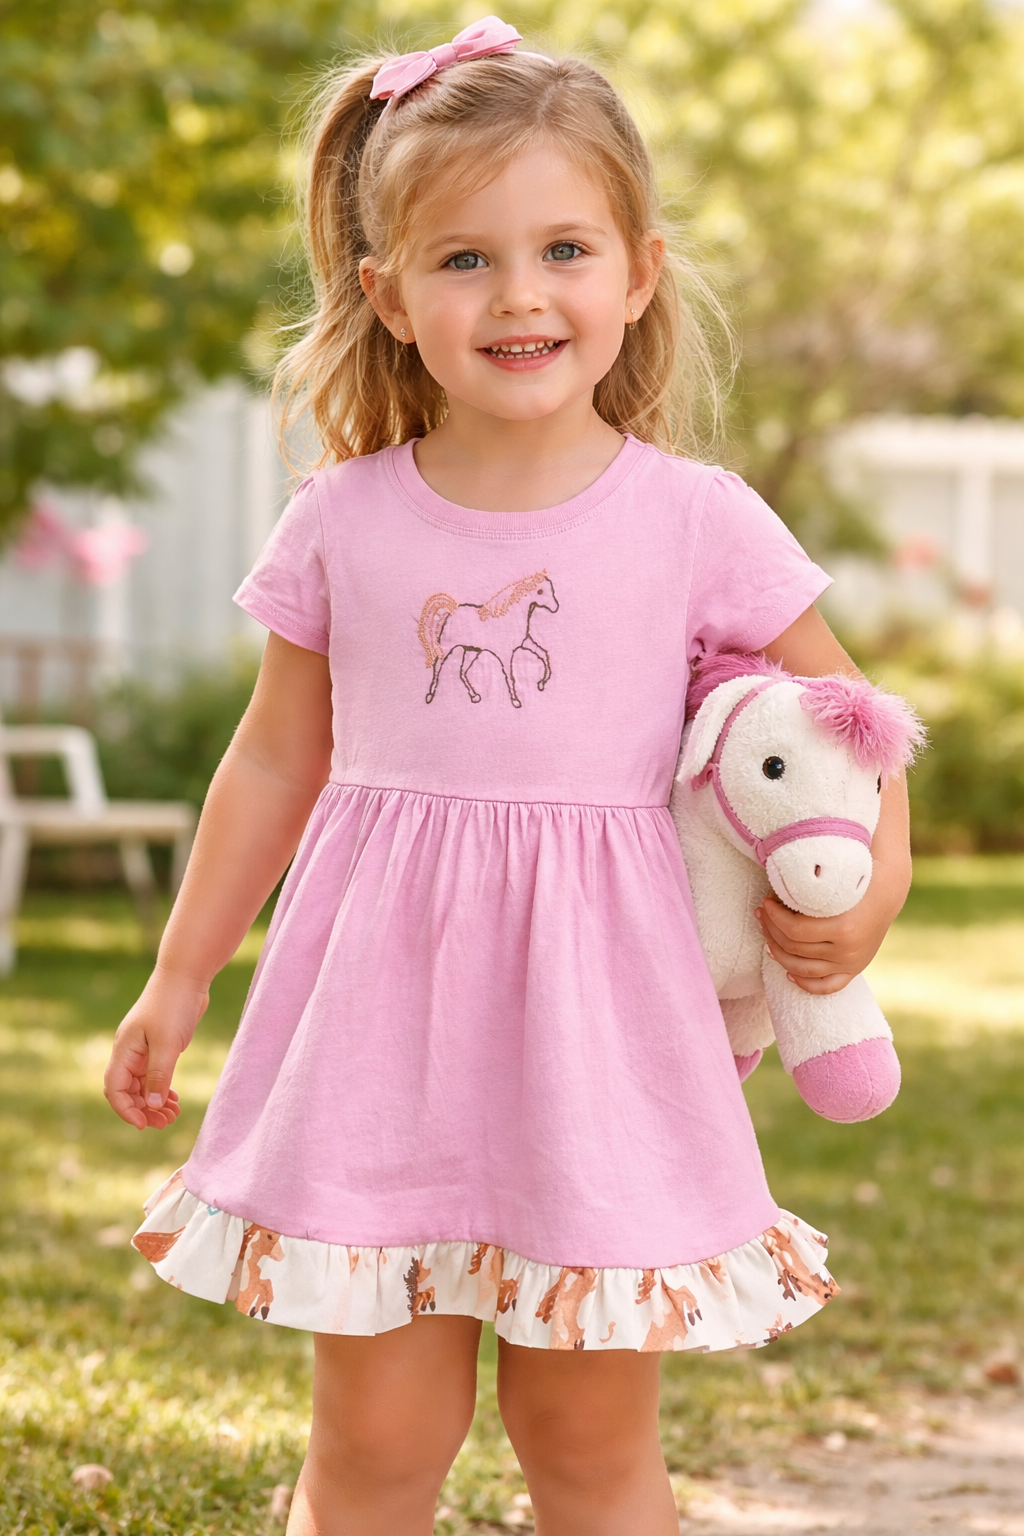
Learn how to add a ruffle to a knit dress to add pops of color, interest and texture to a child’s otherwise simple garment. It’s even cuter if you add a hand embroidery design to the dress that matches the fabric print!
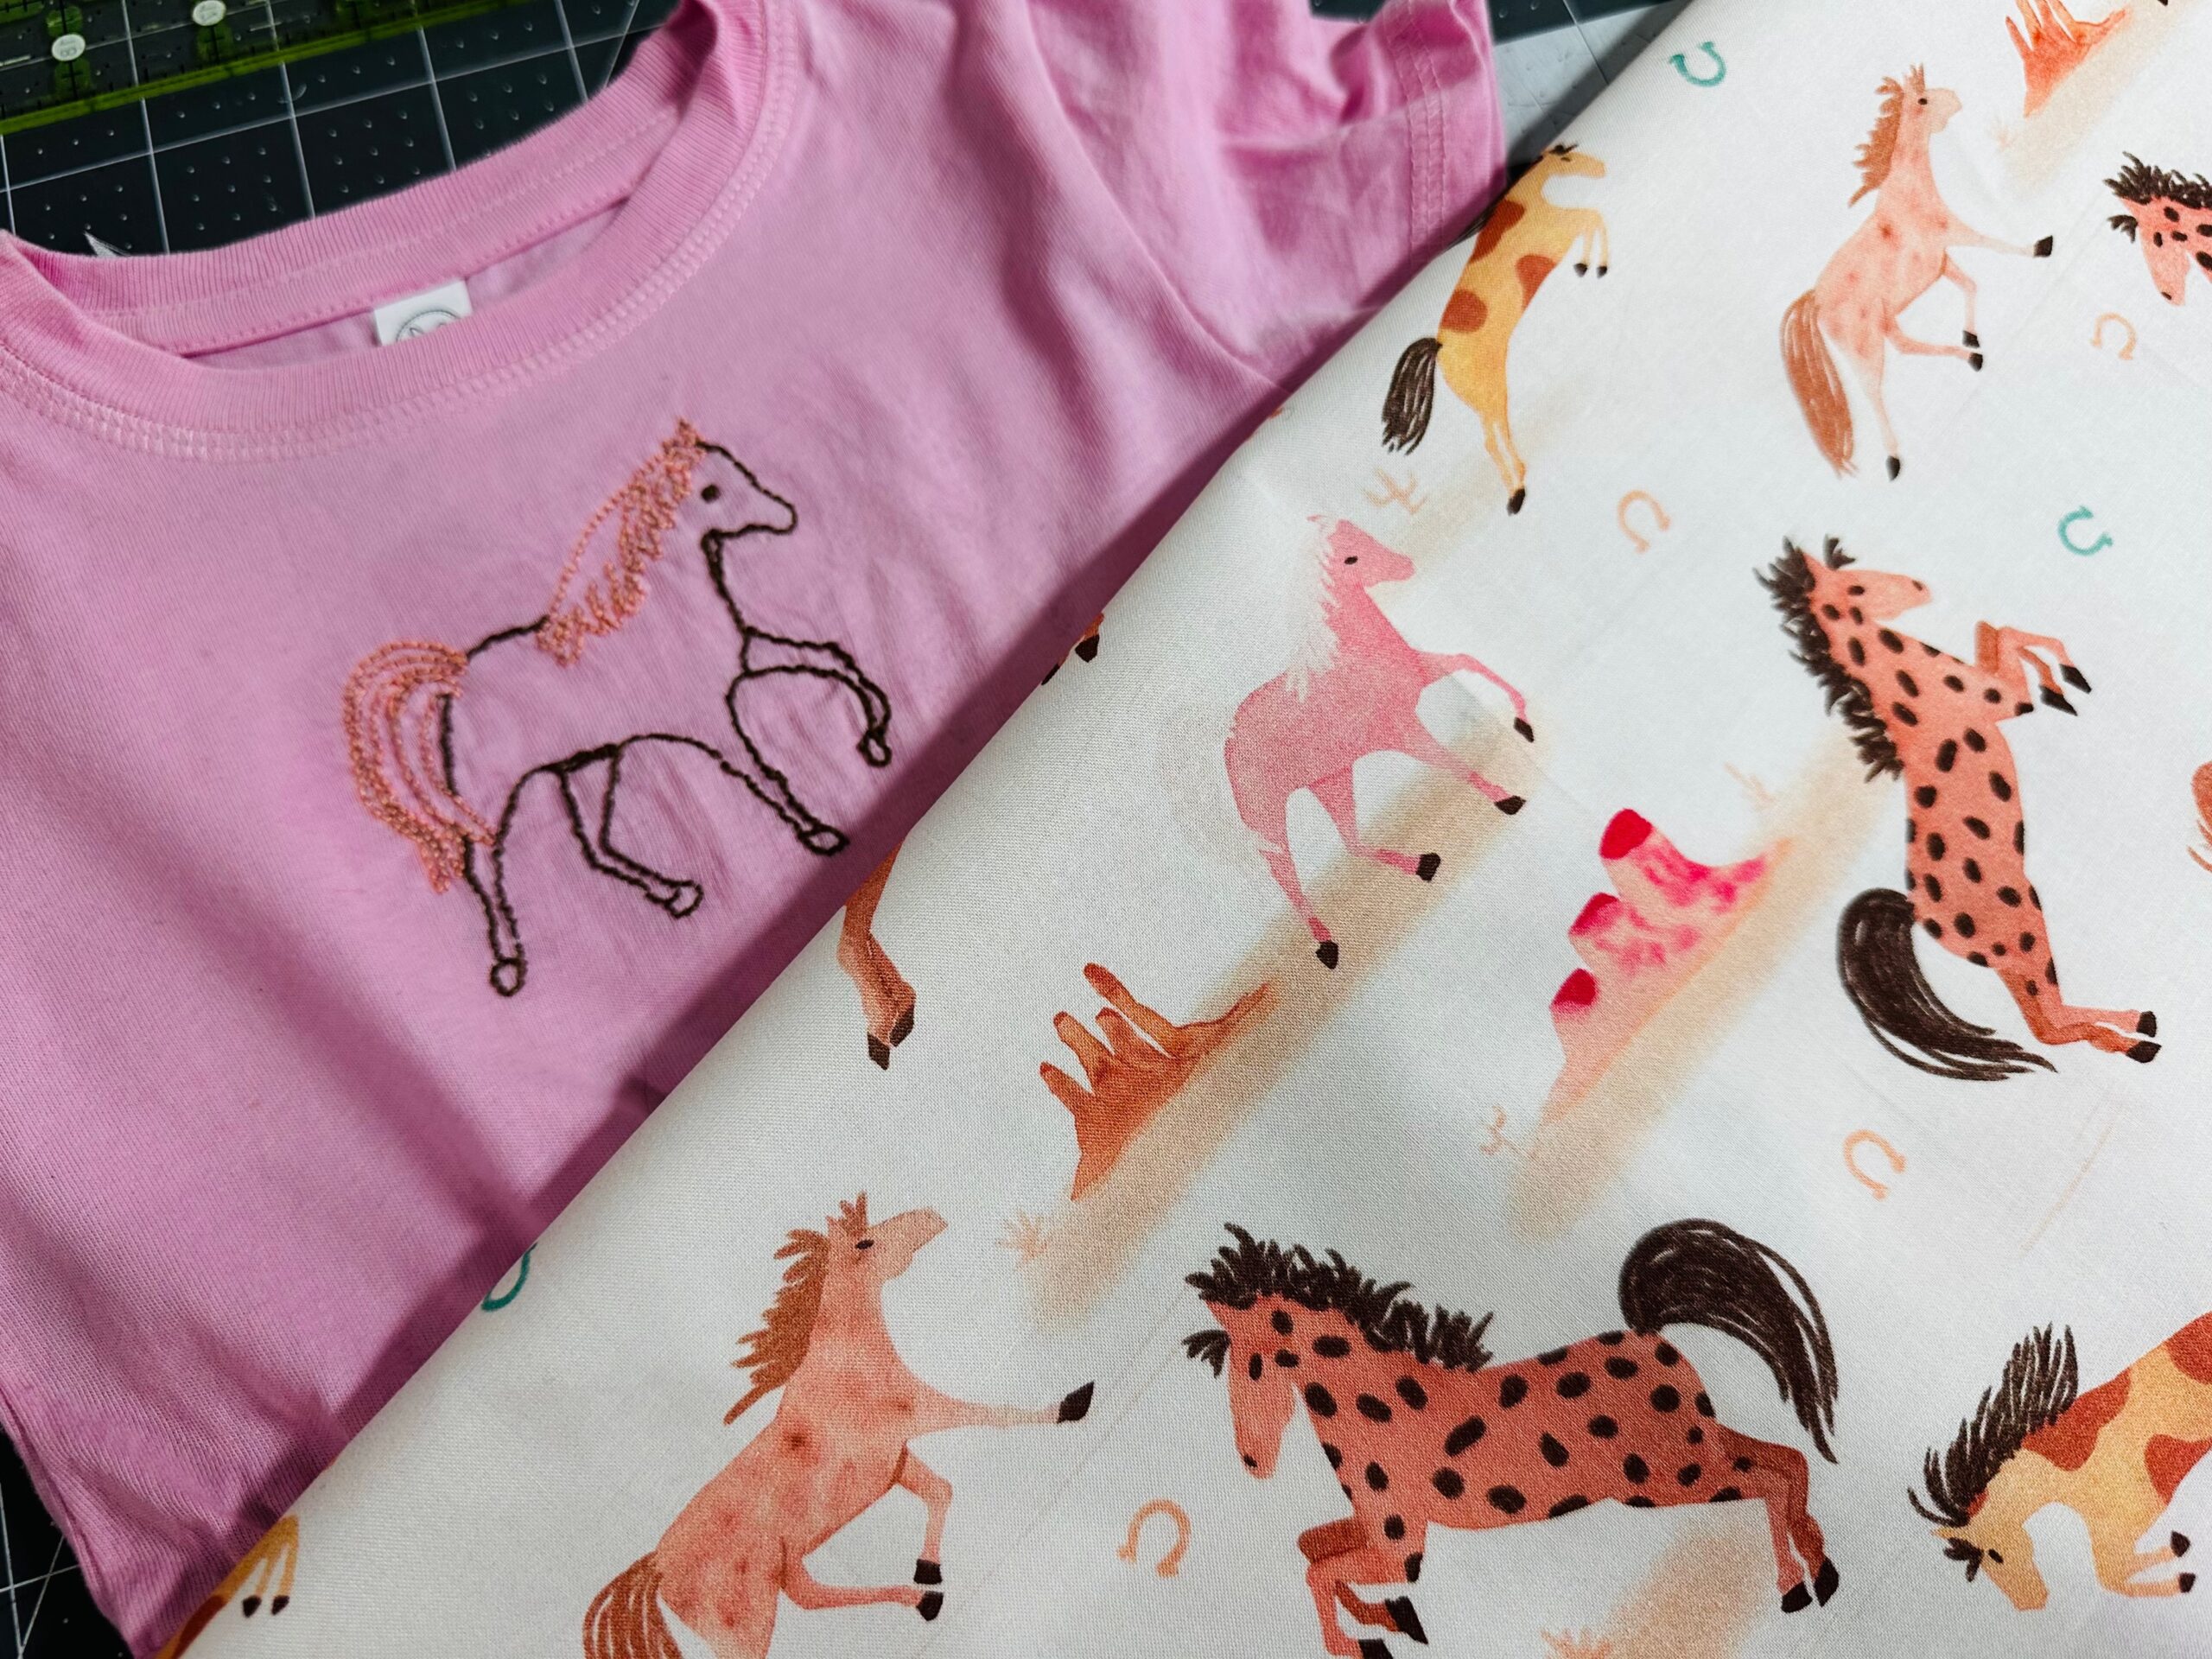
RUFFLE KNIT DRESS SUPPLIES
- Sulky 50 wt. Cotton Thread
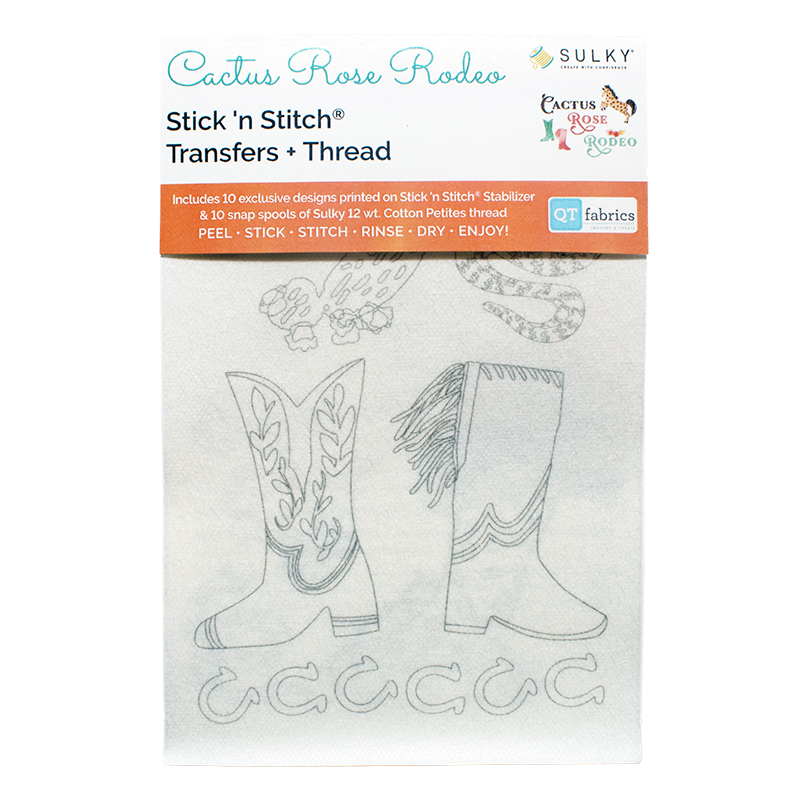
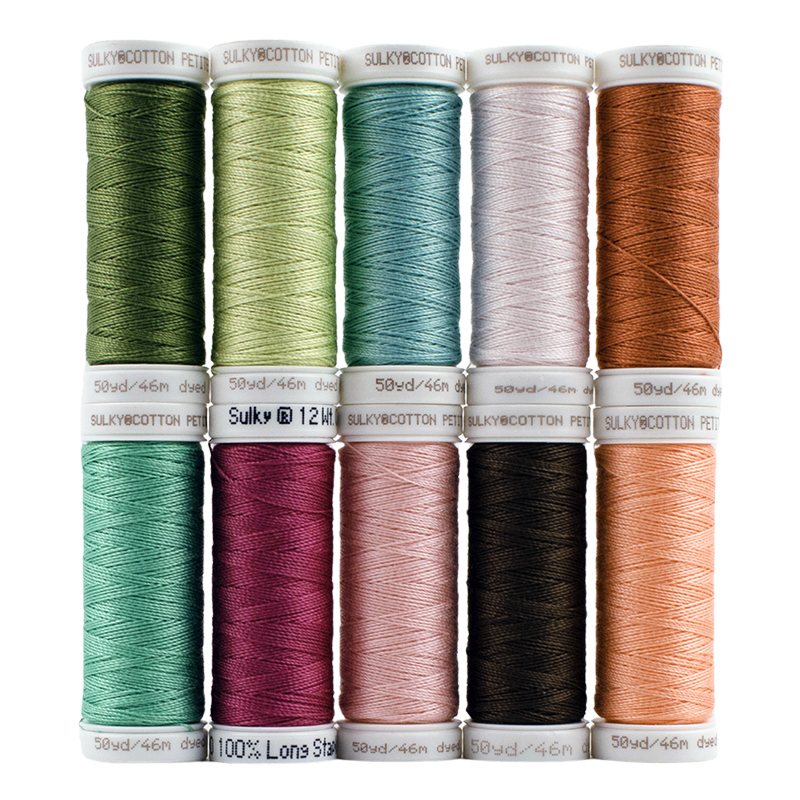
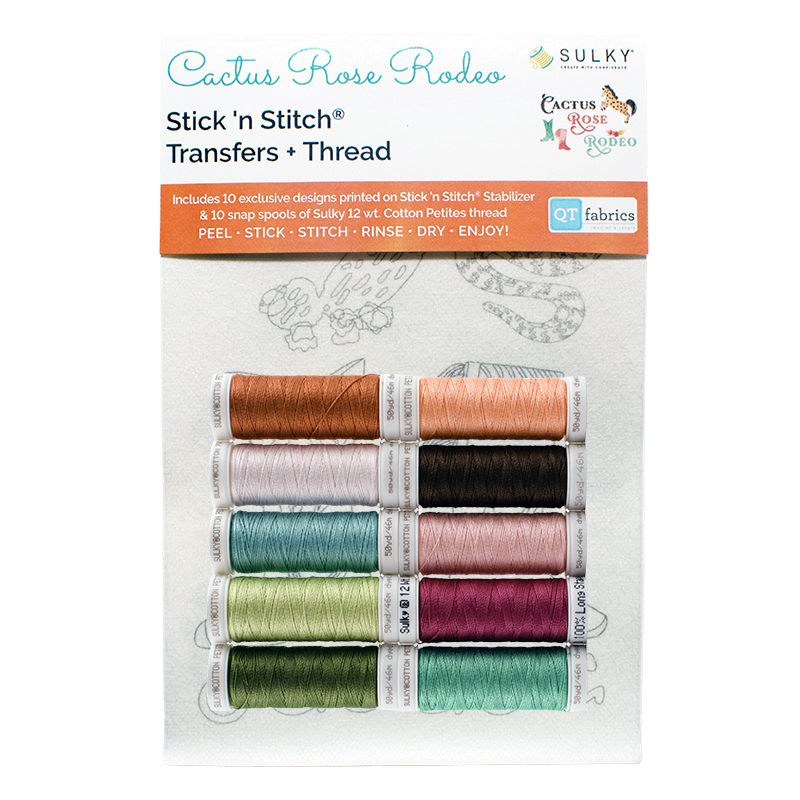
- Stick ‘n Stitch Hand Embroidery Transfers + Thread (featured is Cactus Rose Rodeo by Emily Lamb for QT Fabrics, which includes 10 spools of Sulky 12 wt. Cotton Petites Thread for hand Embroidery)
- 1 fat quarter of quilting cotton fabric (featured is Cactus Rose Rodeo by Emily Lamb for QT Fabrics; more fabric may be needed depending on dress size)
- Knit dress (featured size is 18 months, but any size works with the right amount of additional fabric)
- Sulky Tender Touch Stabilizer (optional)
PREP RUFFLE FABRIC
The quilting cotton fabric is a woven, while the dress is made of knit. Therefore, it’s necessary to cut the fabric strips for the ruffle on the bias. The bias edge has a bit of stretch to it, making it easier to confirm to the stretch of the dress hem.
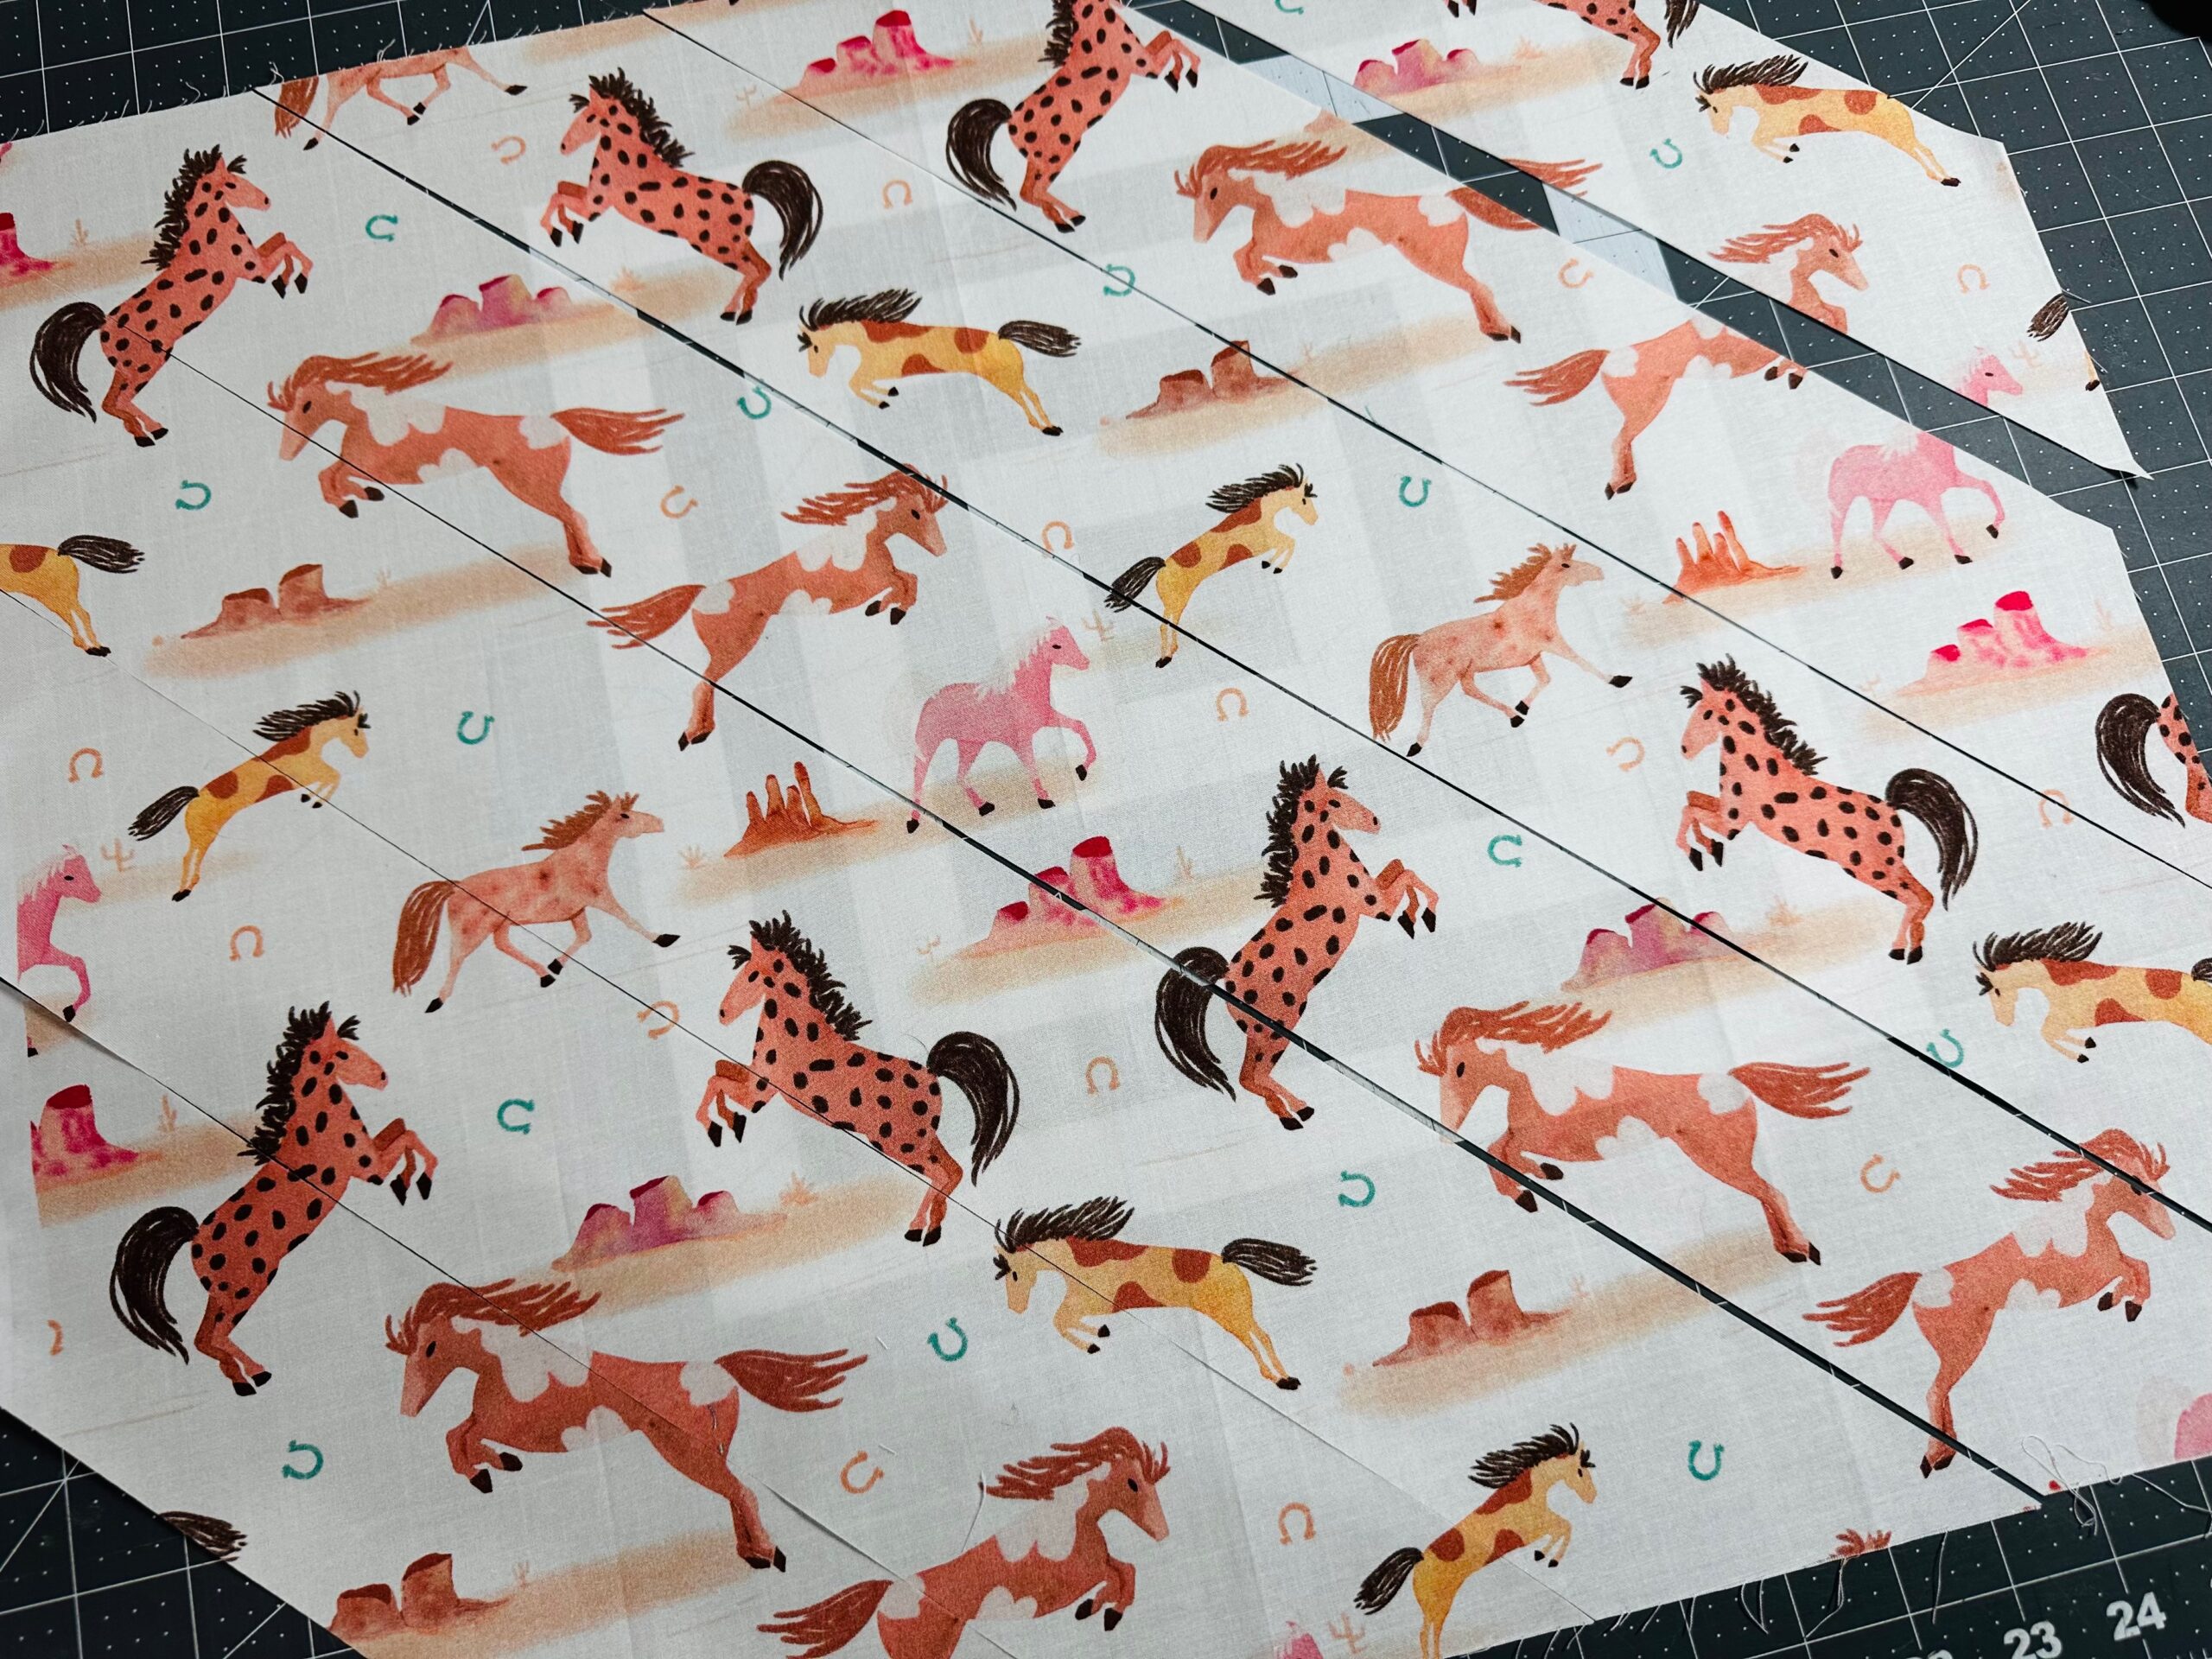
There are a couple of ways to stitch the ruffles. The first way is by folding the fabric strip in half lengthwise, wrong sides together, and using the fold as the lower edge. The second way is to hem one long edge, and then attach the long raw edge to the knit dress hem. The latter requires a bit less fabric, but the former looks nicer because the fabric wrong side is completely concealed.
For this tutorial, we will fold the ruffle fabric and use the fold as the lower edge.
To determine how long of a fabric strip is needed, first measure the dress hem circumference. The featured dress hem circumference is 36″.
For super full gathers, multiply the circumference by 3. For less full gathers, multiple the circumference by 2. Then, add 6″ to account for joining the ruffle ends. Record the ruffle length measurement.
The ruffle width is also personal preference. Because the featured knit dress is sized for a young infant, I cut my ruffle strips 3″ wide. After folding in half and adding 1/4″ seam allowance, this results in a 1″-wide ruffle. You may want a wider ruffle (or even multiple stacked ruffles of different widths), depending on the garment and/or garment size.
Cut as many fabric strips as needed to achieve the determined measurement, taking into account seam allowances needed when/if piecing strips together to achieve the determined length.
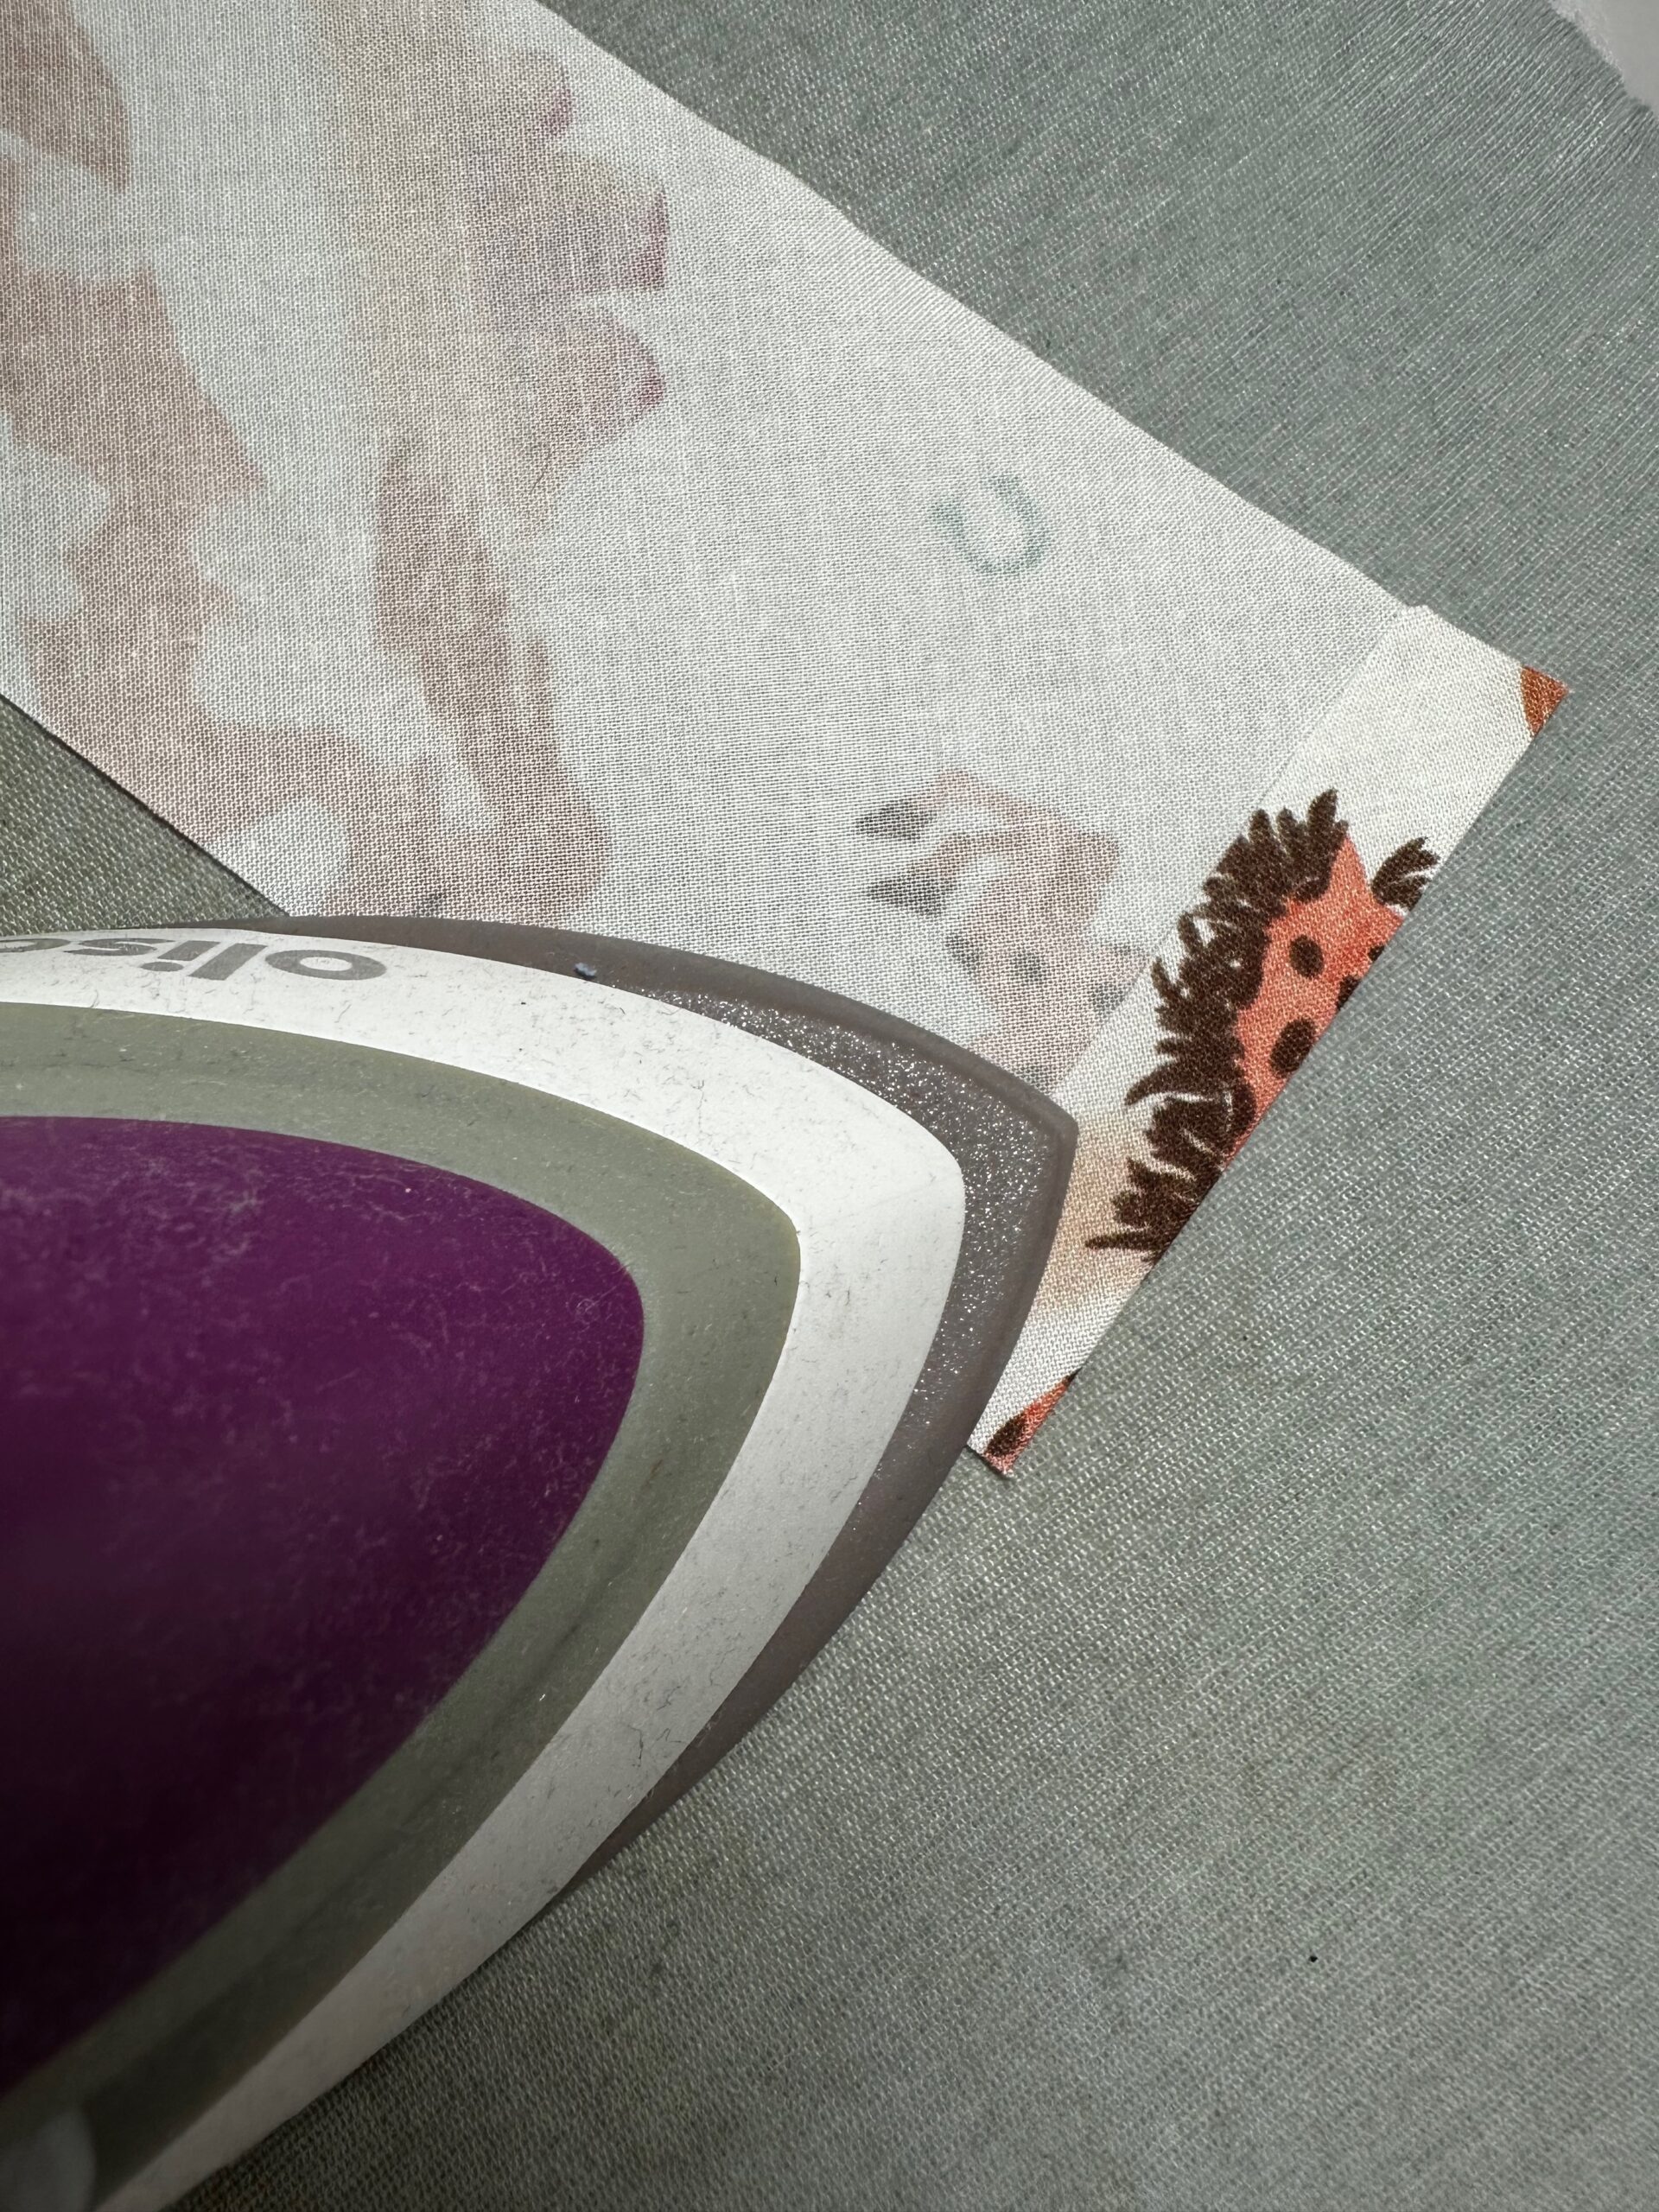
Then, fold one short end of the ruffle strip 1/4″ toward the wrong side; press well.
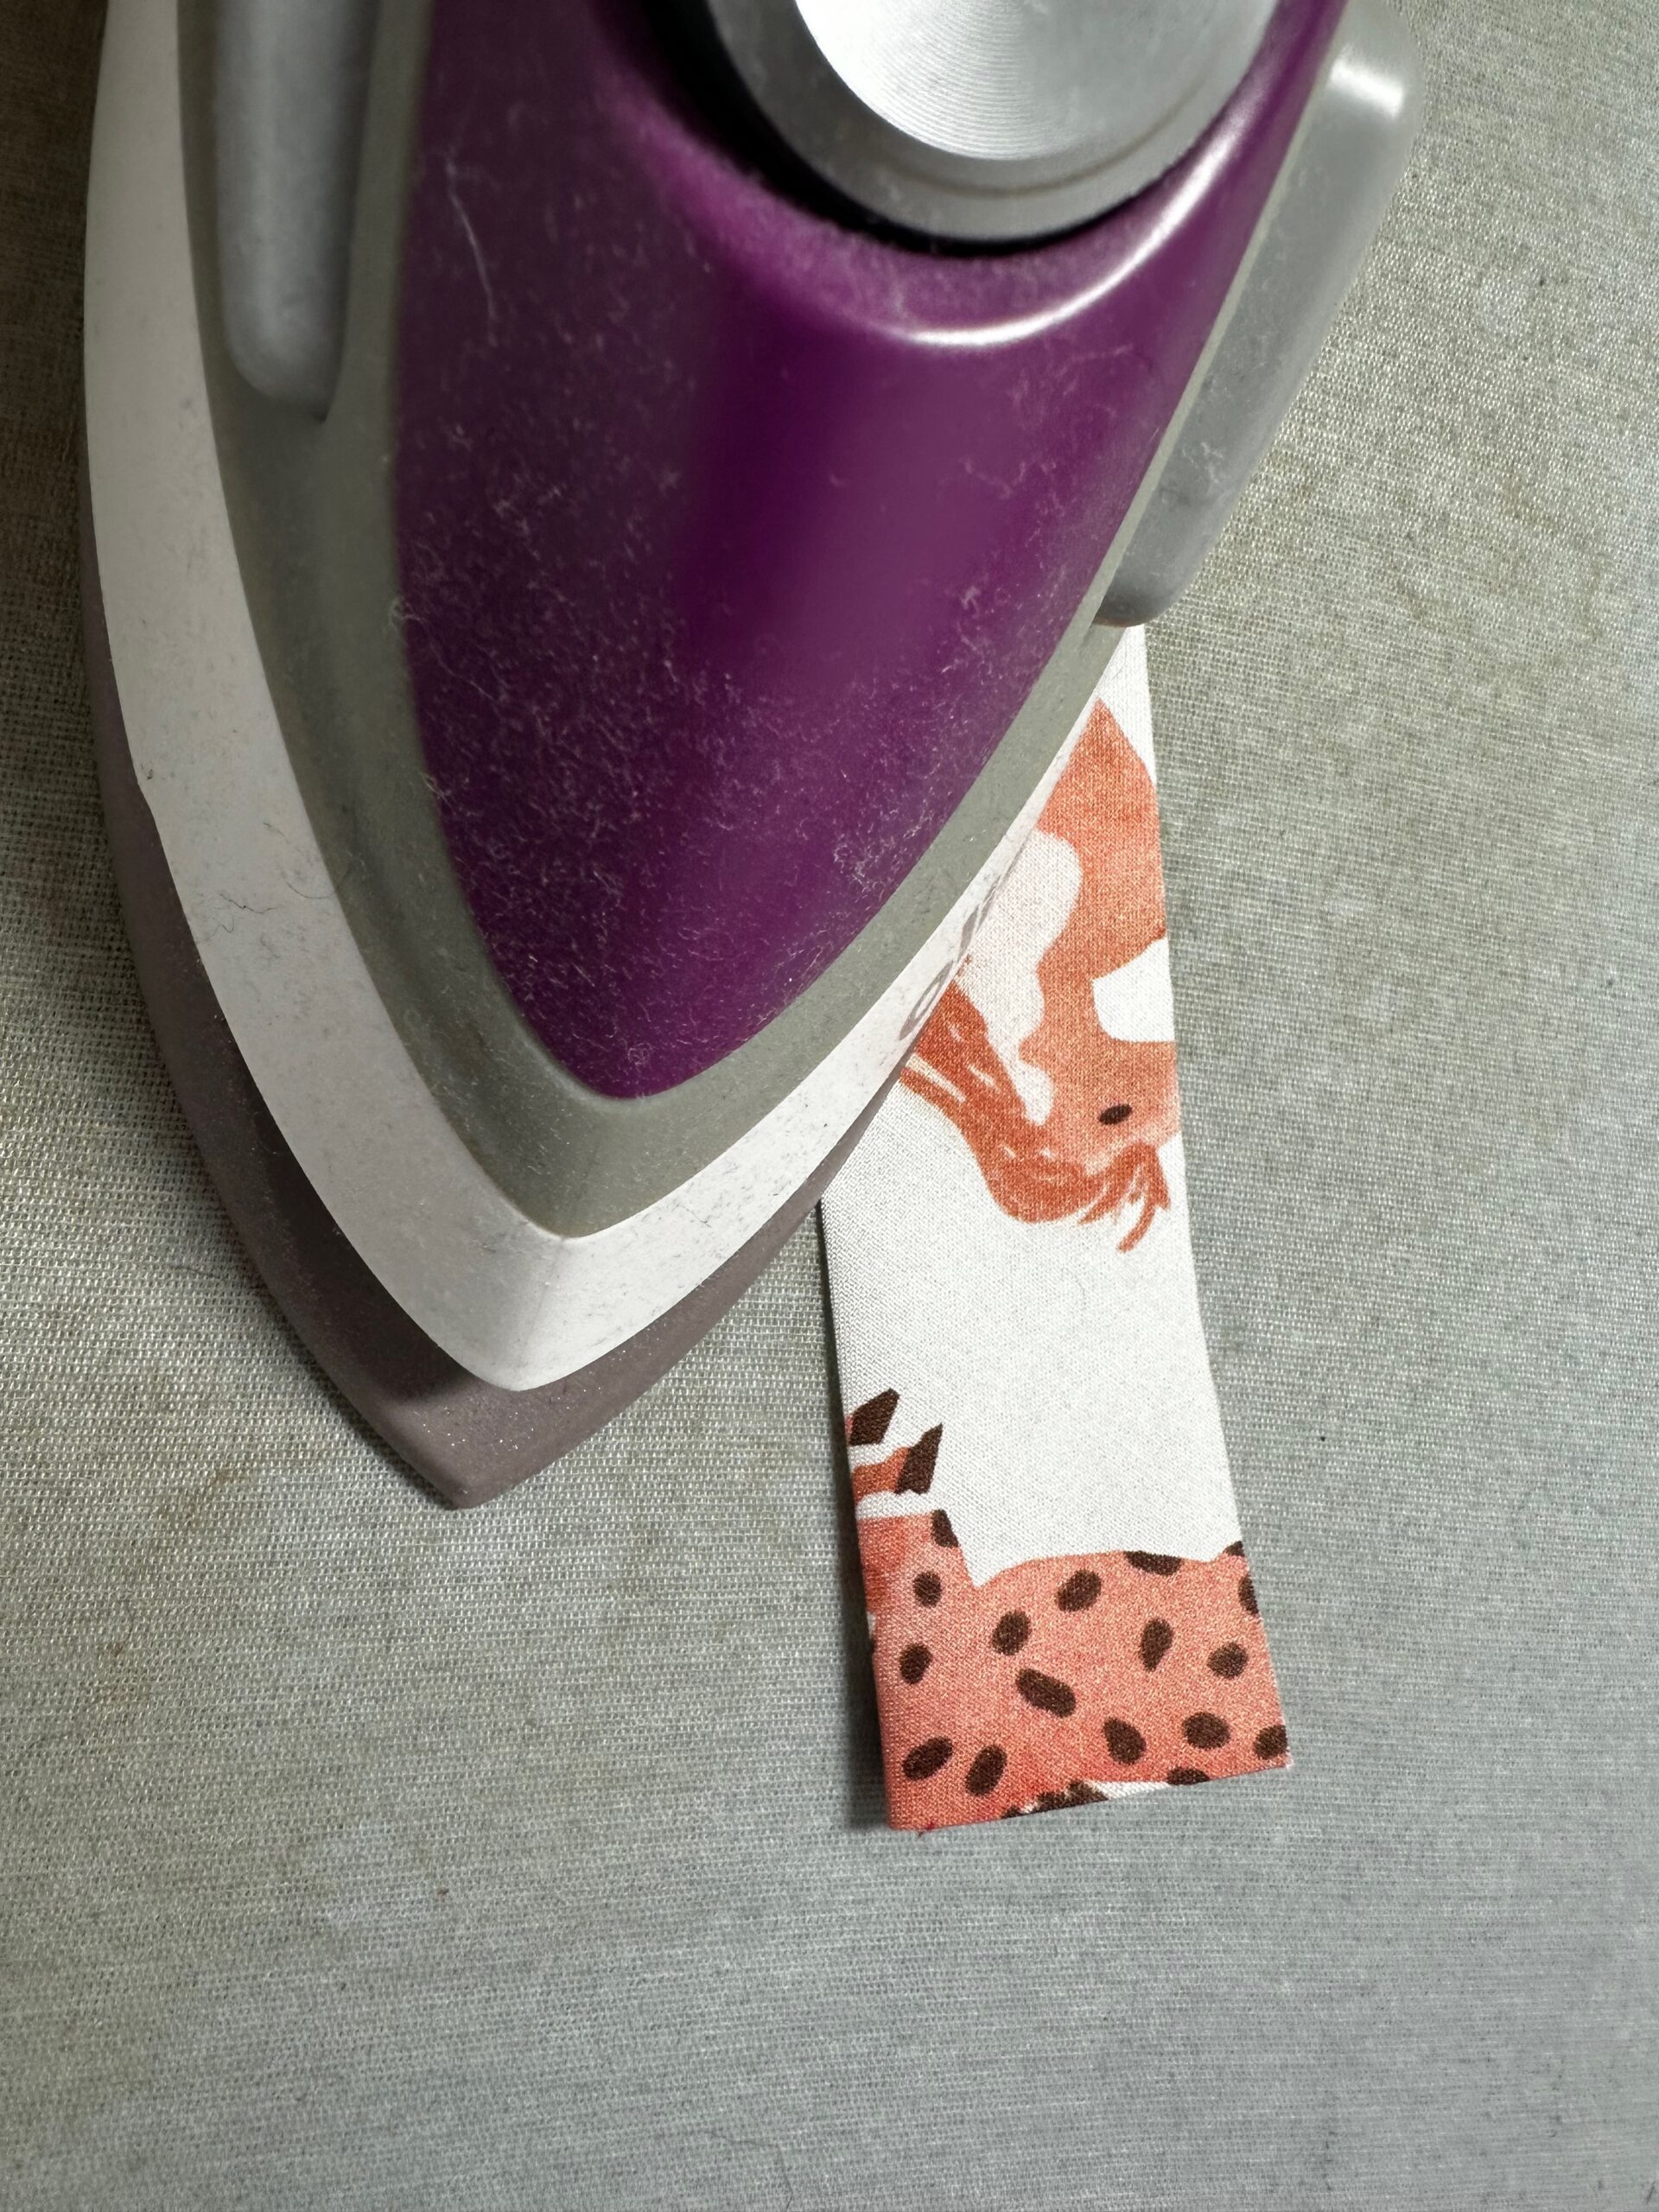
Next, fold the ruffle strip in half lengthwise with wrong sides together; press well.
CREATING RUFFLES
If you have a gathering foot on your sewing machine (or serger), install it for easy, even gathers. If not, follow these steps:
Set the sewing machine for a 5mm-long straight stitch. Stitch 1/4″ and 1/8″ from the ruffle-strip long raw edges. Leave long thread tails at the ruffle strip beginning and end. Do not backstitch.
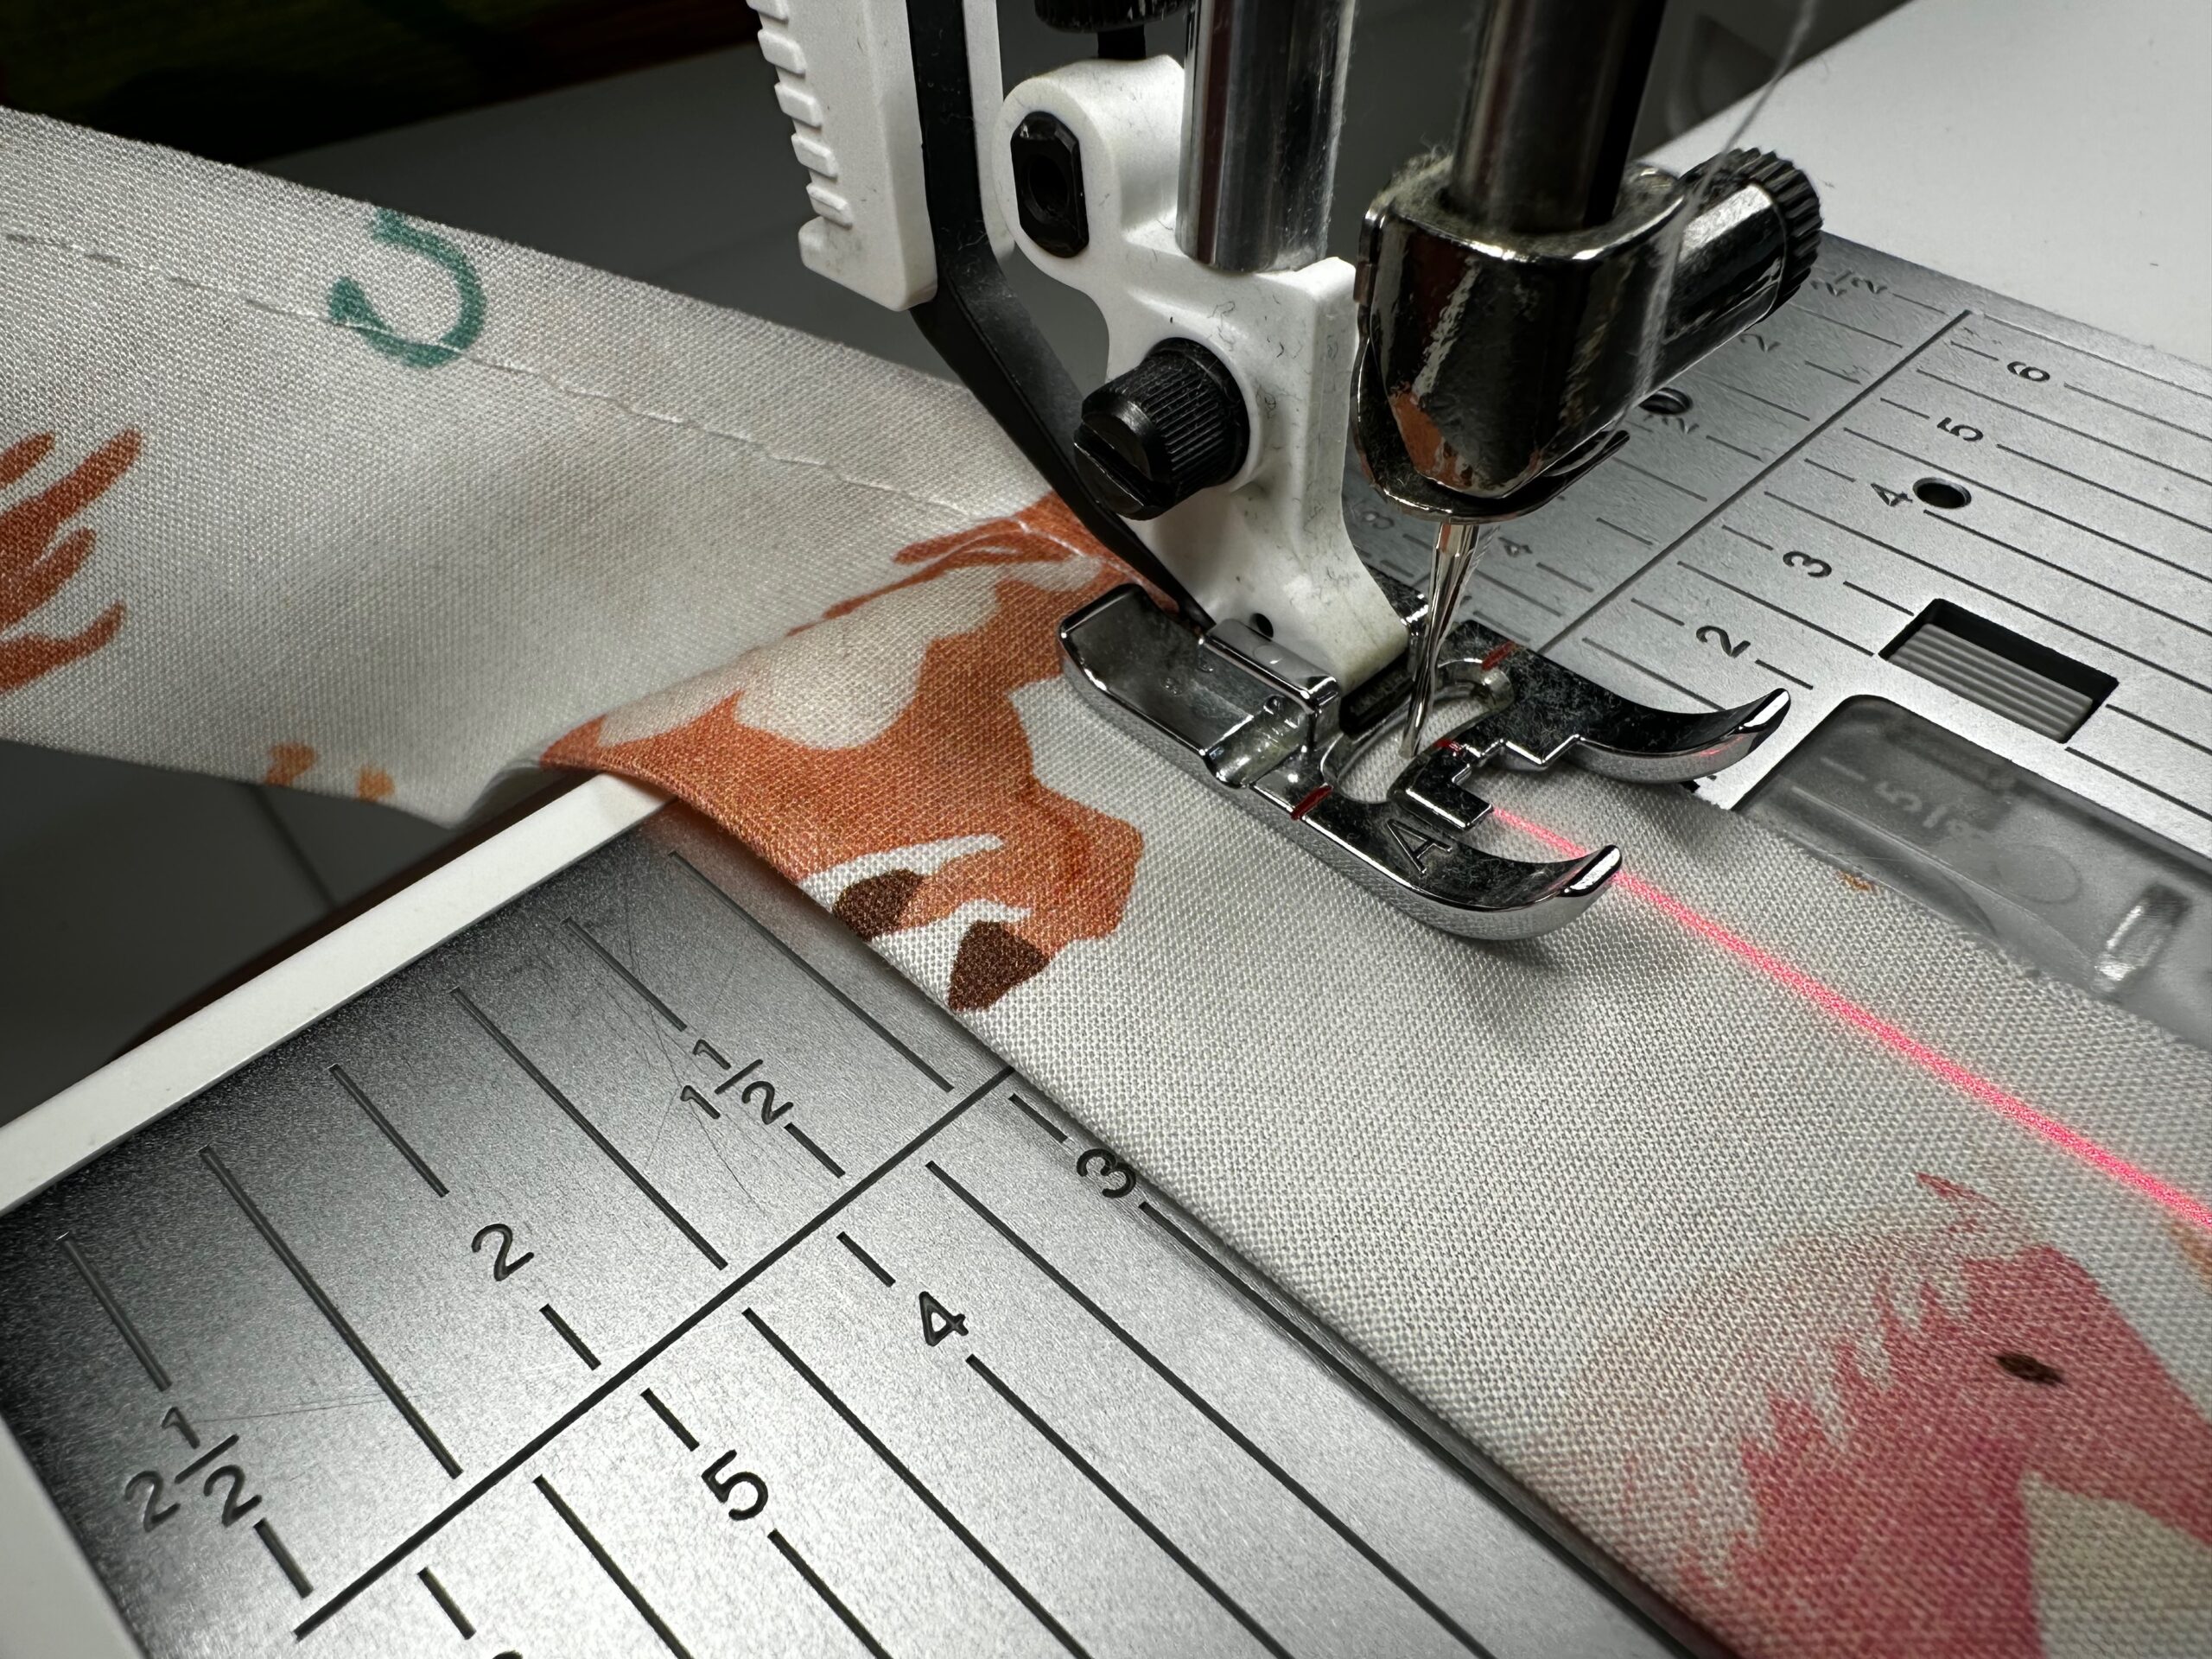
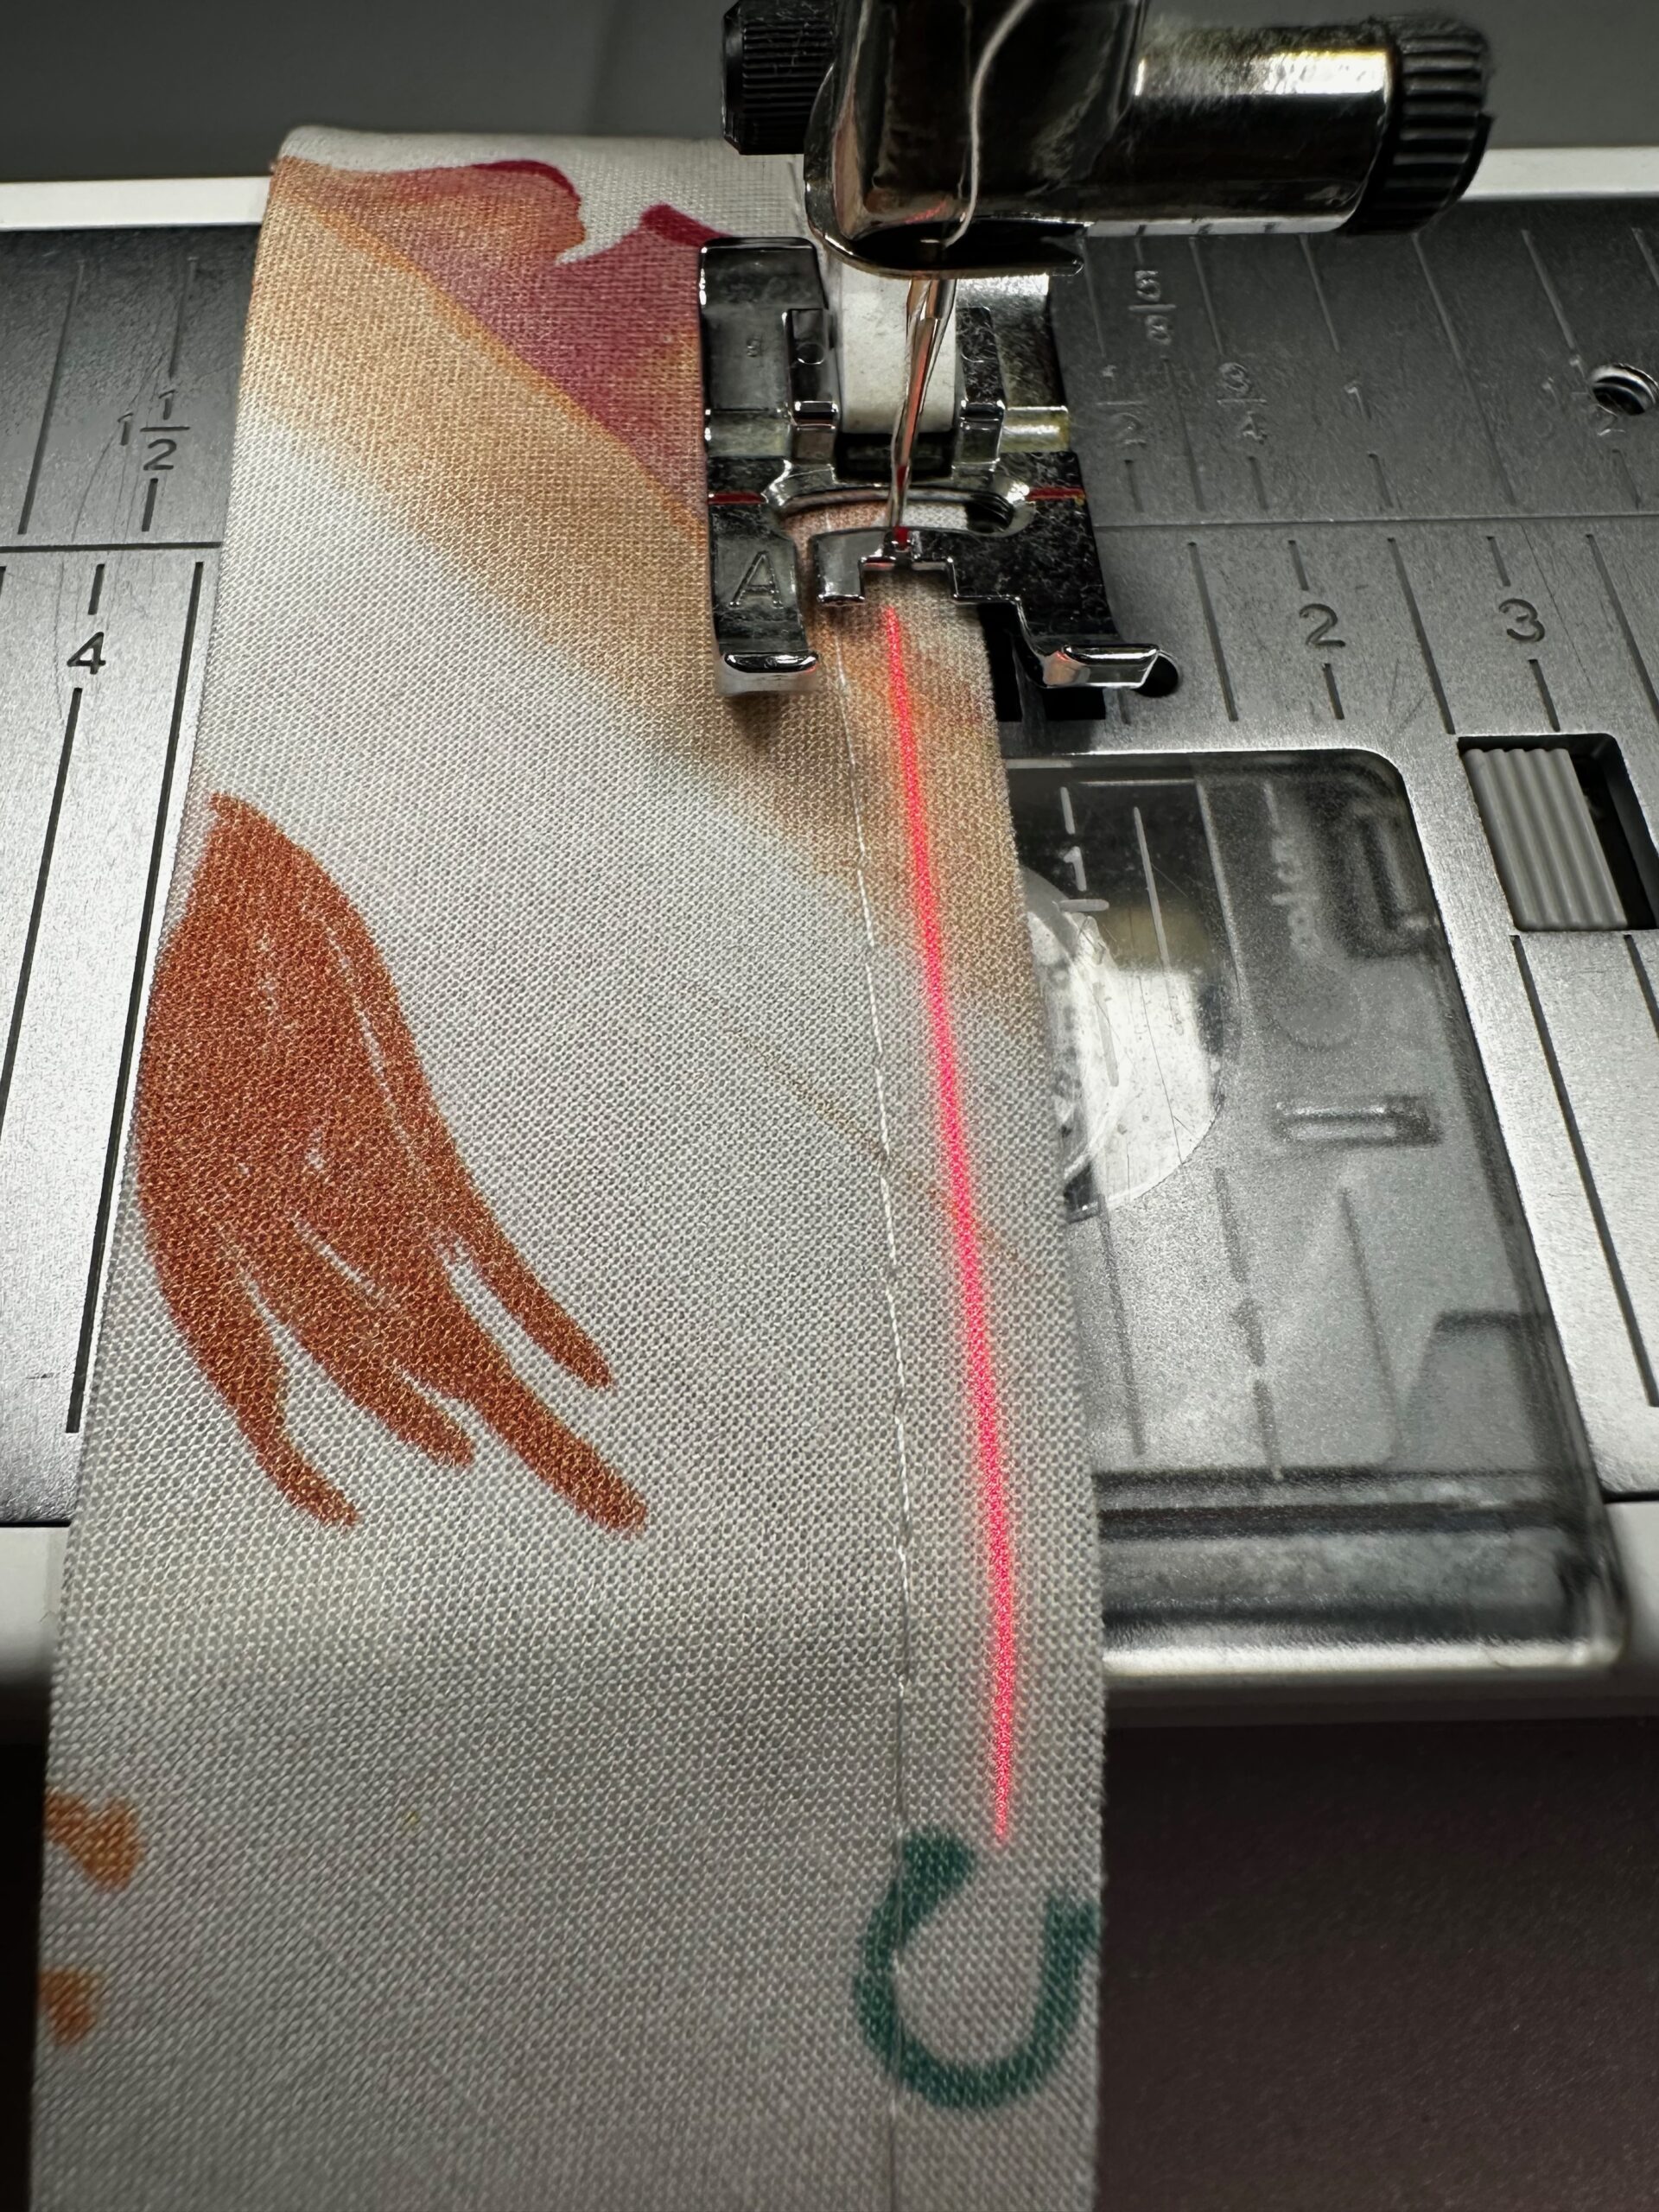
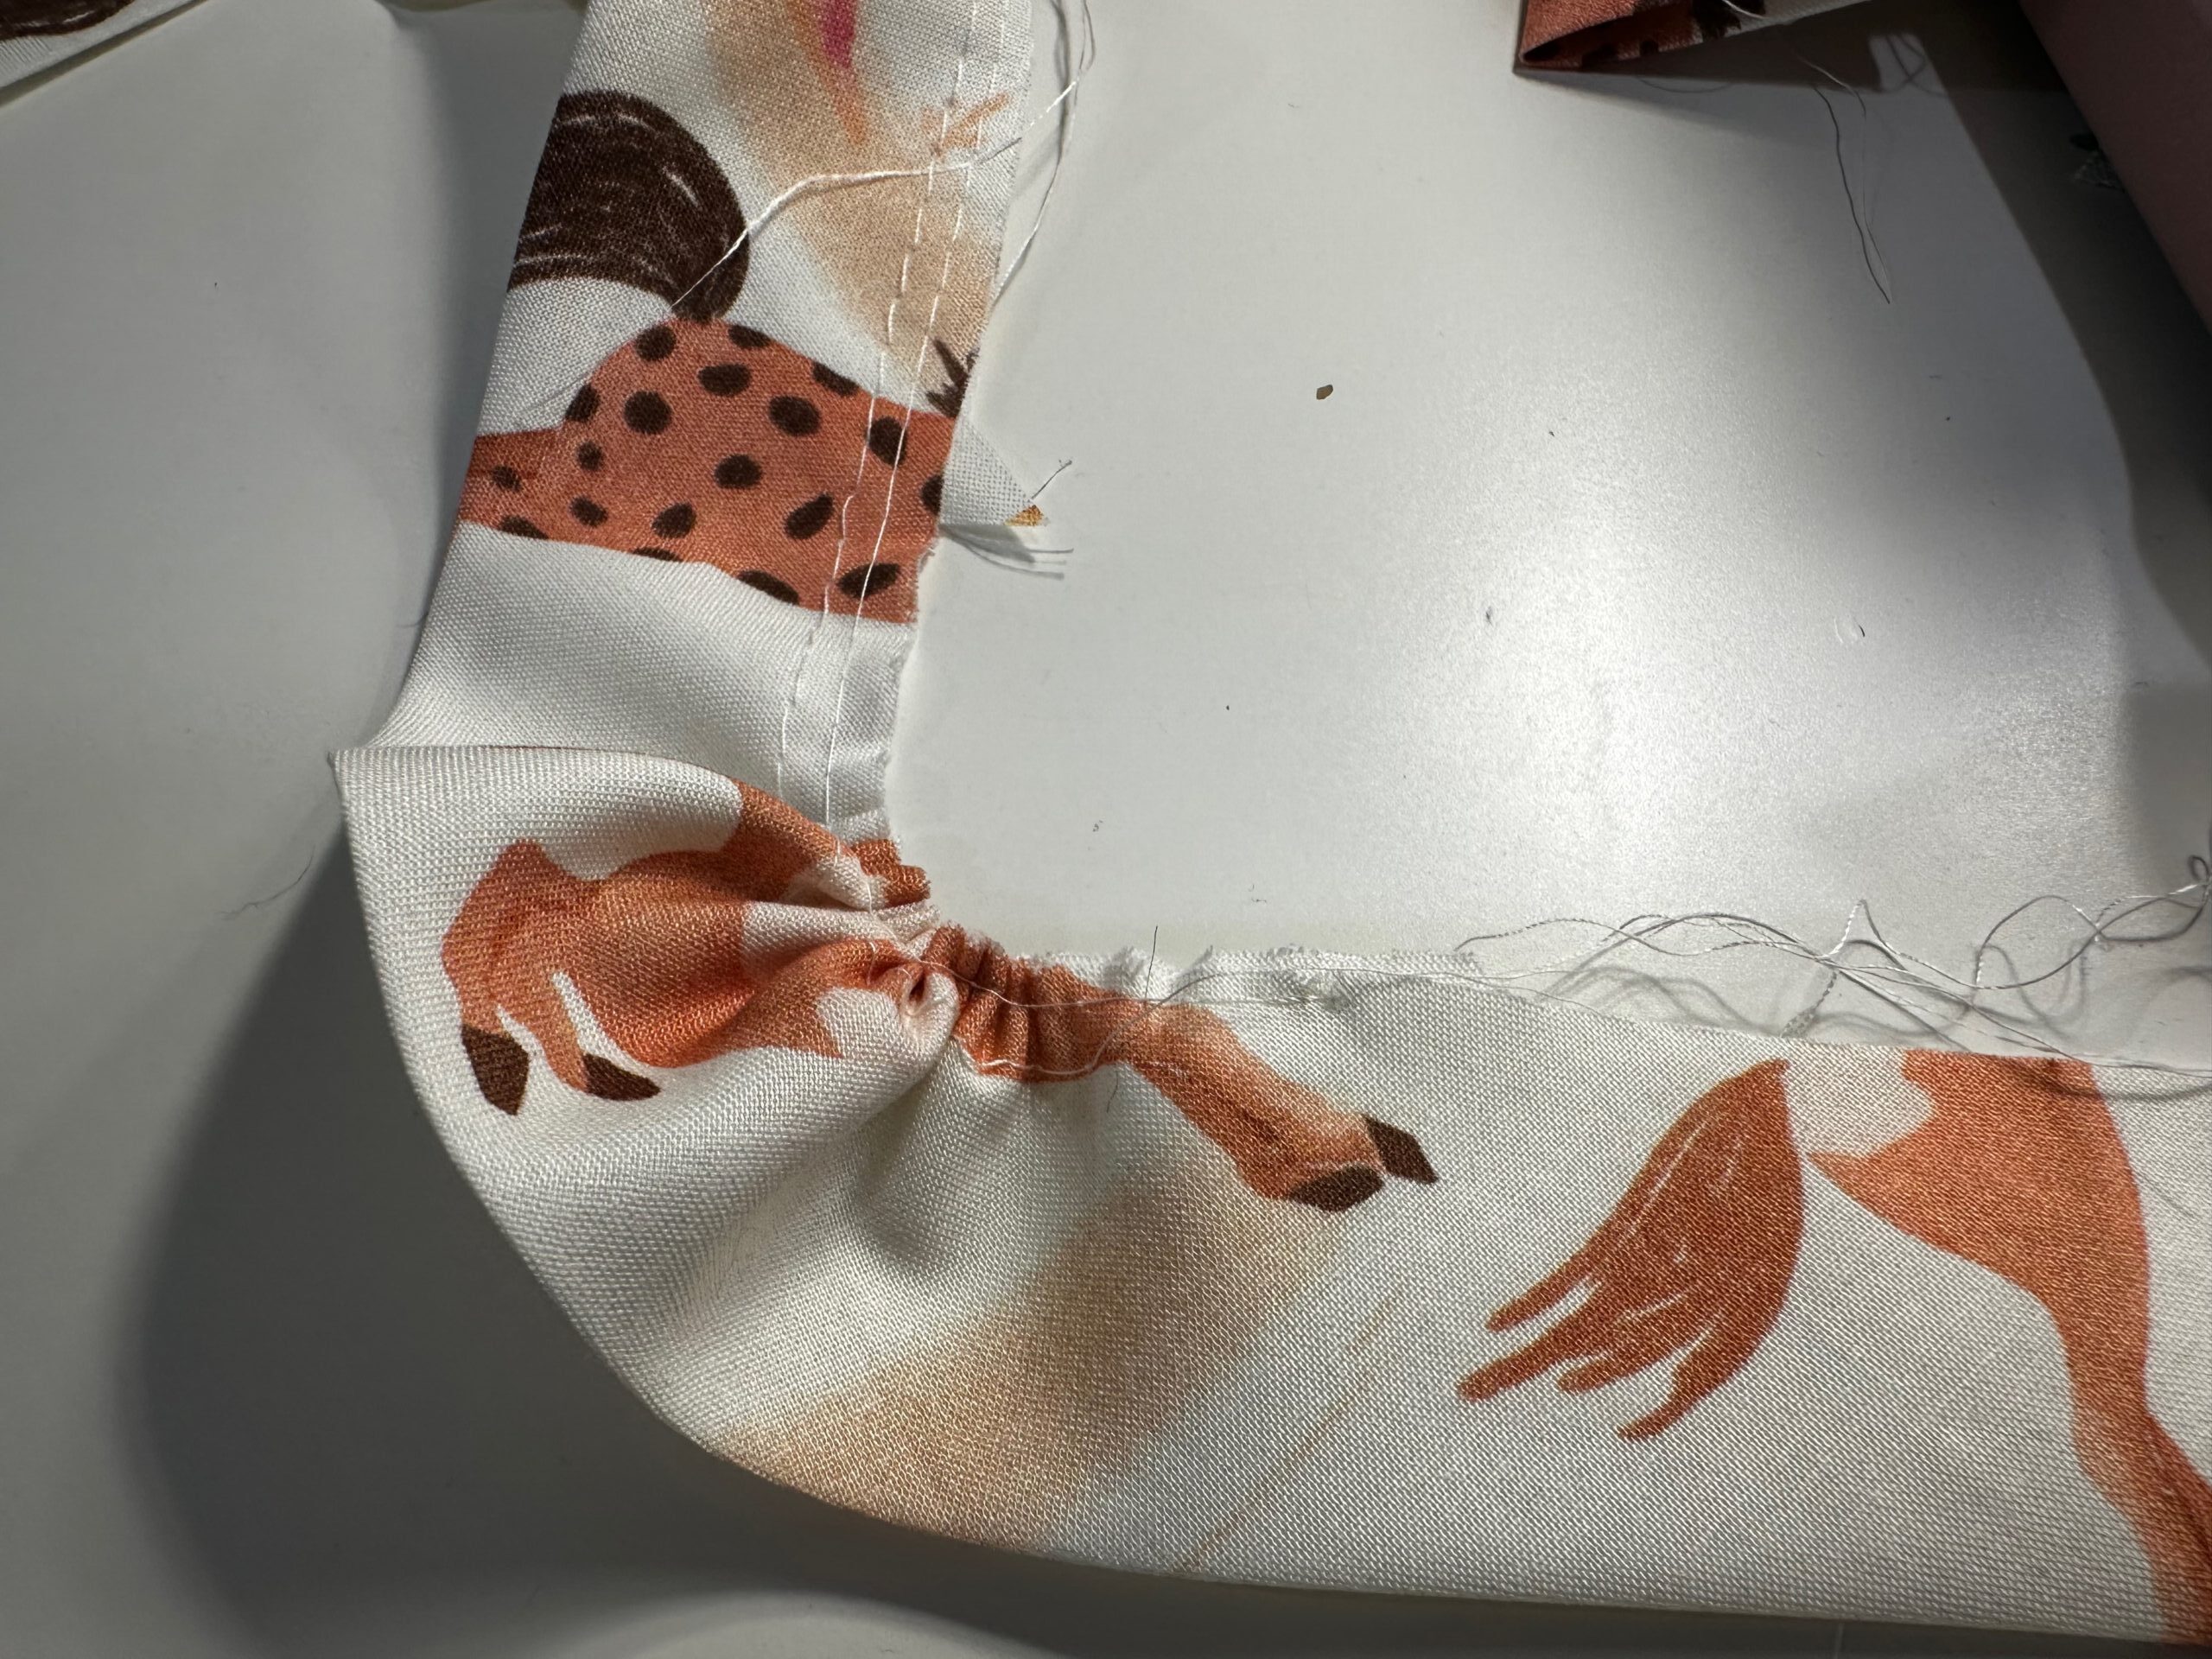
Along one short strip end, take the two top threads and pull to gather the strip evenly across the length. Pull gently to avoid snapping the thread. Continue to gather evenly until the strip measures the determined length.
STITCHING RUFFLE TO KNIT DRESS
Place the ruffle folded end about 1/2″ beyond the dress side seam along the hemline. Align the ruffle raw edge with the hem upper-edge stitching. Make sure the bulk/lower edge of the ruffle is facing the dress waist (so right sides are together). Continue, pinning generously until reaching the beginning ruffle fold. Trim the ruffle short raw end about 1/2″ beyond the beginning ruffle fold. Then, tuck the raw end into the fold to conceal it. Finish pinning the ruffle in place.
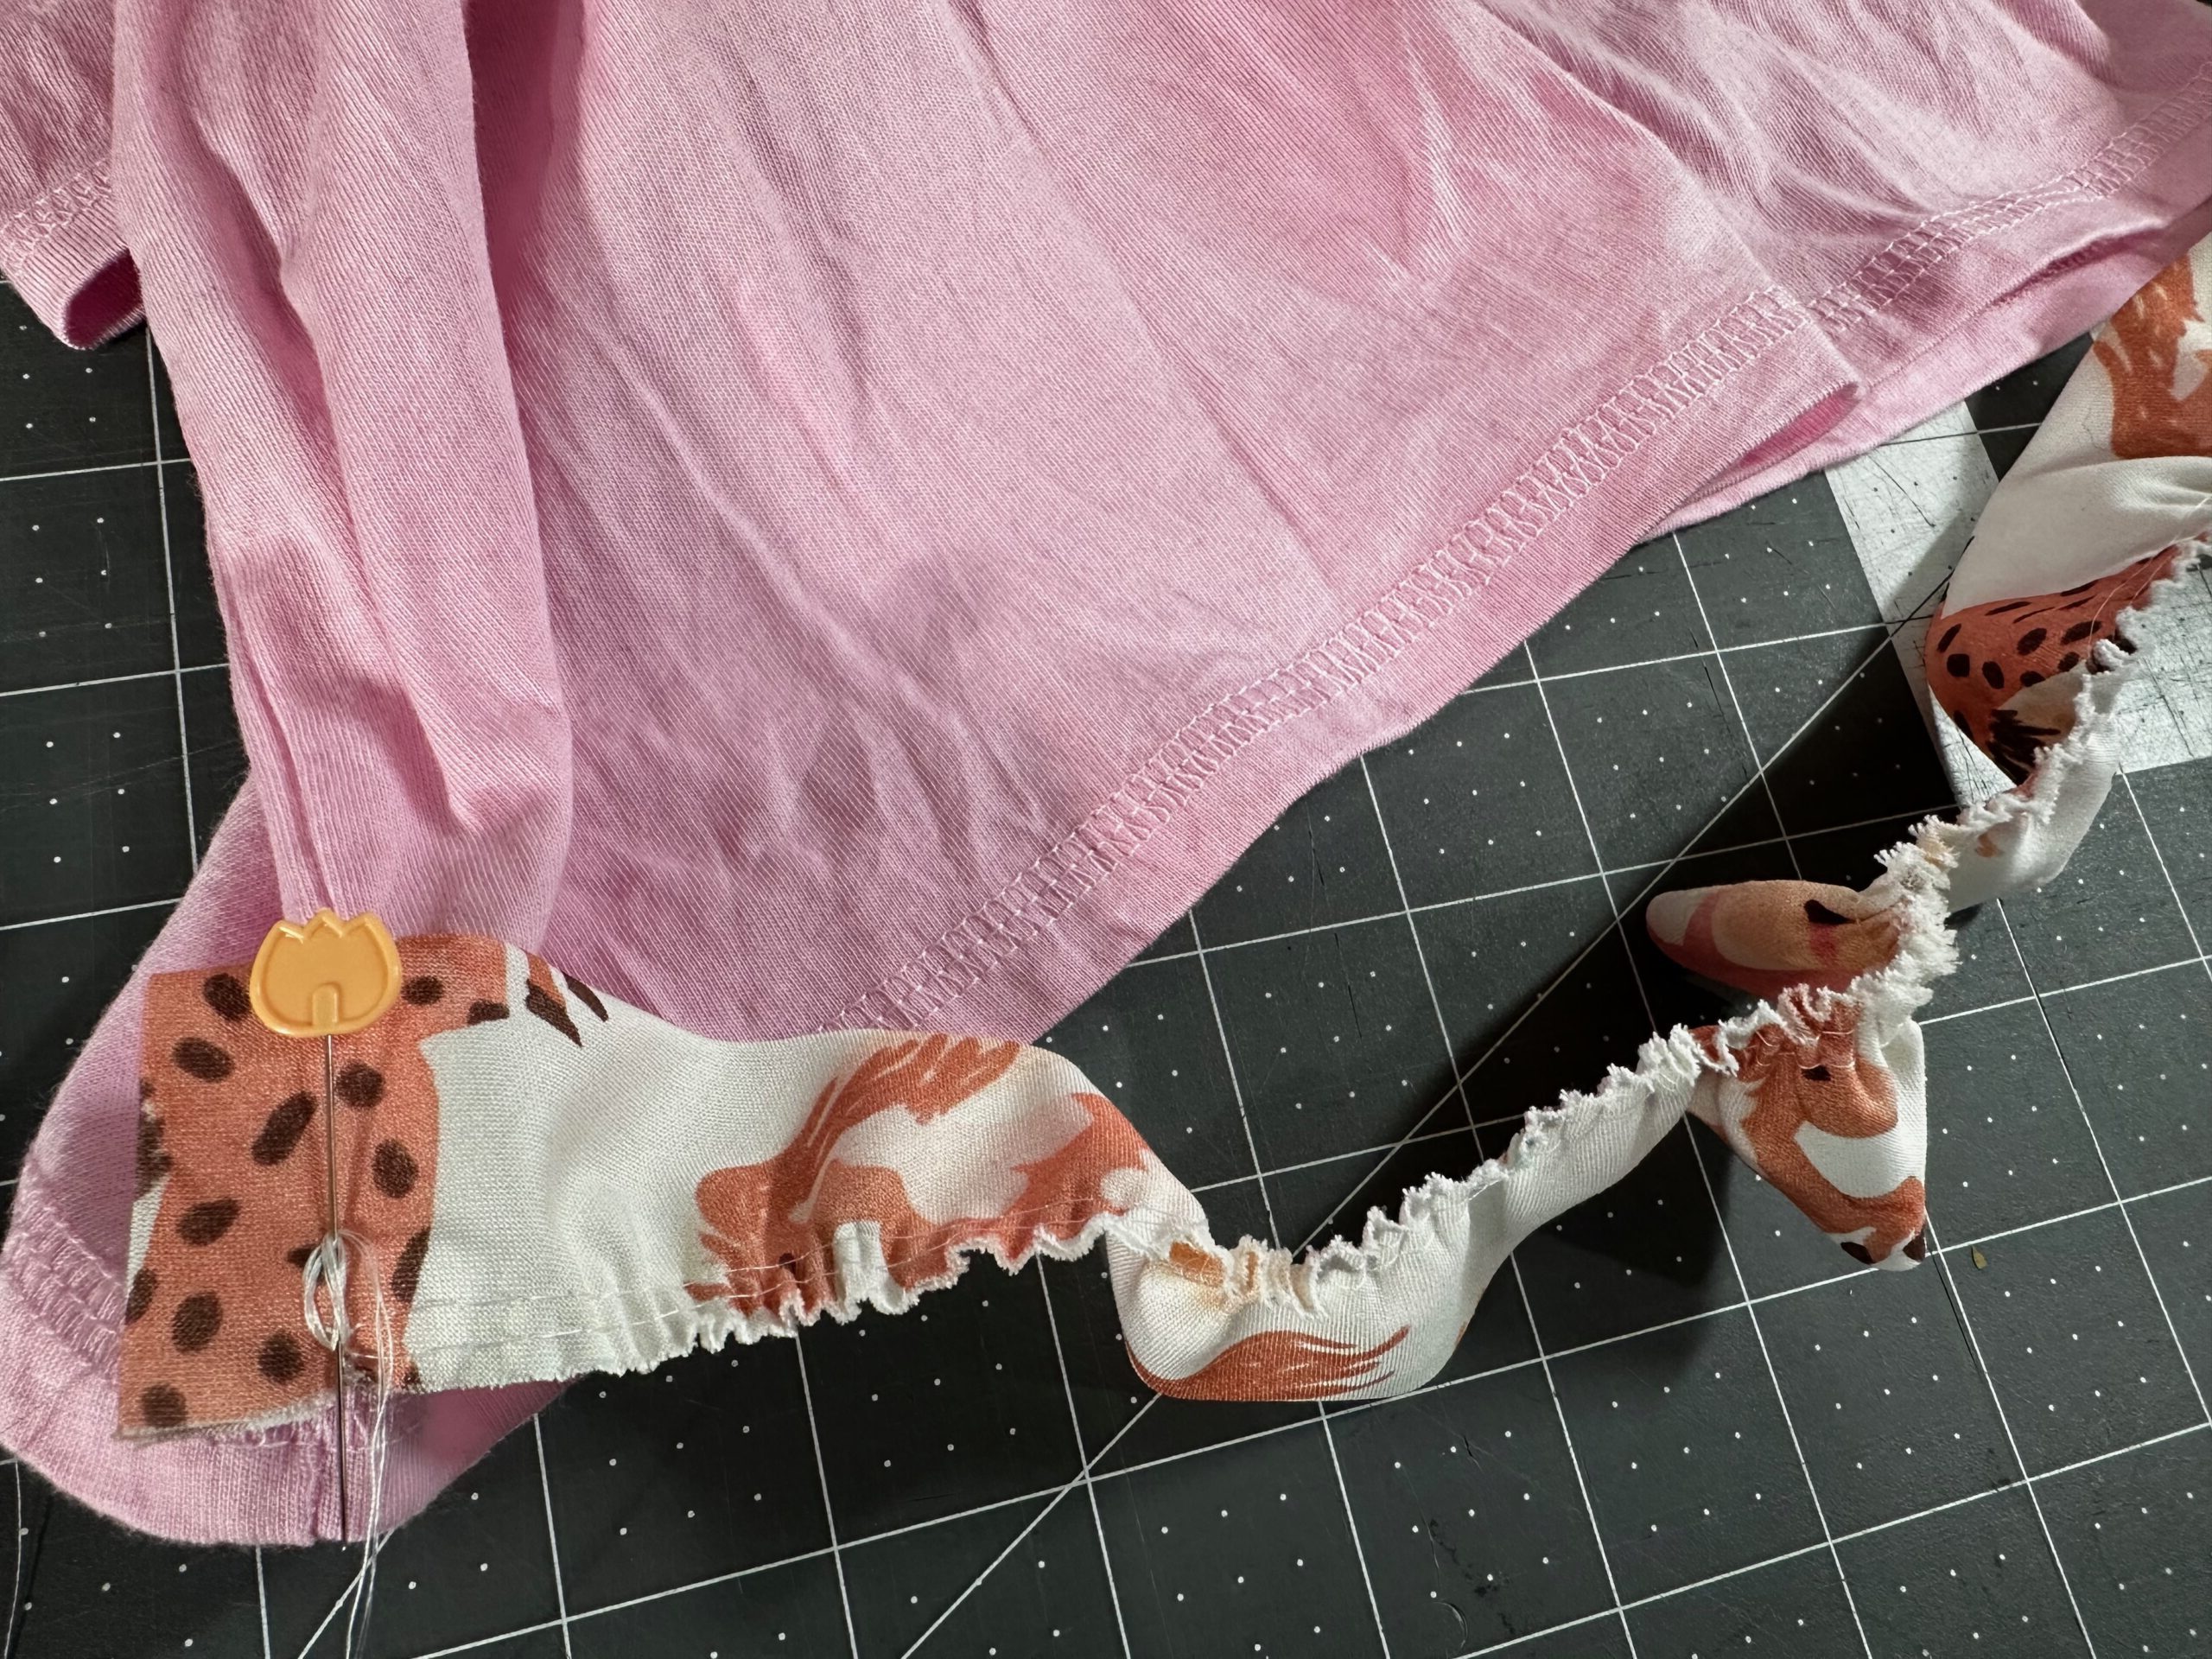
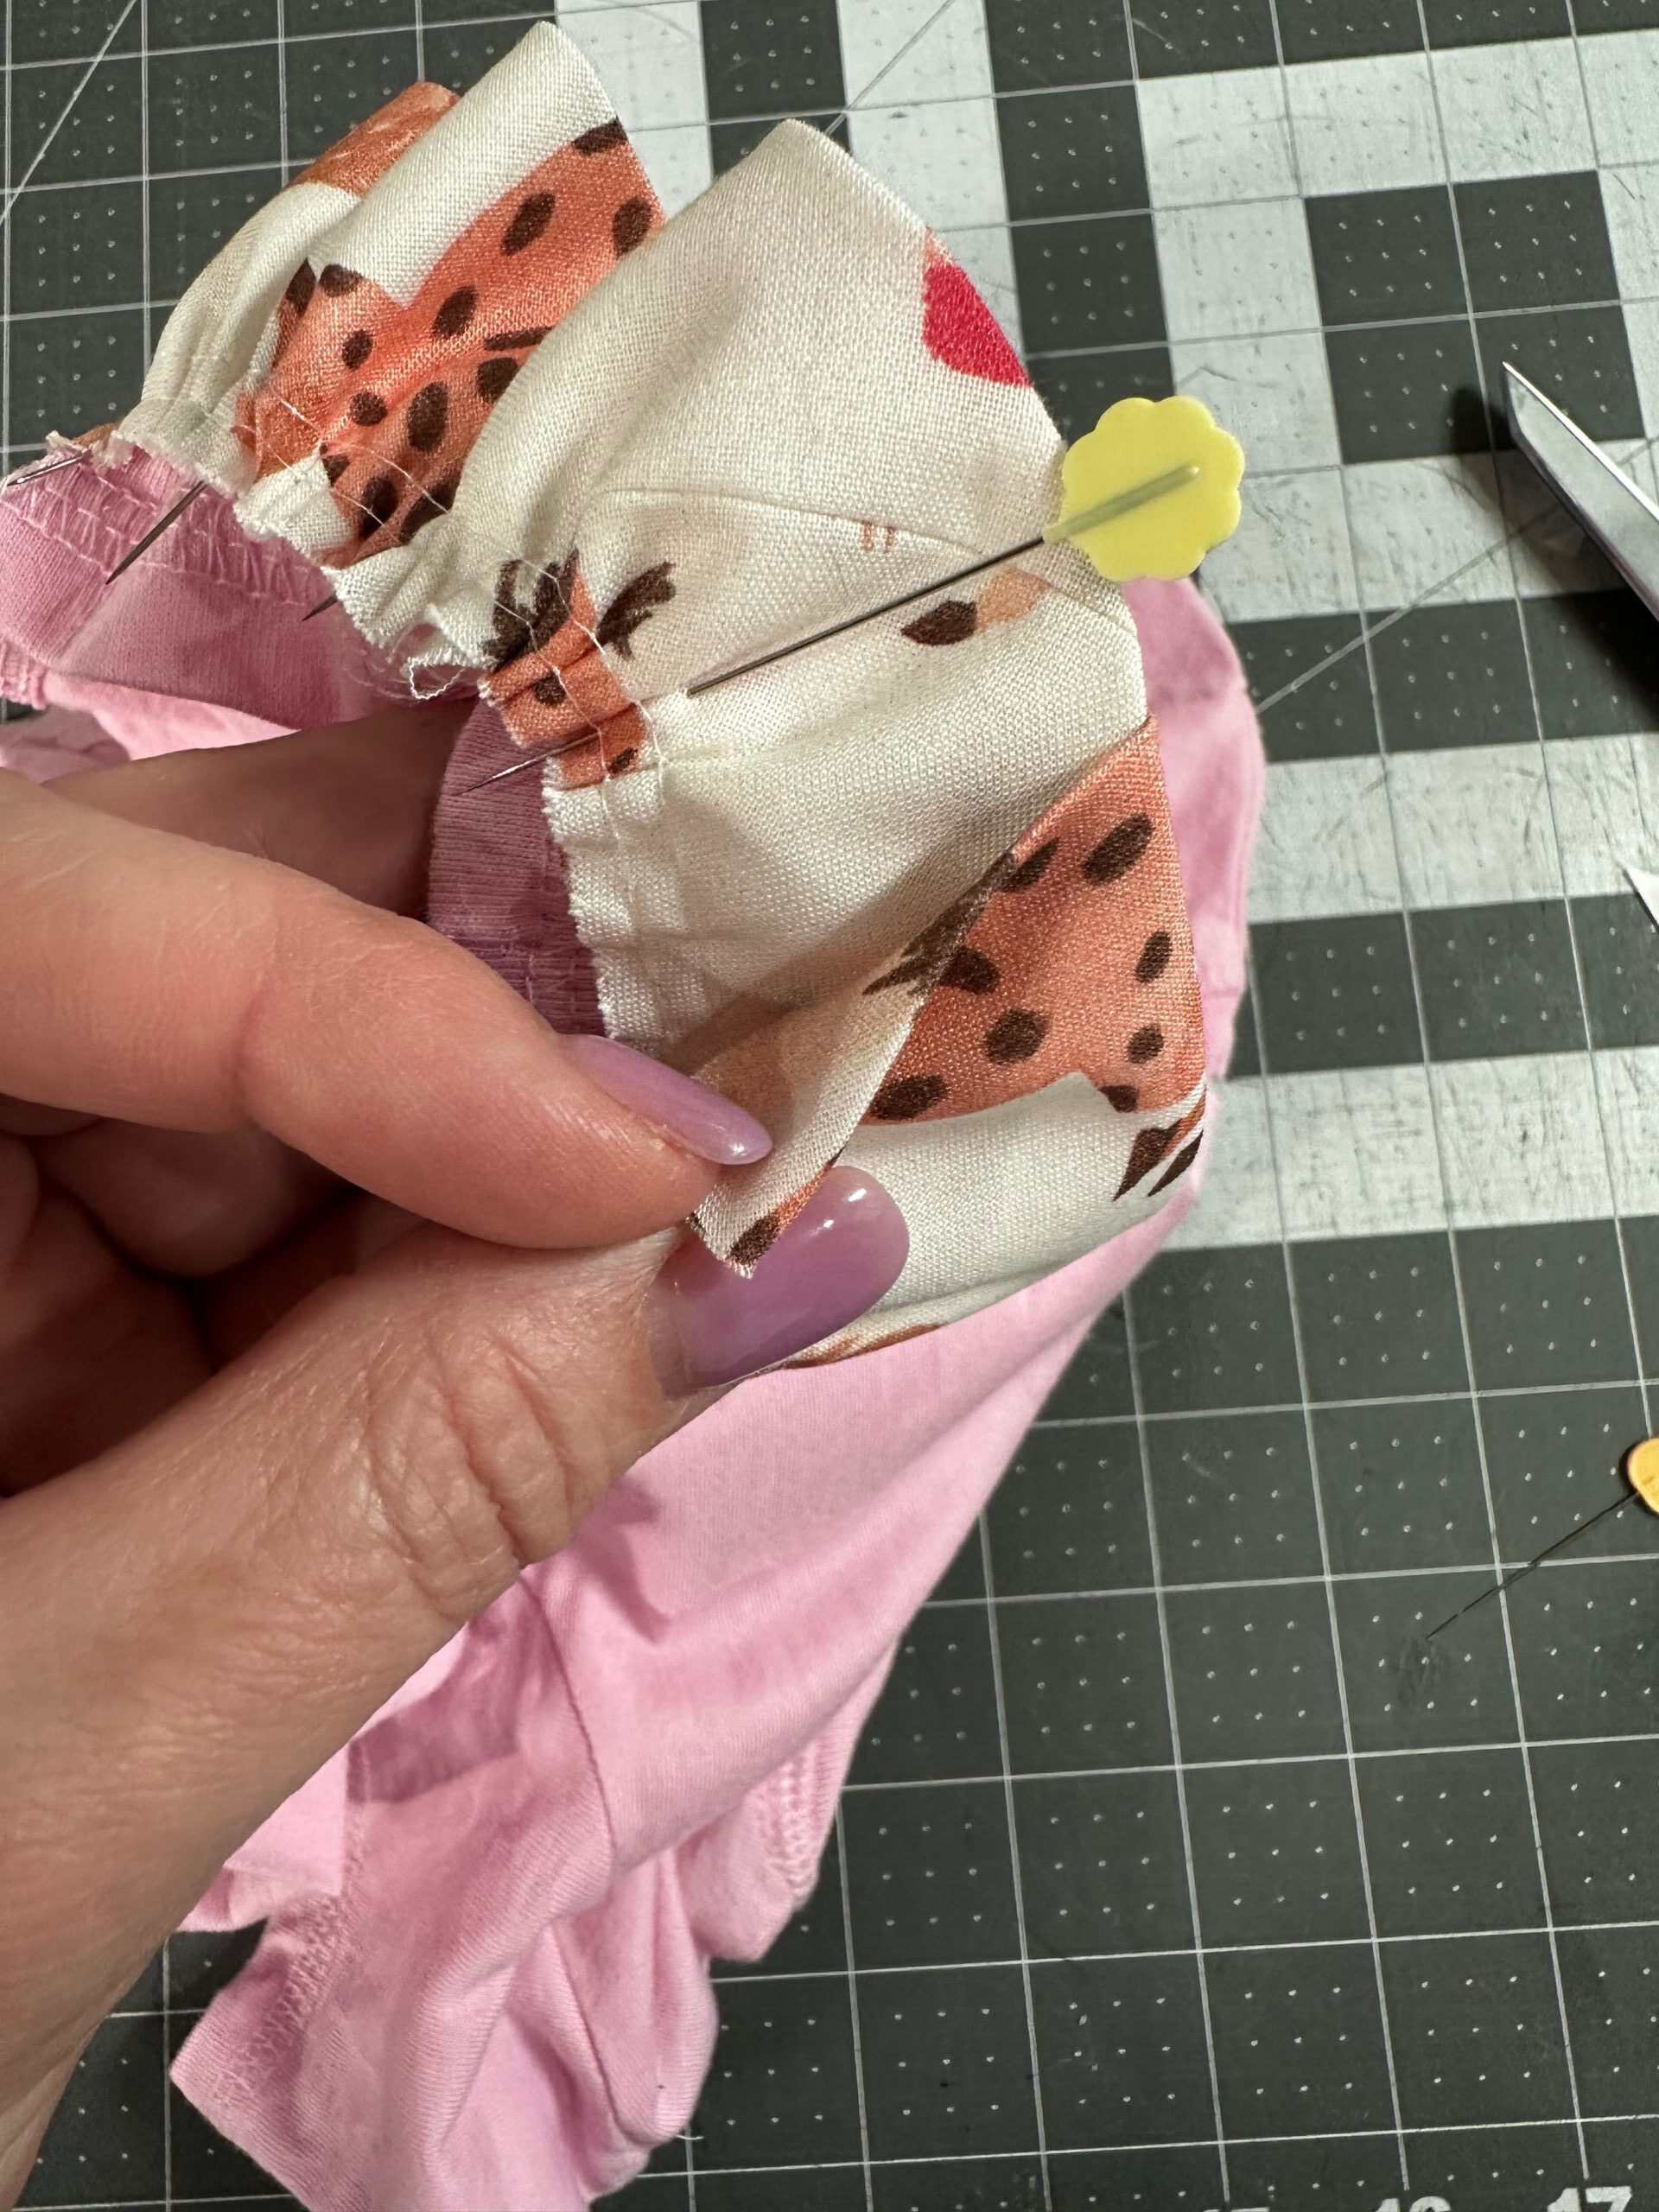
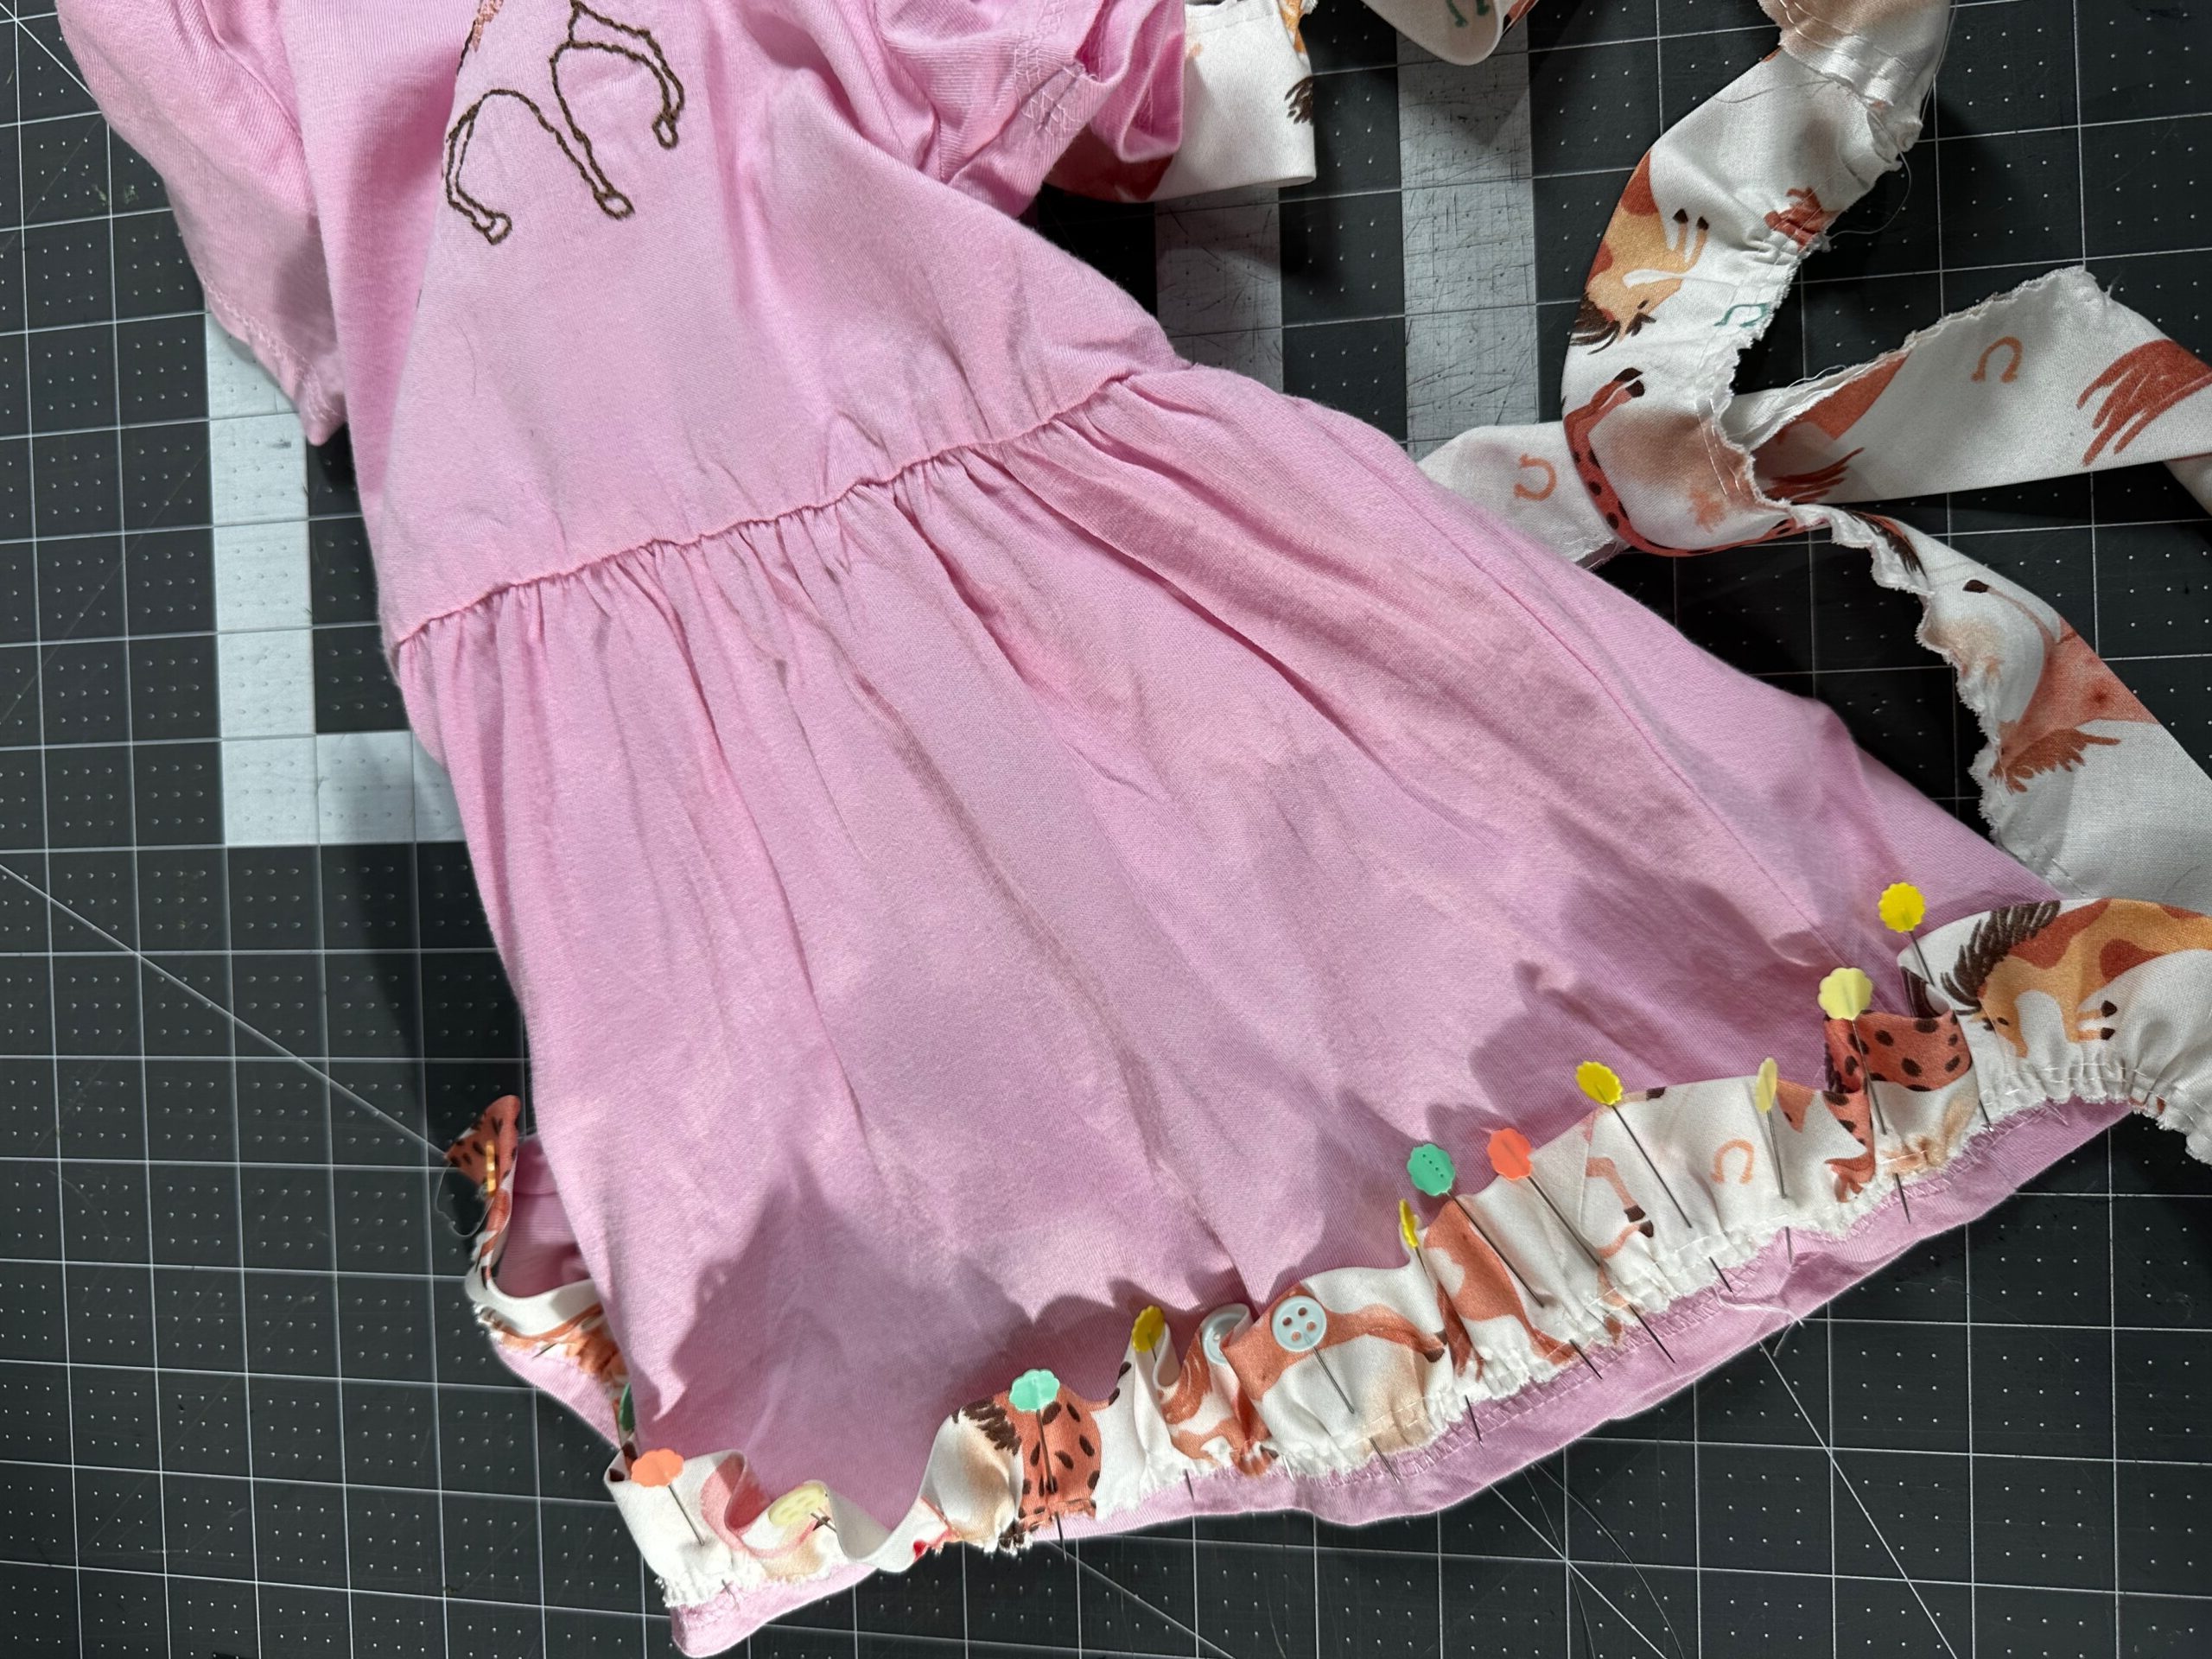
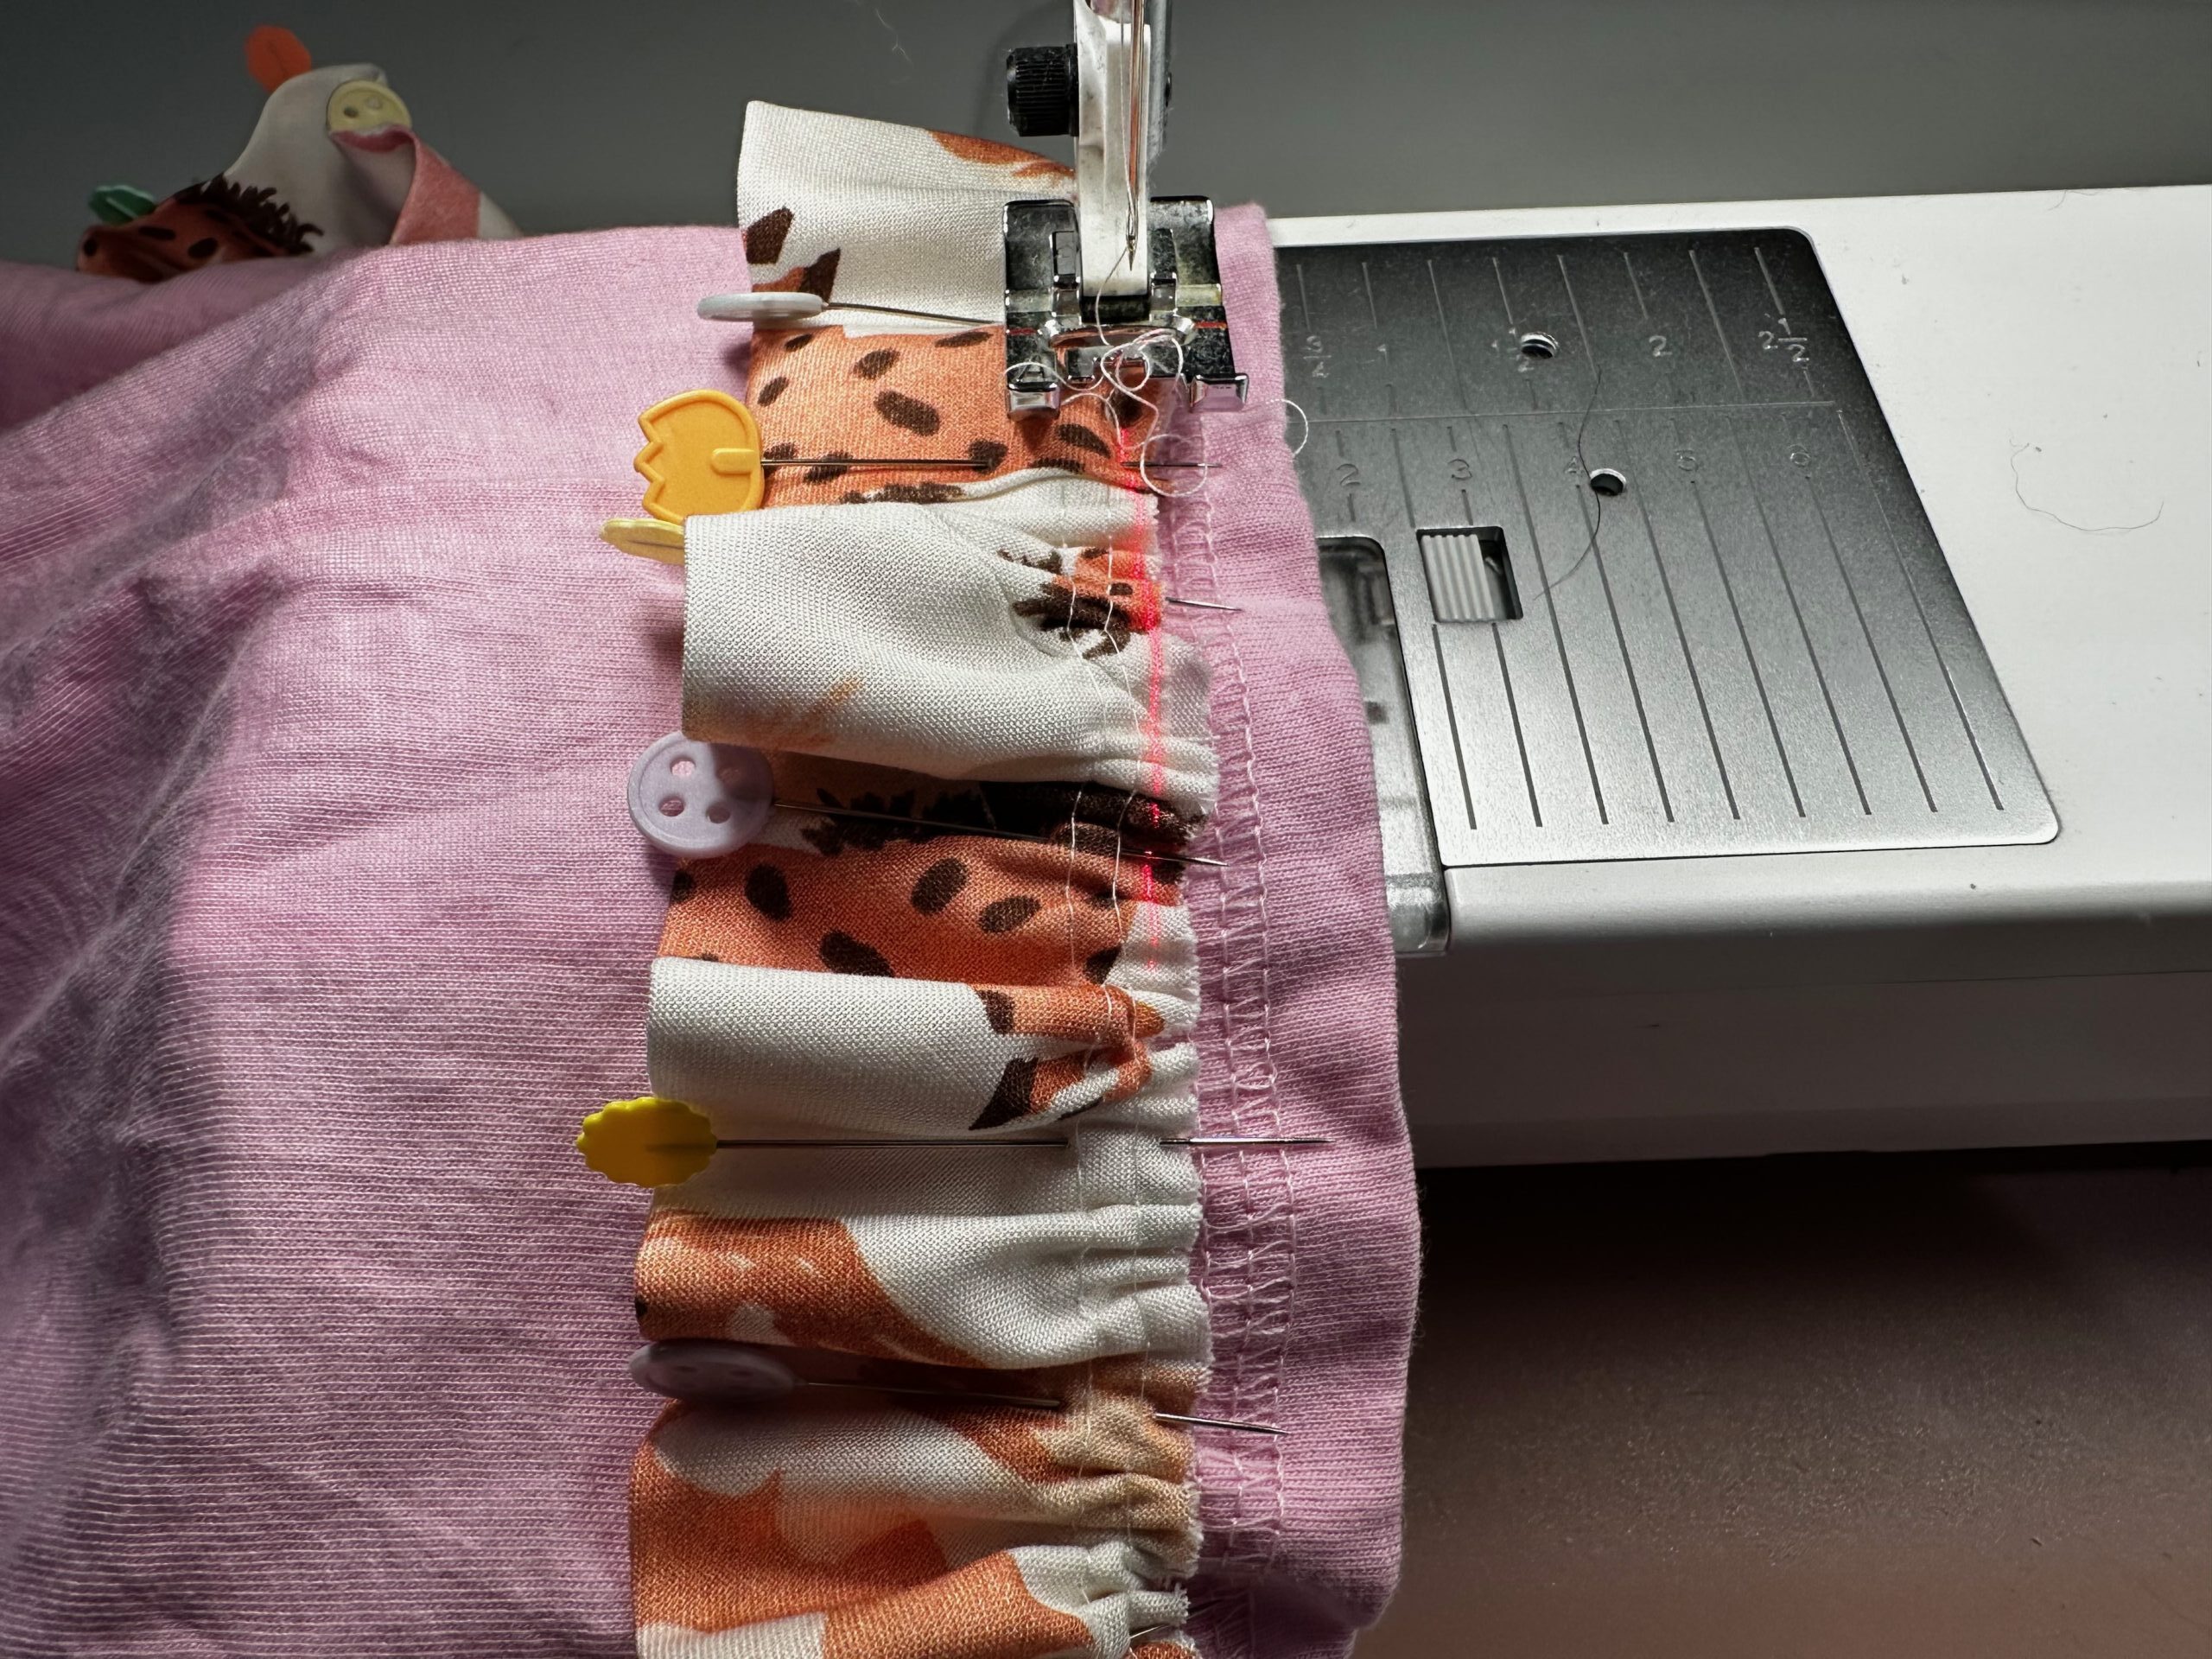
Set the machine for a stretch stitch. Stitch the ruffle in place. Then, remove any basting stitches that are exposed.
Then, fold the dress hem up toward the waist, folding the ruffle toward the lower edge in the process. Press to set the hem.
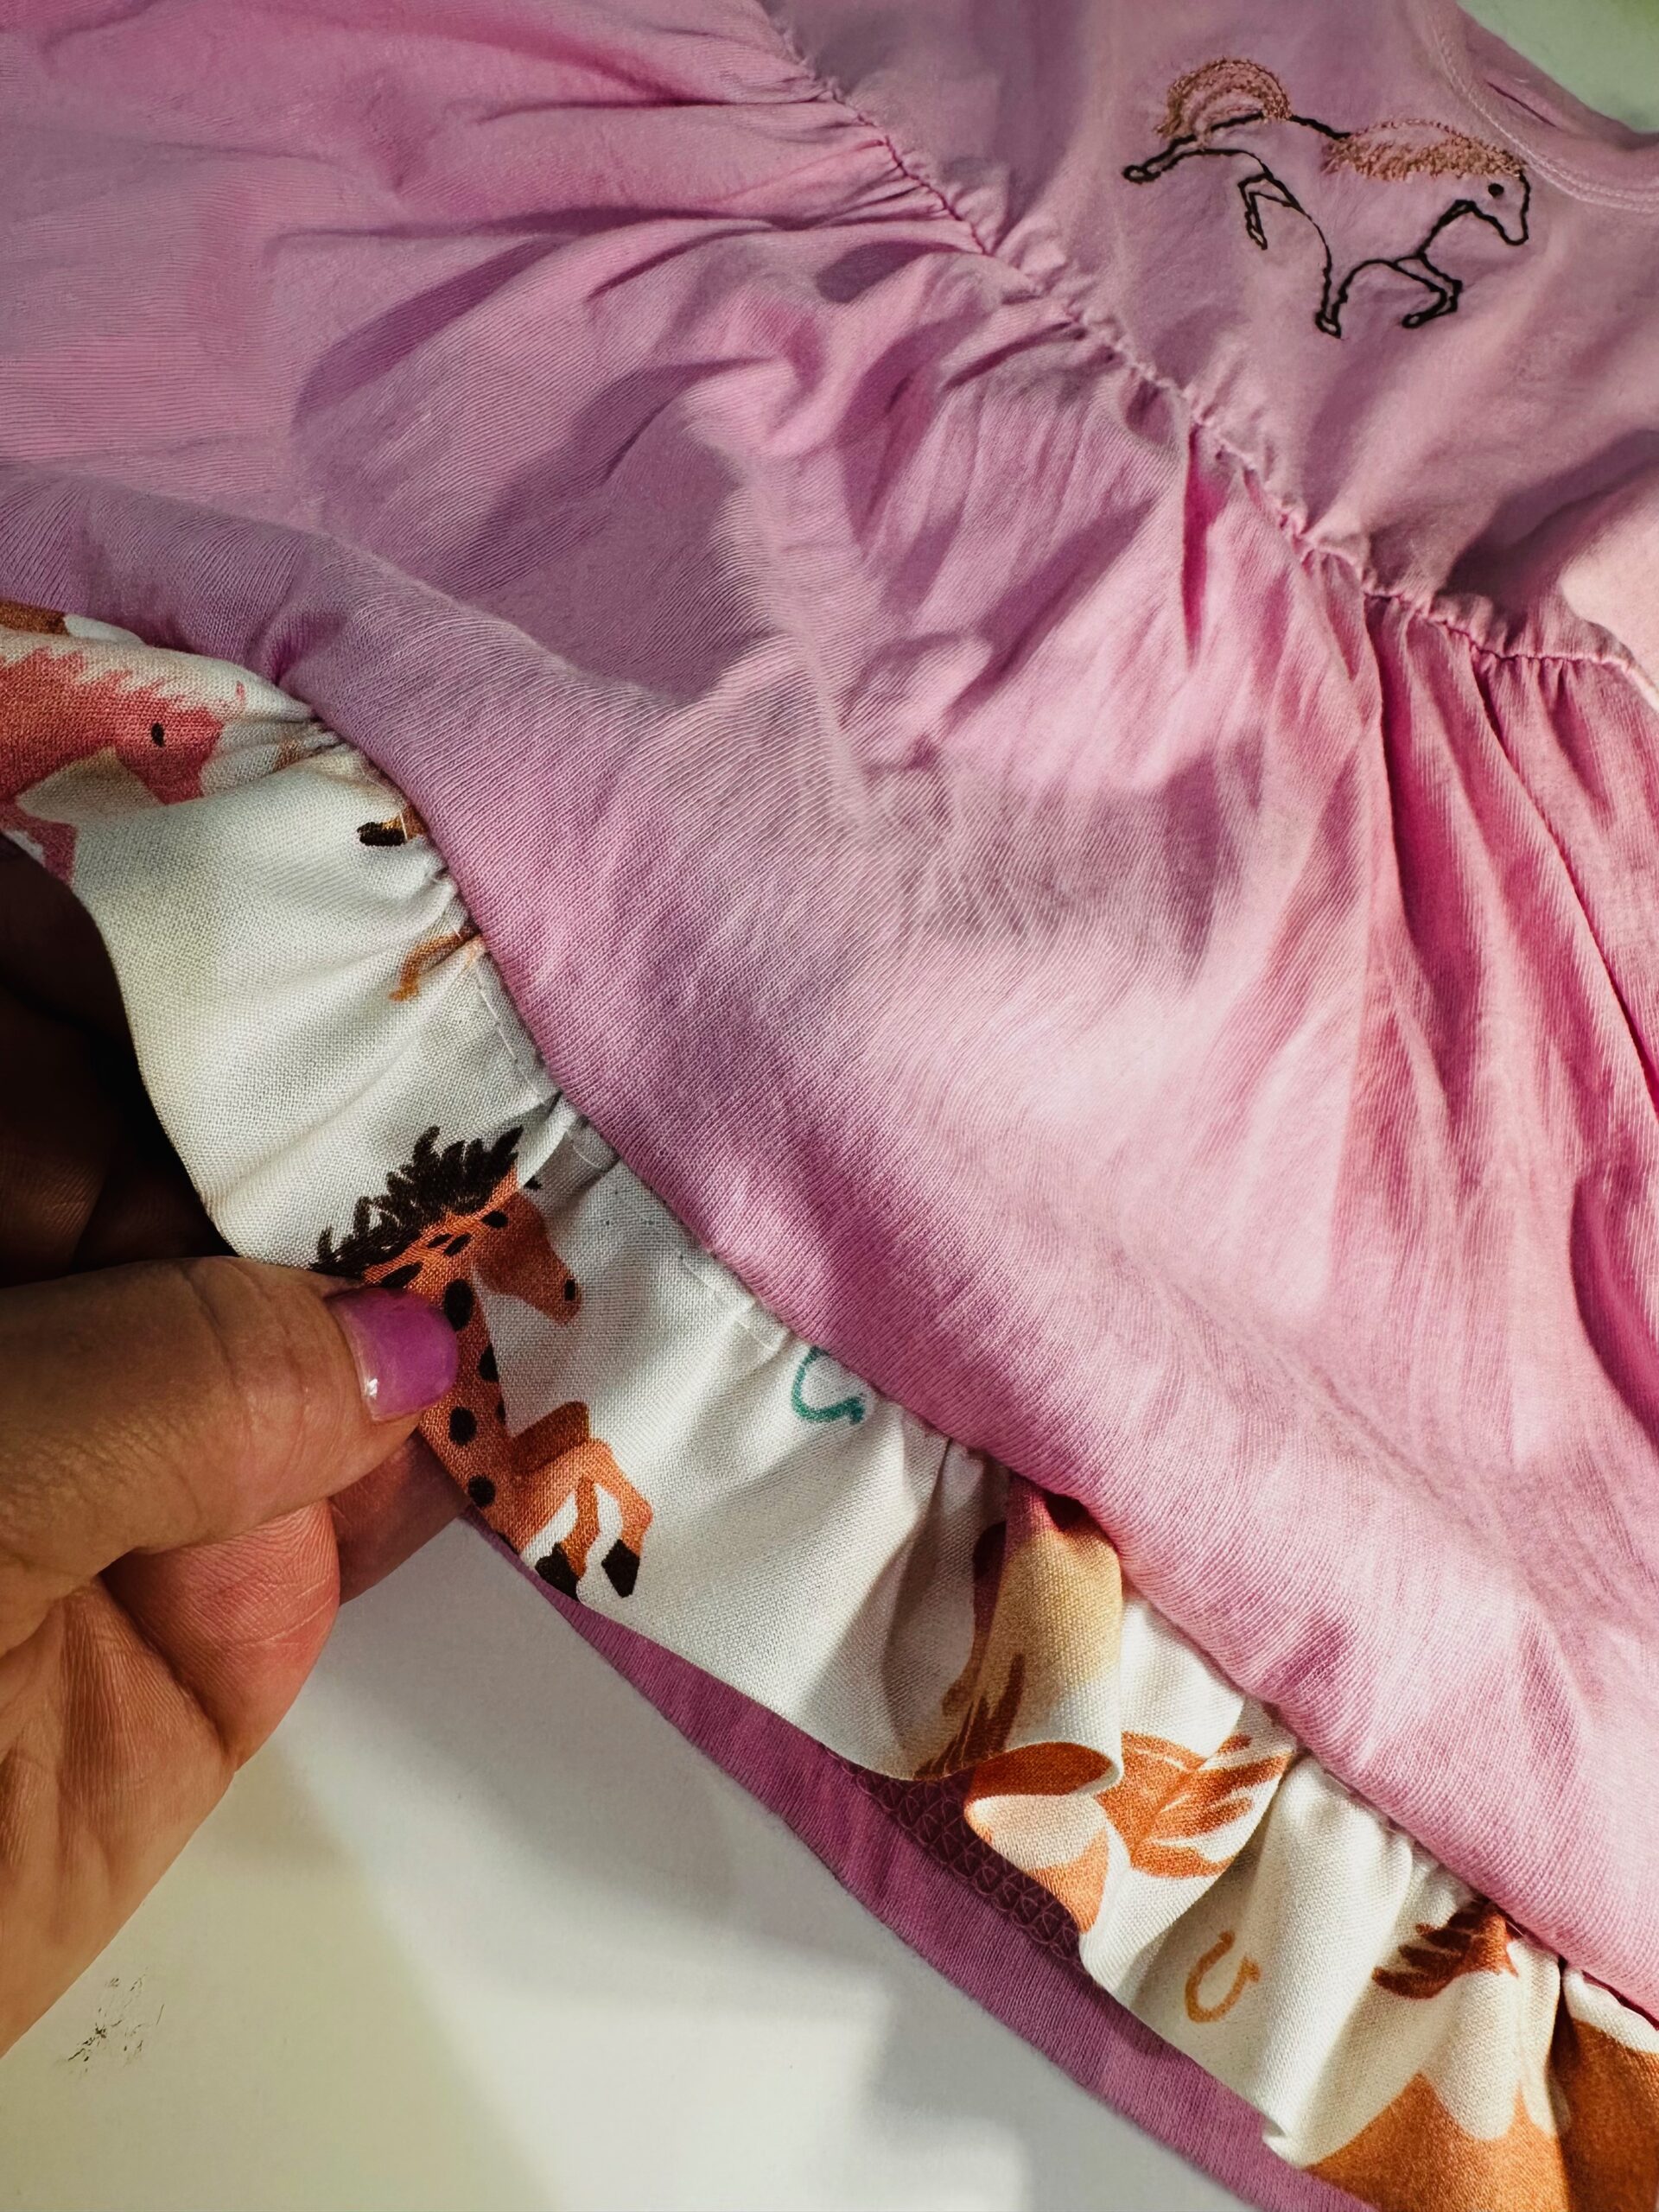
OPTIONAL HAND EMBROIDERY
To further embellish the knit dress, add a hand embroidered motif that matches the fabric print. Choose from one of our Stick ‘n Stitch Transfers or Stick ‘n Stitch Transfers + Thread. Or, print your own motifs onto Sulky Stick ‘n Stitch.
Cut out the transfer sticker and place it on the fabric right side.
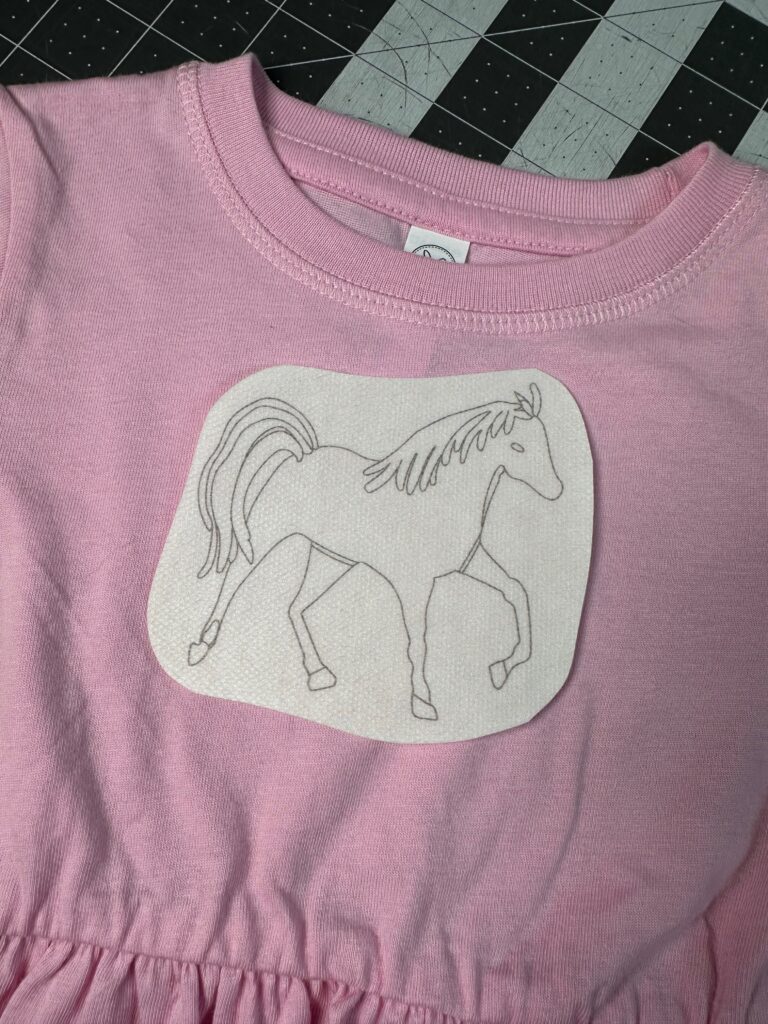
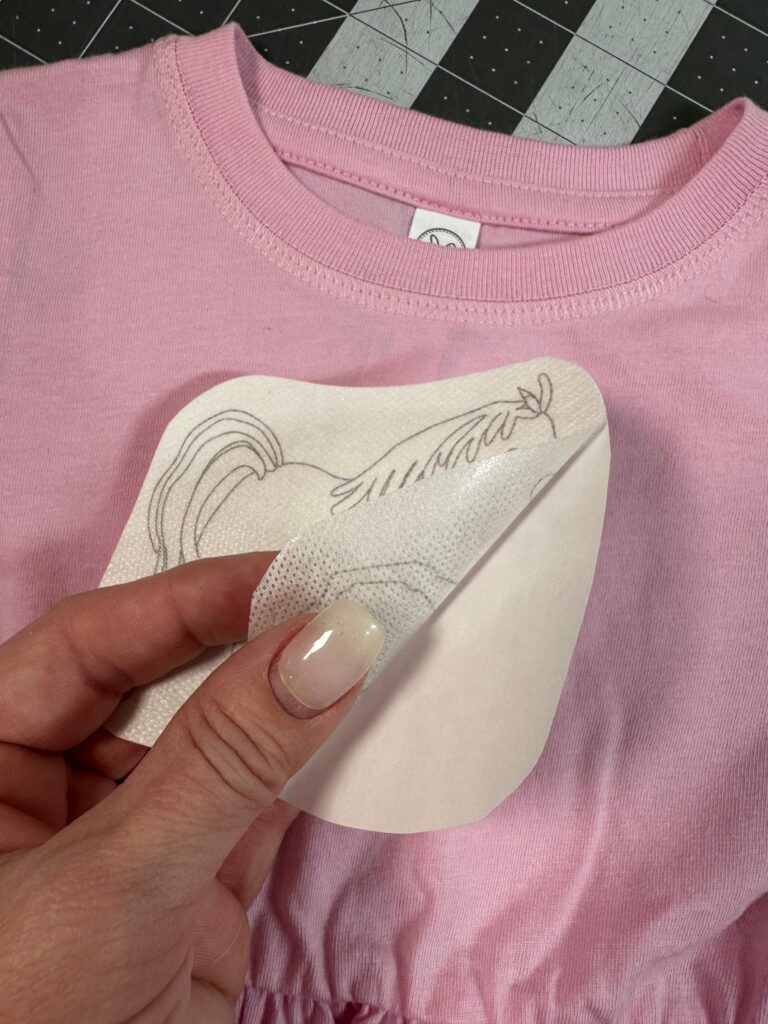
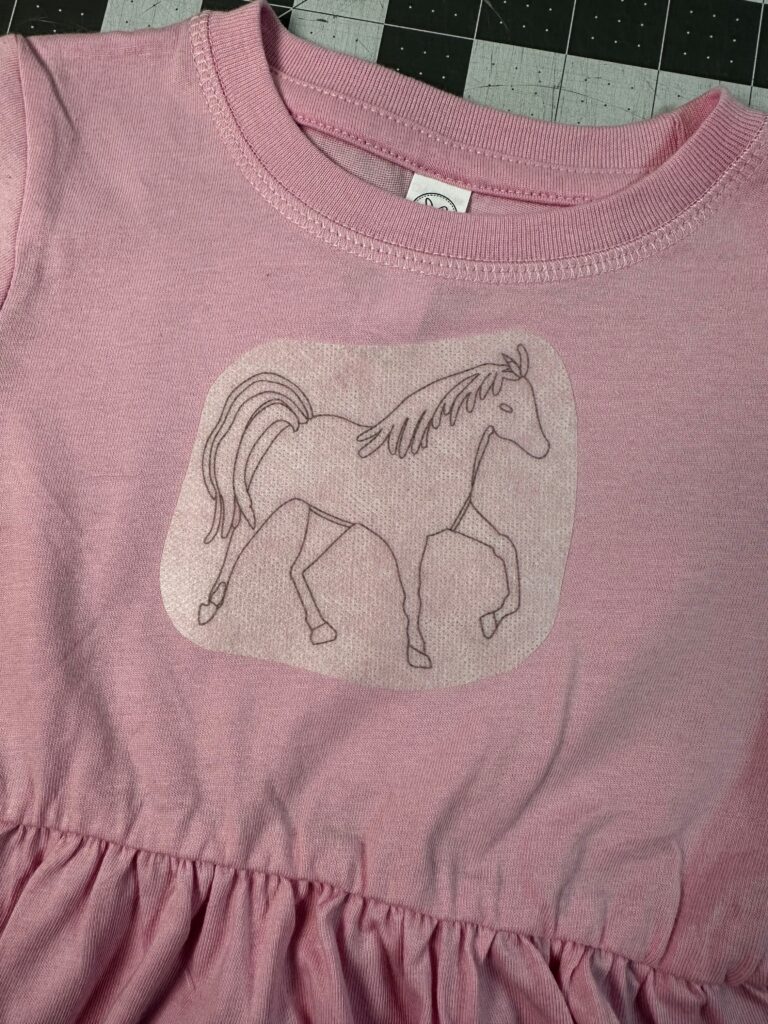
Thread a hand sewing needle with one or two strands of Sulky 12 wt. Cotton Petites Thread. One strand equals two strands of traditional floss.
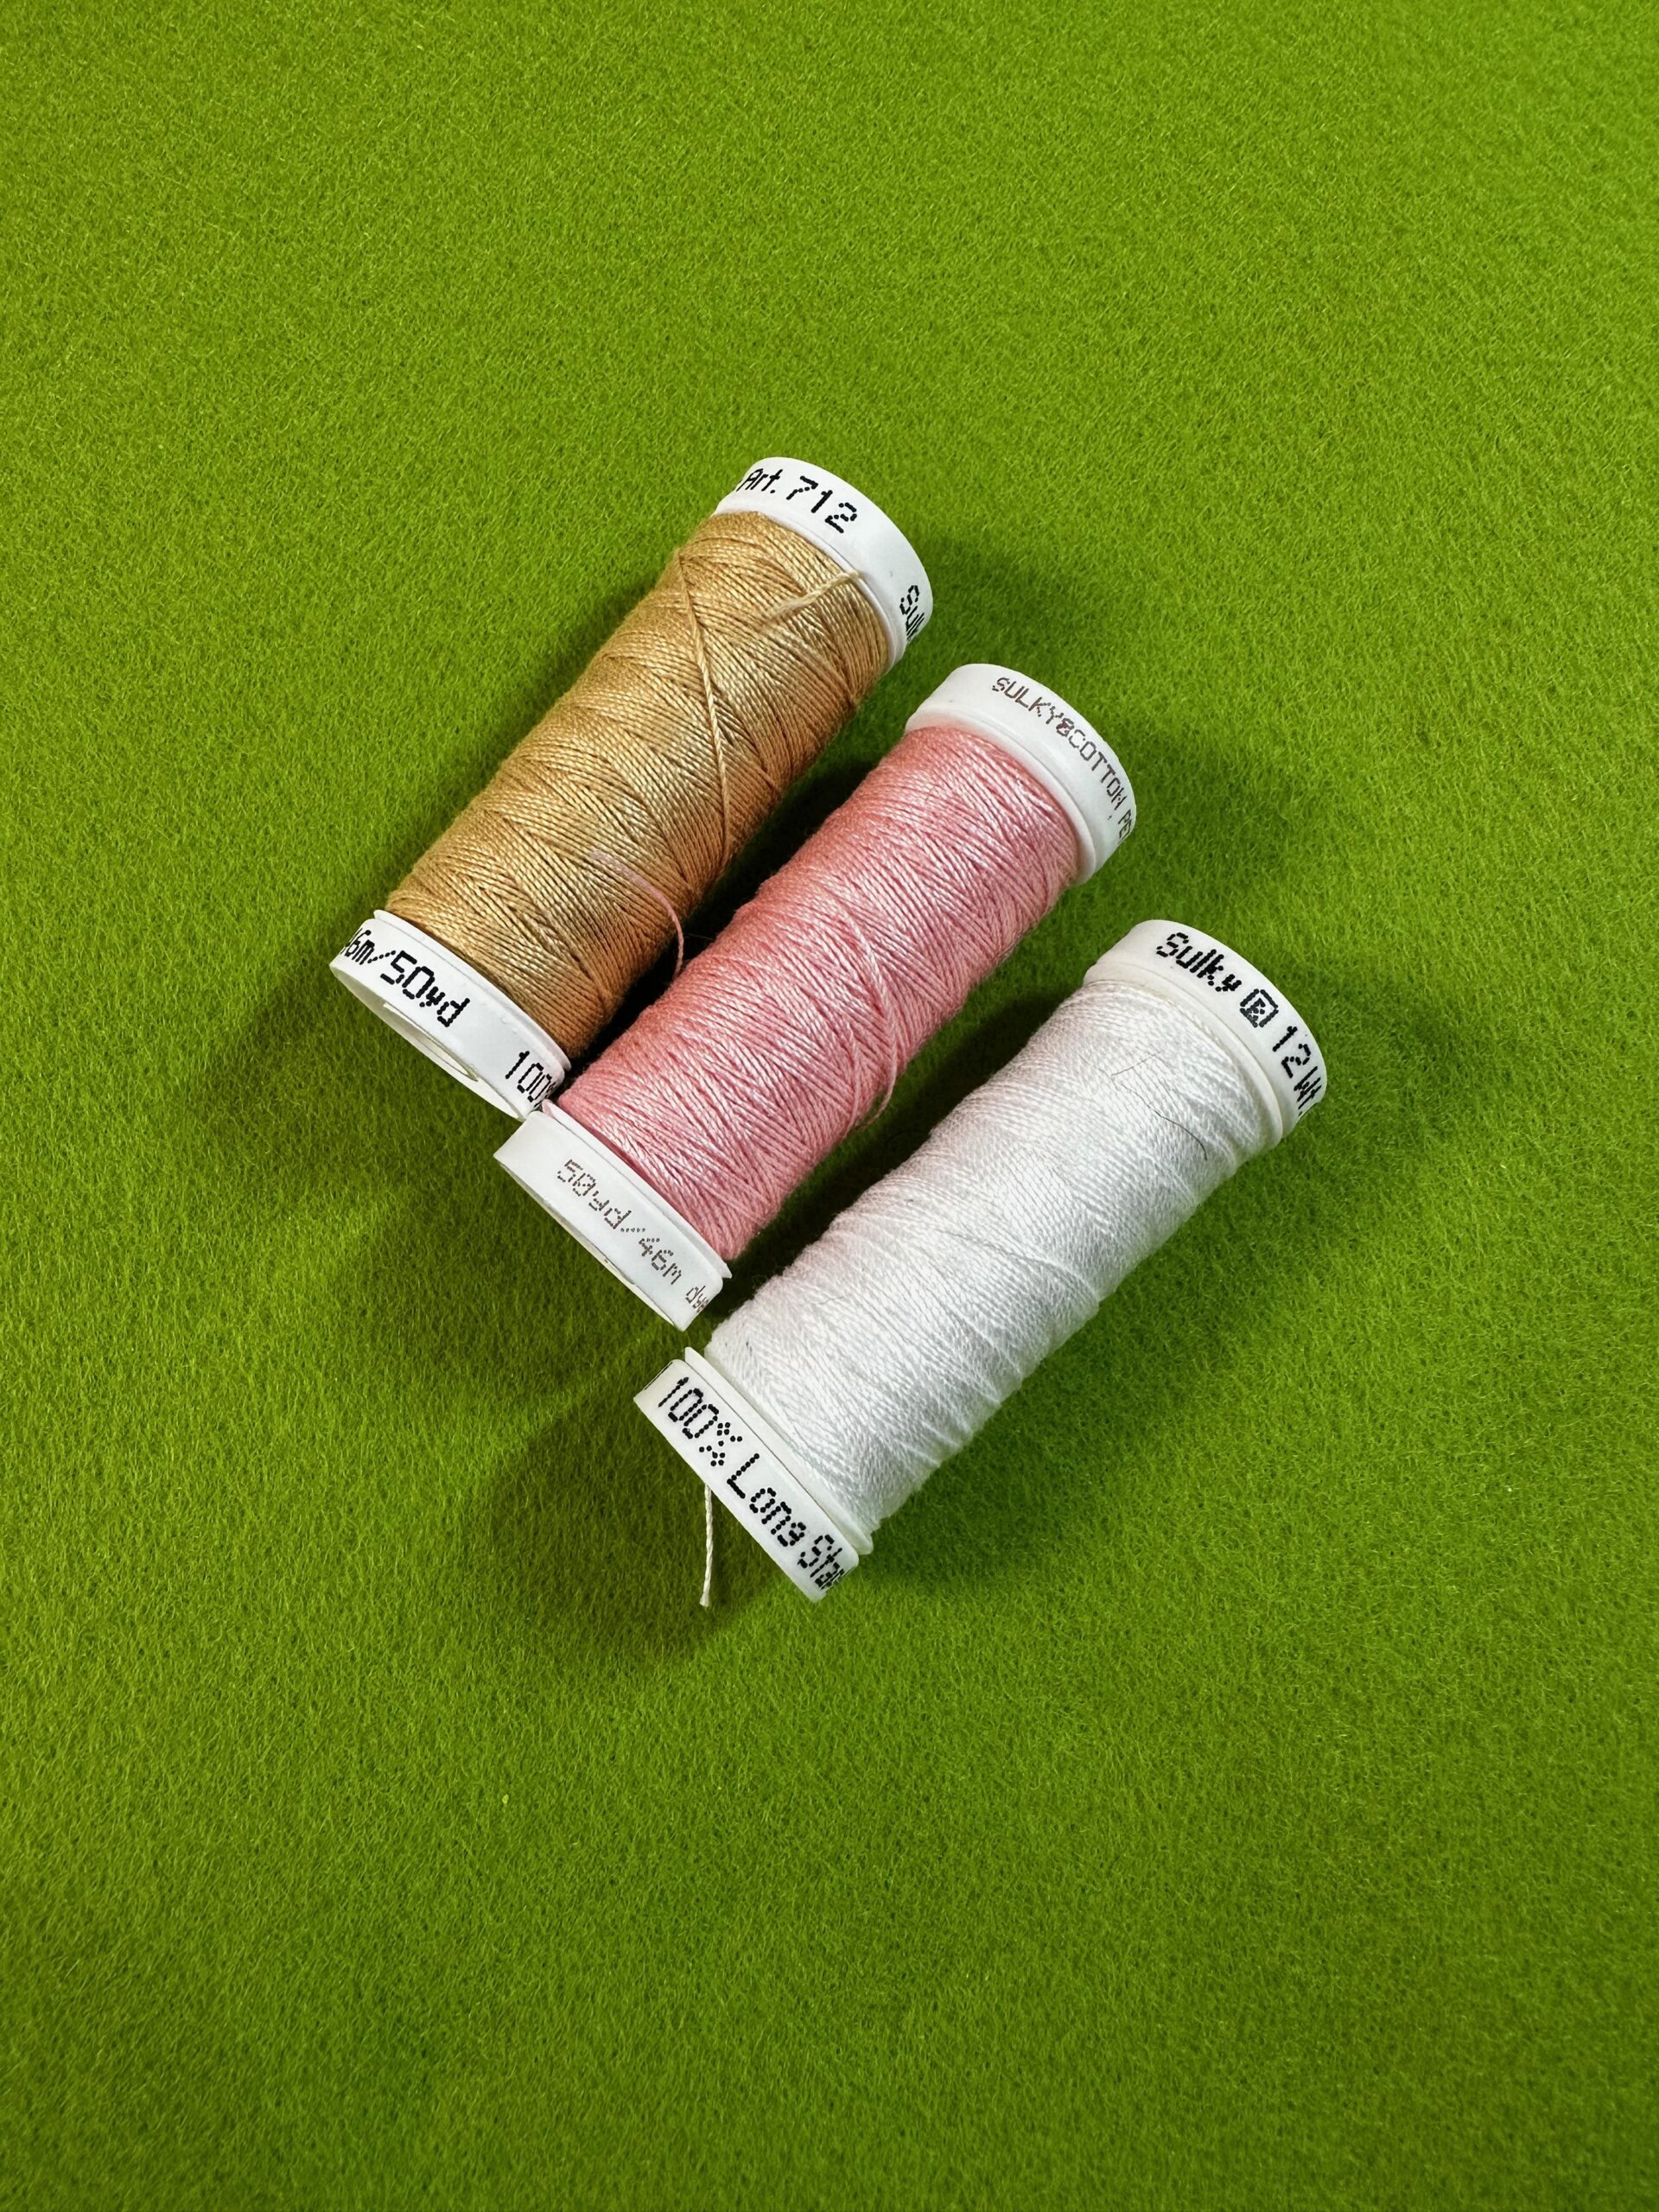
Hand embroider through all layers, following the lines on the transfer sticker. Our Stick ‘n Stitch Transfers come with suggested stitches and resources for learning basic hand embroidery stitches. But you can use any hand embroidery stitches you prefer for your chosen design. We also include a color chart but feel free to let your creativity take hold and choose your own color adventure.
When the embroidery is complete, rinse away the remaining Stick ‘n Stitch Transfer under warm running water. Then, let dry flat.
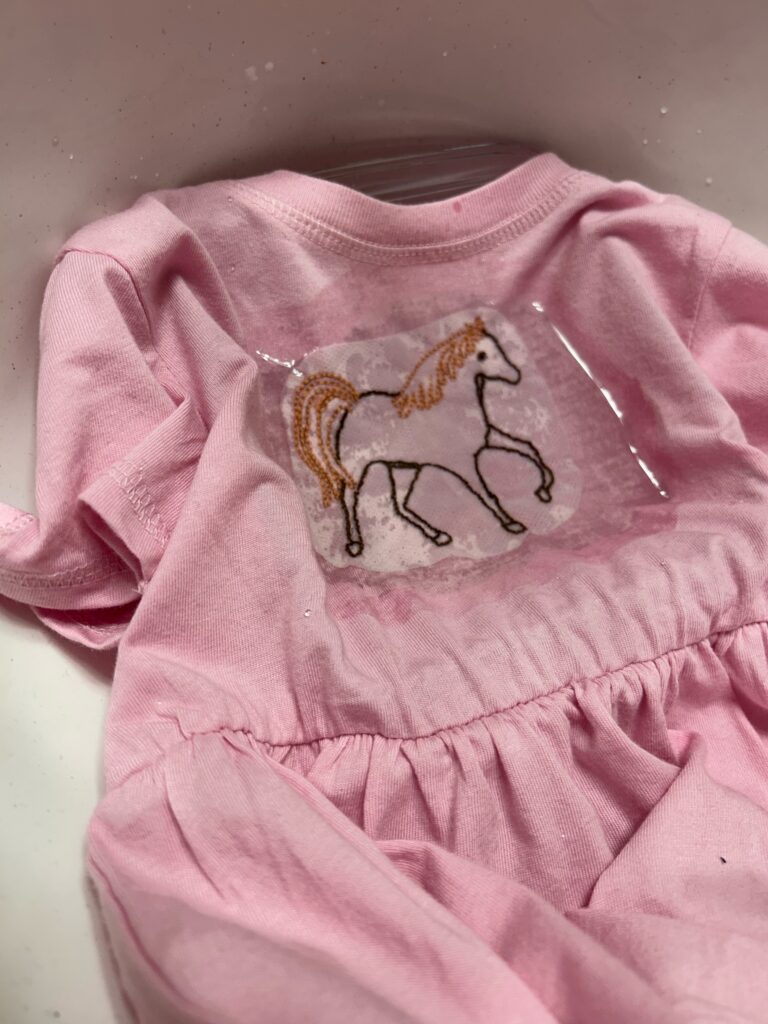
If needed, press the finished garment using a press cloth to remove wrinkles.
If desired, apply Sulky Tender Touch Stabilizer to the embroidery wrong side. First, cut a piece of Tender Touch slightly larger than the embroidery. Use pinking shears or a wavy rotary blade to cut the stabilizer for a stronger bond.
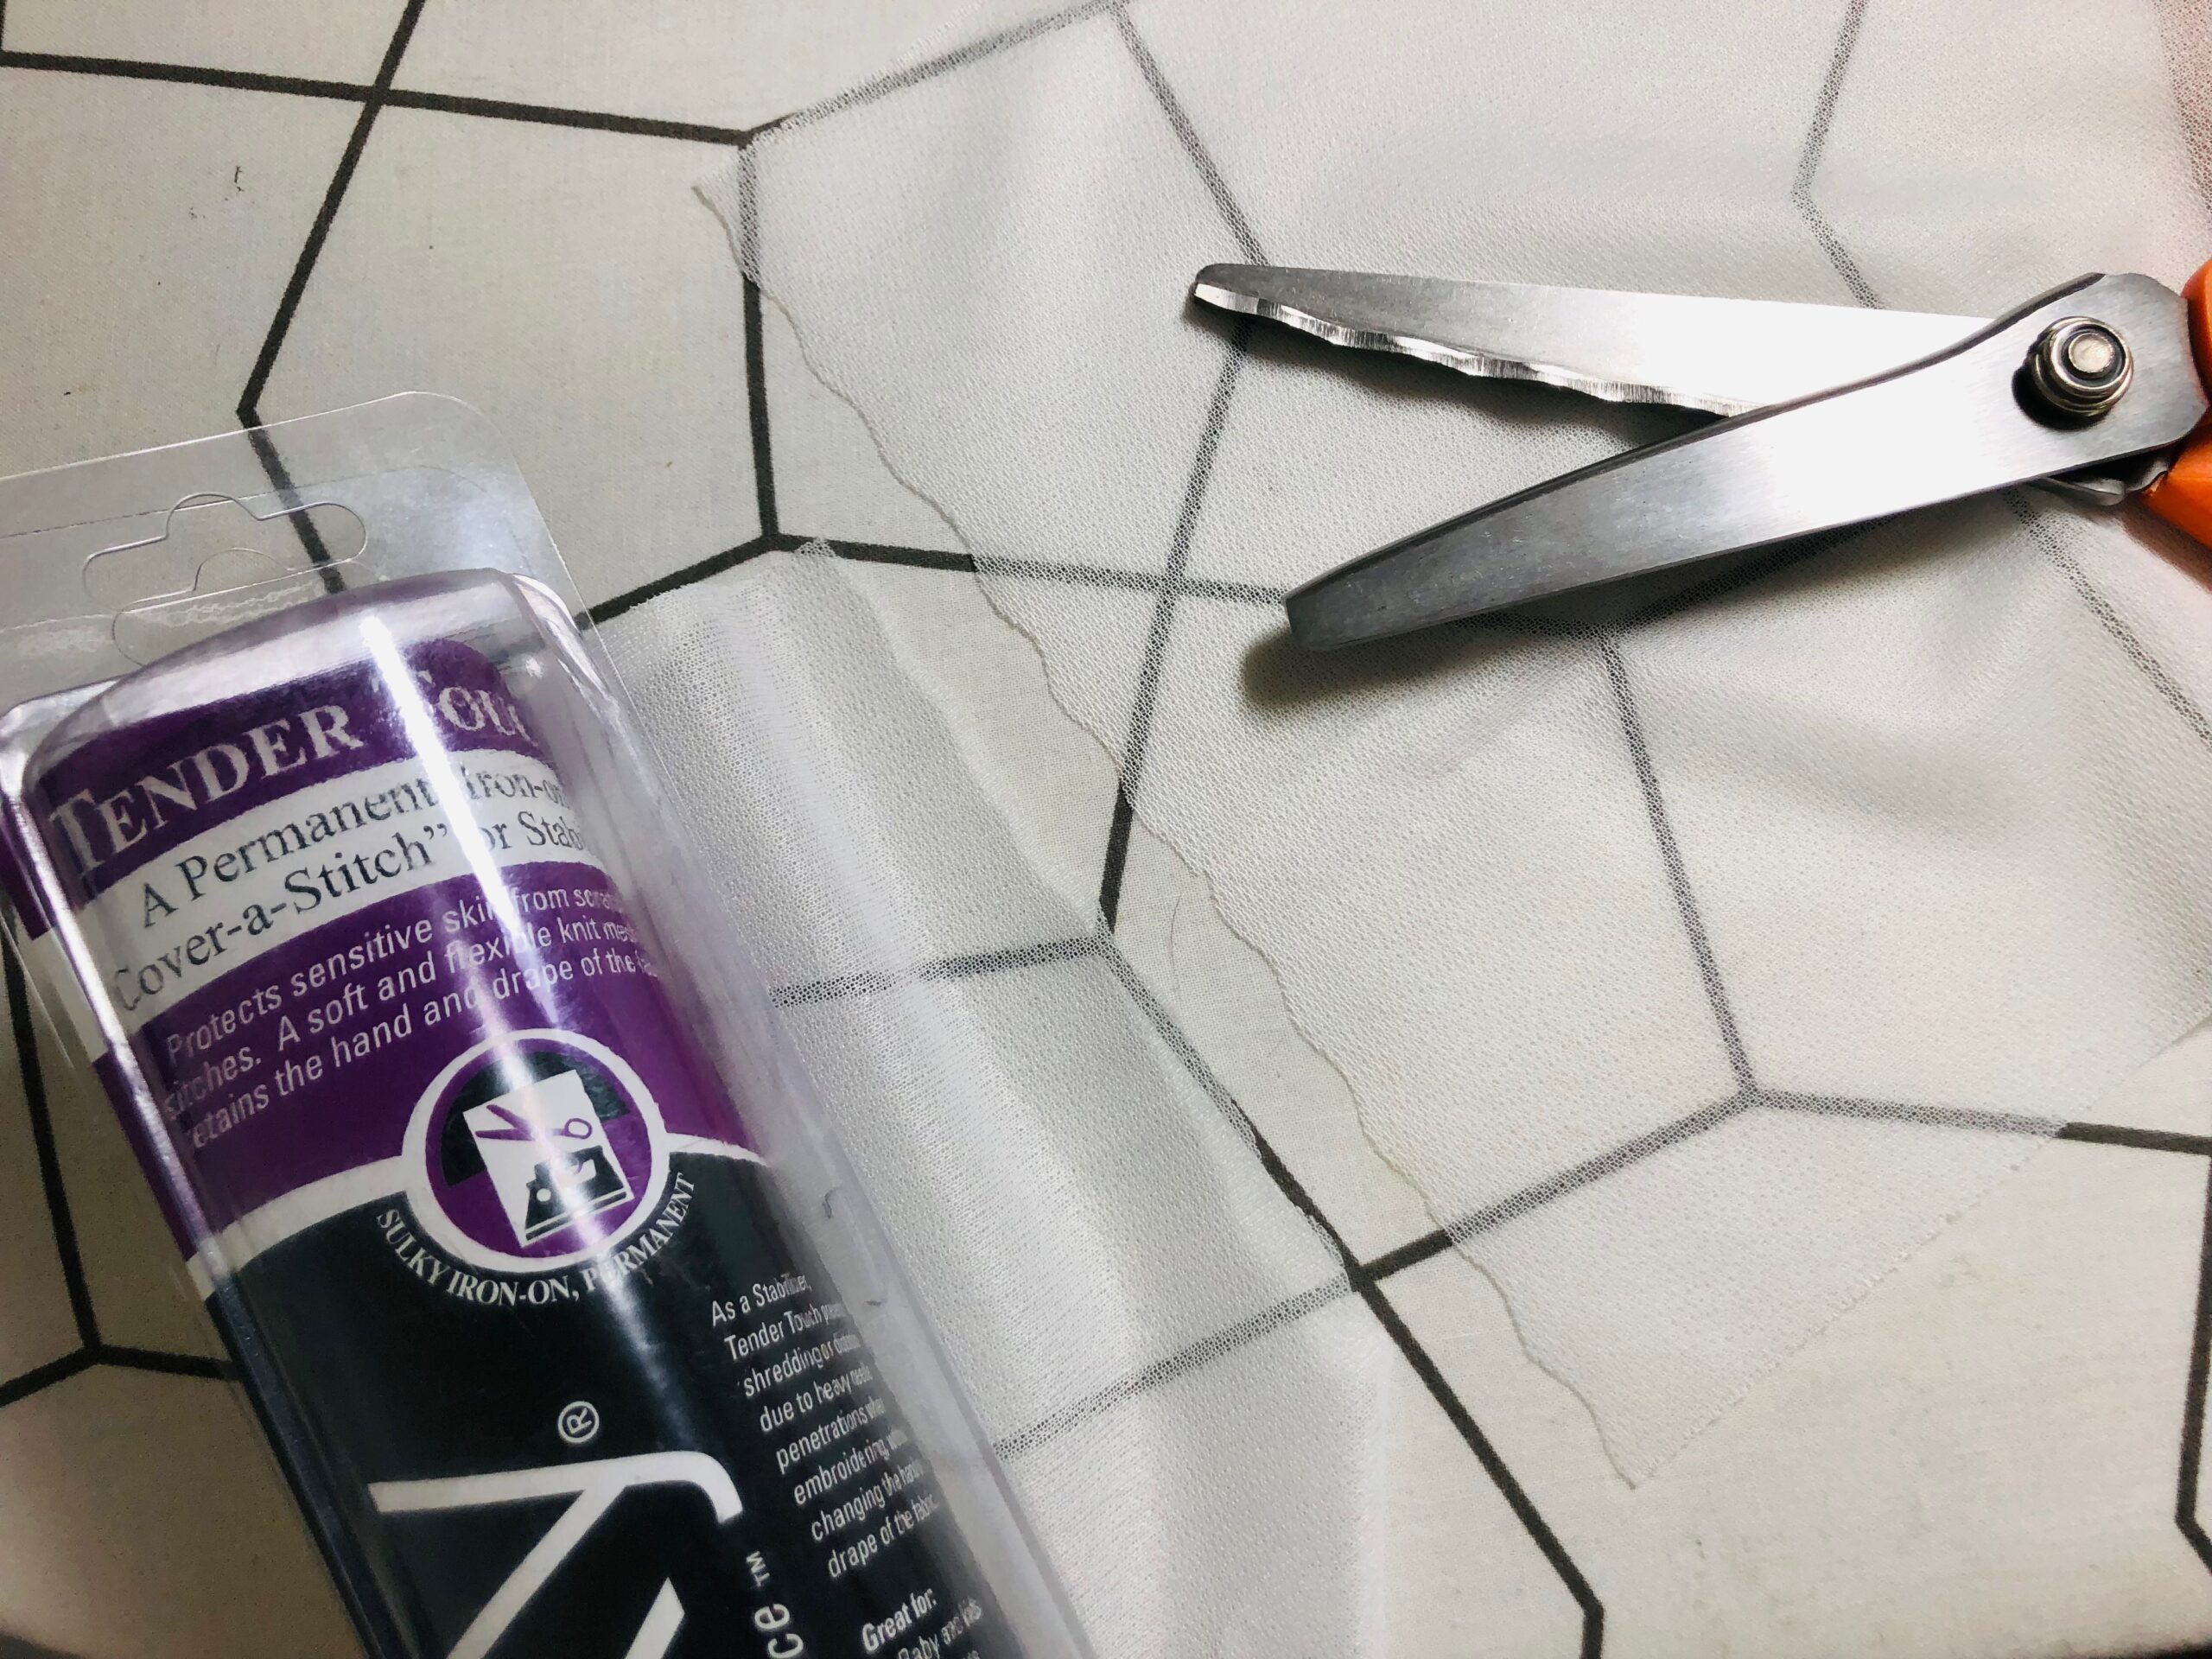
Fuse the Tender Touch to the embroidery wrong side. This seals the embroidery threads and provides a protective barrier between the wearer and the stitching.
Cactus Rose Rodeo Hand Embroidery Transfers + Thread
Grab the Cactus Rose Rodeo Hand Embroidery Transfers with or without Sulky 12 wt. Cotton petites Thread and stitch an rodeo-worthy garment you’re sure to love!