Clear Vinyl Bag Tutorial – A Game-Day Essential!
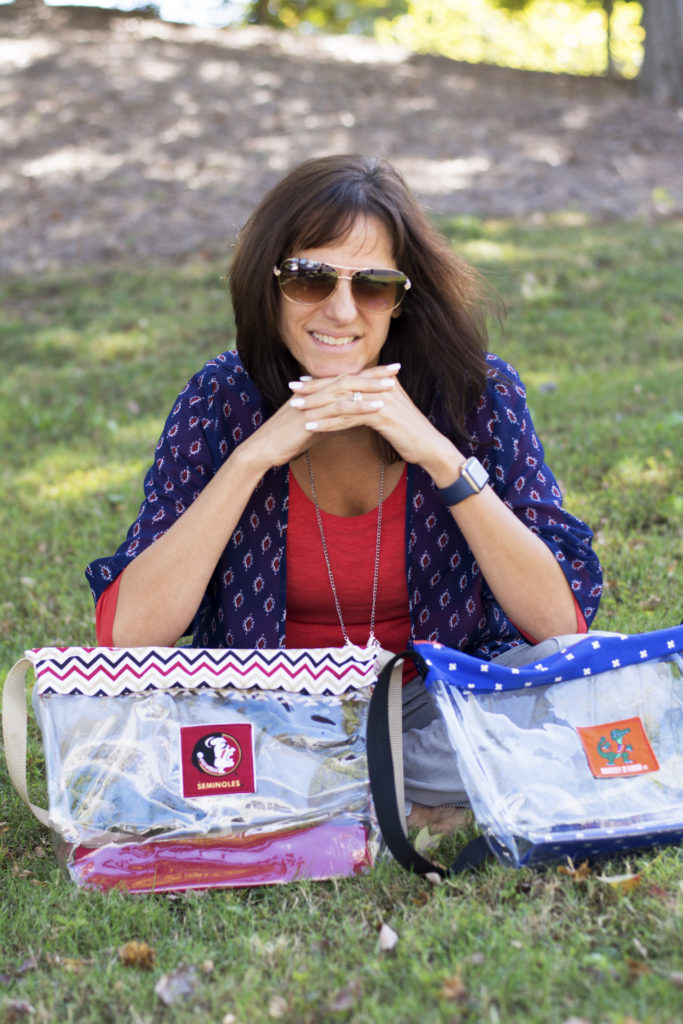
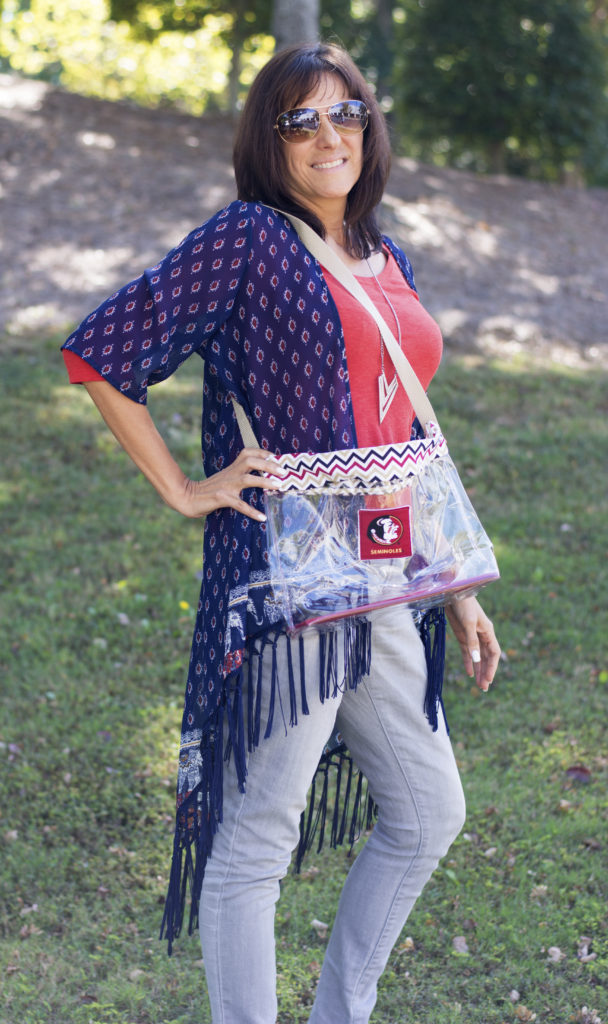
Professional sports stadiums have required them for years, and now a clear vinyl bag is required at all college football stadiums as well. Don’t put your things in a zip-lock bag! Here is how to make an easy and adorable vinyl bag that shows your team pride!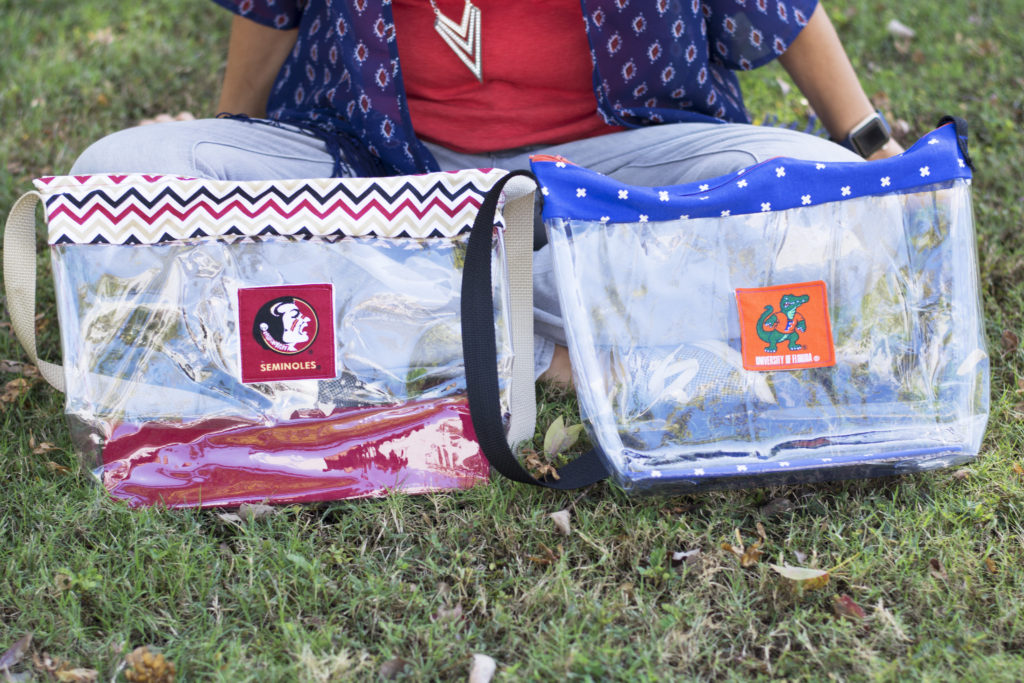
Supplies

Clear Vinyl – cut 1 piece 22″ x 15″
Fabric for the top – 2 pieces 6″ x 15″
Fabric for the bottom insert- 13″ x 8-1/2″
Cardboard for bottom – 12″ x 3-3/4″ (You may have to adjust this to fit – fair warning)
17″ or longer Zipper
38″ Strap
Hot glue or small strip of fusible webbing
Sulky® Tear-Easy™ (these can be scraps left over from machine embroidery projects)
Cotton + Steel® Thread by Sulky in a matching color (You can also use Sulky 30 wt. Cotton Thread or Cotton Blendables® Thread if you want the stitching to stand out a little more)
Tips for using vinyl
A note about clear vinyl: This is a tricky thing to work with. You can’t iron it and you can’t use pins. It also sticks to the bed of your machine and the bottom of your presser foot. All in all, it is not my favorite thing to sew through; but I was determined to make some cute vinyl bags to carry to football games, so I figured out some tricks that make using the stuff bearable.
- After you have purchased your piece, open it up flat and let it relax. Tug on it some so the wrinkles and creases will release. This won’t get them all out, but it will help.
- Measure twice, cut once. Seriously. If you cut it wrong, you will have to cut a brand new piece since sewing pieces together would be way too obvious.
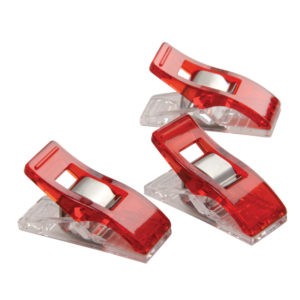
- Use clips, not pins. I prefer Clover® Wonder Clips.
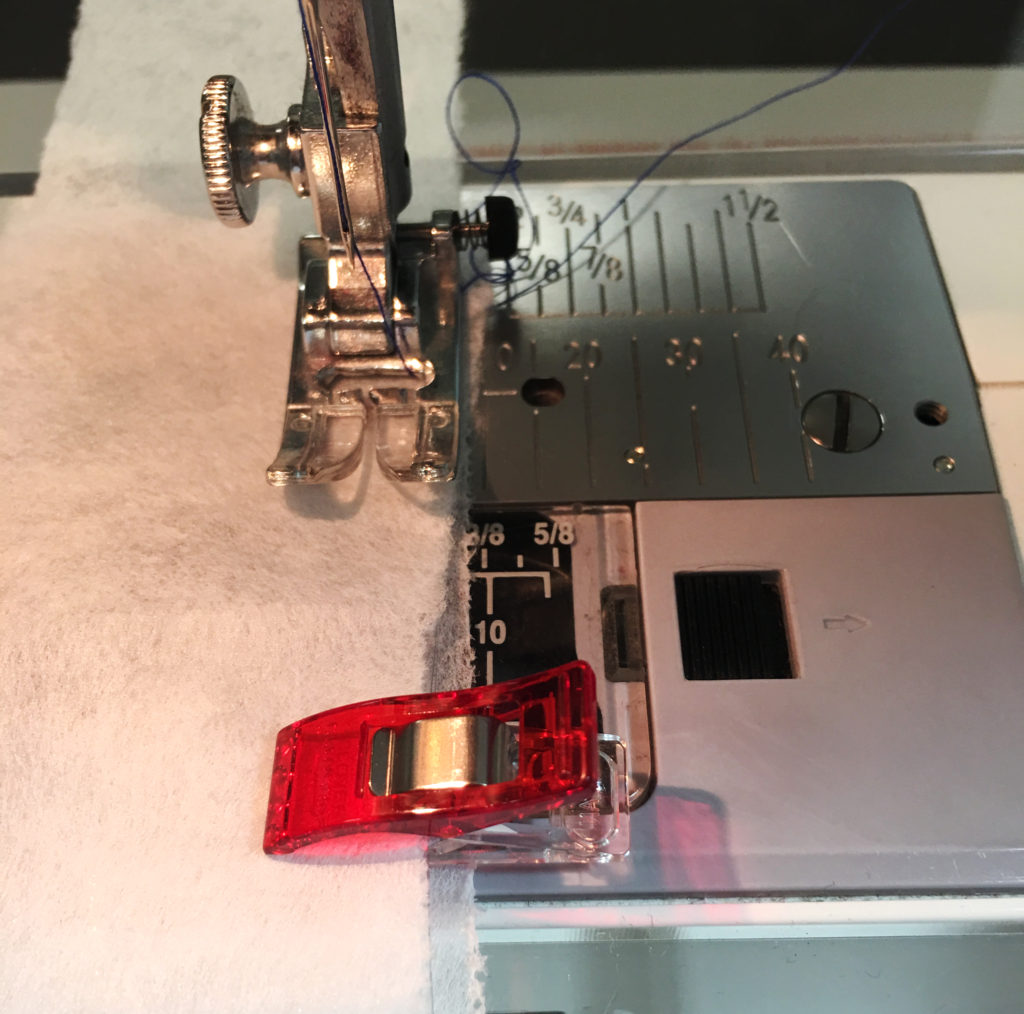
- When sewing, sandwich the vinyl between two pieces of Tear-Easy Stabilizer. The Tear-Easy won’t stick to the sewing machine bed or the presser foot and once you are finished sewing, it will tear cleanly away as if it was never there. This is probably the tip that will help you keep your sanity when it comes to sewing with vinyl.
Directions
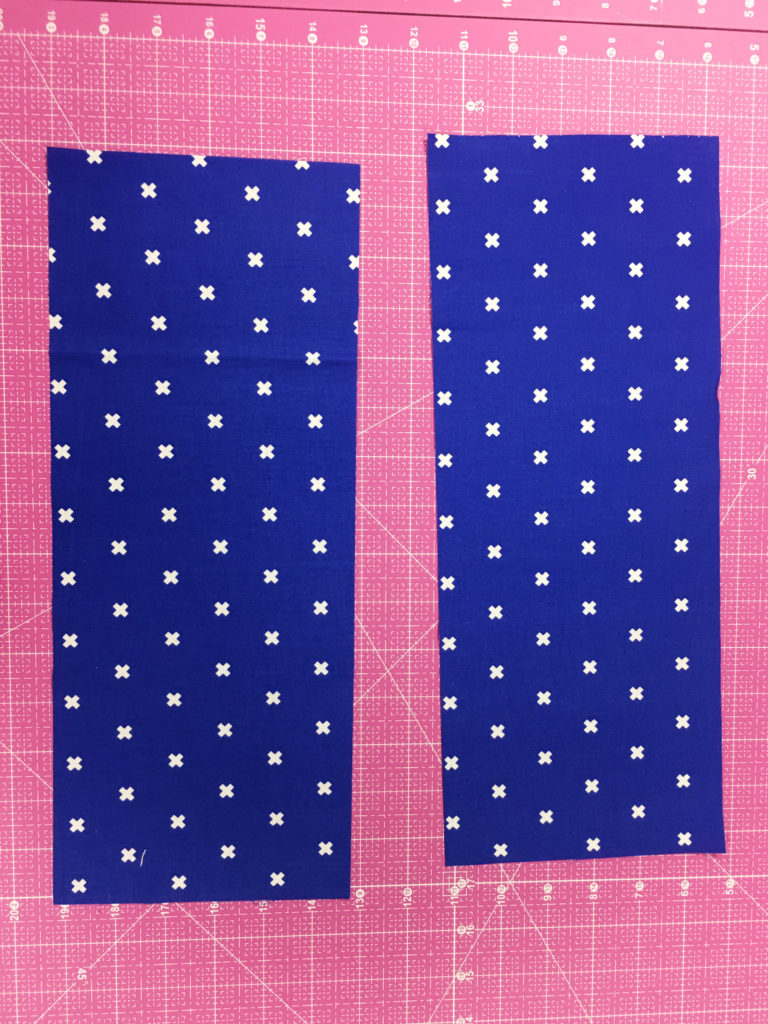
- Fold the two 6″ x 15″ fabrics in half, lengthwise, and press; so you now have two 3″ x 15″ pieces.
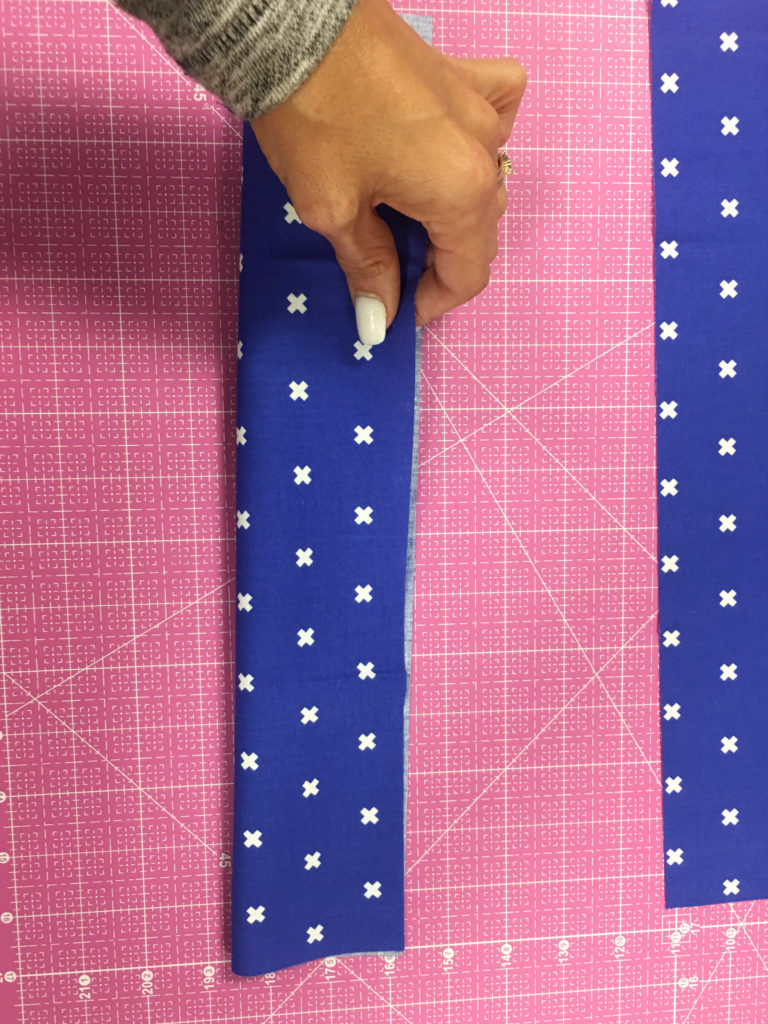
- Sew the raw edge of one of the folded fabric pieces to one 15″ side of the vinyl with a SCANT 1/4″ seam (scant is important).
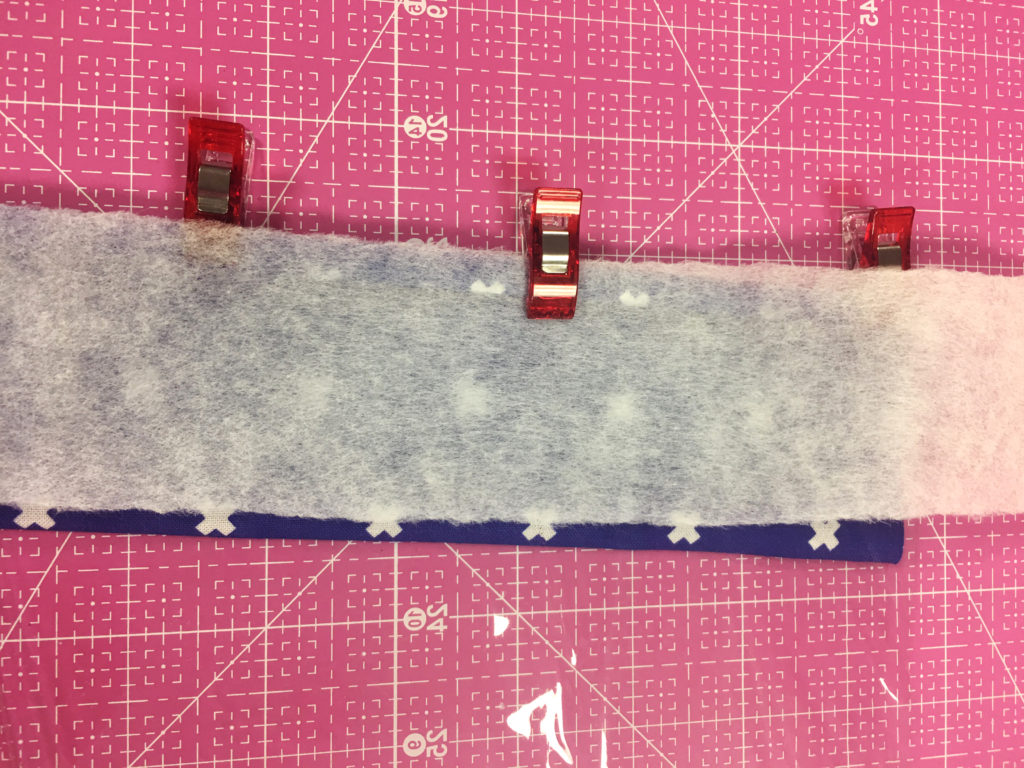
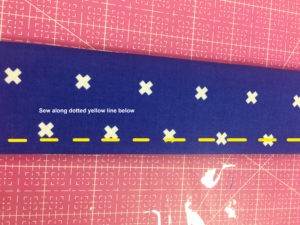
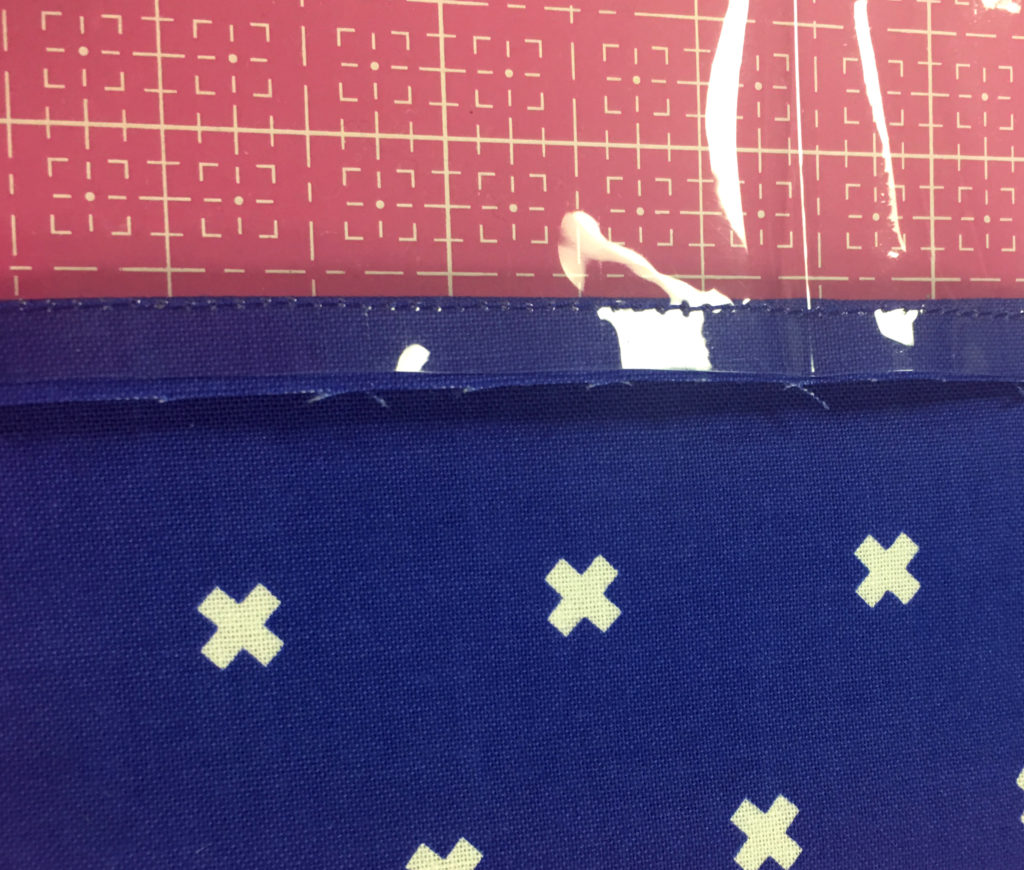
- You are now going to do a french seam (otherwise this edge would look very messy inside the bag). Fold the fabric over the top of the seam and sew a full 1/4″ seam. Just one side. You will sew the other side on after you have the zipper sewn in.

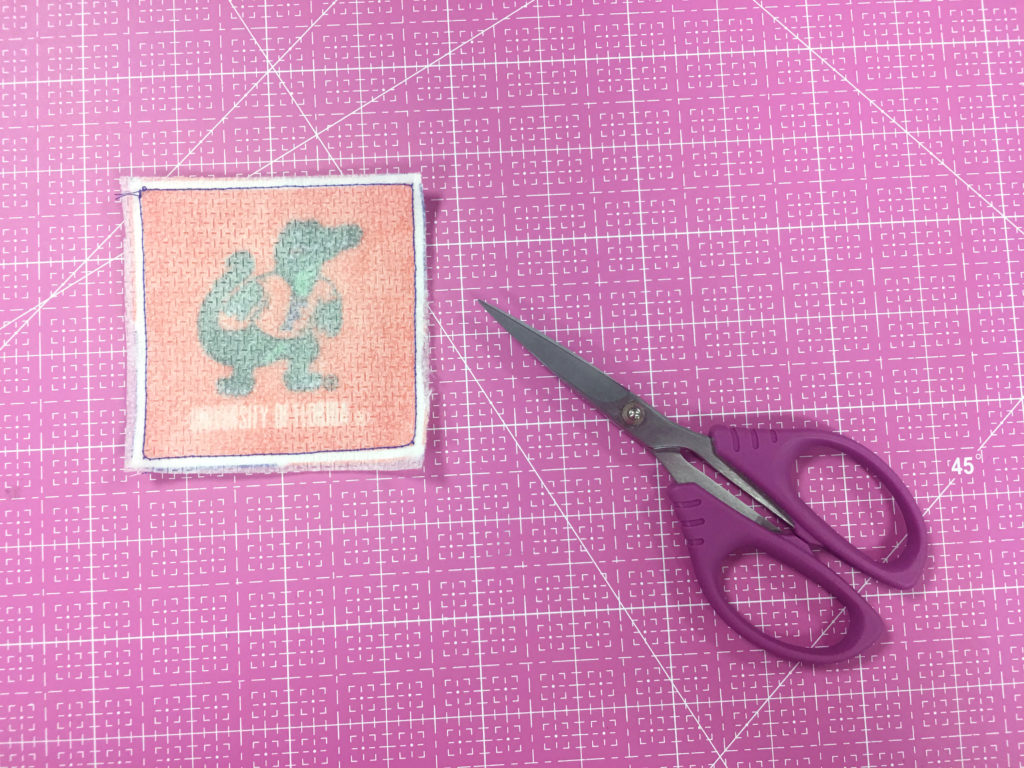
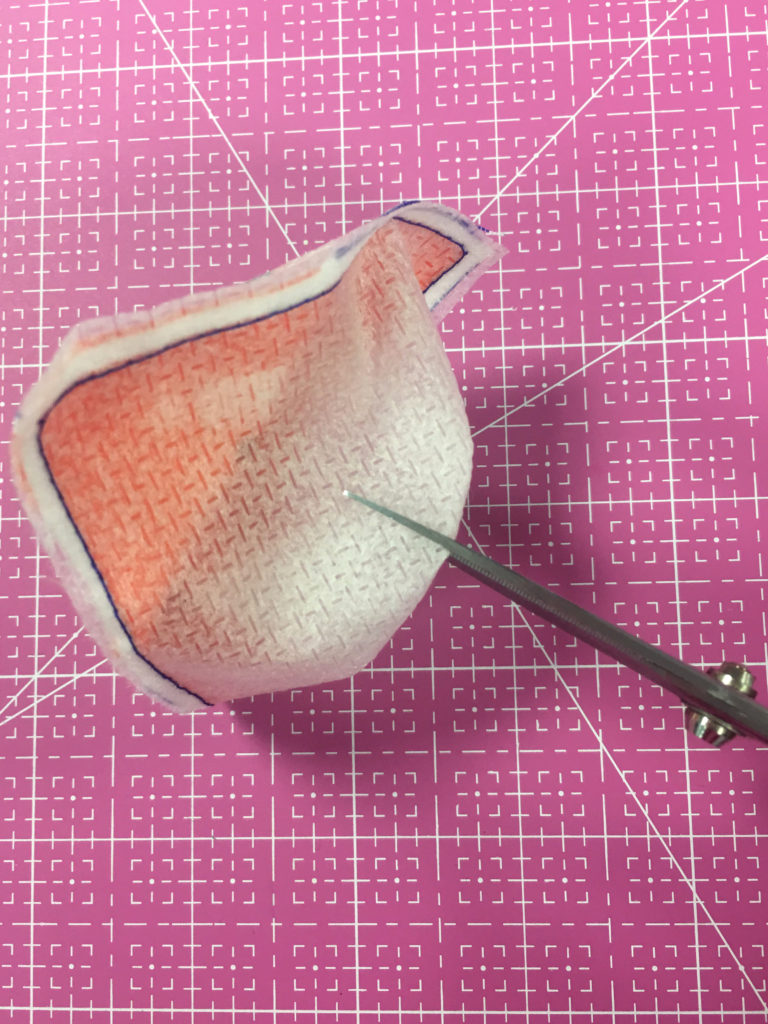
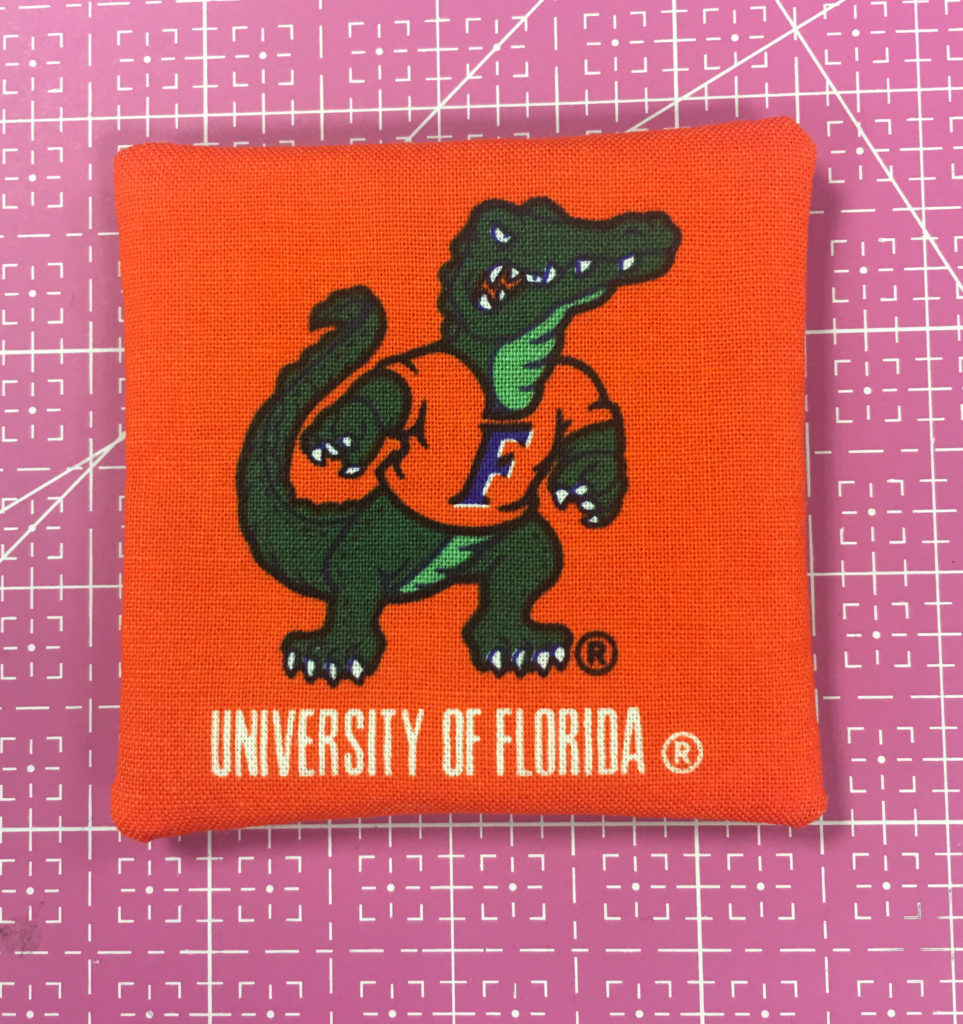
- OPTIONAL: Take a small fussy-cut square of your team’s logo or symbol. Put a piece of Sulky Soft ‘n Sheer™ Stabilizer on the right side of the fabric, and sew around all four sides. Trim seams to about an 1/8″ or cut the seam allowance with pinking shears. Then, cut a small slit in the Soft ‘n Sheer only and turn. This turns down all of your edges and gives the little piece some extra stability. Top stitch it to the center of the front of your bag. (I did mine about 2″ down from the fabric and centered on the vinyl). You may need to put a little strip of Tear Easy on the top and bottom hear too – just to keep it form sticking to the foot or the machine bed.
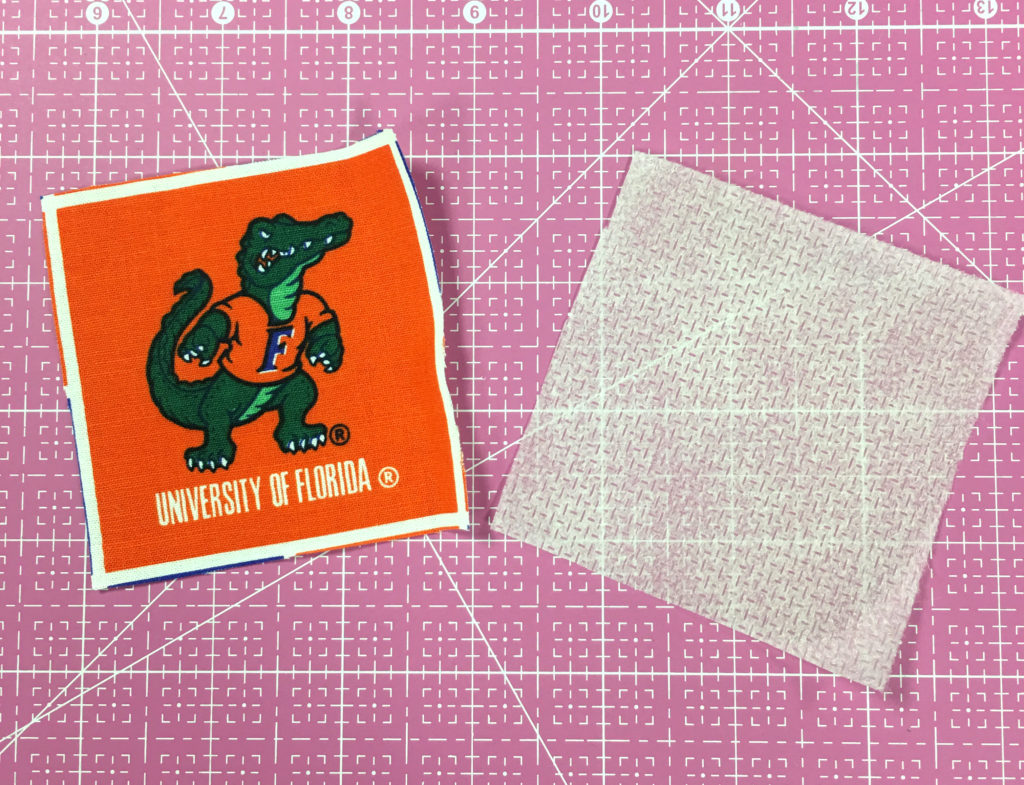
(Go Gators!) 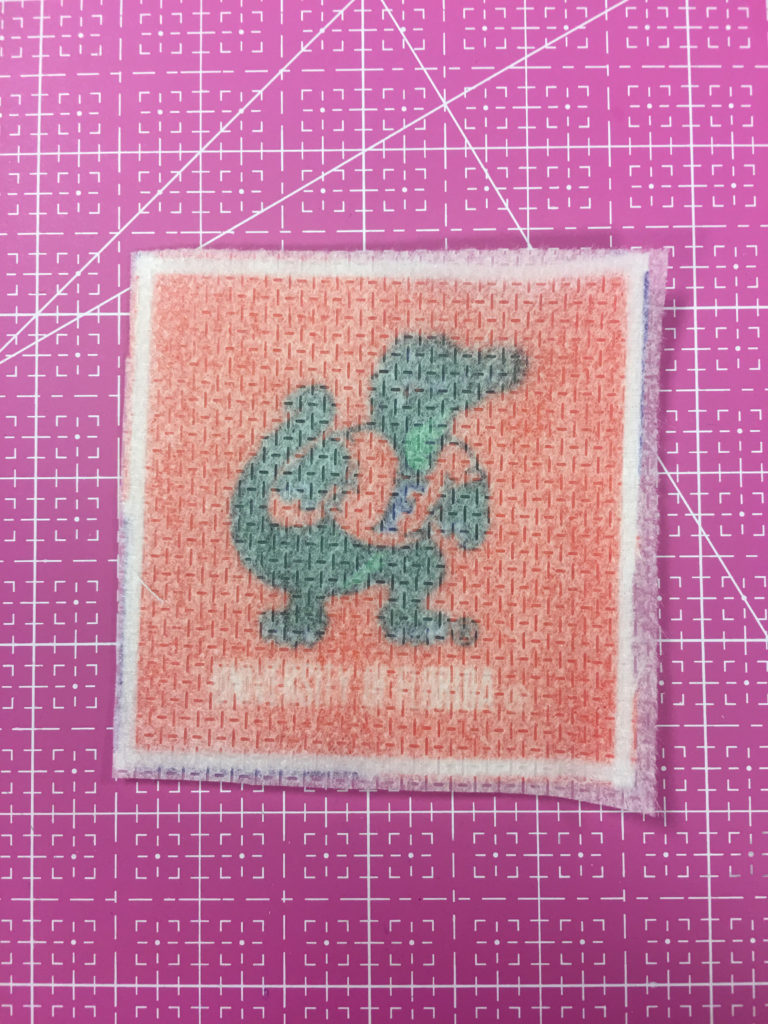
- Time to add the zipper. Pin the zipper into place with the zipper pull moved in about 1/2″.
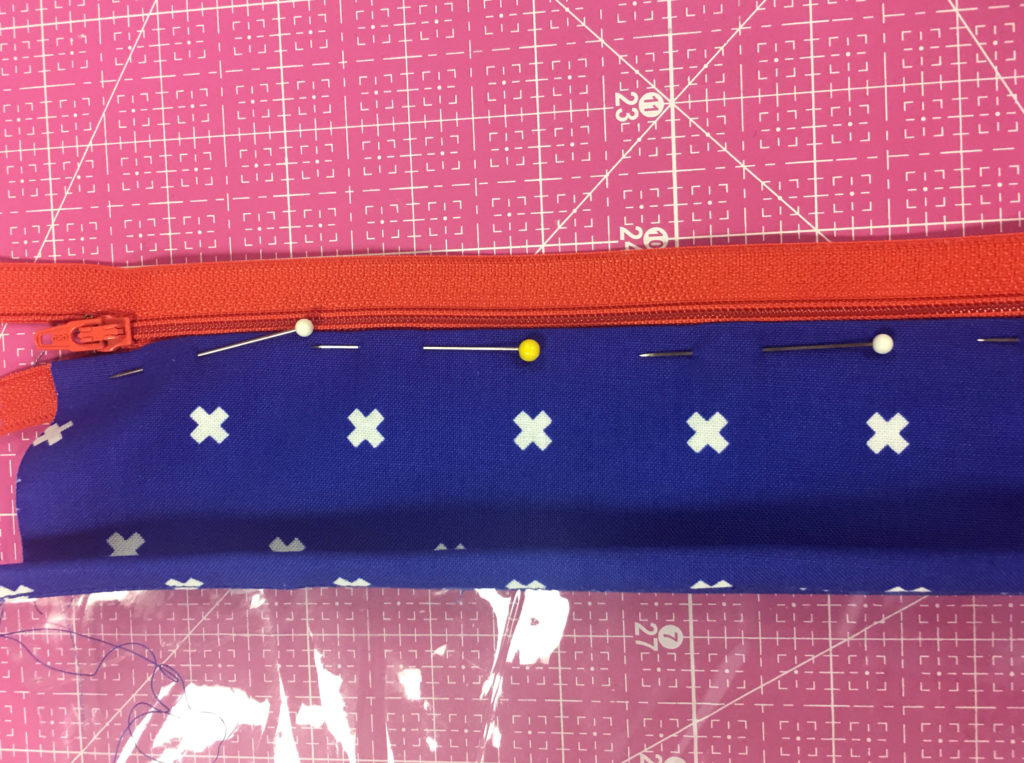
- Put a zipper foot on your machine and topstitch on either side of the zipper.
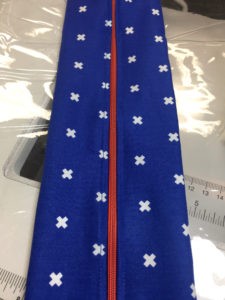
- Now add the second piece of fabric to the other 15″ side of the vinyl and do the french seam on this side, too. Be sure that you first sew the fabric to the inside of the vinyl, and then the outside, so the seam stays on the inside of the bag.
- Sew the sides up with a 1/4″ seam and be sure to backstitch over the zipper at the top. I used clips to hold everything in place and put a piece of Sulky Tear-Easy on top and bottom of the bag.
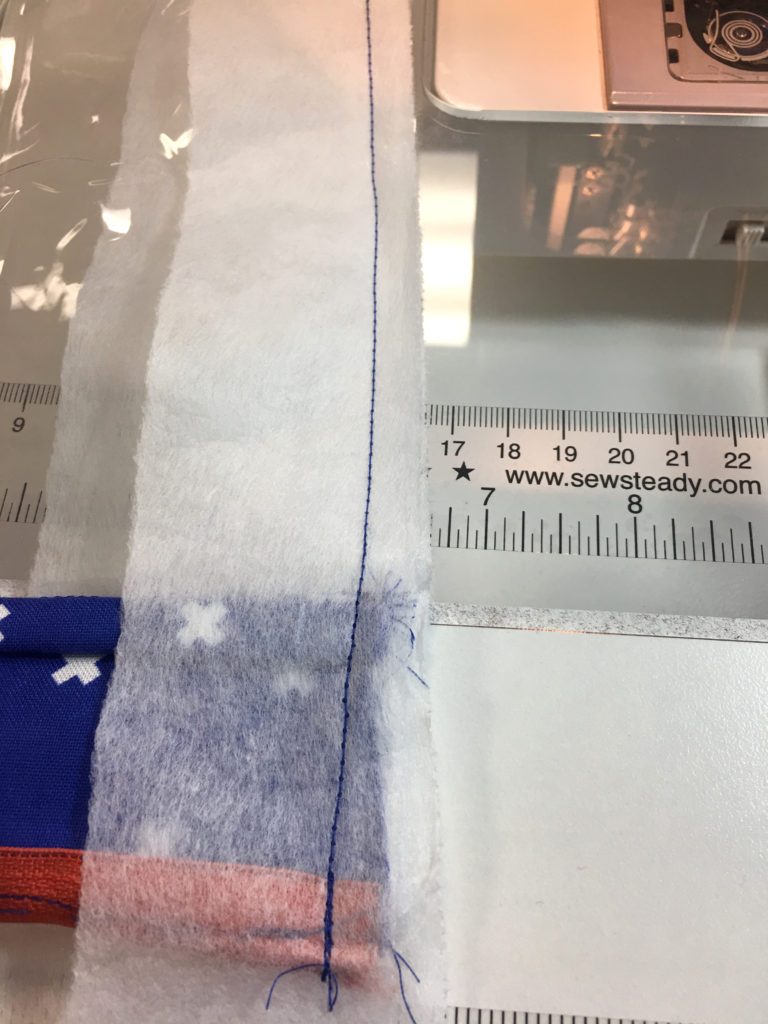
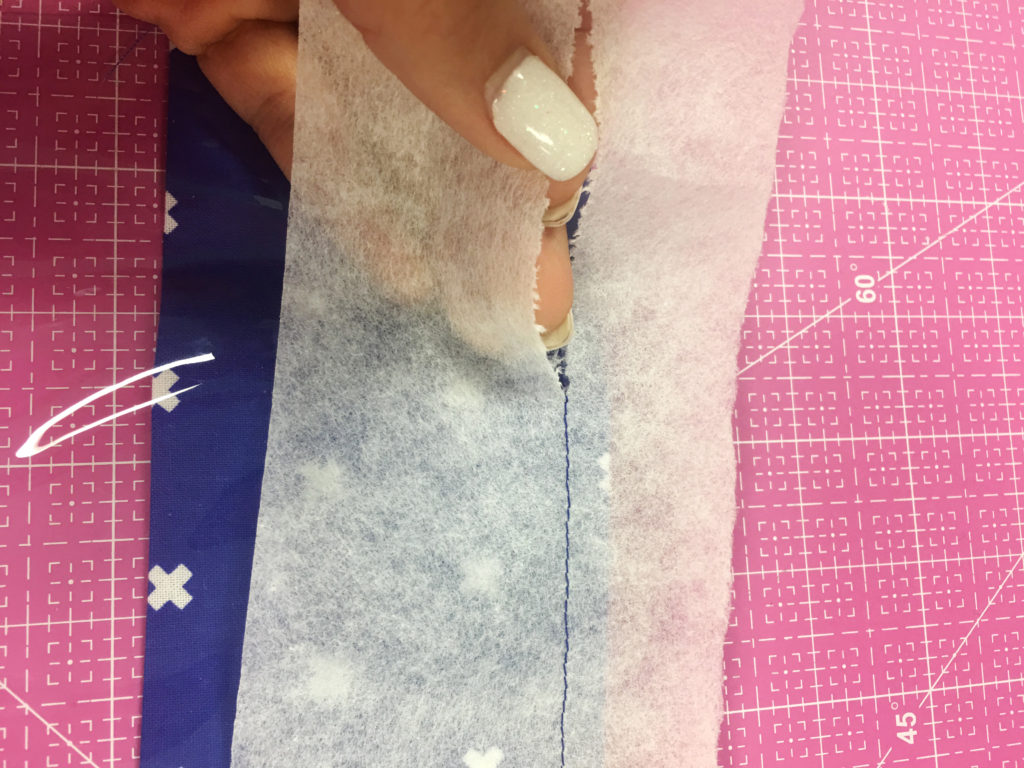
- When tearing the Tear-Easy away, tear toward the stitches on one side; and the second side of the stabilizer will pull right off after you tear the first side.
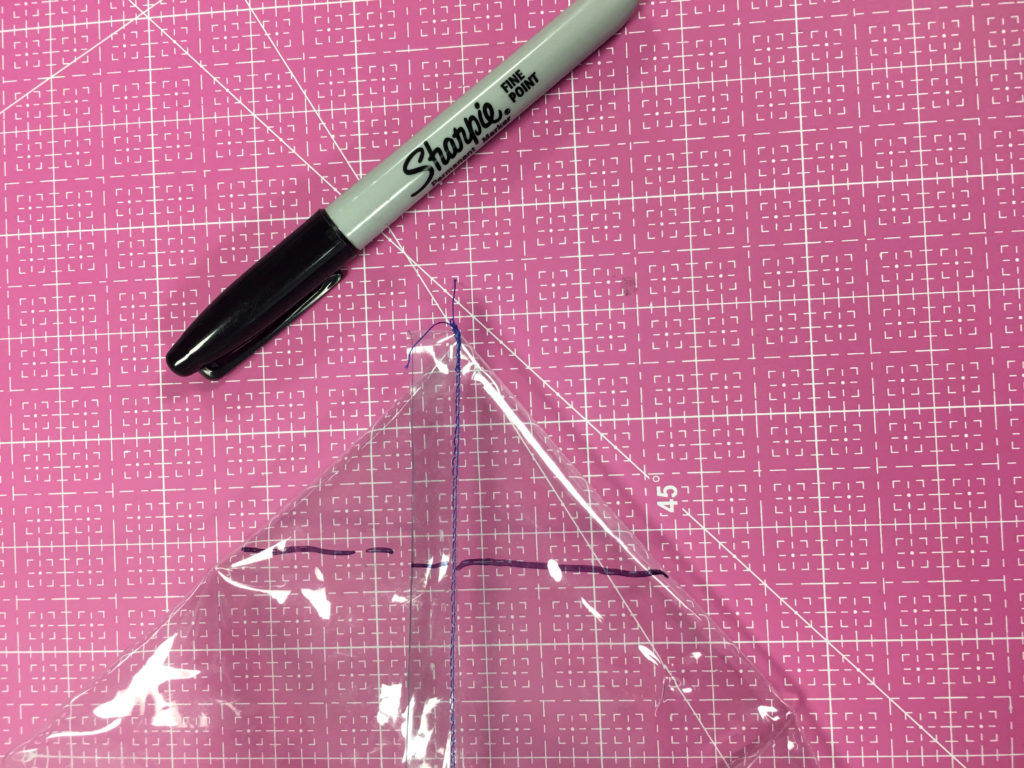
- Box the bottom of the bag by forming a triangle with the corner and drawing a straight line 2″ in. (Note that the seam allowance is in the middle of this triangle.) I used a Sharpie® marker to draw the line so I could see it through the Tear-Easy when I sewed. Don’t trim the extra vinyl. It will fold under your bottom piece for extra stability.
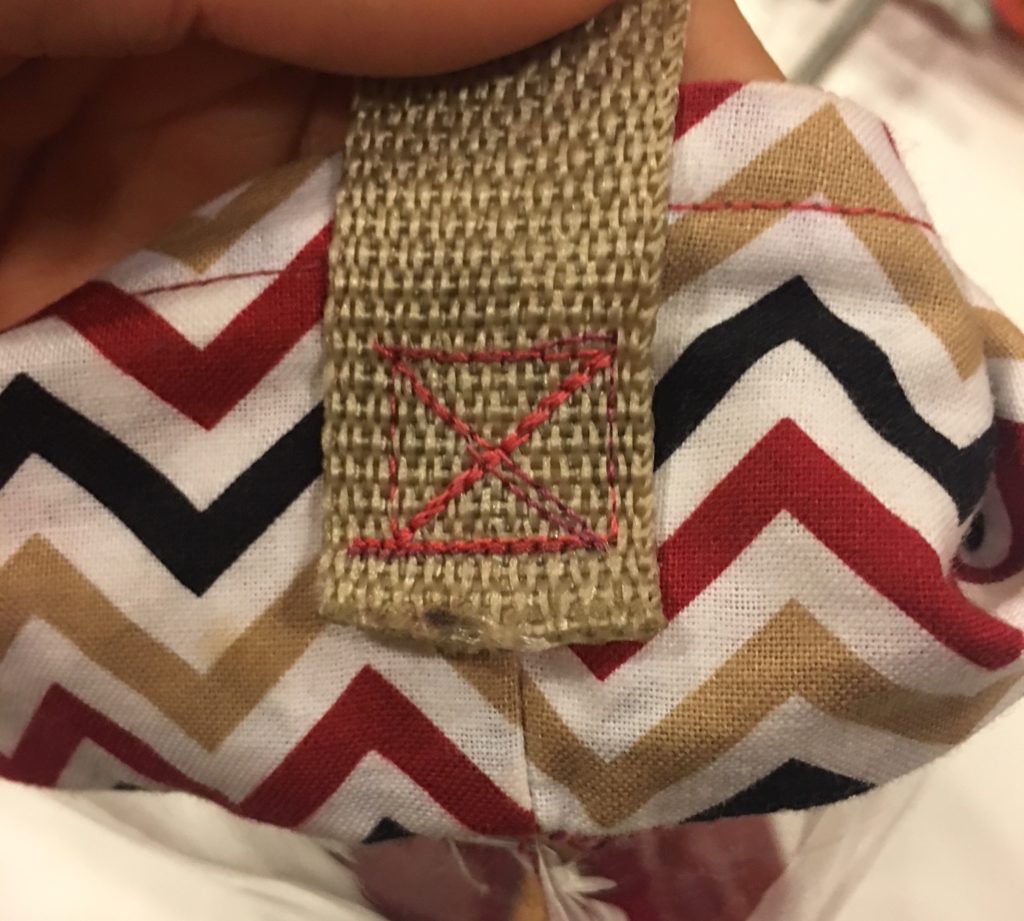
- Now the strap: If you bought a nylon strap like I did, you can use a candle to singe the edge. Now simply topstitch the strap on each side. I did a square with an X inside for extra reinforcement.
- For the insert in the bottom, cut a piece of cardboard 3-3/4″ x 12″. Do a reality check and test this in the bottom of your bag. Adjust the size as needed.
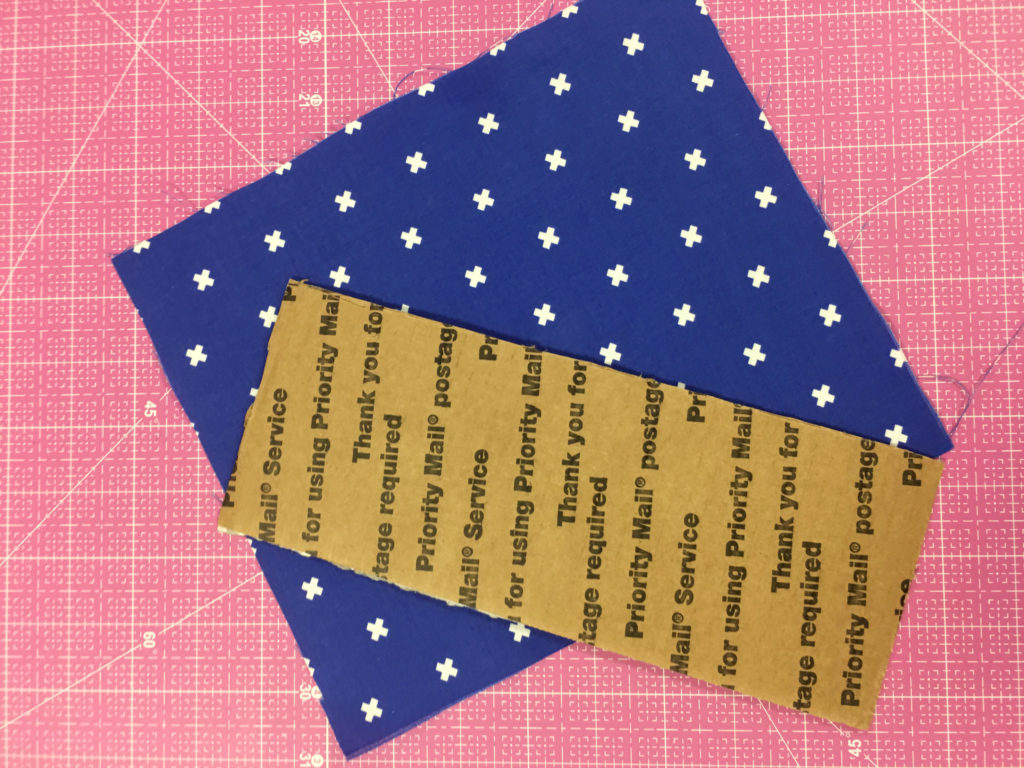
- Fold the 13″ x 8-1/2″ piece of fabric in half with right sides together (folded it will measure 13″ x 4-1/4″ ); and sew on the long side and one short side with a scant 1/4″ seam.
- Turn and put the piece of cardboard inside.
- You can use hot glue or fusible web to close the other short end.
- Put this inside the bottom of your bag and you are done.
- Enjoy the game!


Wow!! so cute!! thanks
What weight of vinyl did you use for these bags?
I honestly don’t remember but it was a fairly sturdy vinyl. I guess is 20 gauge.
I can’t understand the French seam instructions. Wish the pictures were better to explain
Hi Kerrie,
With French seams, the most important thing to remember is that you sew with wrong sides together first, then flip the item and sew with right sides together. Then when the item is turned right side out, the raw edges are completely concealed. The second seam should conceal the first. So use a narrow seam allowance for the first seam (1/4″ or 3/8″) and then a wider seam allowance for the second seam. You can also trim the first seam allowance even narrower if you want to be sure to catch all the raw edges in the second seam.
Hopefully this makes better sense!
Hi there! love this bag! for the center embellishment square you added, after you put the stabilizer on the fabric did you sew it directly onto the bag? Any glue for this center square of fabric?
There is no glue needed. It is sewn to the bag directly.
What are the finished dimensions of this bag?
I’m not sure exactly, but it appears to be approximately 11″ x 15″. I have contacted the designer and will update the post if I hear anything differently.