
This series is written by guest blogger, Pamela Cox. Pamela is an expert embroiderer, designer, digitizer and all around wonderful girl! We are so happy to have her contributing to the Sulky Blog!
Cork Fabric
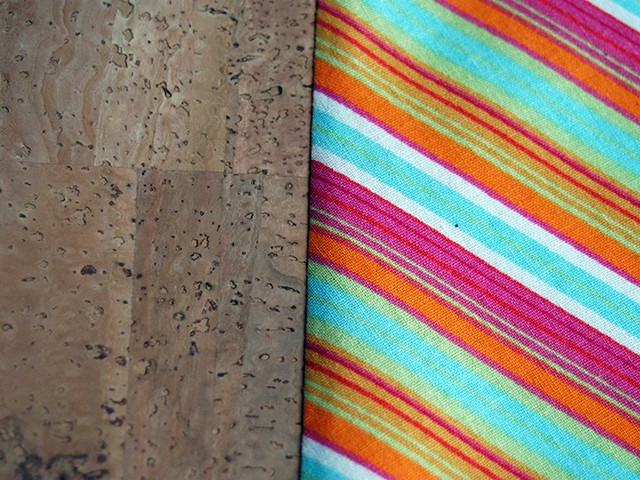
Cork, a natural product obtained directly from the bark of an evergreen oak tree – mostly found in Portugal – has been in use for thousands of years. Relatively recently, cork fabric has been developed by adhering thin cork sheets to a fabric backing.
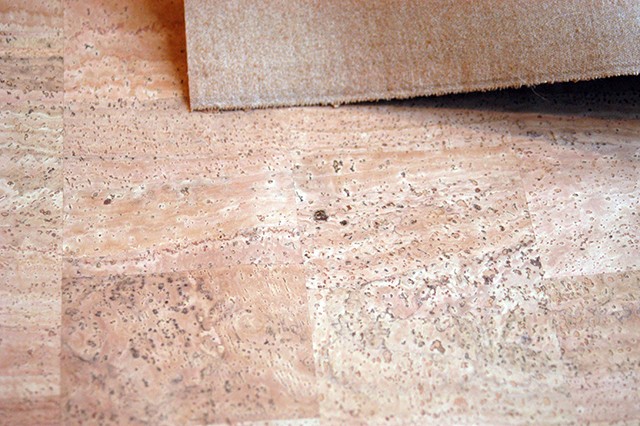
This innovative, new material presents the sewing world with a friendly, extremely versatile, medium to work with. Available in many colors and textures, cork fabric has the feel of a soft, supple leather. It is strong, does not tear or scratch easily, yet cuts nicely and stitches effortlessly. Cork fabric even accepts machine embroidery!!
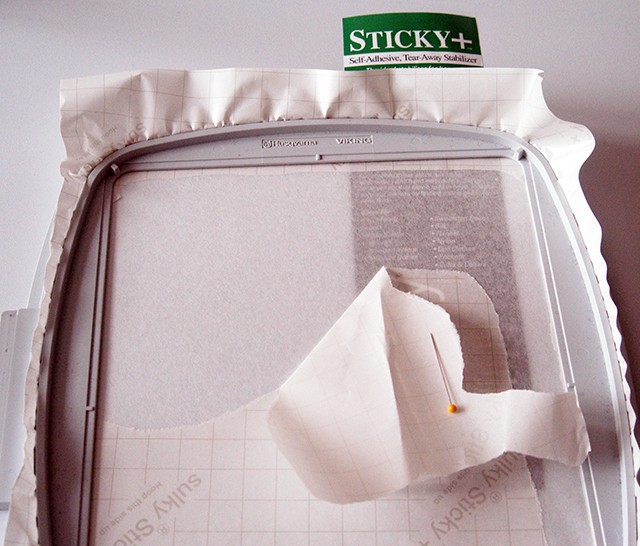
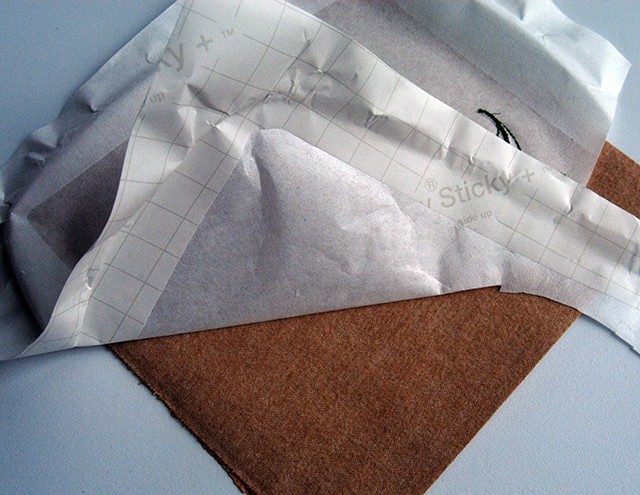
Sulky® Sticky+™ Stabilizer is a must, since cork fabric cannot be directly secured in the frame of the hoop. In the proper size hoop, tightly secure a piece of Sticky+ with the release sheet still intact and facing up. Gently score the release sheet within the hoop with a pin. Remove and discard the release sheet, exposing the sticky area.
Firmly press the cork on to the hooped stabilizer keeping the fabric smooth.
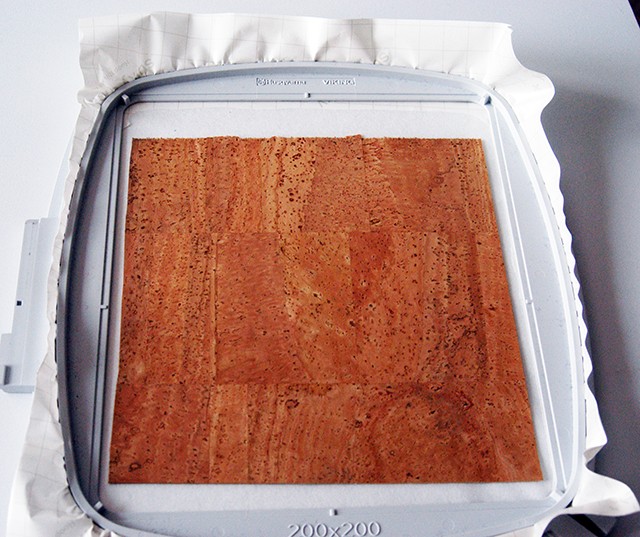
The fabric backing securely adheres to the exposed sticky surface, yet removes effortlessly when it is gently pulled away from embroidered stitches.
Yes, hooping is really that simple! Please read on to learn more about successfully stitching on Cork Fabric.
Cork Fabric is a non-forgiving surface, just like leather or paper. In other words, once a hole has been made, it is there to stay. Therefore, it is important to choose embroidery designs carefully.
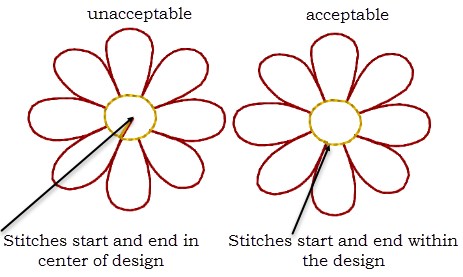
Line designs, especially those designated for paper or leather, are the best choice. Take the time to understand how the design stitches out, in either a playback mode of an editing program,
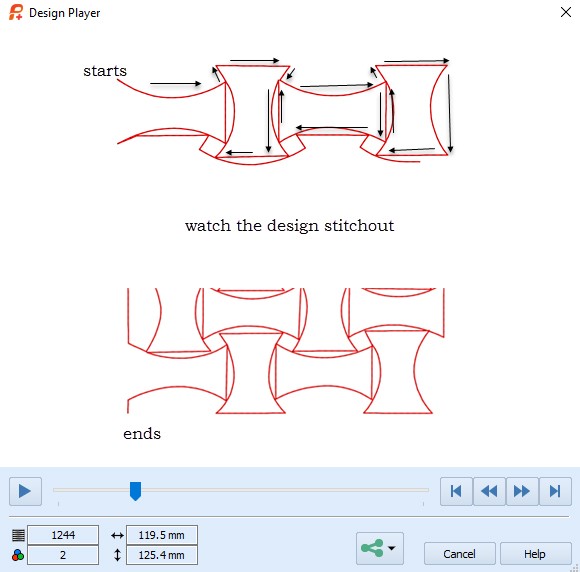
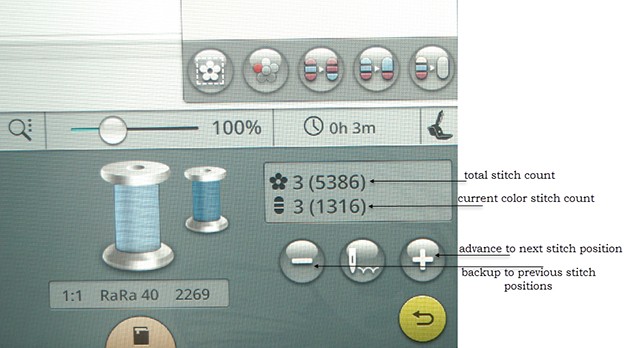
stitching the design on scrap fabric, or simply progressing through the first few stitches on the embroidery machine to ensure that all needle penetrations fall within the actual design area prior to starting new colors.
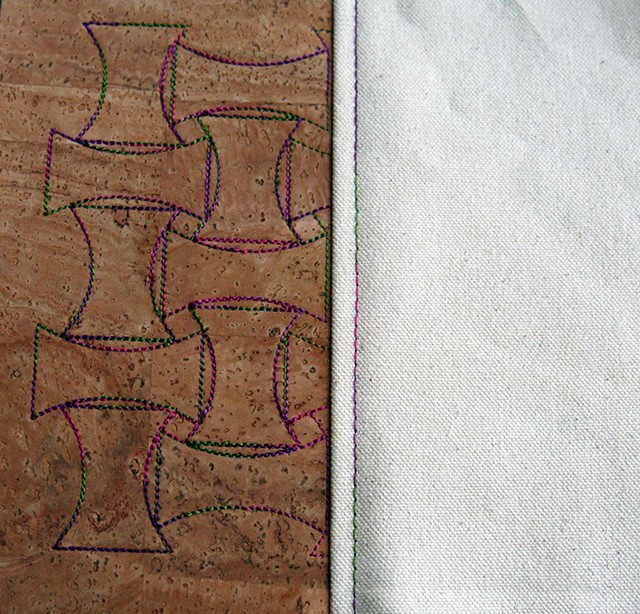
Sulky Sticky+ Stabilizer was secured, the cork pressed to the sticky surface in preparation to stitch this geometric line-design in Sulky 12 wt. Cotton Blendables® Thread, #712-4123.
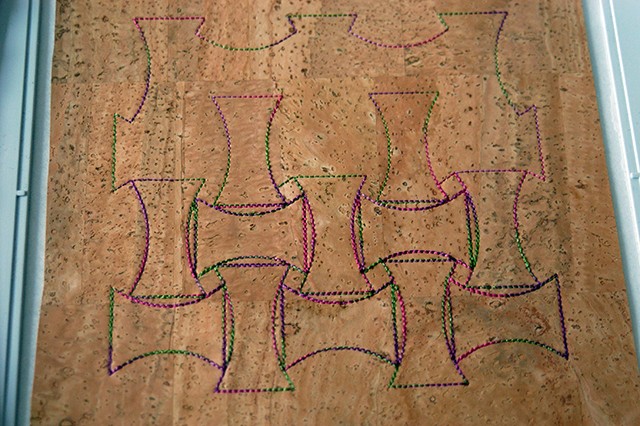
A 100/16 Topstitch Needle was used with the speed of the embroidery machine slowed down by half. Once completed, the stabilizer was gently torn from the outside edges.

Although line-designs may be best, do not rule out “filled” designs. The fabric backing provides a foundation not found on leather or paper. Leaving Sulky Sticky+ Stabilizer in place around the embroidered design will also offer additional support without interfering with the feel of the cork fabric.
It is important to choose fill-designs which provide the desired coverage without a lot of underlay stitches. These designs are usually found in collections labeled Bridal or Heirloom, and are always produced by professional digitizers!
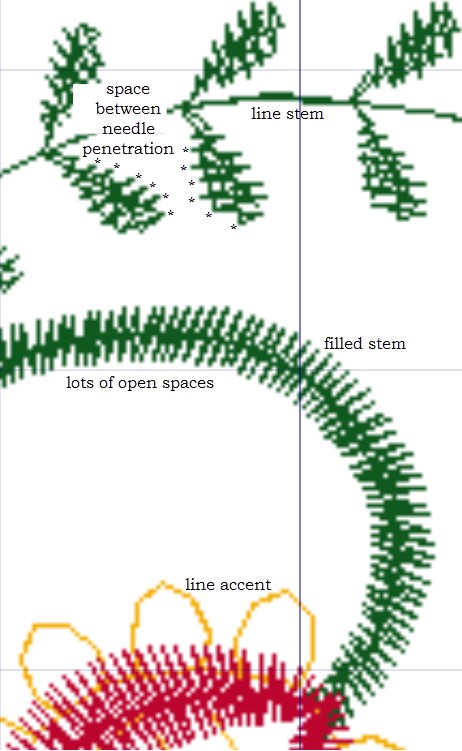
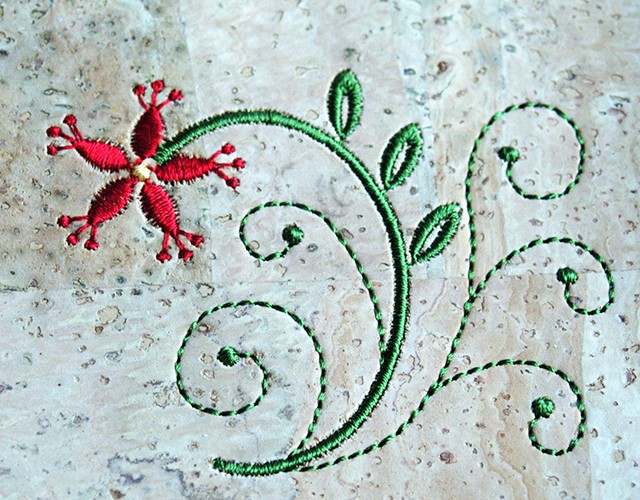
The magnified view of this design shows space between needle punctures as well as punctured areas repeatedly used. Therefore, design #3 from Janet Sansam’s Petite Florals Collection available at www.embroiderystash.com, is a perfect choice to embroider on cork.
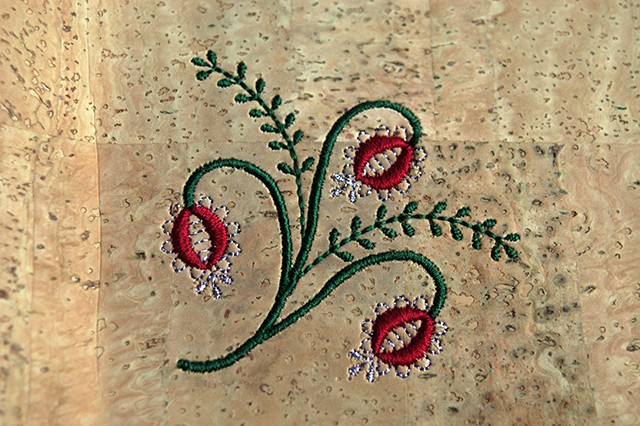
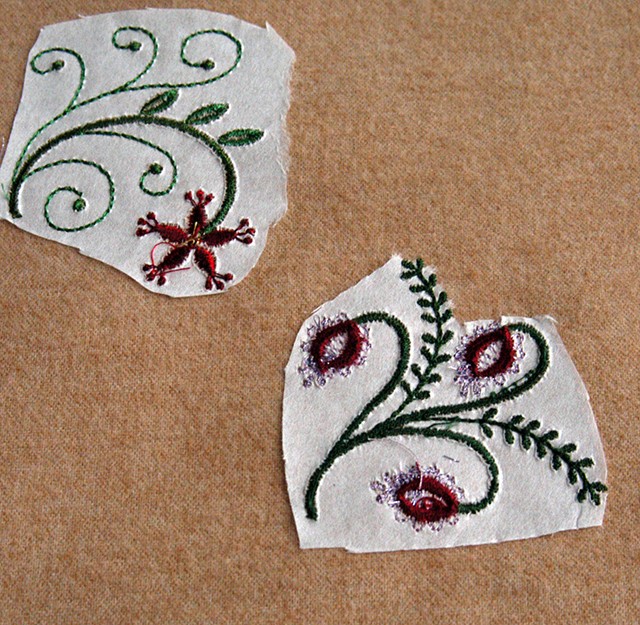
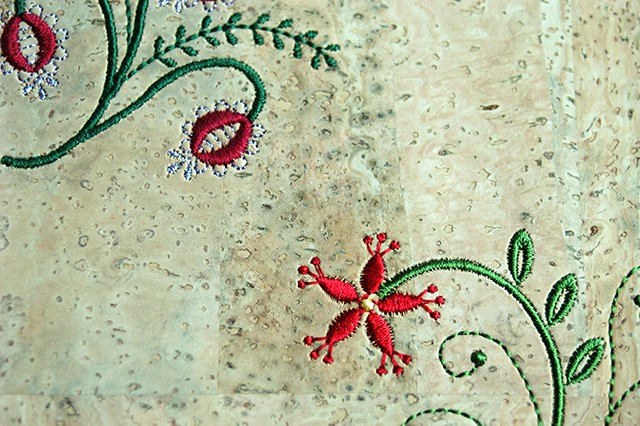
The green leaves and red flower head are stitched in Sulky 30 wt. Cotton Thread with the floral accents stitched in Sulky Holoshimmer™ Metallic Thread. The heavier cotton thread stands out against the textured background. The sparkle of Holoshimmer Metallic thread provides additional contrast and interest. Another design, #10, from the same collection was stitched in Sulky 40 wt. Rayon Thread. The silky, feminine-appealing rayon thread stands in stark contrast to the more masculine look of cork.
All designs were stitched using Sulky Sticky+ Stabilizer, 100/16 Topstitch Needle, and by slowing the embroidery machine down. However, different types of Sulky threads will all contribute a uniqueness in any design.
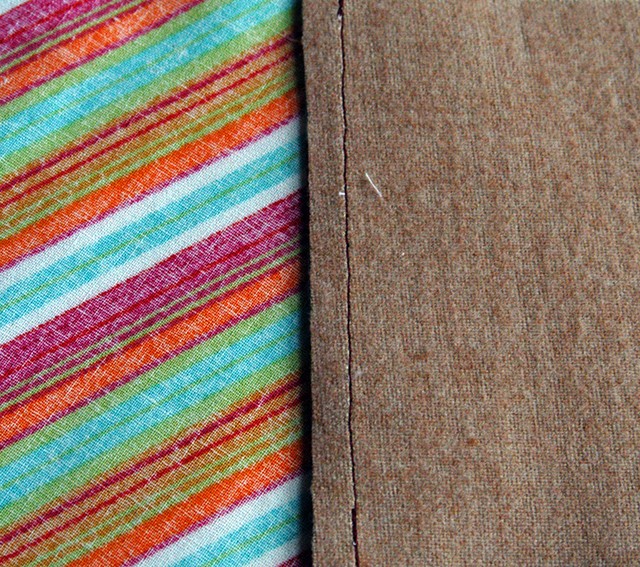
Incorporating cork fabric into a project also offers several options for seams. To use in a tote bag, the cork was stitched to a piece of canvas on a regular sewing machine, 100% polyester thread and a 100/16 Topstitch Needle. The seam was hand-pressed towards the fabric and top-stitched in place using the same Sulky 12 wt. Cotton Blendables Thread used in the embroidered design.
Cork fabric can be seamed with any fabric, pressing the seam. Please use a pressing cloth to cover the cork fabric during this process keeping it away from direct contact with the hot iron.
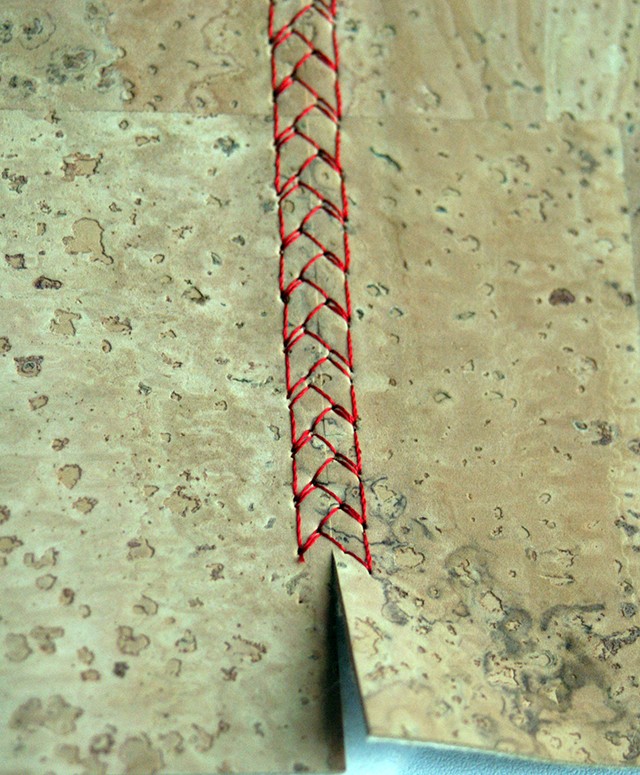
Since cork fabric does not fray and portrays many “leather” characteristics, seams can also be butted against each other. Secure each side on a strip of Sulky Sticky+.
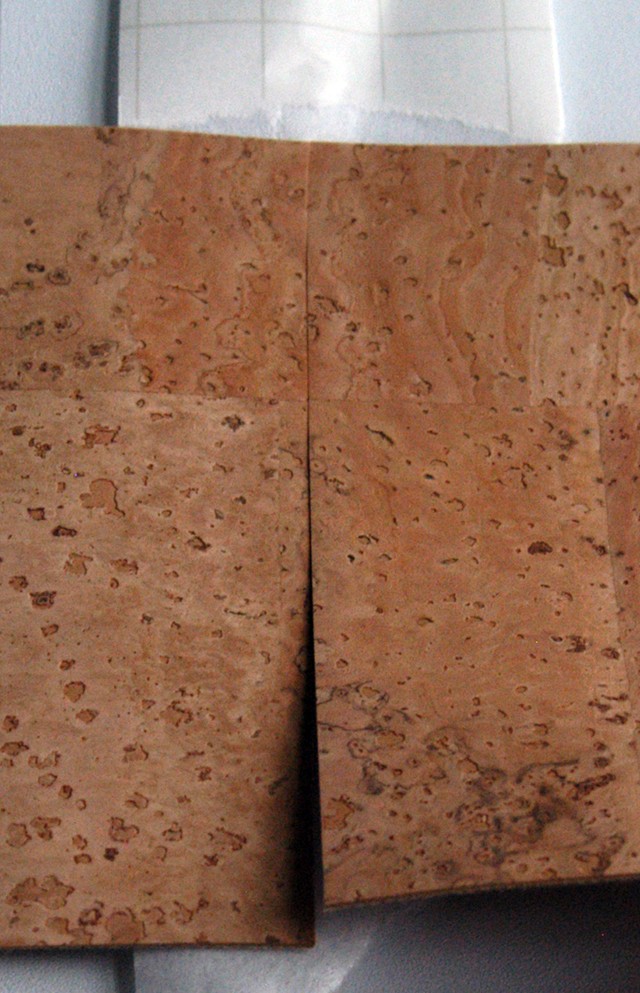
Use any decorative stitch which “bites” into each side to securely anchor the sides together. Stitch more slowly than you normally would.
Cork fabric can be used for a wide array of projects but is best suited for those not requiring frequent washing. To clean cork fabric, rub the area with a soapy rag and wipe with a clean damp cloth, allowing it to air dry. Keep in mind that this material will “age” much like leather does over time as it reacts with oils from the skin.
You must try this “fabric”! Enjoy the process of creating with Cork knowing that Sulky products are there to help you every step of the way!!
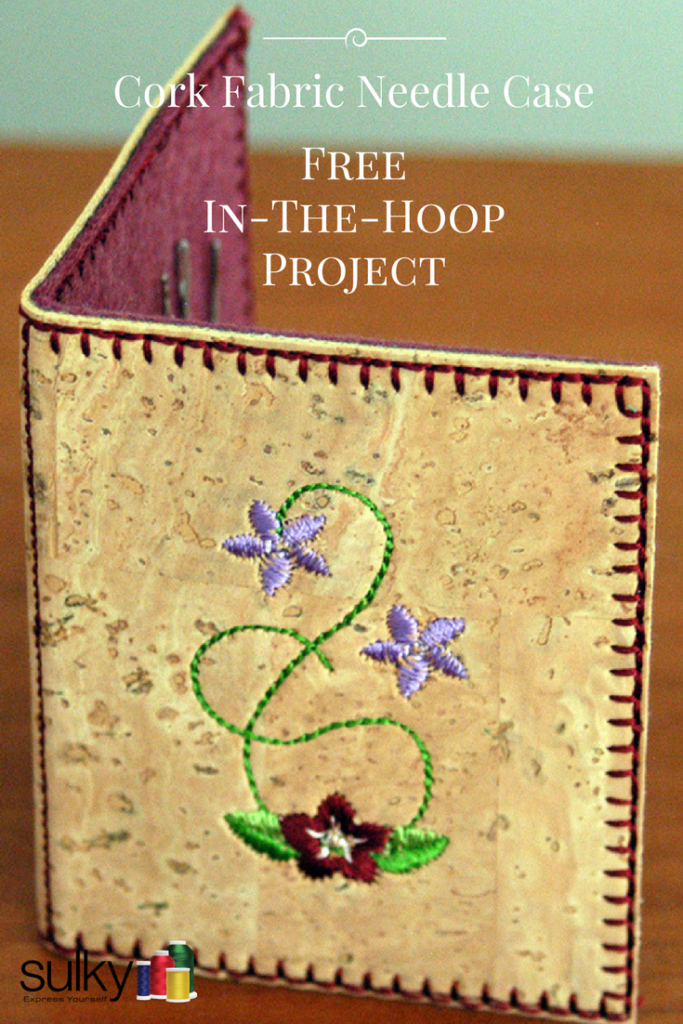
Cork is a pricey fabric, but certainly can make a project stand out. Do you want to try using cork for a project? Well try it on this Needle Case! The tutorial and machine embroidery design are FREE!

What type of things are made with cork fabric. Is it wearable?
I don’t think I would use it for a wearable as it isn’t machine washable, but it is perfect for things like the needle case, a purse, an accent pillow, or a wallet!
I have never heard of cork fabric. Where can I buy a small piece?
Some stores are carrying it now but I got mine from an Etsy site.
MMCorkSupply.com has a great selection and good pricing
I am looking for the circuit board cork , the folk art cork and the black and white. Does anyone know where I can get these
The link for the tutorial gets an error page.
Sorry about that! The link has been fixed
Looks like a great project and one to start with cork is awesome! Thank you!
it says the design comes with the project but can’t seem to find it at the moment?
The free design and tutorial is here: https://blog.sulky.com/cork-fabric-needle-case-free-hoop-project/
Can this somehow be printed?
I’ve really been wanting to get back into this. Thanks for the tutorial and for the free embroidery designs!
Great article and info – thank you