DIY Tassel Necklace – It’s Super Easy!
In case you are like me and need a couple more gifts, here is a fun and quick gift you can make.
These trendy necklaces can be made in any color you want, and you can get them done fairly quickly. Here is what you need:
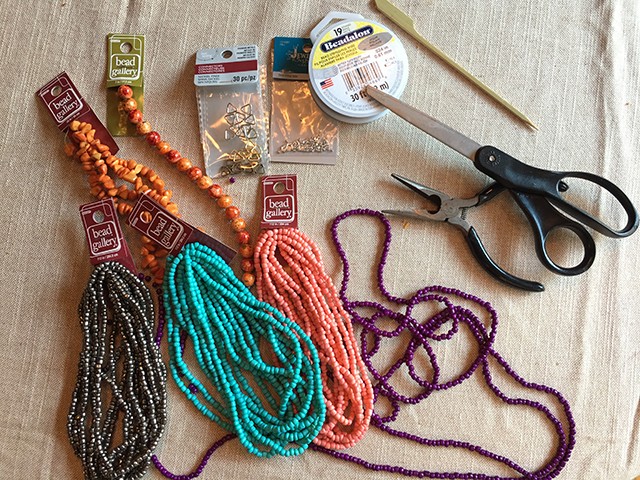
- Beads – I picked mostly glass beads with a few natural stone and painted beads thrown in. I got 3 necklaces out of each 112-inch string of glass beads.
- Bead Stringing Wire, .024 in – I bought 30 ft. since I knew I had a lot of necklaces to make. You need 34″ per necklace
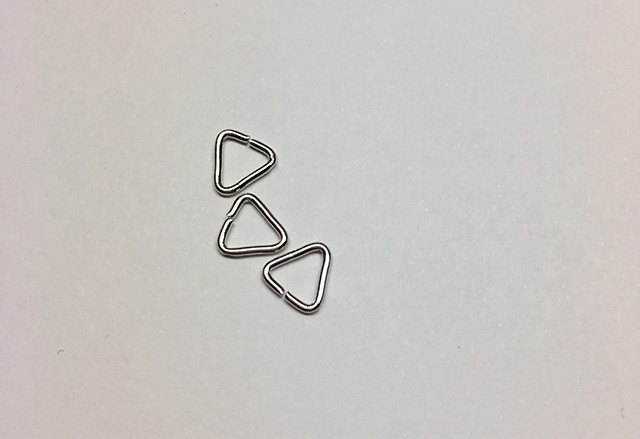
- Connectors – I like the triangle ones, but the round ones would work just as well.
- Crimp Tubes, 2mm – The bead stringing wire said which size crimp tube to use.
- Needle-Nose Pliers – This little guy is great because it crimps the crimp tube down and cuts the beading wire.
- Scissors – to cut the thread, and to cut the clear string the beads are sold on.
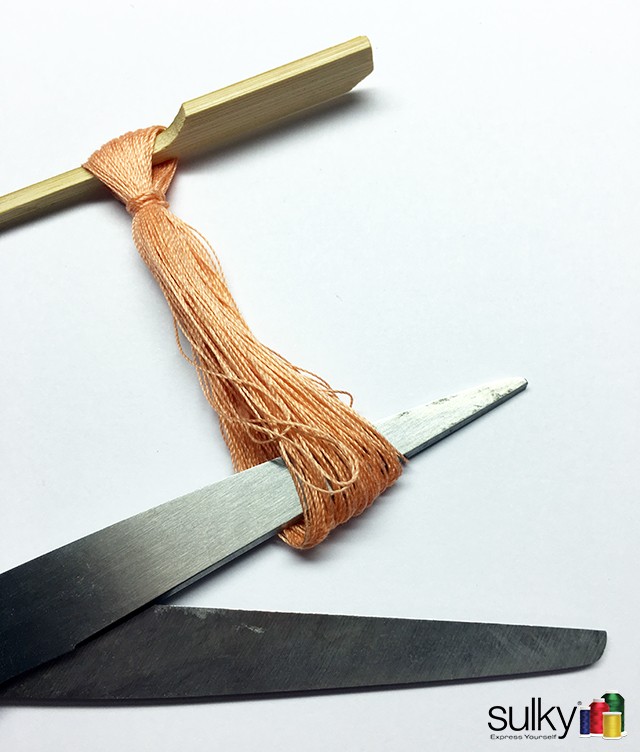
- Wooden Skewer – You can use a pencil, chopstick, even a candy cane. You just need something to hold the tassel while you are making it.
- Index Cards and a Rubber Band – For winding the tassel.
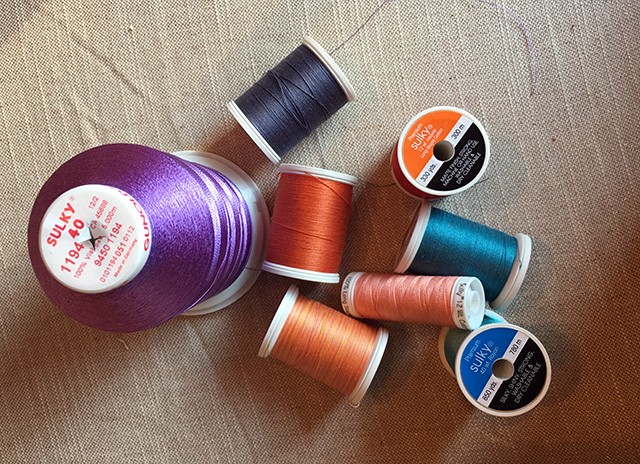
- Threads – I used a variety of threads. Sulky 40 wt. Rayon, Sulky 12 wt. Cotton, Sulky 30 wt. Cotton Blendables® and Sulky 30 wt. Cotton Solids
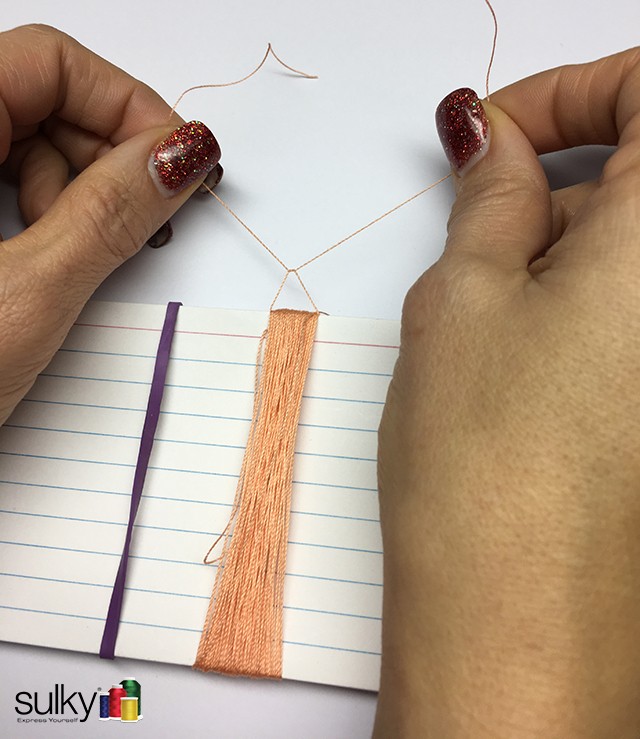
To get started grab the stack of index cards and rubber-band them together (I used about 10 cards); then choose which thread you want to use to make the tassel.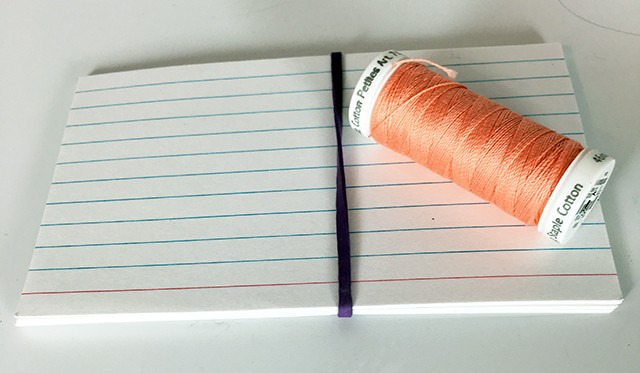
Begin wrapping the thread around the card stack.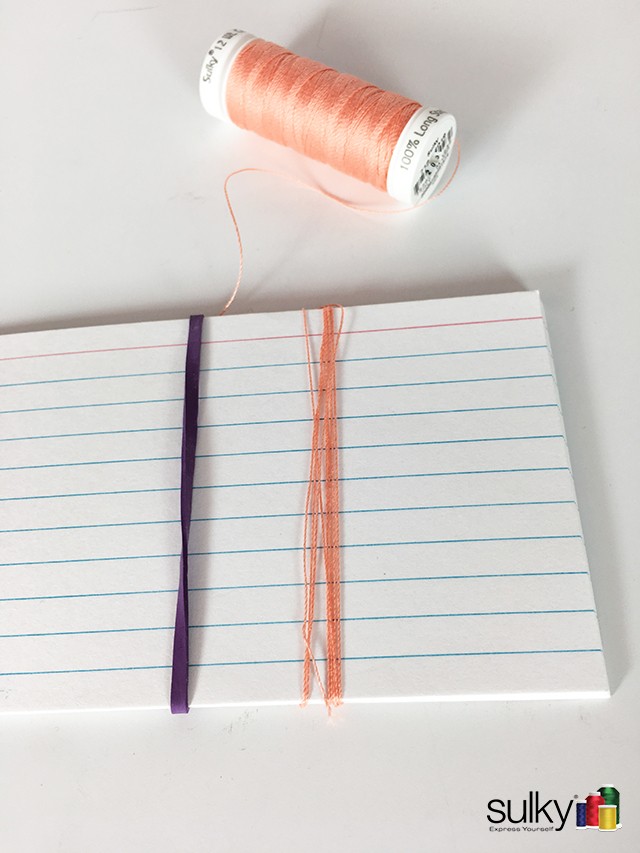
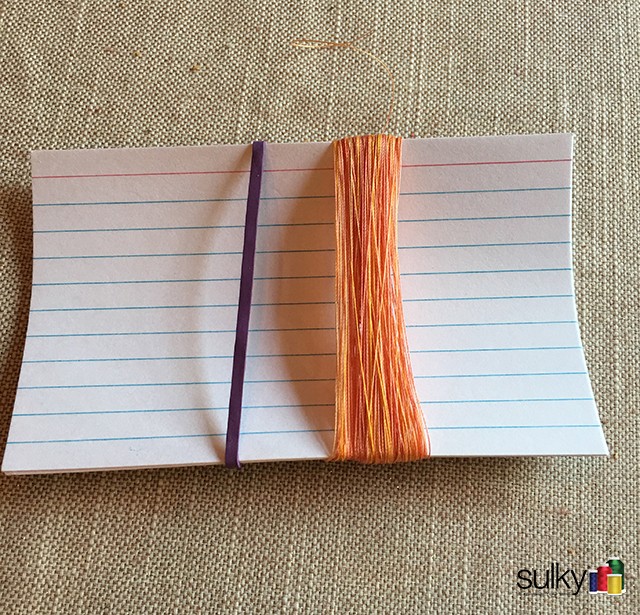
Keep wrapping until you are happy with the tassel size (remember that you are only seeing half the tassel on top of the card).
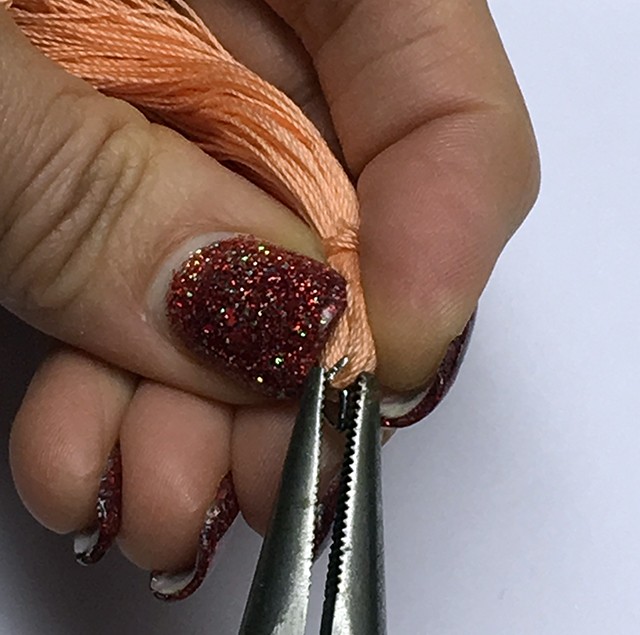
Take a piece of thread and feed it under the threads that you wrapped; then tie it off to hold all the threads together.
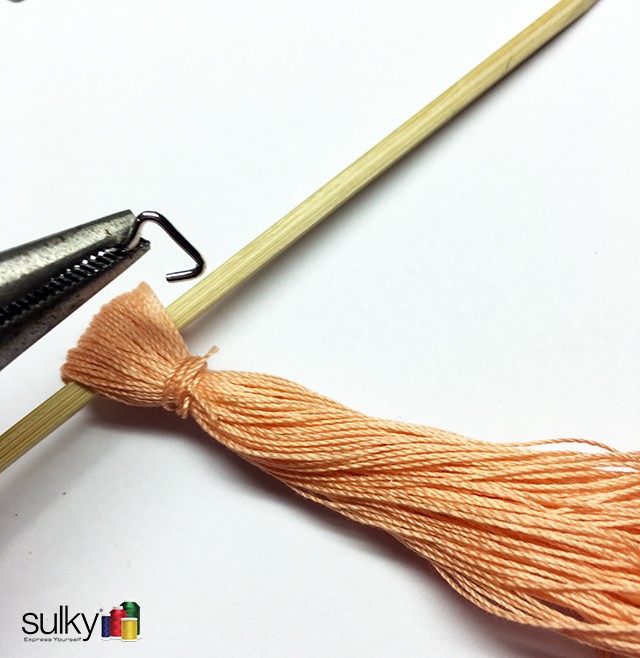
Now slip the skewer under the threads and gently pull them off the stack of index cards.
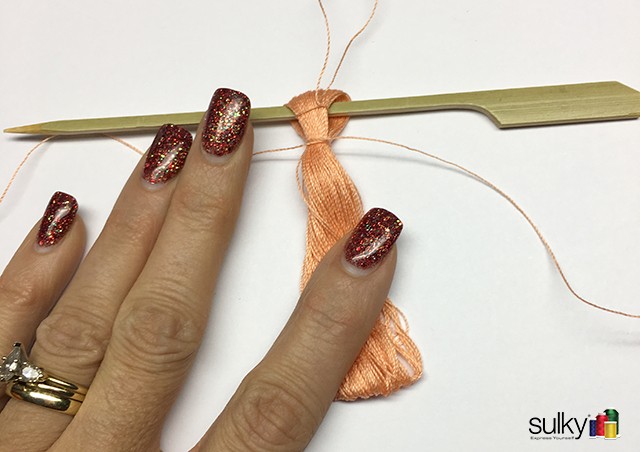
Take another piece of thread and begin wrapping it around all the threads close to the top.
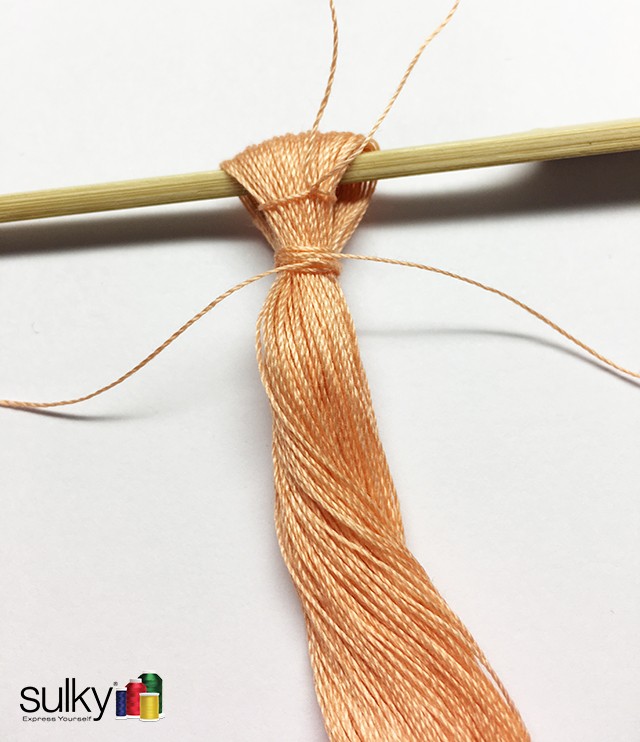
Wrap several times and then tie it off. You can either cut the ends after you’ve tied off, or you can smooth those two strings down into the tassel.
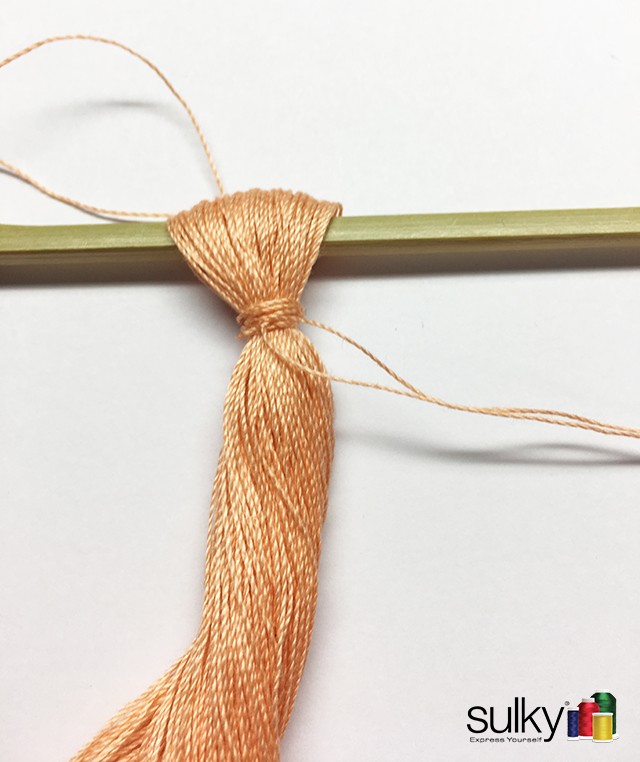
Cut the loops at the bottom and set the tassel aside. Don’t take it off the skewer until the bead part of the necklace is ready.
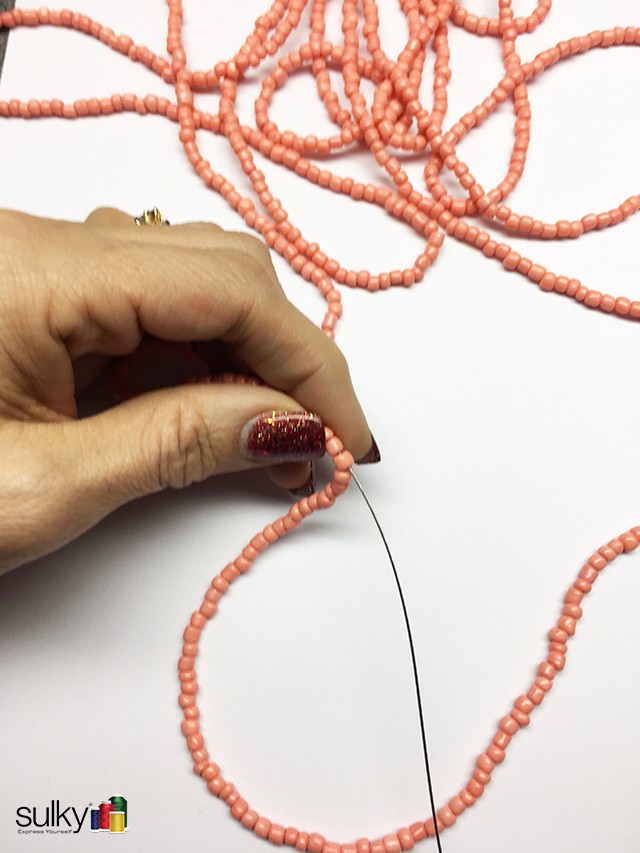
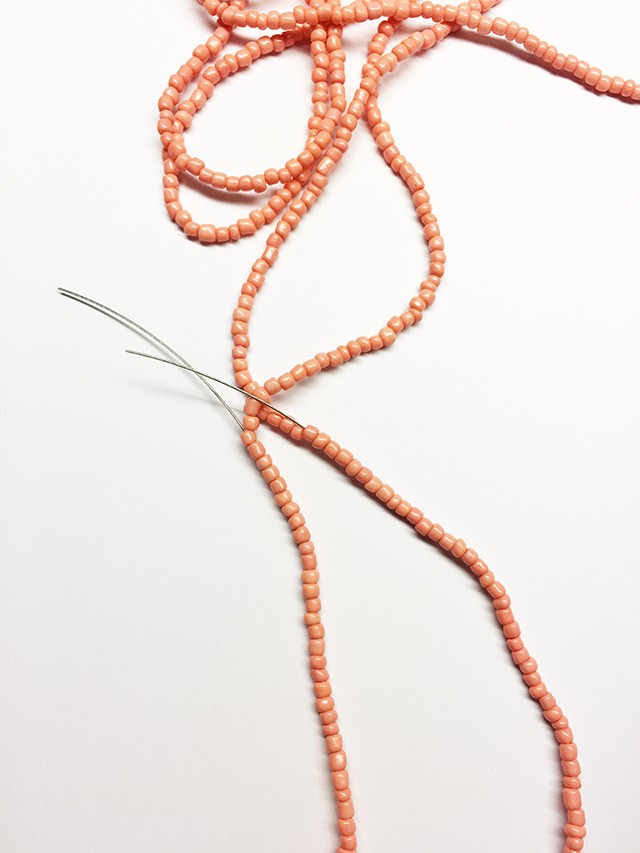
Now for the beads. I cut a piece of beading wire 34″ long and strung the glass beads onto the wire. Here is my time-saving tip. Leave the beads connected together on the clear line they came on and just feed the beading wire down next to the other line. You can string all three of the necklaces before cutting the clear line. This means the beads don’t roll around everywhere and you don’t have to feed them all on one at a time.
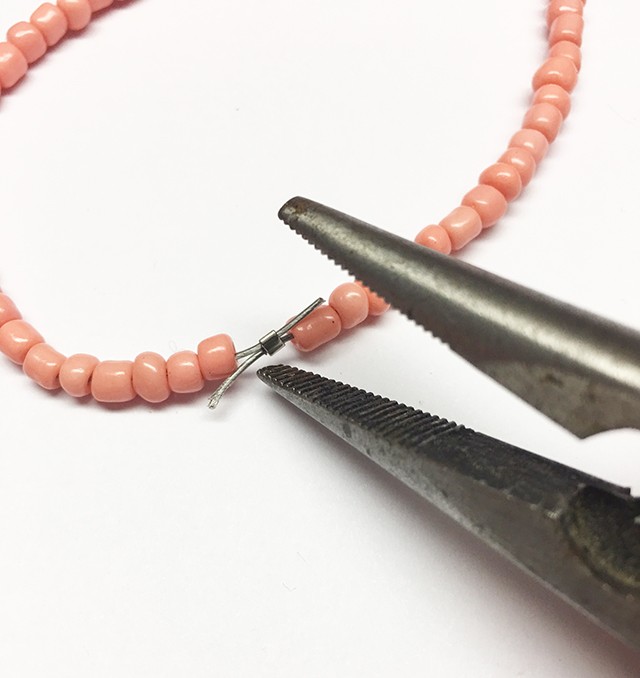
Once they are strung, use the crimp tube and the needle nose pliers to crimp both ends of the wire together. Be sure to cut off the excess wire. Your necklace will end up about 32″ long.
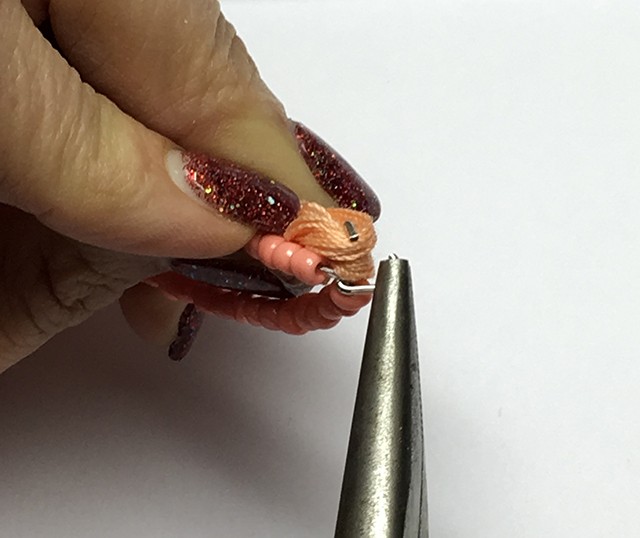
Now it’s time to add the tassel. Get your connector and open it up with the needle nose pliers.
Put the connector through the top of the tassel while it is still on the skewer. The skewer will help you maneuver the connector through the threads.
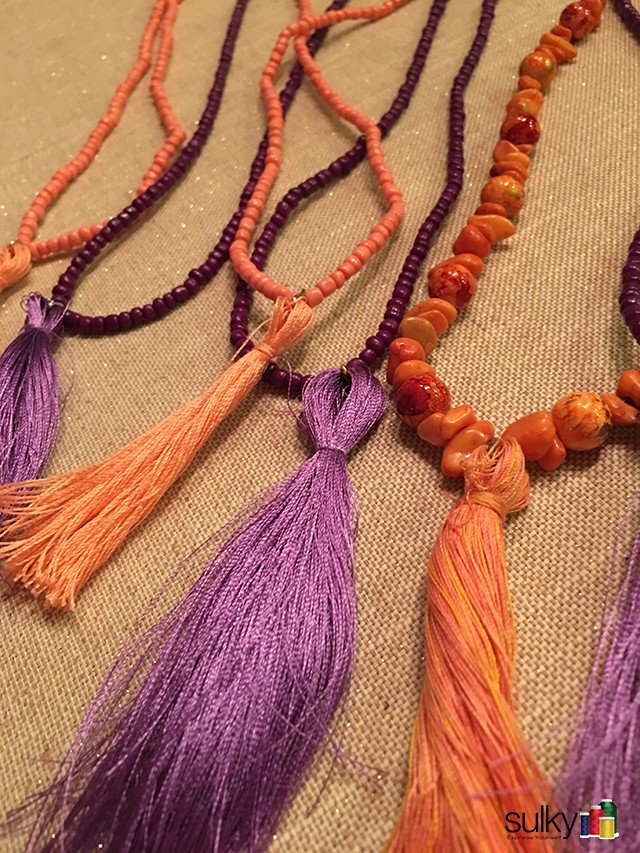
Now slide the tassel off the skewer and secure the tassel to the beads.
Pinch the connector closed.
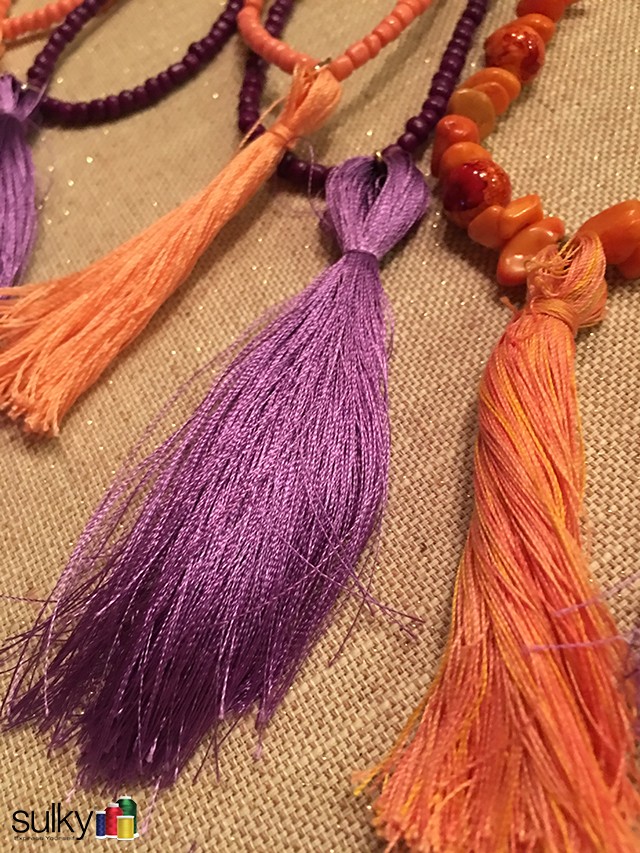
Lastly, give your tassels a haircut so they are all even across the bottom.
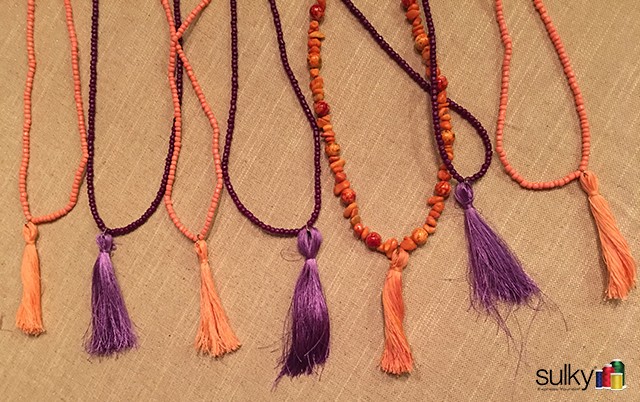
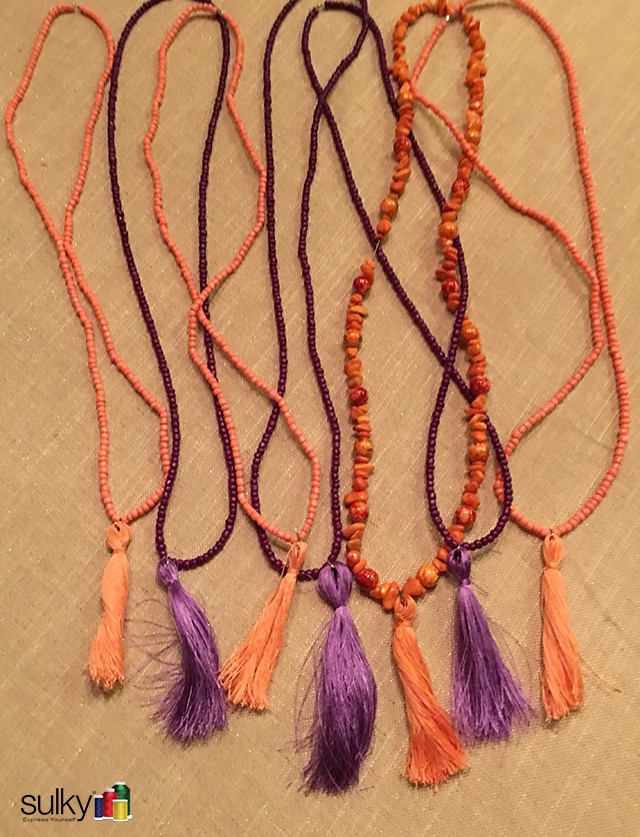
Viola! Your necklaces are done.
Make one in every color to keep for yourself or give as gifts.