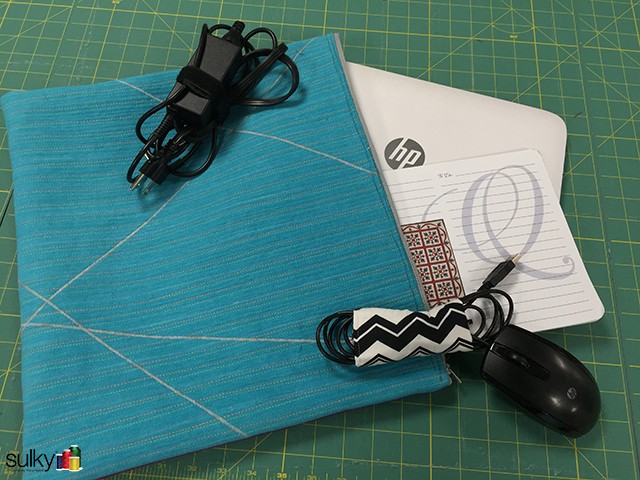
Remember I did a tutorial on Matchstick Quilting awhile back? (if not, here it is). I took those pieces and made them into a very simple bag to carry my computer! Here is how I did it.
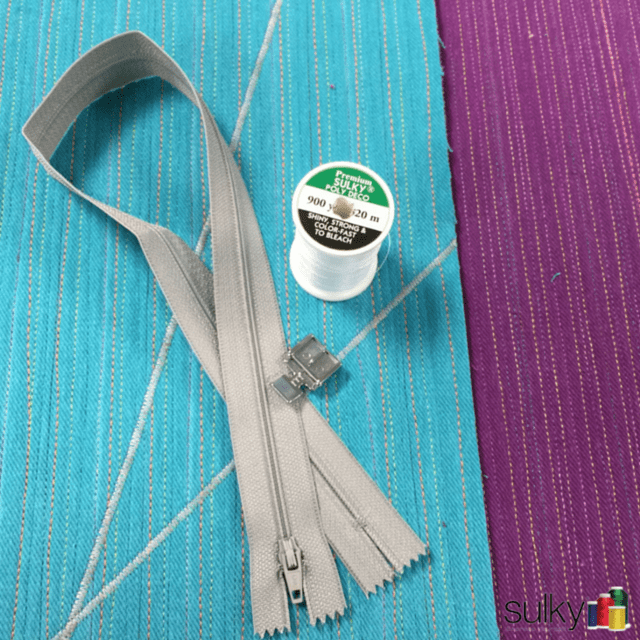
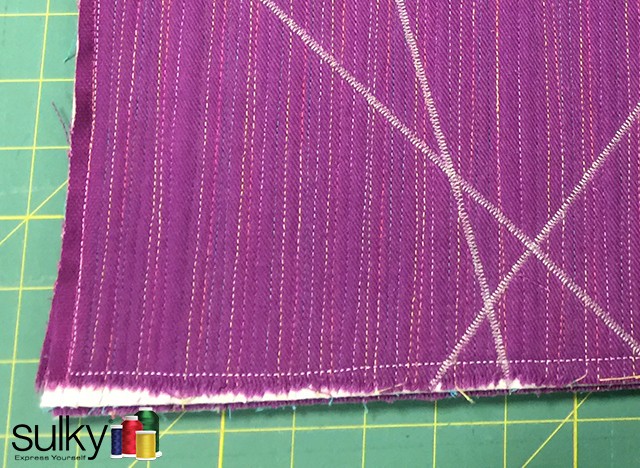
I took my 2 pieces that I had Matchstick quilted and squared them up to 2 matching pieces at 15″ x 17″. Next, I added a zipper to the top (The top for me was the 17″ side). Sometimes people are a little nervous about zippers so I thought I would walk you through this one.
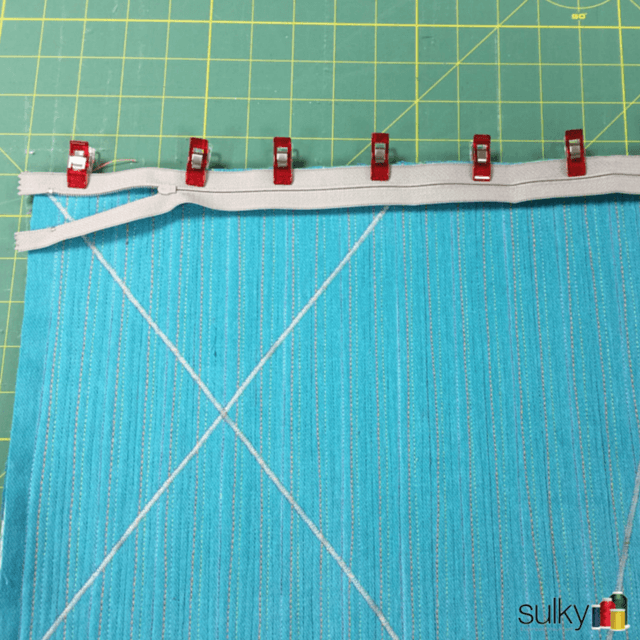
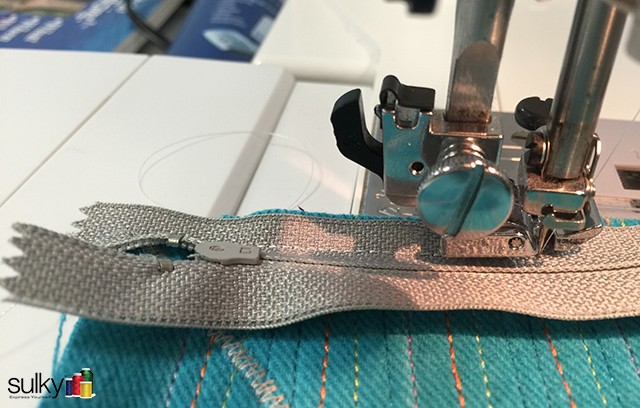
Start by unzipping the zipper a couple inches, then lay the zipper face down on the right side of the fabric. Use Wonder Clips to clip the top edge of the zipper to the top edge of the bag.
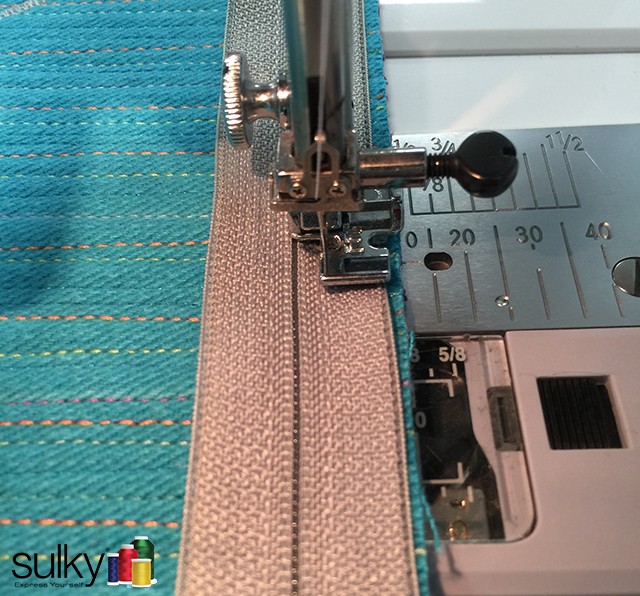
Use the zipper foot on your machine so you can sew close to the actual zipper.
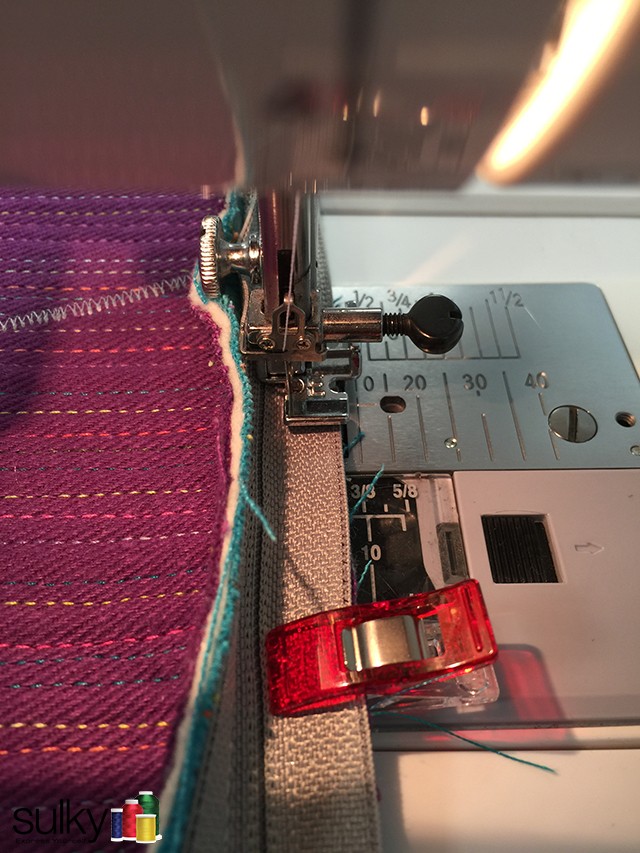
Once you get to the zipper pull, put you needle in the down position and lift the presser foot.
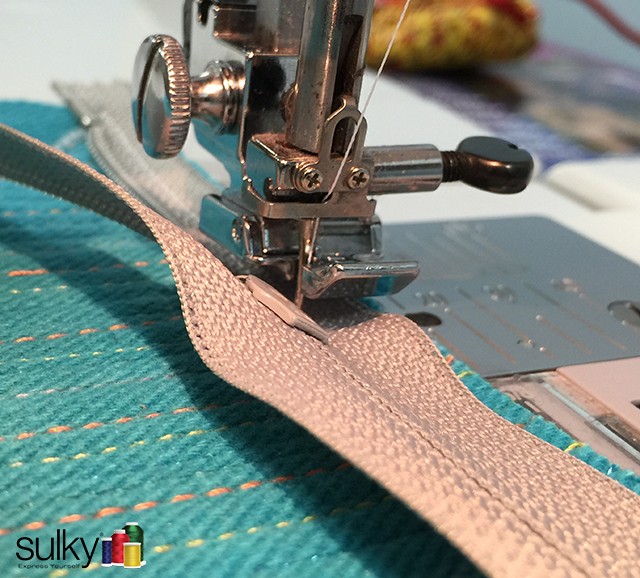
Carefully move the zipper pull up to the part you have already sewn, put your presser foot back down and away you go! You can finish sewing the zipper. NOTE: Don’t forget to back stitch in the beginning and the end of sewing the zipper down.
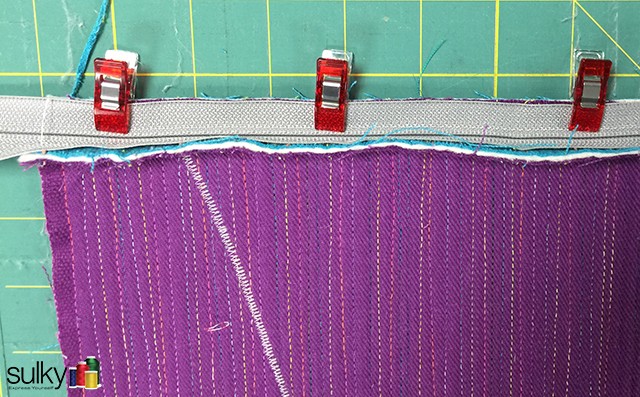
Now do the other side. Turn the piece over and place the other 15″ x 17″ piece under the piece that has the zipper sewn onto it. Be sure you put right sides together. Use Wonder Clips to hold the piece in place.
Do the exact same process to sew the other side of the zipper down on this side.
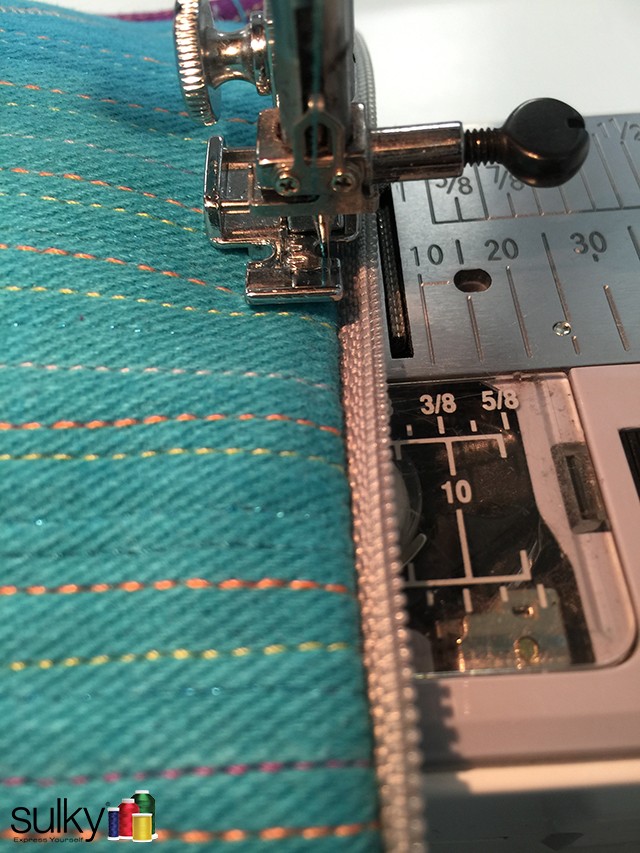
Unzip the zipper all the way and topstitch the zipper in place so the zipper teeth will sit up the right way. Turn the piece so the wrong side is down, touching the sewing machine bed and the zipper is laying flat like in the picture above. I ended up doing two lines of topstitching.
Once the zipper is topstitched down, turn it right sides together again and sew the remaining 3 sides together. I did about a 1/4″ seem allowance. I used Sulky PolyDeco in white for this. Clip the corners, turn the bag and viola! All done! I decided I didn’t need a handle because I will always put this bag inside the bag that I always carry, but if I ever decide I want a handle, that is easy enough to add later.
Happy Sewing!

Love this very simple yet very useful and practical item. Putting in the zipper looked easy too.
Very nice!!