Fleece Embroidery 101
+ Tips for Perfect Stitchouts
Fleece embroidery doesn’t have to be tricky. With the right tools for the job, you can embroider fleece like a pro.
Fleece is a popular fabric for gifts, as the fabric is comfy, cozy and warm. Plus, it’s easy to sew because it doesn’t fray and the edges can be left raw. If you have a serger, it’s even easier to create projects using fleece! A few tips are all you need to remember when sewing fleece, and then we’ll get to the personalization options and fleece embroidery fun.
SEWING TIPS
When sewing fleece seams, a walking foot helps guide the fabric layers evenly under the presser foot. The feed dogs move the lower fabric layer while the walking foot grabs and moves the upper fabric at the same rate. This reduces the chance of stretching and pulling when seaming fleece.
If you don’t have a walking foot, lessen the presser foot pressure to allow the bulky fabric to move under the presser foot without being smushed and stretched.
Use a wider seam allowance, and then trim it to size after sewing. The extra width gives you more clearance from the edge of the foot, allowing for a more accurate seam.
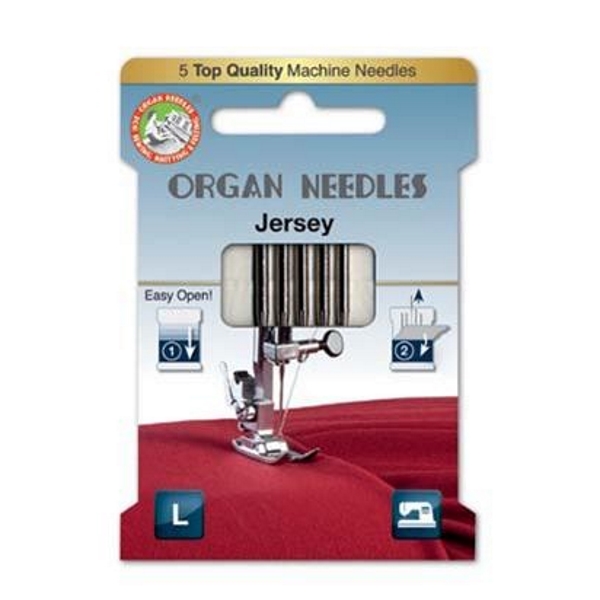
Use an Organ Jersey needle for sewing fleece. The fabric has a stretch to it and the fibers are interlocked. The ballpoint on the Jersey needle will spread apart the fibers, rather than piercing them resulting in possible snags and holes.
Fleece won’t fray; therefore you don’t need to finish the seams. When making pajama pants from fleece, simply fold the hem allowance toward the wrong side and topstitch. There’s no need for a double fold to conceal that raw edge!
FLEECE EMBROIDERY
To embroider ANY plush fabric, hooping isn’t a good idea. This could result in “hoop burn,” when the fabric is marred by the hoop itself. It’s very difficult to remove hoop burn from most fleece fabrics. Avoid hooping and instead, use “hoopless” embroidery techniques.
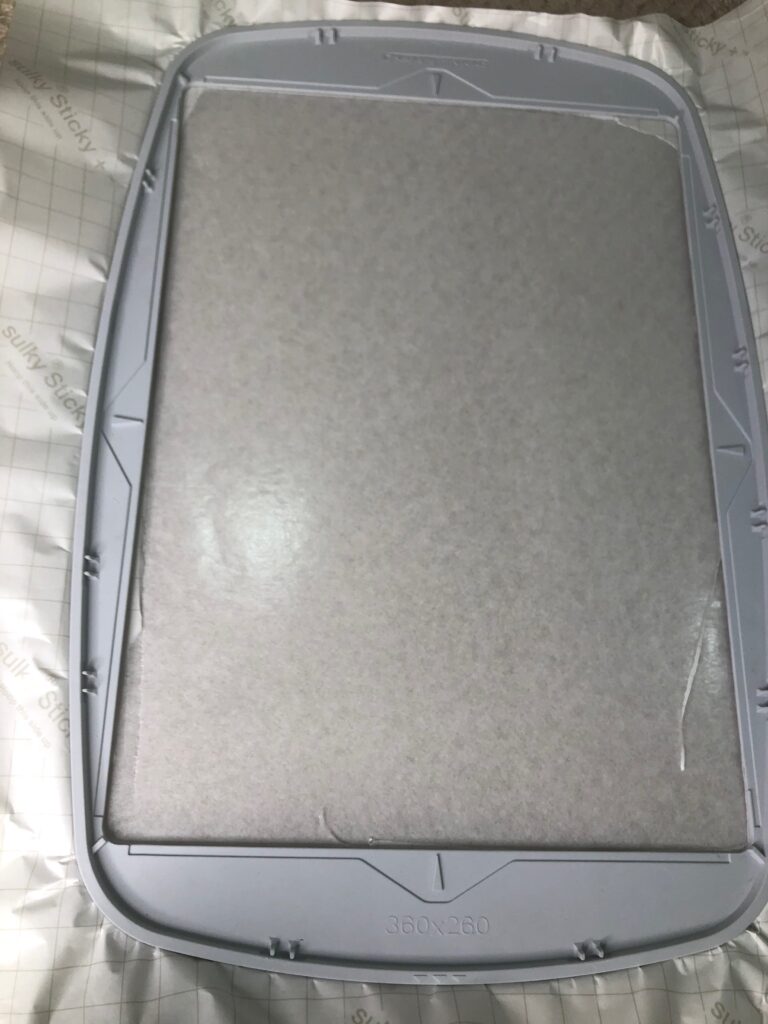
- Hoop Sulky Sticky+™ stabilizer with the paper side facing up.
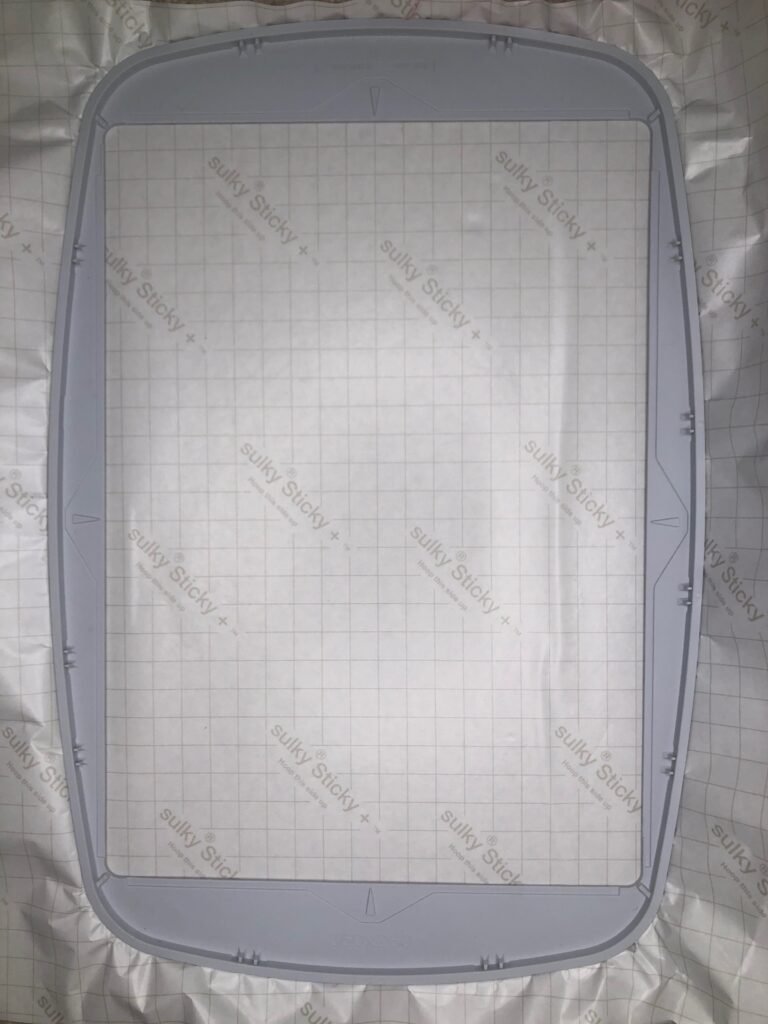
- Use a Sticky+ Slitting Pen to score the paper within the inner hoop ring.
- Tear away the paper backing inside the inner hoop to reveal the sticky surface.
- Place the fleece over the stabilizer in the hoop, centering the desired embroidery placement.
- A topper is necessary to prevent the thread from sinking into the fabric pile. Use Sulky Solvy and float it over the fabric on the hoop. Use the baste-in-the-hoop function to secure the topper and provide a placement aid, if desired.
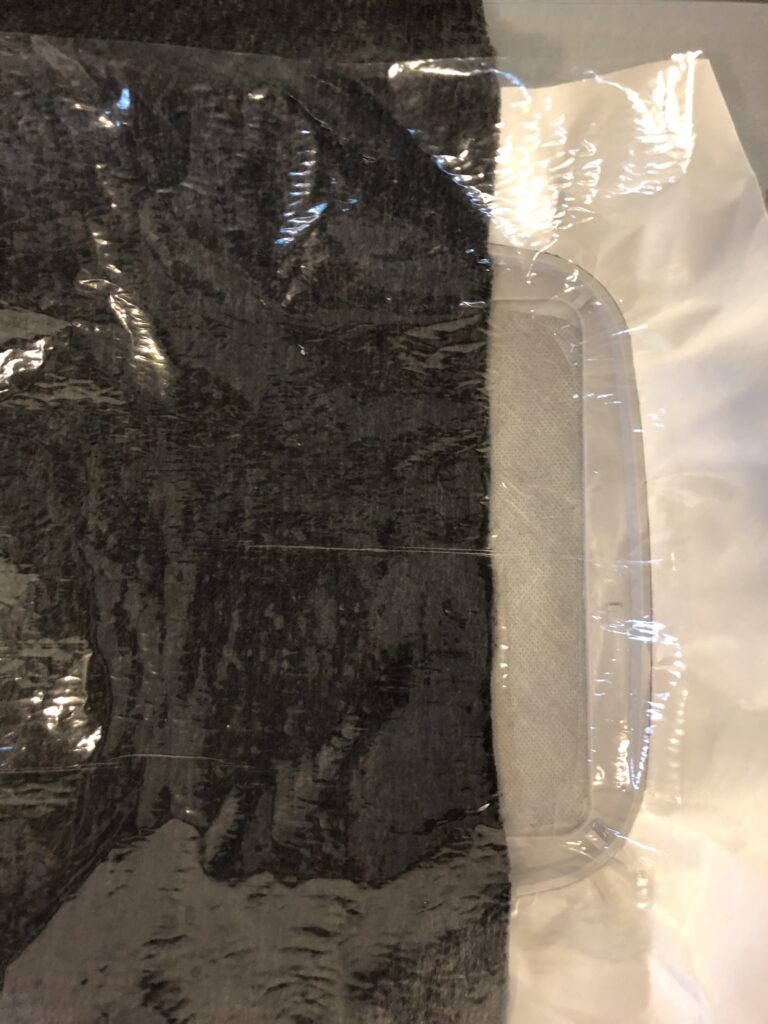
- Embroider the design, clipping jump threads with each thread change.
- Remove the stabilizer from the hoop. Tear away the excess topper from the embroidery right side. Gently remove the Sticky+ from the embroidery wrong side. If any Solvy remains, use a cotton swab soaked in water to remove the rest.
PROJECT INSPIRATION FOR FLEECE EMBROIDERY
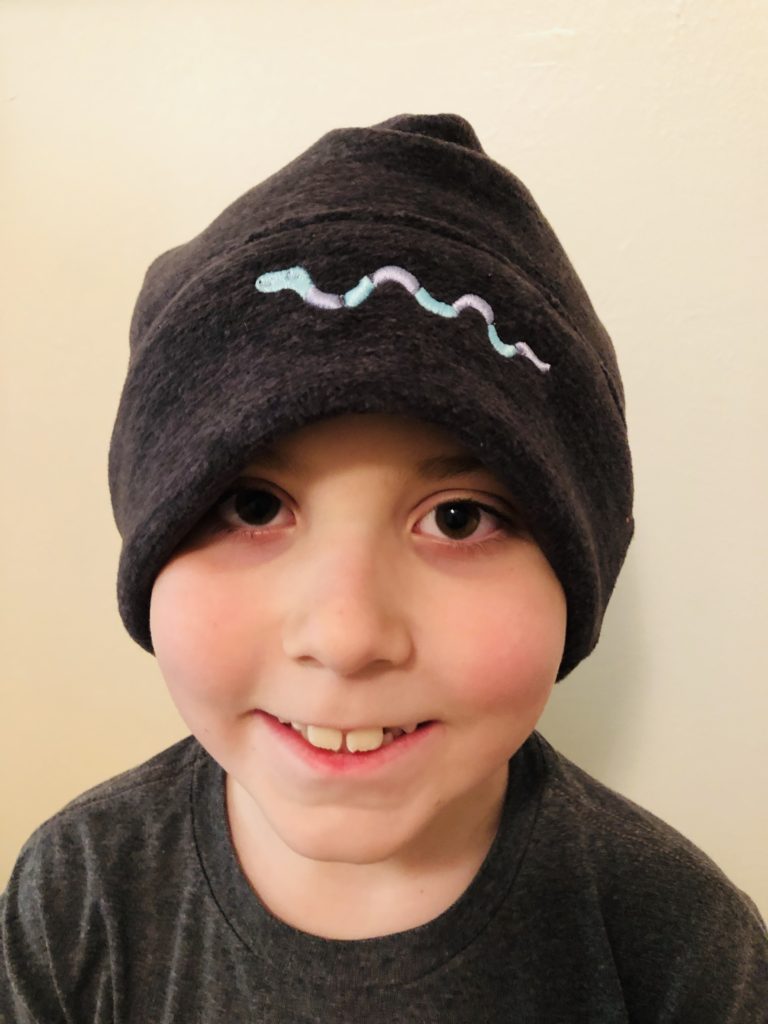
Use these embroidery tips to make a personalized hat for a child or adult. Our free pattern has both sizes! Choose a design that suits the recipient’s interests, or embroider a monogram on the brim.

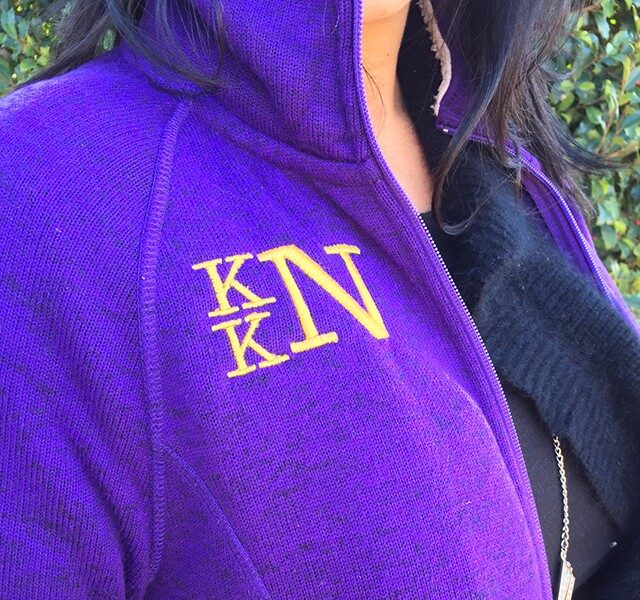
Create a fun, unique monogram for a fleece pullover or zip-up jacket. Choose colors that go with the recipient’s favorite sports team, or choose tone-on-tone colors for a more subtle look.
Substitute fleece for knit when making pajama pants for kiddos to open on Christmas Eve. Remember to widen the seam allowances and use raw edges to your advantage. Add an embroidered pocket to the pants front or an embroidered motif along the leg for fun personalization.




I signed up for the Sulky site, received my acknowledgement that I was registered but still can get in to get the holly leaf designs. They are wonderful and would make a great gift. Please help.
Hi Claudia,
The Holly String Lights designs are from EmbroiderShoppe. Please reach out to them if you are having trouble downloading the designs from their site. The designs are linked in the PDF of the project. If you need further assistance, please email us at info@sulky.com.