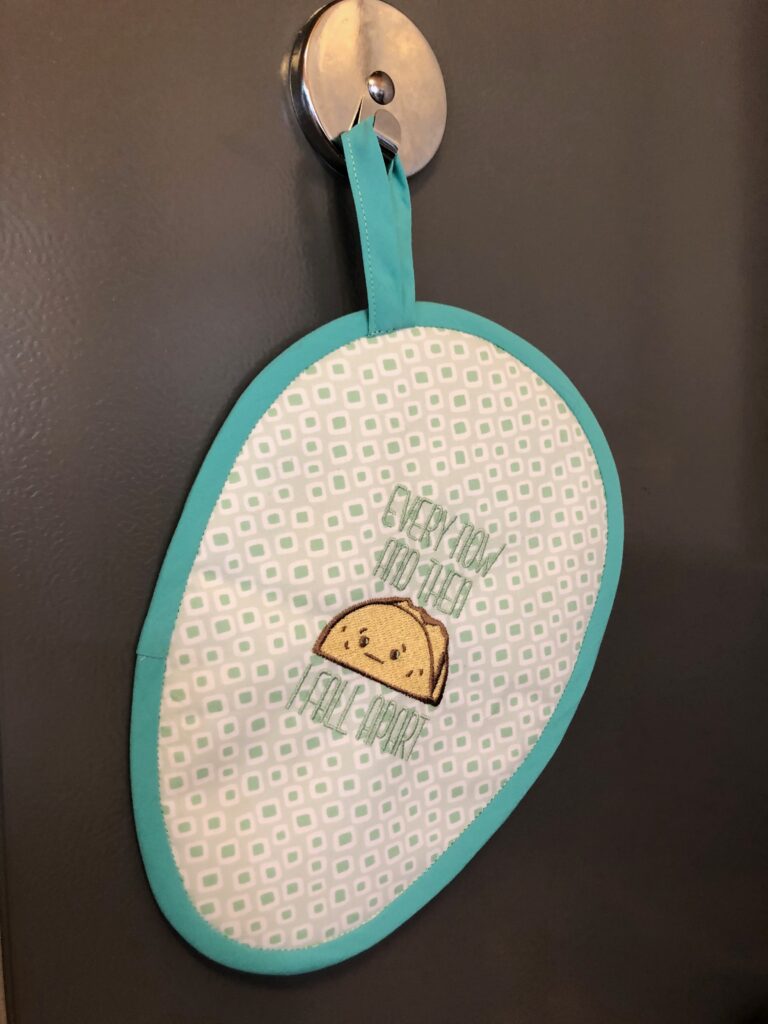
Free Potholder Pattern
This Tuesday is Cinco de Mayo. When do we ever have a Cinco de May synced up with Taco Tuesday? This fantastic day should be celebrated with a free potholder pattern, amirite? (This also makes a great Mother’s Day gift, especially if your mom likes tacos!)
Supplies
- Potholder pattern (it’s a free download, guys!)
- Sulky 40 wt. Poly Deco™ thread that matches fabric (for construction) & coordinating (for machine embroidery design)
- 60 wt. Sulky Bobbin thread (for embroidery)
- Sulky Totally Stable® stabilizer
- Organ needles: size 75/11 embroidery & 80/12 universal (construction)
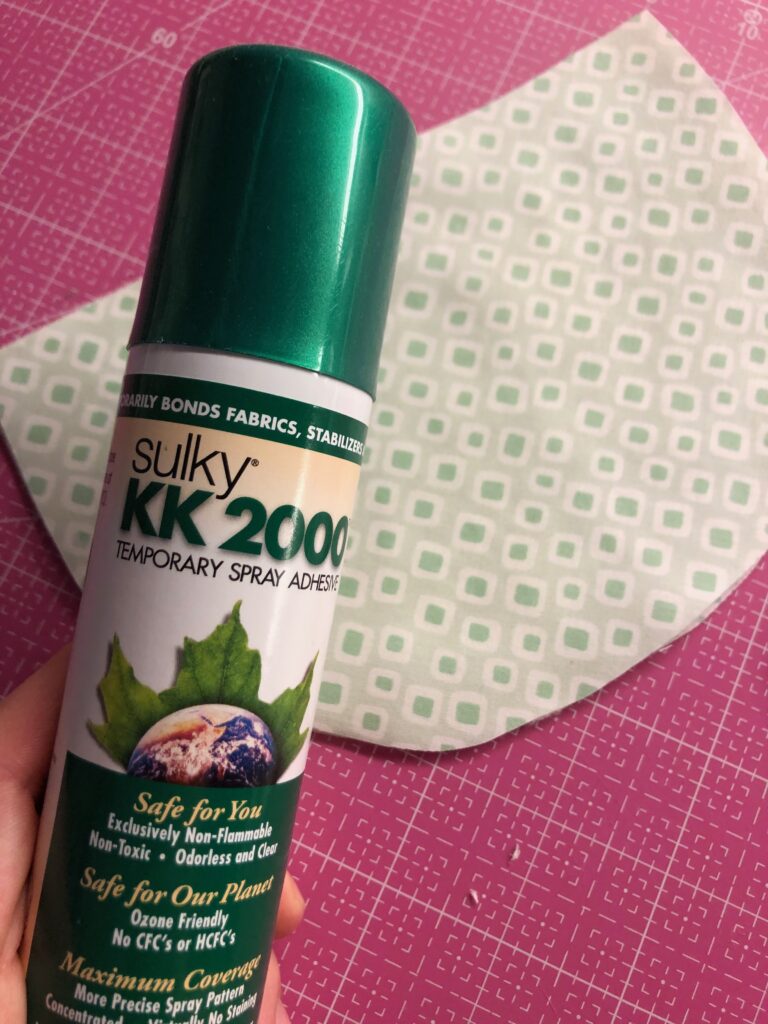
- Sulky KK 2000™ Temporary Spray Adhesive
- 4 matching or coordinating Layer Cake squares (10″ squares of quilting cotton) or two fat quarters
- 20″ square of cotton batting
- 10″ square of insulated batting
- 1-3/4 yard of 1/2″-wide premade double-fold bias binding
Free Potholder Pattern Embroidery Designs
There are a plethora of cute Taco-themed embroidery designs in the universe. Choose one you like that measures no larger than 5″ x 6″.
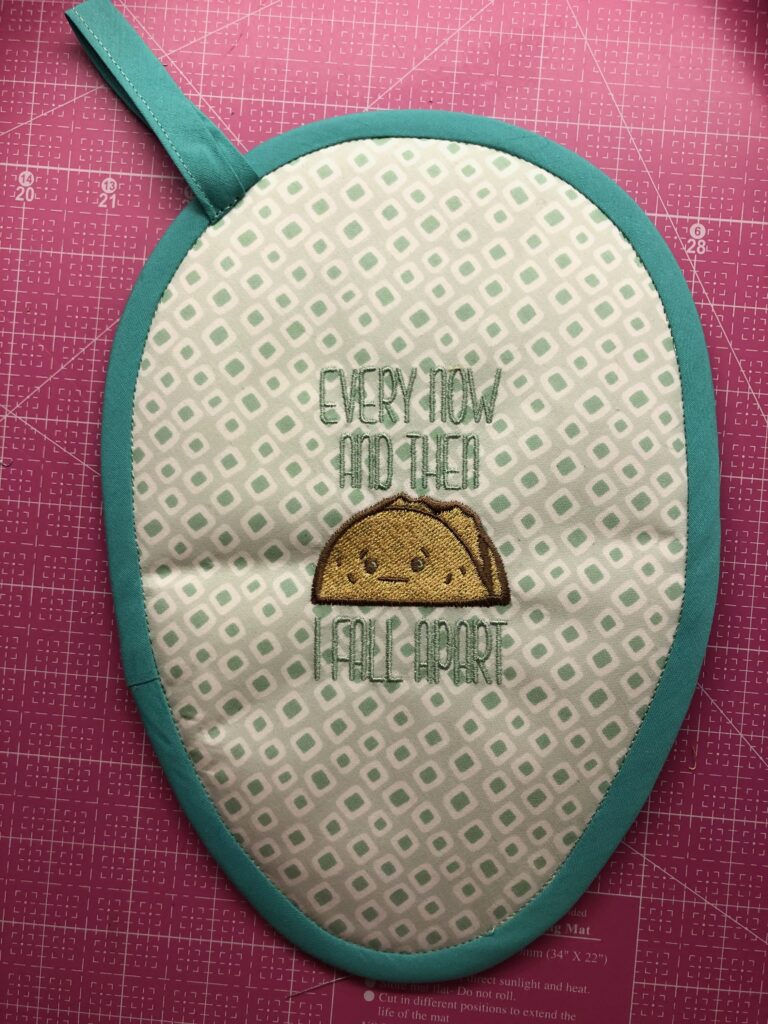
The featured Taco Fall Apart Embroidery Design is from Apex Embroidery. It comes in two sizes. Feel free to swap the design colors to match your fabric choice.


Potholder Embroidery How-tos
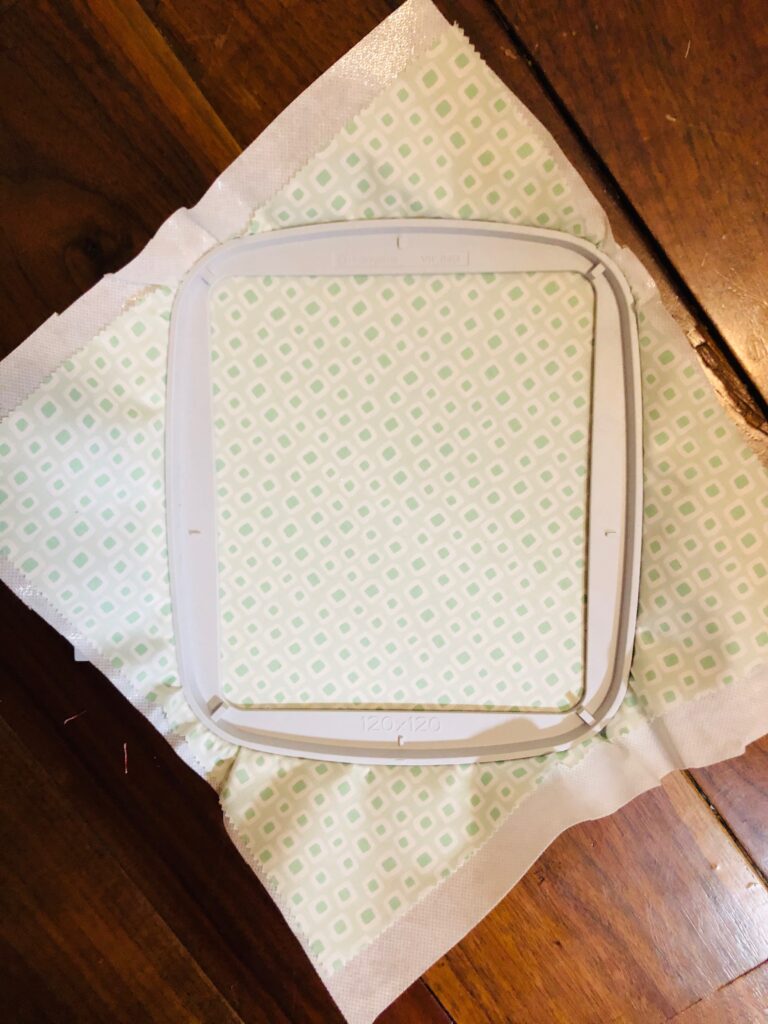
Fuse the stabilizer to one layer cake wrong side. The fusible tear-away stabilizer can stay with the potholder through washings and wearings, keeping the embroidery intact throughout the potholder’s life. It provides an extra layer of protection for this heavily used and often abused item. If preferred, remove the stabilizer by gently tearing it away beyond the design perimeter. Be sure to use a low- to medium temp iron when fusing if removing is your goal.
Hoop the stabilized fabric on point (from corner to corner) and insert the hoop onto the machine.
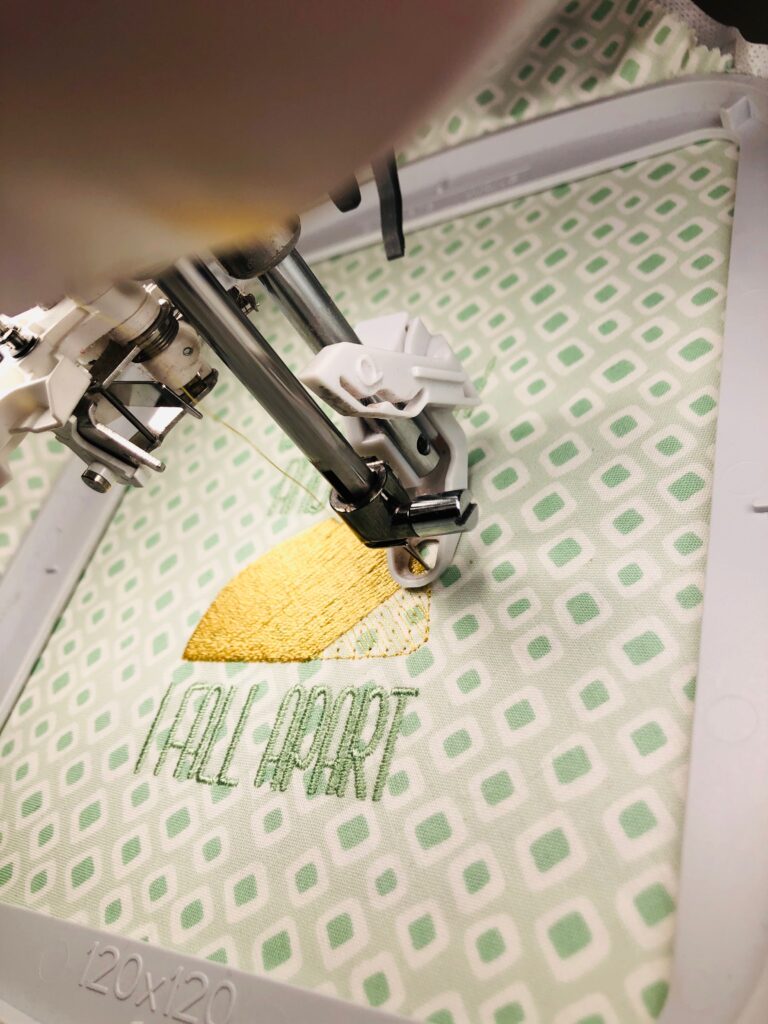
Thread the needle with the first thread color for the design.
Embroider, swapping threads per the color chart or per your personal preference for the design. For the featured Taco Fall Apart design, the lettering was stitched in Mint Green Poly Deco to match the fabric. (HINT: If you don’t want the embroidery to face the items you take in and out of the oven, place the design along one of the pockets instead. Either way, the free potholder pattern is yours to use over and over again for all holidays and celebrations!)
After embroidery is complete, remove the hoop from the machine and the fabric from the hoop.
Trim any remaining jump threads from the right and wrong side of the design. Press gently beyond the stitching on the fabric wrong side.
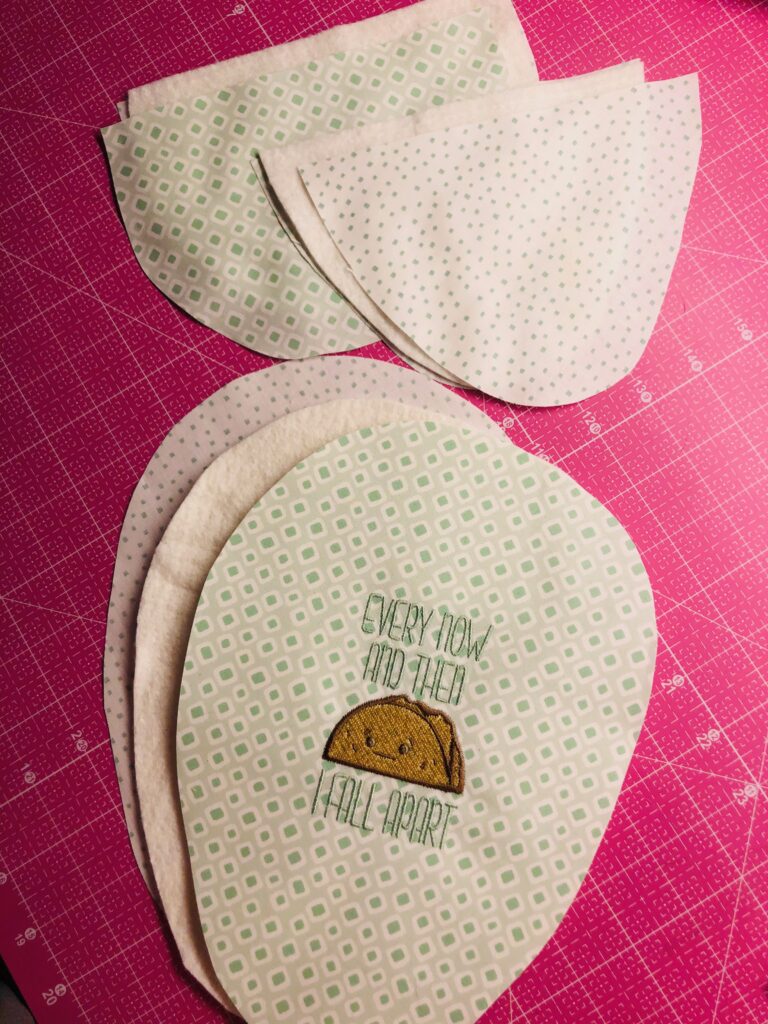
Cut the one full potholder piece from the embroidered fabric, centering the design or positioning it where desired.
Free Potholder Pattern Prep
Cut one more full potholder piece on point from a layer cake square, the insulated batting and the cotton batting.
Cut two pocket pieces each from the remaining layer cake squares and cotton batting.
Layer the embroidered potholder piece, the insulated potholder piece, the cotton batting potholder piece and the layer cake potholder piece so all edges are aligned and the fabric right sides are facing out. Use Sulky KK 2000™ Temporary Spray Adhesive to secure all layers.
Pin the perimeter through all layers for extra security.
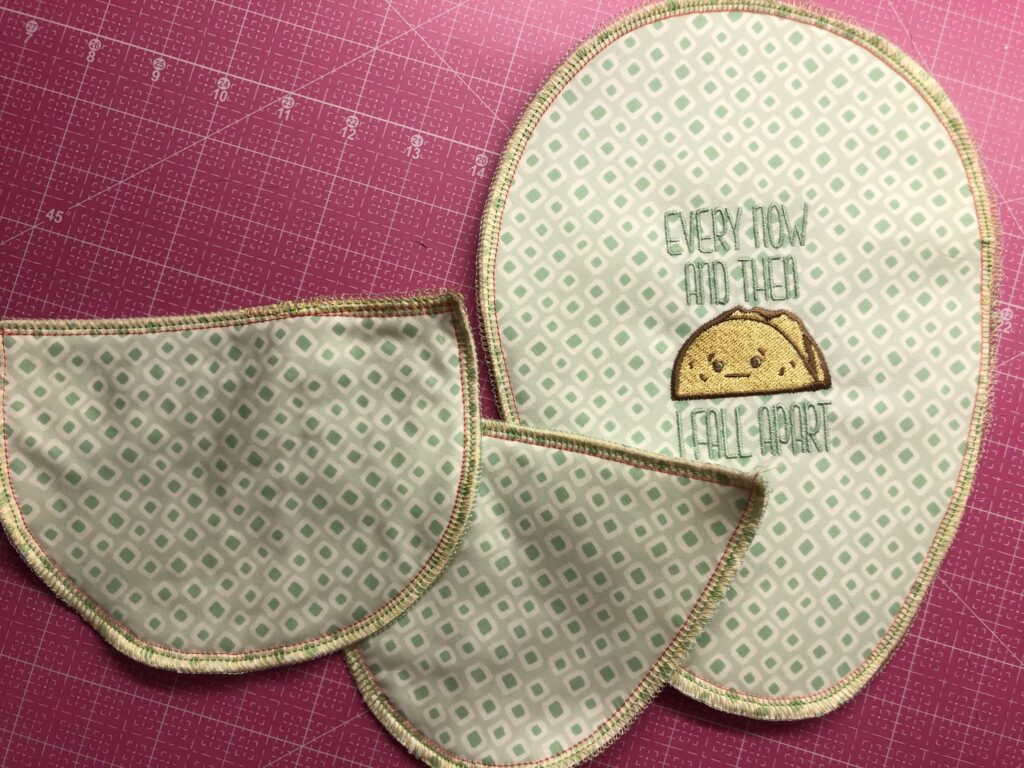
Serge-finish using a 4-thread overlock stitch, or machine baste the full potholder perimeter.

Repeat to layer and stitch the pocket pieces, omitting the insulated batting.
Potholder Pockets
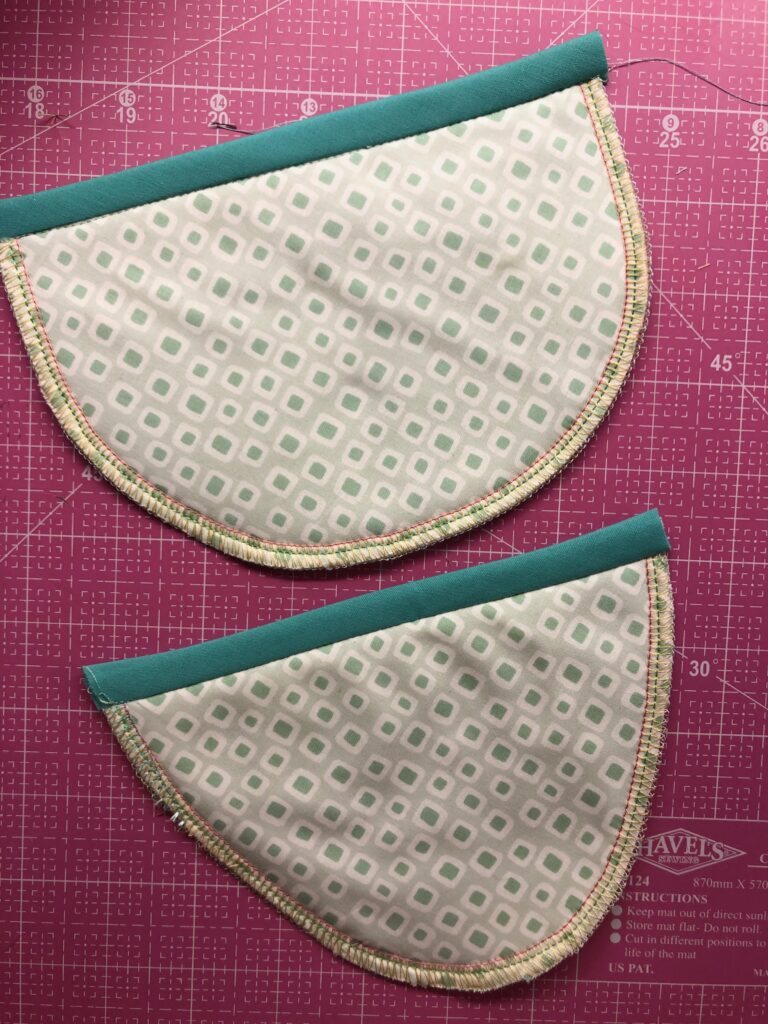
Cut two lengths of binding to fit each pocket straight edge.
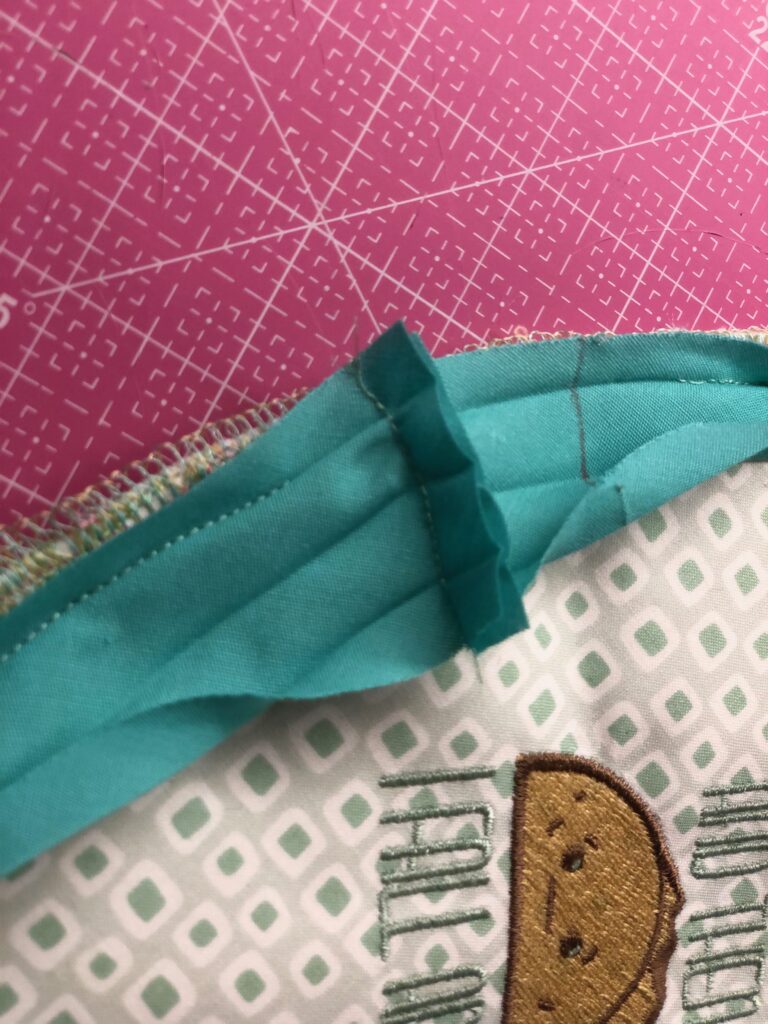
Unfold one binding pocket piece. Stitch the wider binding folded edge to the corresponding pocket edge with right sides facing, using a scant 1/4″ seam allowance. Wrap the binding around the pocket edge, abutting the binding fold with the pocket straight edge. Stitch in the ditch to secure the binding along the pocket inner edge.
Repeat to bind the second pocket along the straight edge.
Free Potholder Pattern Finishing
Cut a 7″ piece of binding for the hanging loop. Edge stitch the long open edge; set aside.
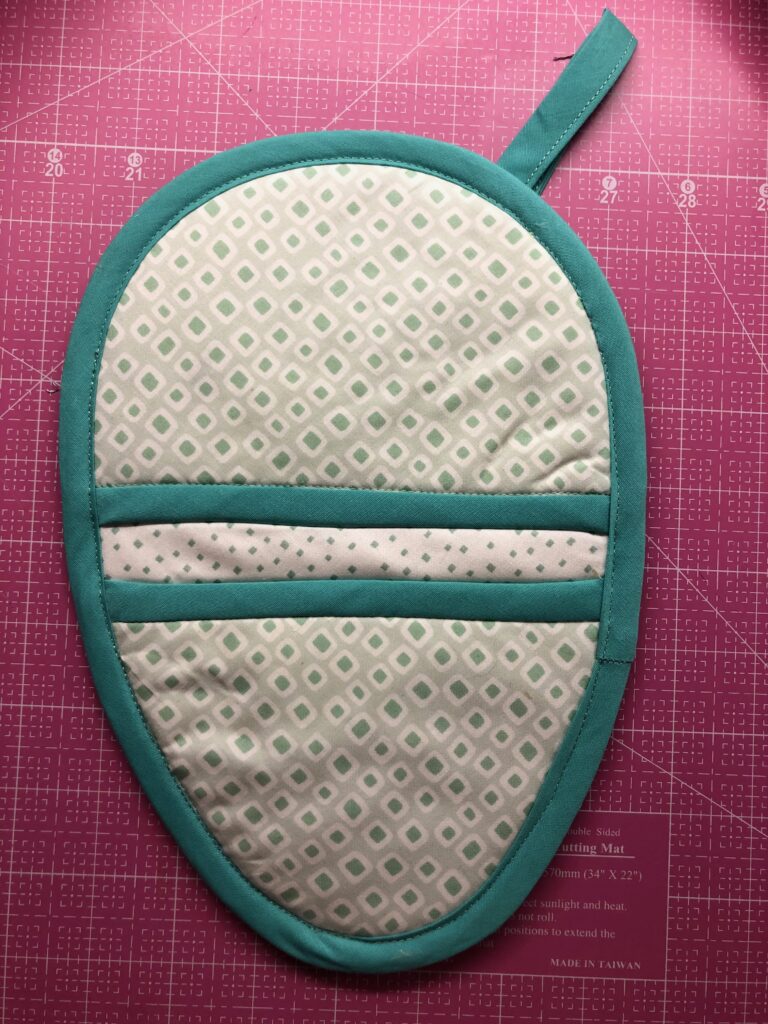
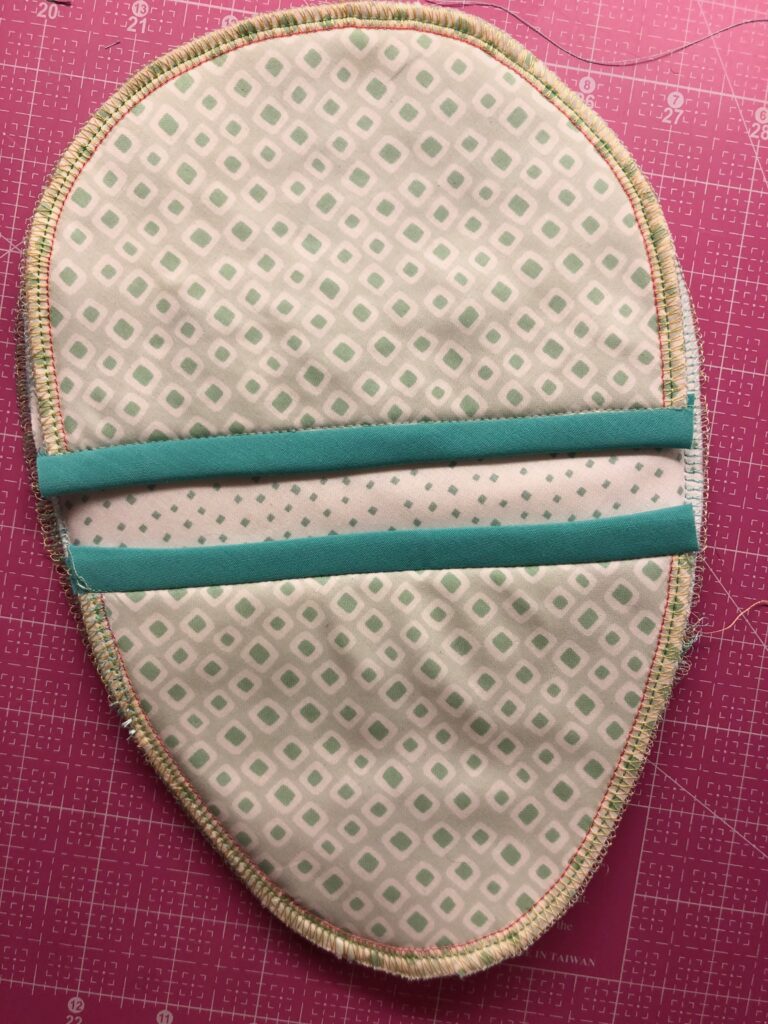
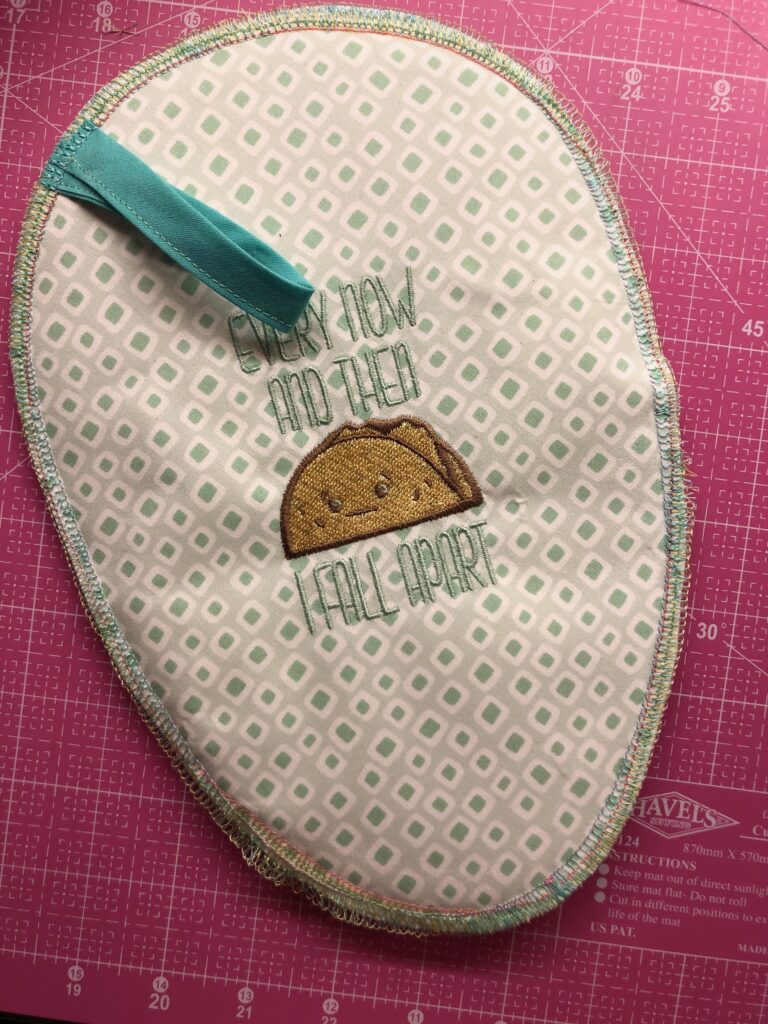
Place each pocket right side up over the full potholder piece, on the side opposite the embroidery. Make sure all edges and corners are aligned; pin the perimeter.
Fold the hanging loop in half, aligning the raw ends. Position the raw ends along the embroidered potholder side, angled along the wider pocket edge. Pin or clip the ends in place to secure.
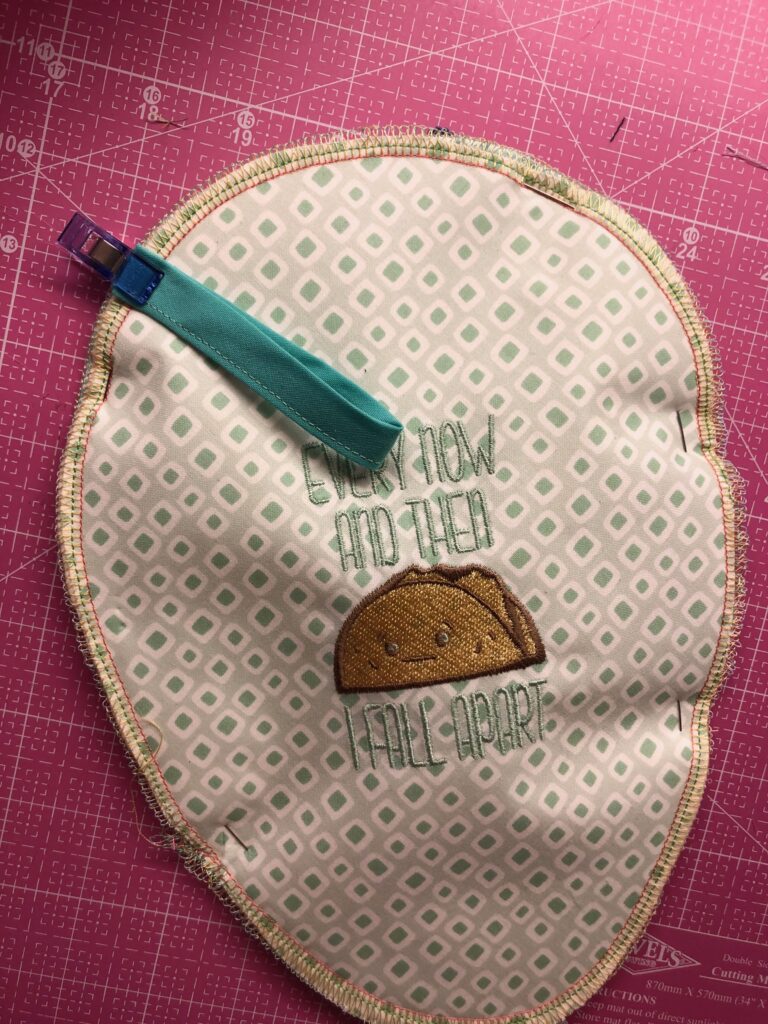
Serge or baste the loop ends to secure them to the potholder.
Binding the Potholder
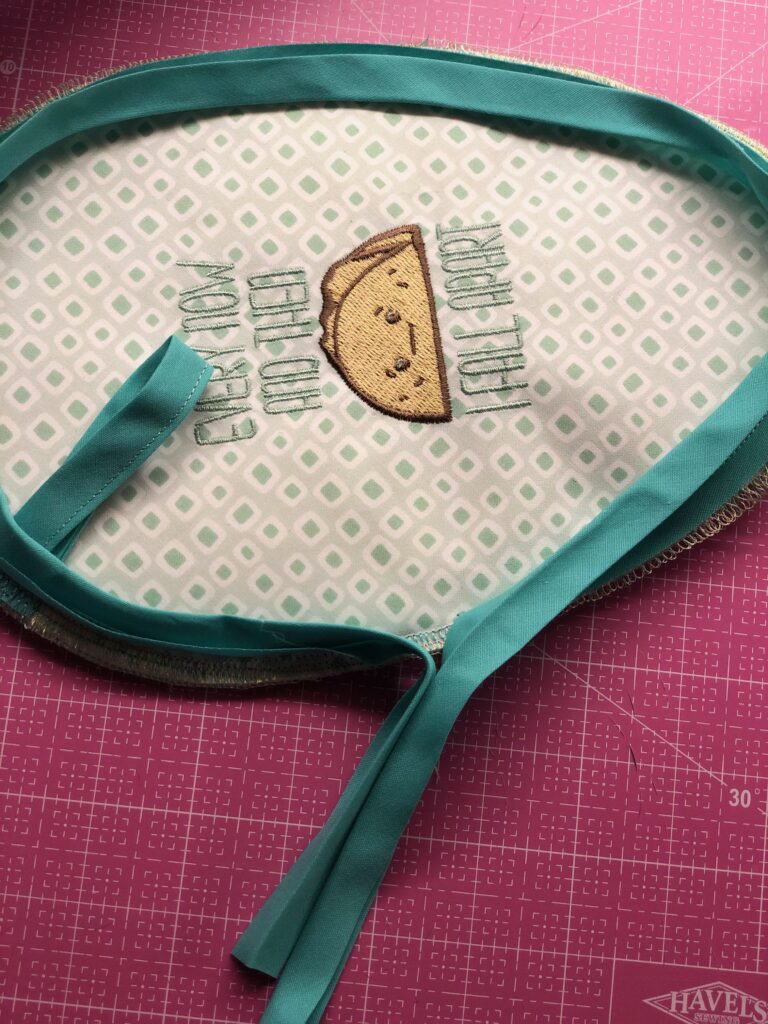
Bind the potholder. Unfold the remaining binding length. Place one binding raw end along one long side of the potholder, working from the pocket side. Leave a 3″ “tail” beyond the beginning pin. Pin the binding around the potholder perimeter.
Overlap the binding end 3″ beyond the binding beginning. Use a removable fabric marker to mark where the binding beginning and end meet. Stitch along the line, removing nearby pins if needed to stitch with ease.
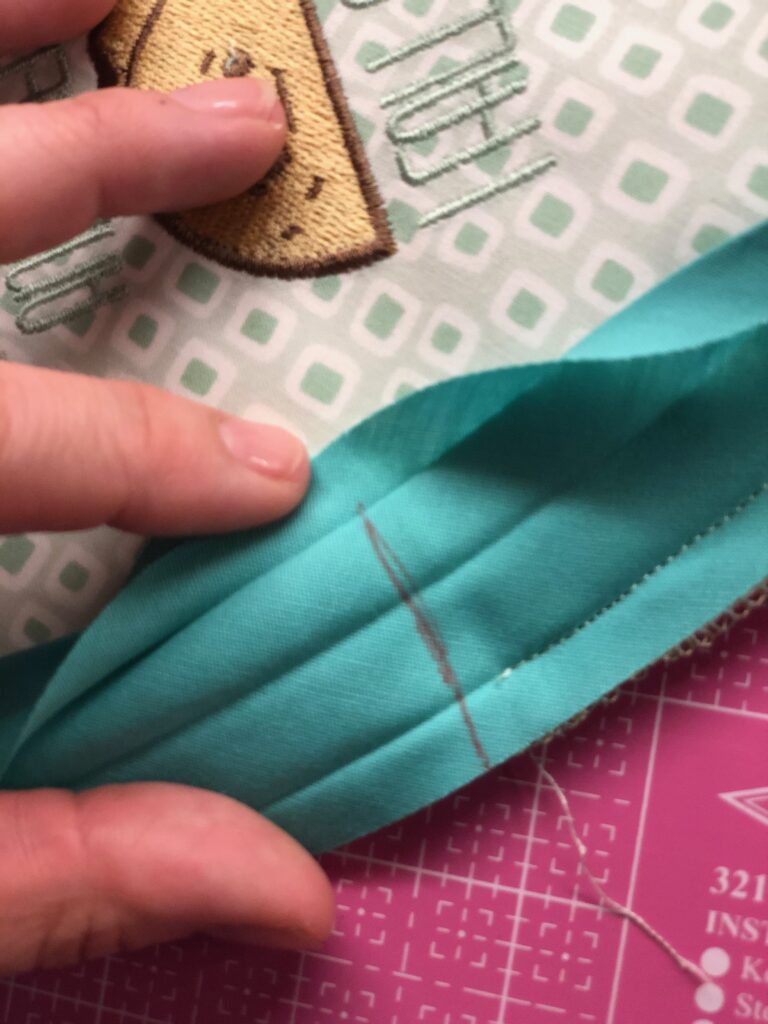
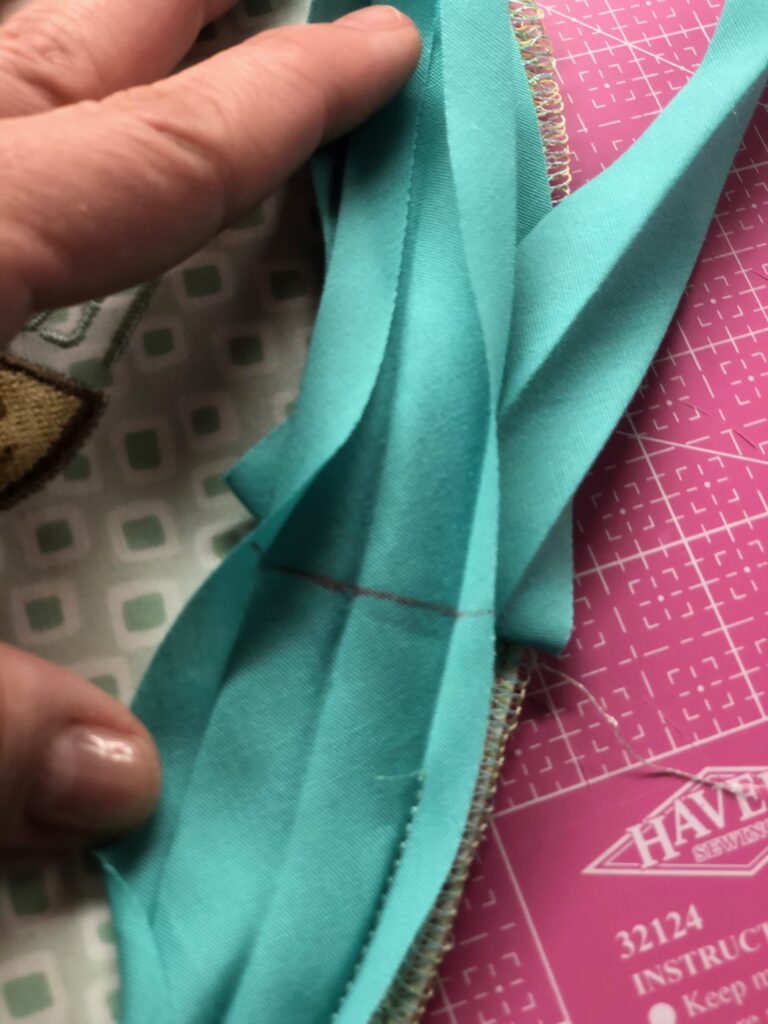
Replace the binding pins, making sure the binding length fits the potholder perimeter. Once it fits perfectly, trim the binding ends 1/2″ beyond the stitching; repin.
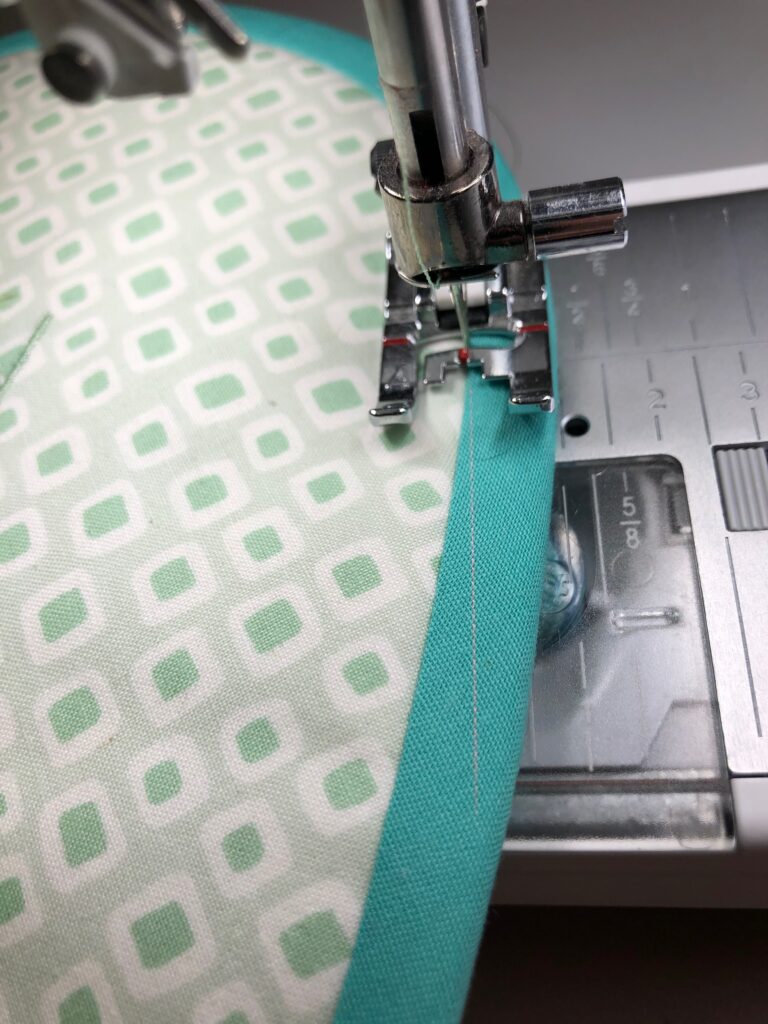
Stitch in the ditch to secure the binding fold along the potholder back. Or hand sew the binding to the potholder using a slipstitch or ladder stitch.
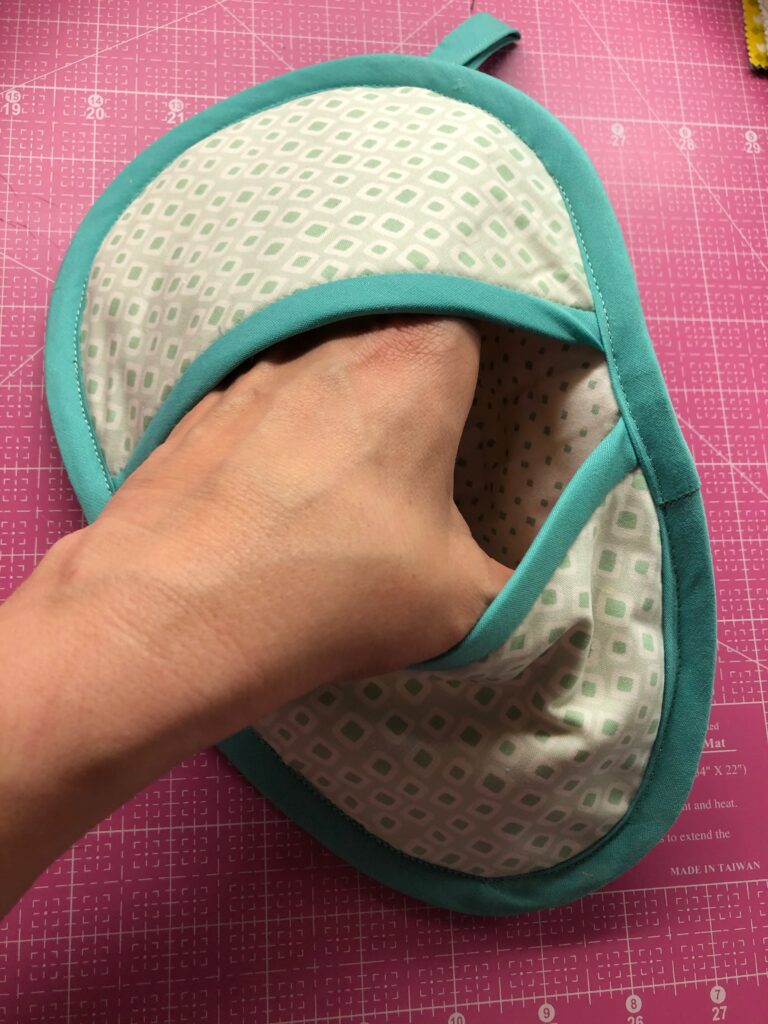
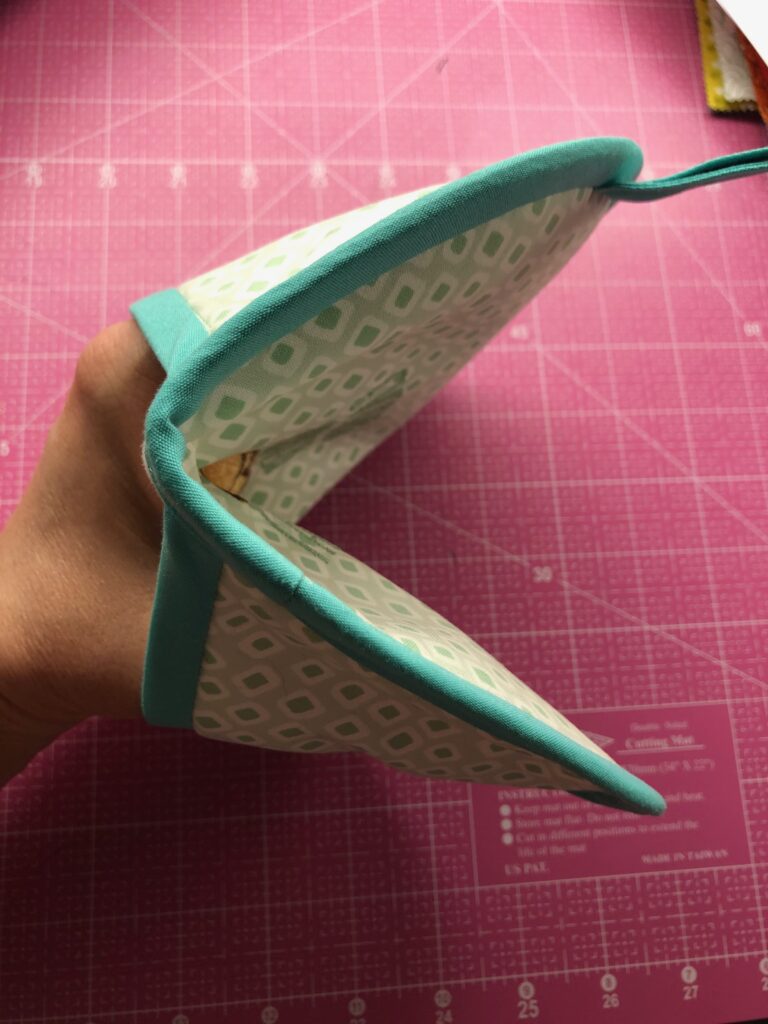
To use the potholder, insert your thumb into the smaller pocket and fingers into the larger pocket.