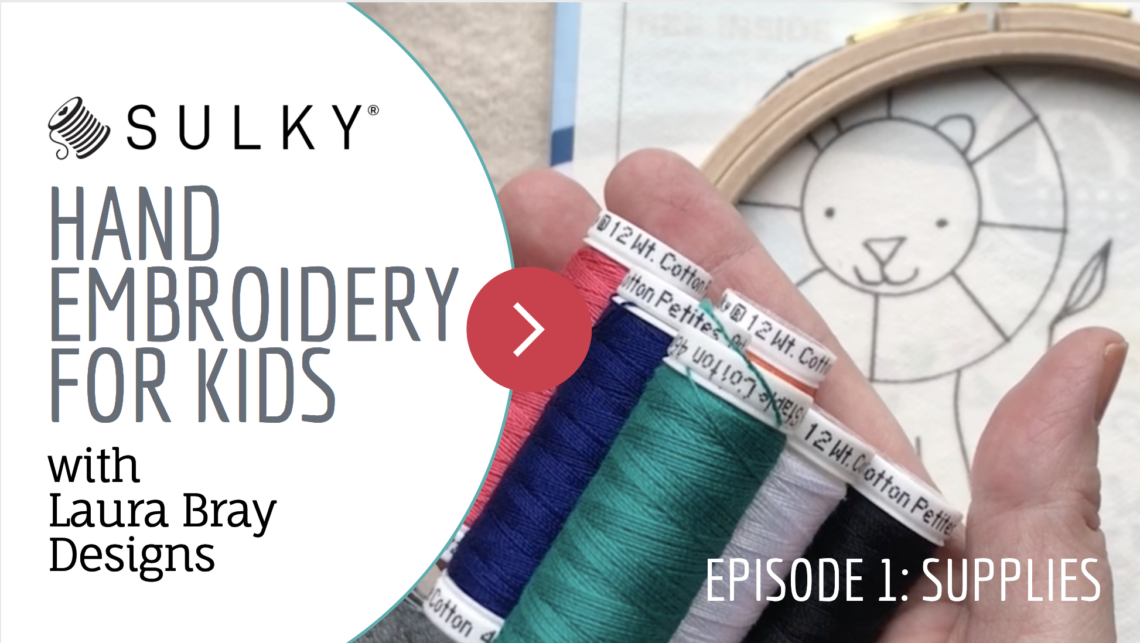
Hand Embroidery for Kids – New Video Series, Episode 1
Hand Embroidery for Kids: a New Sulky Video Series
Episode 1: SUPPLIES
Yes, hand embroidery for kids! In this video series, Laura Bray of Laura Bray designs takes us through the steps to teach children the wonderful art of hand embroidery. Hand embroidery is a gateway craft for kids, as it’s easy to learn and understand how stitches are formed, the supplies are inexpensive, and it’s fun to pick out thread and fabric colors (not to mention designs!)
From Laura
Hand Embroidery is a wonderful skill to teach your child. It’s a creative and quiet activity for both you and your child. I began teaching my daughter how to embroider when she was only four years old, by using shoelaces and cardboard with holes punched into it. Today, she’s a teenager who turns to embroidery when she needs to relax or wants to keep her hands busy while she’s watching television.
Hand embroidery for kids can seem daunting but we’ll break it down into easy step-by-step lessons. These lessons are for teaching children around the ages of 8-12, but only you know when your child is ready to pick-up a needle and thread.
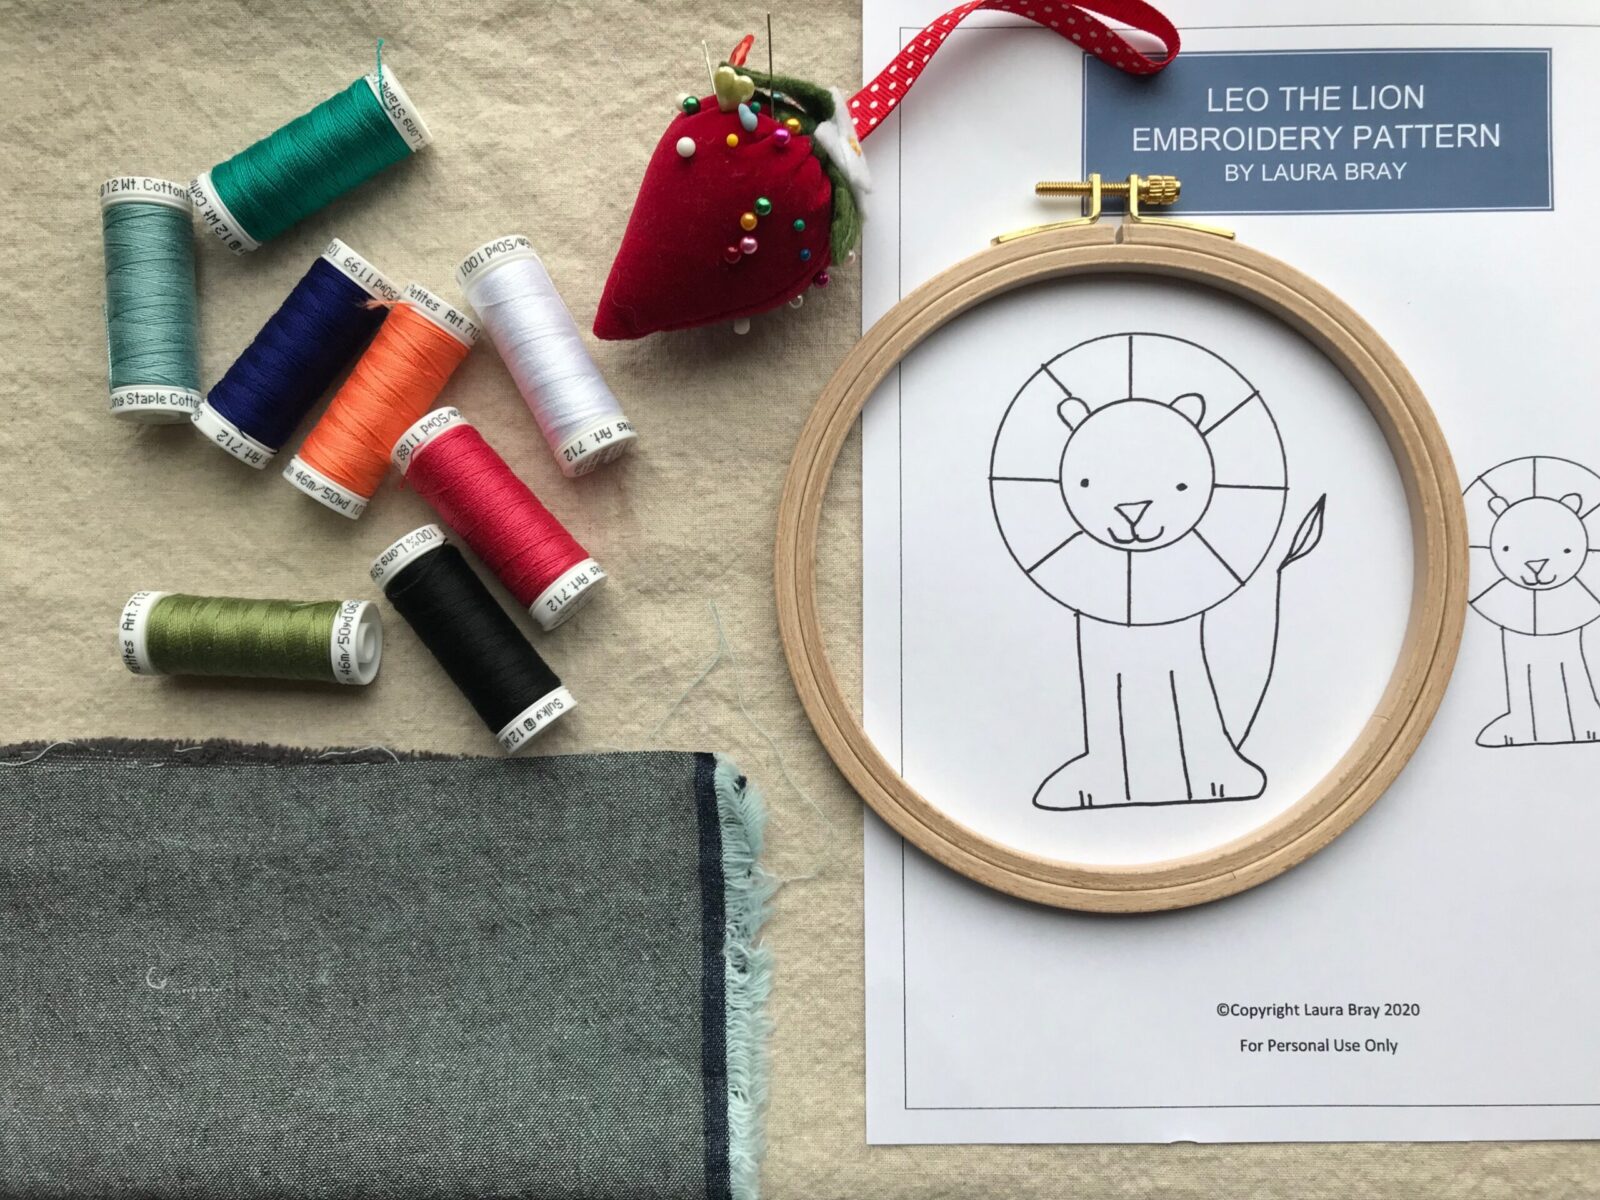
Gather Supplies
The great thing about hand embroidery for kids is that it isn’t an expensive hobby. Here’s what you need to get your child ready to start their embroidery hobby:
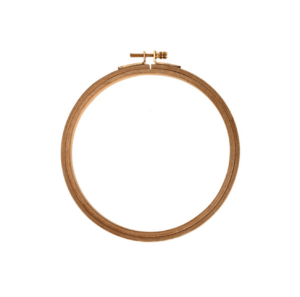
- An embroidery hoop – A 6” hoop is a good size. Buy the best quality hoop you can. These German Wooden Hoops are a great choice. Higher quality hoops help keep fabric tight in the hoop which leads to less puckering when stitching. If your child is struggling with keeping their fabric in their hoop they will quickly get frustrated and lose interest.
- 12 wt. Cotton Petites™ Thread – This comes in lots of colors. And kids love color!

- Embroidery snips
- Fabric – Cotton and linen are some favorites. Try to find a fabric that isn’t too thick as it will be difficult to get the thread through it, yet not so thin that mistakes show through from the back!
- Embroidery patterns – You can find lots of embroidery patterns online, or use your child’s artwork! This Leo the Lion Embroidery Pattern will get you started.
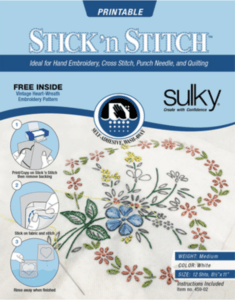
- Stick n’ Stitch™ Printable Sheets – These make transferring patterns to your fabric easy. They are especially great for children to use as they don’t require the use of an iron.
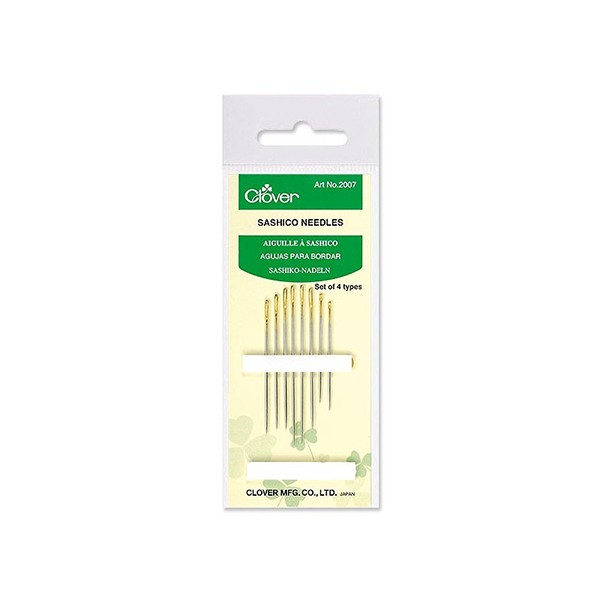
- Embroidery needles – Most embroiders like to use between a #3-9 sized needle. These numbers refer to the size of the eye of the needle. The smaller the number, the larger the eye. While adults choose their needle size to match their fabric weight and weave, a larger eye is easier for children to thread. Run a few different sizes through your fabric choice to make sure it doesn’t leave any large holes in the fabric but is still large enough for your child to thread the needle. Again, keeping frustration low when teaching your child embroidery is the key to a pleasant stitching session for all!

There’s also a convenient kit that includes the aforementioned supplies and lots of thread. Check it out!
Safety Reminders
This is a craft that involves the use of sharp needles and scissors, and safety needs to be impressed on your child before you begin. Here are some safety tips to help you, but you know your child best so make sure you keep safety in mind based on their abilities and temperament.
- Never leave your child alone when stitching. Teaching your child to stitch can be a wonderful bonding experience and you can make sure they are stitching safely.
- Keep track of needles. It’s important to teach your child to keep track of their needles when they aren’t stitching. Give them a pincushion or use a needle minder (typically a small button with a magnet that you attach to your stitching). I recommend giving your child one needle at the beginning of the project and asking for the needle back at the end of the project. This keeps needles from getting misplaced or lost.
- Remind your child not to bring their face too close to the piece they are stitching. We don’t want any eyes poked as they pull the thread in and out of their piece. If you are worried about this, safety googles are a silly, but safe, solution until you and your child feel secure that they can handle the needle safely.
- Remind your child to keep their hands and fingers away from the thread as they poke the needle in and out of the fabric. If your child keeps pricking their fingers, consider using thimbles as finger guards or have your child use a tapestry needle (these are large needles with relatively blunt ends) and a loose weave fabric before moving onto sharper needles and tighter woven fabrics.
- Teach your child the proper way to use and carry embroidery scissors. No running with scissors! And remind them to cut away from themselves and to keep their fingers out of the way as they snip threads.
Again, this list is just a few recommendations for keeping your child safe. Watch your child and adjust and add to it as needed.
Stream Now
Watch Hand Embroidery for Kids, Episode 1: Supplies now! And subscribe to our YouTube page to be in the know when the next episode drops.
About Laura

Laura Bray is an embroidery artist and fabric designer. She lives in the Pacific Northwest with her Data Scientist husband, their teenage daughter, and a neurotic guinea pig named Oreo. She believes tea should be hot, floss should be smooth, and embroidery needles sharp. You can read about her creative adventures in embroidery and life on her website.

Ellen March
I am the Director of Content for Sulky of America. The former Editor in Chief of Sew News and Creative Machine Embroidery magazines, I hosted Sew it All TV on PBS for nine seasons. I've appeared on It's Sew Easy on PBS, DIY Network's Uncommon Threads, Hallmark's Marie Osmond Show, MacPhee Workshop and more! Come sew with me!