Hanukkah Wall Hanging with Sulky Poly Sparkle Thread
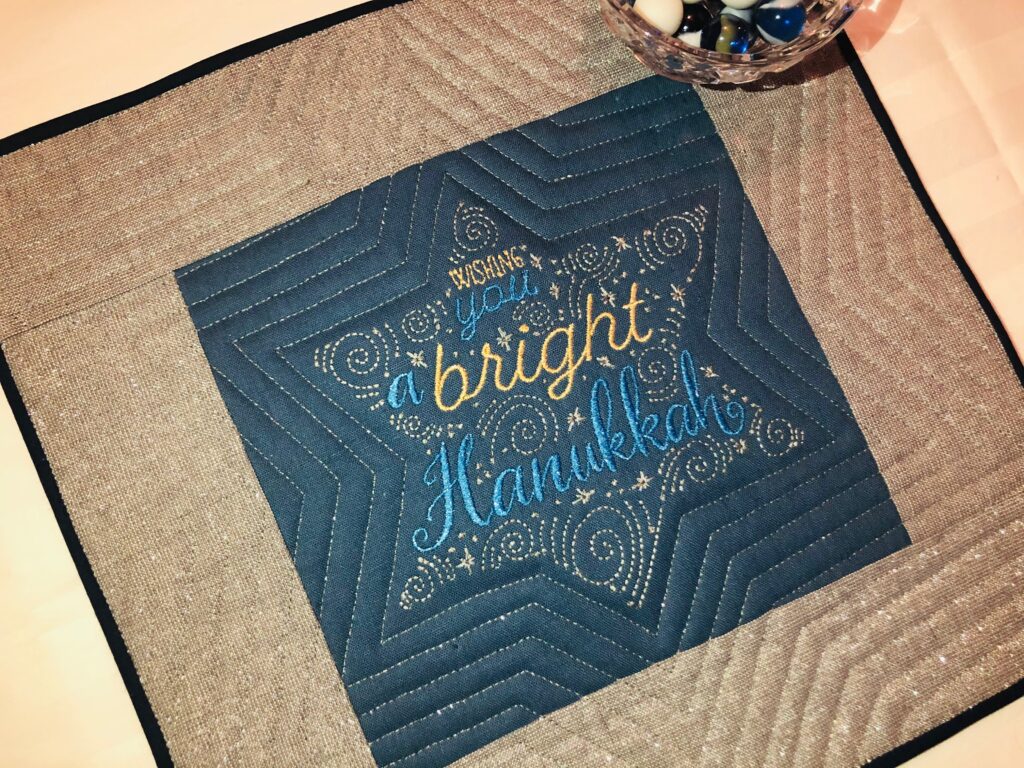
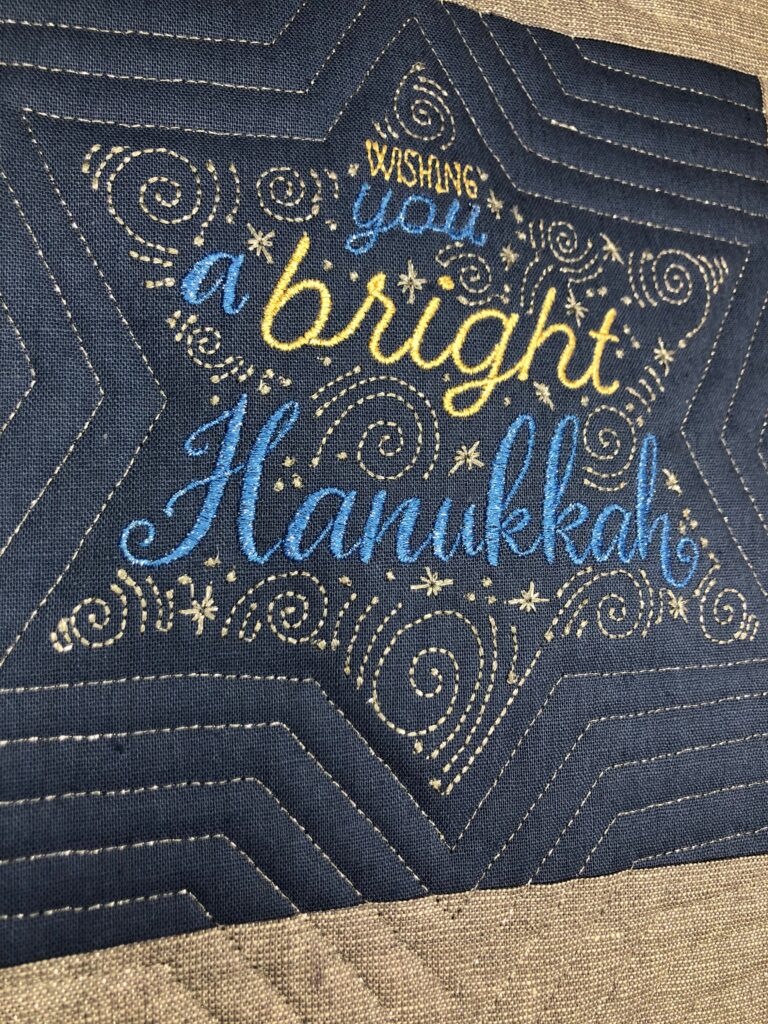
Create a festive Hanukkah wall hanging with sparkle, created with Sulky Poly Sparkle thread. The polyester thread has flecks of metallic running through it, making it the easiest metallic thread to sew. It’s a 30 wt. thread, so make some adjustments if using a machine embroidery design digitized for 40 wt. thread.
SUPPLIES
- Cotton+Steel 50 wt. Thread by Sulky (construction)
- Sulky Bobbin thread (for embroidery)
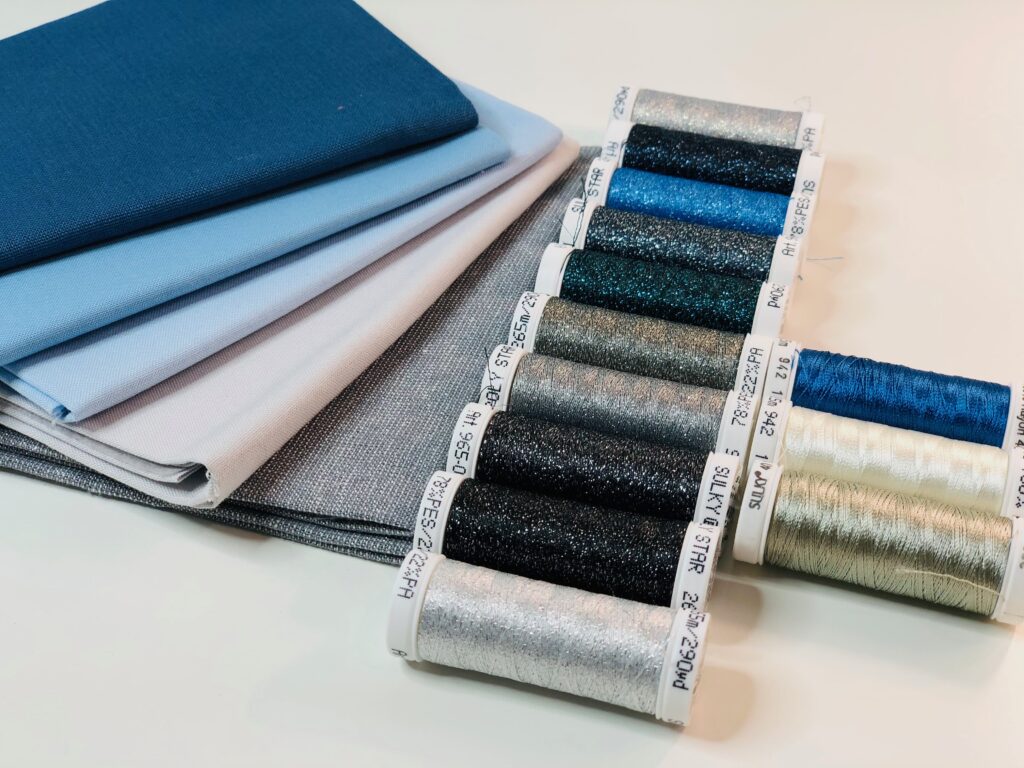
- Winter Poly Sparkle 6-pack Sampler or Silver Poly Sparkle 6-pack Sampler
- Sulky 40 wt. Rayon thread
- Stabilizers: Sulky Tear-Easy™ & Soft ‘n Sheer™ Extra
- Organ Needles: 90/14 Embroidery (machine embroidery) & 70/10 Universal (construction)
- Fabric: Coordinating quilting cotton or linen fabrics (such as Robert Kaufman Essex Linen in Metallic Fog); enough for center panel (fabric A), outer border (fabric B), backing (fabric C) & binding (premade bias tape or fabric D)- dimensions determined by desired embroidery size
- Batting
- Clover Wonder Clips
- Sulky KK 2000™ Temporary Spray Adhesive
- Embroidery designs: (such as Hanukkah Candles or Hanukkah collection by OESD or Love You A Latke collection by Scissortail Stitches)
- Press cloth
HANNUKAH WALL HANGING DESIGN CONSIDERATIONS
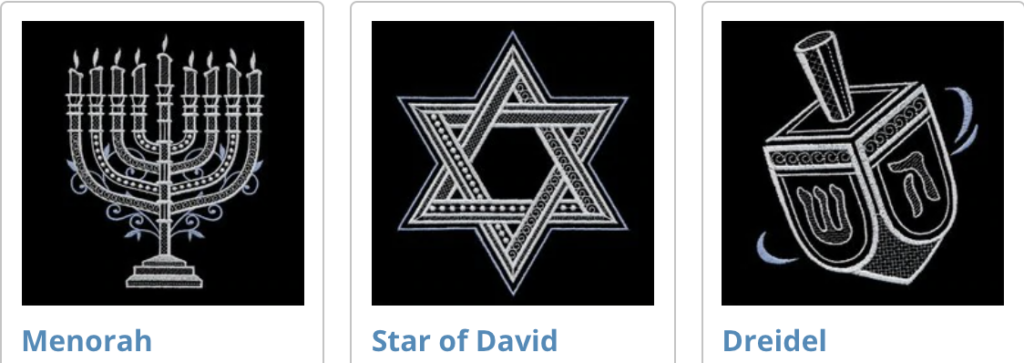
The featured designs were all digitized for 40 wt. thread. However, the open, airy designs featured in the Hanukkah collection are suitable for 30 wt. thread.
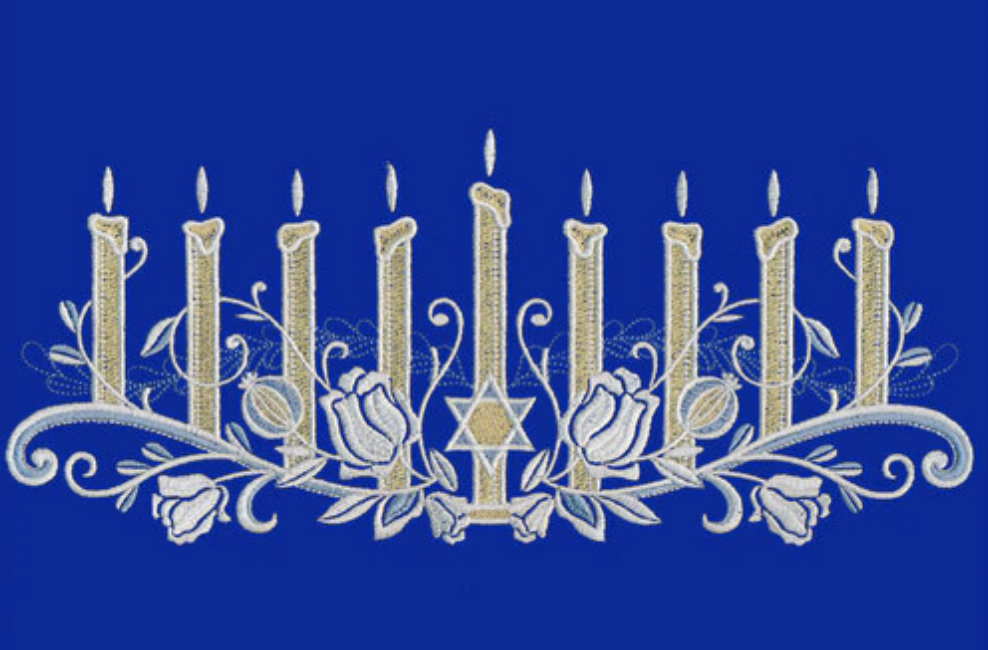
The Hanukkah Candles design is a bit more dense, with more fill stitches. The 30 wt. Poly Star performed well with this design, with a few adjustments.
- Slow the machine speed by at least half. This reduces the friction caused by the thread when sewing at high speeds.
- Be sure to use a size 90/14 needle when using 30 wt. thread. The needle eye needs to be long enough for the thread to pass through easily.
- Lubricate the needle with a dab of Sewer’s Aid. This water-based lubricant will help the needle and thread penetrate the fabric cleanly.
- Use Sulky Bobbin thread with the Poly Sparkle in the needle. The lighter weight bobbin thread will help create a balanced stitch.
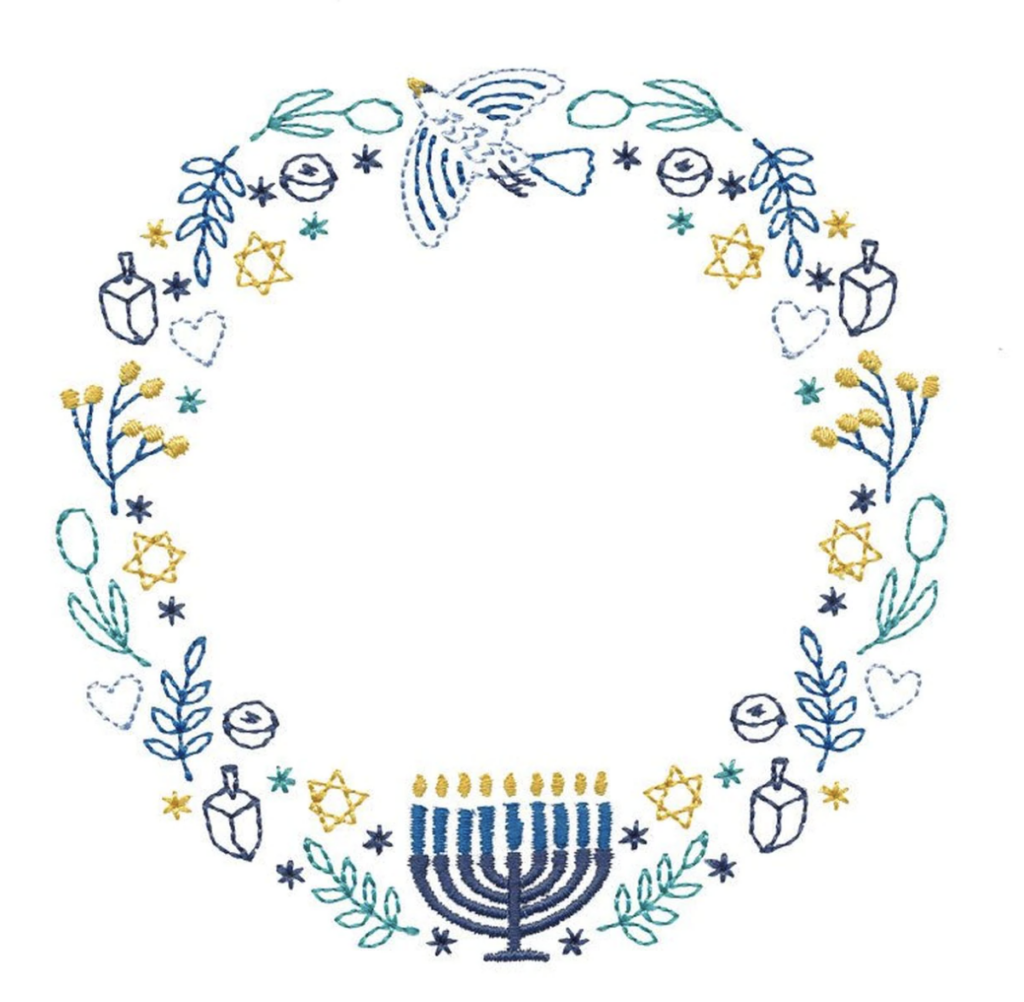
The same rules apply if using a design from the Love You a Latke design collection. However, some of these designs have even heavier fill stitches. In those cases, use Sulky Rayon thread for the dense portions of the design, and sub Poly Sparkle for outlines and/or line-art portions.


WALL HANGING FABRIC PREP
After choosing the desired embroidery design, decide on the desired design size. Remember you can only adjust the design size 20% larger or smaller using your machine screen. Anything bigger or smaller needs to be resized using embroidery software. Note the final dimensions of your design.
Choose a solid fabric for the Fabric A in the Hanukkah wall hanging. Cut the fabric 6″ larger than the embroidery design along the width and length to account for seams and any adjustments to design placement needed after embroidery is complete.
From Fabric B, cut 3″-wide border rectangles to fit the finished, trimmed center panel length and width, including 1/2″ for seam allowances.
From Fabric C, cut one rectangle to fit the wall hanging front once the borders are added, with additional room to account for quilting if desired.
For the featured wall hanging, which showcases the Bright Hanukkah Design enlarged 20% to 5 3/4″ square, use the following cutting dimensions:
- A: Cut one rectangle measuring 11 3/4″ square (or large enough to fit in the hoop; this rectangle will be trimmed to 8″ square after embroidery).
- B: Cut two 3″ x 8″ rectangles for the side borders and two 3″ x 13 1/2″ rectangles for the upper and lower borders.
- C: Cut one 15″ square (to leave room for quilting).
HANNUKAH MACHINE EMBROIDERY
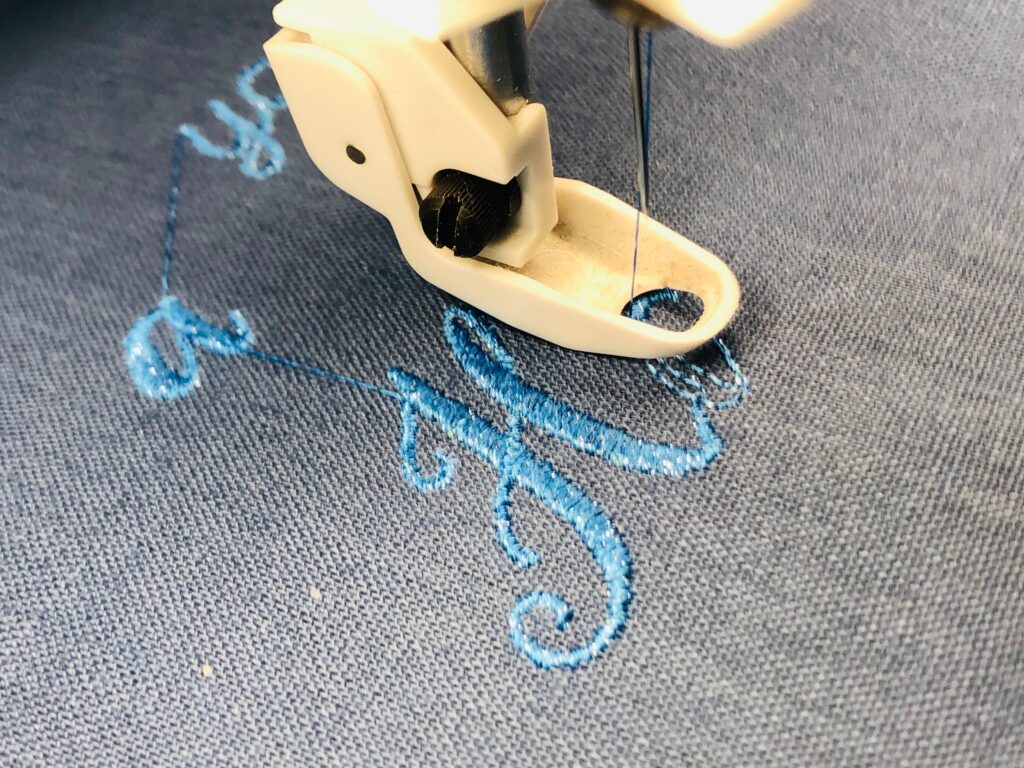
Fuse Soft ‘n Sheer Extra stabilizer to the Fabric A wrong side. Hoop the stabilized fabric with an additional sheet of Tear-Easy stabilizer.
Embroider the design, using thread from either Poly Sparkle Sampler and/or Sulky Rayon in the needle and Sulky Bobbin thread in the bobbin.
When embroidery is complete, remove the fabric from the hoop. Gently tear away the stabilizer beyond the design perimeter.
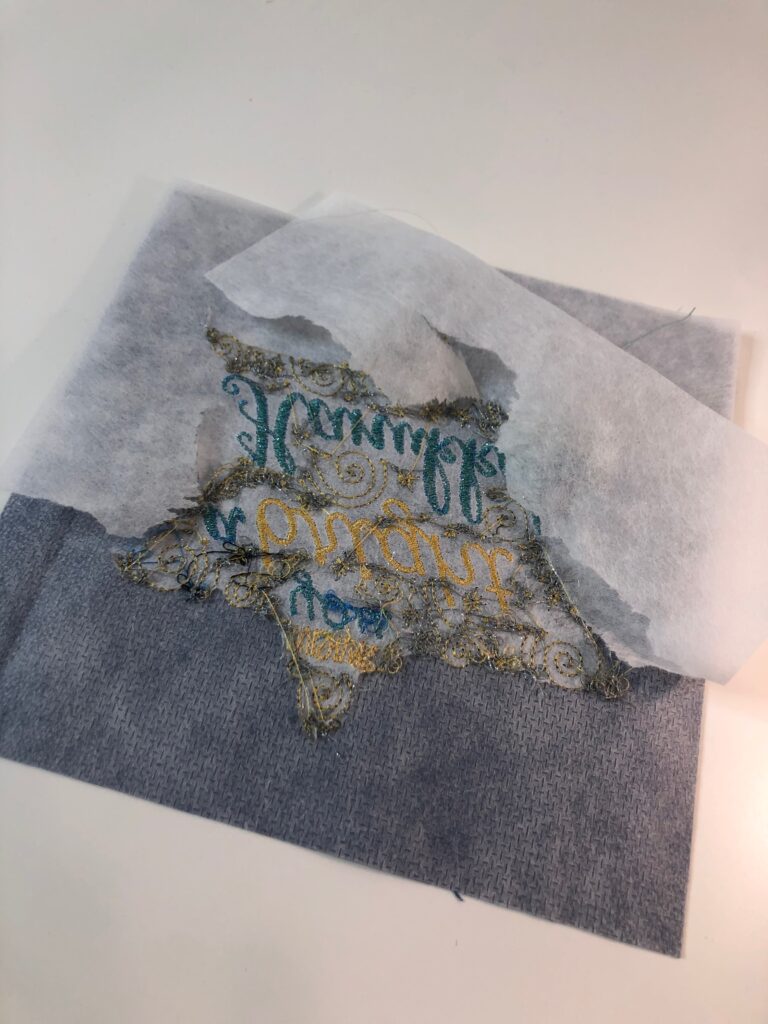
Press the embroidered rectangle from the wrong side using a press cloth.
Trim the center panel, centering the design with 1 1/4″ of fabric clearance beyond the outer embroidery design perimeter.
HANUKKAH WALL HANGING CONSTRUCTION
Piece the Hanukkah wall hanging borders to the center panel using a 1/4″ seam allowance, beginning with the sides and finishing with the upper and lower edges.
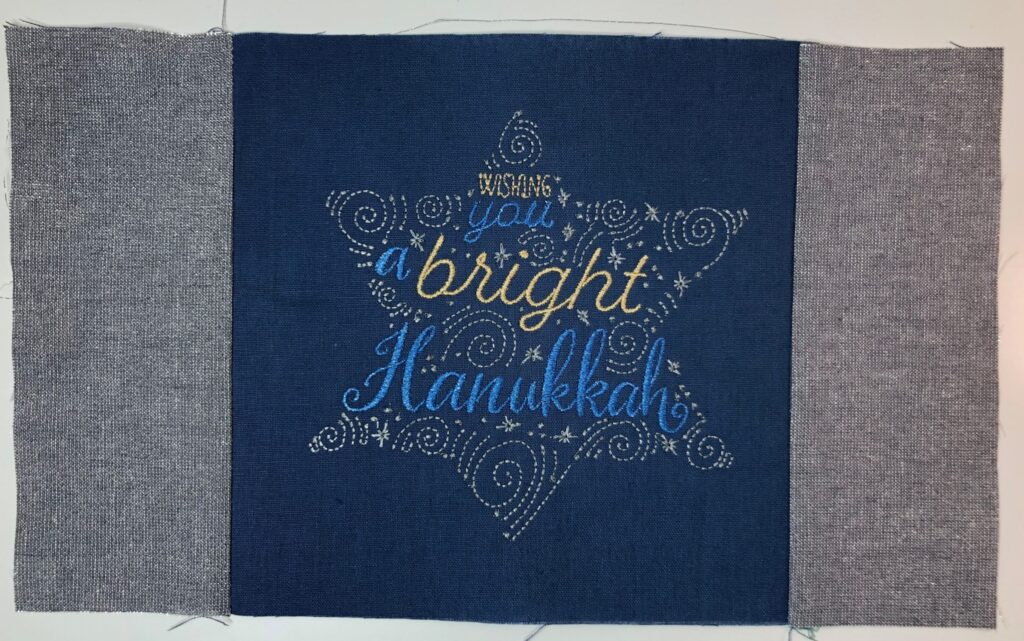
Press the seams toward the borders. Trim the square even, if needed.
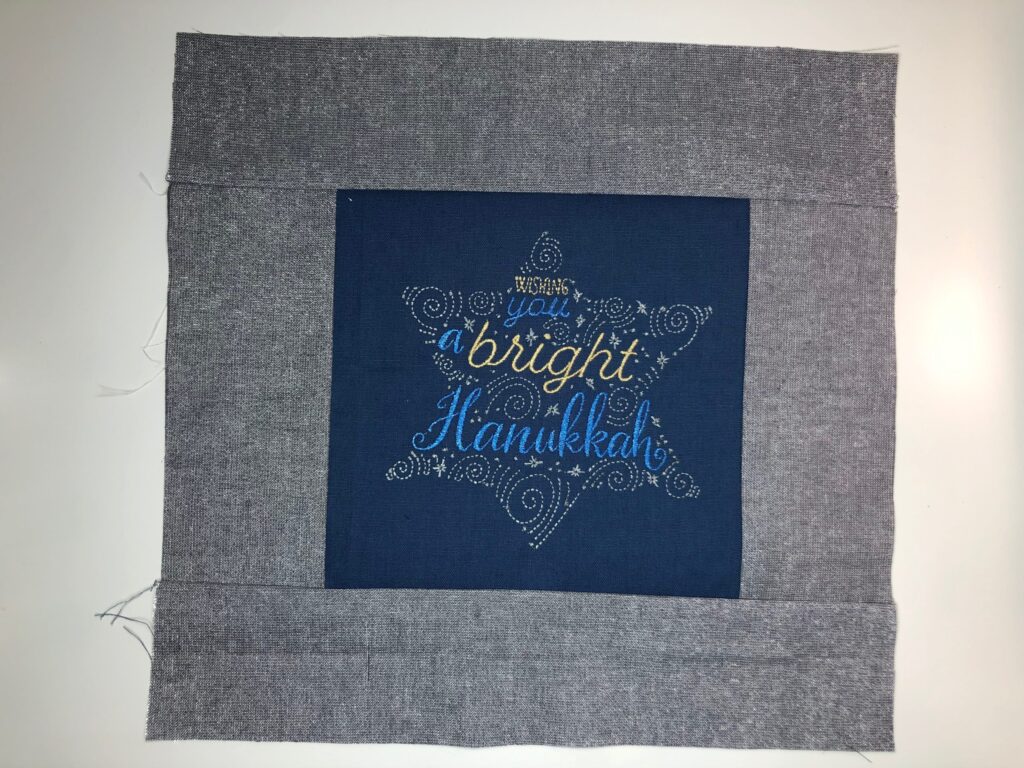
Place the backing fabric wrong side up on a flat work surface. Then, place a batting rectangle over the backing fabric, using KK 2000 Temporary Spray Adhesive to secure.
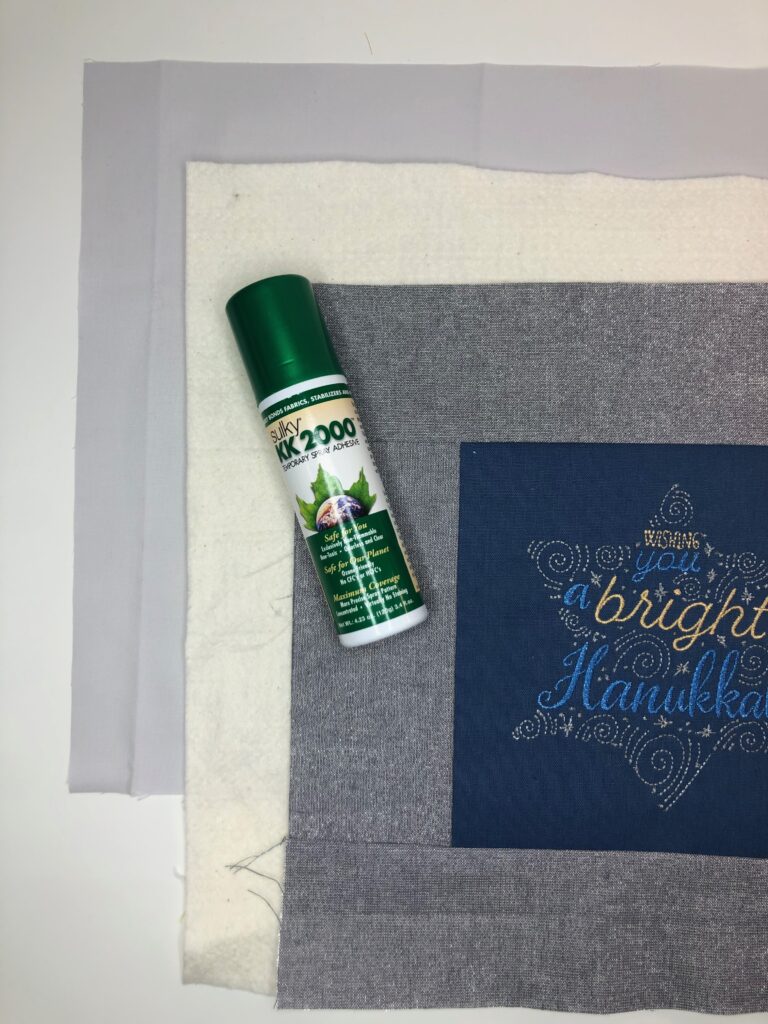
Finally, place the wall hanging right side up over the batting, using KK 2000 to secure. Thread the 90/14 needle with a Poly Sparkle color of your choice for the quilting. Load a bobbin with the same or different color of Poly Star that coordinates with the backing.
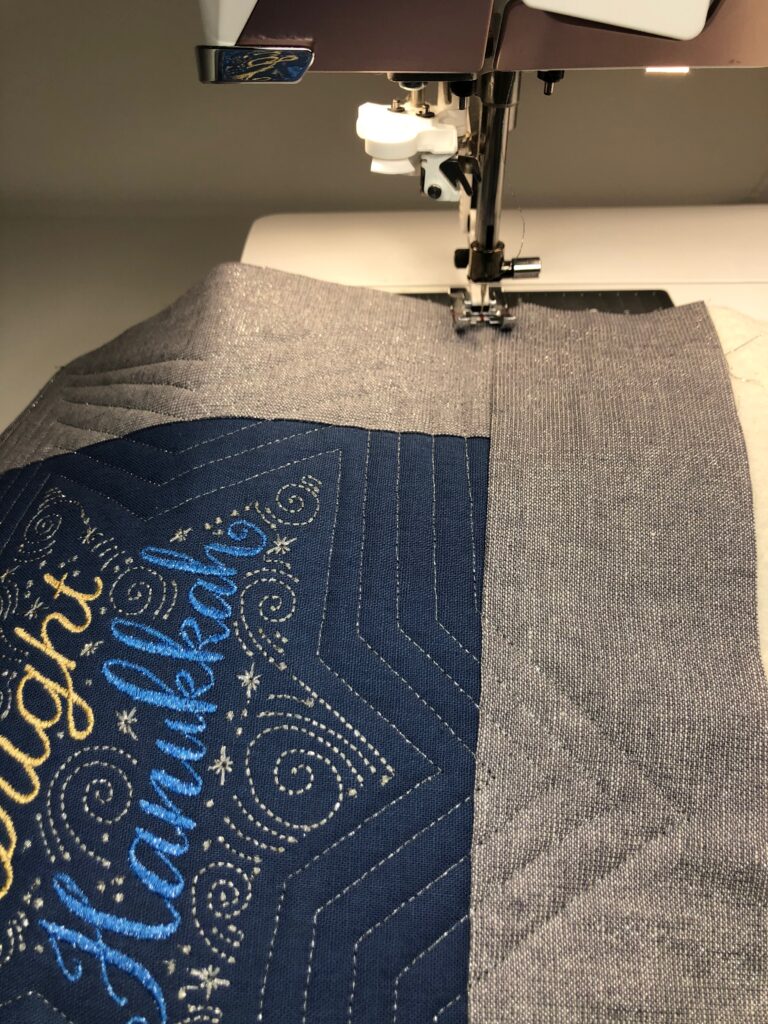
Quilt the wall hanging as desired, either by using free-motion techniques, outline quilting around the embroidery motif, or straight line quilting.
FINISHING
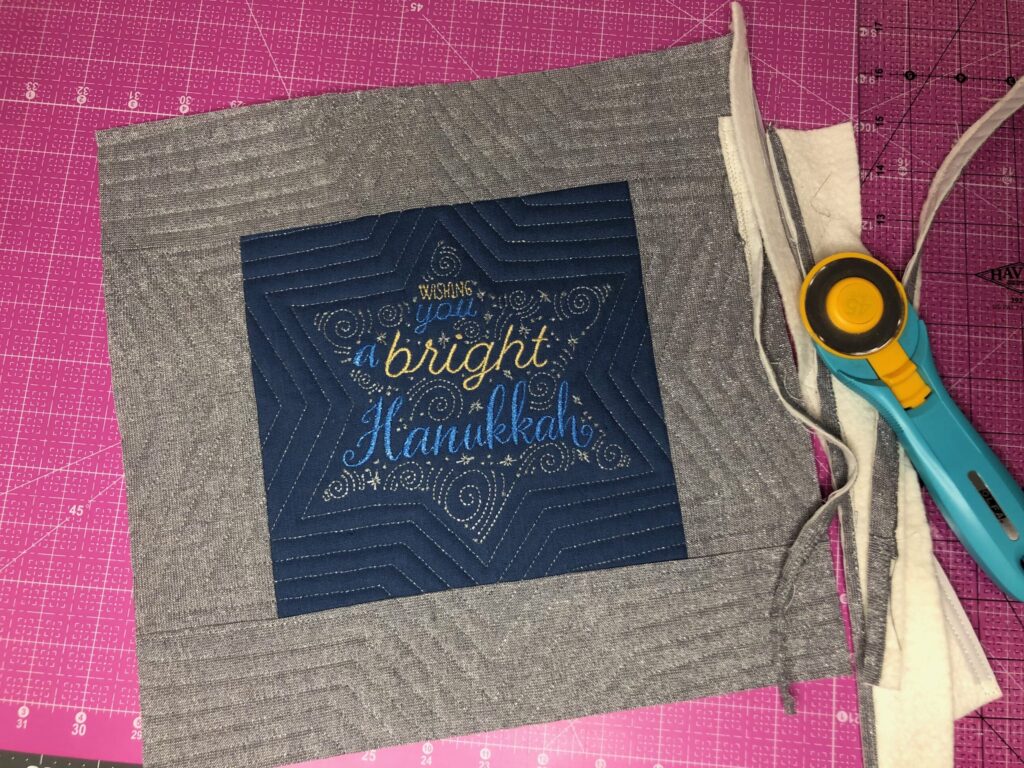
When satisfied with the quilting, trim the wall hanging so all edges are even.
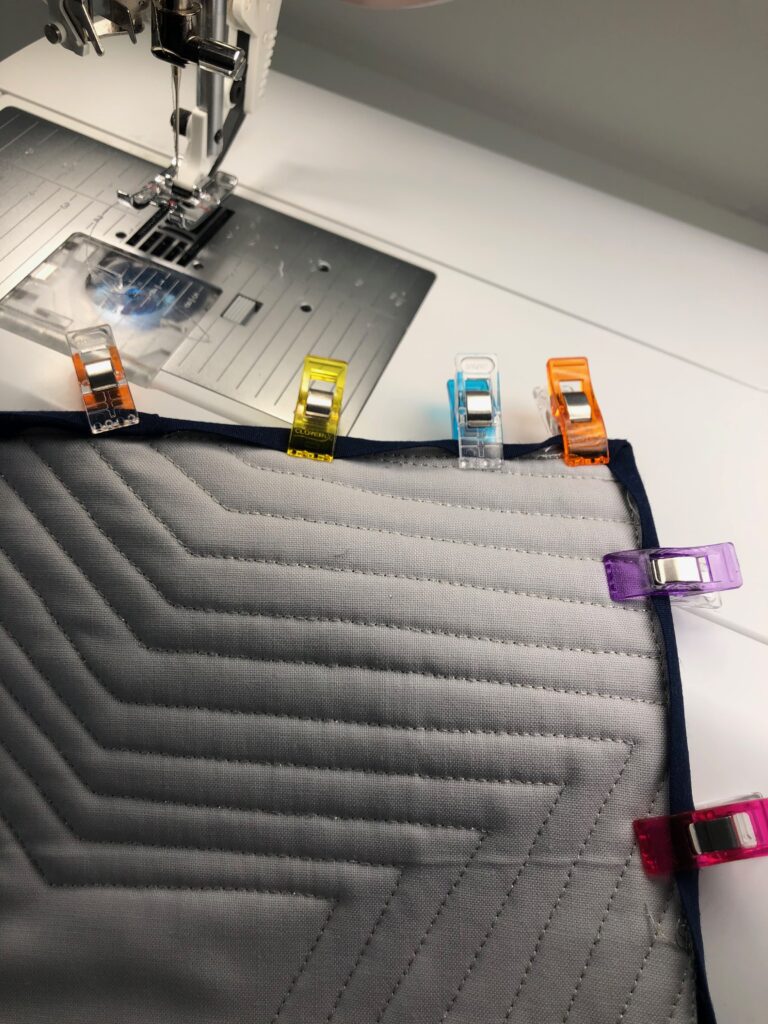
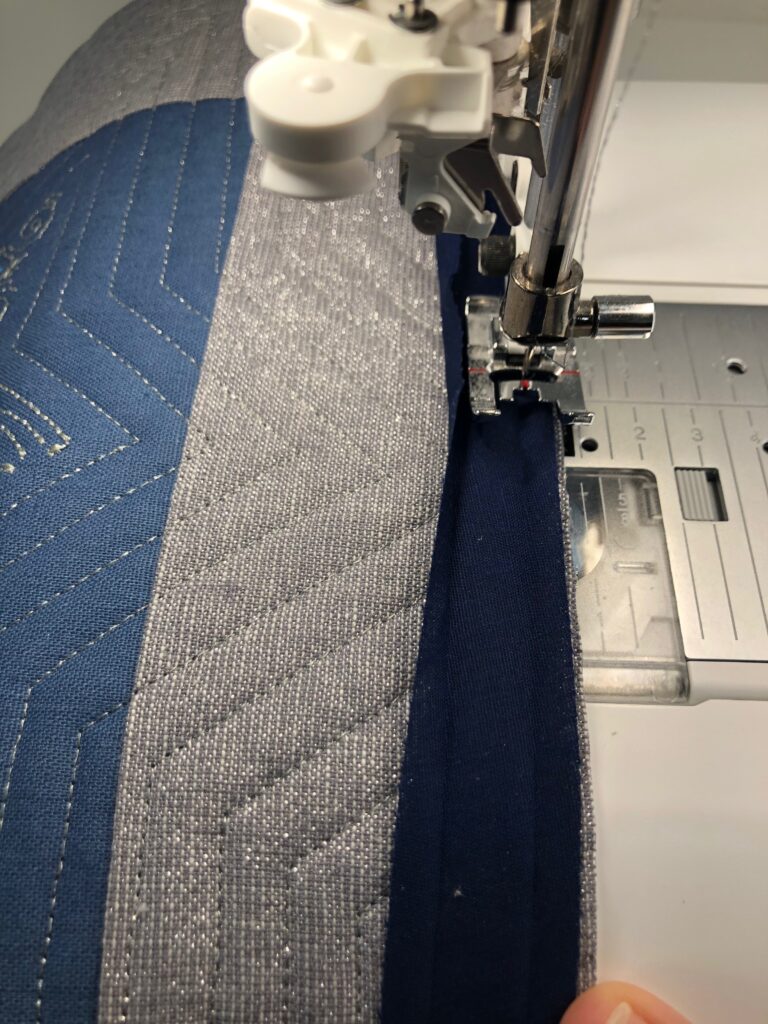
Bind the wall hanging using the method of your choice. Use fabric D to cut bias binding fabric strips, or use pre-made bias tape. Wonder Clips help hold narrow binding during sewing.
If desired, add a hanging sleeve to the wall hanging upper-edge center along the backing.
Hang the piece on a front door or on the wall where desired. Or use it as a centerpiece for your Hanukkah table.
Happy Hanukkah!



Thank you so much for highlighting some Hanukkah items! Happy Holidays!
Good Job on Hanukkah. We really appreciate the projects that you have included
nice to do a collection of various holiday celebrations; I’m certain those who celebrate Hanukkah appreciate something for their taste as well. GREAT project.
Where would I locate the “Wishing you a bright hanukkah” design? Wish it had been spelled differently, but it’s still the nicest one in the lot.
Hello! That design is part of the Love You a Latke design collection by OESD, available here: https://bit.ly/35nsZXo
Thank you.