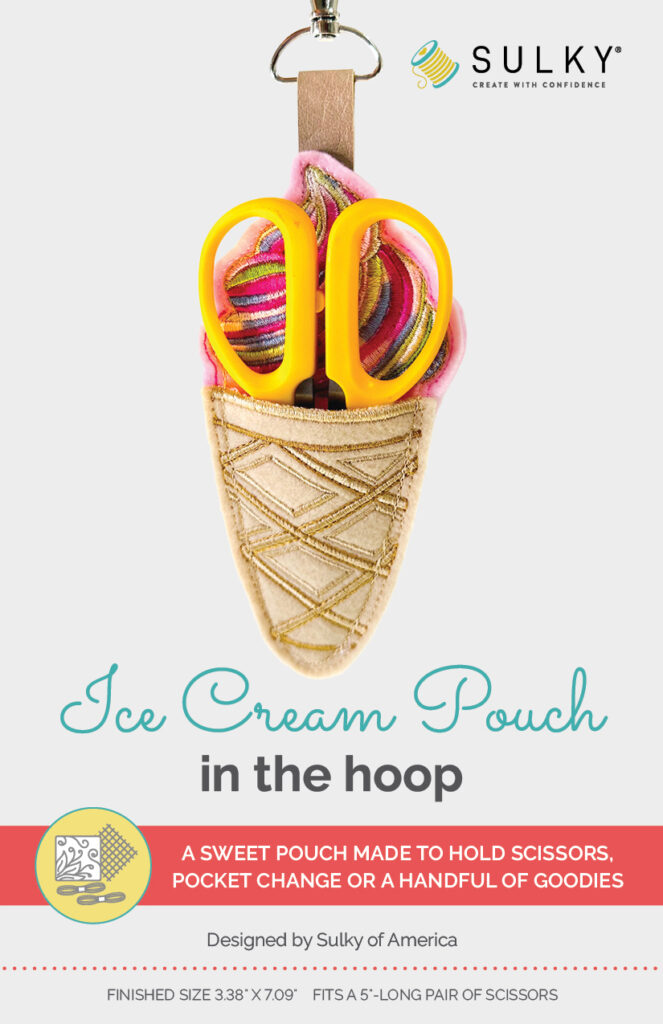
In The Hoop Ice Cream Pouch
for National Ice Cream Day!
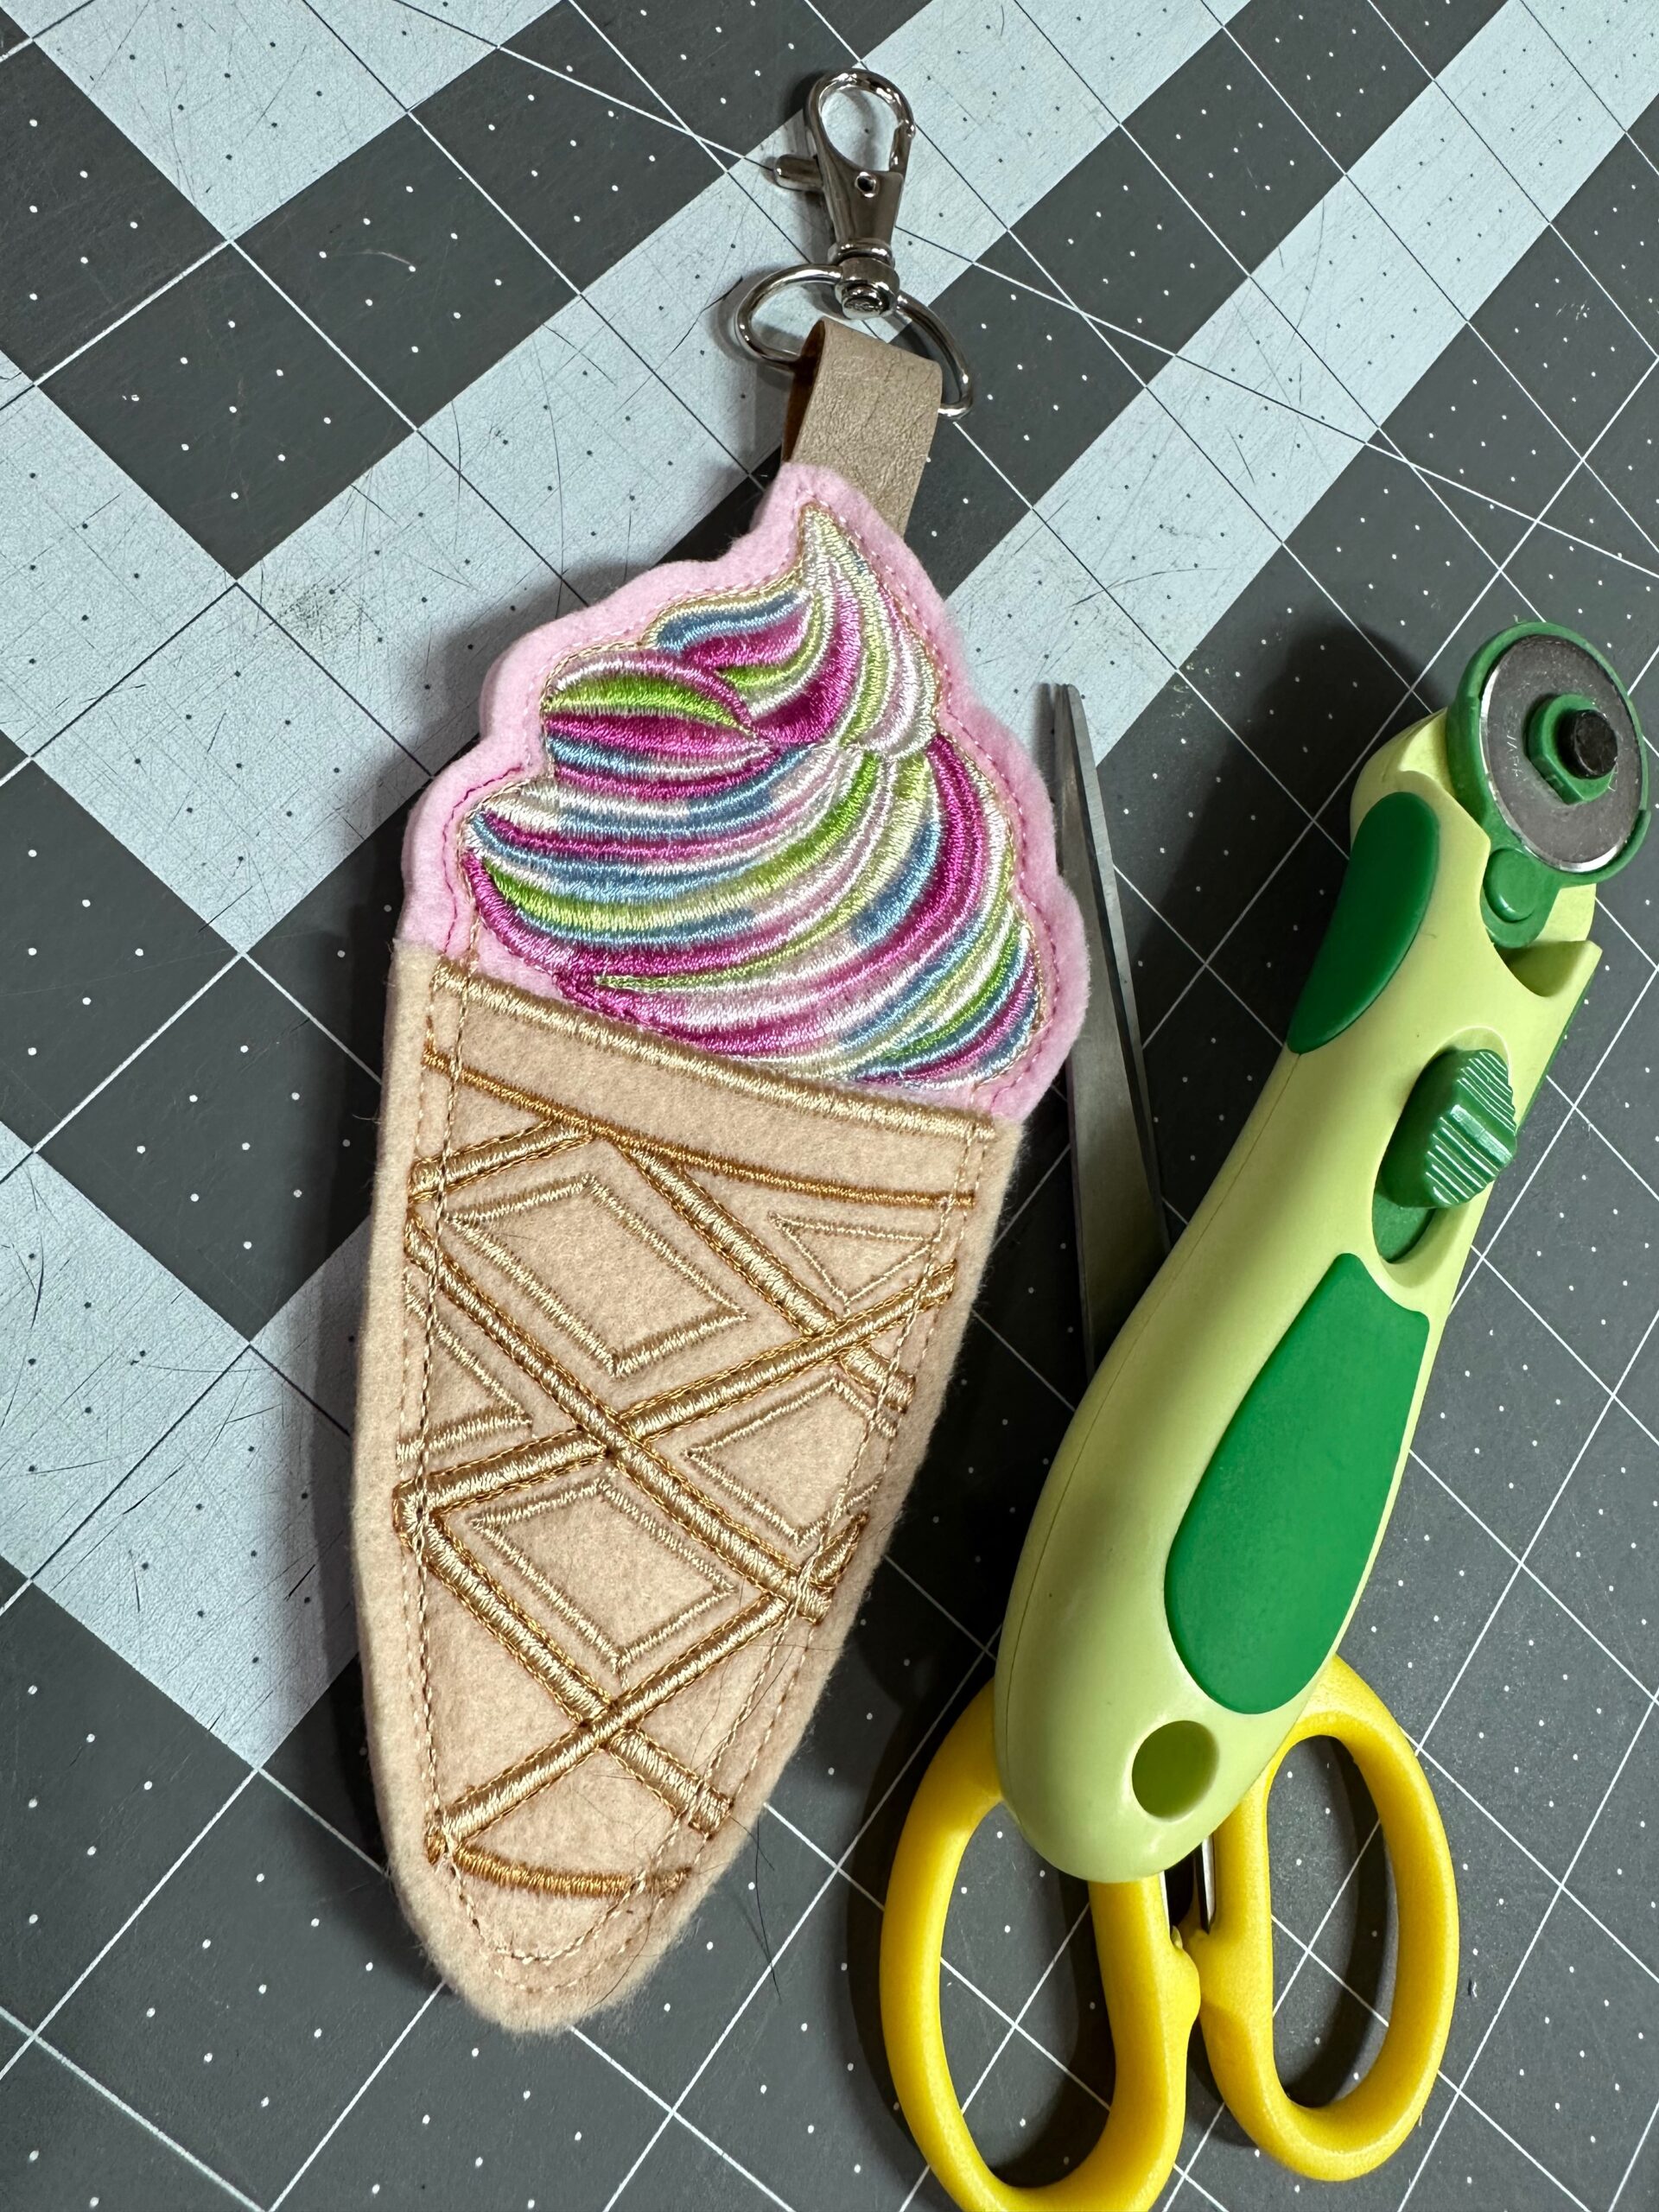
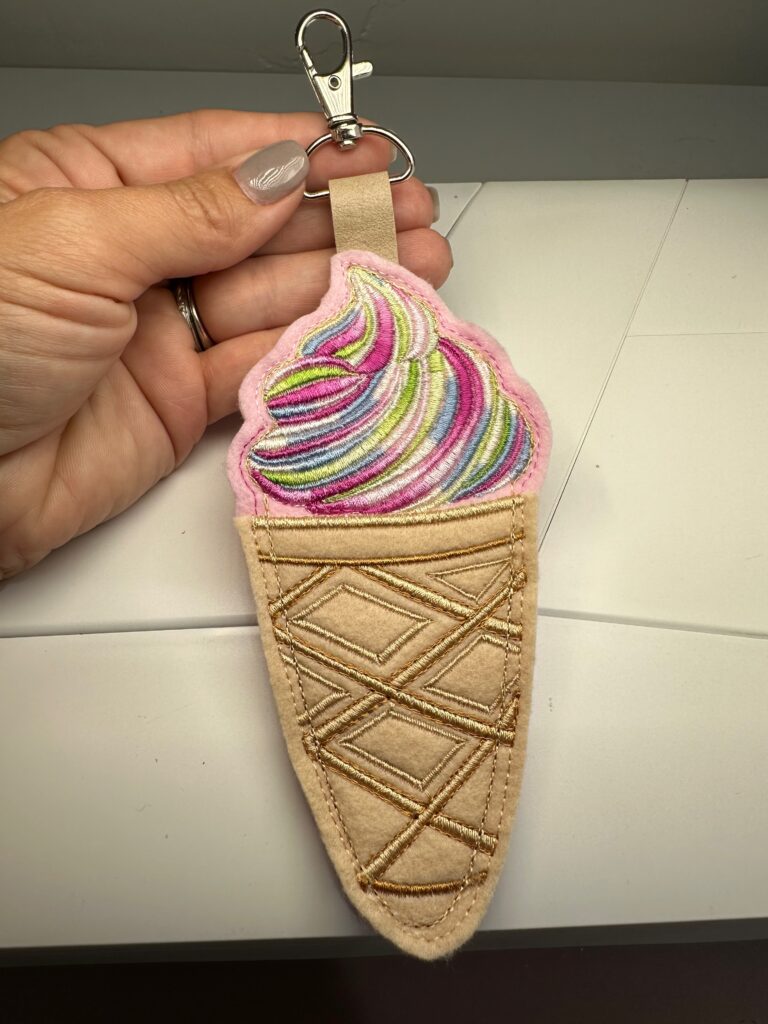
This in-the-hoop Ice Cream Pouch fits a pair of scissors, a bit of pocket change or a handful of sweet treats. The project makes a great birthday party favor, too! Made in two hoopings, the in-the-hoop project is made entirely of Felty for no raw edges. Add a D-ring swivel clip or O-ring at the upper-edge tab to clip to a bag, backpack or use as a keyring. Instructional PDF is included with design files. Also included are two “DL” files to use in lieu of cutting machine files to create precut fabric templates, if desired.
Finished Size:
3.38″ x 7.09″
Fits a 5”-long pair of scissors.
An 8×8 or 6×10 hoop (or larger) is required for this project. Magnetic hoops are also suitable.
ICE CREAM POUCH SUPPLIES
- Ice Cream Pouch ITH Design Files
- Sulky Rayon Thread: Tan (1126), Tawny Tan (1055), Vari-Fuchsias (2130), Baby Pink/Mint/Blue (2203), Bright Greens (2113)
- Sulky 60 wt. Bobbin Thread
- Sulky Felty™: Tan & Pink
- Sulky Stabilizer: Stiffy™ & Tear-Easy™ (optional; use if creating templates for precutting fabrics)
- Sulky Perfect Appliqué Fusible Web
- Sulky Clear Embroidery Tape
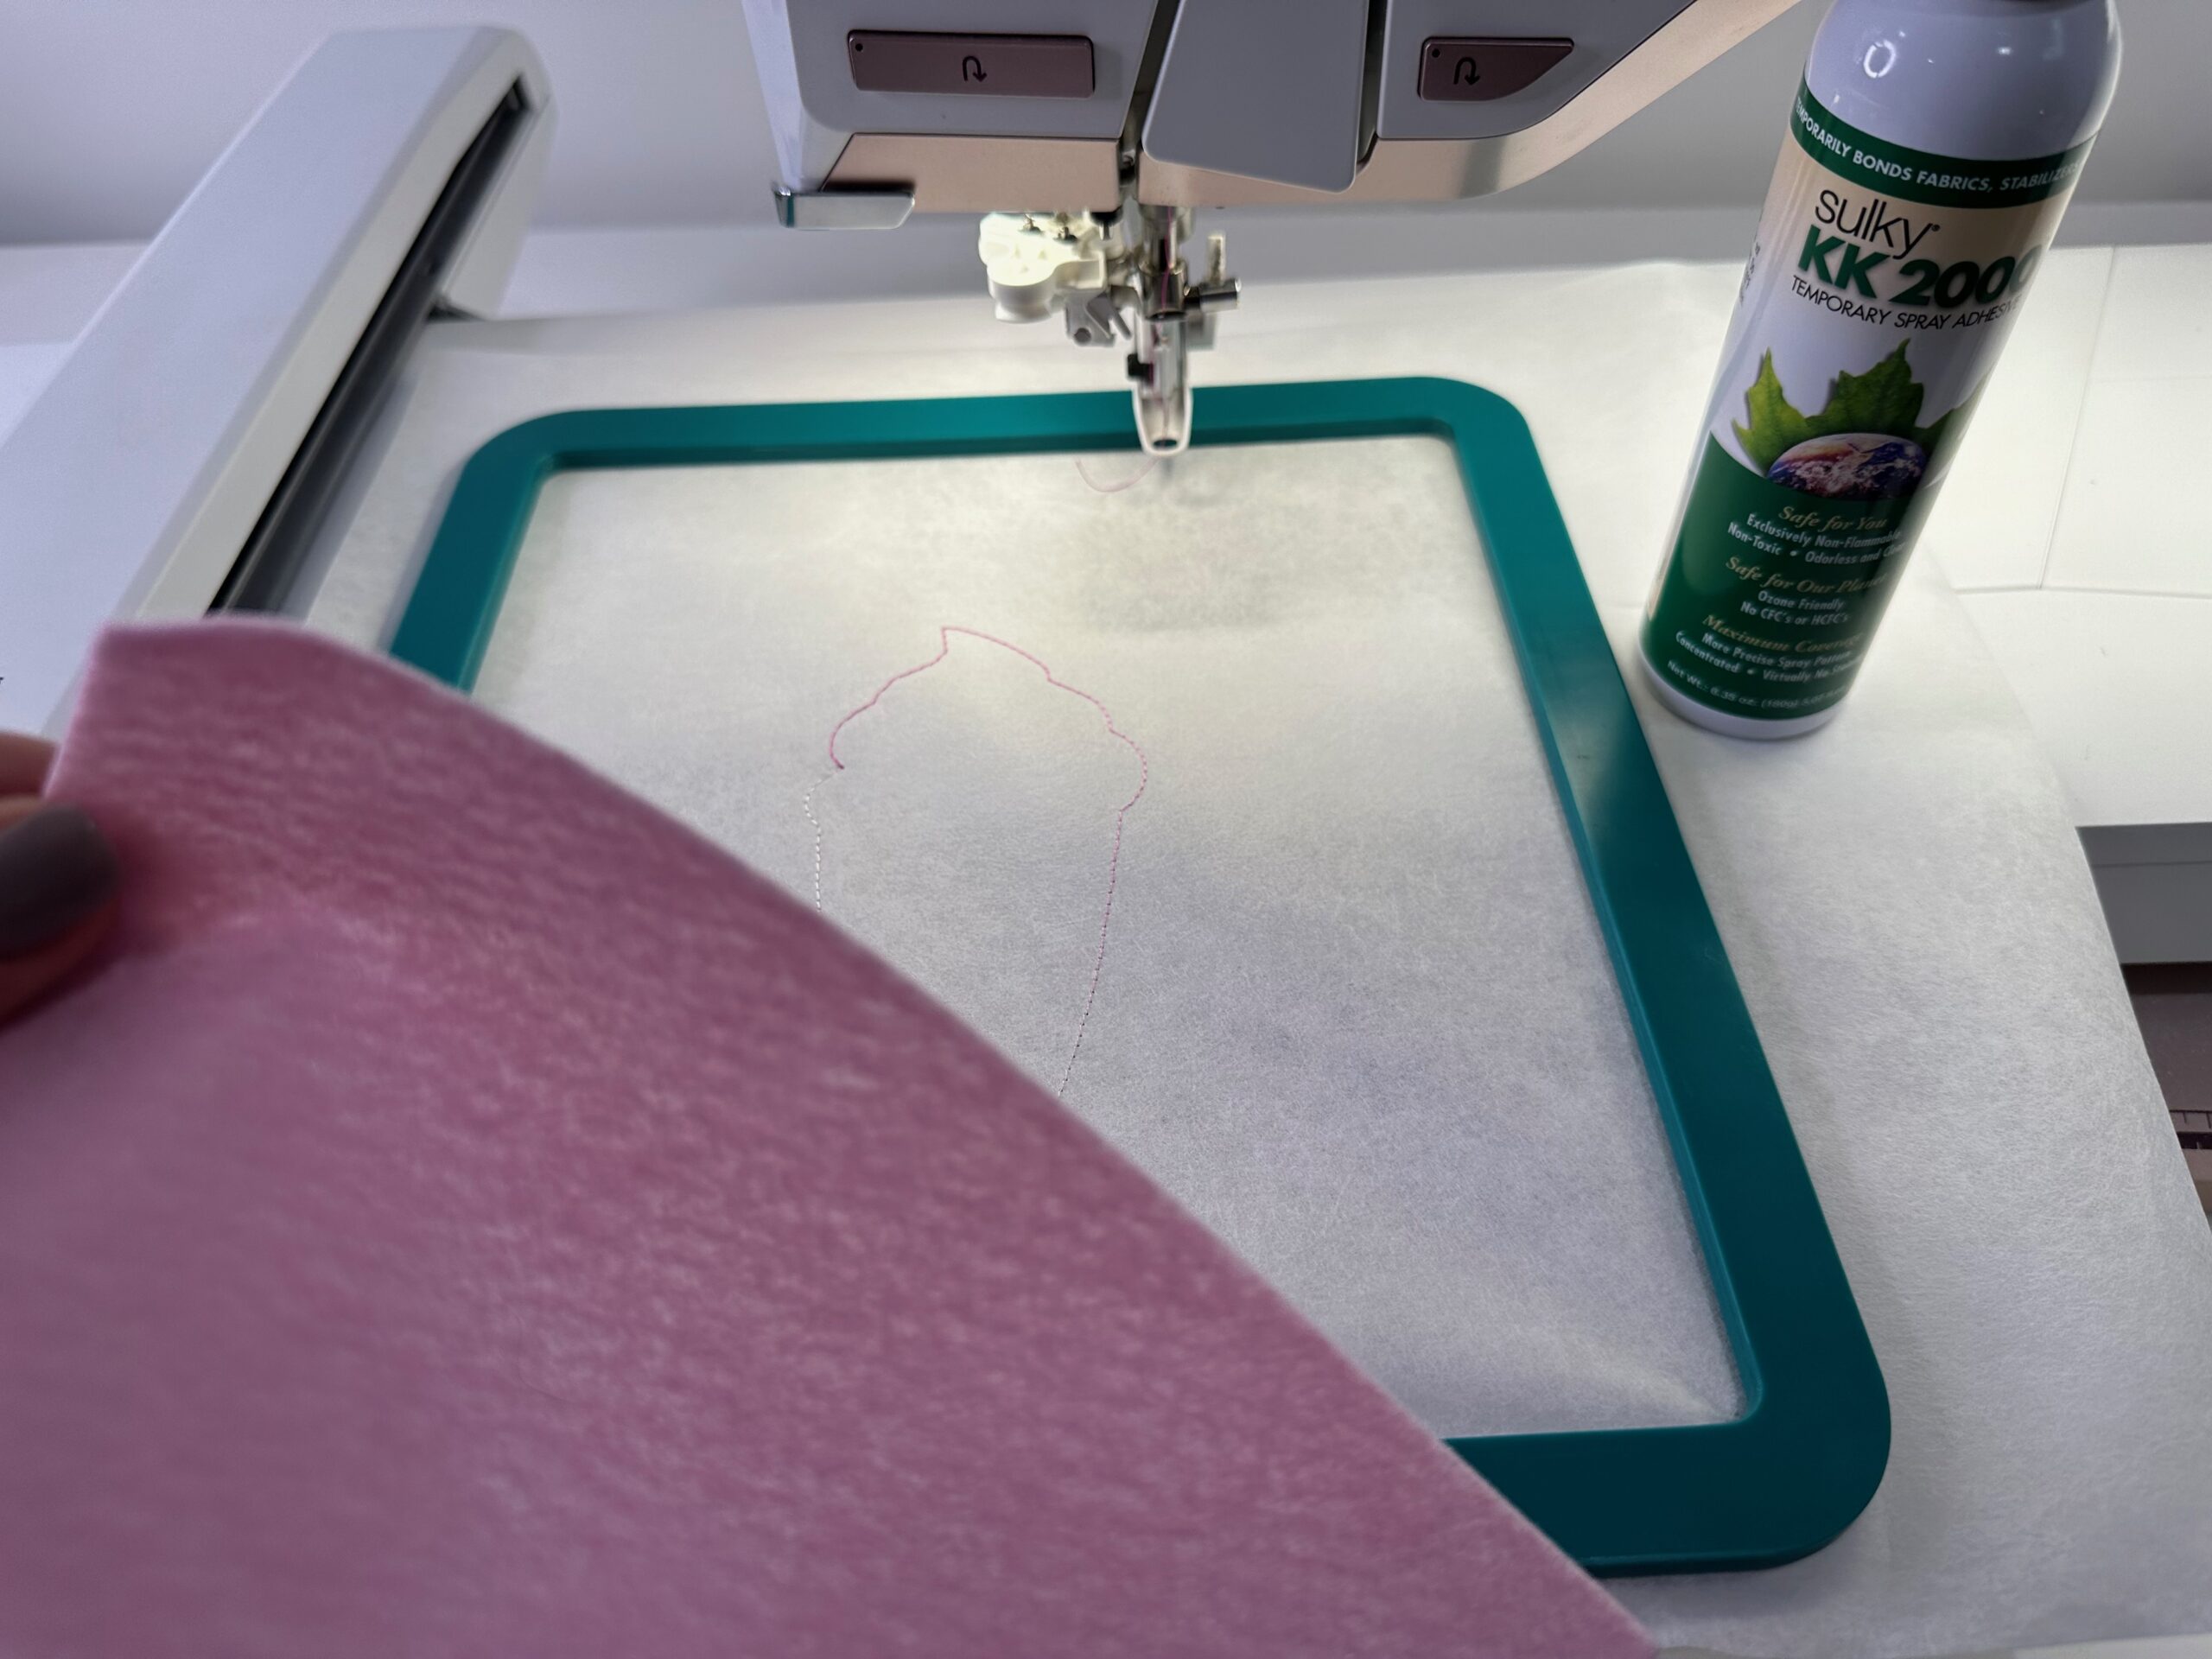
- Sulky KK 2000 Temporary Spray Adhesive
- 3″-long length of 1/2″-wide ribbon (or no-fray fabric strip, such as cork or faux leather)
- 3/4″ D-ring swivel clip or O-ring
- Organ® Needles: size 75/11 Embroidery
DESIGN NOTES
This project is completed in two hoopings: the cone pocket is stitched first, and the ice cream pouch is stitched second (which will attach the cone pocket). Cork fabric is a nice substitute for Felty, but Felty is still recommended in this case for the lining (especially if using for a scissor case).
The files labeled “DL” are for creating templates if you want to precut the fabric pieces (in lieu of using a cutting machine). This is not required, as traditional ITH (in-the-hoop) appliqué methods are shown in this instructional PDF. If creating templates, those instructions are on page 00. Be sure to follow the instructions for which way to orient the template, whether the piece is used for the front or the back of the hoop.
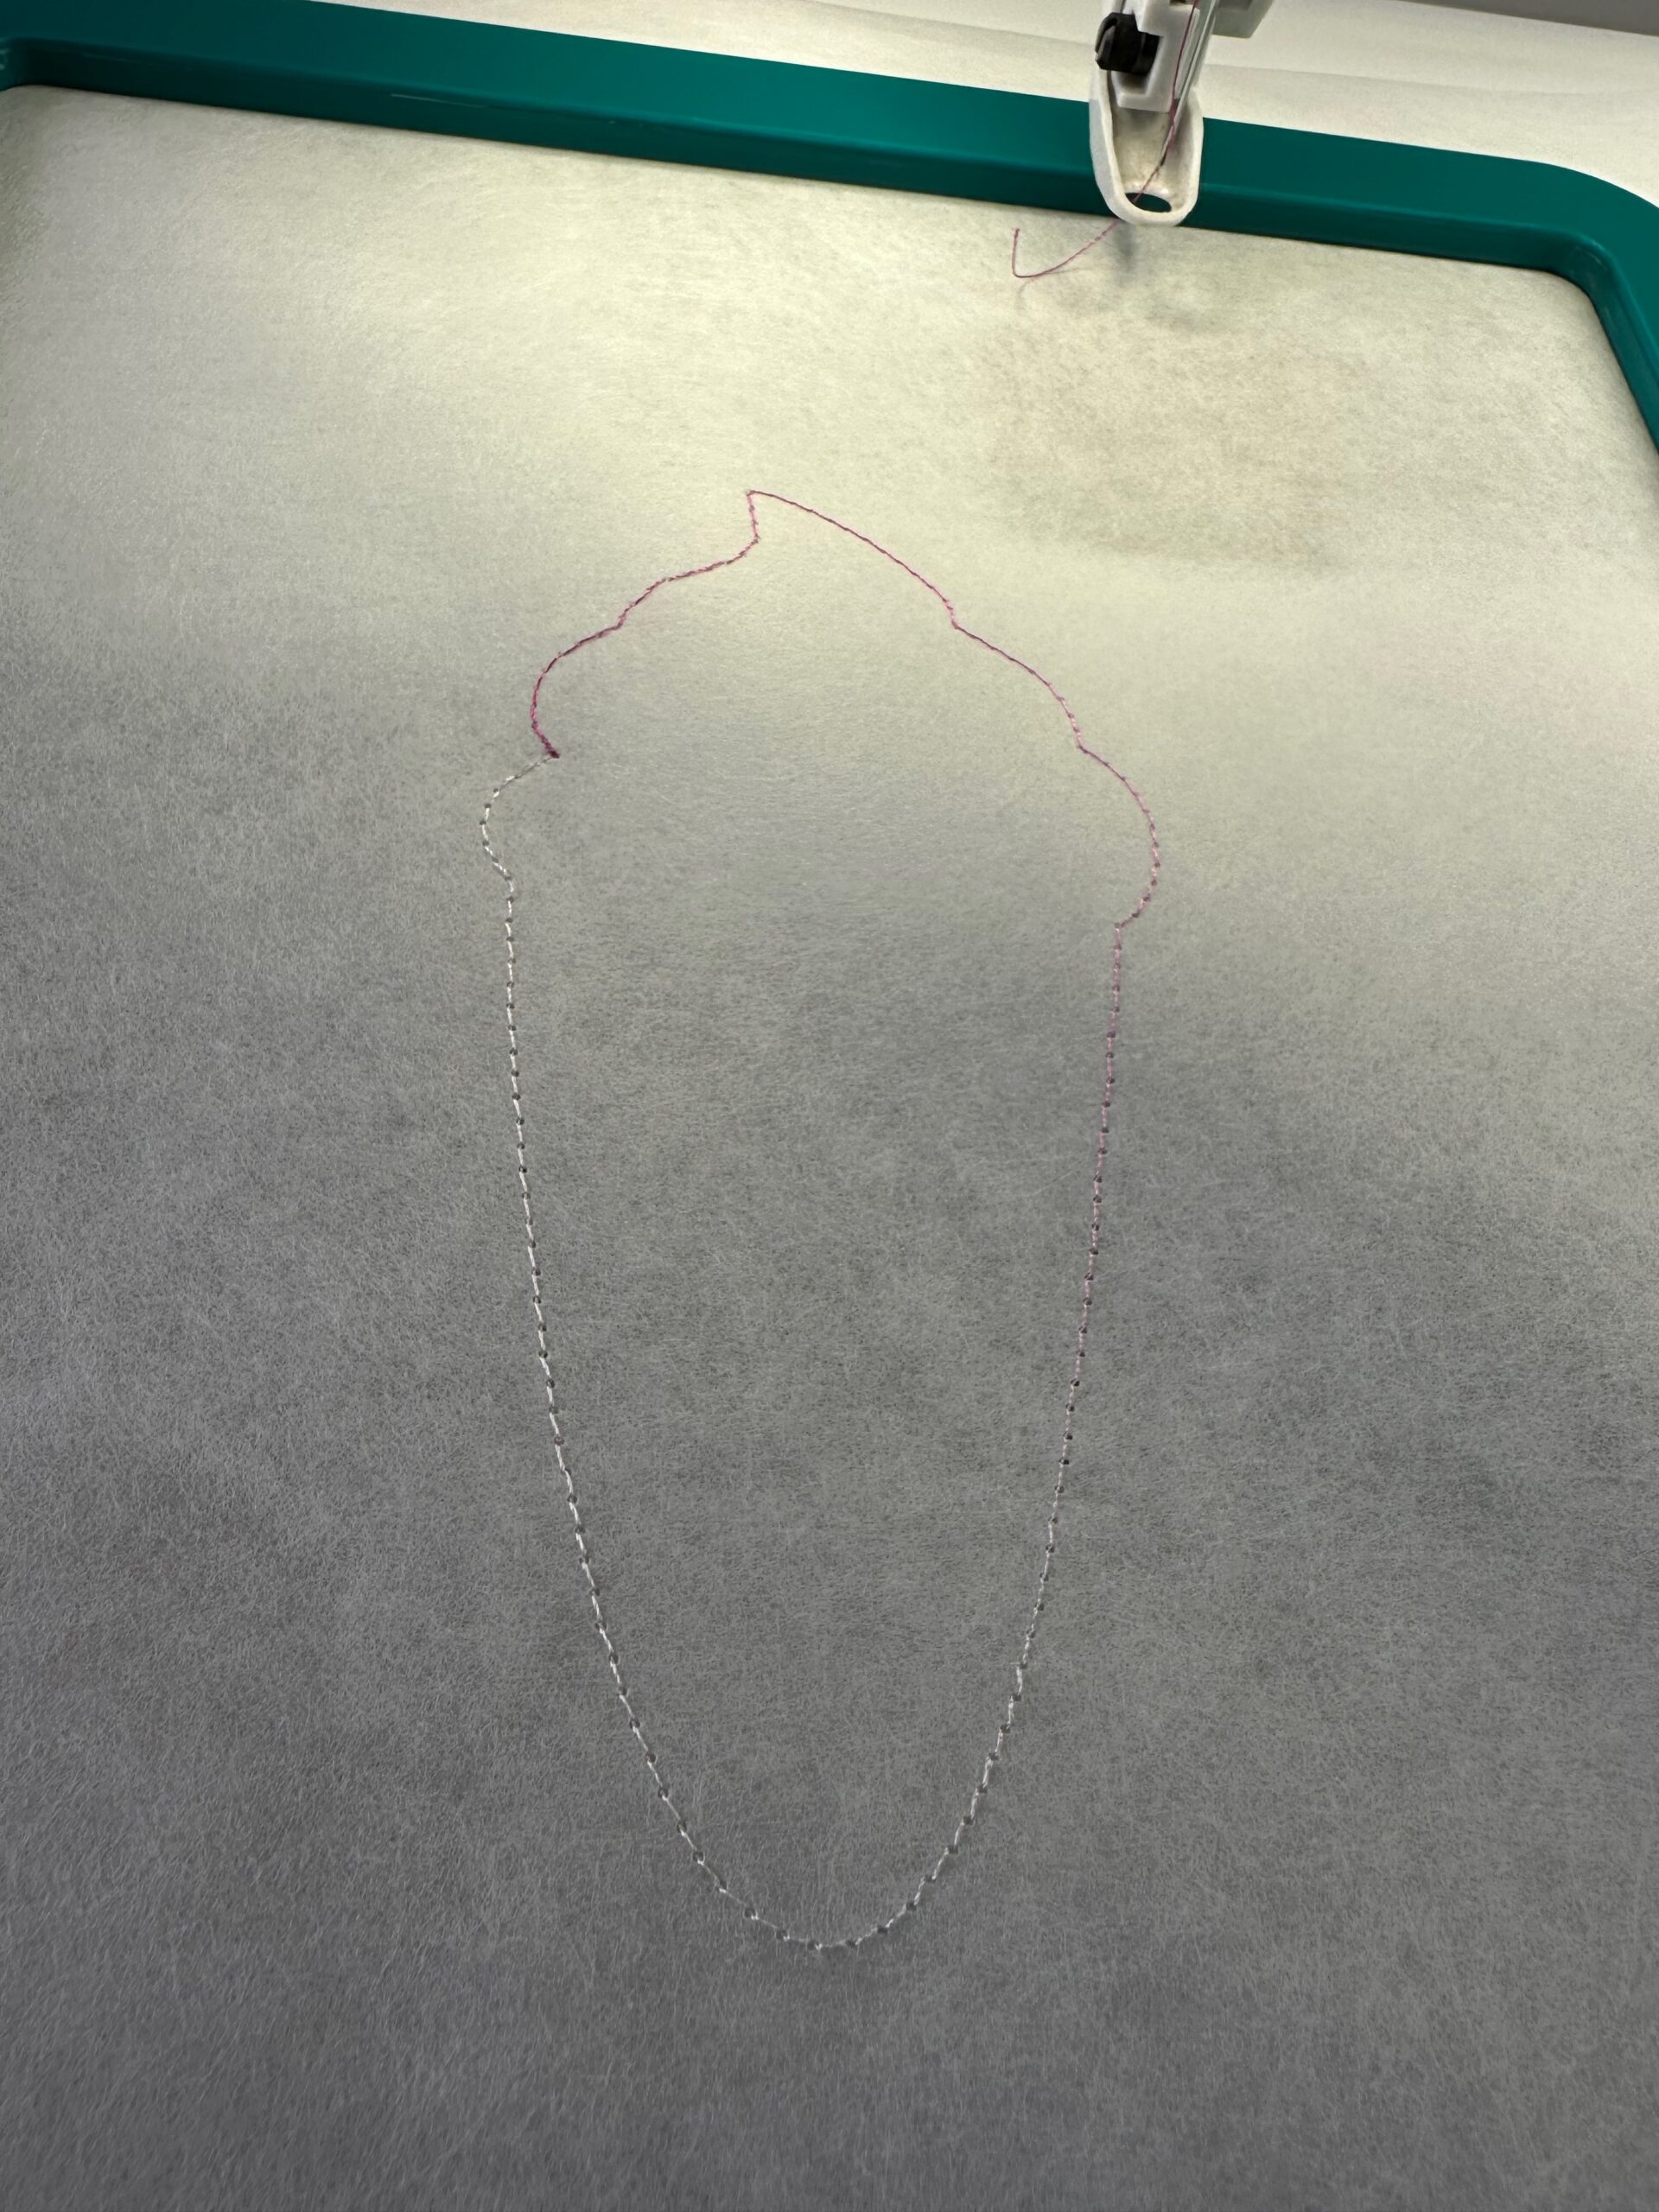
CONE STITCHOUT
Load the “front” design into the machine. This is the Cone pocket.
Load the bobbin with Sulky 60 wt. Bobbin Thread.
Thread the Needle with the first thread color in the design, which is Tawny Tan Rayon (1055).
Hoop a piece of Sulky Stiffy Stabilizer. Place the hoop onto the machine.
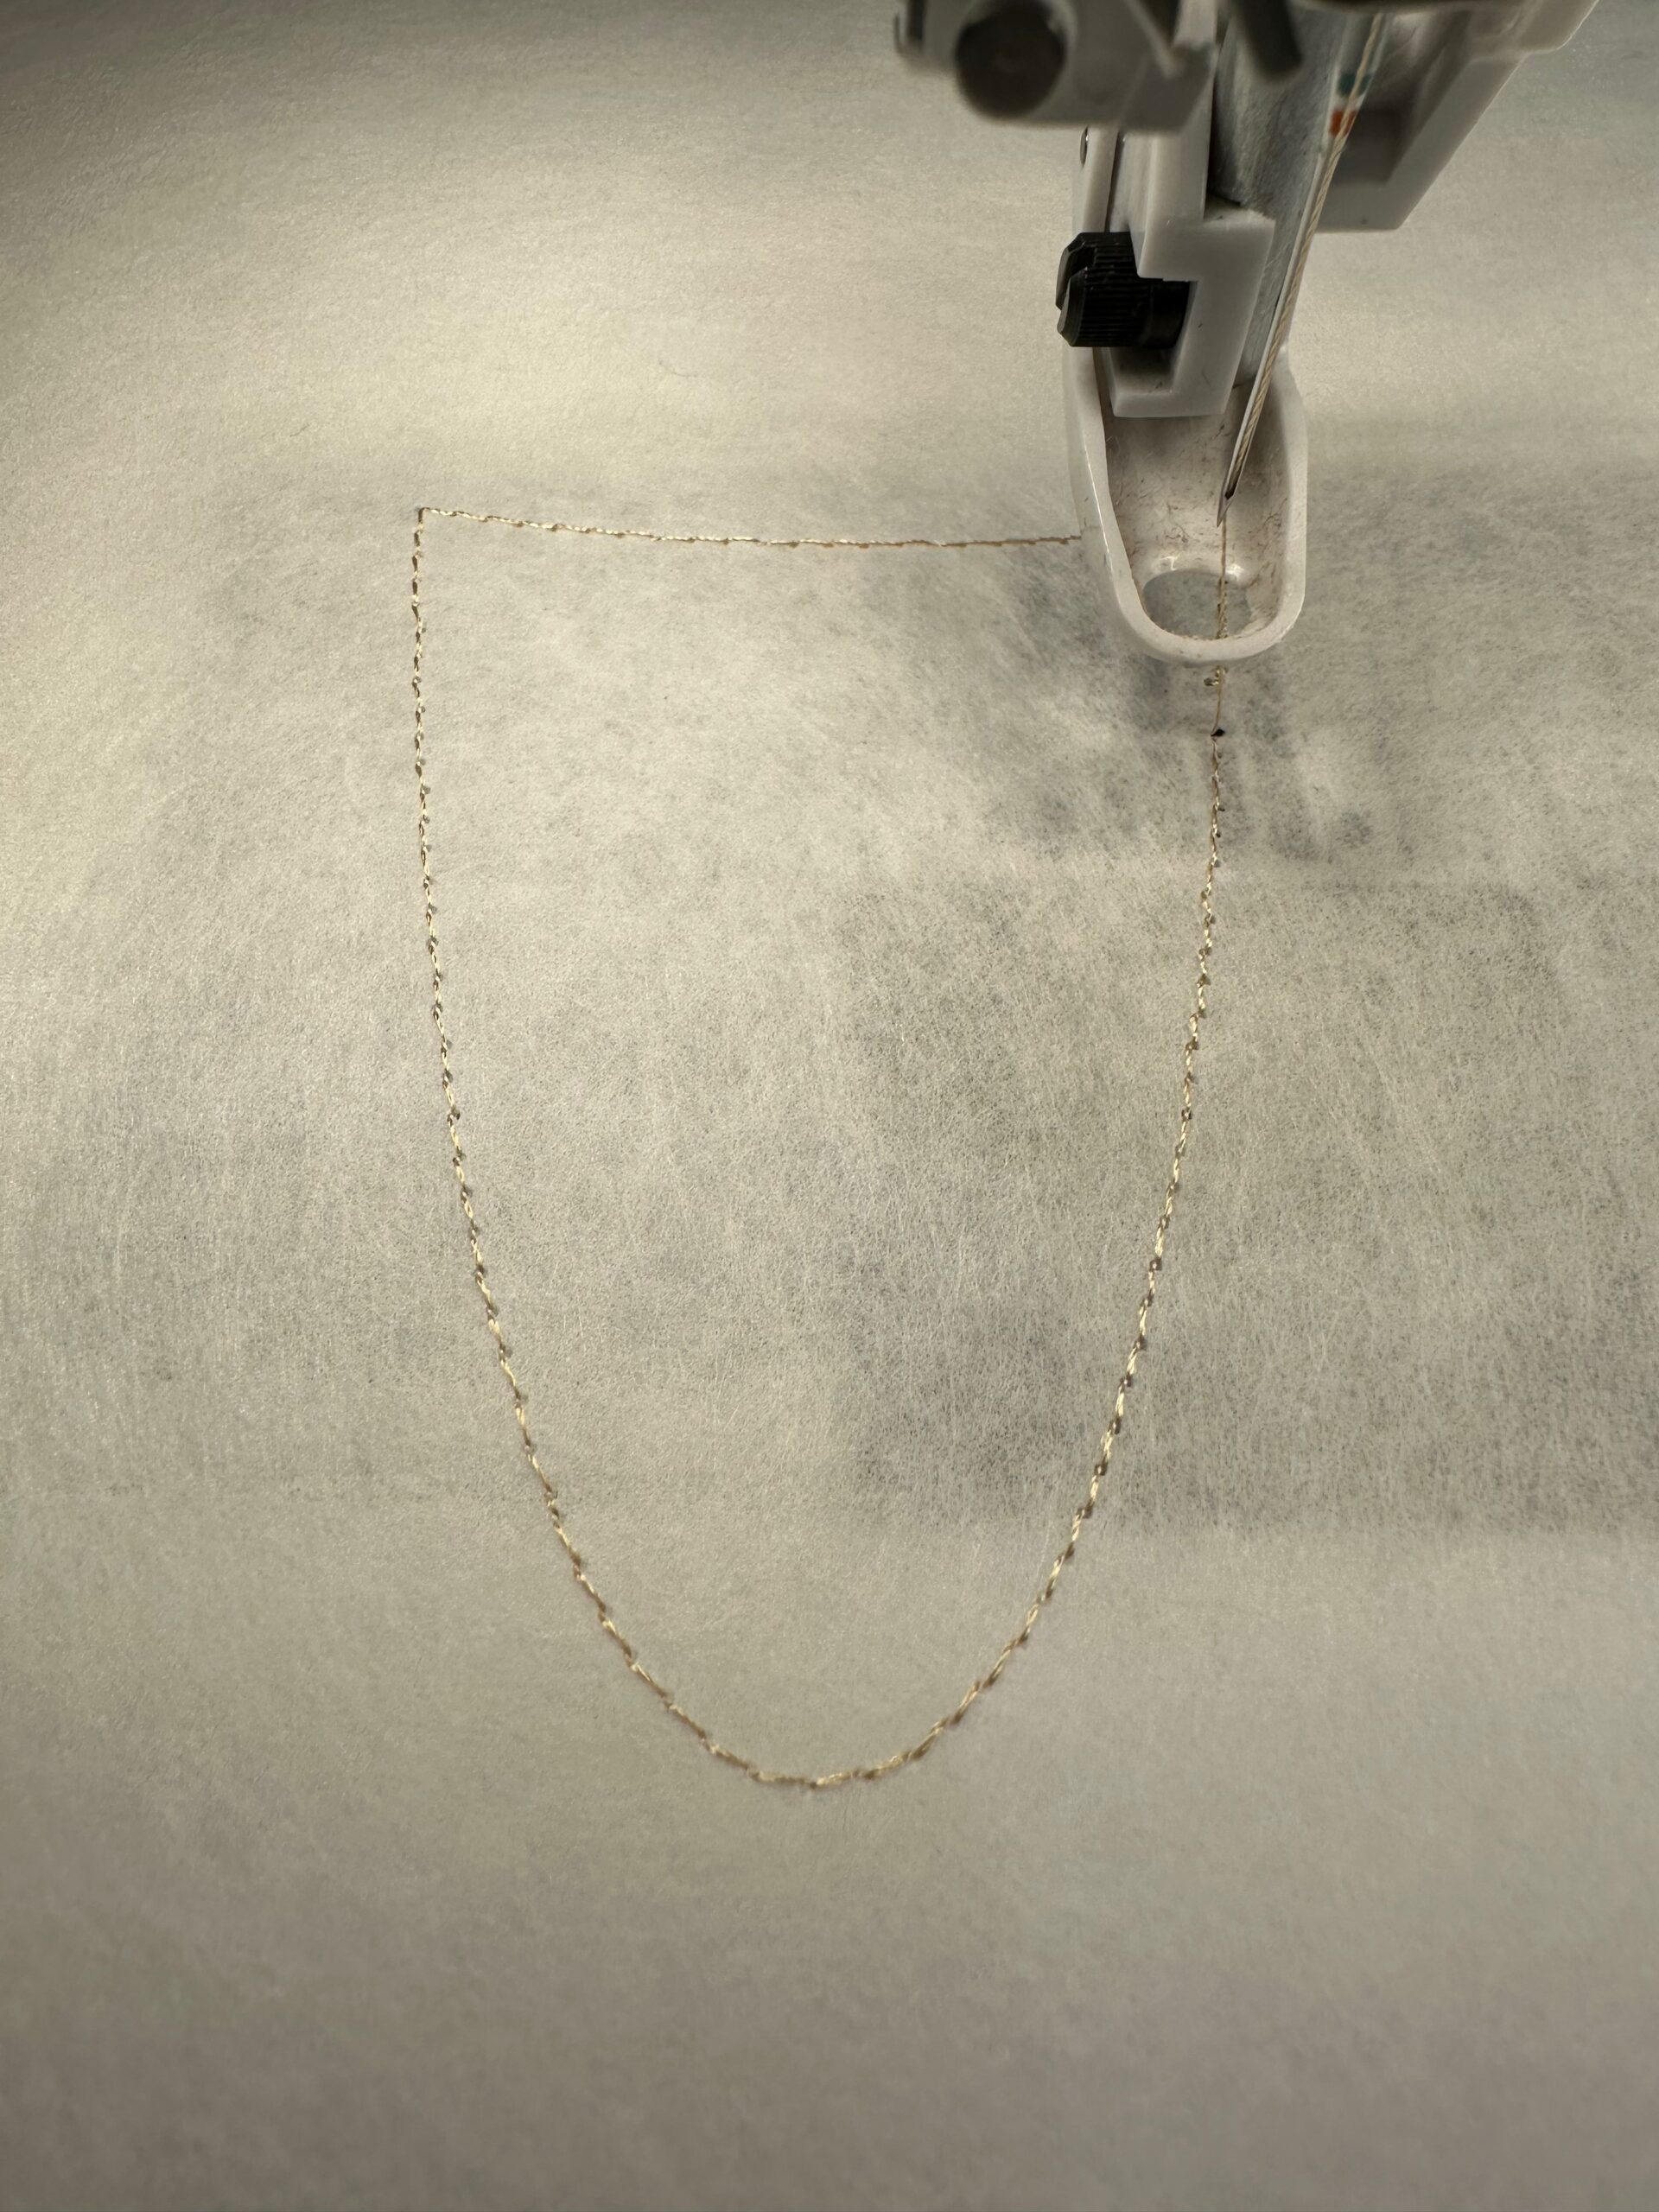
Stitch color stop 1, which is the placement stitch for the front Cone fabric.
Remove the hoop from the machine.
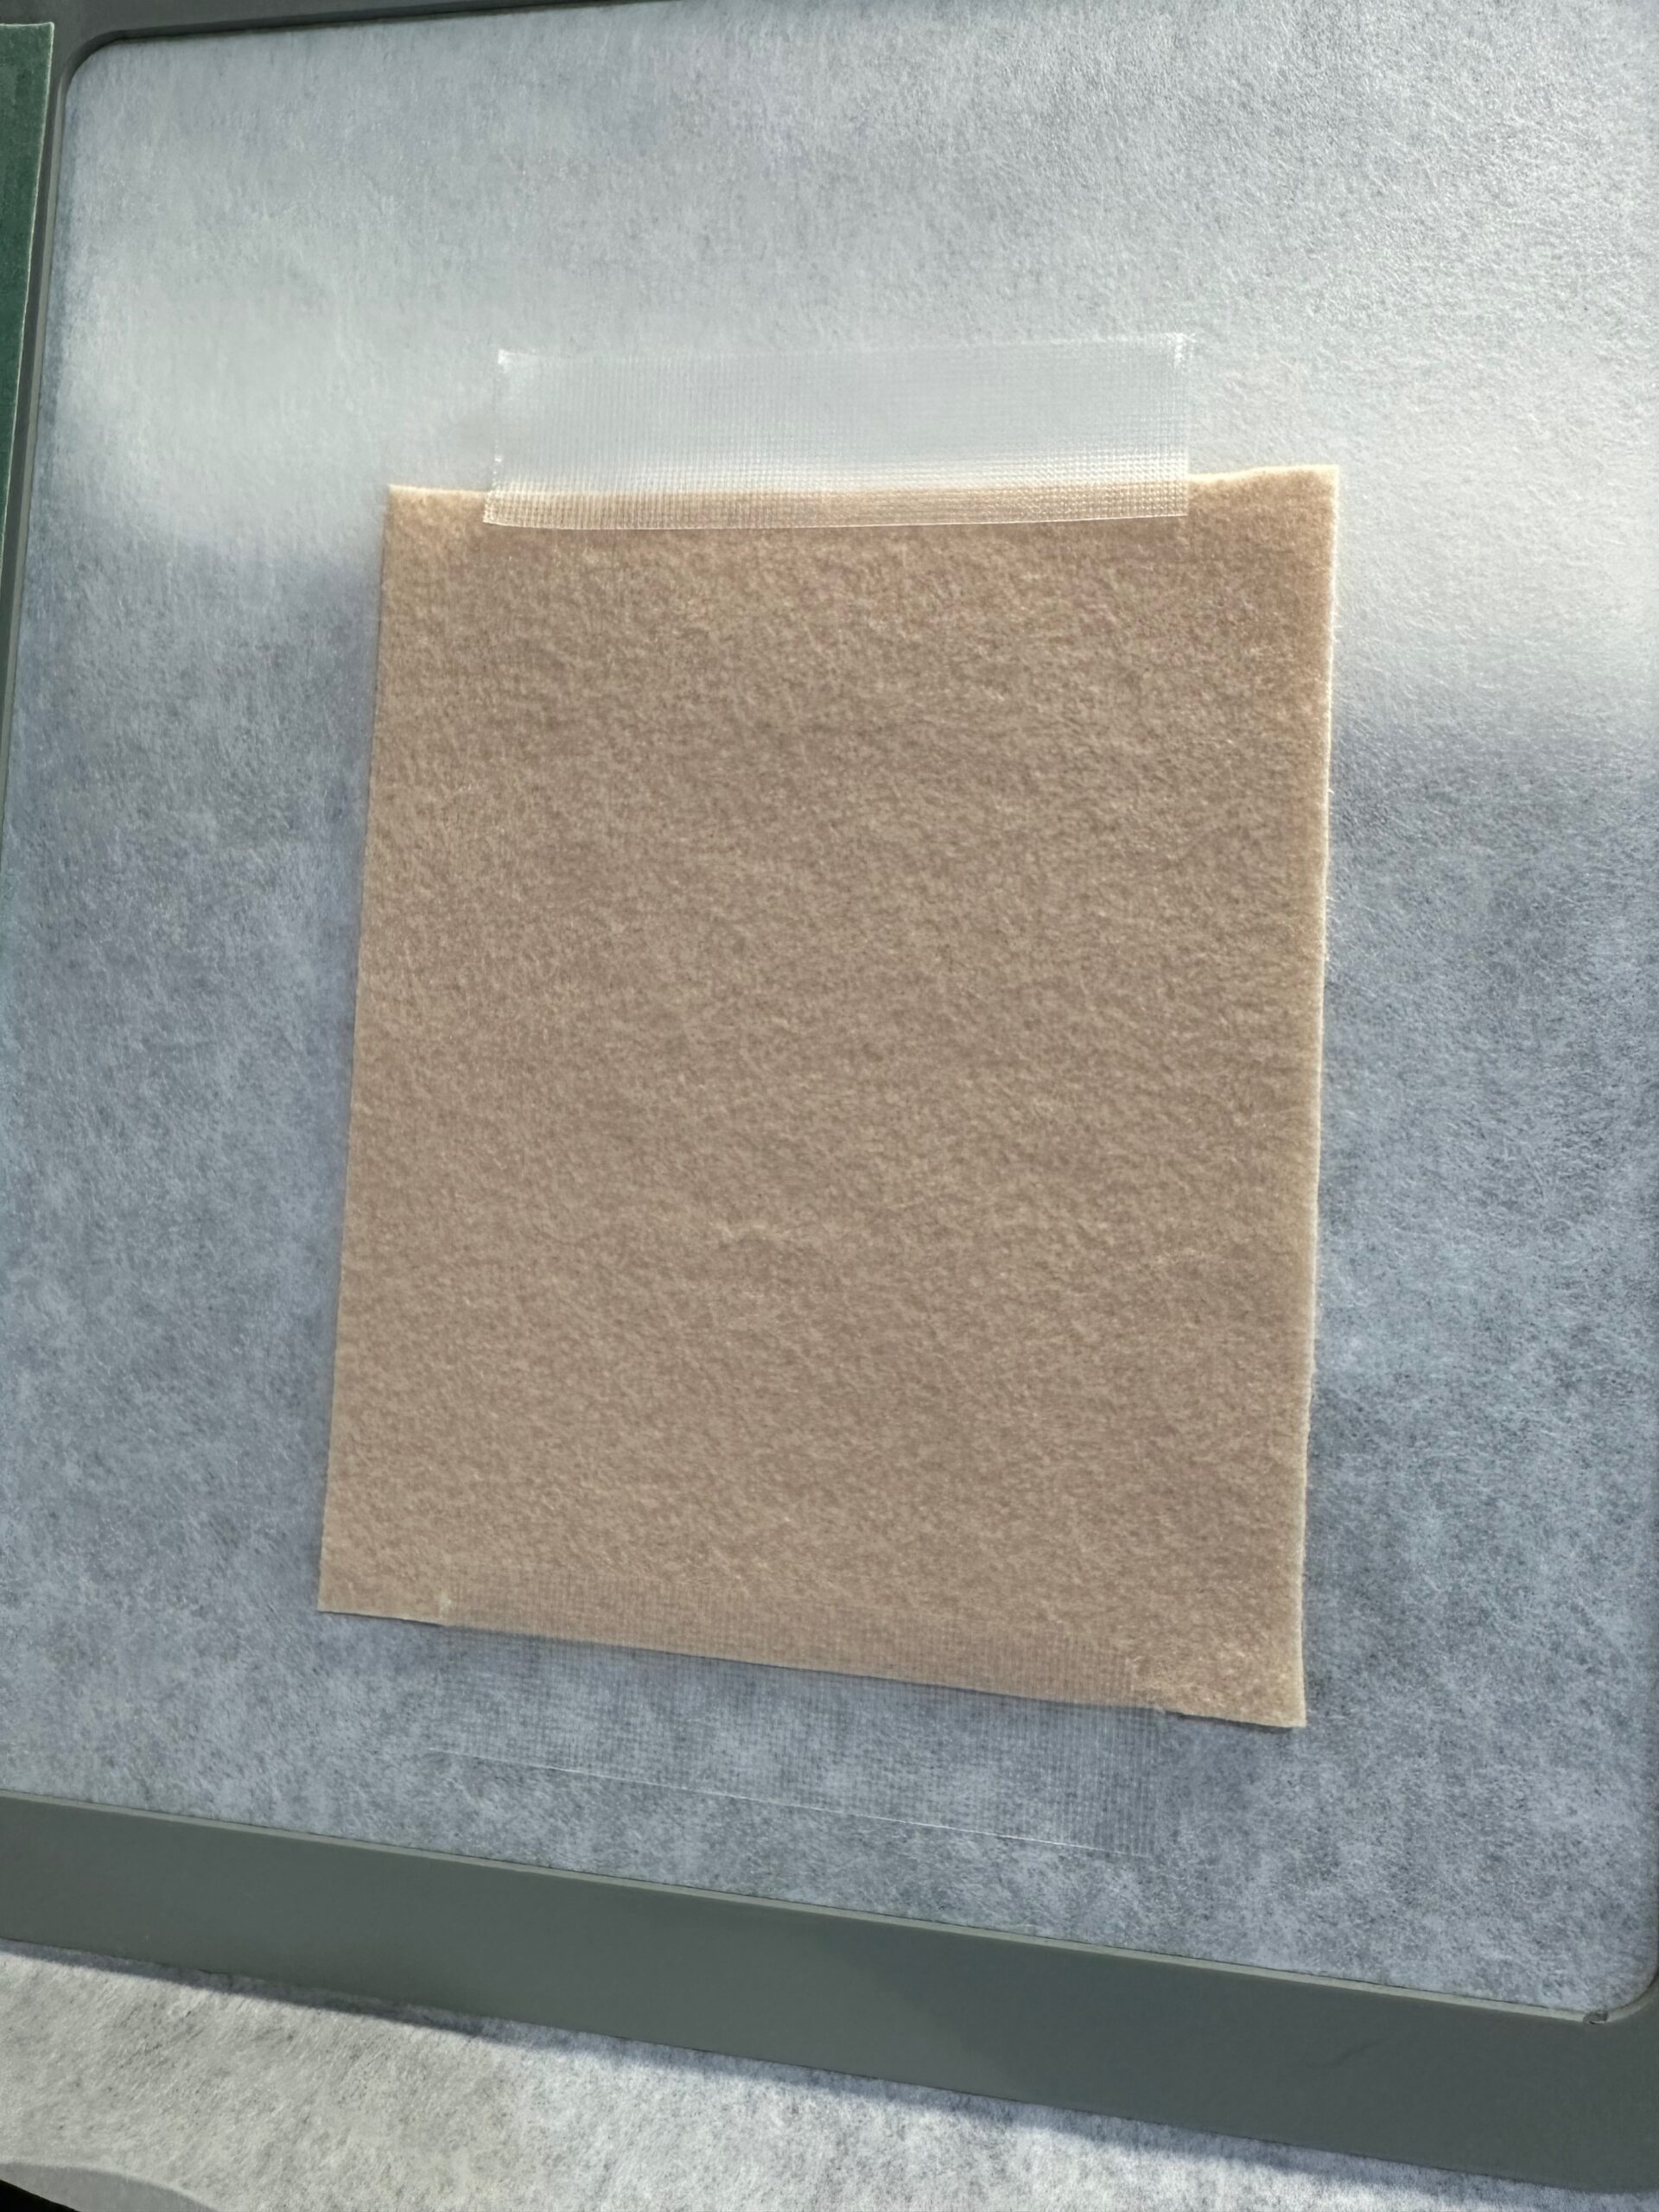
Spray the wrong side of one Tan Felty rectangle (or the precut front Cone piece) with KK 2000 Temporary Spray Adhesive. Place the Tan Felty right side up over the placement stitching. Further secure the rectangle perimeter with Sulky Clear Embroidery Tape. If using the precut Cone, make sure it is placed exactly over the stitching.

Turn the hoop over so the wrong side is facing up. Center the second Tan Felty rectangle (or back Cone piece) right side up over the stabilizer wrong side; make sure the placement stitches are covered. Use KK 2000 and additional Clear Embroidery Tape to secure.
Place the hoop back onto the machine.
Repeat color stop 1 to tack the fabrics in place.
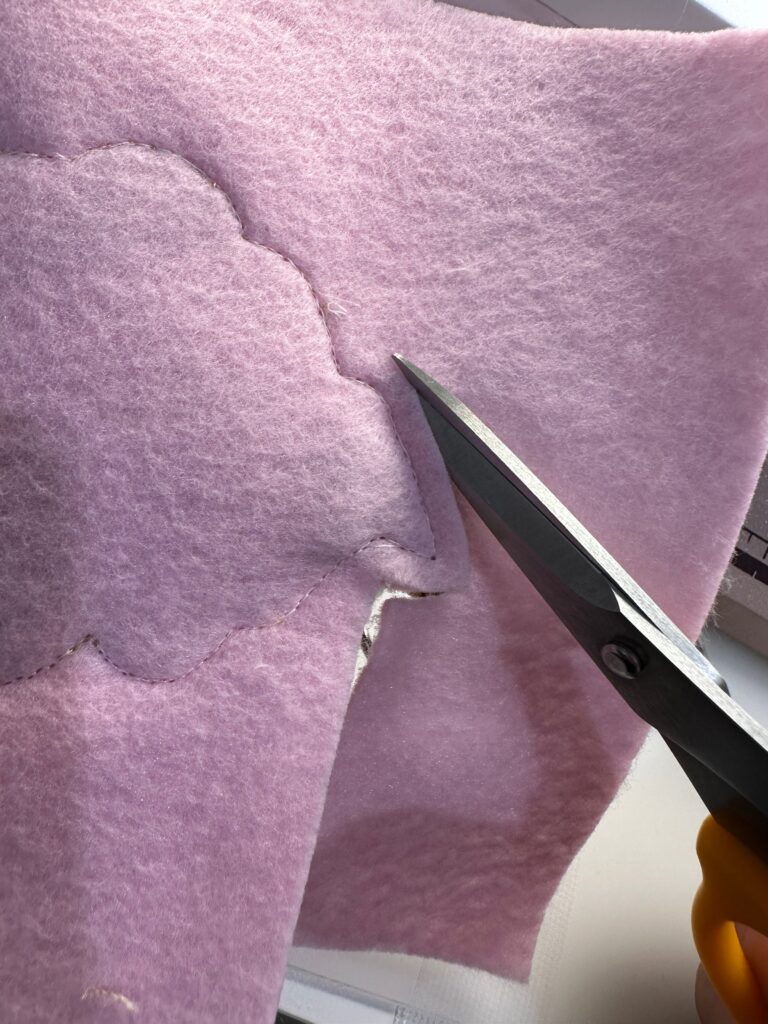
Trim only the upper edge of the Felty up to, but not through, the placement stitching on both sides of the hoop, using appliqué scissors. (Be sure to do this before color stop 4.)
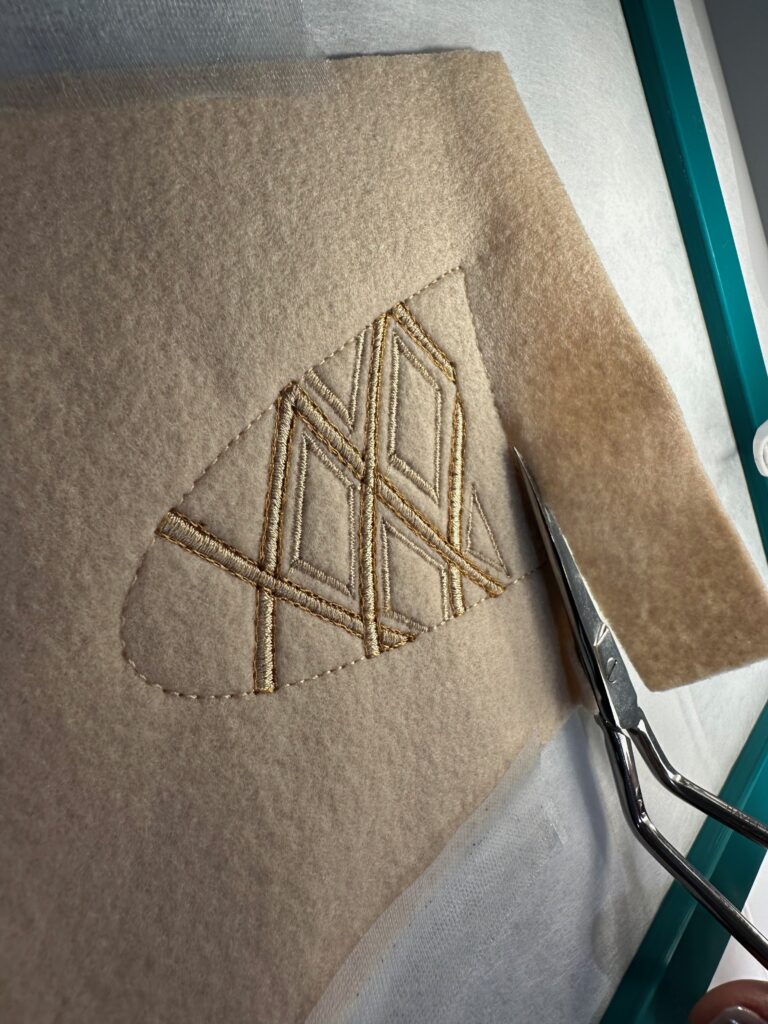
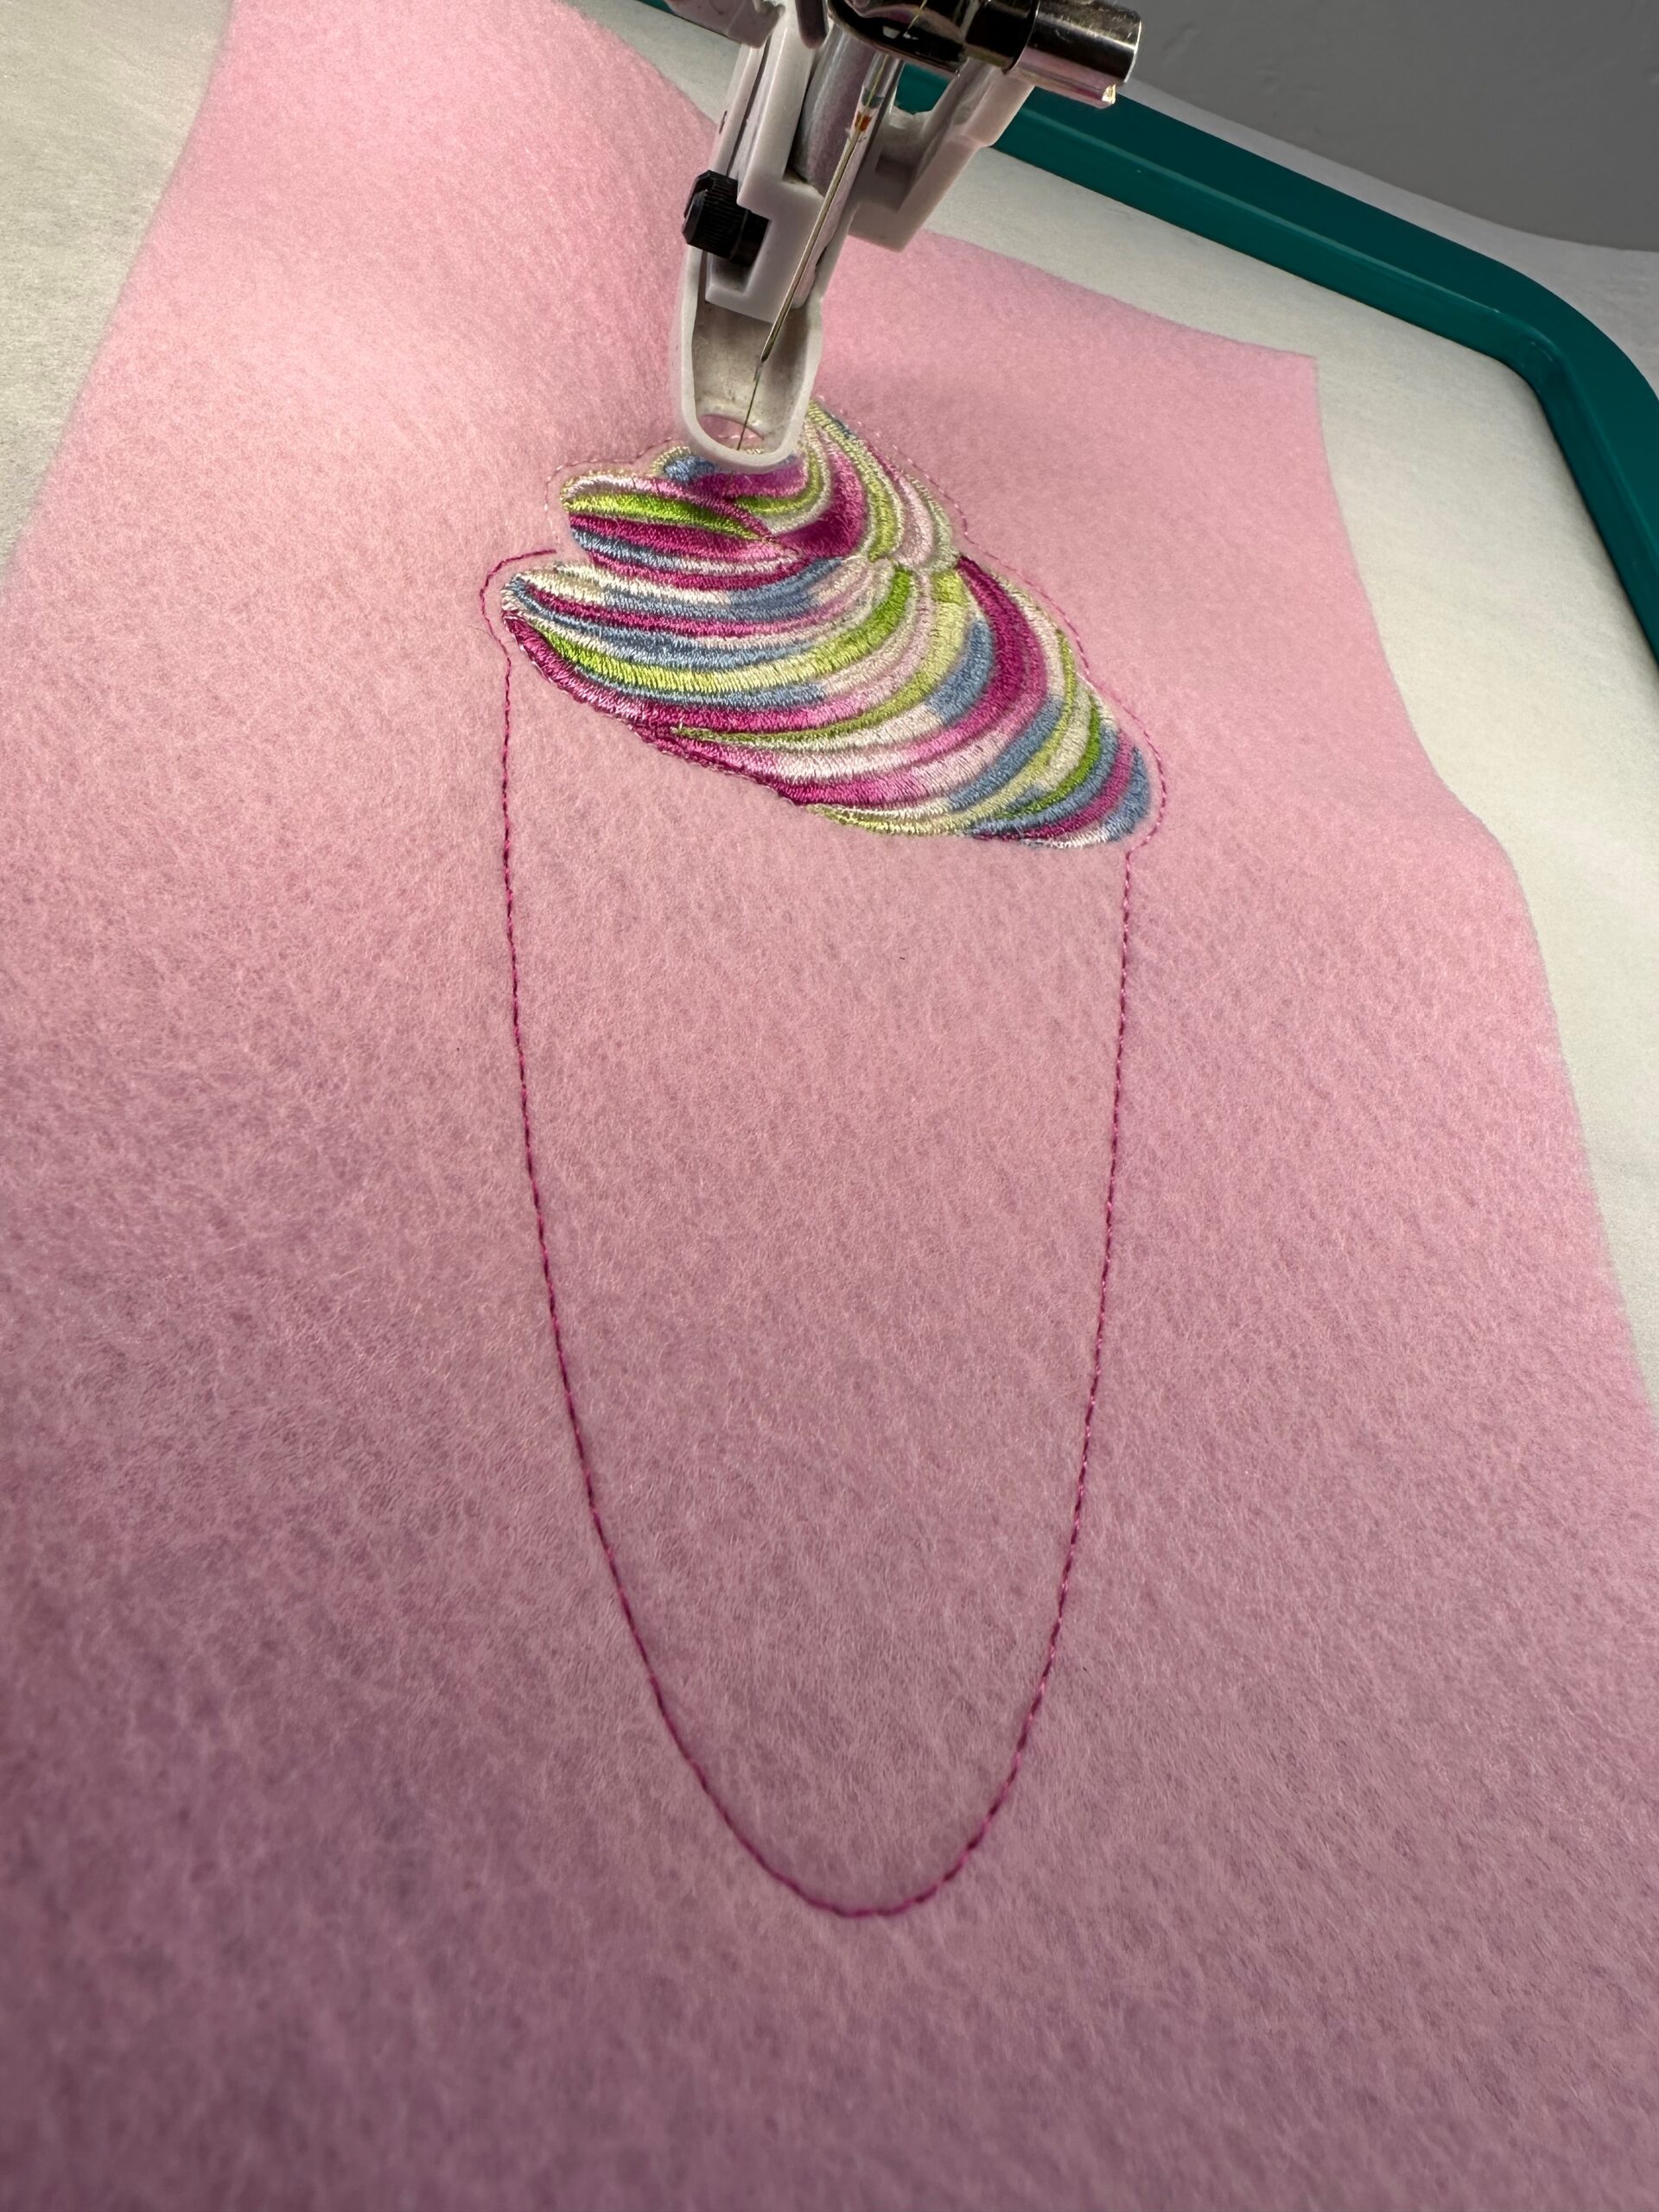
Then, stitch color stops 2 through 5 to embroider the decorative Cone accents.
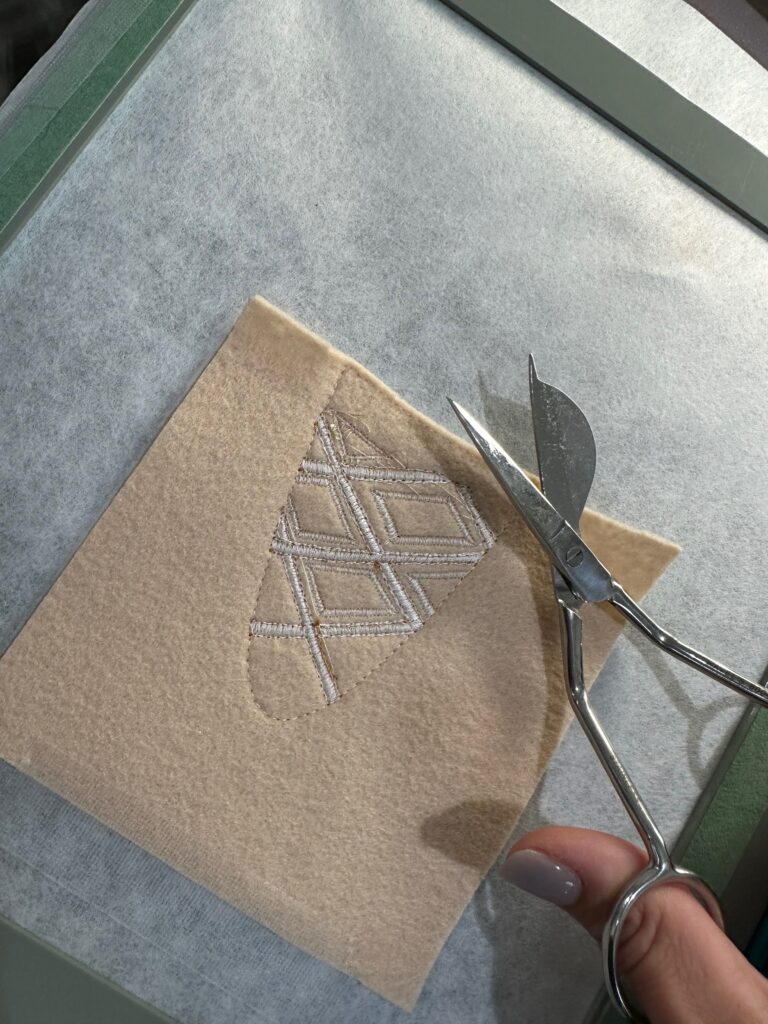
When the Cone embroidery is complete, remove the stabilizer from the hoop.
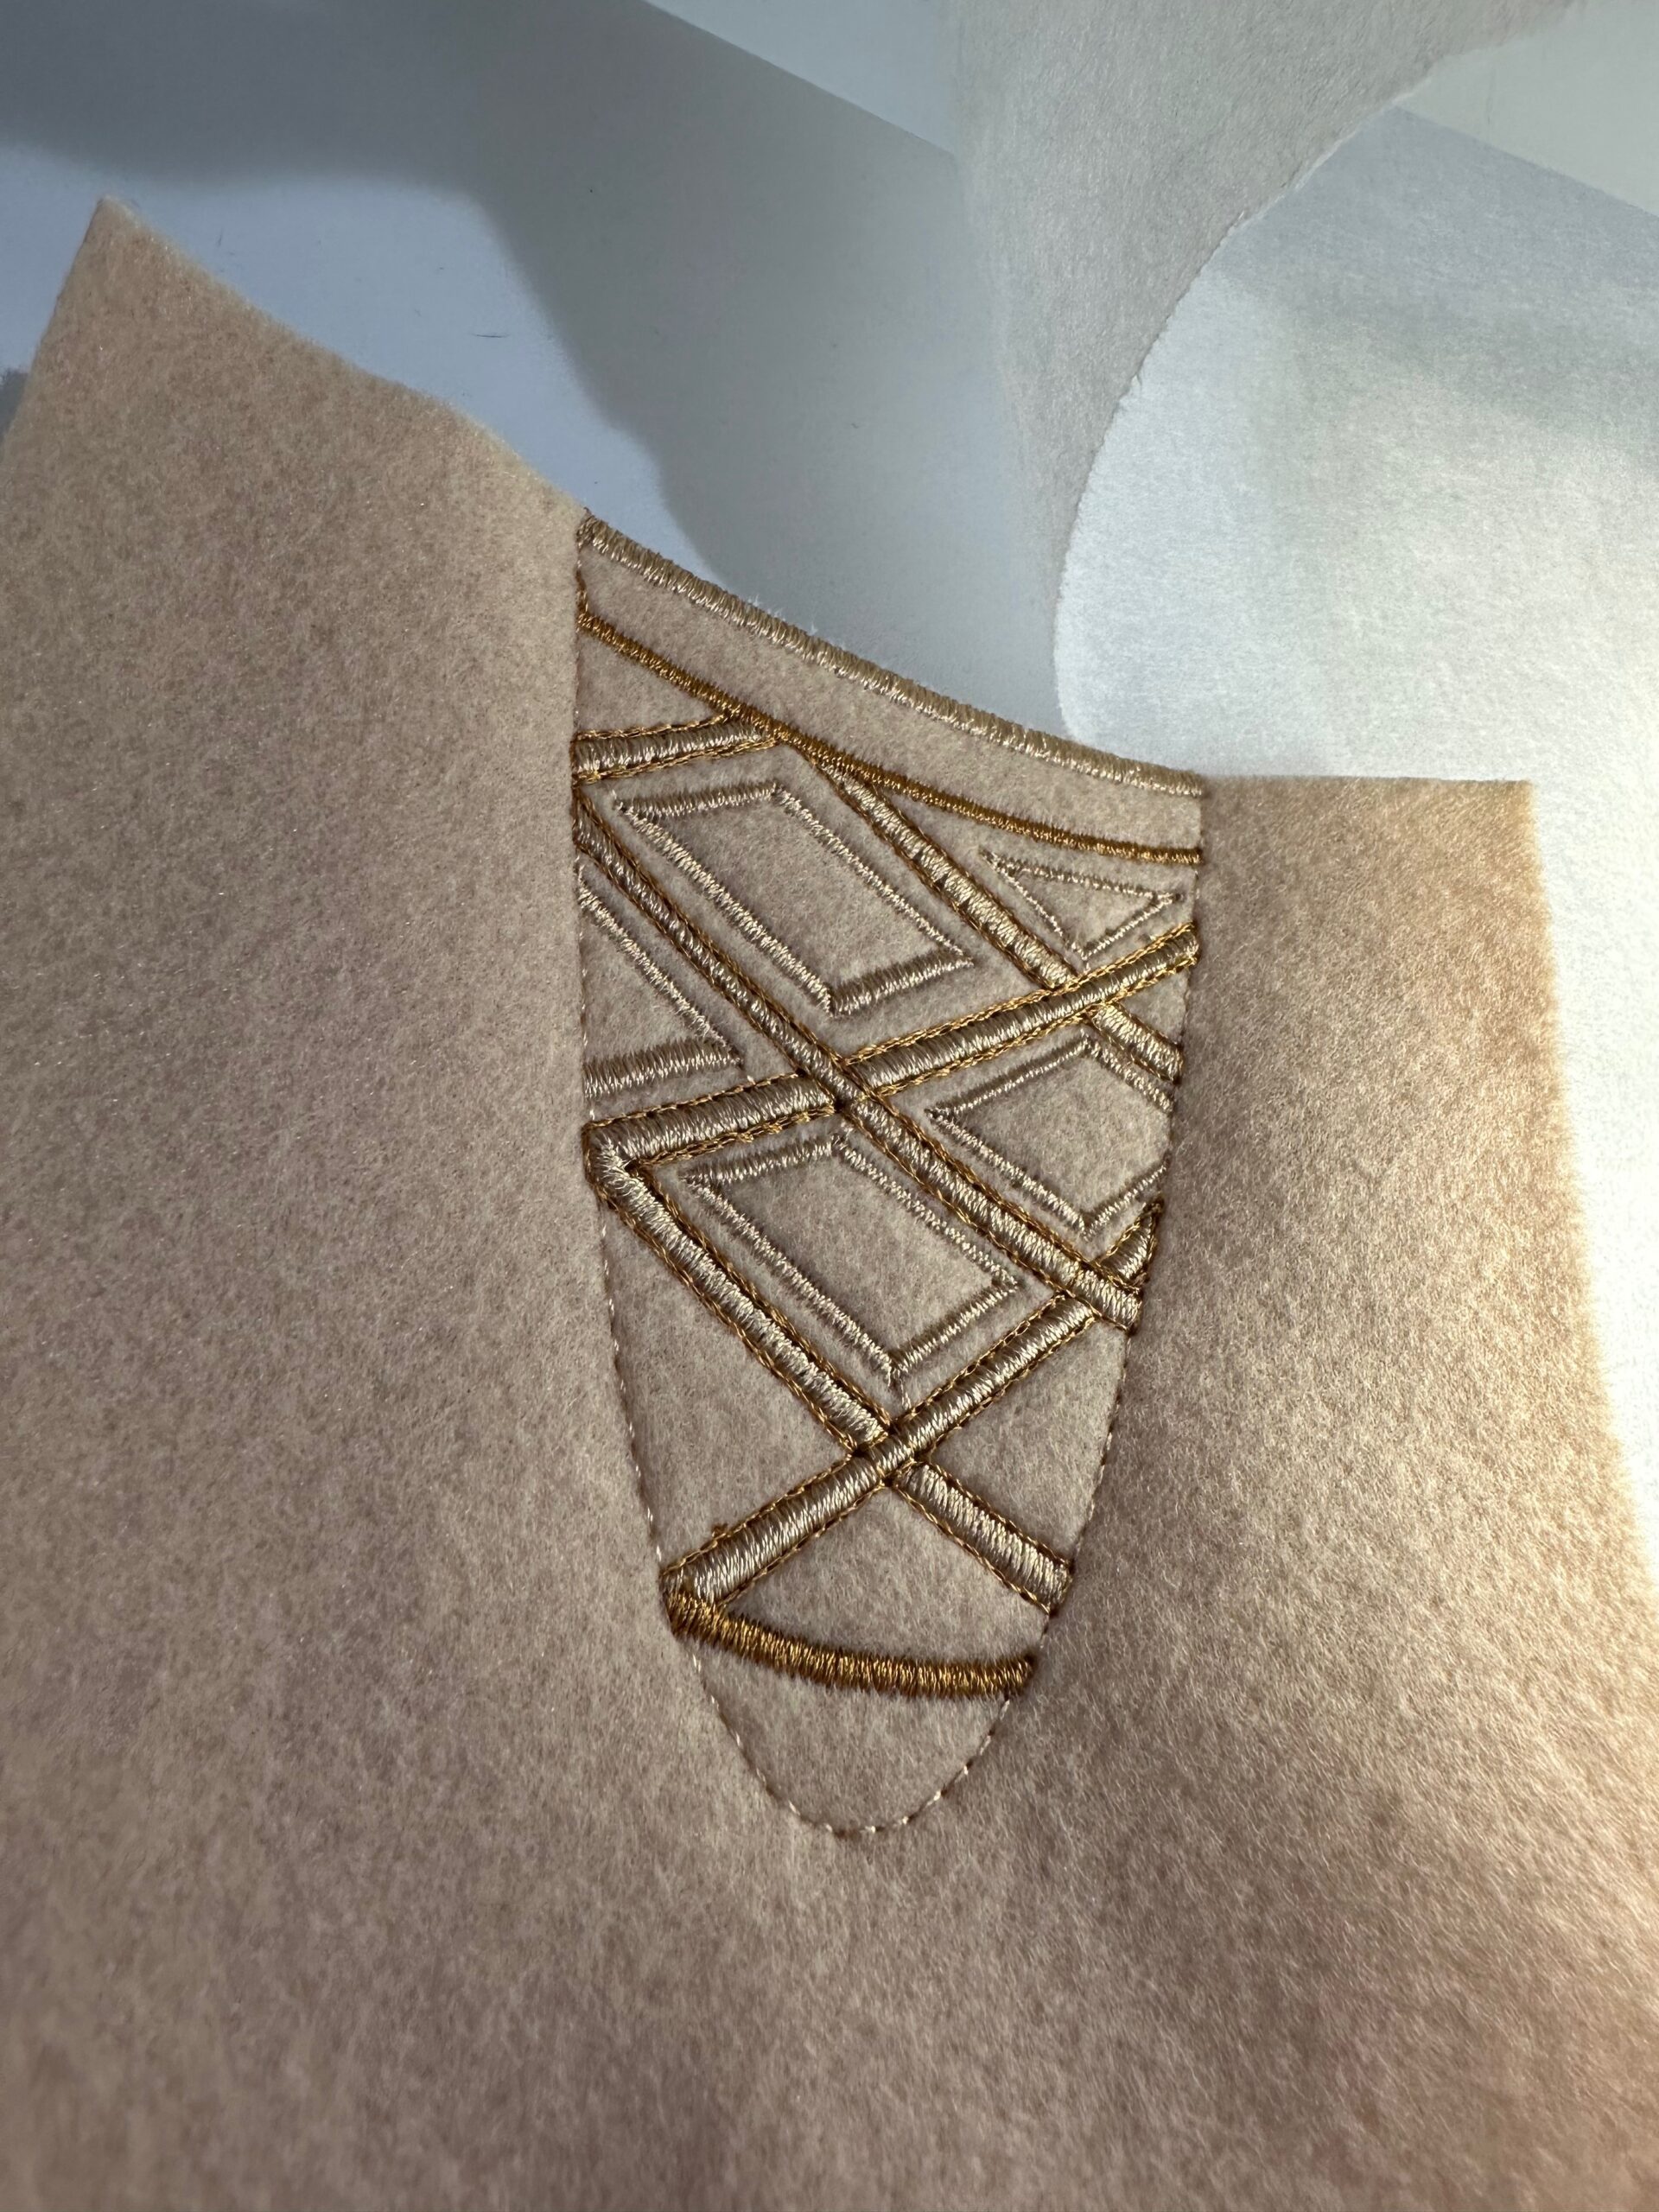
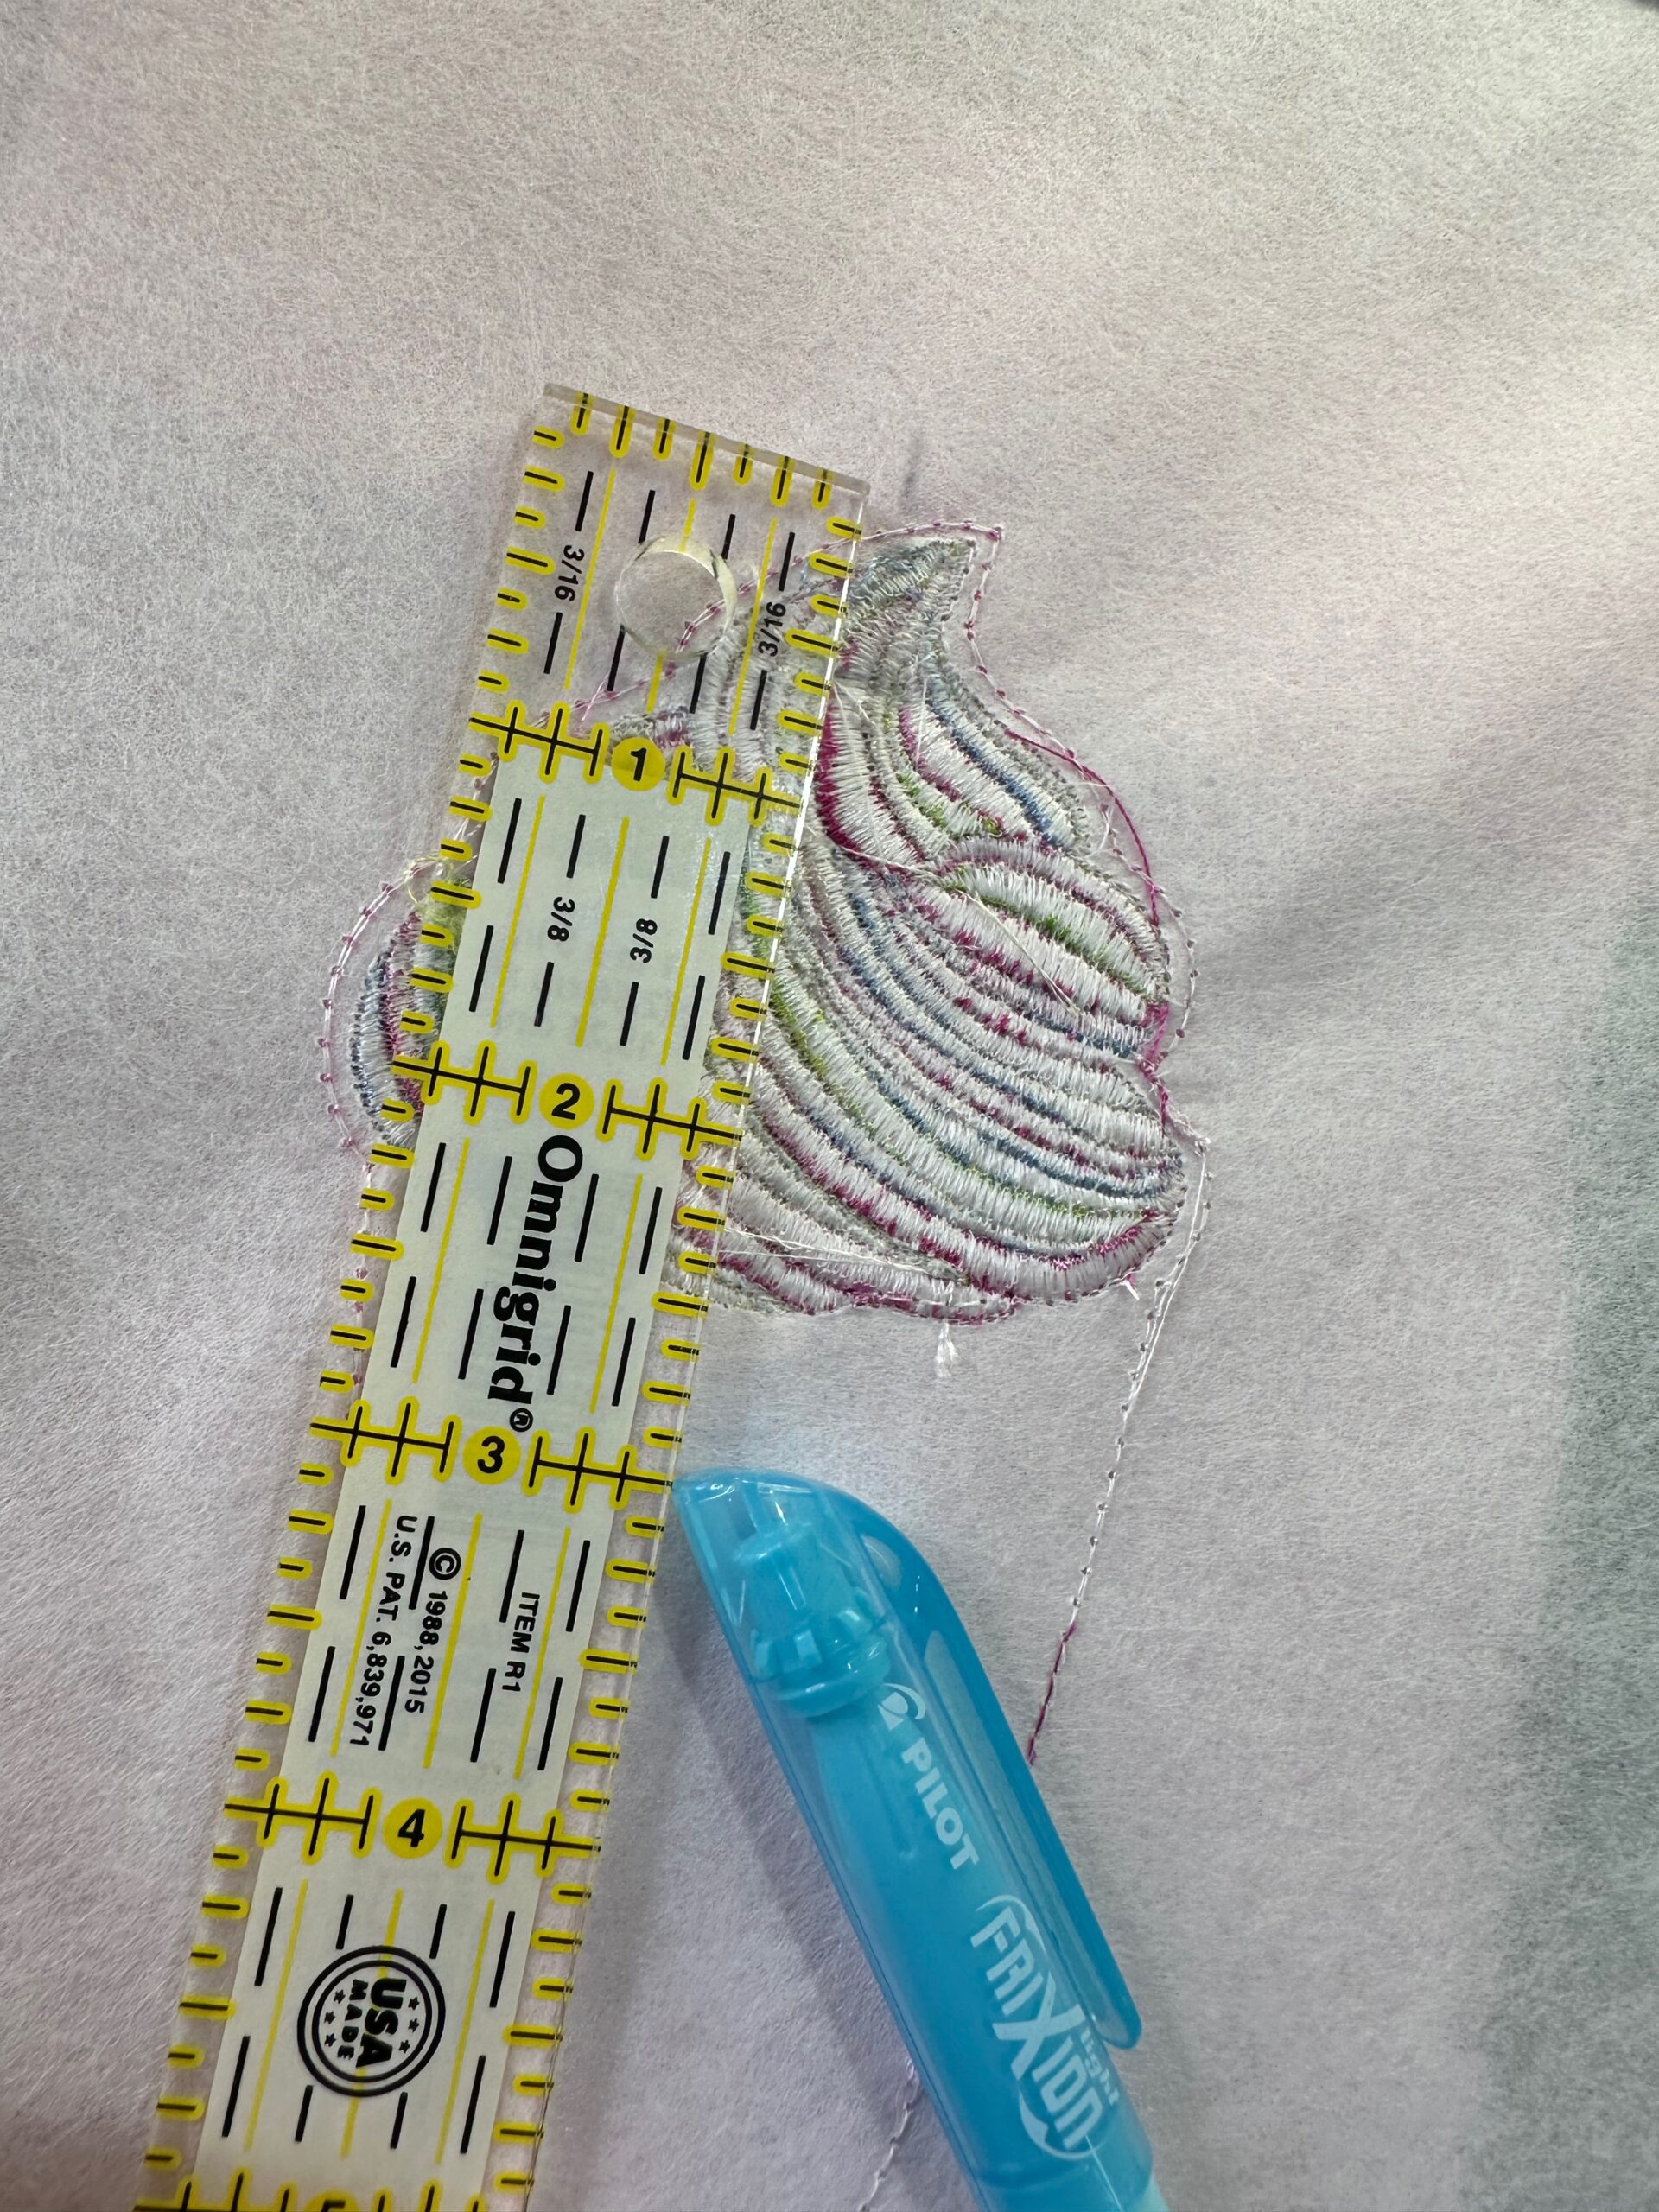
Tear away the stabilizer beyond the outer perimeter stitching. Trim the cone 1/8” beyond the perimeter stitching; set aside.
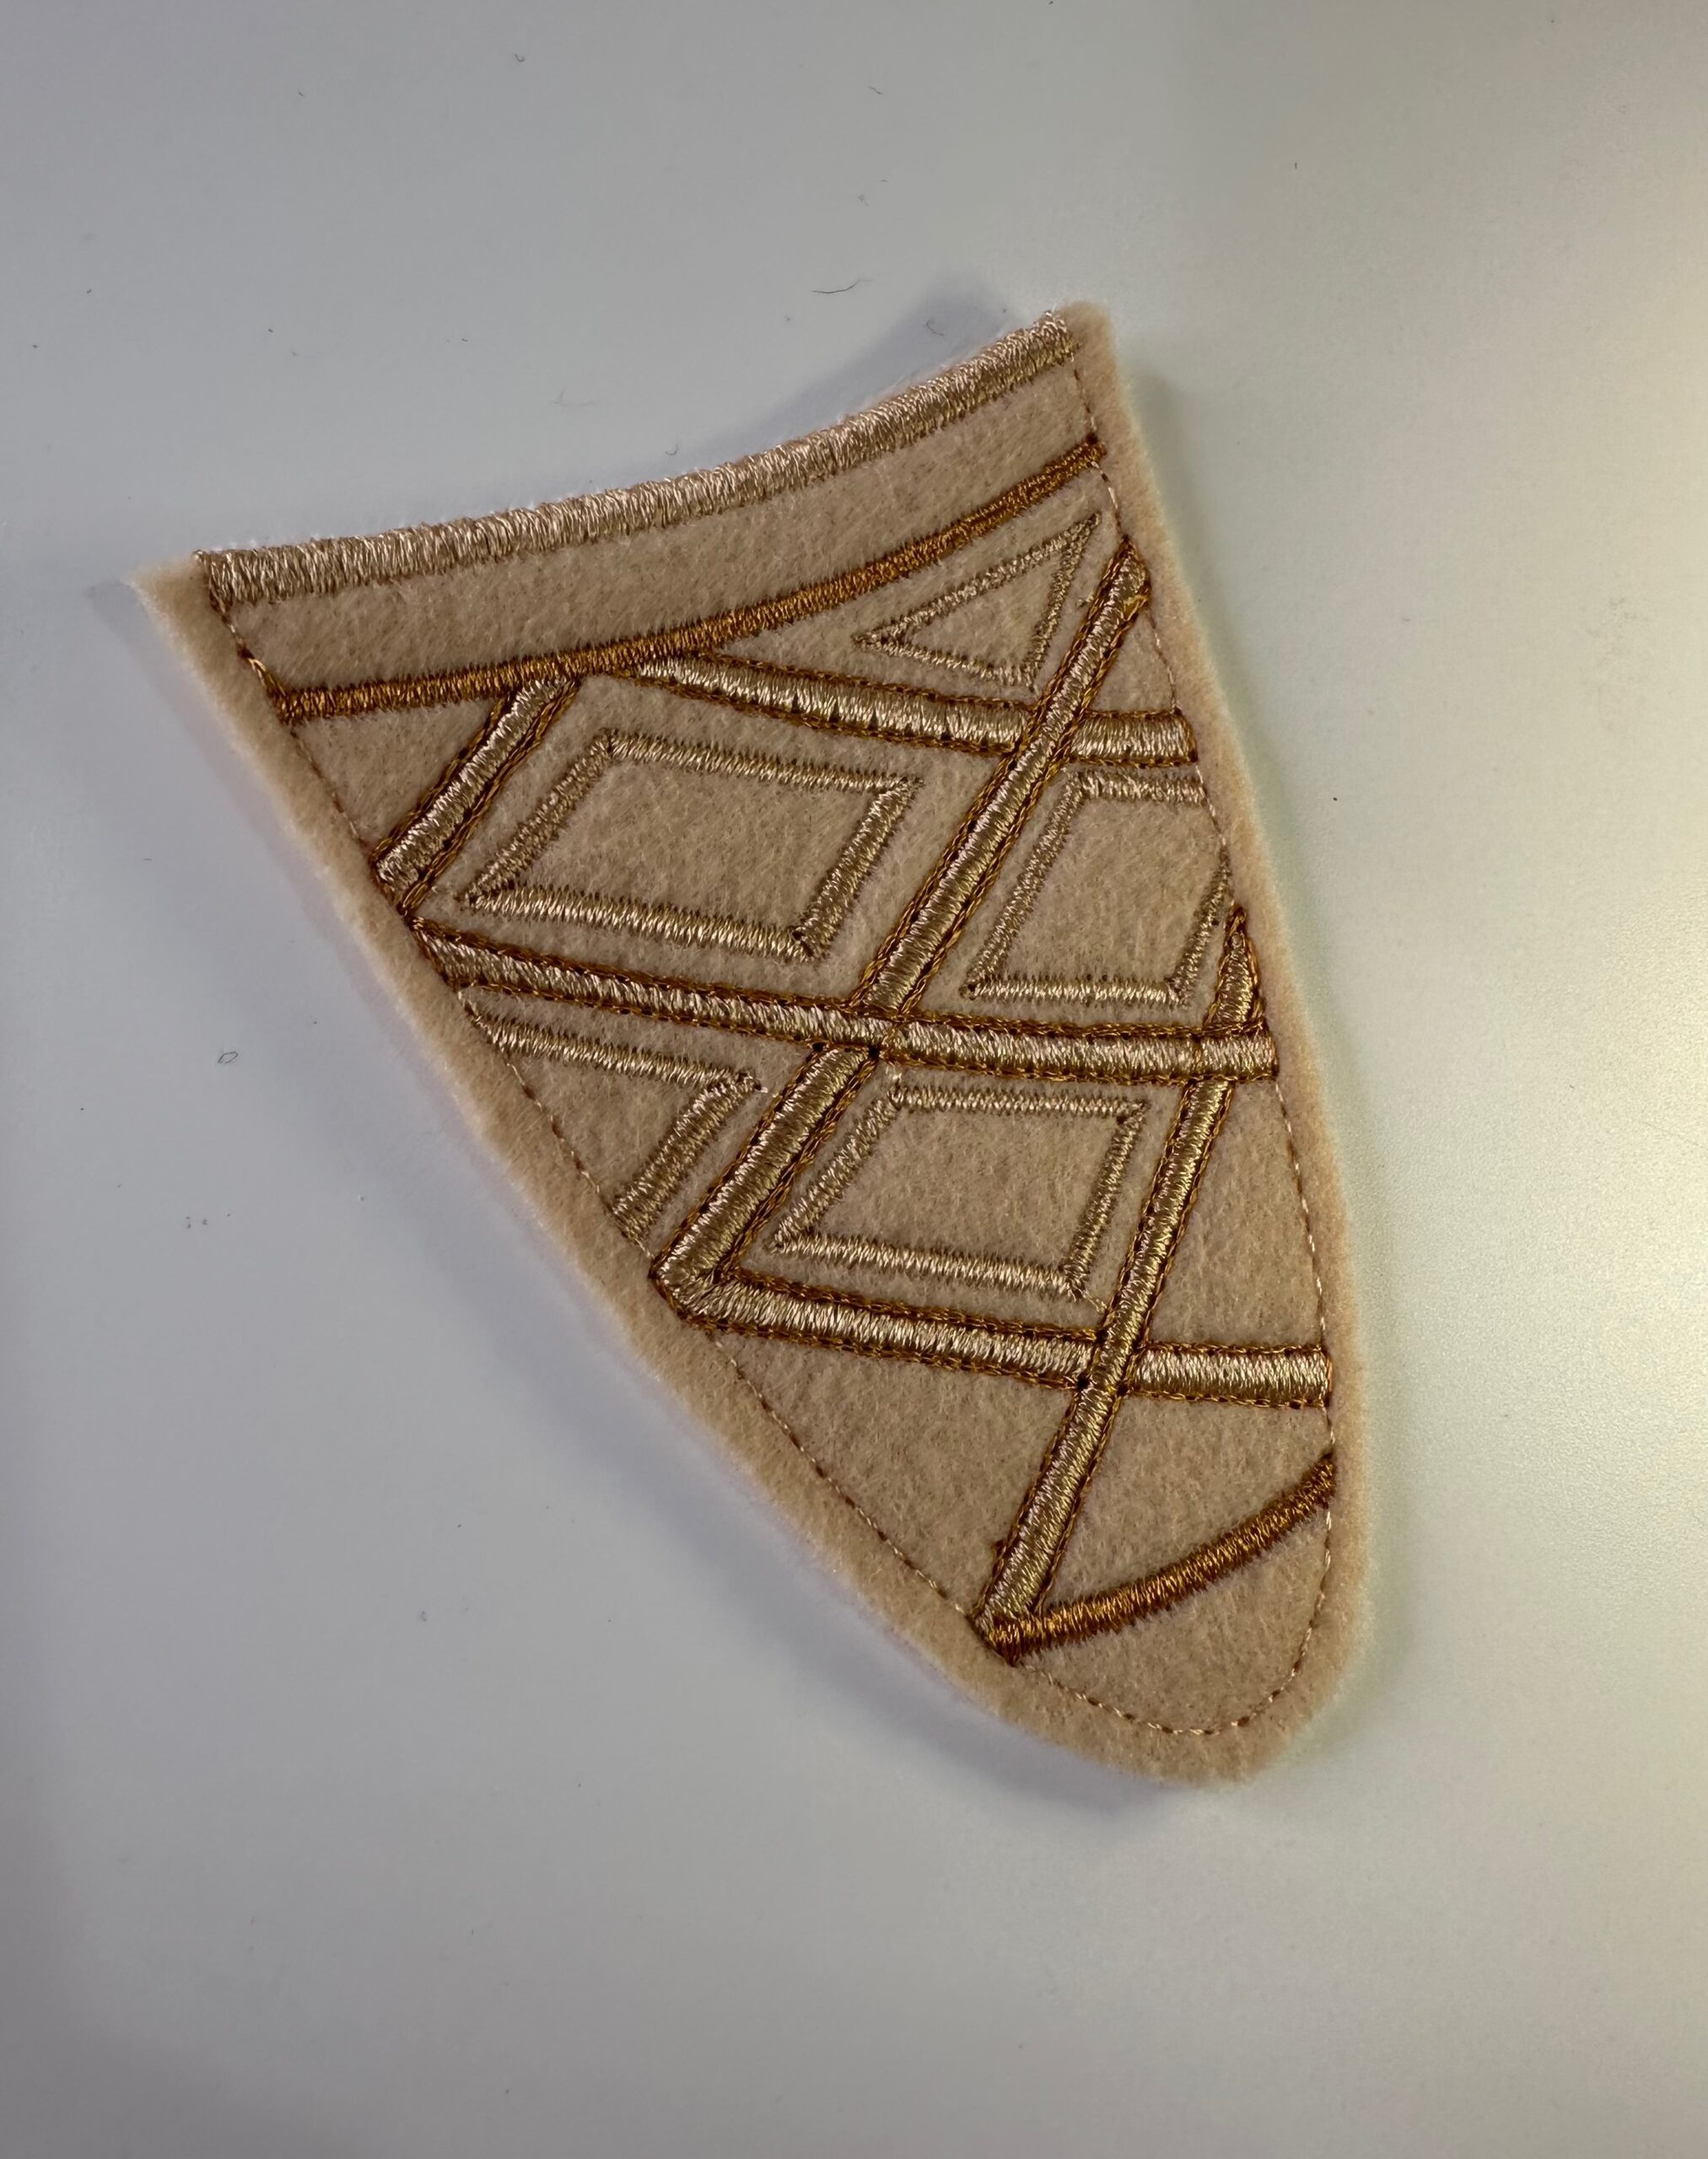
If using precut Cone pieces, no trimming is needed. Just make sure the stabilizer is removed from between the fabrics along the seamline.
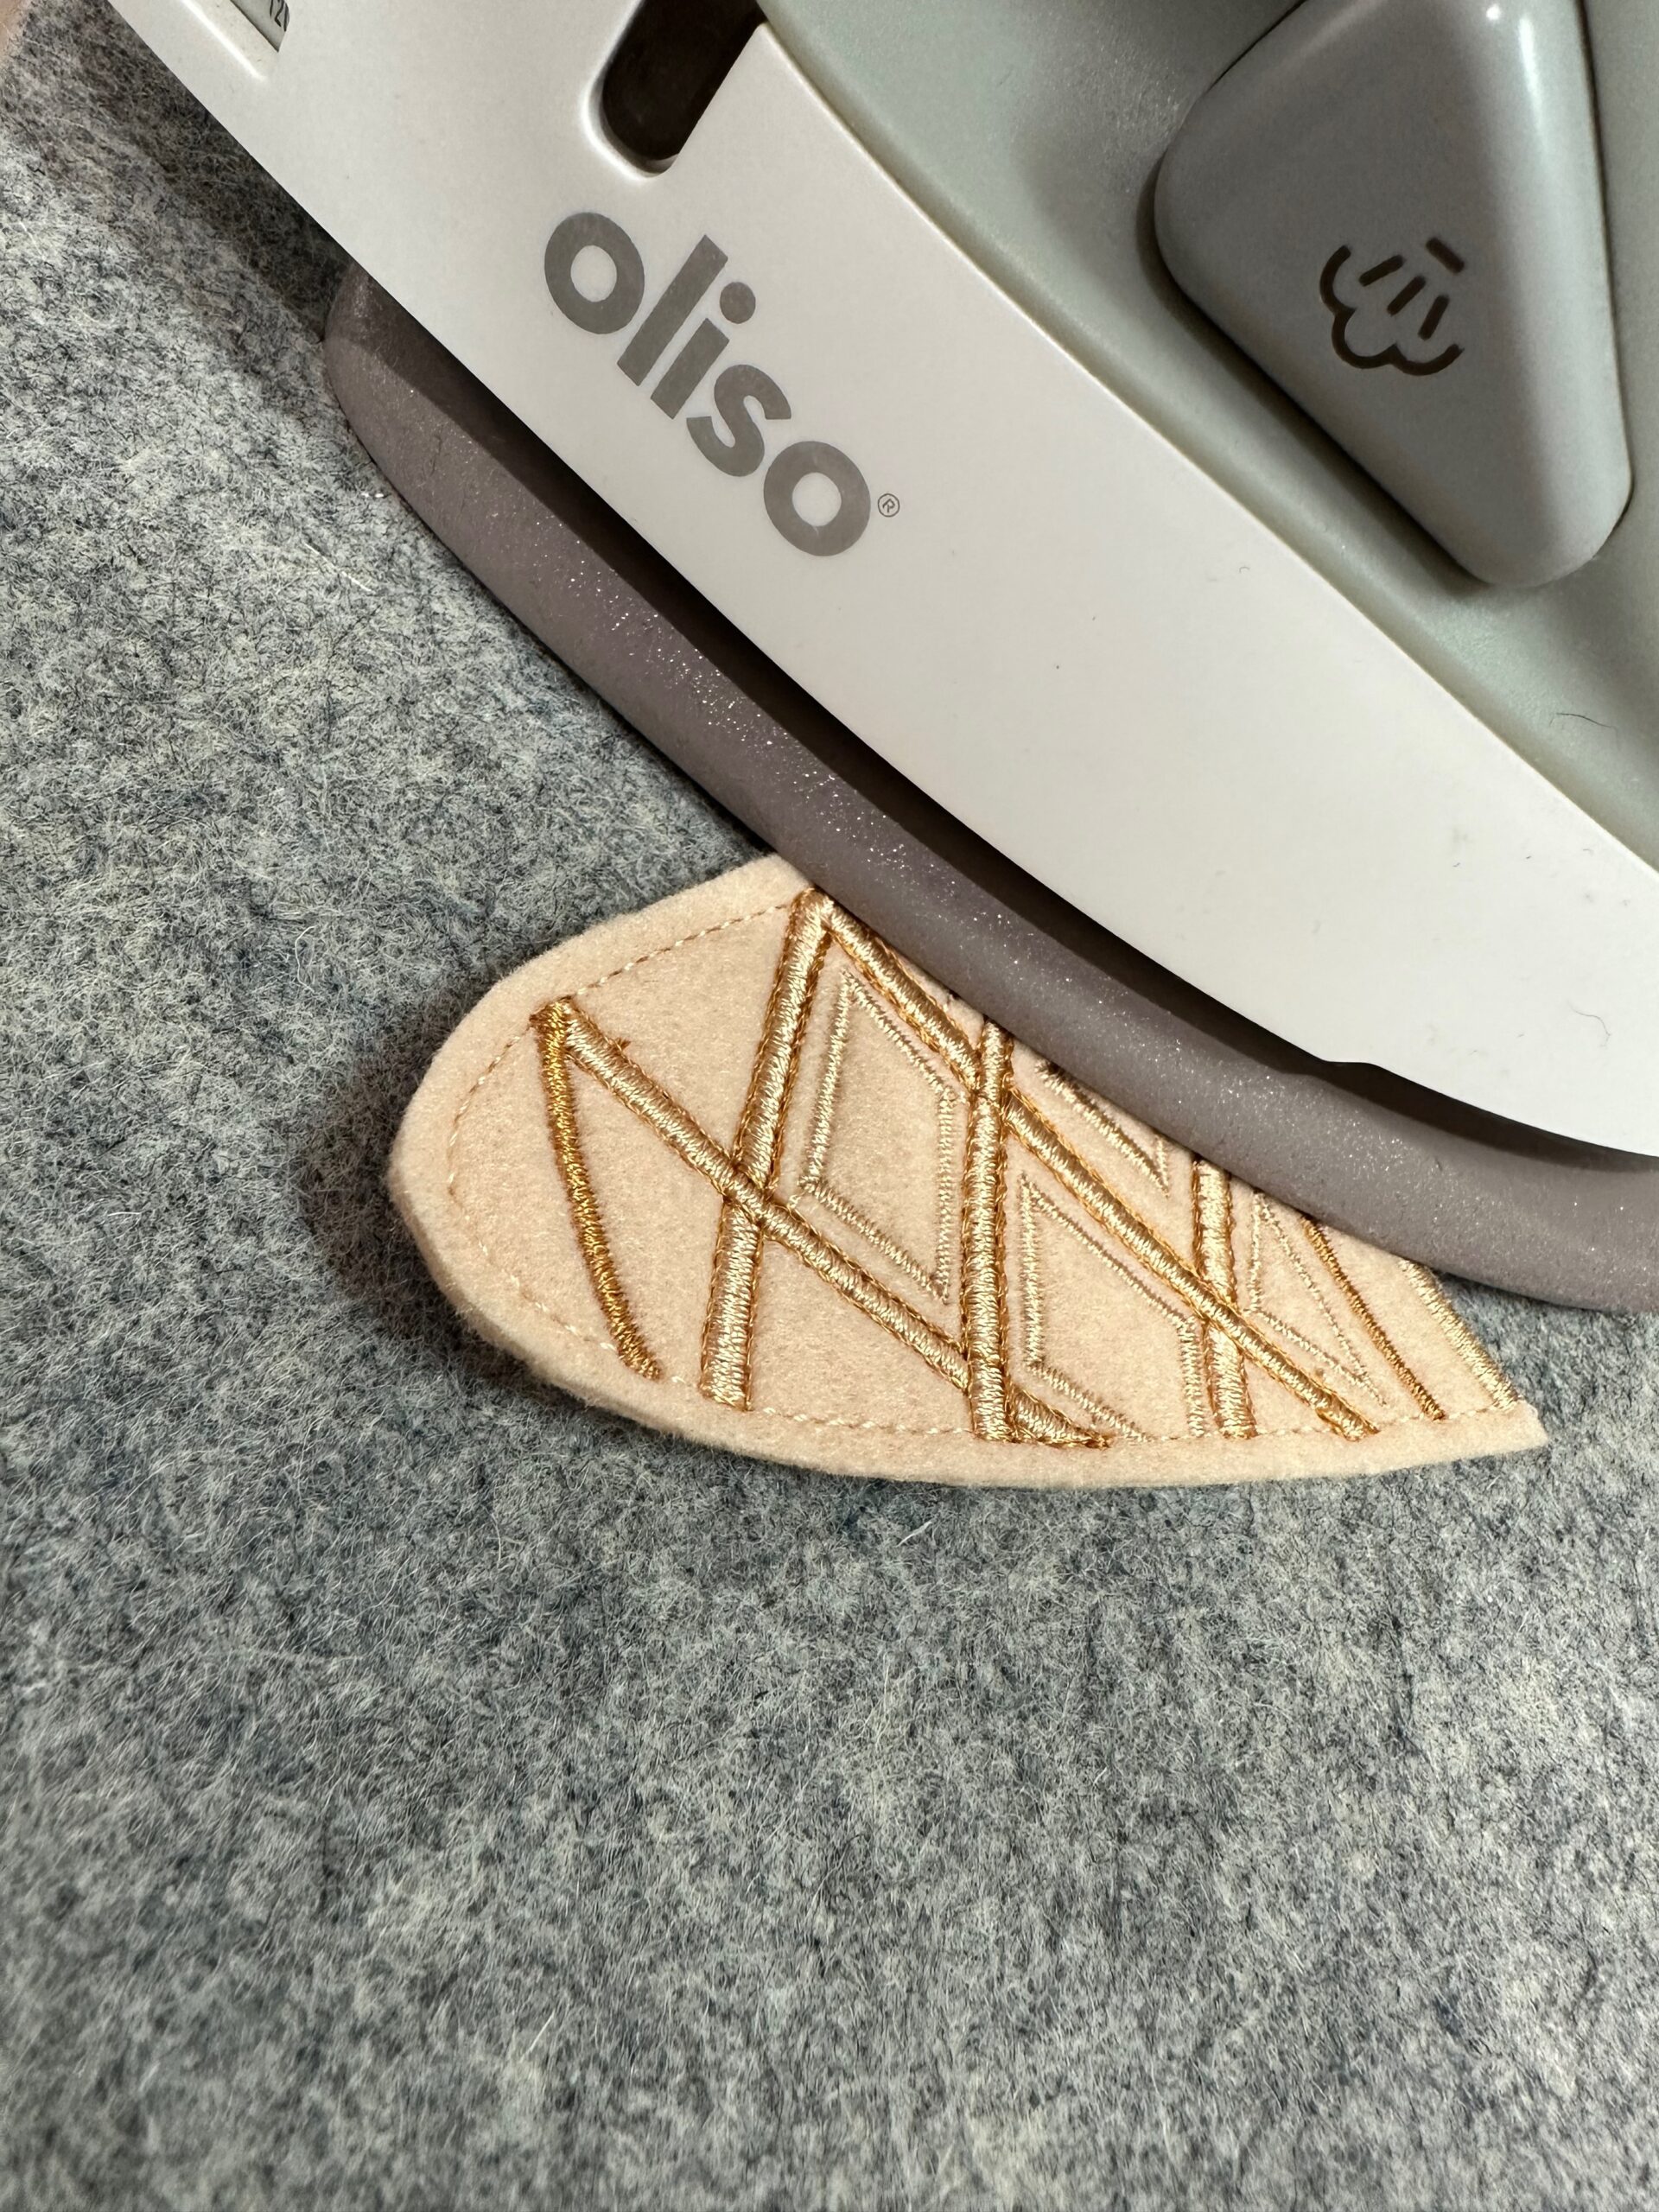
Press the Cone from both sides to fuse the Felty pieces to the stabilizer between.
ICE CREAM POUCH STITCHOUT
Load the “front” design into the machine. This is the Ice Cream Pouch.
Thread the Needle with the first thread color in the design, which is Vari-Fuchsias Rayon (2130).
Hoop a piece of Sulky Stiffy Stabilizer. Place the hoop onto the machine.
Stitch color stop 1, which is the placement stitch for the front Ice Cream Pouch fabric.
Remove the hoop from the machine.
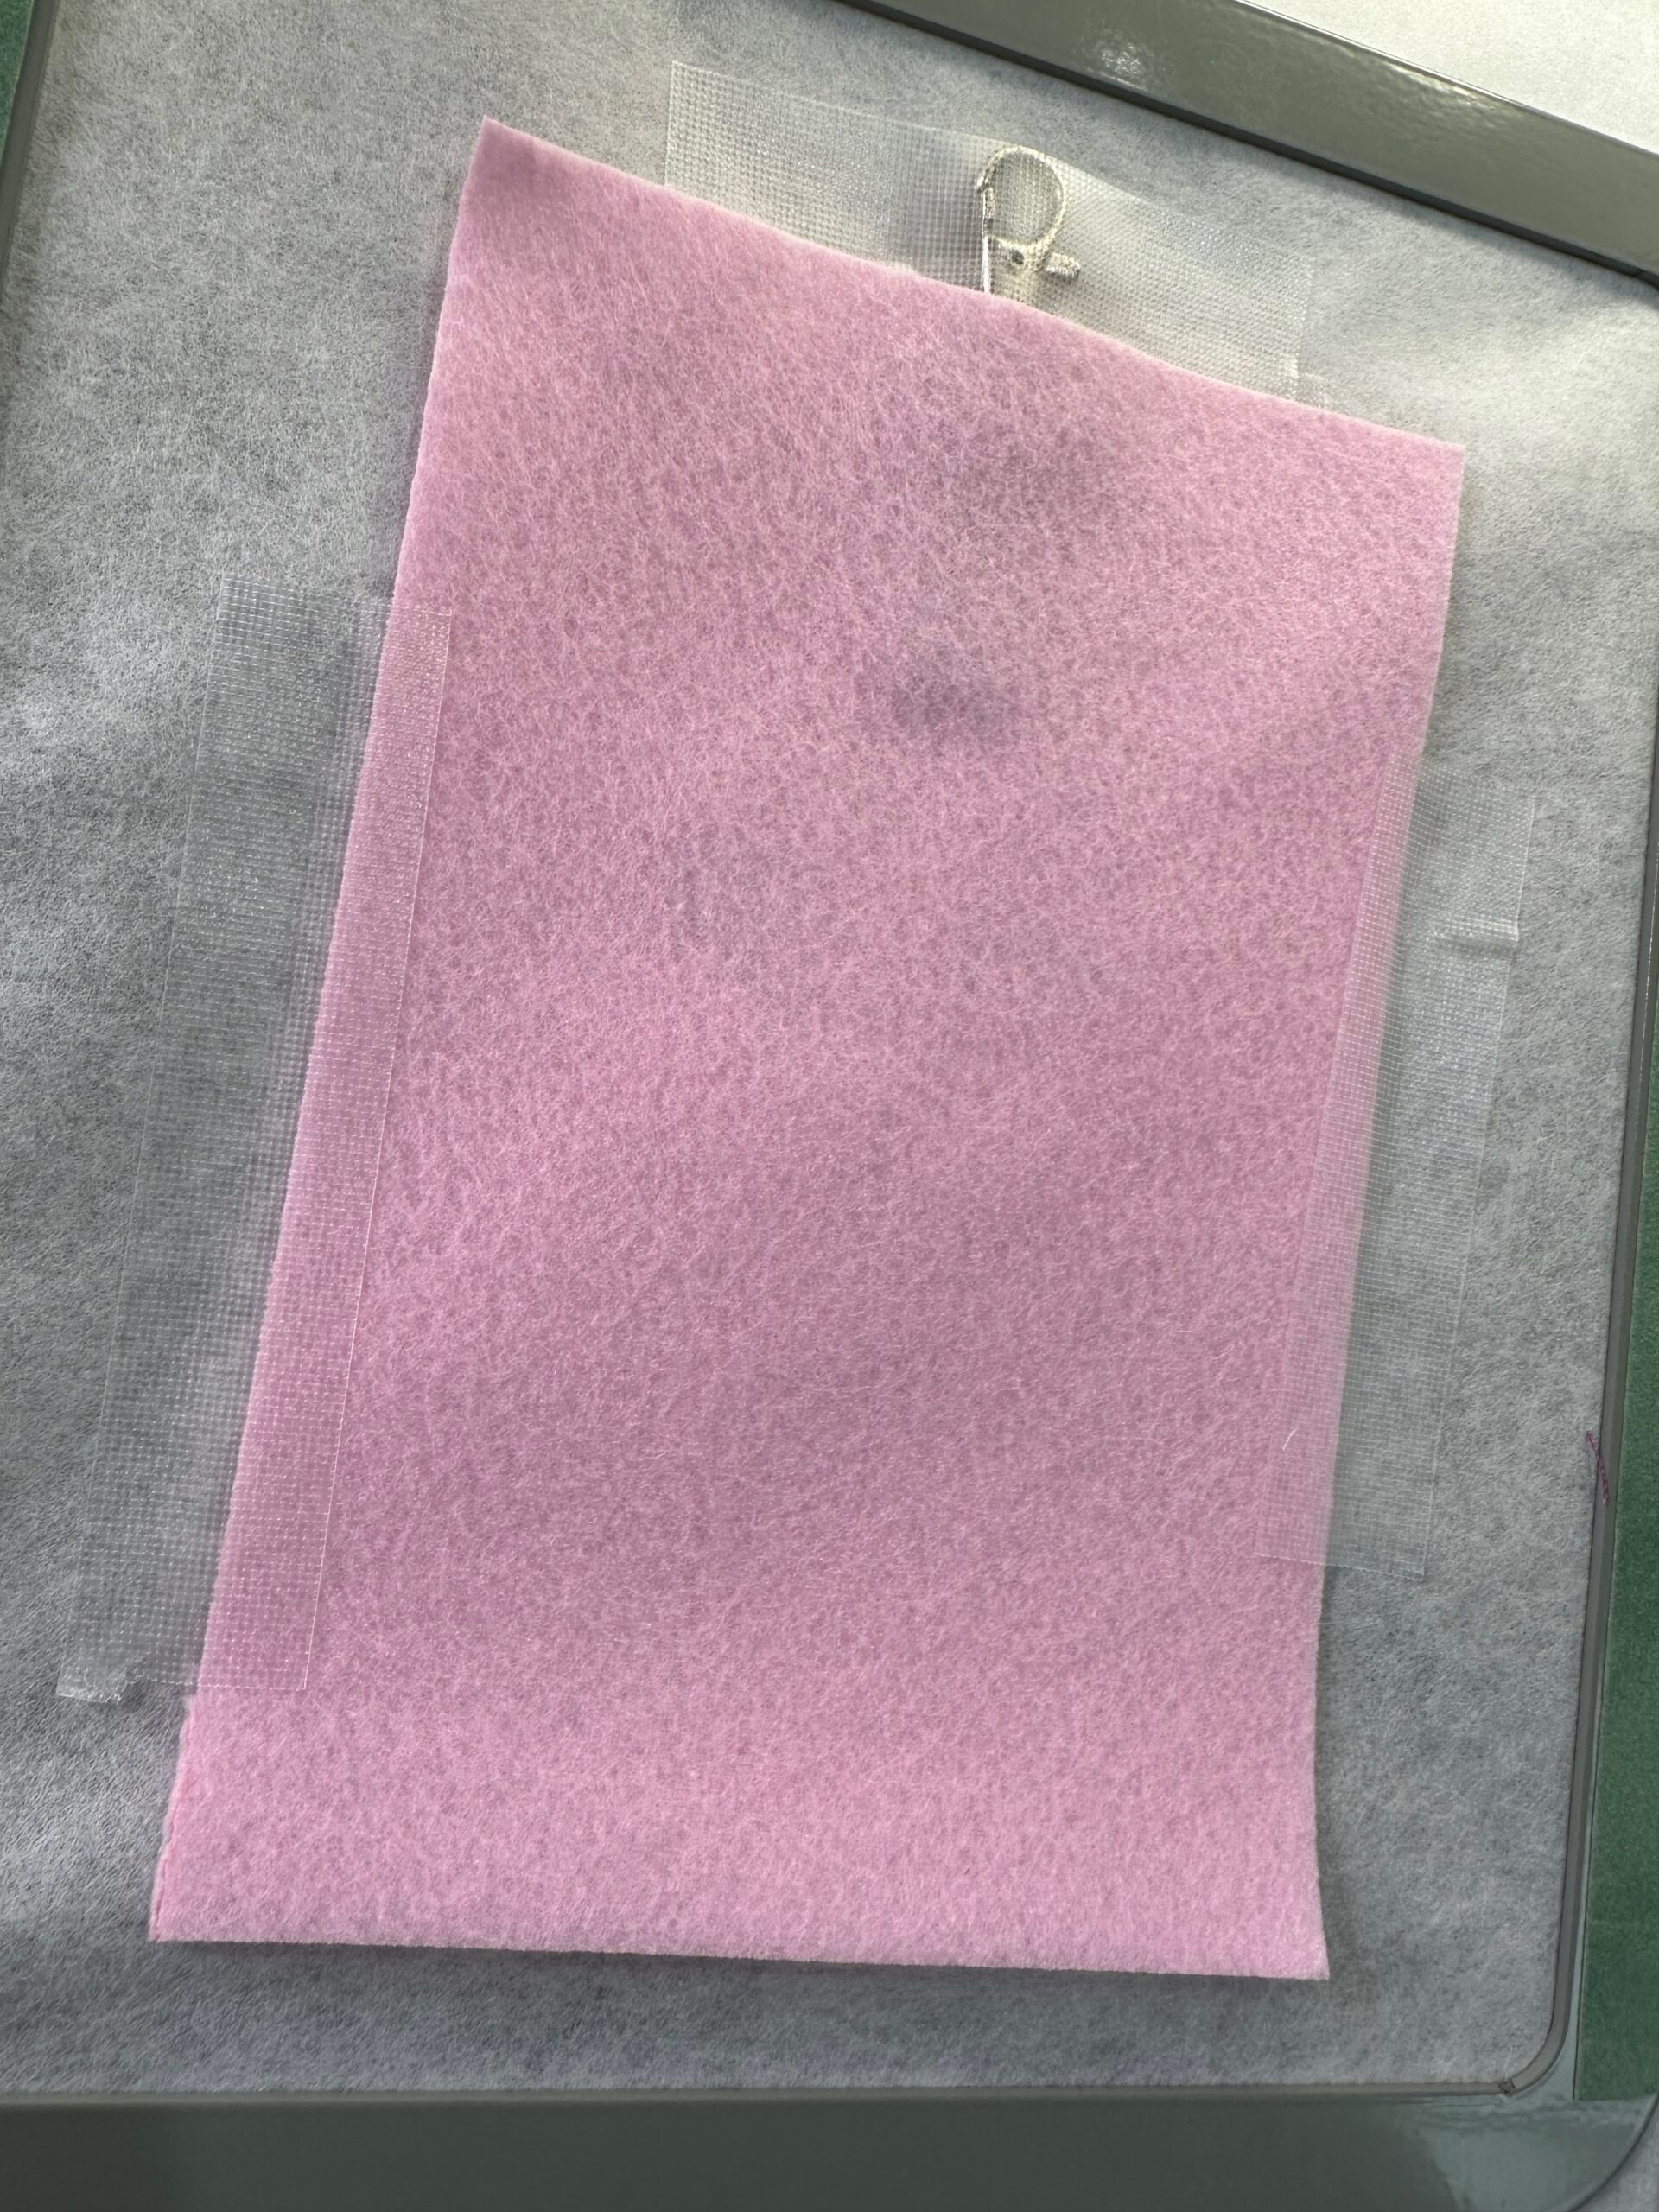
Spray the wrong side of one Lt Pink Felty rectangle (or the precut front Ice Cream Pouch piece) with KK 2000 Temporary Spray Adhesive. Place the Felty right side up over the placement stitching. Further secure the rectangle perimeter with Sulky Clear Embroidery Tape. If using the precut Ice Cream Pouch, make sure it is placed exactly over the stitching with the upper-edge swirl pointing to the left.
Place the hoop back onto the machine. Repeat color stop 1 to tack the Felty in place.
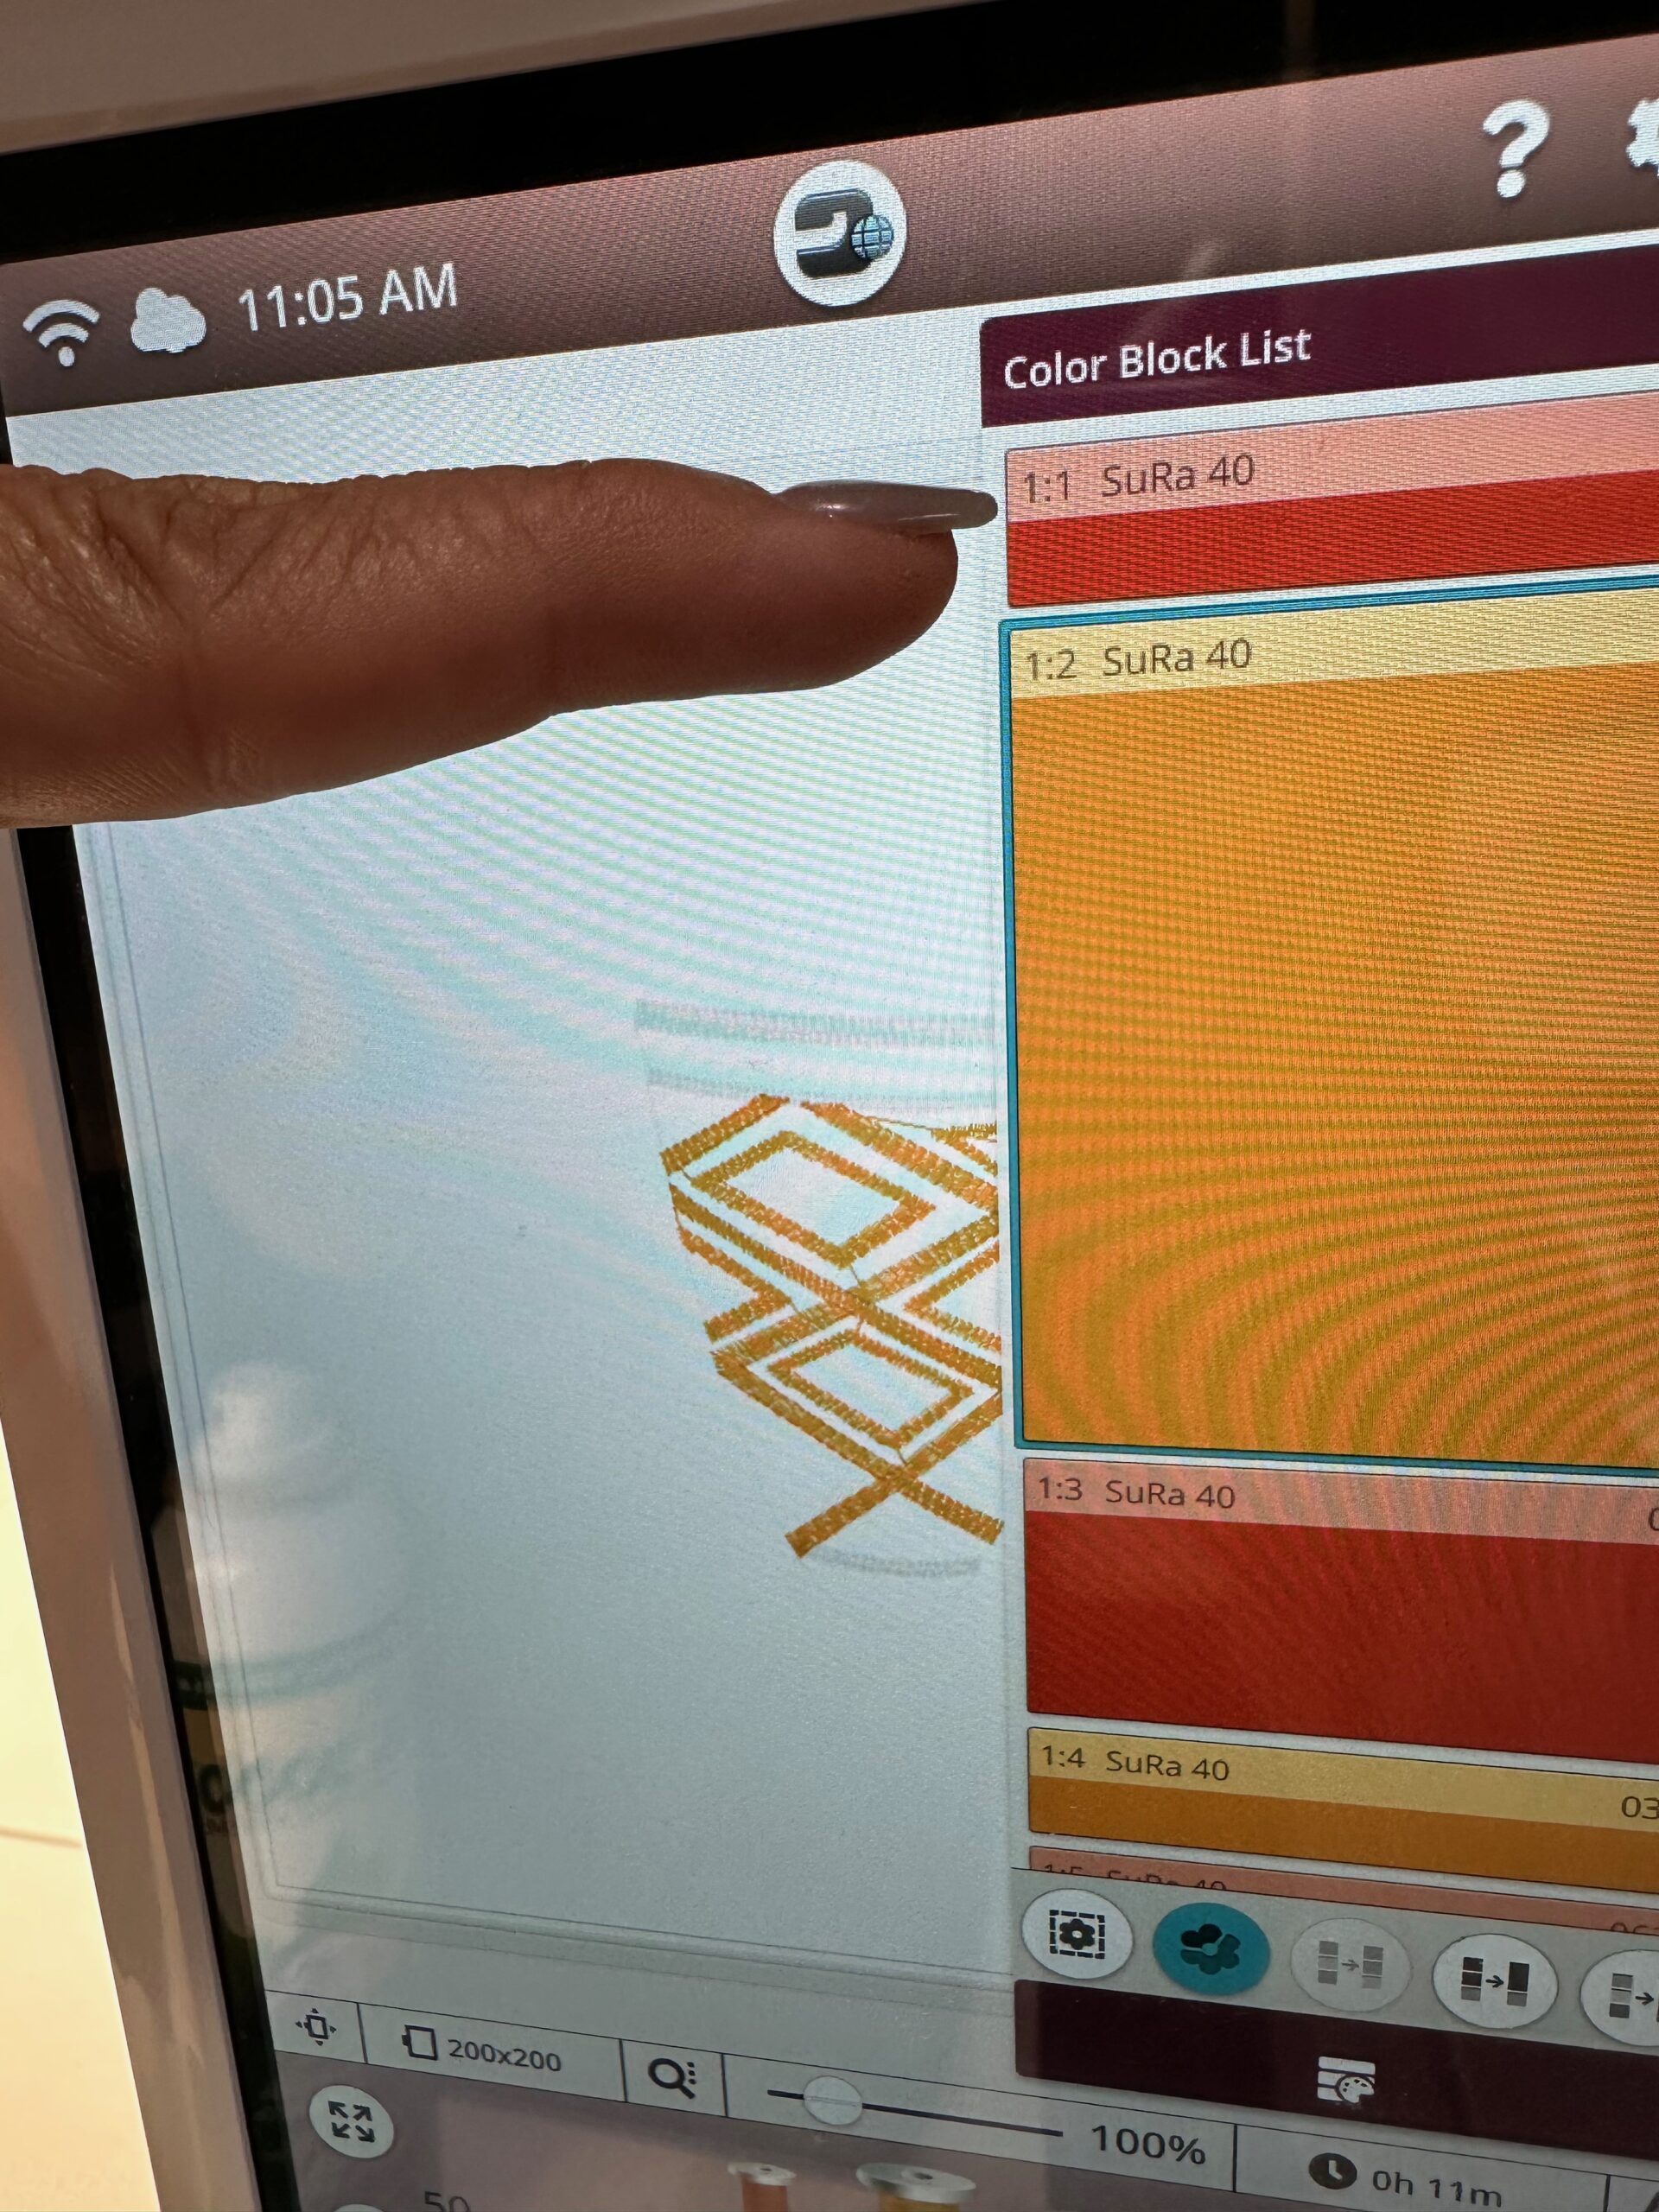
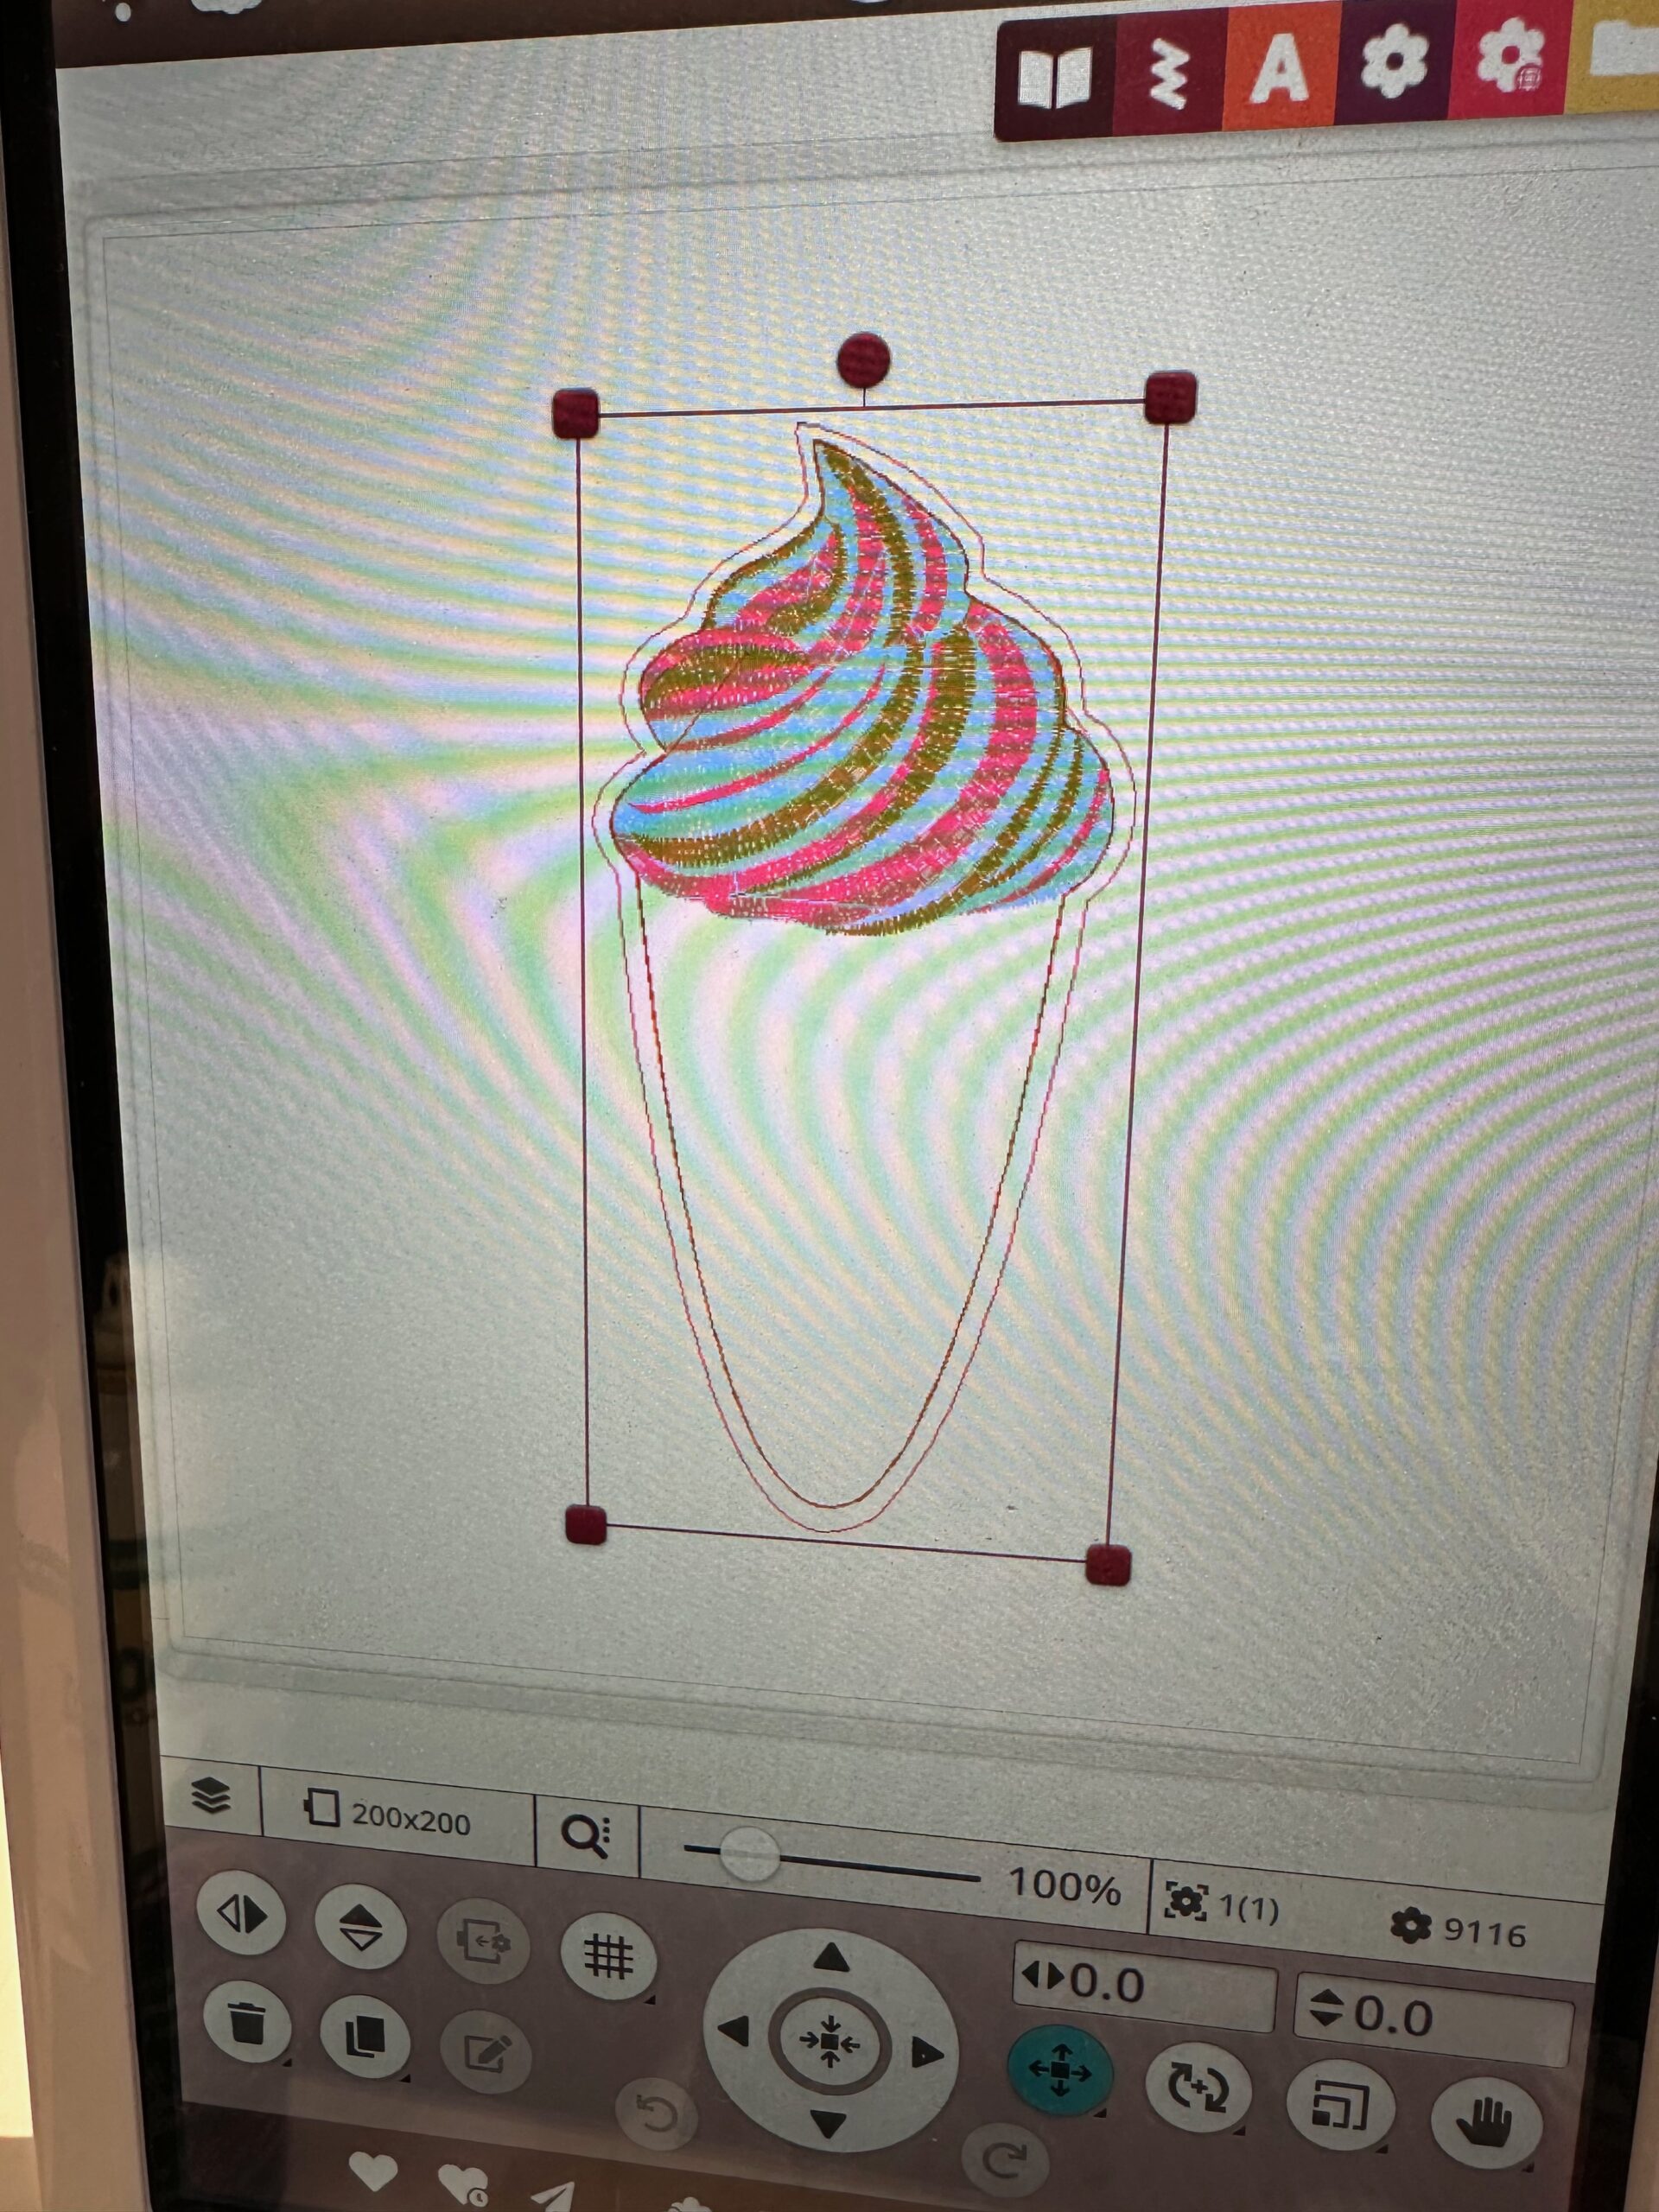
Following the color chart, stitch color stops 2 through 7 to embroider the decorative Ice Cream Cone accents.
Remove the hoop from the machine. Turn the hoop over so the wrong side is facing up.
Mark the Ice Cream Pouch ½” below the upper-edge center, using a removable fabric marker.
Fold the ribbon loop in half widthwise, creating a loop. Insert the ribbon through a D-ring swivel clip or O-Ring, and then match the raw ends.
Center the loop raw ends at the previous mark, extending the loop beyond the design upper edge. Use Clear Embroidery Tape to secure the ribbon in place. Place tape over the entire hardware to avoid scratching the machine bed.
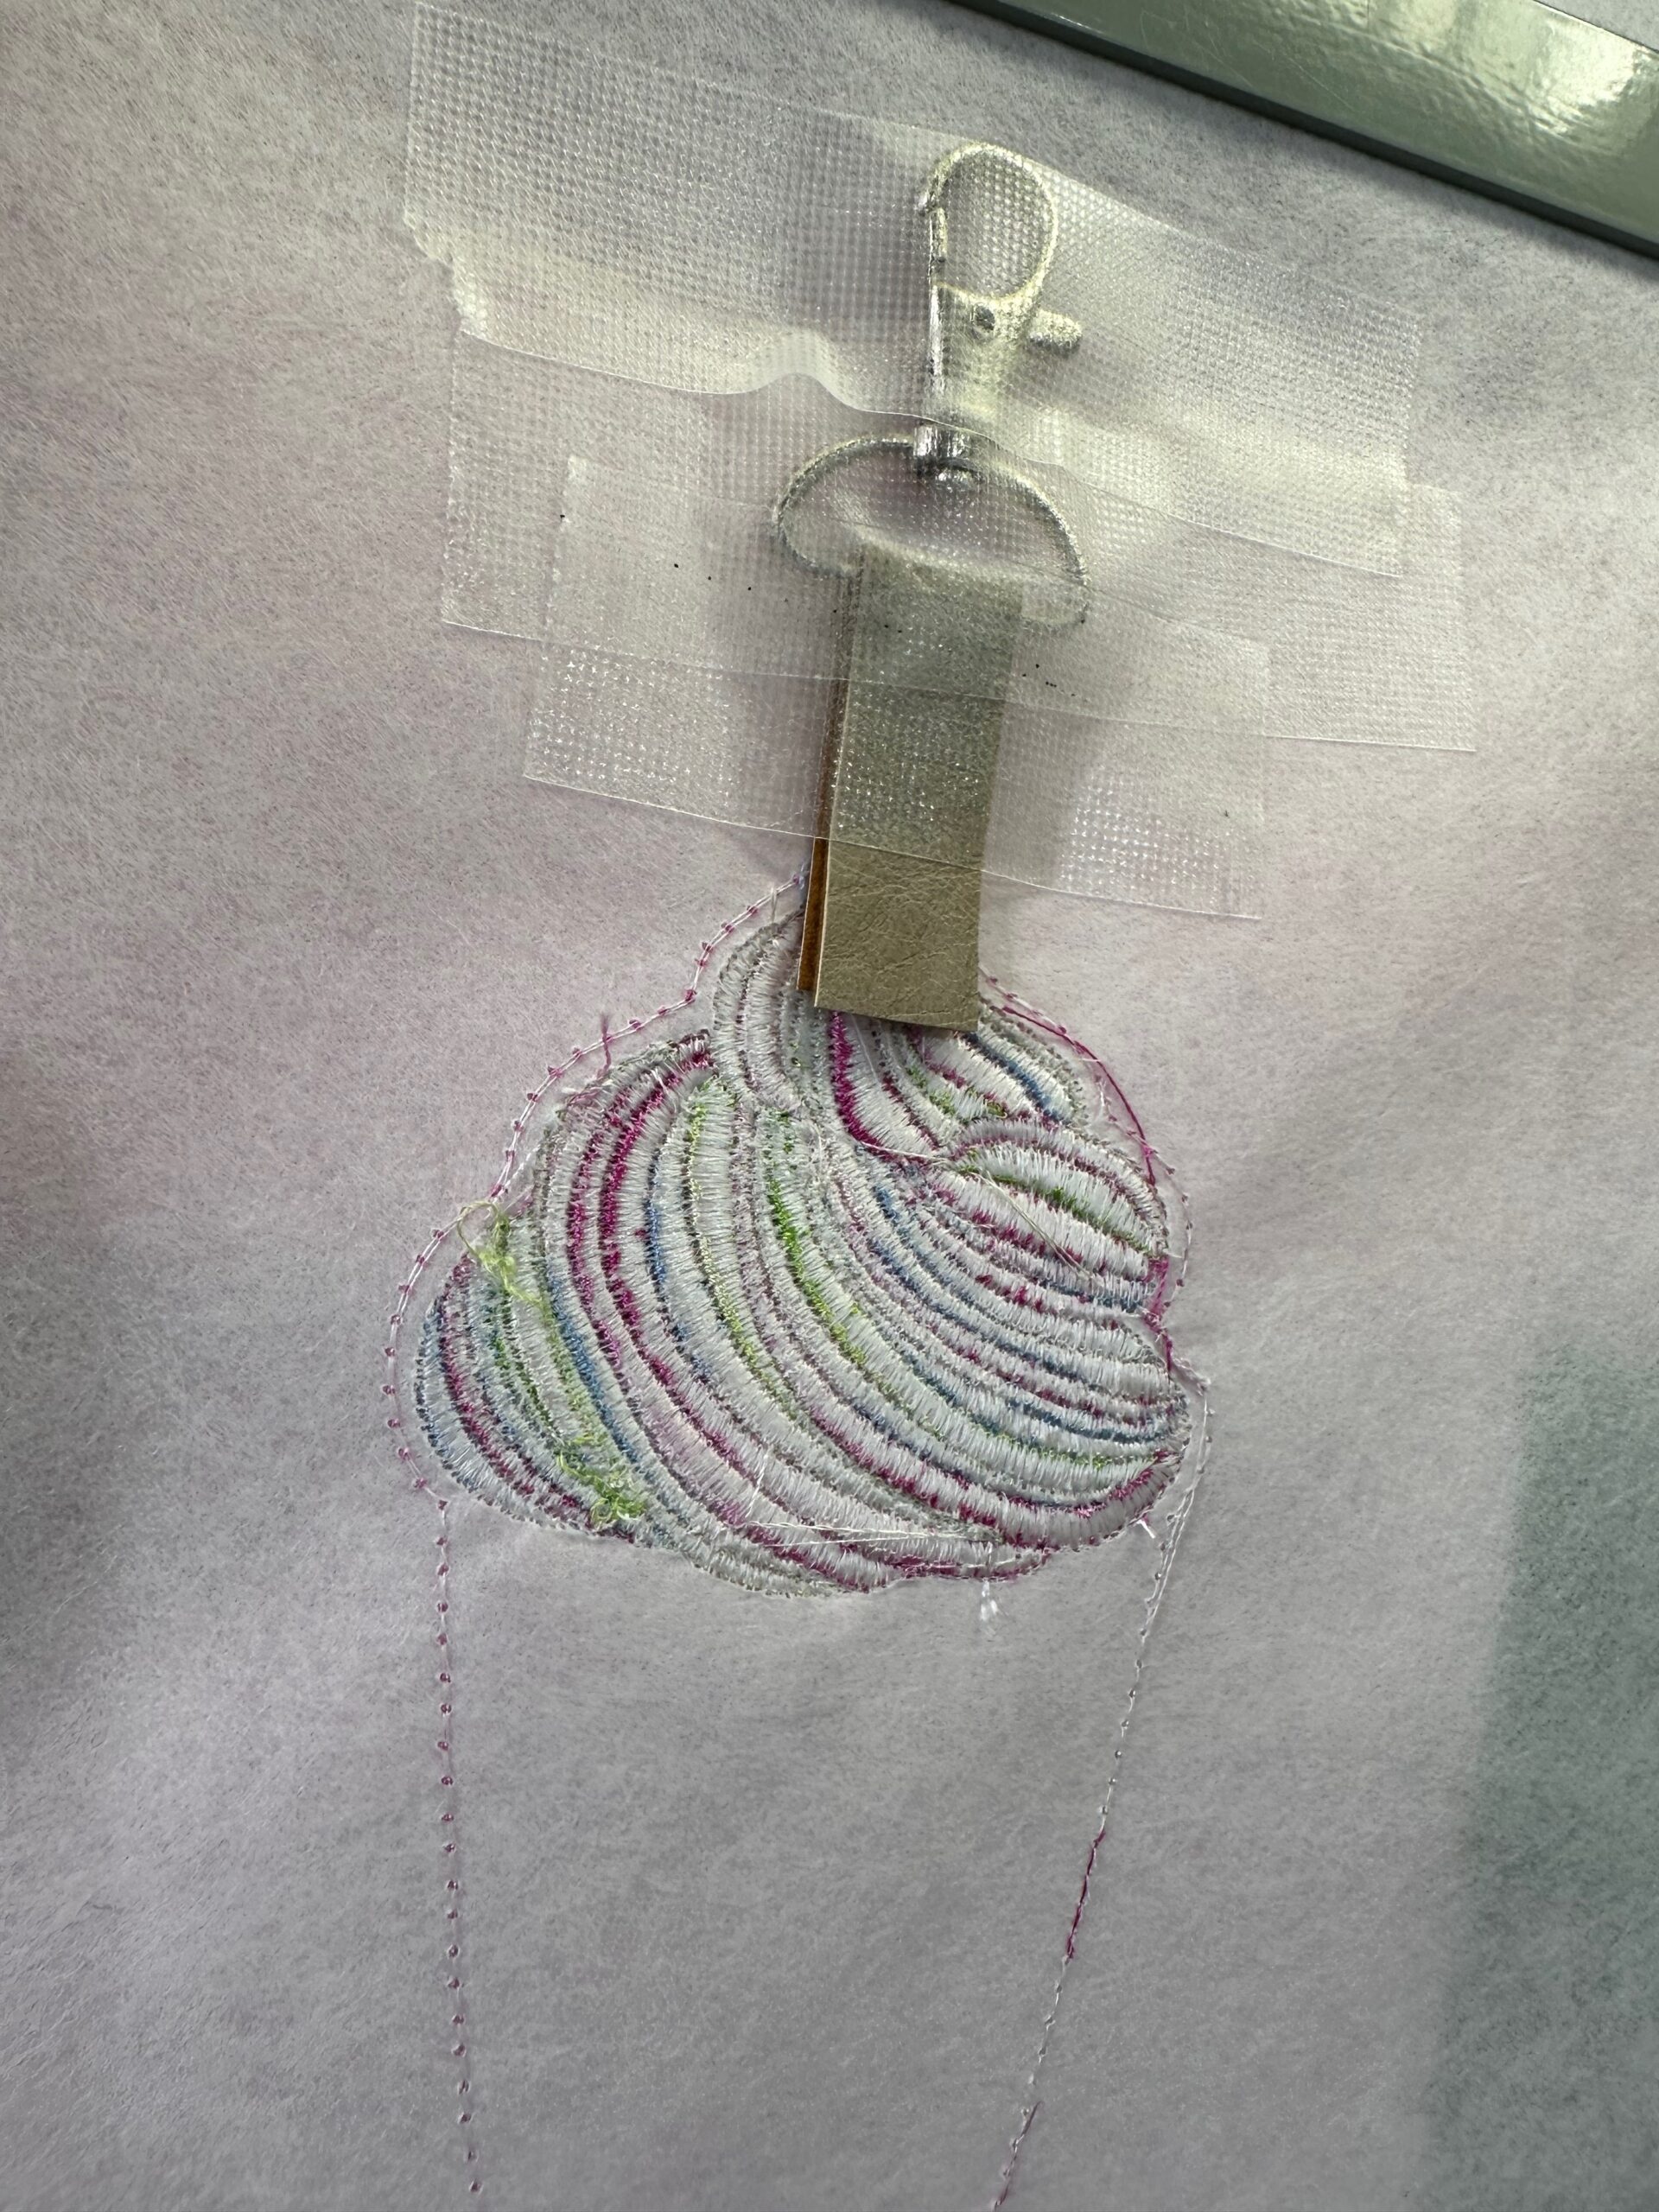
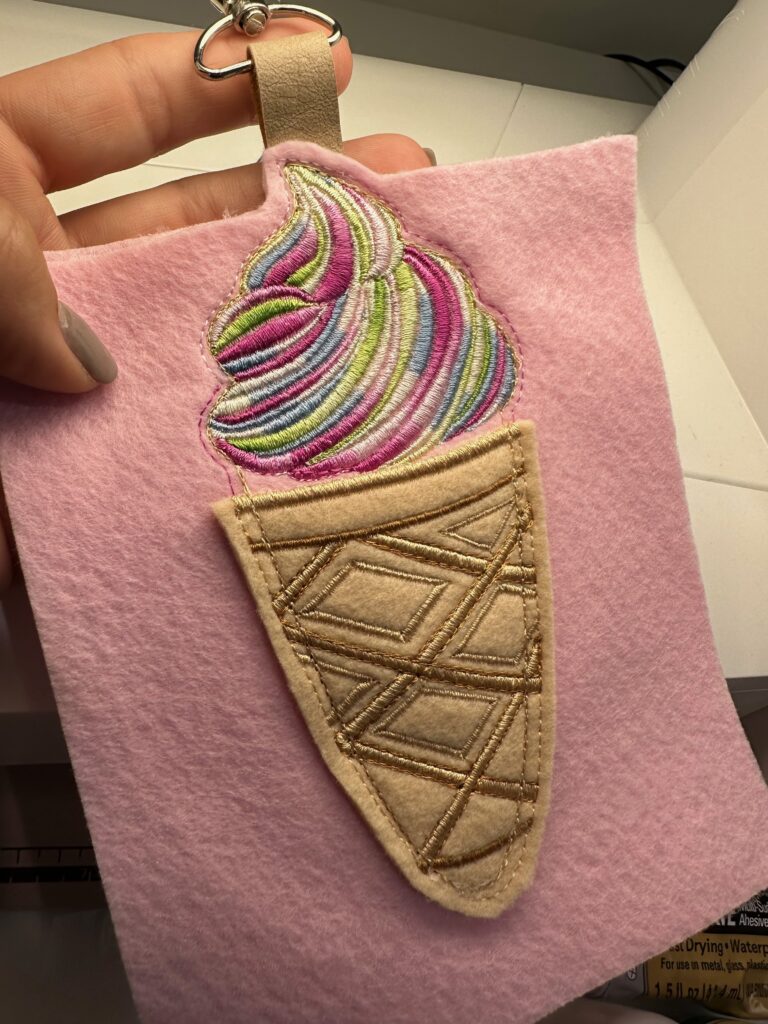
Place the remaining Lt Pink Felty rectangle (or precut back Ice Cream Pouch piece) on the hoop wrong side and over the ribbon, concealing the raw edges between the layers. Make sure to cover all the previous embroidery with the Felty. Use KK 2000 and additional Clear Embroidery Tape to secure.
Turn over the hoop so the right side is facing up. Place the Cone pocket piece over the Ice Cream Pouch, aligning the lower-edge placement lines of each piece. Use KK 2000 and Clear Embroidery Tape to ensure nothing shifts.

Place the hoop back onto the machine.
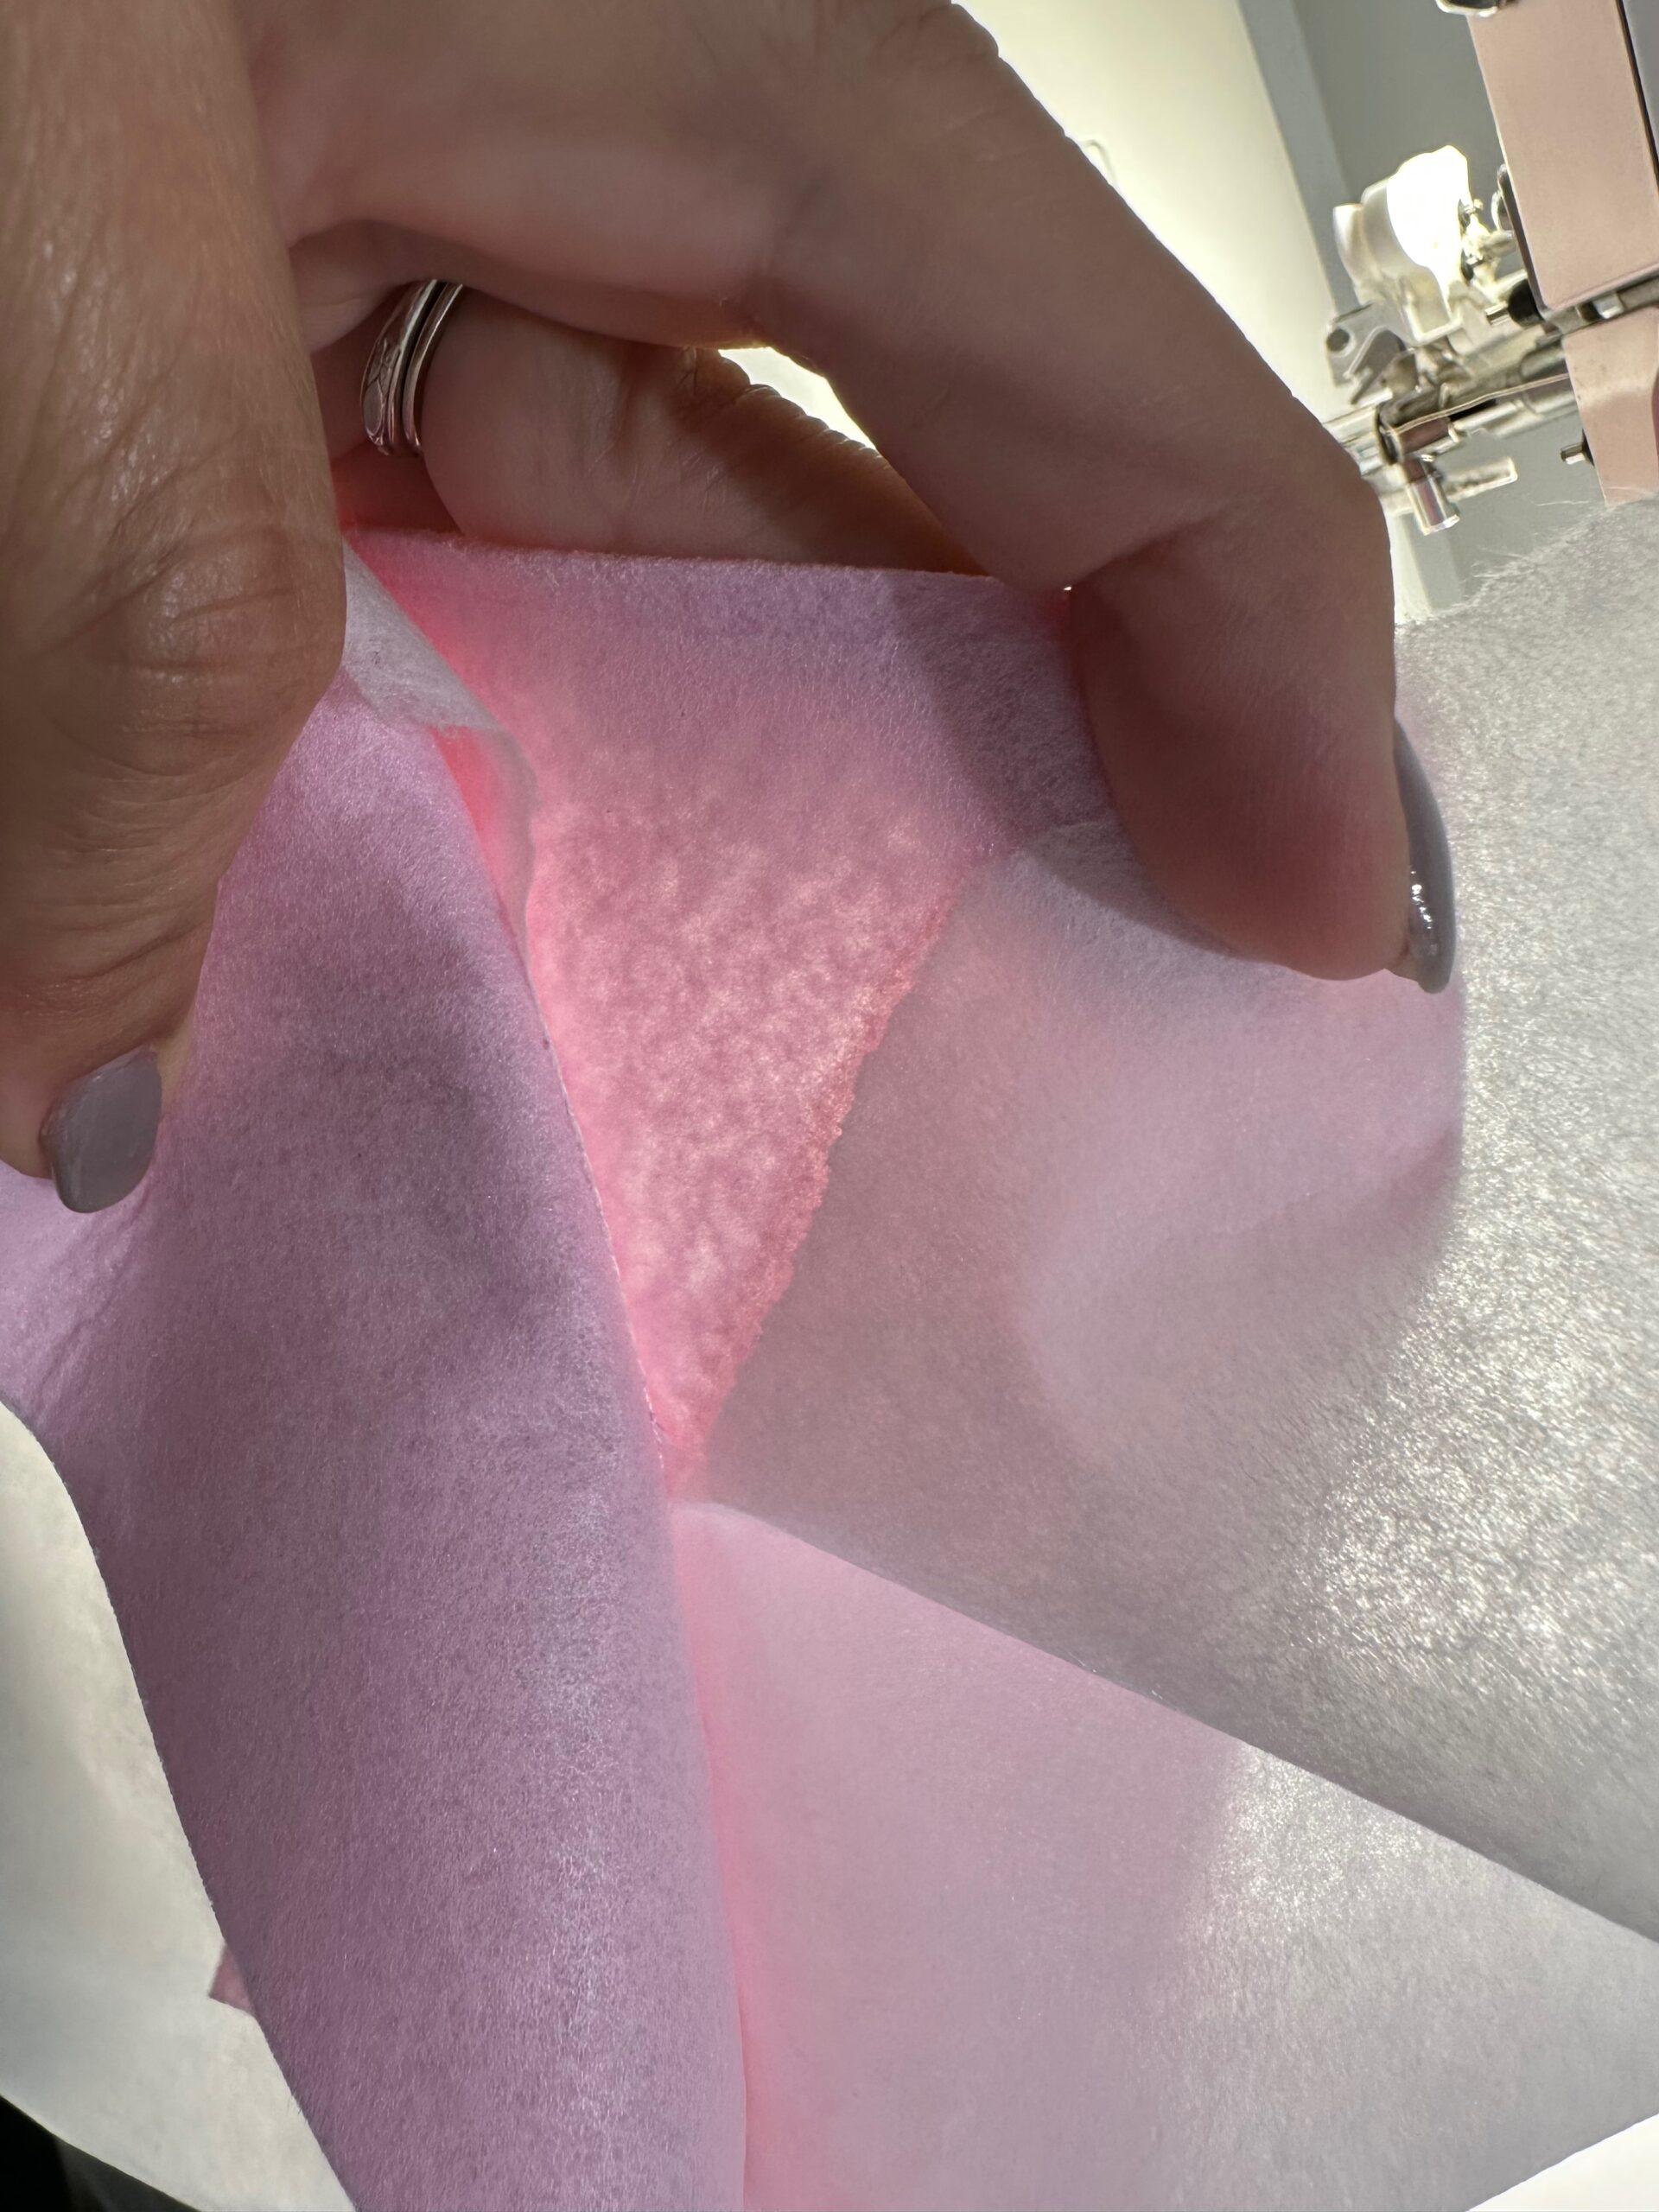
Slow the machine speed as low as possible. Stitch the last color stop, which stitches everything together and secures the upper-edge loop.
When embroidery is complete, remove the embroidery tape. Then, remove the project from the hoop.
Tear away the stabilizer beyond the outer perimeter stitching.
Trim the front and back Ice Cream Pouch upper edge independently, avoiding the hardware loop. Try to trim 1/8” from the stitching line, making each side as even as possible. Then, trim the remainder of the Pouch as one.
Press the finished project from both sides to fuse the Felty pieces to the stabilizer between.
Fill the Pouch with a handful of sweets, a favorite pair of 5”-long scissors, a gift card or cash and gift it to a special someone! Be sure to make another to keep for yourself, too.


Very cute project. Love it, thank you Ellen
I’m glad you enjoy it! Thanks for your comment.