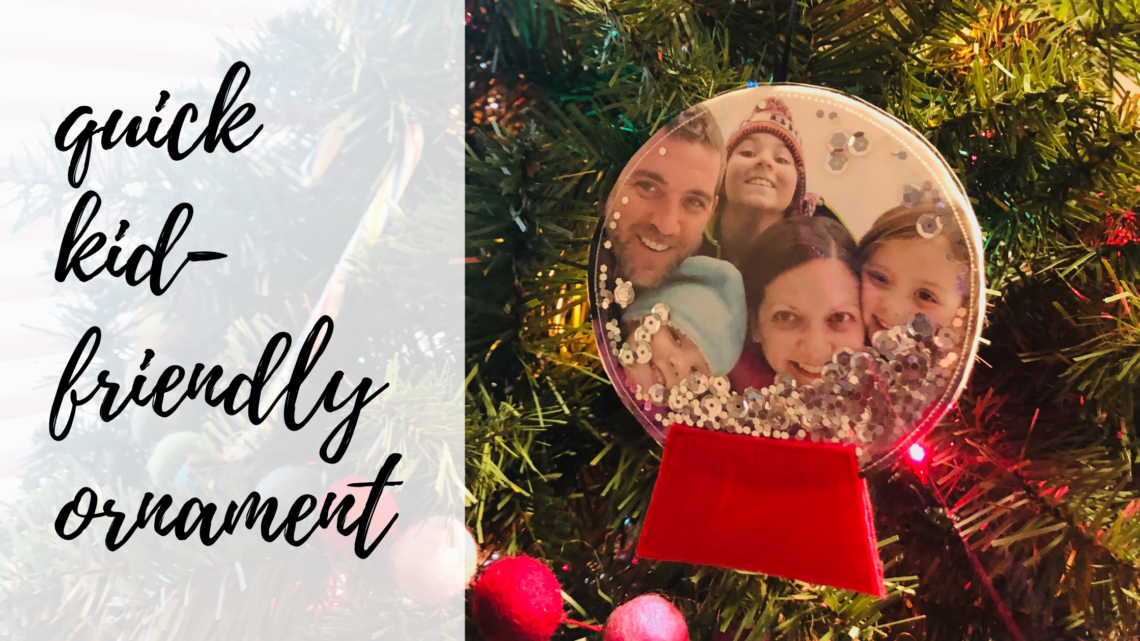
Kid Craft Ornament to Sew in No Time
Kid Craft Ornament – Snow Globe

A kid craft ornament is the perfect snowy day activity for kids that are home from school during winter break. This snow globe kid-craft ornament is a quick and easy project that includes felt and glitter, two of the best kid craft supplies!
I recommend working on this project with your kiddo, teaching them sewing fundamentals along the way. A straight stitch is all that’s needed, with a little finesse required for sewing the curved edges of the snow globe ornament. If working with kids younger than 8 years old, have them pour the glitter and you do the sewing (and they watch). Remember, a little glitter goes a long way, but they will want more, more and MORE!
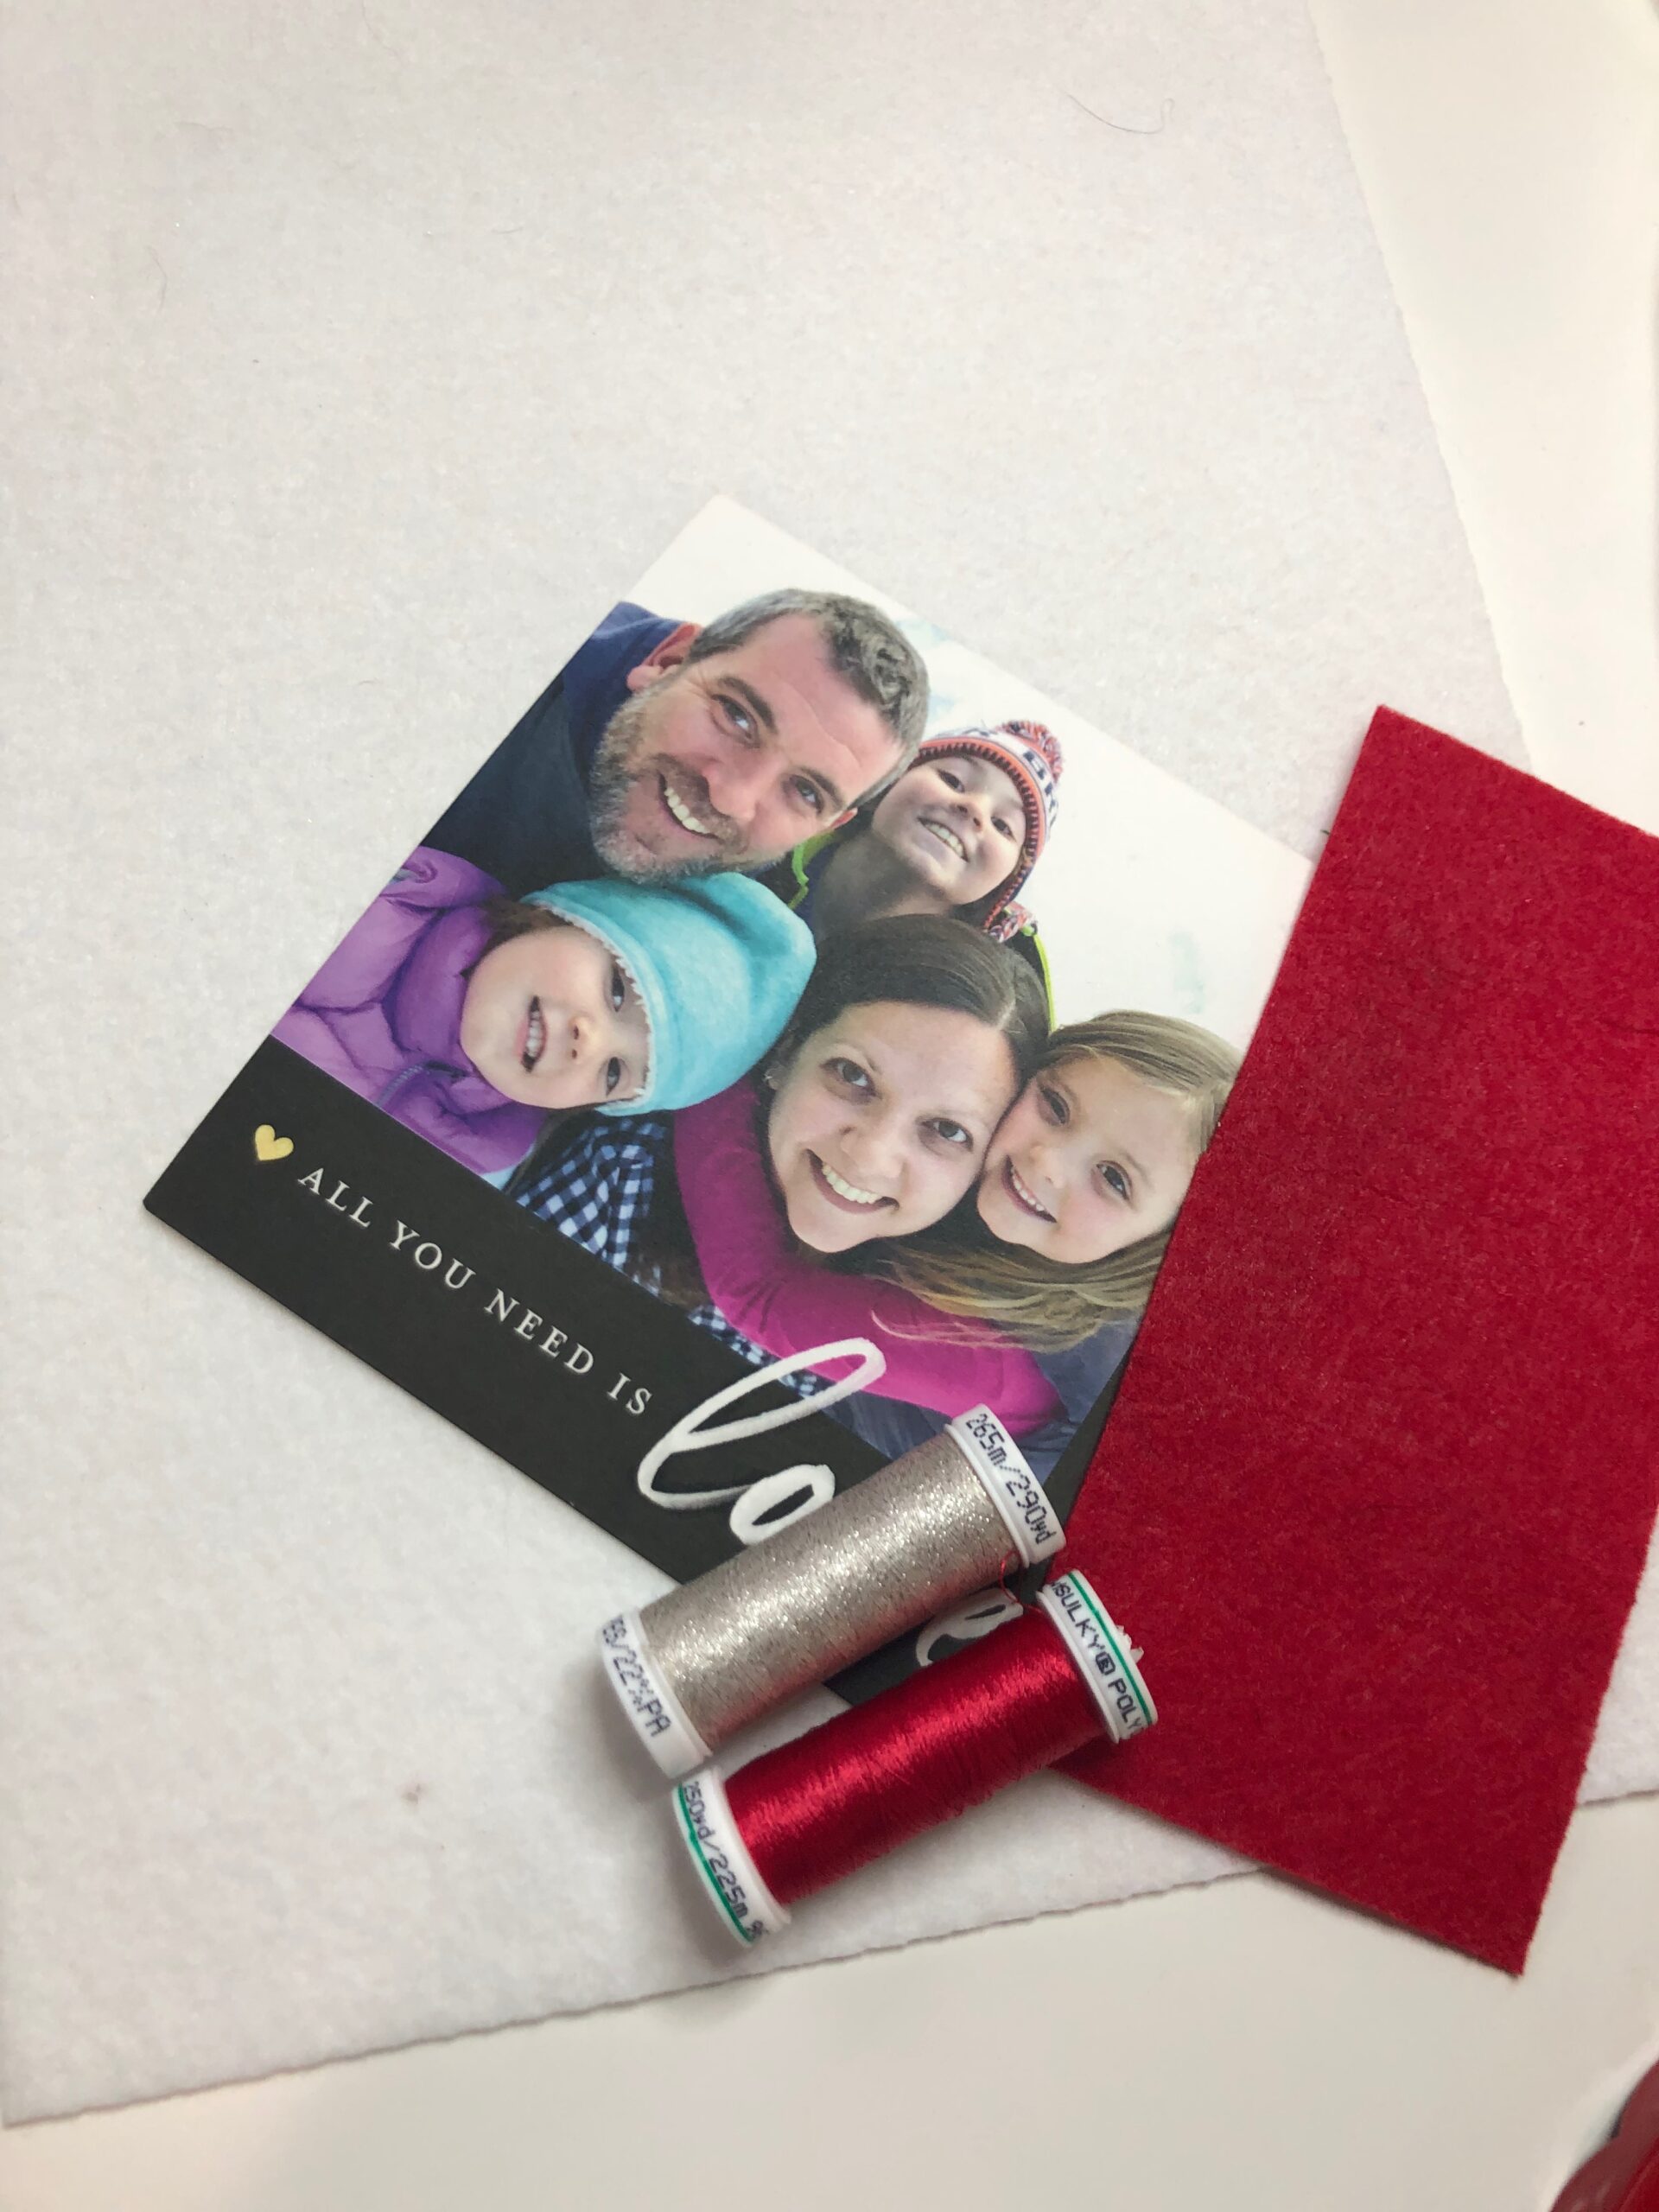
SUPPLIES
- 30 wt. Poly Sparkle™ or 40 wt. Poly Deco™ Thread
- Organ® 90/14 Universal Needle
- Family photo printed on card stock or photo paper (at least 5″ square)
- 5″ square of stiff craft felt
- 5″ square of 16-gauge vinyl
- (2) 1 1/2″ x 3″ rectangles of coordinating craft felt
- Silver or white glitter or sequins (or both!)
- 5″ length of 1/8″-wide ribbon
- Wonder Clips
KID CRAFT ORNAMENT PREP
Begin with the family photo (or photo of your choice). I had a leftover photo card from a previous holiday, which worked great! But you can also use a photo printed onto card stock or photo paper. If your photo is smaller than at least 5″ square, adjust the measurements of the stiff craft felt and vinyl to account for the smaller photo.
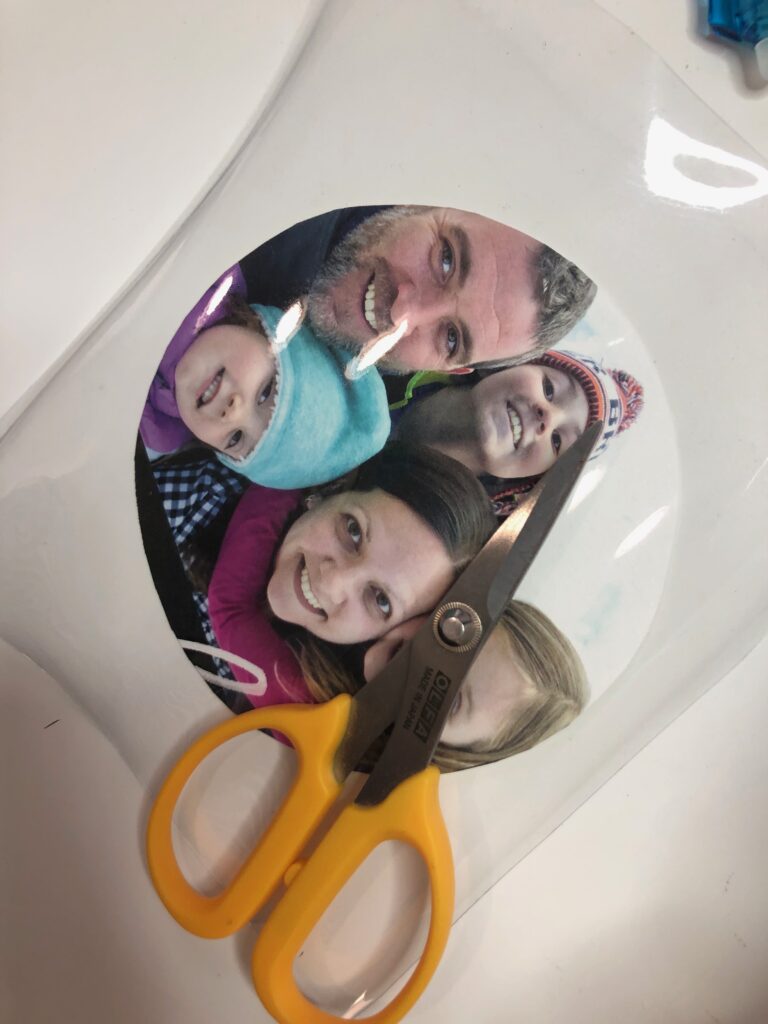
Cut the photo into a 4 1/2″-diameter circle, using a small plate or other circular object to trace and centering the image within the circle. (Again, adjust the size based on the available photo, if applicable). Cut the vinyl and felt into the same sized circle.

Measure 1/4″ from each felt rectangle upper edge; mark. Draw a line from the mark to the lower-edge corner. Cut along the line to taper the rectangle upper edge. These are the ornament bases; set aside.
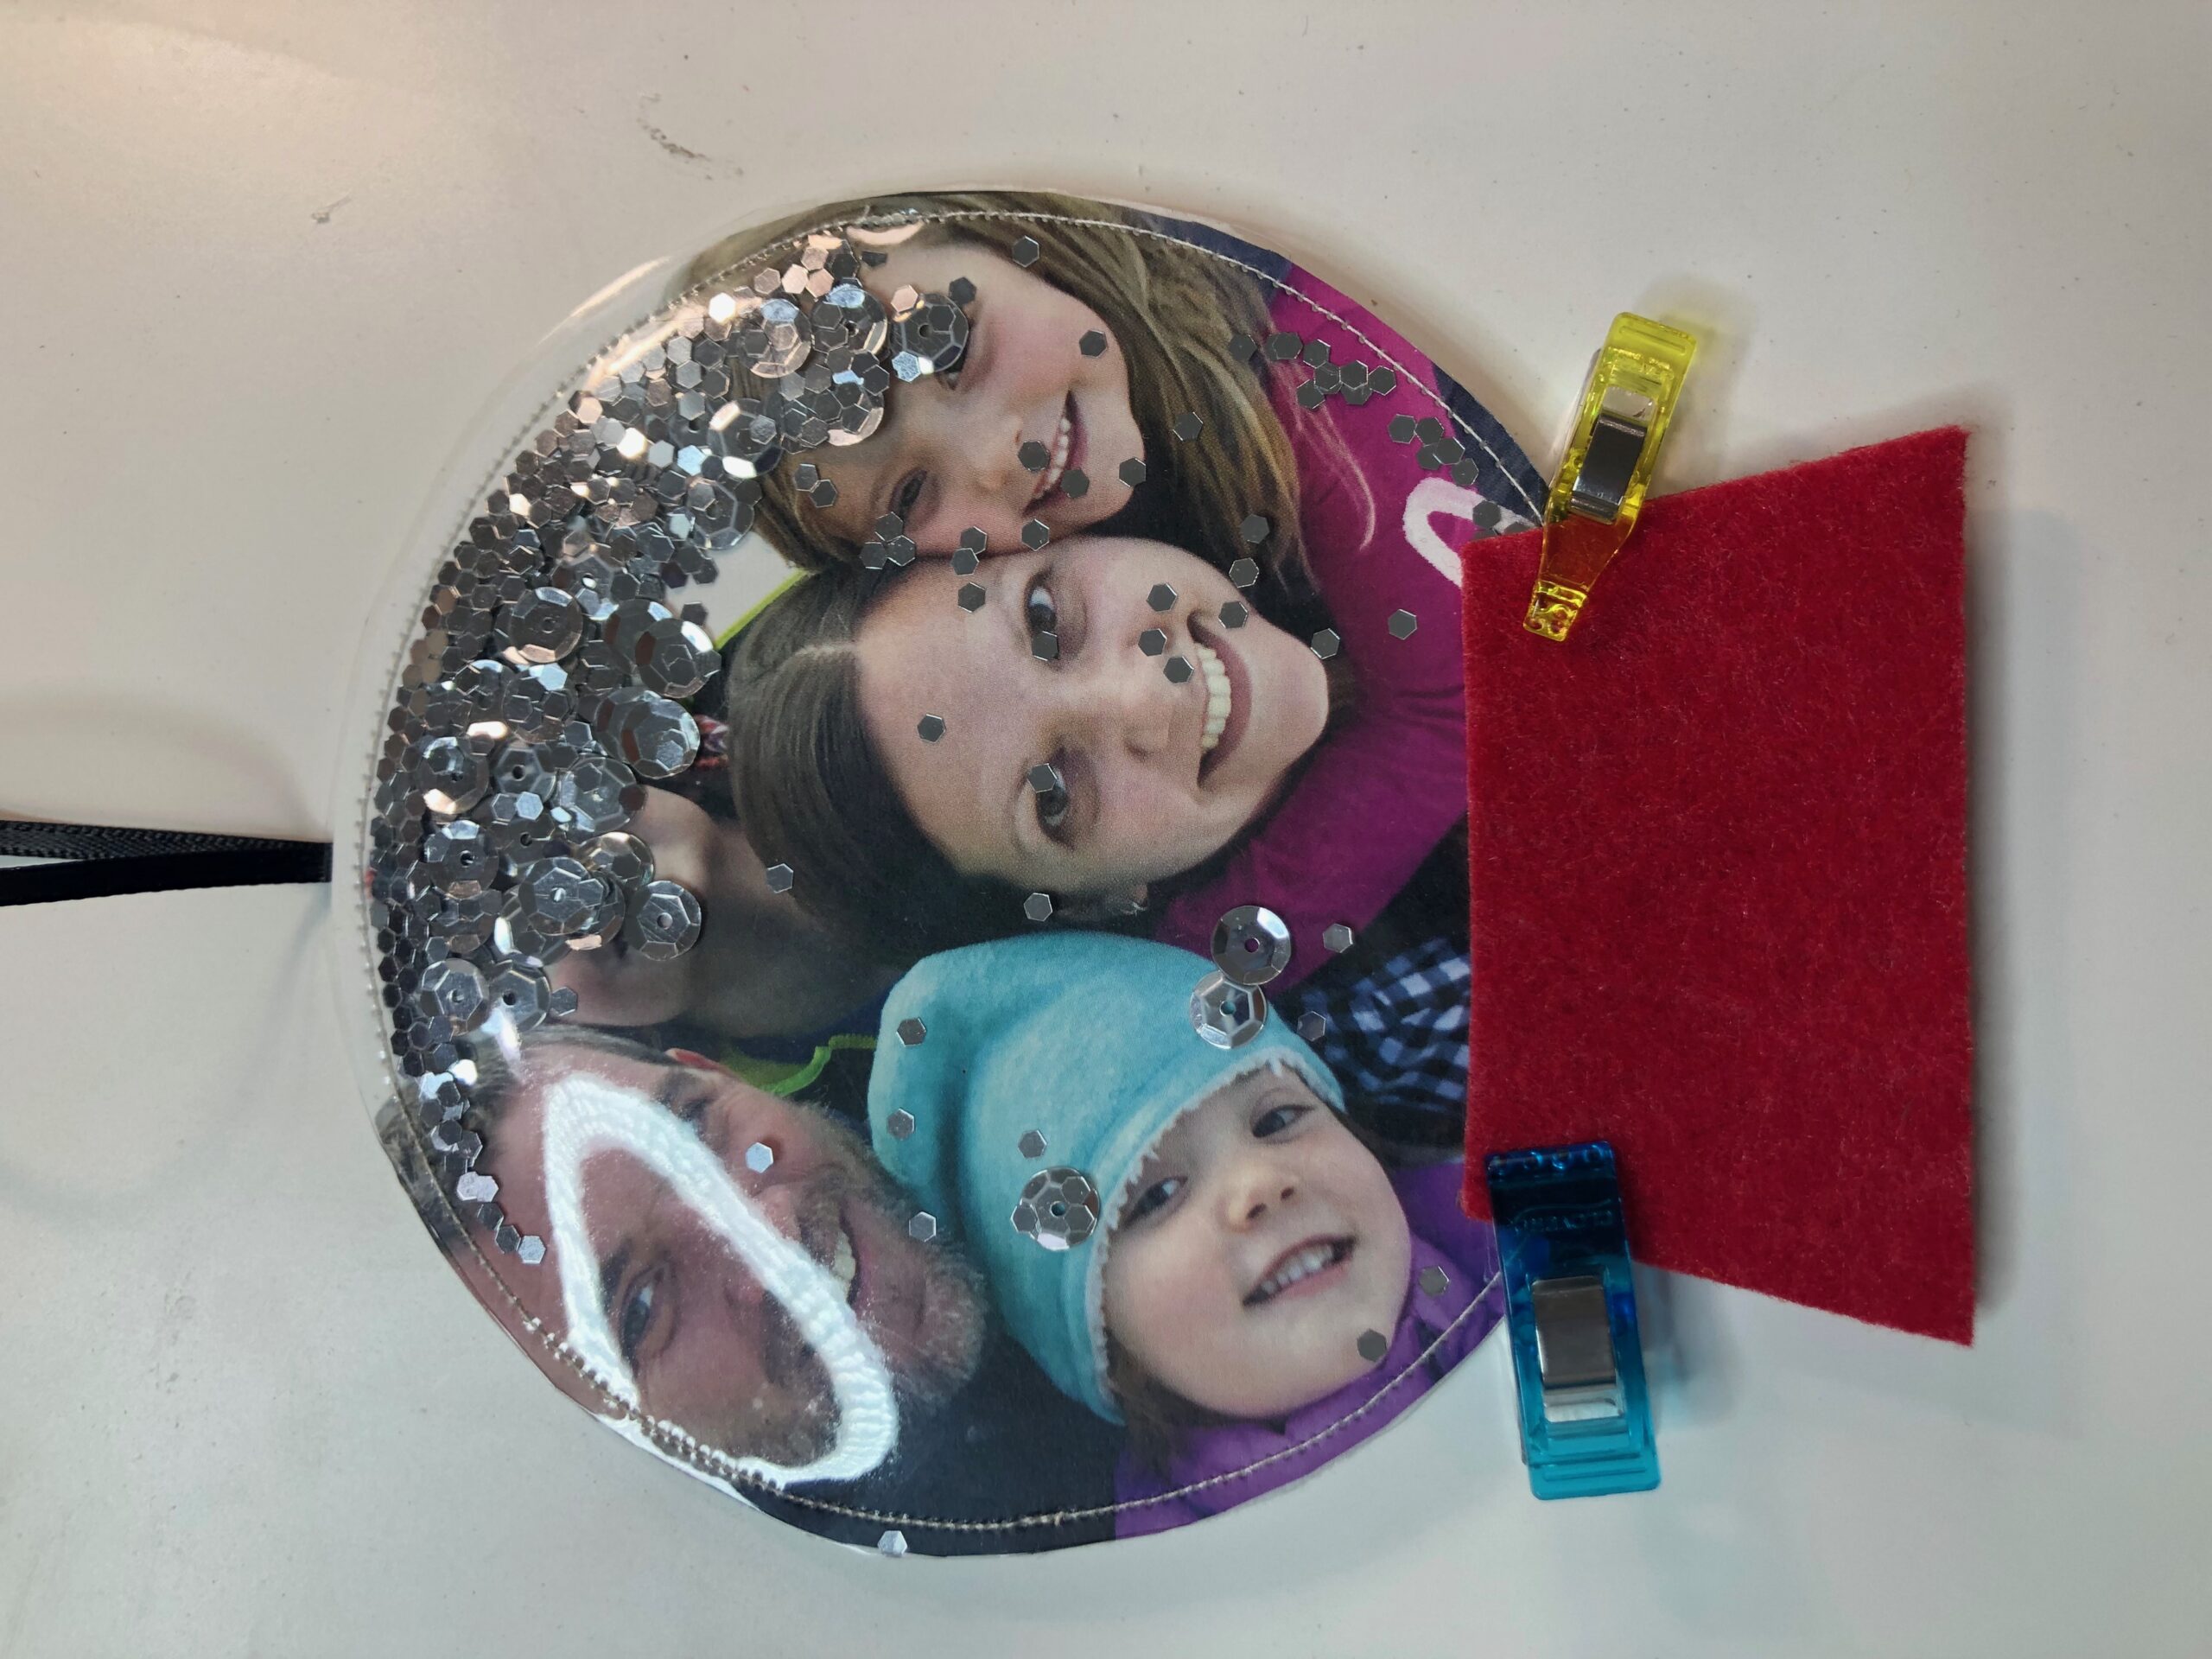
Place the felt circle wrong side up on a flat work surface. Center the photo circle over the felt. Then, center the vinyl circle over the photo. Use Wonder Clips to secure the layers.
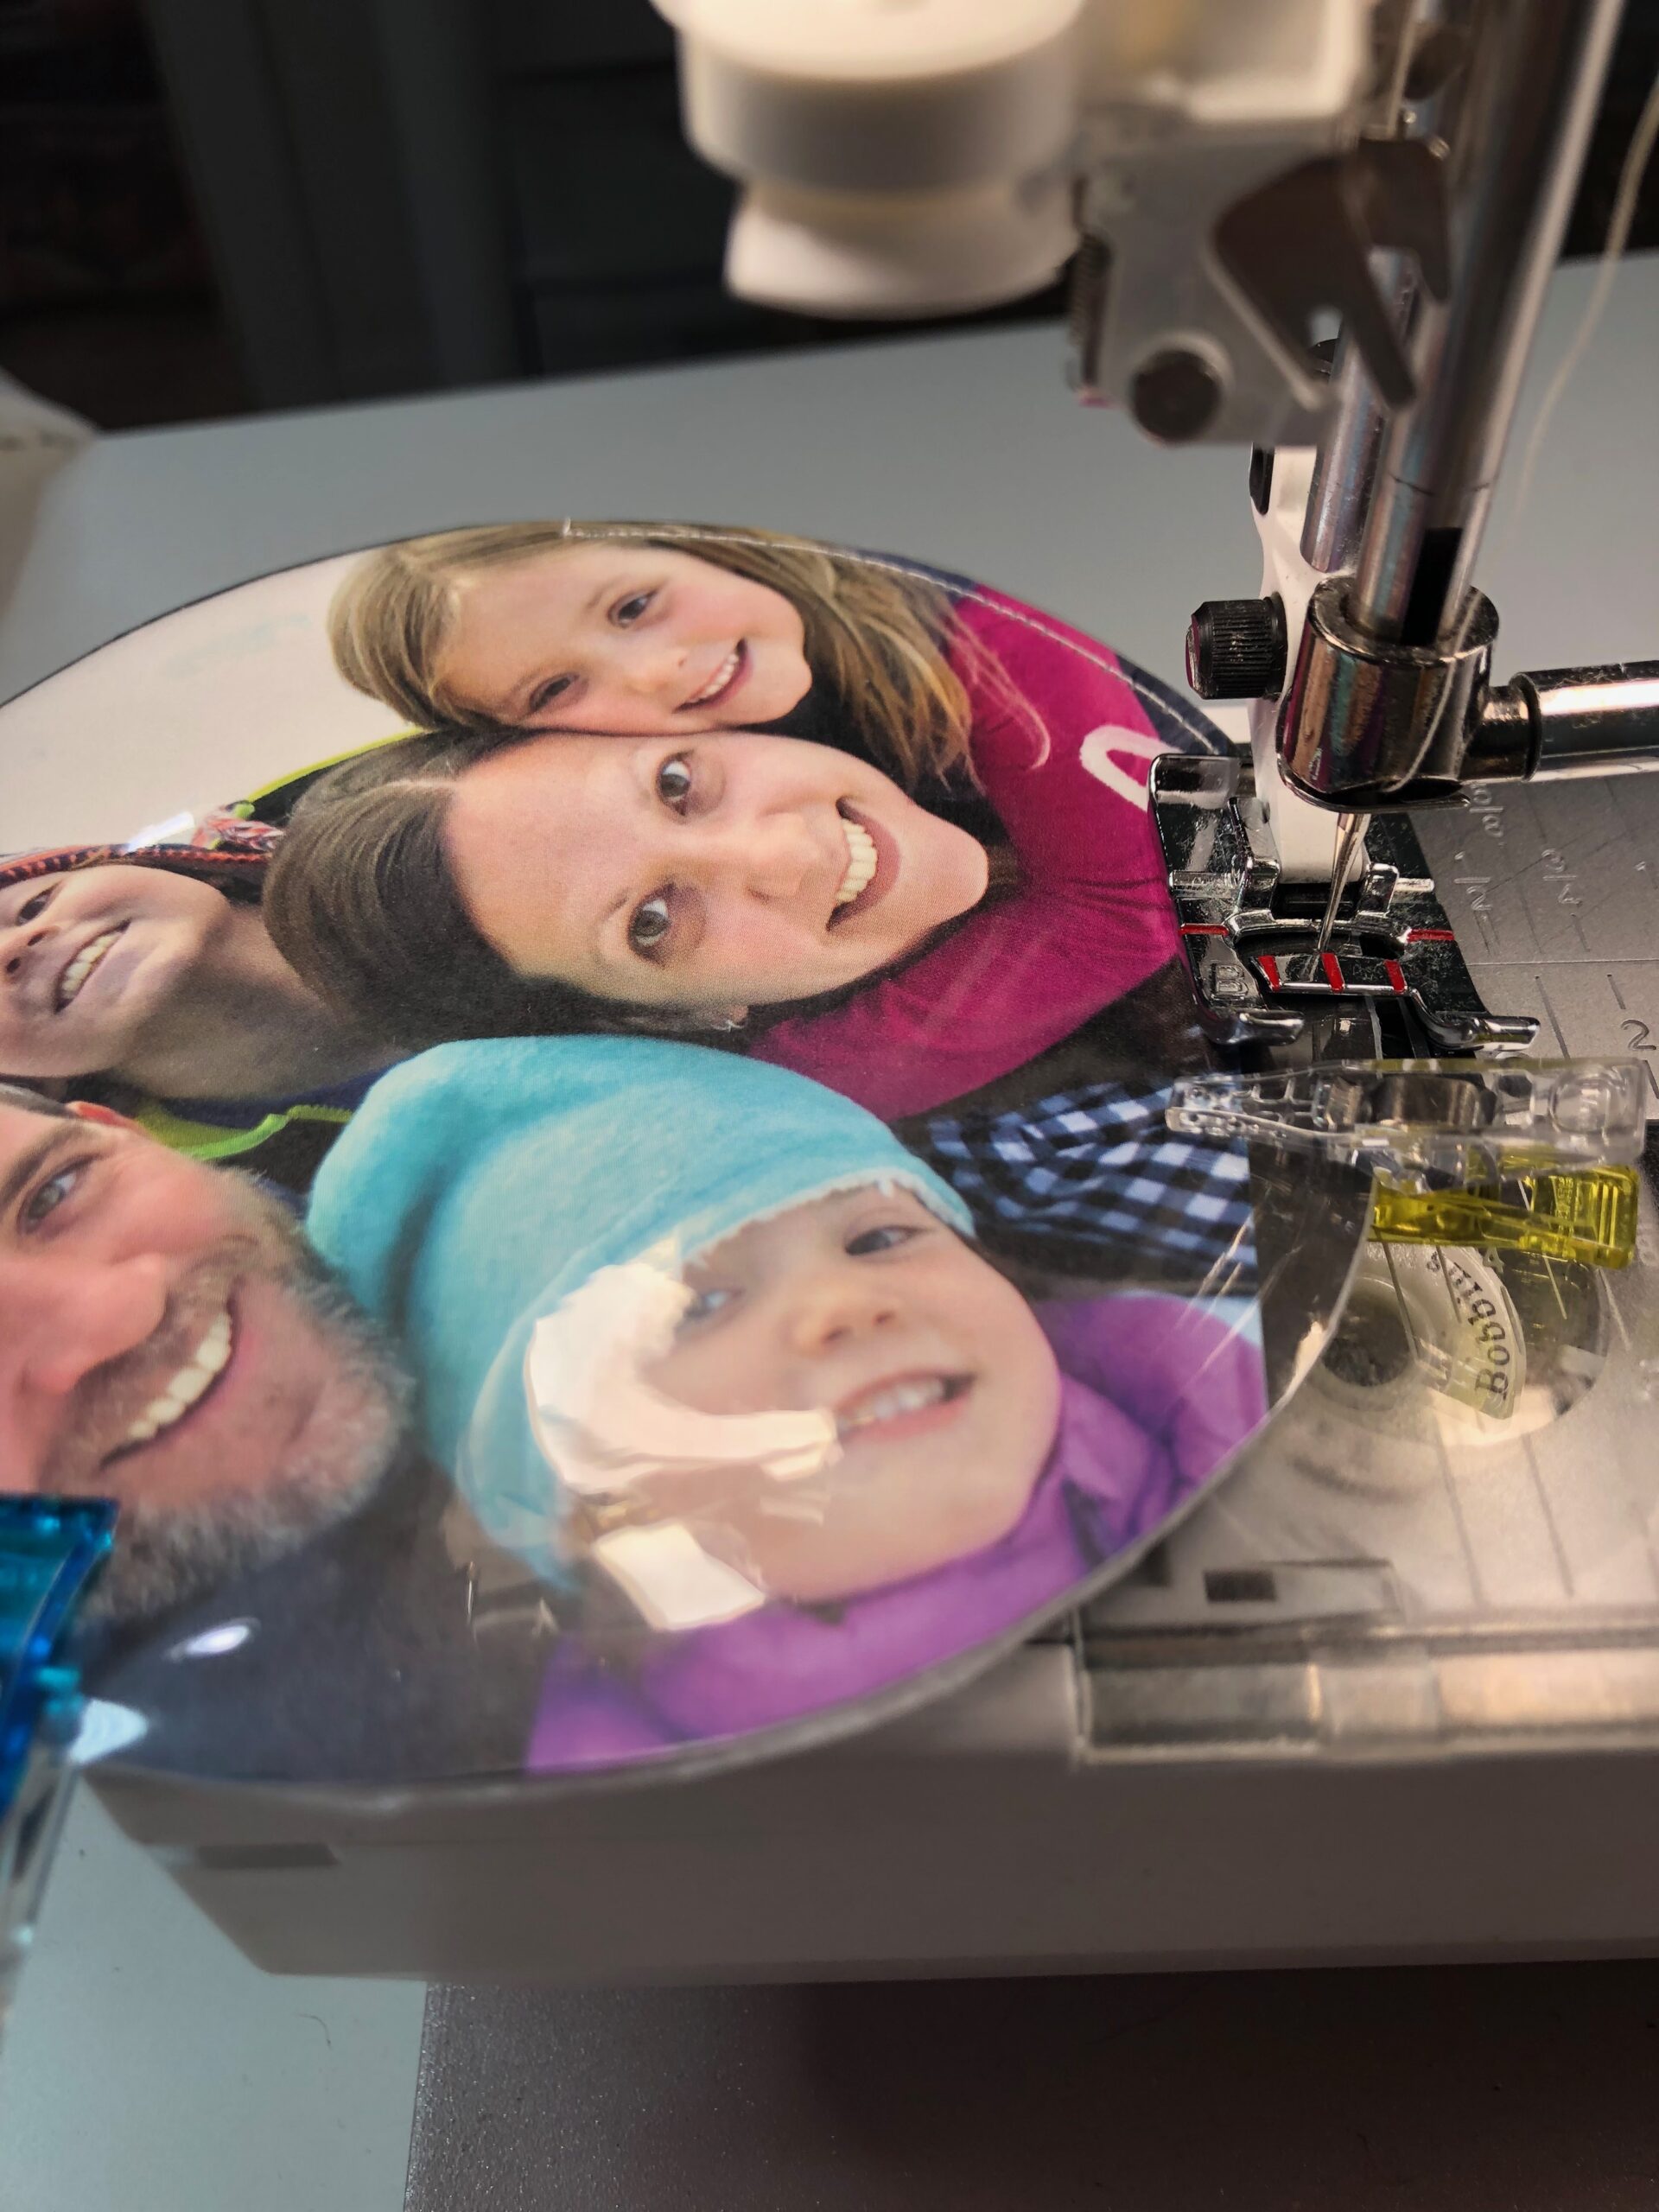
SEWING THE ORNAMENT
Install the size 90/14 Needle and thread it with 30 wt. Poly Sparkle or 40 wt. Poly Deco Thread. Wind the bobbin with the same thread.
TIP: Use 30 wt. Blendables™ to add more color to the ornament.
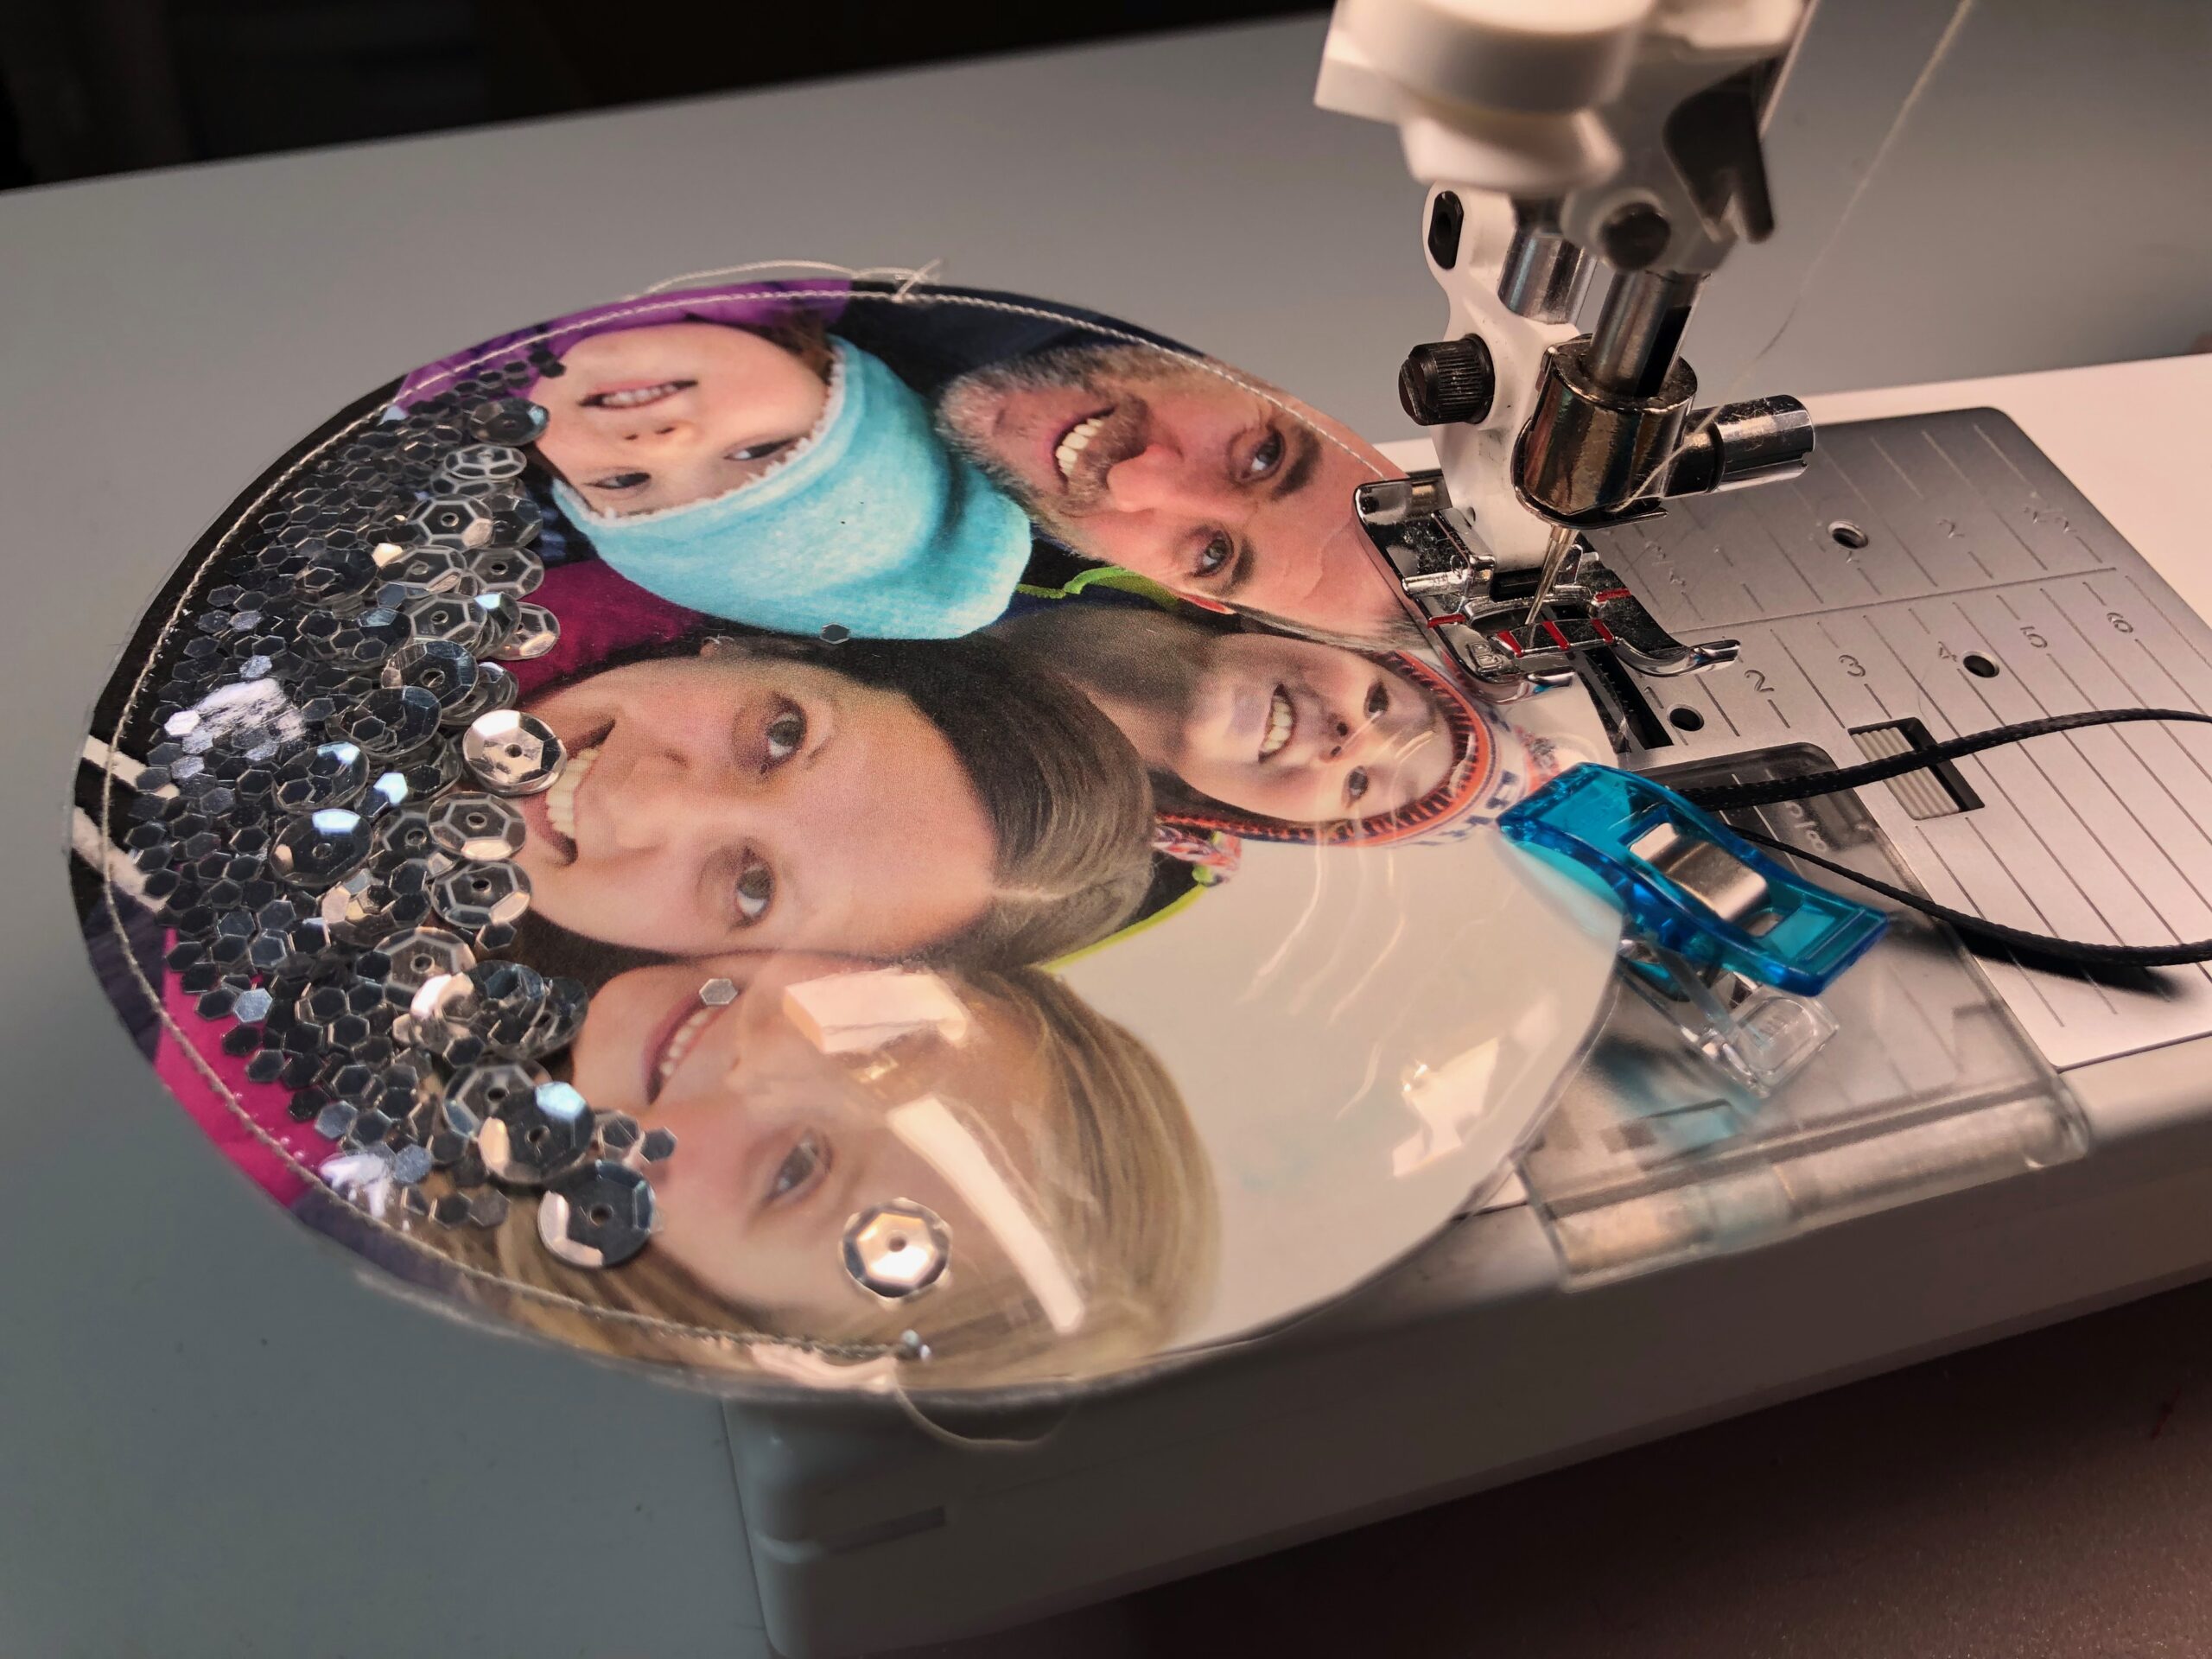
Stitch the circle perimeter, stopping and starting 2″ from either side of the upper-edge center.
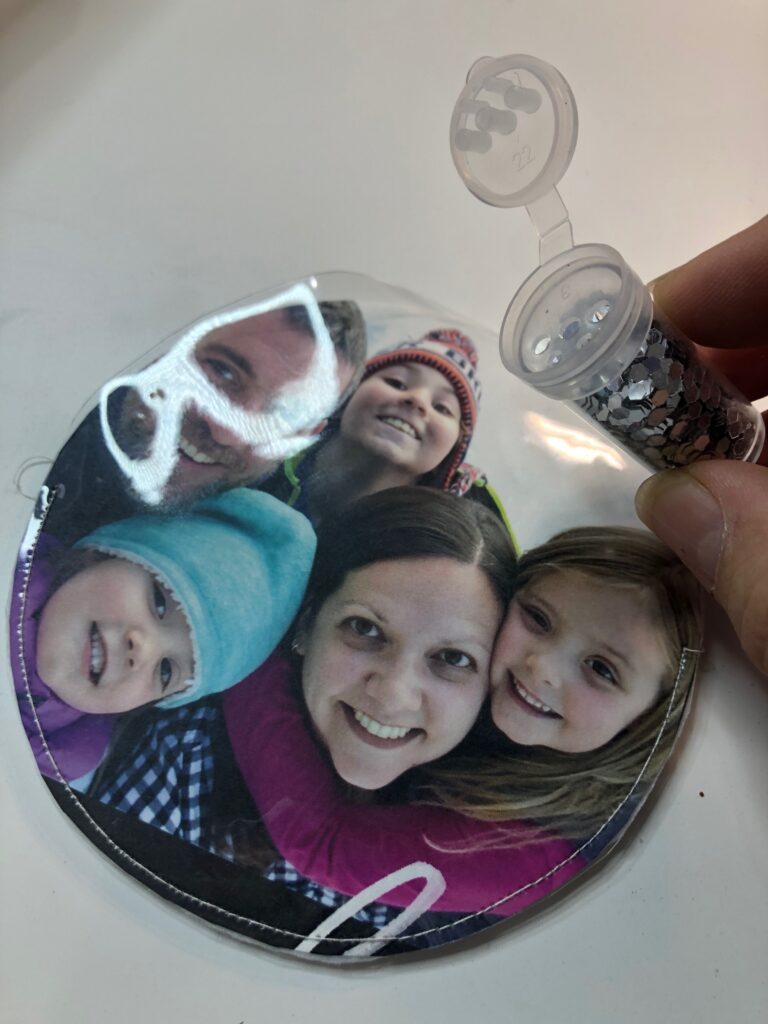
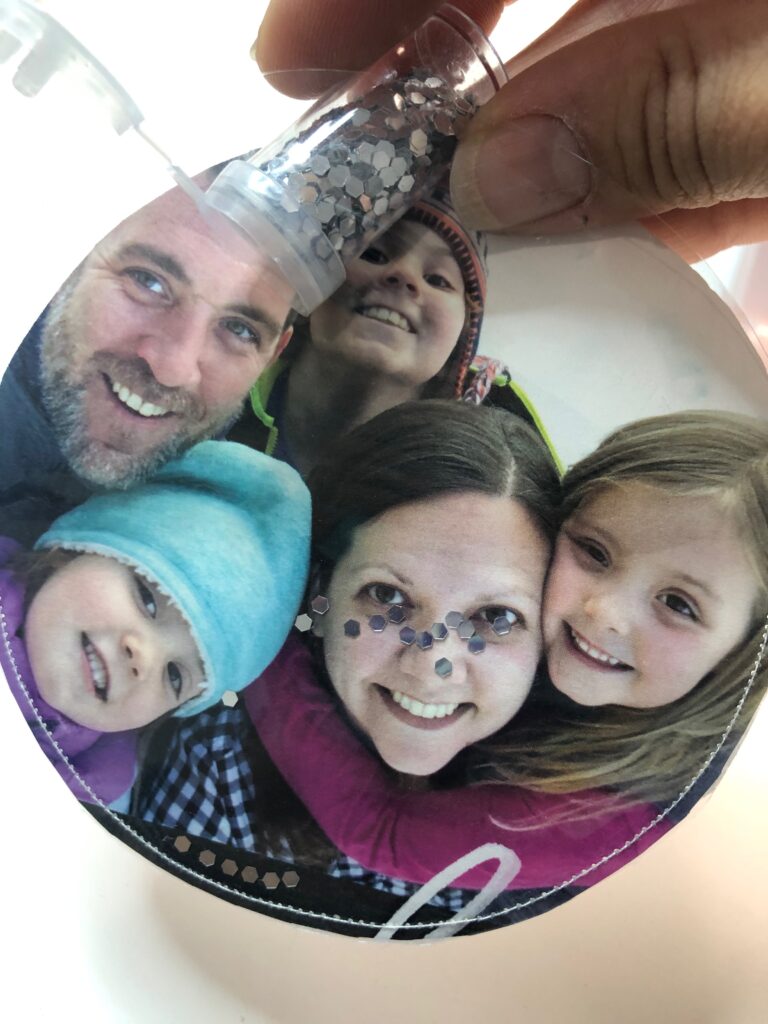
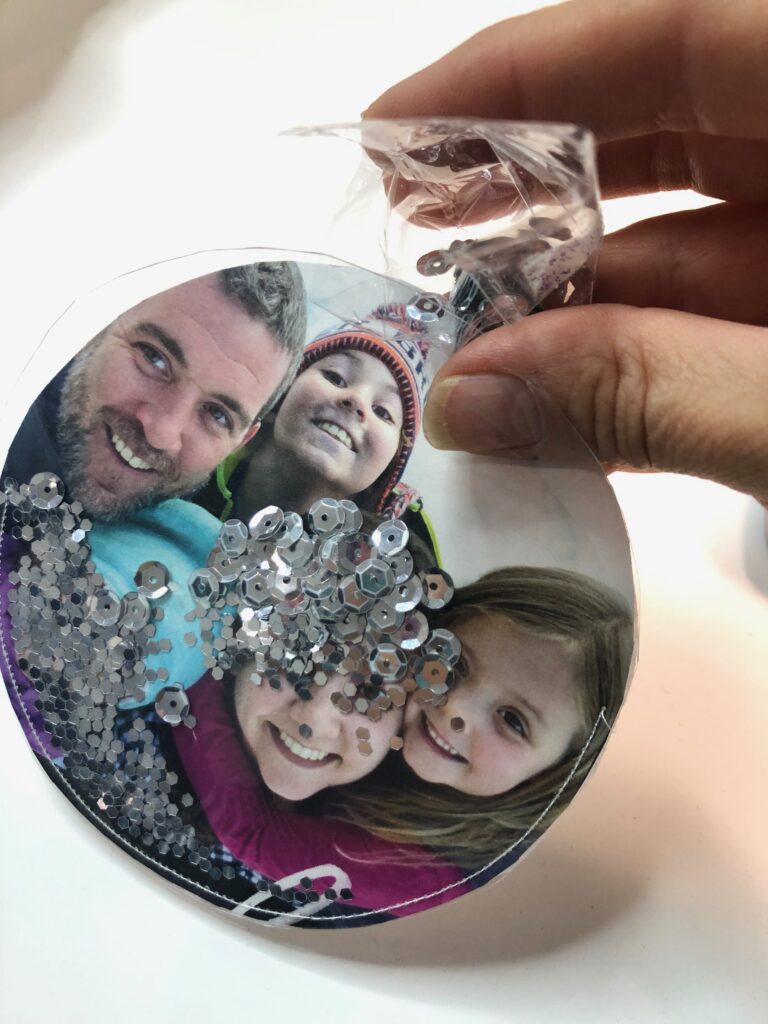
Pour some sequins and/or glitter between the vinyl and photo, through the opening in the stitching.
Fold the ribbon in half. Place the two ends between the felt and photo back; use Wonder Clips to secure. Make sure the ribbon loop extends beyond the ornament upper edge.

Stitch the remaining circle to secure the glitter/sequins and ribbon ends, stopping and starting at the previous stitching end and beginning.
Sandwich the stitched circle between the ornament bases, with the long lower edge extending about 1″ beyond the circle lower-edge center. Use Wonder Clips to secure. Make sure to shake the ornament to move the sequins/glitter away from the ornament base for now.
Stitch the ornament bases together along the perimeter, securing the circle between the felt.

TIP: Add hand embroidery motifs or an embroidered last name or phrase to one ornament-base before layering and stitching to personalize the ornament.
Hang the ornament on the tree or use it as a gift tag on a special gift.

Ellen March
I am the Director of Content for Sulky of America. The former Editor in Chief of Sew News and Creative Machine Embroidery magazines, I hosted Sew it All TV on PBS for nine seasons. I've appeared on It's Sew Easy on PBS, DIY Network's Uncommon Threads, Hallmark's Marie Osmond Show, MacPhee Workshop and more! Come sew with me!


3 Comments
Joan Shriver
You have a beautiful family!
Ellen March
Thank you Joan!
Karen L
What a great gift this would make. It’s definitely a one-of-a-kind gift to a family. I will be saving this idea for next year. Thanks for the tutorial!