How to Embroider Fleece
Embroider Fleece
How to embroider fleece is one of the most asked questions. Here we explain the techniques so the fleece you embroider looks great every time.
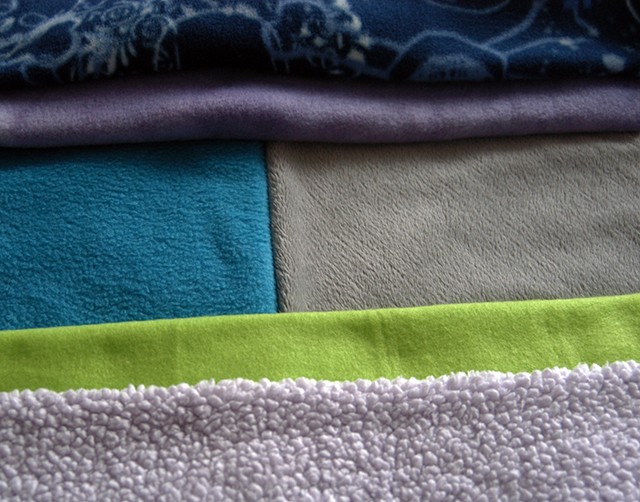
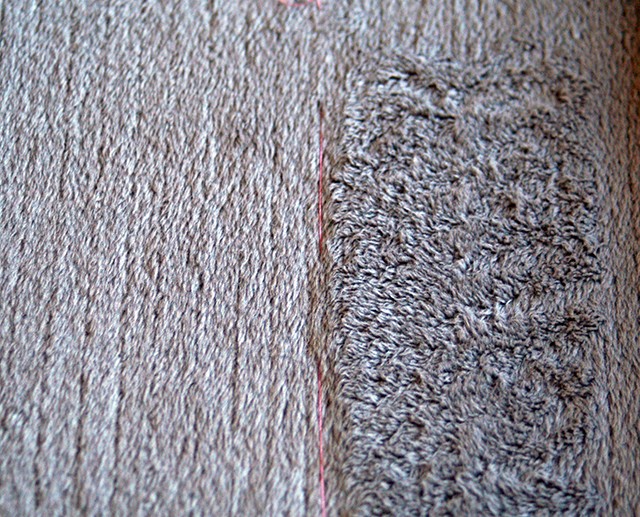
The term “fleece” truly means “the coat of sheep or other long-haired animals”. However, much like the trade name “Xerox” is interchangeably associated with “copying a document”, “fleece” is now associated with several types of synthetic fabrics, all characterized by a some-what stretchable, soft, comfy, napped fabric.
Fleece is available in a wide range of colors, to include many prints and comes in several weights, textures and price points. More expensive fabrics will usually display a thicker, deeper nap and will not “pill” (form little balls) after many washings.
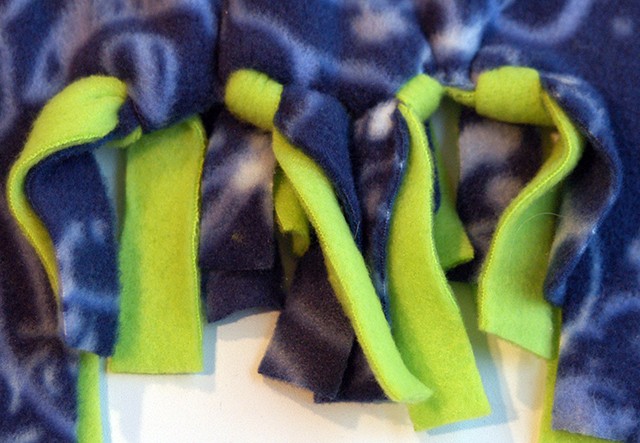
Fleece is an extremely easy fabric to work with and is often a favorite for those just learning how to sew. Cut edges do not fray, translating into “raw edges” are acceptable! Not only are no seam finishes required, but fringe works as a finished edge!!
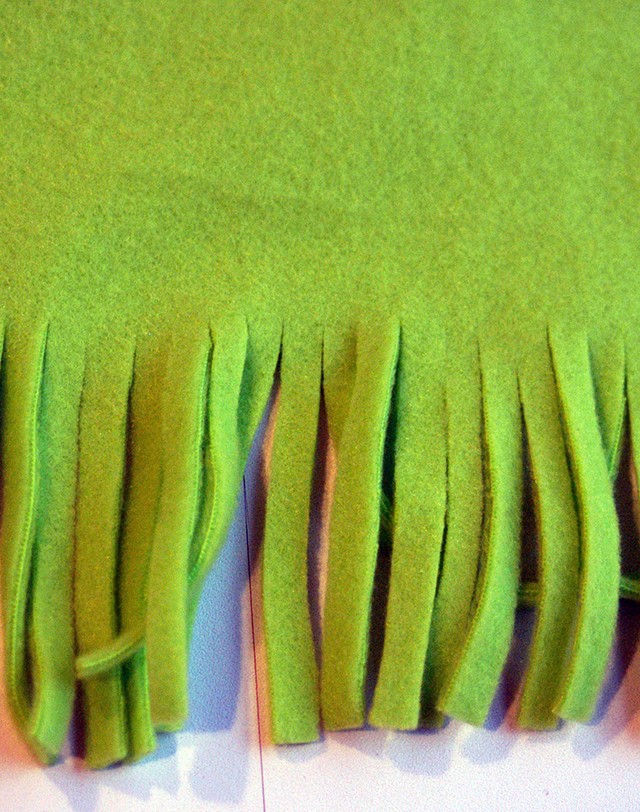
Tying two layers of fringe-edged fleece makes an easy finish to a blanket.
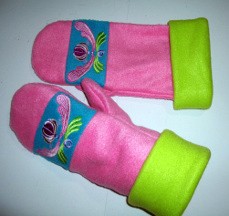
Fleece affords a bit of stretch and therefore can be used for items such as hats and mittens.
 Designs by Graceful Embroidery: Rosemaling Collection- Set 1
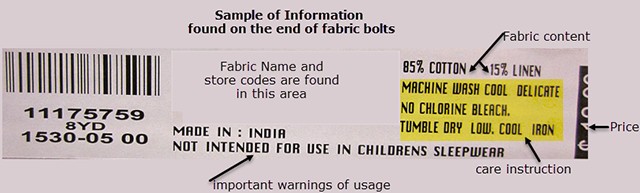
However, fleece is also perfect for blankets, home-dec projects and many fashion garments and accessories. Since washing instructions can vary within the fleece family, make sure to check the bolt end to ensure proper care for the purchased fleece.
Technically, fleece is a knit fabric and should be treated as such during the machine embroidery process:
- Never secure fleece fabric directly in the frame of a hoop.
- Use a top stabilizer to ensure that the embroidered design does not “sink” into the soft, thick nap.
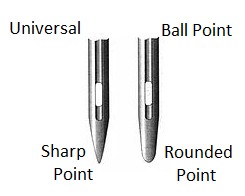
- Stitch/embroider with a ball point needle which is slightly rounded at the point and designed to slide in between the knitted backing.
Appliqué or filled designs are usually the best choices for fleece. However, never one to discourage “trying something new”, you can experiment with a line design by incorporating a heavier thread such as Sulky® 30 wt Cotton Thread or include Sulky® Holoshimmer™ Metallic Thread as an accent within a design for a bit of sparkle. You never know, unless you are willing to experiment!
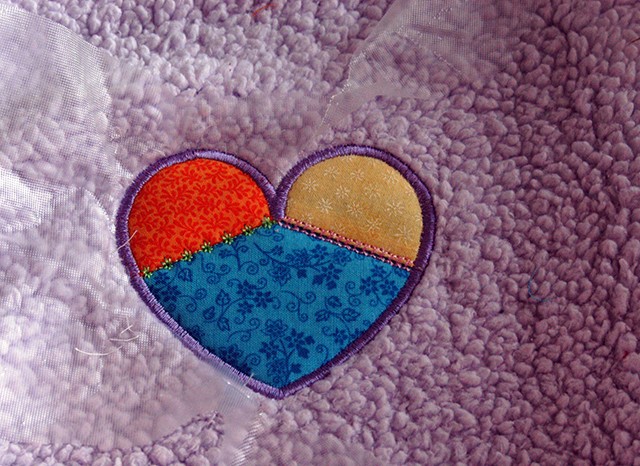
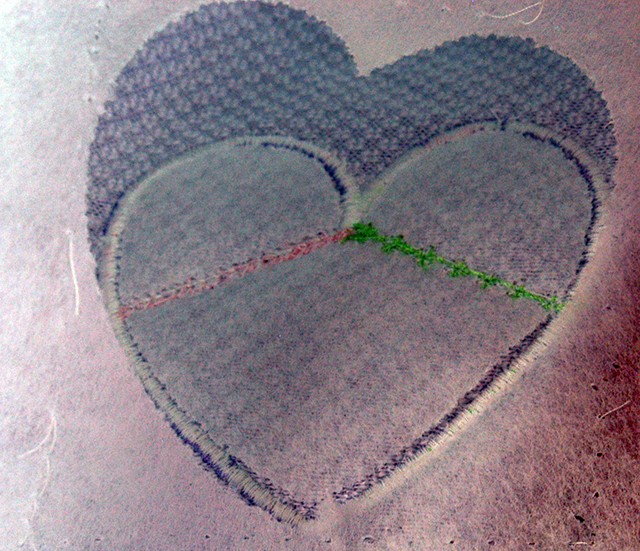
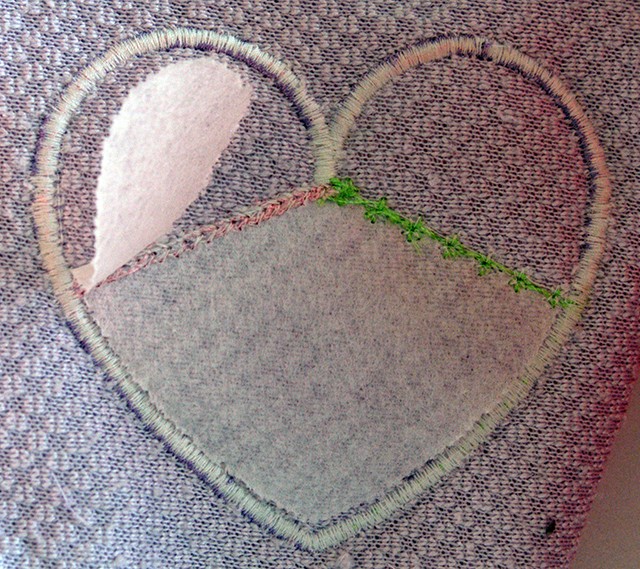
An original heart appliqué was stitched on a very “nubby” fleece surface. Since most of the stitching is done directly on cotton, a 90/14 Topstitch Needle was used.
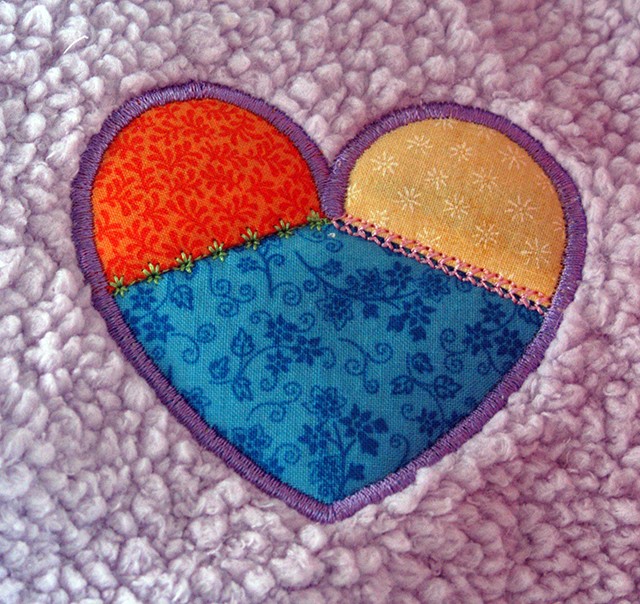
Sulky® Tear-Easy™ was securely hooped in a 120mm square hoop. Next, the back of the fleece was lightly sprayed with Sulky KK 2000™ Temporary Spray Adhesive and pressed firmly in place. A piece of Sulky® Solvy™ was cut larger than the embroidery design, lightly sprayed with KK 2000™ Temporary Adhesive and pressed on top of the fleece. A machine basted box, a feature found on many embroidery machines, was then stitched around the design area.
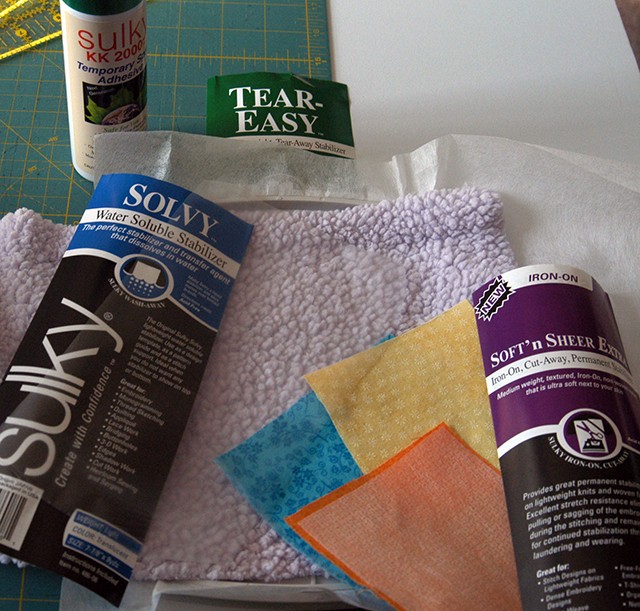
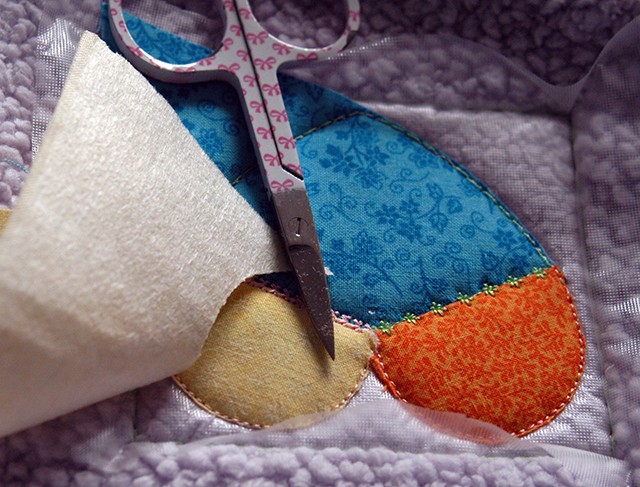
Then all cotton appliqué pieces were reinforced by fusing Sulky® Soft ’n Sheer Extra™ to the back side of each scrap prior to using. As the design stitched out, and appliqué pieces needed to be trimmed, the top stabilizer provided a barrier protecting the dense nap of the fleece, foundation fabric, from accidentally being cut.
Once the embroidery was complete, the basting box is released from the wrong side of the design.
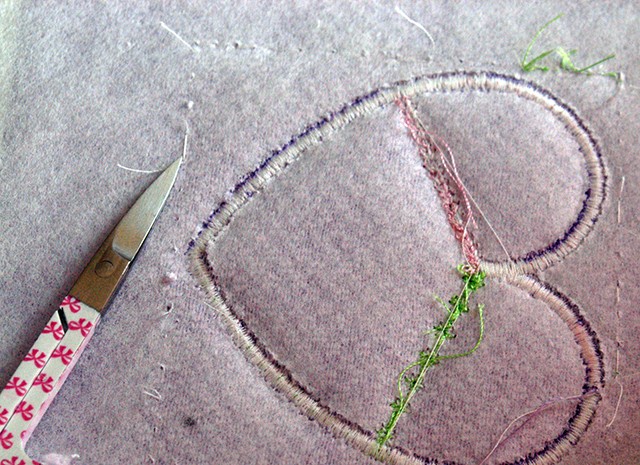
Solvy™ is gently, but easily torn from the design.
Follow suit with the Tear-Easy™.
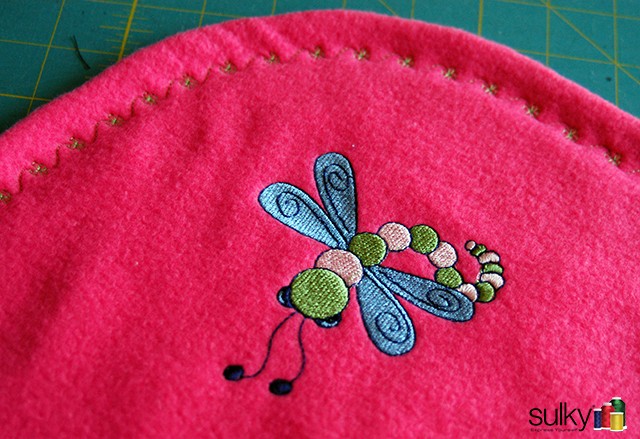
A “fill” design, #292 Dragonfly, was stitched on a large piece of polar fleece to make a baby blanket to donate to Project Linus . This fill design was hooped and stitched using all the same supplies/steps as above, with the exception that an 80/12 Ball Point Embroidery needle was used. Both designs are stitched in Sulky®- 40 wt. Rayon thread.
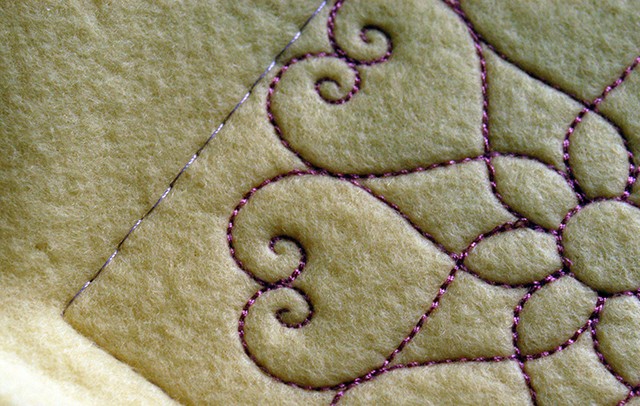
When stitching a line design, use Sulky® Soft ’n Sheer™ (the regular, non-iron-on version), knowing that a permanent stabilizer would help preserve the integrity of the design over many washings. Since this stabilizer is so soft and flexible, it will not restrict any “comfy qualities” of the fleece fabric.
After securing Soft ’n Sheer™ in a 120mm hoop, the back of the fleece was lightly sprayed with KK 2000™ Temporary Adhesive and pressed in place. Fleece is a knit and can stretch, so a basting box around the design was stitched to further stabilize this foundation fabric, a MUST before you embroider fleece.
No top stabilizer was used. I wanted the stitches to sink into the nap a bit in hopes of achieving a “hand-embroidered” effect.
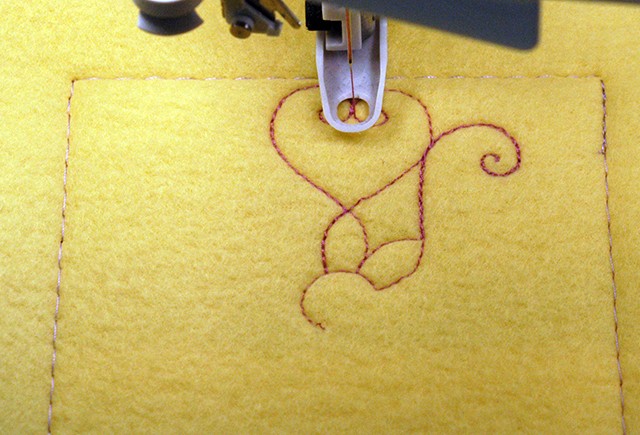
The the lines in this design were paramount, so Sulky® 30 wt. Cotton thread, (about 1/3 heavier than 40 wt. rayon), was used. I slowed the machine down to half speed, and inserted a 90/14 Topstitch Needle (going against my own previous advice of using a Ball Point needle) to avoid thread breakage with the heavier thread. hortly into the design, I noticed a few “loops” were being thrown.
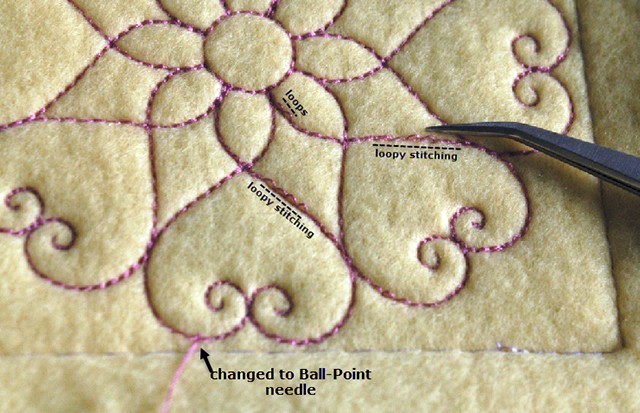
I changed out to an 80/12 ballpoint Embroidery needle, which was the largest I had on hand – and why I used the topstitch needle in the first place! And slowed the machine down to its slowest speed reducing friction. End result? The design stitched out with no thread breakage and no more loops thrown! (Note: Sulky recommends a 90/14 Top Stitch Needle with the 30 wt. thread, but by slowing down the machine, my machine accepted the alternative needle.)
The basting box is removed by snipping stitches on the wrong side
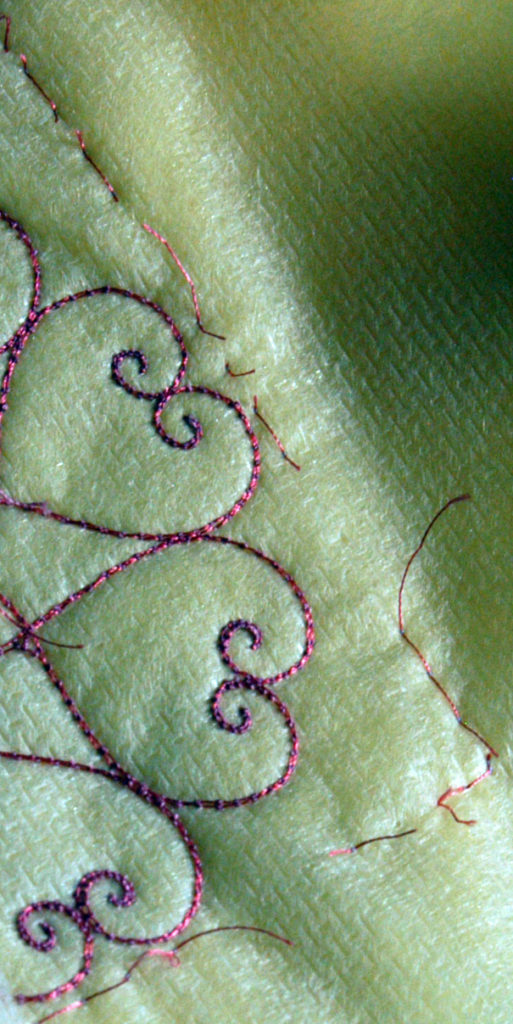
Soft ’n Sheer™ is trimmed just outside of the large design area.
More Fleece Embroidery
“Minky®”, although often considered part of the fleece family, possesses its own personal characteristics including:
A definite right and wrong side.
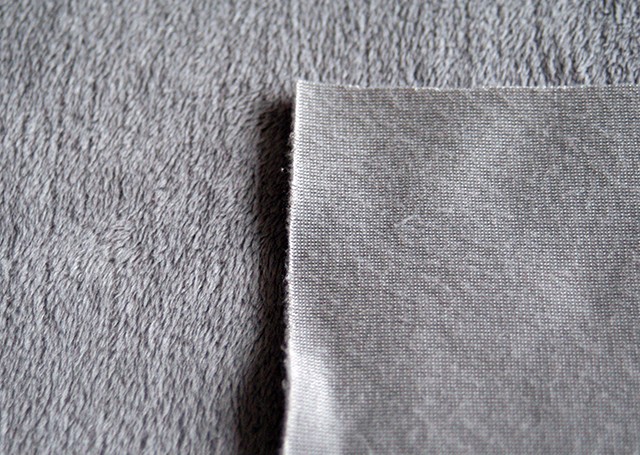
A definitive smooth/rough feel to the surface.
A specific set of care instructions to preserve the soft, velvety feel. It is a bit of a stitching challenge since it is thinner and features more of a “silky/slippery” texture
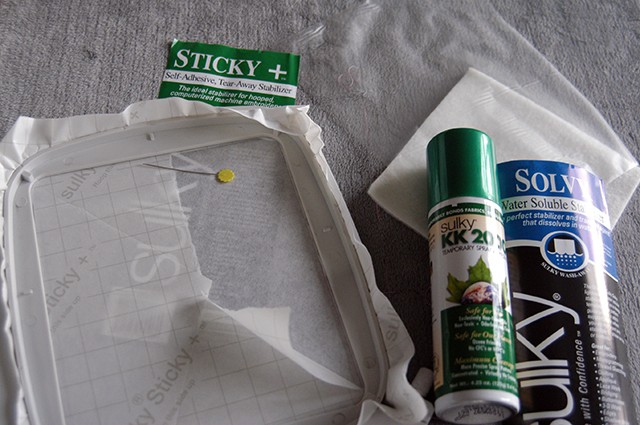
Sulky® Sticky +™ is the perfect stabilizer to firmly secure this “slinky-fleece”, although Sulky® Tear-Easy™ or Soft ’n Sheer™ are also viable choices, just as Sticky +™ is a viable choice for the above-mentioned samples.
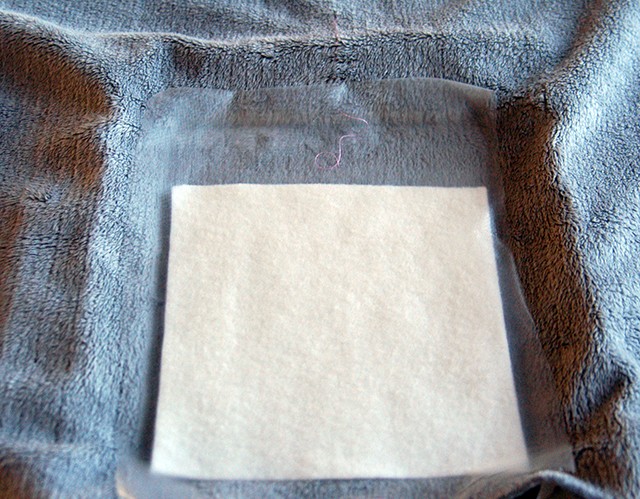
Sulky® Sticky +™ was securely hooped in a 120mm frame to accommodate stitching design -#695- Ewe’s Fluffy . Paper was left intact during the hooping process, and then gently scored and released, exposing a tacky surface within the hoop’s frame.
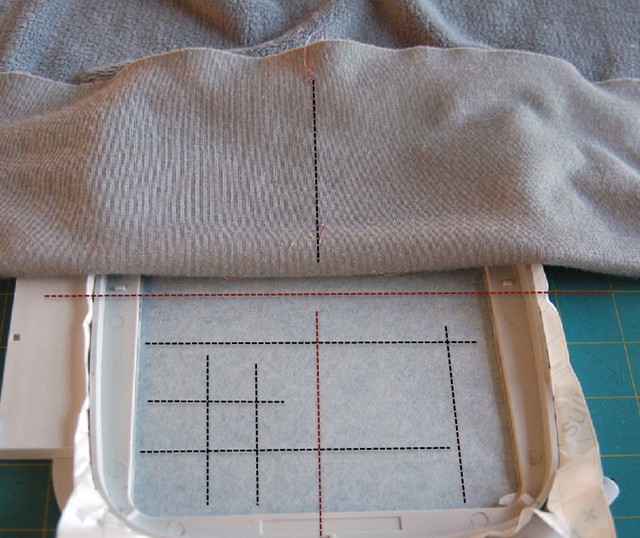
Minky Fleece was pressed firmly to the exposed tacky surface of the secured stabilizer, matching design center with hoop center by incorporating the aid of grid lines which are visible through the stabilizer.
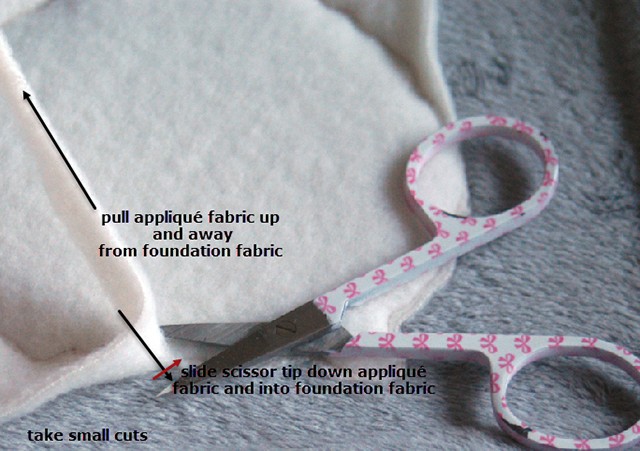
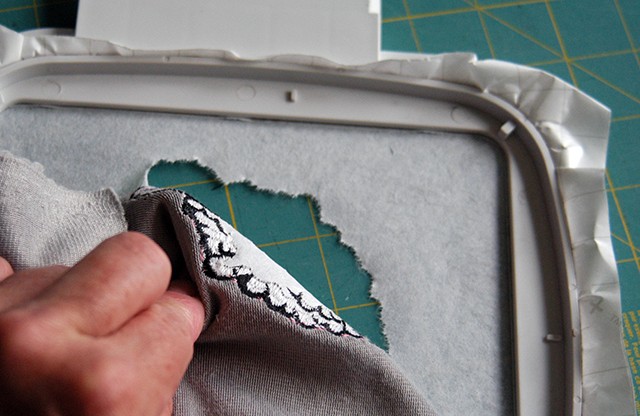
I lightly sprayed the appliqué fabric, a white polar fleece, with KK 2000™ Temporary Adhesive and press it on top of the “hooped” minky. Stitch color stop #1 and #2 of the embroidery design. Carefully trim away the white fleece making sure the nap of the minky foundation is not cut:
Cut a piece of Sulky® Solvy™ larger than the design, lightly spray it with KK 2000™ Temporary Adhesive and firmly press it on top of the fleece applique.
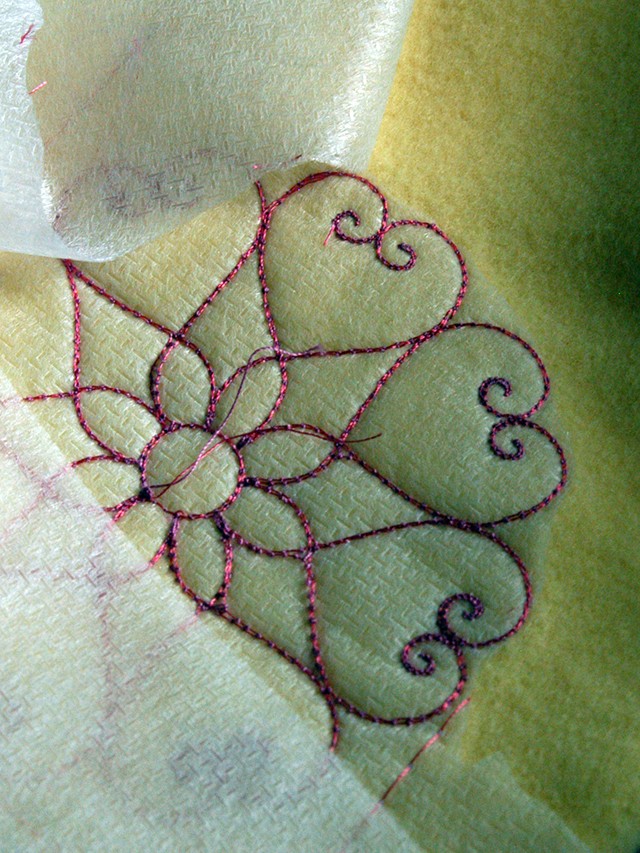
Repeat stitching color stop #2 to secure the top stabilizer in place and finish stitching the design. Once the embroidery is completed, keep the fabric hooped while gently tearing Sticky +™ from the outside edges of the design.
Internally, Sticky +™ is easily removed from as much of the design as desired!
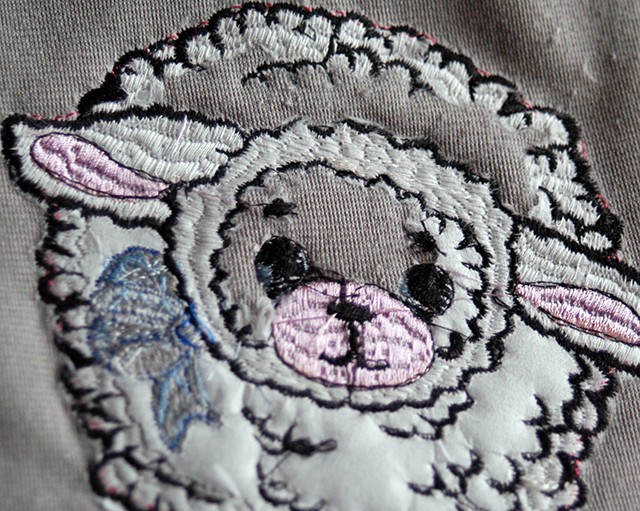
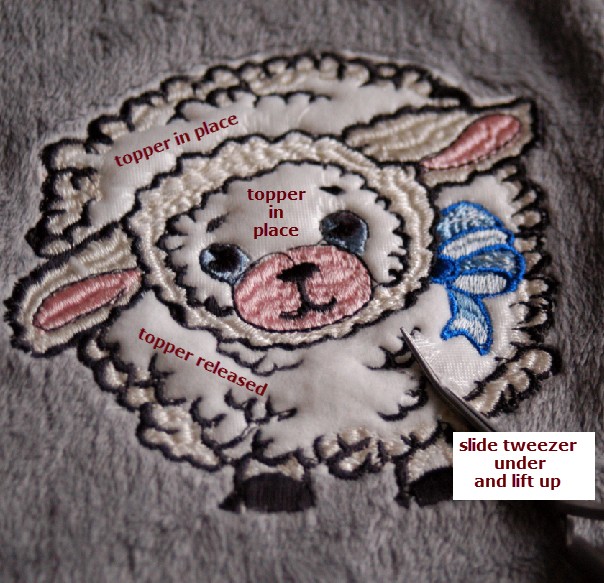
On the fabric right side, as already witnessed, Solvy™ easily tears away from the outside edges and is also easily removed from smaller areas simply by sliding a pair of tweezers between the layer of fabric and topper and gently lifting up.
Embellishing with embroidery on fleece is just one of the great materials you can add pretty threads to!

Thank you for the information on embroidering on fleece. I will use this article at our machine embroidery club for a program.