Understanding Machine Embroidery Terms
by Pamela Cox
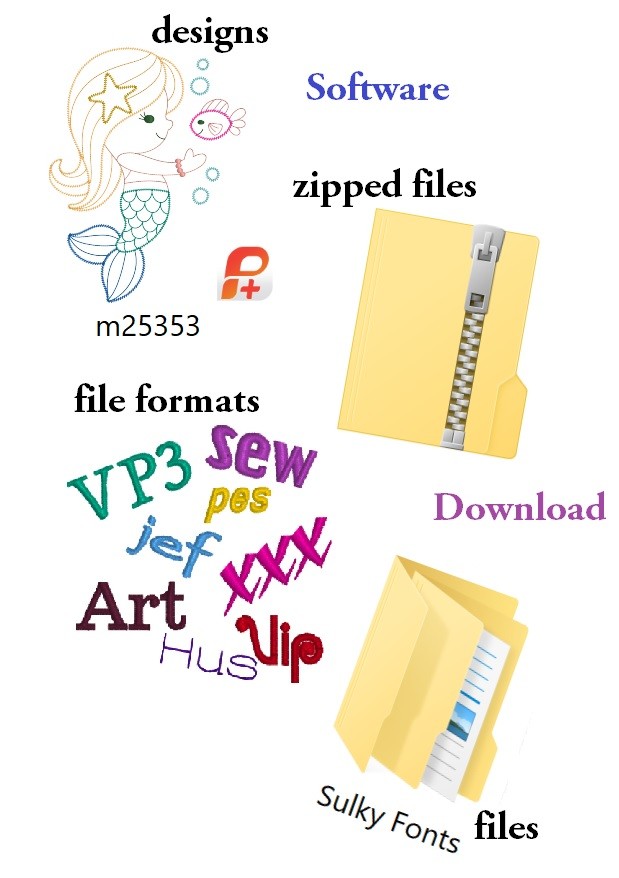
Understanding machine embroidery terms is essential for navigating through techniques and expanding your machine embroidery skills. Don’t hold back on adding machine embroidery to your sewing bag of tricks because of the word “computerized” or “digital.” Enjoying machine embroidery doesn’t require expert-level computer knowledge! The embroidery machine (a computer in its own right) easily interfaces, or “works with,” the home computer with little effort and minimum knowledge.
Machine Embroidery Design Language
Why can you not view an embroidery design on your home computer without using software? Embroidery designs are created only for specialized computers, specifically embroidery machines. A home computer, which can perform common tasks, such as reading documents, playing music or displaying photographs and videos, cannot understand the unique language of embroidery, also known as File Format, without help. This means a home computer can save a design, but on its own it can’t interpret the design language. It can’t even to produce a picture of the embroidery design. Once saved, the design is stored on the computer by its purchasing number. 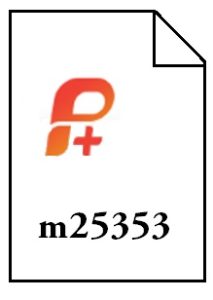
Machine Embroidery becomes much easier and so much more enjoyable once a language bridge is created between the home computer and embroidery designs. Accomplish this by installing embroidery software.
Embroidery Software is available in three basic categories. It’s important not only to understand the purpose of the different software programs, but also to define your personal goals to avoid buying more functions than you need.
Design Management Software
This machine embroidery term is for the type of software that organizes and displays pictures of individual designs.
 The software type also shows additional information, such as design size, color changes and stitch count. When purchasing a new machine, often a design management/organization program is included with accessories. If not, and your only goal is to be able to view and organize individual designs, there are independent programs available to purchase.
Editing Software
This software offers the ability to view designs plus the ability to make and save design changes, such as substituting colors or combining or rotating design elements.
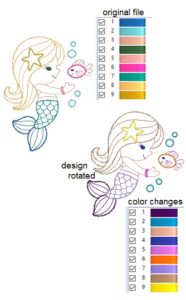 Editing software is available in a wide range of prices with more expensive programs offering more functions, such as the ability to resize a design or to add letters to a layout.
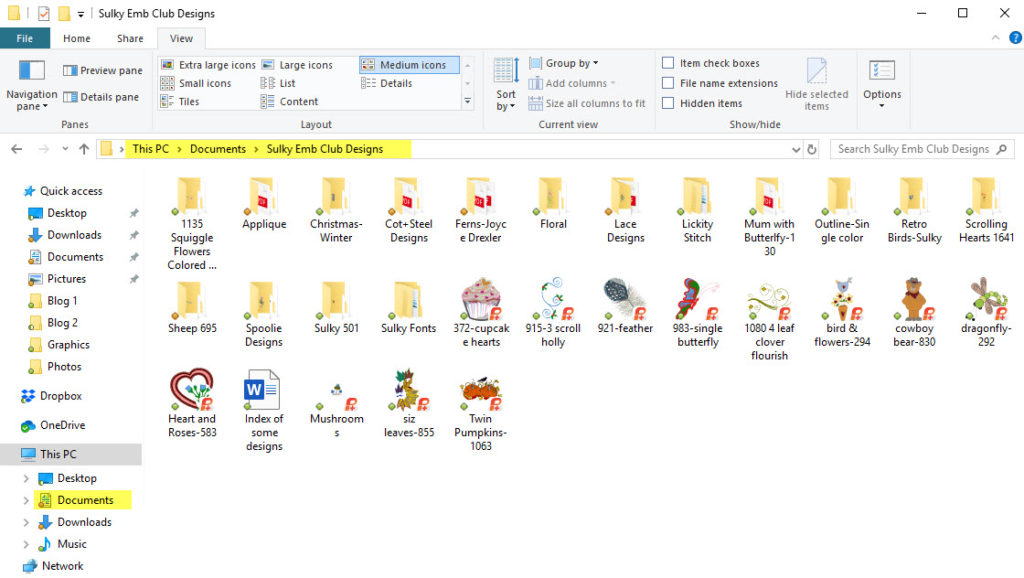
If editing software is installed on the home computer, it’s not necessary to have design management software, although many do prefer to still use the specialized program instead of organizing designs in the home computer Documents filing system. Look at the highlighted “path” on the graphic shown to see how easy it is.
In the PC (personal computer) under the category of Documents, a file was created and labeled “Sulky Emb Club Designs”. In the Sulky Emb Club File, individual folders were also created to organize designs by full collections, such as “Squiggle Flowers” or by a main theme, such as “Floral” or “Lace”. Use labels that make sense to you to organize your designs fro the start. It’s much easier to rename designs so they make sense to you, rather than relying on a file number to keep them all straight in your files.
The embroidery designs also come with a color chart, which is usually a separate PDF file. Keep this with the folder of design files to easily reference in the future. If you always use the same brand of thread, also save the color conversion chart to decipher the correct thread color numbers for your design, no matter the brand it was digitized for. The Sulky Color Conversion Chart is always available to you online, too!
Digitizing Software
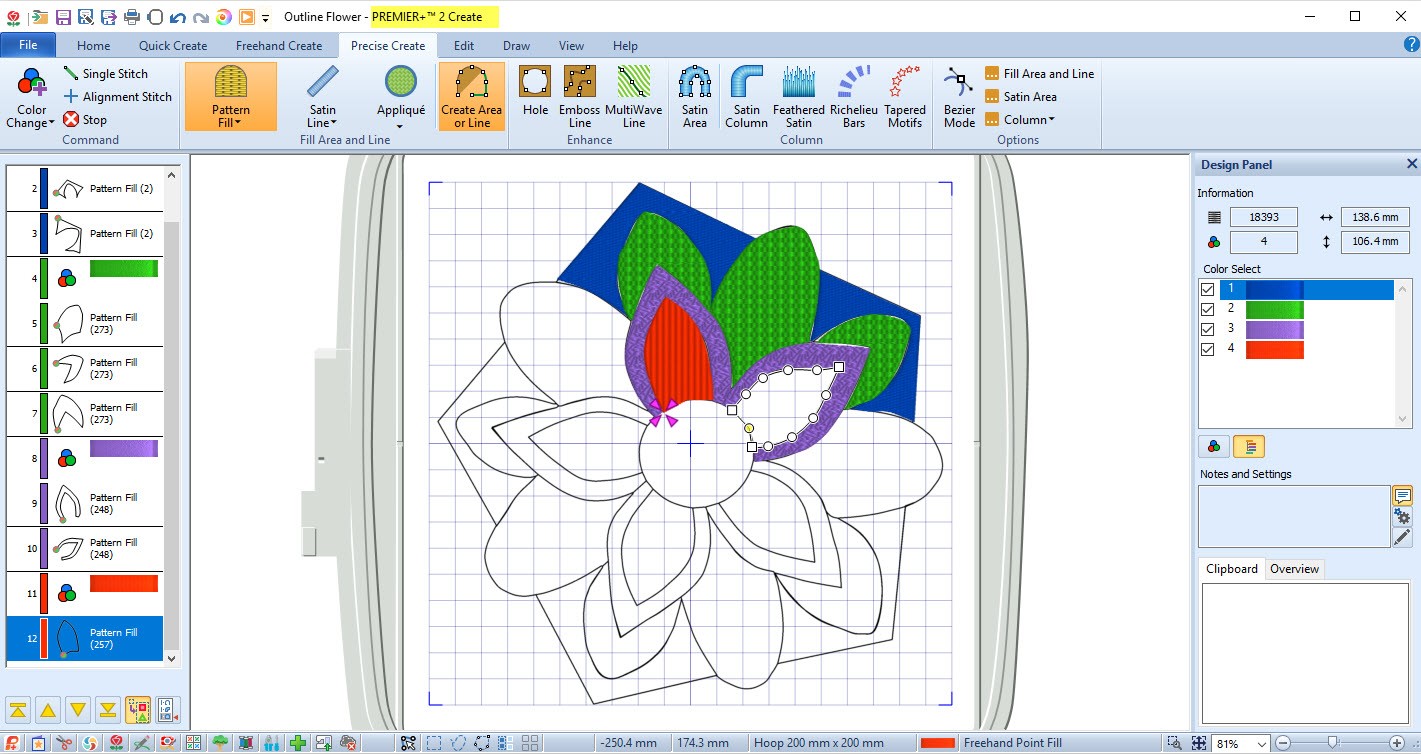
This type of program is needed to create new, original embroidery designs and is available in levels almost as easy as coloring in a picture to very technical levels that permit each individual stitch placement. If you have no desire to digitize your own designs, and are happy to use all the wonderful ones created by professionals, there’s no need to purchase this software type.
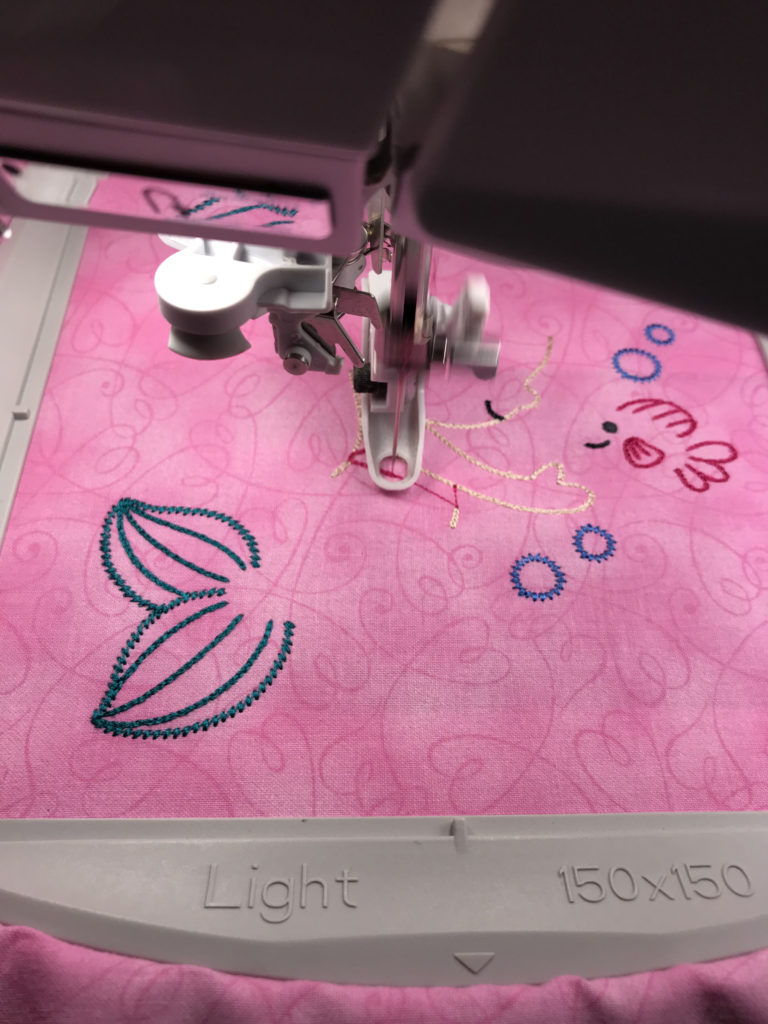
Embroidery Machines stitch designs because the artist digitized the design to tell the machine when to start and stop and how to move the embroidery hoop in a specific sequence.
The different machine companies each have their own File Format that the machine reads and understands. It’s important to refer to your machine manual to understand which file format is required for your embroidery machine brand. Purchase all additional designs in that file format. 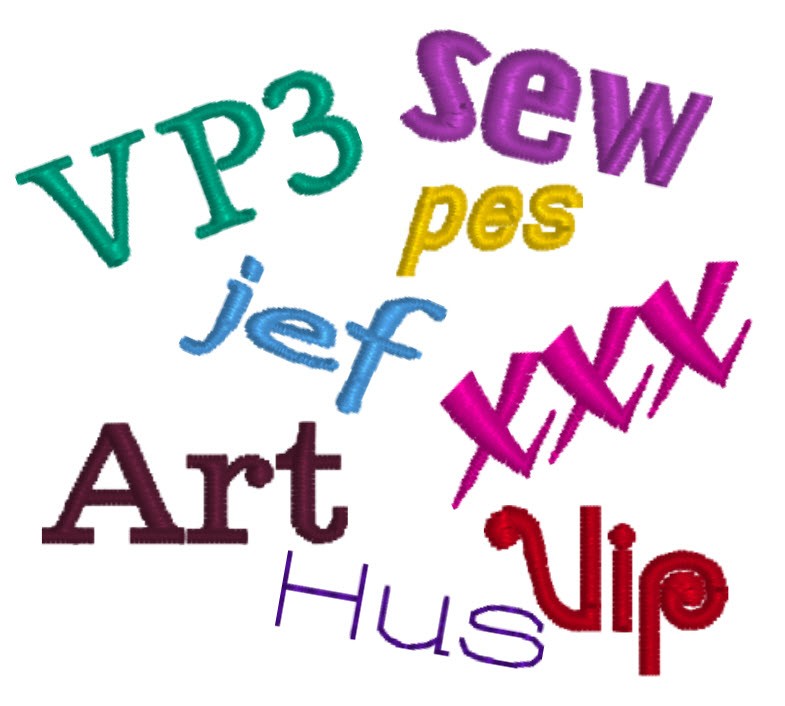 Before purchasing additional embroidery software programs, make sure that it, too, is compatible with your embroidery design file format.
Embroidery designs are available in specialty stores or at conventions and, when they are, the collection is usually presented on a CD that includes all the file formats. However, most of us purchase our designs over the Internet with immediate download capabilities and are often required to select the preferred format at that time.
Machine Embroidery Term: Download
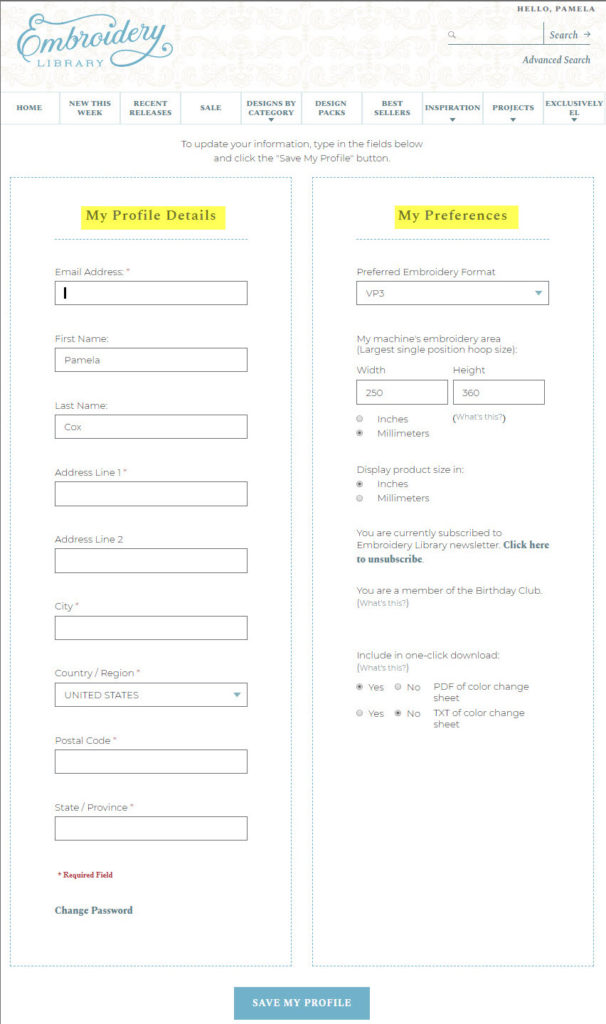
This is a term used to identify information that is instantly transferred directly into the requesting computer. The first time you purchase a design from any website, you typically have to register as a user.
Some sites will also ask you to provide additional information about your embroidery machine to ensure that designs ordered meet necessary stitching parameters.
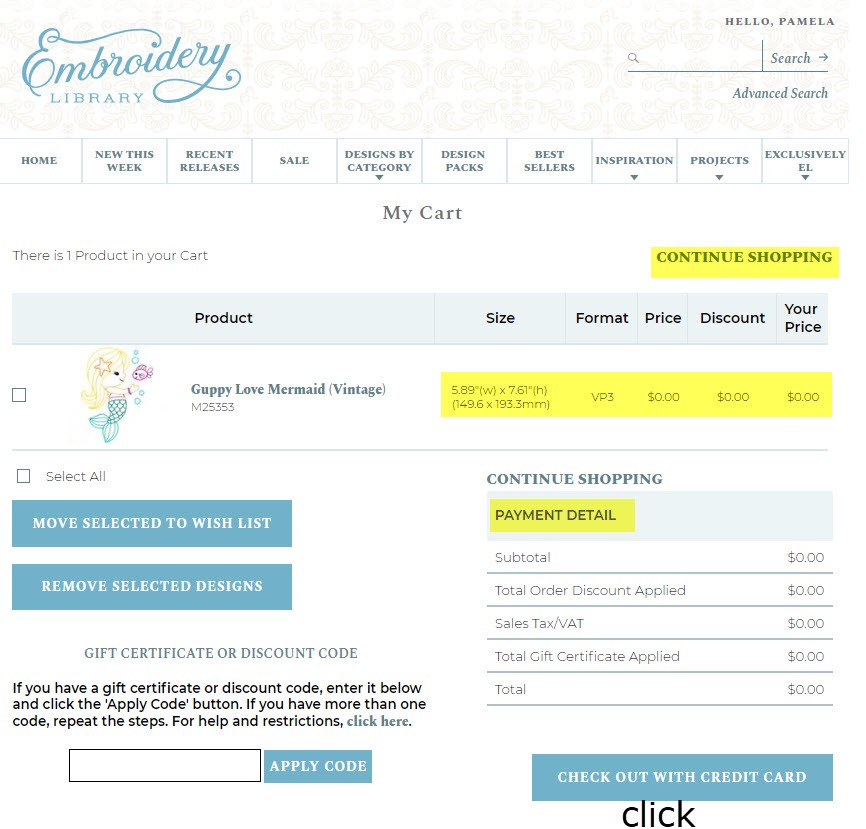
Once a design is selected, verify the desired file format, confirm the size is compatible with the size hoops accepted by your machine, and then click on “add to cart” (some sites will simply say purchase or words to that effect). 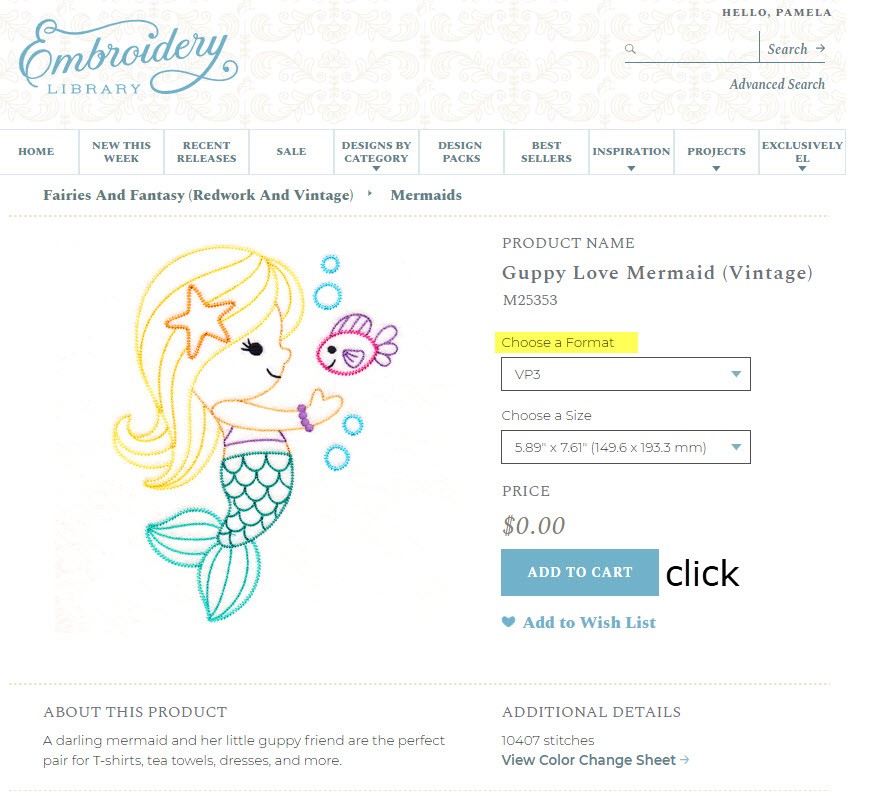
Continue to shop, adding more designs to the shopping cart, or go directly to checkout and purchase the design.
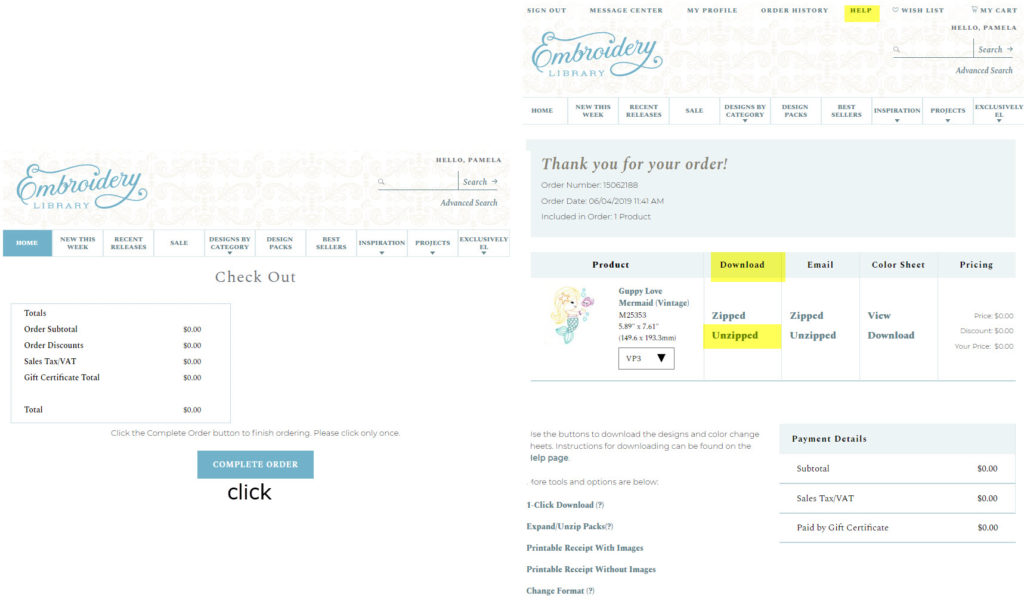
Before clicking on payment method, it’s a good idea to review the information about the product . Once satisfied that all is correct, proceed to the payment page. A Free Design from Embroidery Library was chosen to demonstrate the various steps of downloading a design, but if payment is needed, the checkout page will prompt the necessary information.
After completing the purchase, transfer the design to your computer by clicking on the word “Unzipped” in the download column. Within seconds, the design is now stored in your computer in Downloads, unless you specified a different location.
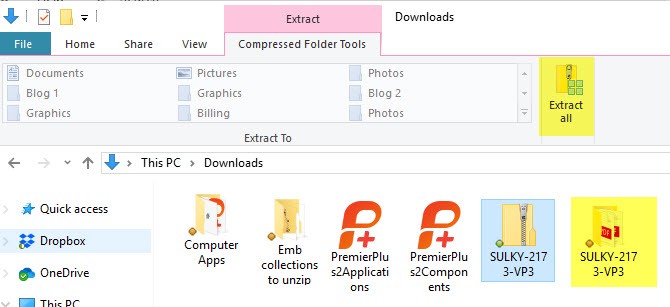
A “Zipped” file is basically the design’s information squeezed into a smaller folder. Before being able to use the design, the smaller file must be opened to allow all the design’s information to expand. Newer computers can usually open zipped files by pressing one button that automatically appears when a zipped file is selected . After Extract All is clicked, the open design will show in Downloads in a new folder with the same name but no zipper icon on the folder cover.
Zipped files take up less space, so the real advantage is saving them to a USB stick as a backup in case the home computer ever fails.
Depending on the embroidery machine, embroidery designs are transferred from the home computer to the machine on a USB stick, a direct cable connection between PC and embroidery machine or, on many new machines, Wi-Fi! Refer to your owner’s manual for specific instructions.
By understanding a few machine embroidery terms, you’ll be able to confidently navigate purchasing designs, modifying designs, whether on your machine screen or by using software, and embroidering a finished project.


Very nice & clear explanation
Very useful and helpful thank you
Thank you for breaking down this information into digestible parts.