Recently my quilt guild had our bi-annual Quilt Show. This year we had a new division: The Young Quilters’ division. Since this is not a juried show, we normally only give one award, the Peoples’ Choice award, but I just couldn’t in good conscience let the Young Quilters go away from our show without a ribbon. Confession time, I procrastinated and never got real ribbons ordered. So there I was sitting in my sewing studio the day before the Quilt Show was to open and I needed 4 ribbons to go on the four precious quilts that were entered in our Young Quilters division. I looked in my drawer and saw some 2″ wide purple grosgrain ribbon and decided that I could make the ribbons.
I started by hooping a piece of Sulky Sticky+™ Stabilizer in my medium hoop with the backing sheet facing up. I used a safety pin to score an X in the backing sheet.
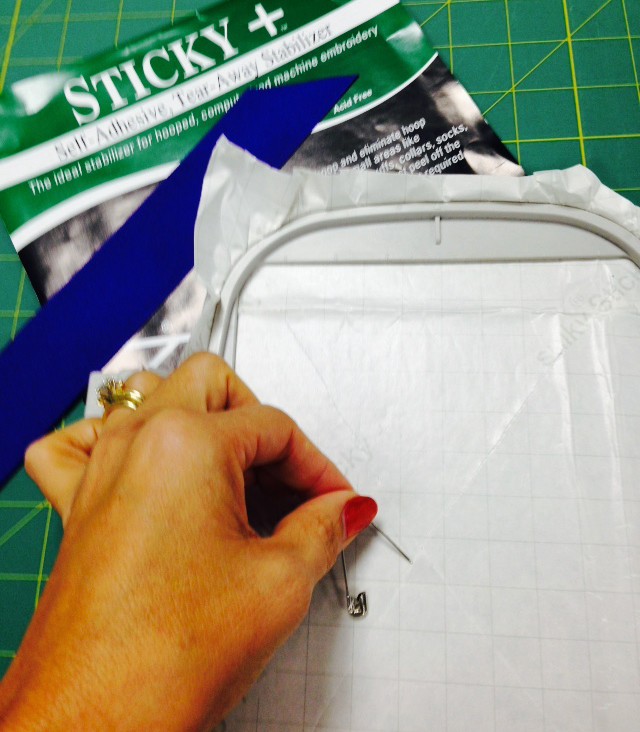
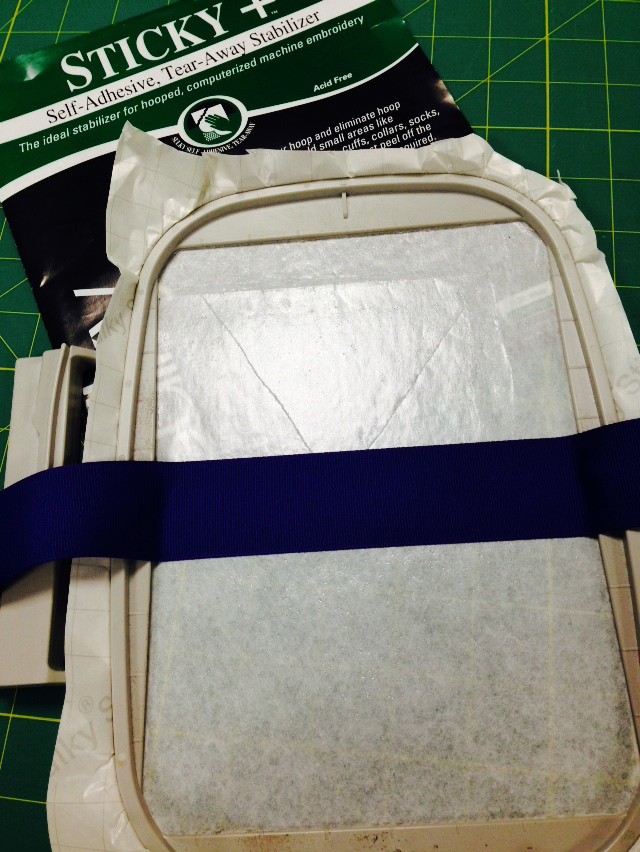
Next I took off the backing sheet to expose the Sticky+ and stuck my ribbons onto the Sticky+
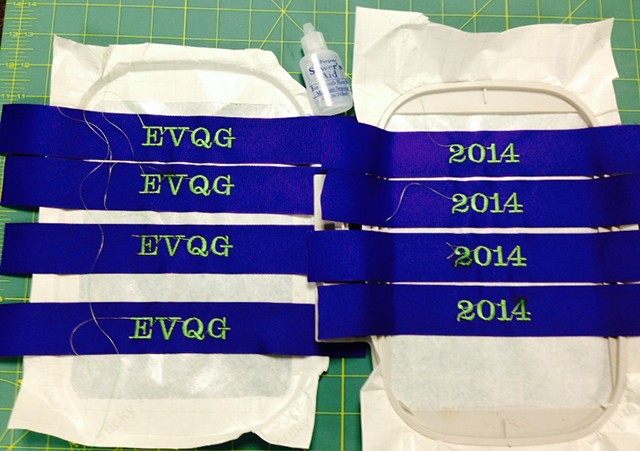
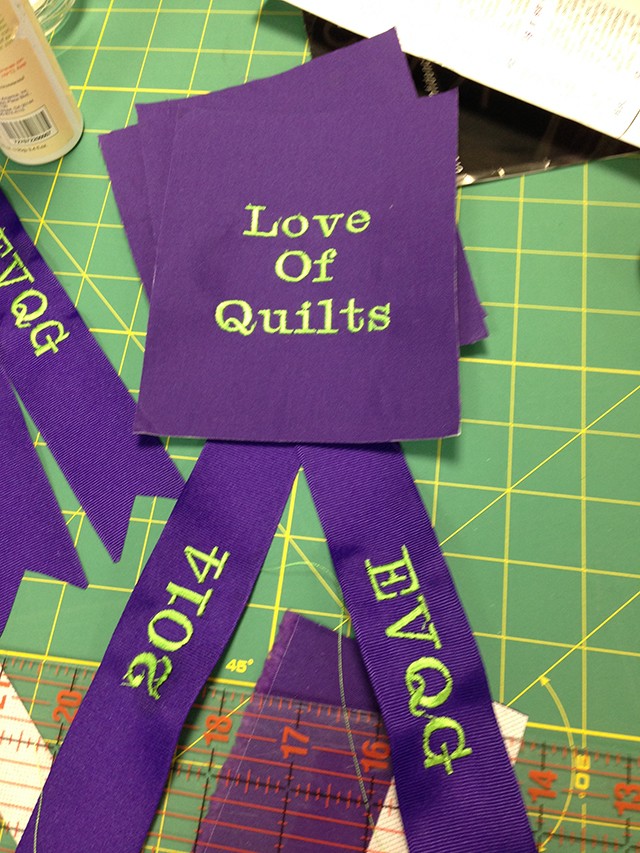
I used Sulky 40 wt. Rayon in Limeade #1831 in the top and Sulky Bobbin Thread in white in the bobbin to put the year and the acronym for my guild on the ribbons. I used one of the fonts that is built into my embroidery machine for the letters and numbers.
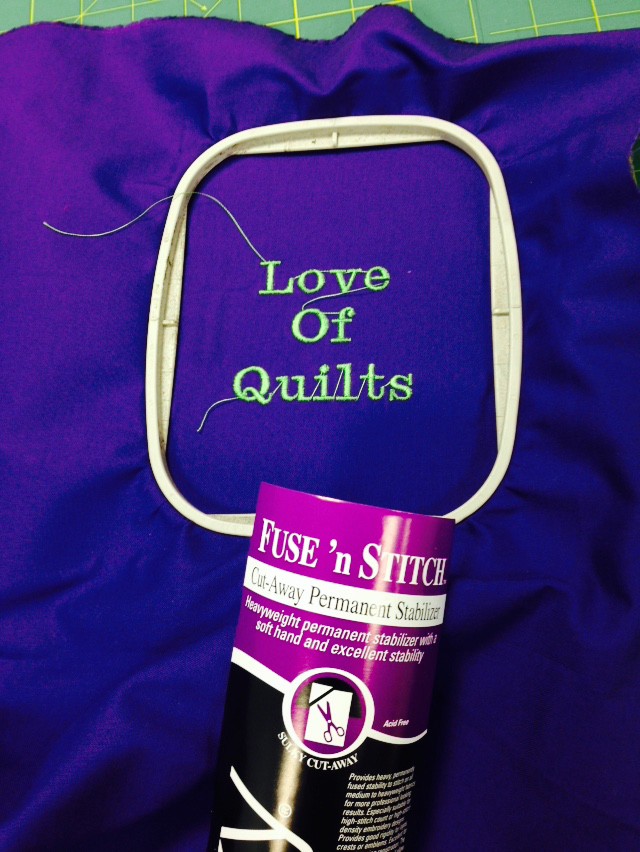
Next up was the top part of the award ribbon. I found some purple fabric that matched the ribbon perfectly ironed Sulky Fuse ‘n Stitch™ Stabilizer to the back for a little more stability. I hooped the fabric (with the Sulky Fuse ‘n Stitch Stabilizer already ironed to the back) and stitched the name of our quilt show, Love of Quilts, with the same Sulky 40 wt. Rayon thread in Limeade.
Since I was short on time (did I mention I was doing this the night before the quilt show was supposed to start?), I didn’t want to fool with trying to make a perfect circle so I went with a rectangle. I cut them into 4 rectangles approximately 4″ x 6″ each and then cut an additional 4 rectangles the same size. I lined up the 2 rectangles together, right sides together, and sewed the 2 sides and the top closed, leaving the botton open for turning. After I trimmed the corners and turned the rectangle, I tucked the quarter inch seem allowance of the rectangle in and placed the grosgrain ribbon where I wanted them. I pinned the ribbons in place and topstitched around the entire border of the rectangle to close the bottom, hold the ribbons in place and give the whole piece a finished look.
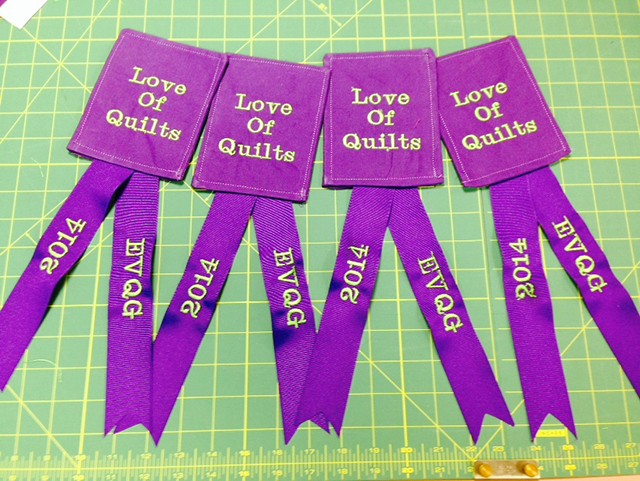
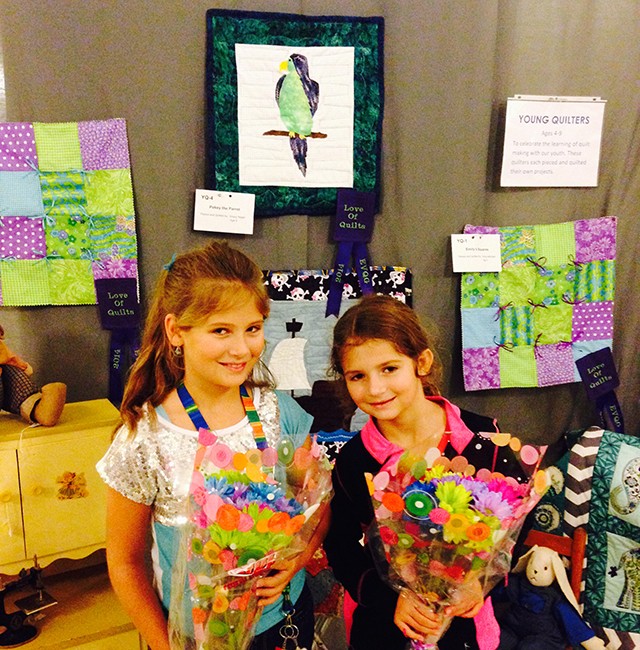
They took me about an hour, from start to finish, and the Young Quilters in our show were just ecstatic to get such a special ribbon for all their hard work.
Happy Sewing!


I love the ribbons but most of all I like the division for the young quilters. I would like to get a program going in our local quilt shop. Any tips or helpful hints to get this started?
Dona, Thank you for your kind words! Passing on the love of quilting and sewing to the younger generation is a passion of mine as well. For us, it started with the willingness to teach a few kids. A couple of us from the guild started by teaching 2 little girls how to quilt and entering those quilts in another local show. After that, a few other kids and adults got the bug and we taught a few more. Sometimes it was a grandmother teaching a grandchild and other times, it was a guild member teaching the other guild member’s children! My kids did much better when they were learning from someone other than me :). We are hoping to continue this trend at our guild. I am also working on a blog post with tips on teaching kids to sew and quilt. I will go up soon I hope!
What a great idea! Ribbons are a big expense, also – look at the money you saved.