Metallic Freestanding Lace
for Ornaments, Gift Tags, Place Cards & More
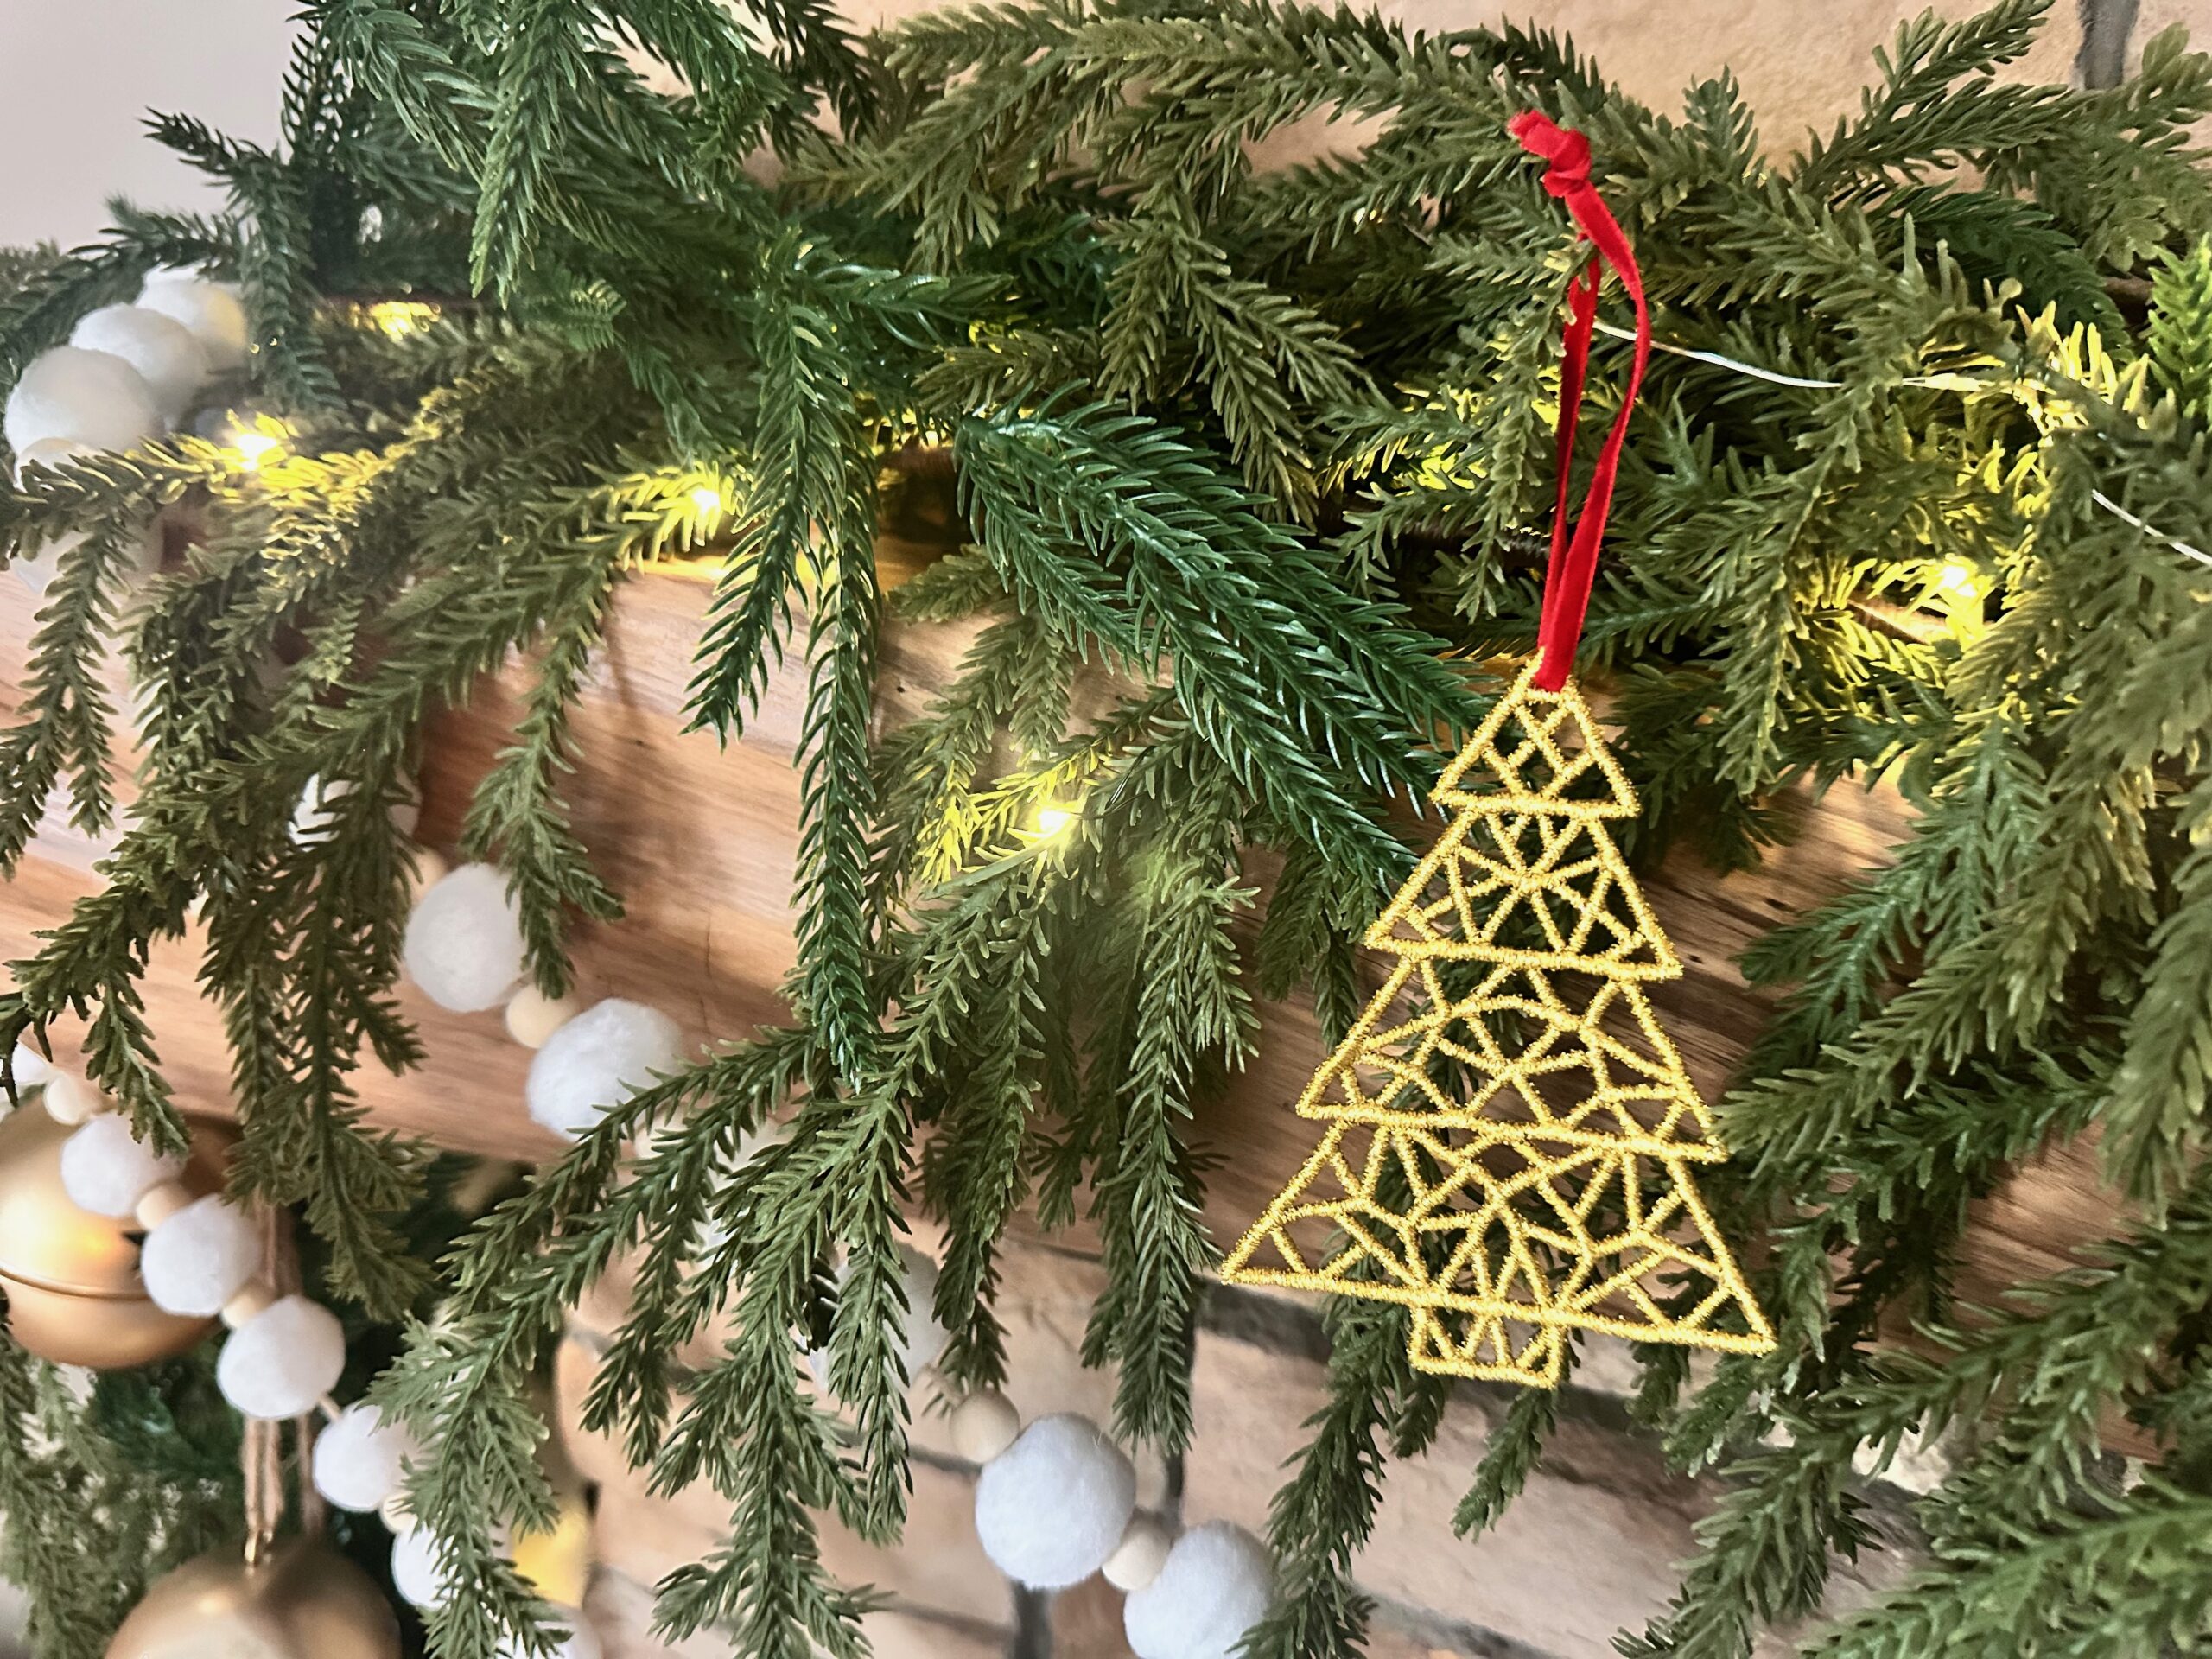
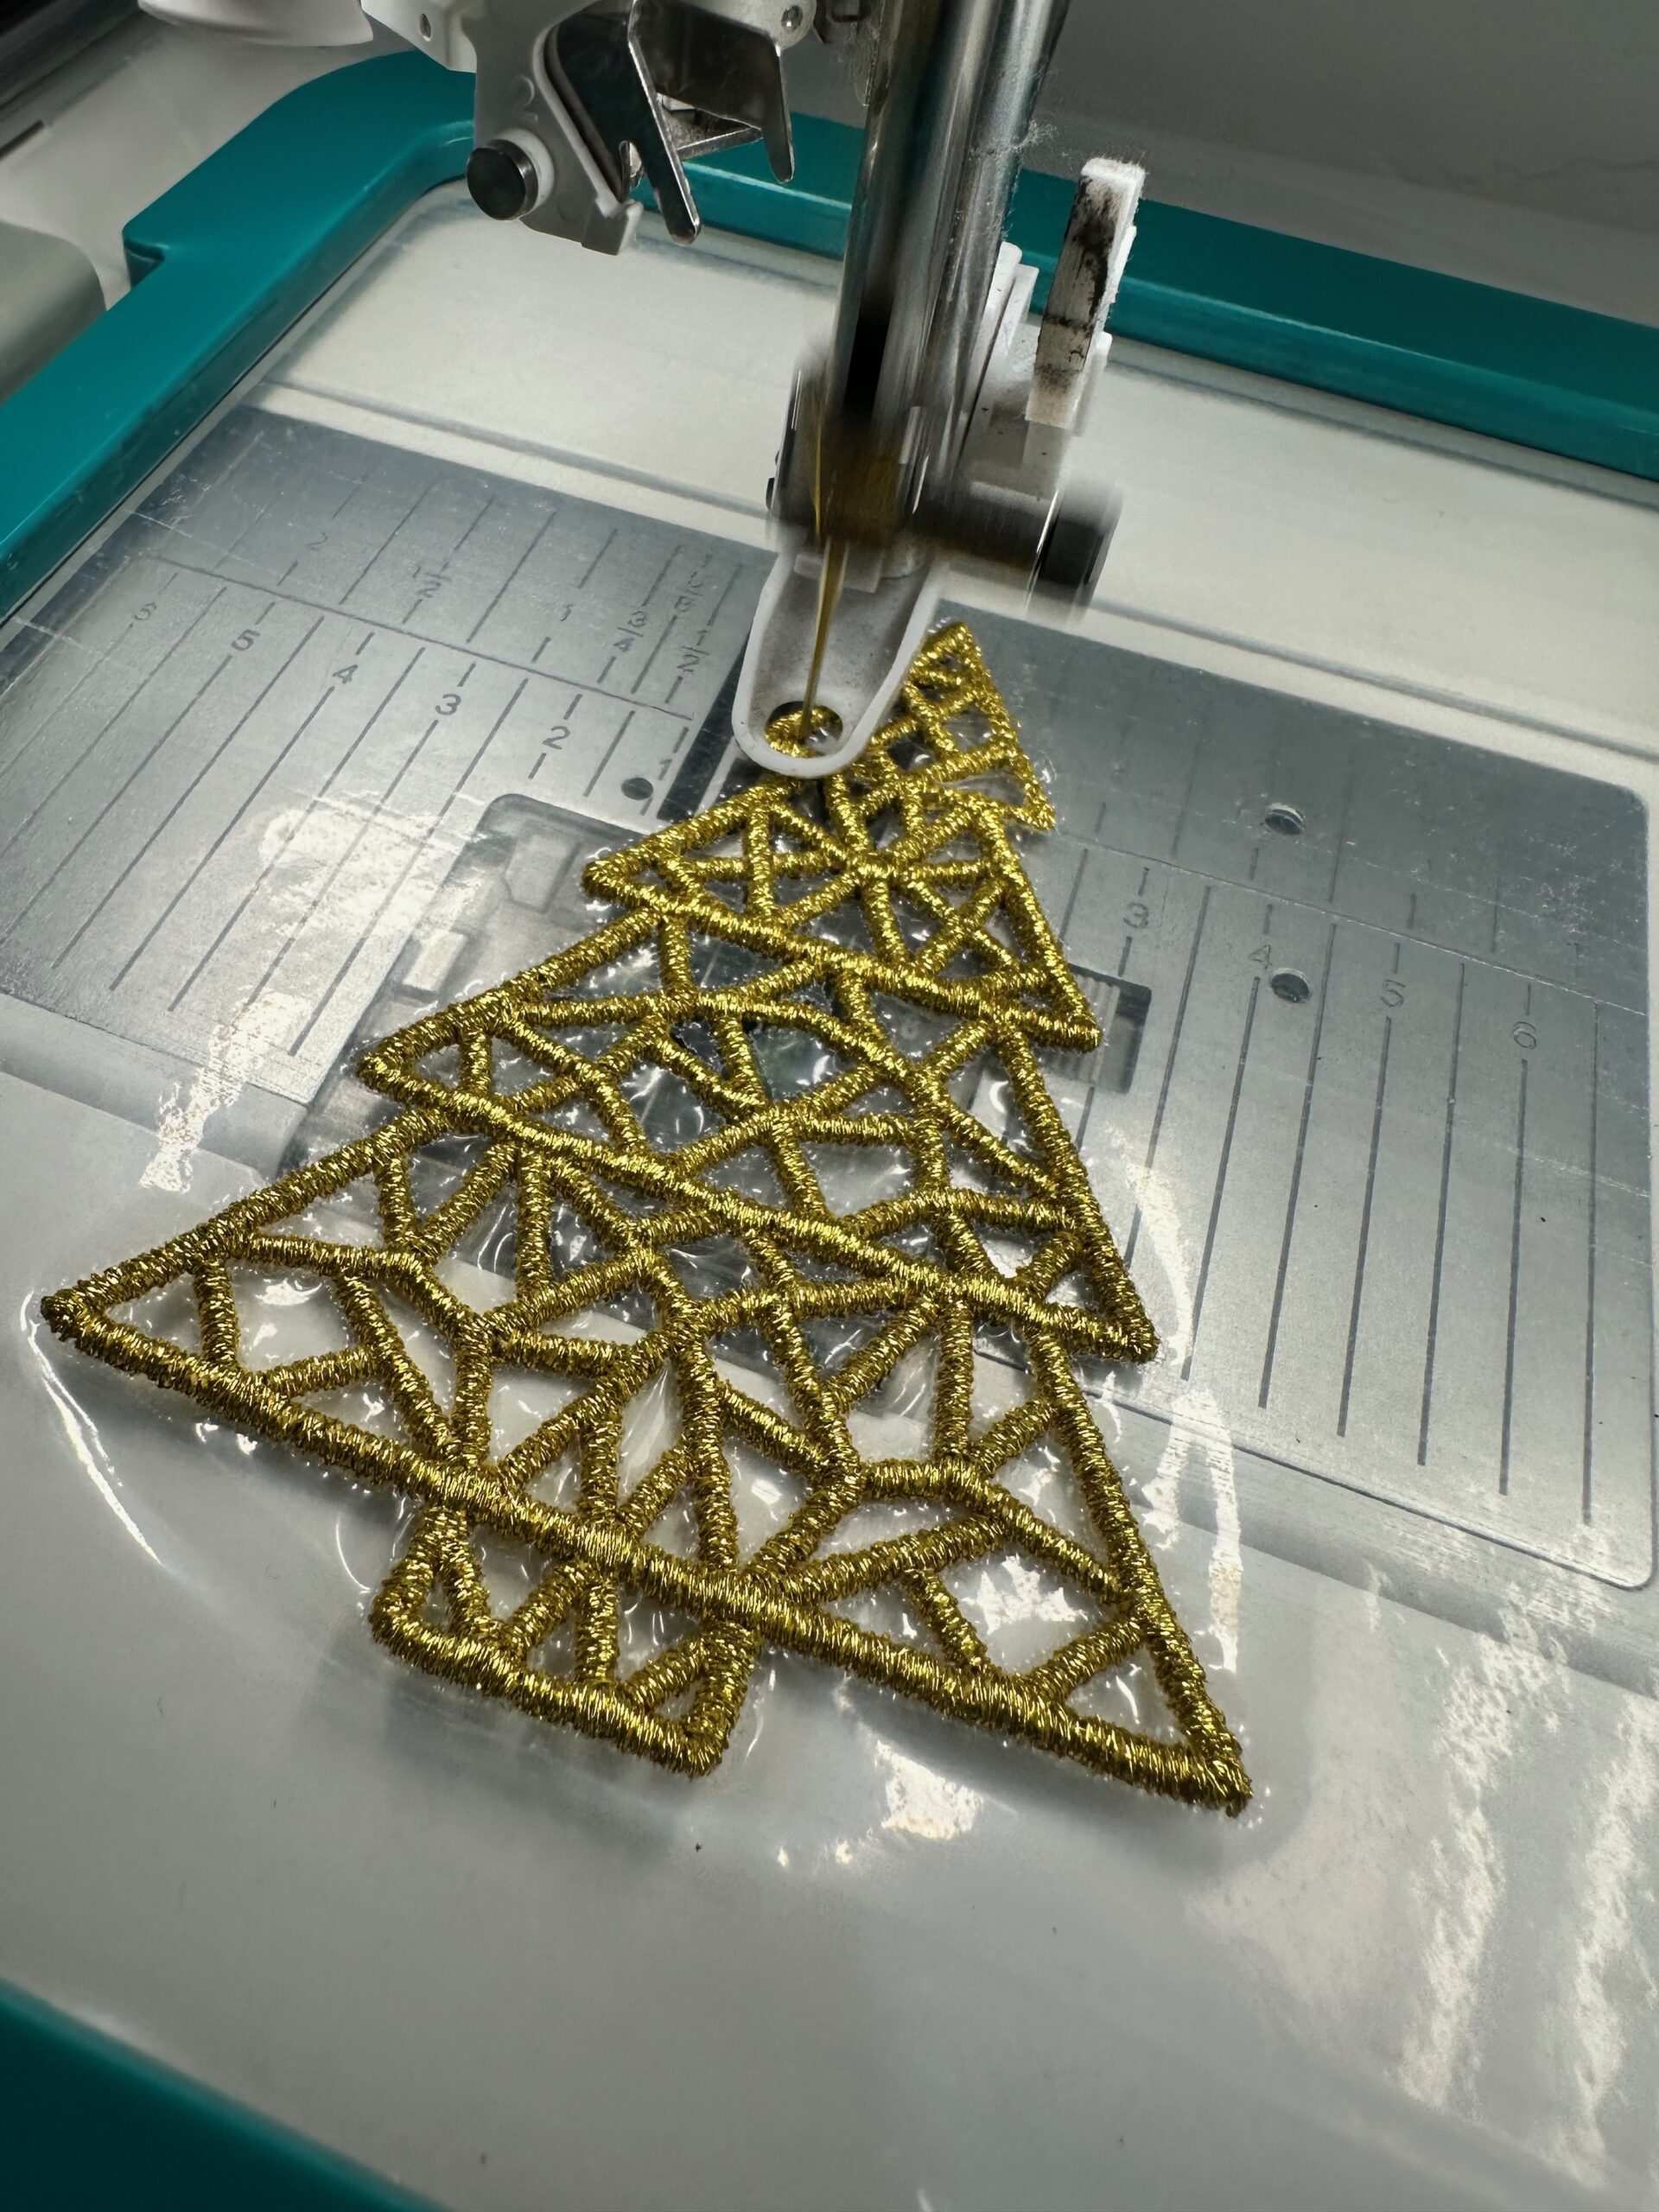
Metallic freestanding lace ornaments and gift adornments add a sparkling touch to your holiday tree, gifts and table décor. Freestanding lace (FSL) designs are perfect for creating delicate gift tags, festive gift wrap adornments, or even charming ornaments and place card holders. With the Festive Tidings Christmas Tree Lace design from Urban Threads, you can make stunning lace pieces that wow every time. Here’s how to achieve the perfect combination of stabilizer, thread and needle for flawless freestanding lace.
METALLIC FREESTANDING LACE SUPPLIES
- Featured Design: Festive Tidings Christmas Tree Lace by Urban Threads
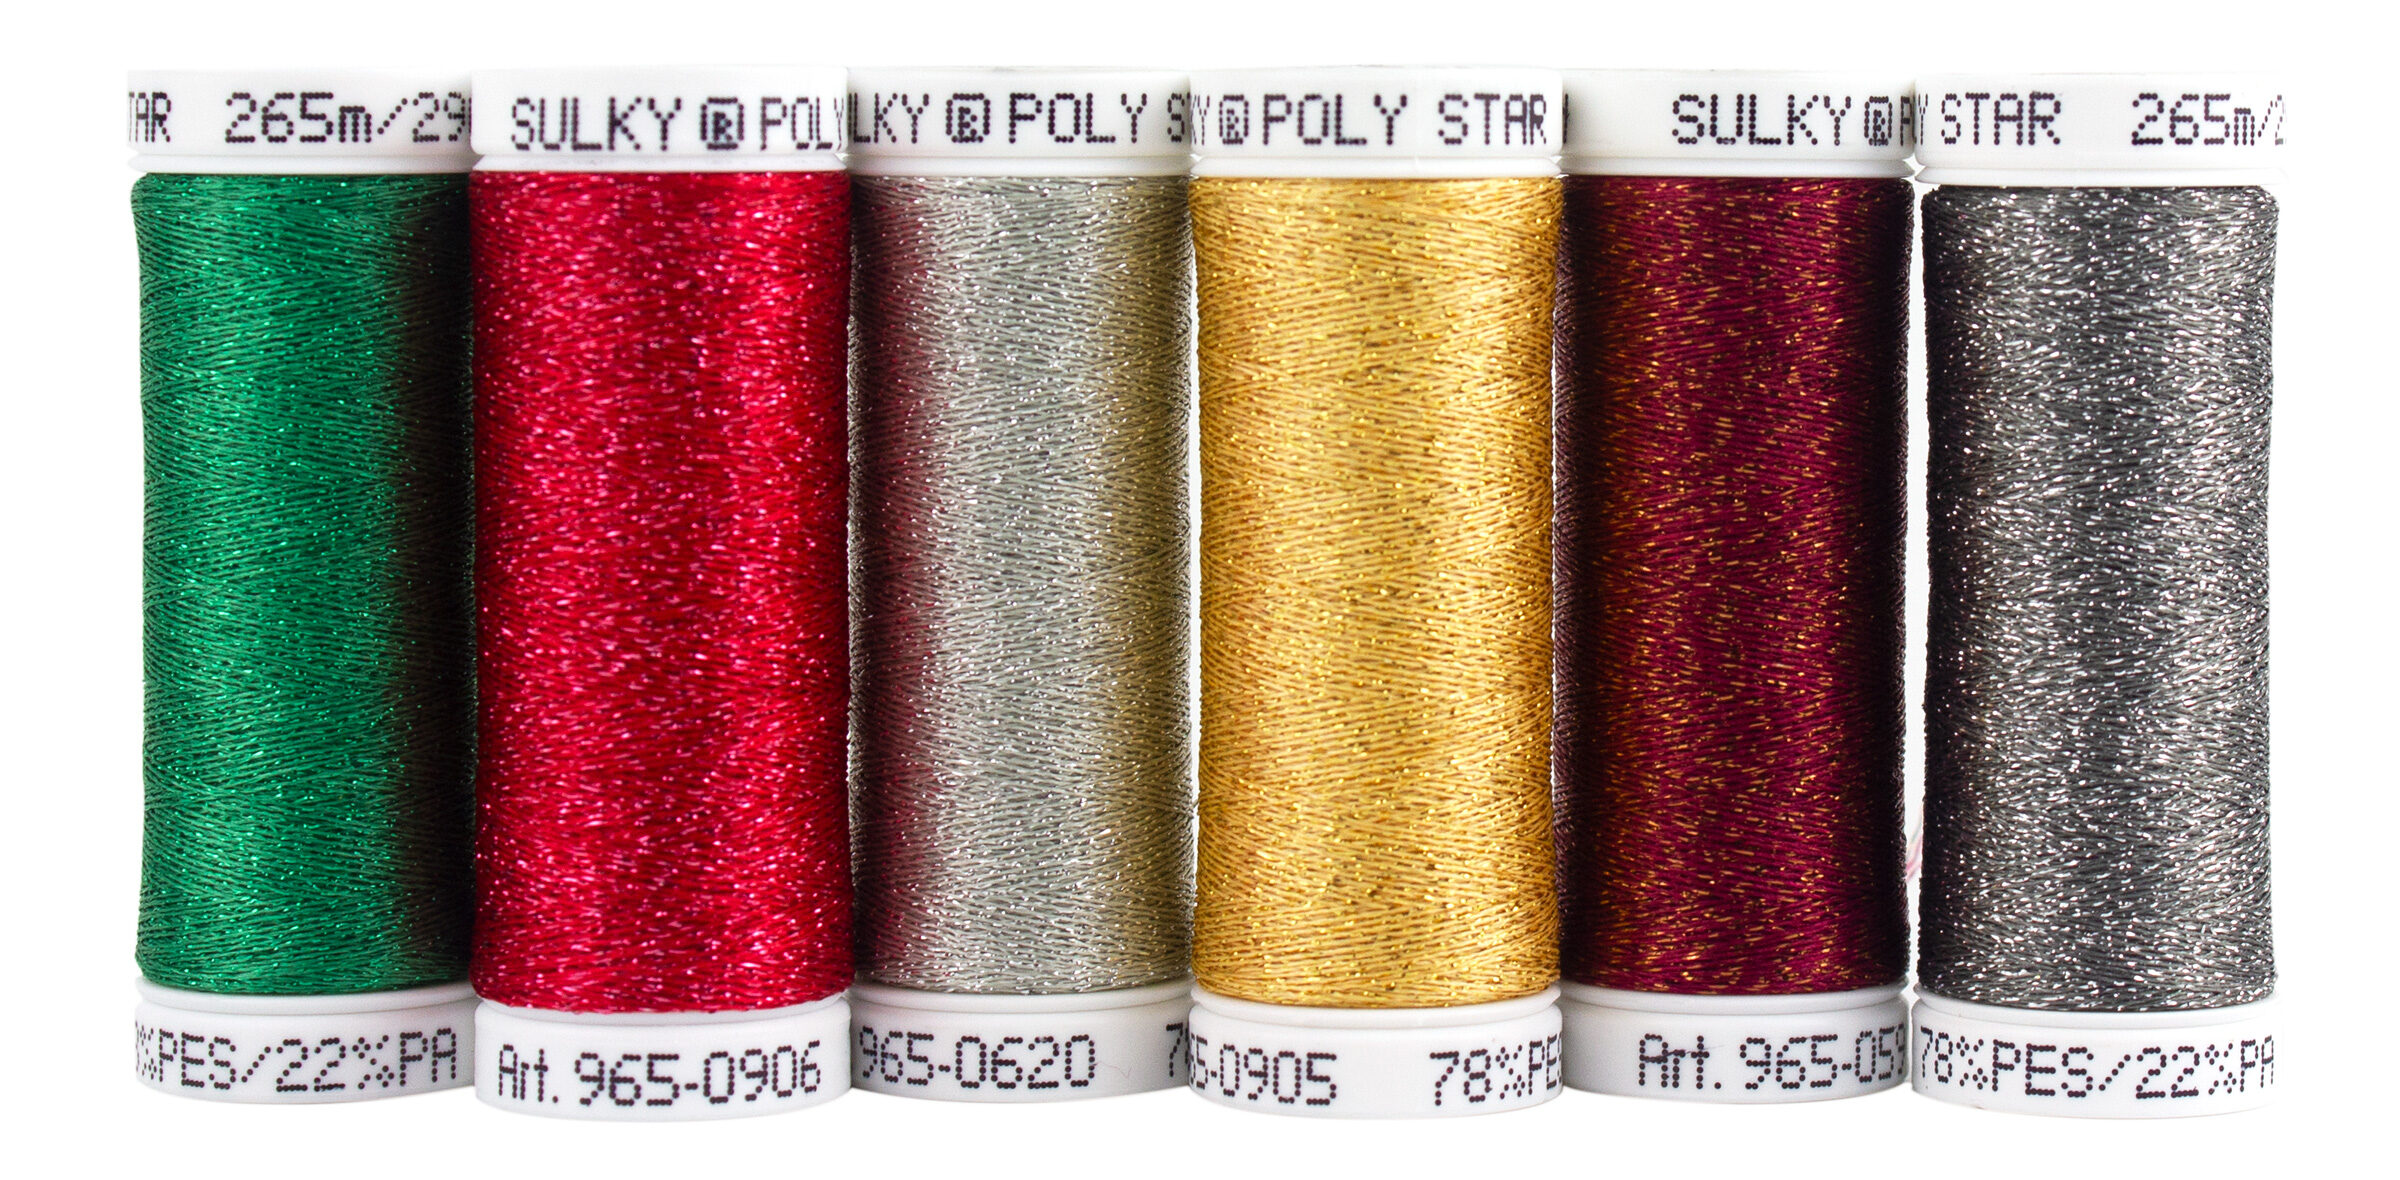
- Sulky Thread: Original Metallic Thread (for both top and bobbin)
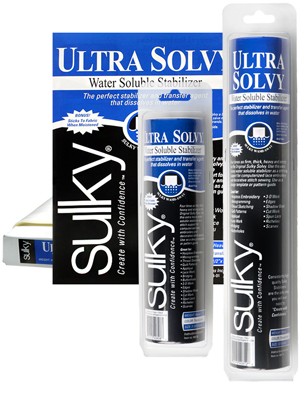
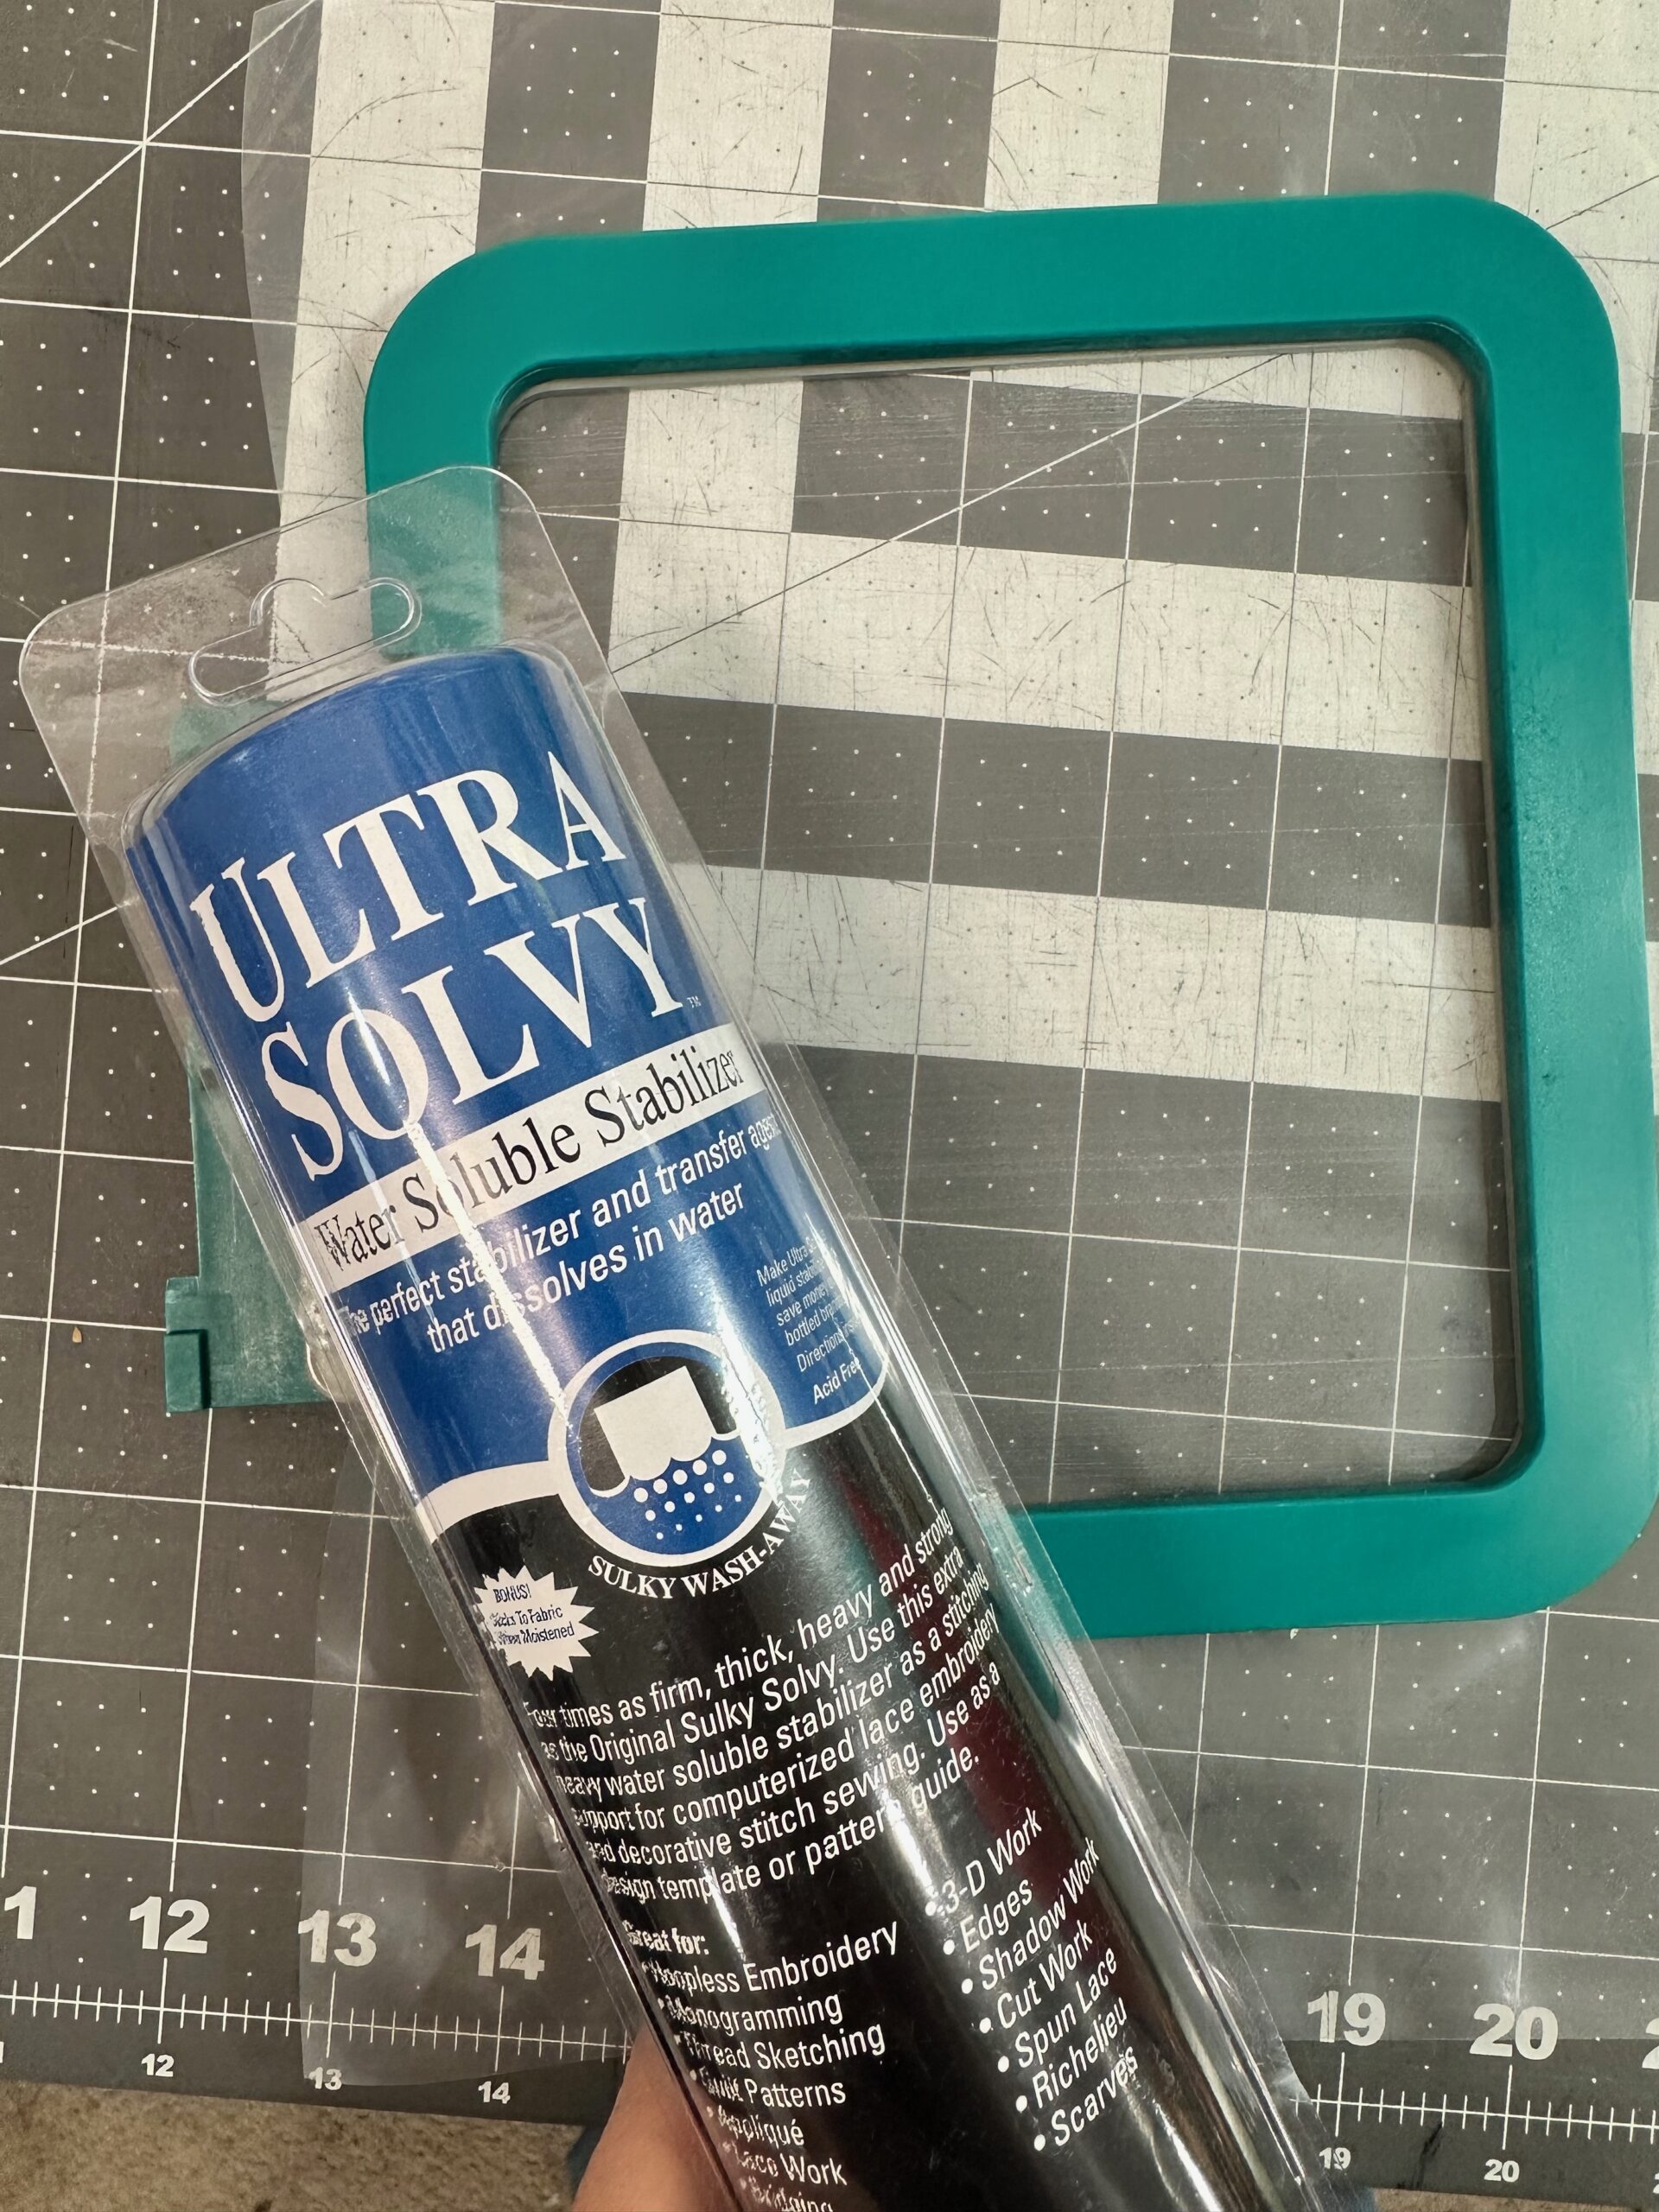
- Stabilizer: Sulky Ultra Solvy
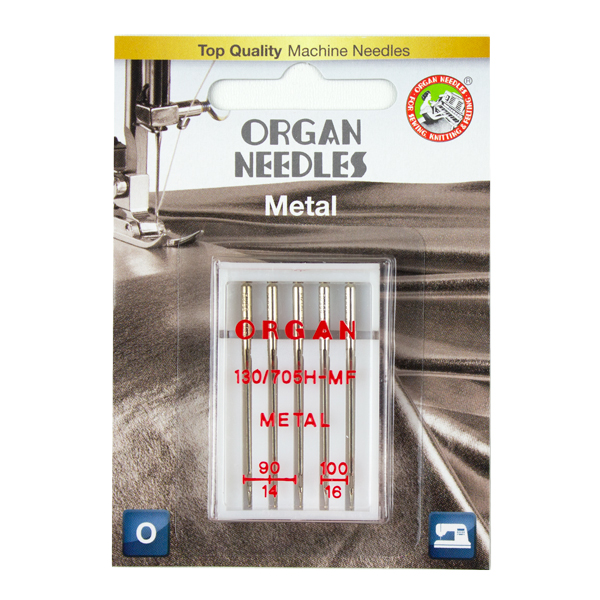
- Needle: Organ METAL 90/14
- Optional: Thread spool pin to allow horizontal thread feed
- Ribbon for hanging
RECIPE FOR FSL STITCHING SUCCESS
Choose the Right Thread
Metallic threads bring sparkle and elegance to FSL designs. For best results, use Sulky Original Metallic Thread for both the top and bobbin. Since freestanding lace designs are completely stitched in the air, the bobbin is visible, so matching threads are essential for a cohesive look.
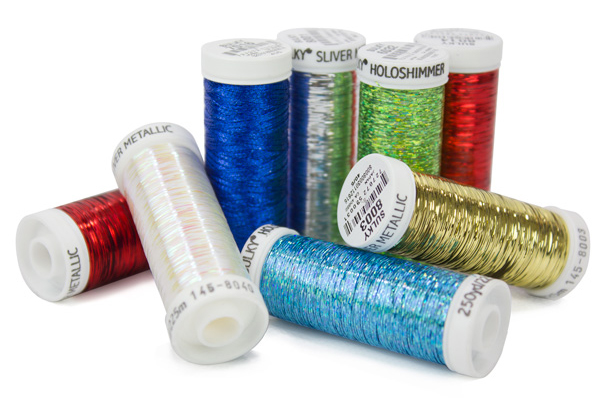
Sulky Sliver and Holoshimmer are also beautiful choices; however, a spool pin that allows you to orient the thread spool horizontally facing the needle patch is essential for stitching success.
Sulky Poly Sparkle Thread might be suitable, depending on how the design is digitized. Poly Sparkle is a 30 wt. Thread, so a bit heavier than the metallics shown above. Because FSL designs are so dense, with a lot of underlay stitching t support the upper threads, a thicker thread may not be suitable. Test-stitch a portion of the design using this thread to be sure it performs to your liking before using it for an entire design.
Select the Right Stabilizer
Use Sulky Ultra Solvy, a heavy-duty water-soluble stabilizer. Its strength ensures that even large stitch count designs stay together, preventing separation between the outline stitching and the satin stitches that make up your intricate design.
Use the Correct Needle
Metallic threads create extra friction and heat as they move through the machine. An Organ METAL needle, size 90/14, handles this stress beautifully, preventing thread breakage or skipped stitches. This needle size works with all Sulky Metallic Thread varieties.
FREESTANDING LACE TIPS
If your spool pin can be mounted horizontally to the needle path, use it! A horizontal feed ensures the thread unwinds straight, reducing twisting and tangling as your design stitches. Make sure the spool is horizontal, facing the needle path, not facing you. If it’s twisting off of the spool (in any direction), then those twists will surely build up and cause the thread to snap mid stitchout.
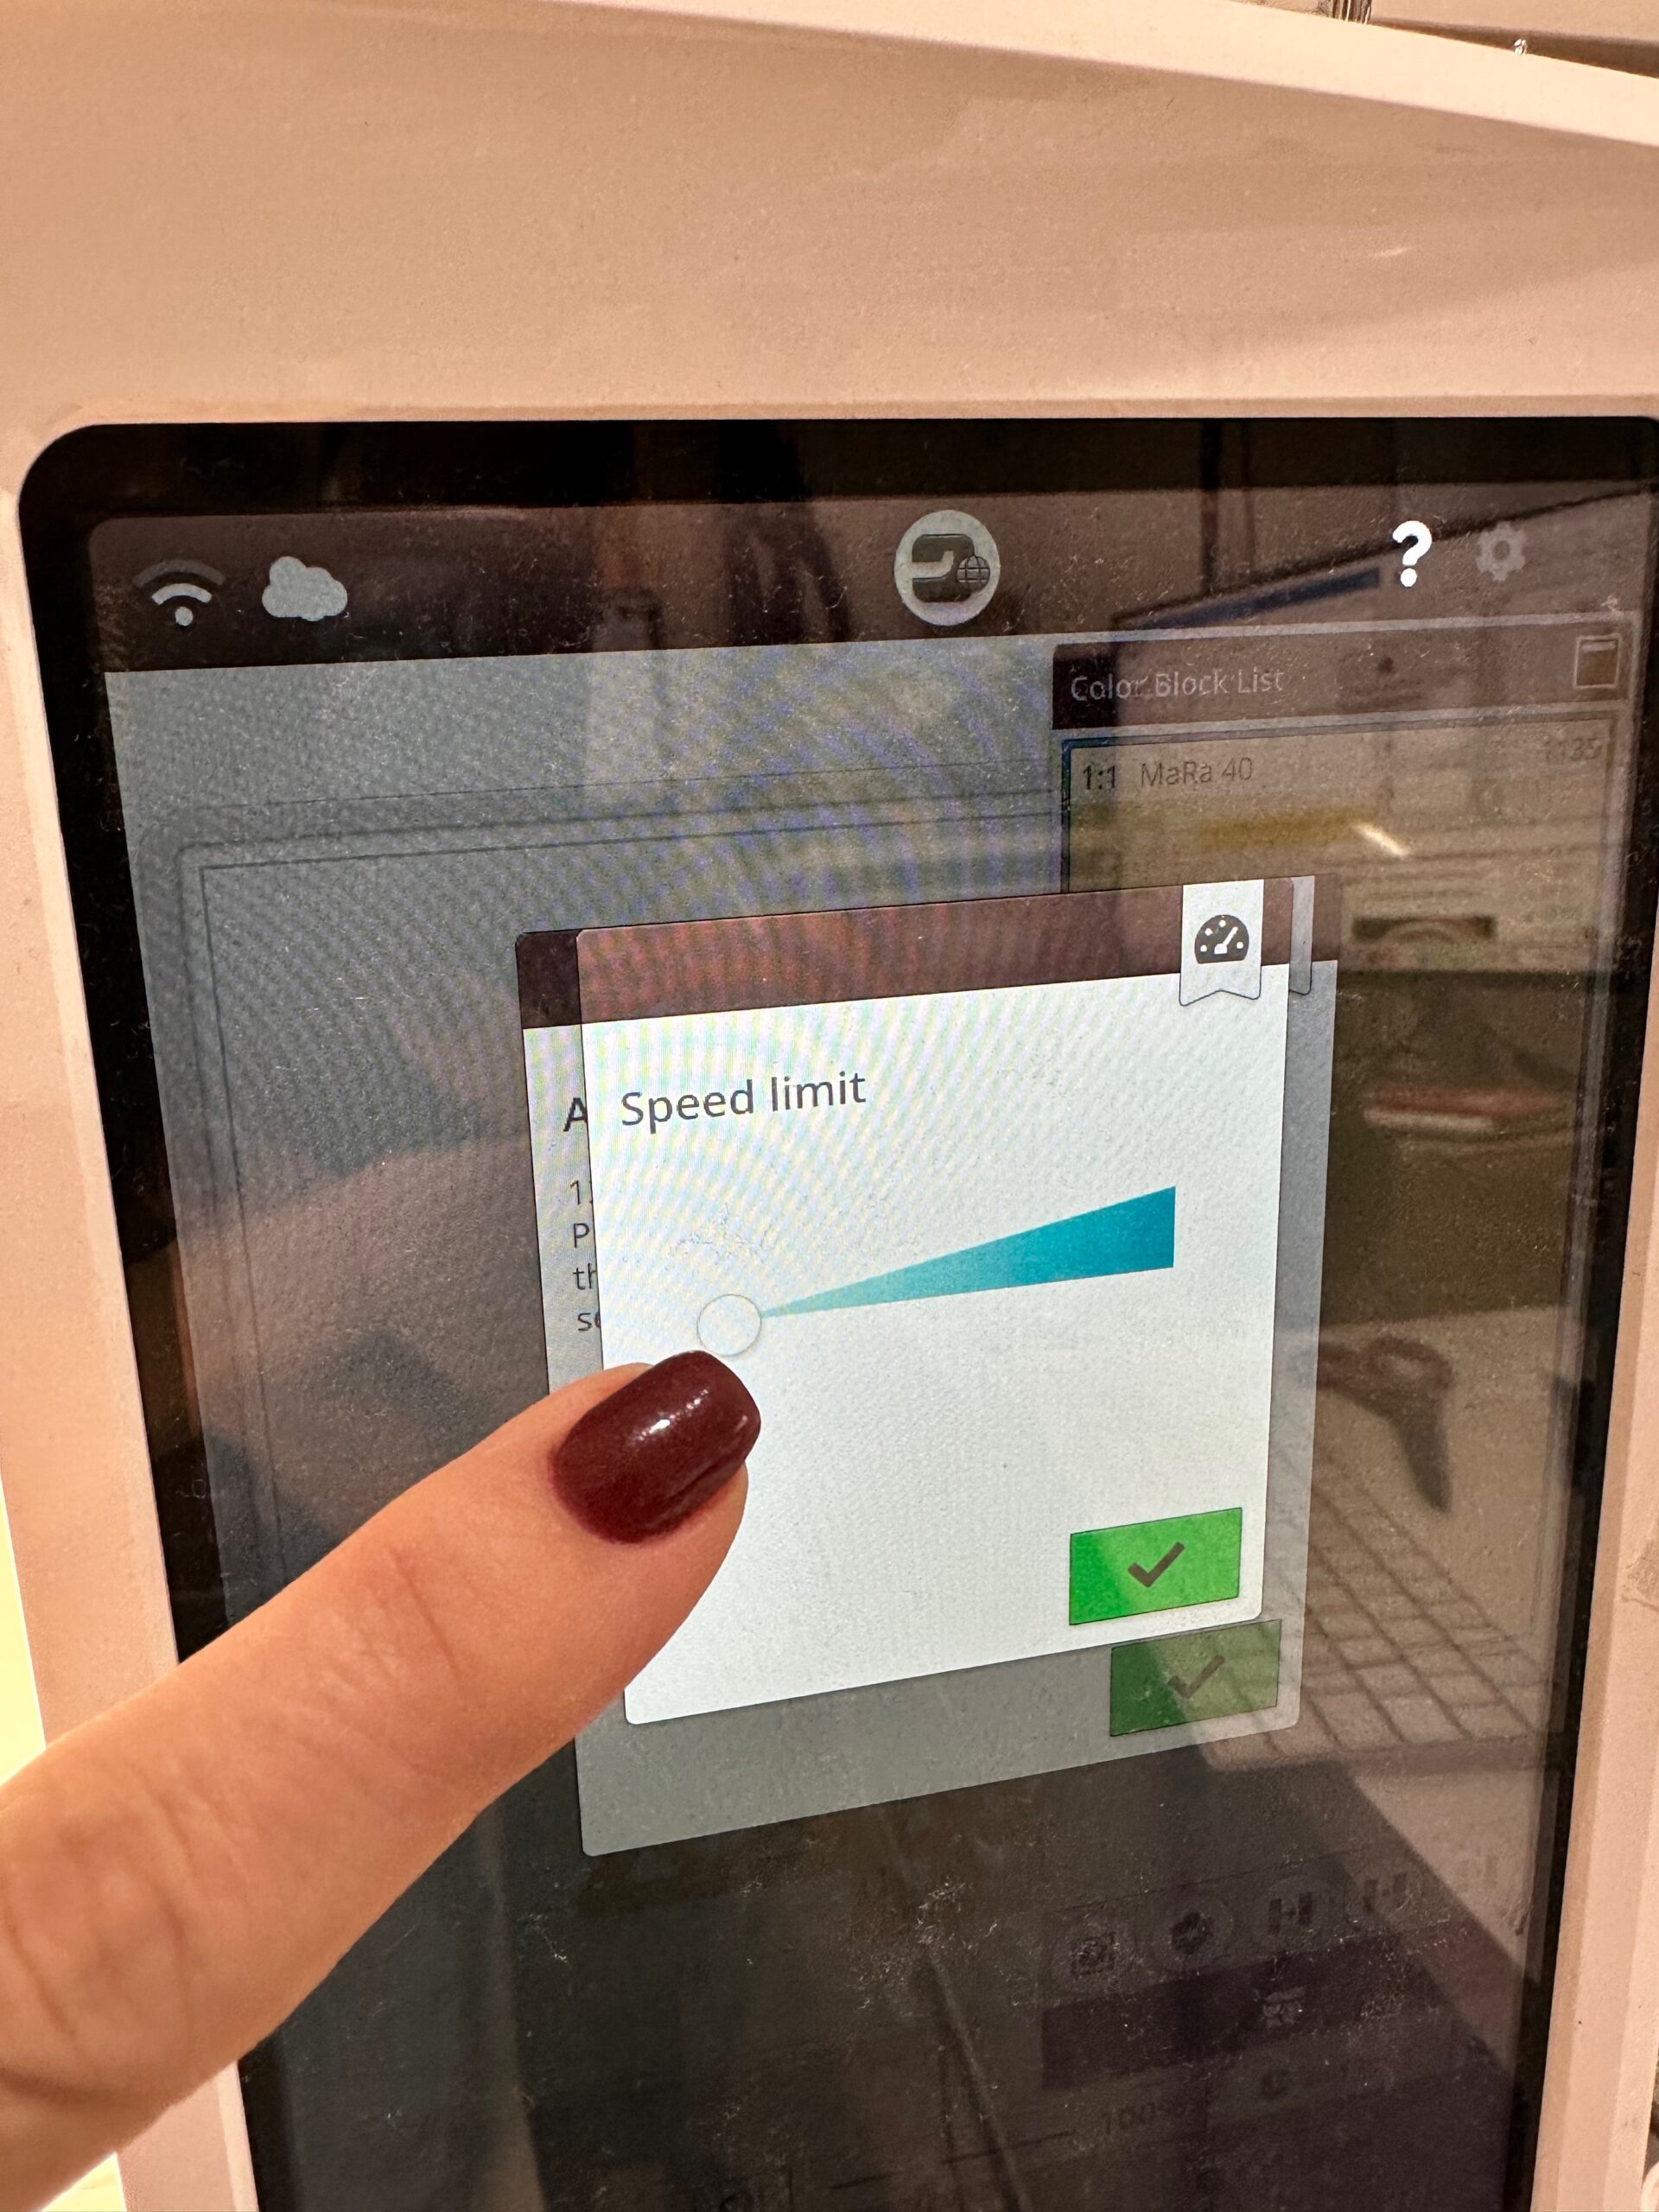
When it comes to freestanding lace, slow and steady wins the race. Lower your machine to its slowest stitching speed. This gives the machine time to handle the delicate threads and heat that can build up with metallics, producing cleaner, more precise satin stitches.
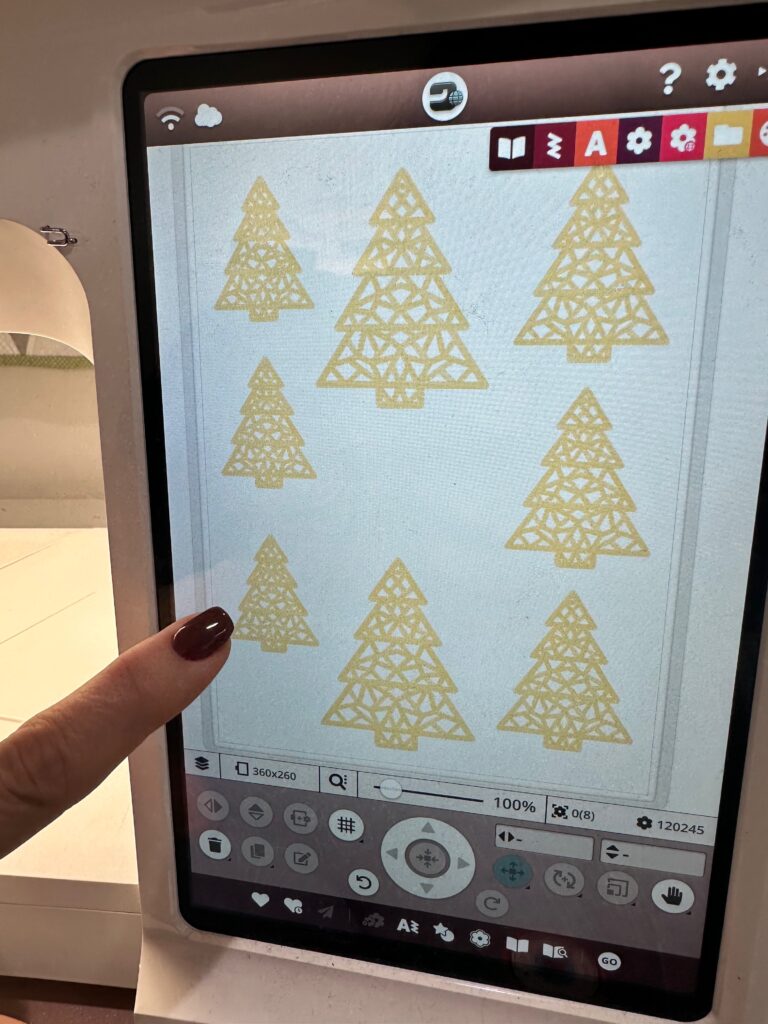
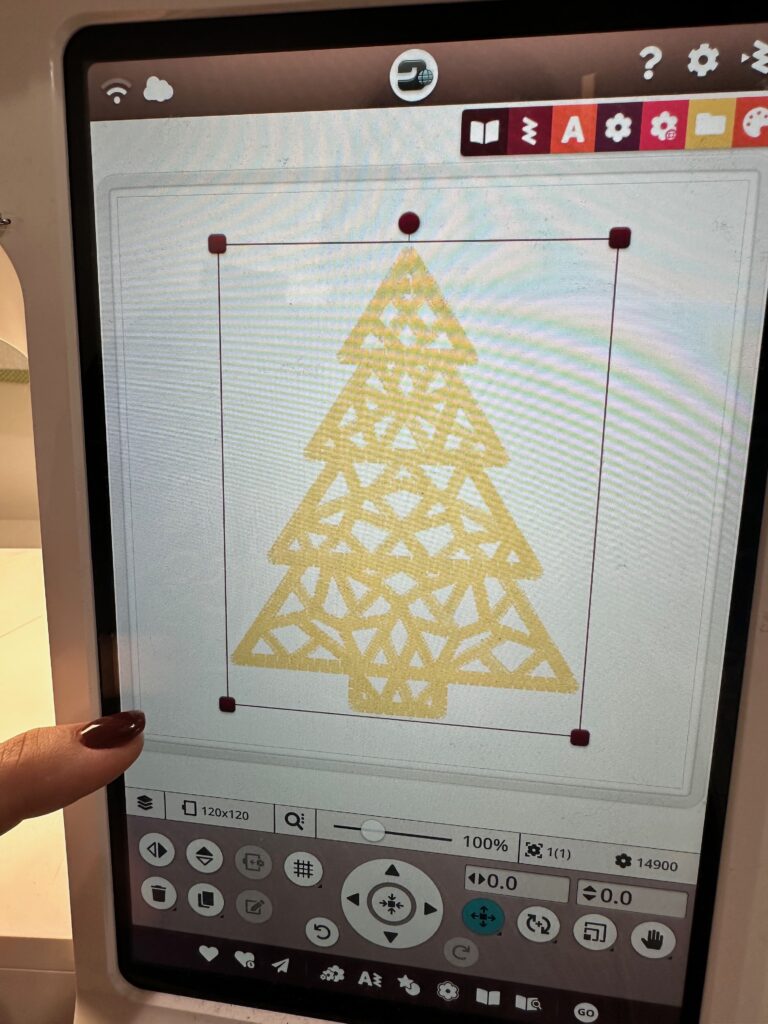
If you plan to make multiple FSL stitchouts to adorn all the presents under your tree, resist the urge to stitch multiples in a single hooping. Even with the right stabilizer, hooped designs with high stitch count/density can cause minor shifts in the surrounding stabilizer, weakening it for subsequent stitchouts. Instead, use the smallest hoop possible for your chosen design and hoop a fresh piece of stabilizer for each stitchout.

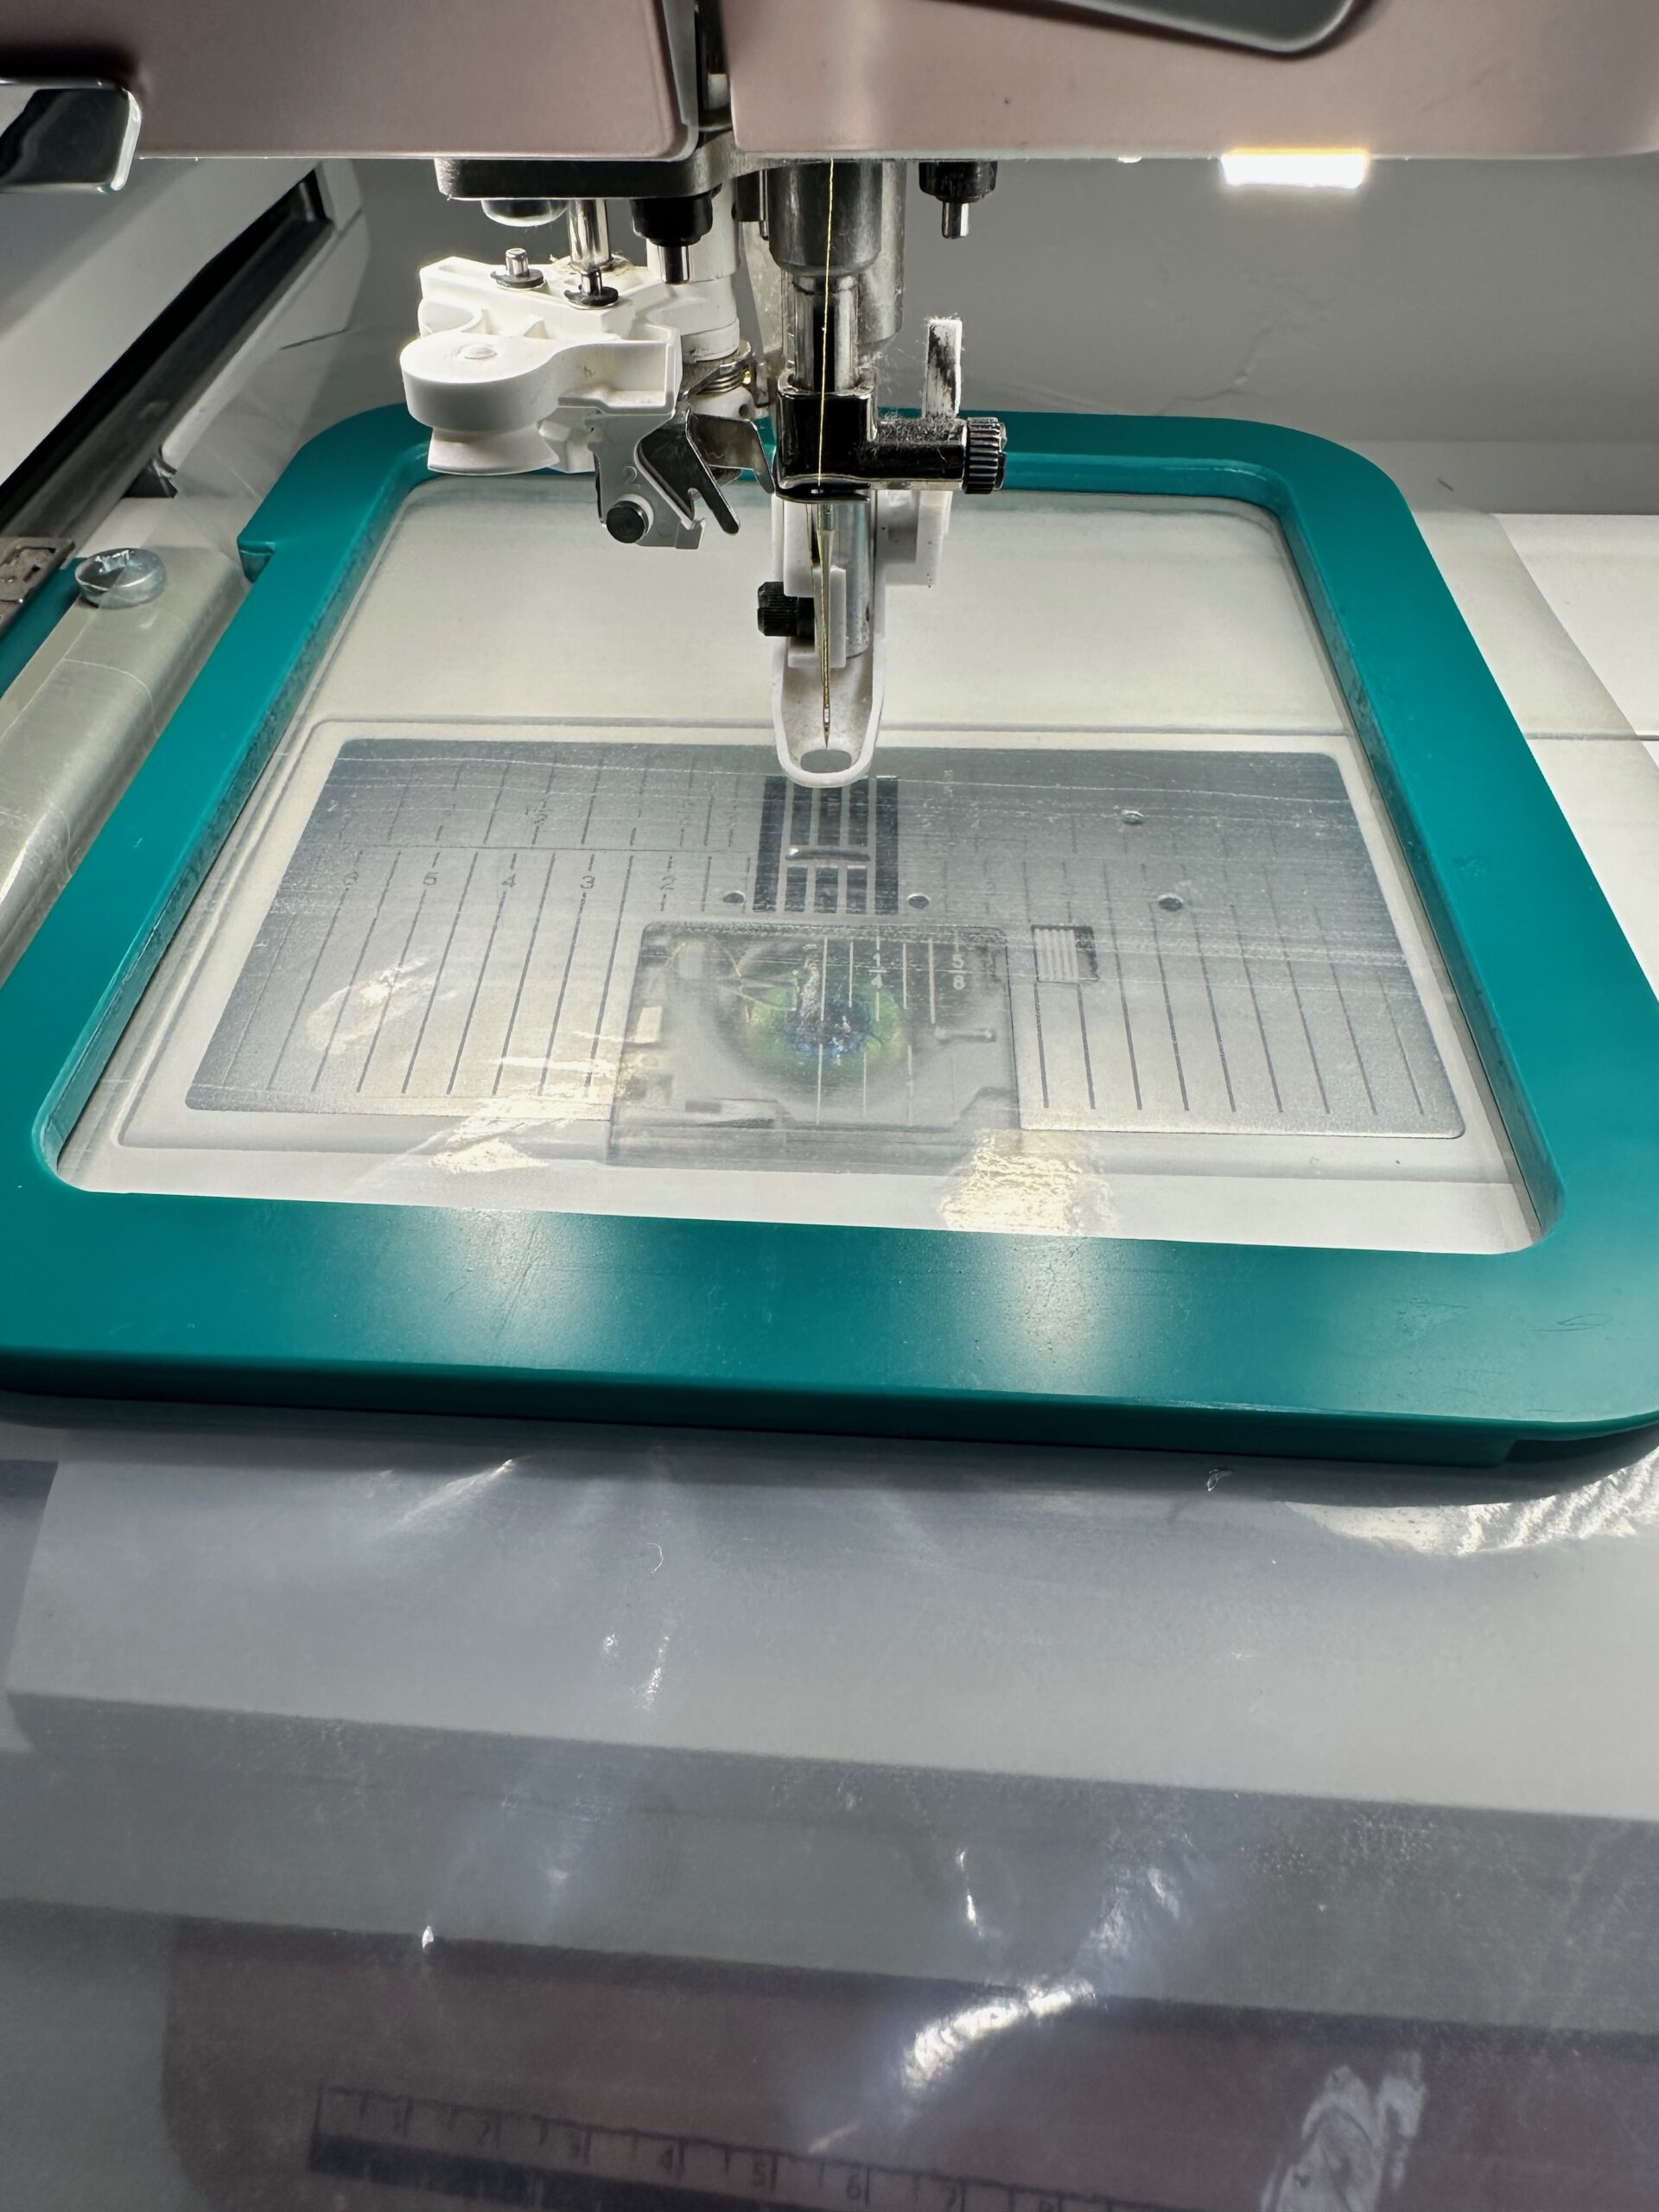
FREESTANDING LACE PROCESS
First, hoop only the stabilizer. There is no fabric involved, after all!
Next, place the hoop onto the machine and begin the stitchout. If the machine pulls the top thread to the bottom, either delete that function or stop the machine to trim that thread tail away from the hoop underside. This avoids knots and thread nests on the back of the lace piece.
If the design has multiple thread colors, be sure to swap the bobbin with each thread change, too. Otherwise, stitch the entire design with one thread color in the needle and the same in the bobbin.
FINISHING
Once the design is complete, carefully remove it from the hoop and trim away the excess stabilizer close to the design perimeter stitching.
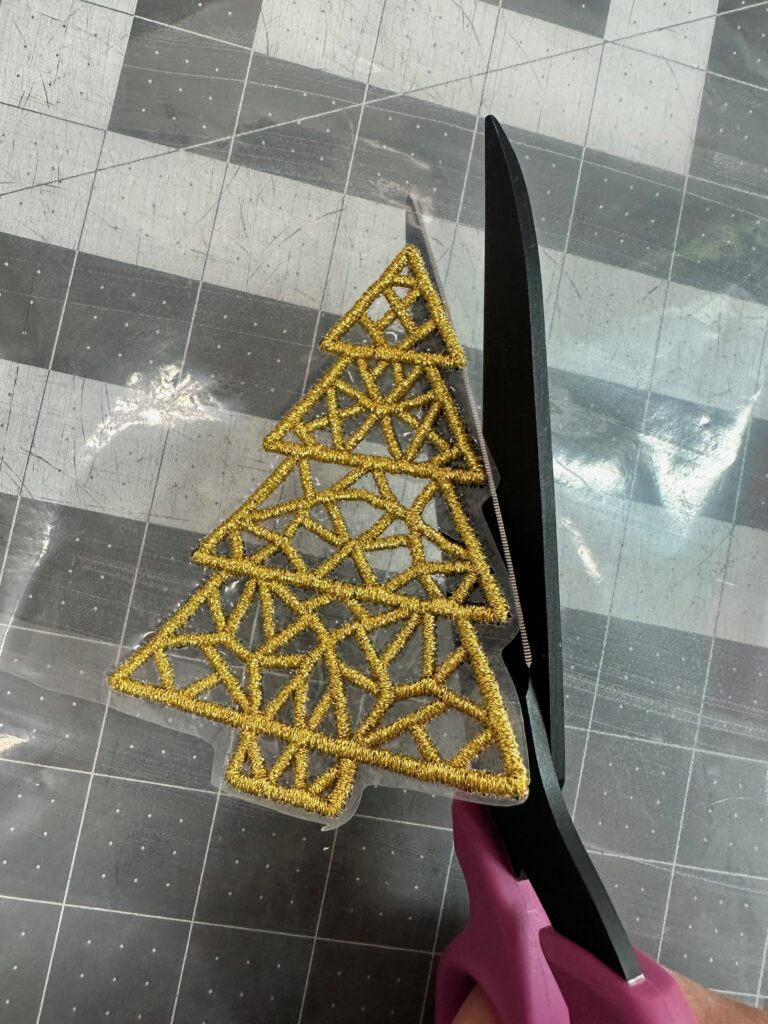

Then, rinse the stabilizer in warm water to dissolve the Ultra Solvy.

Lay flat to dry or gently shape it over a towel roll for a 3D effect.
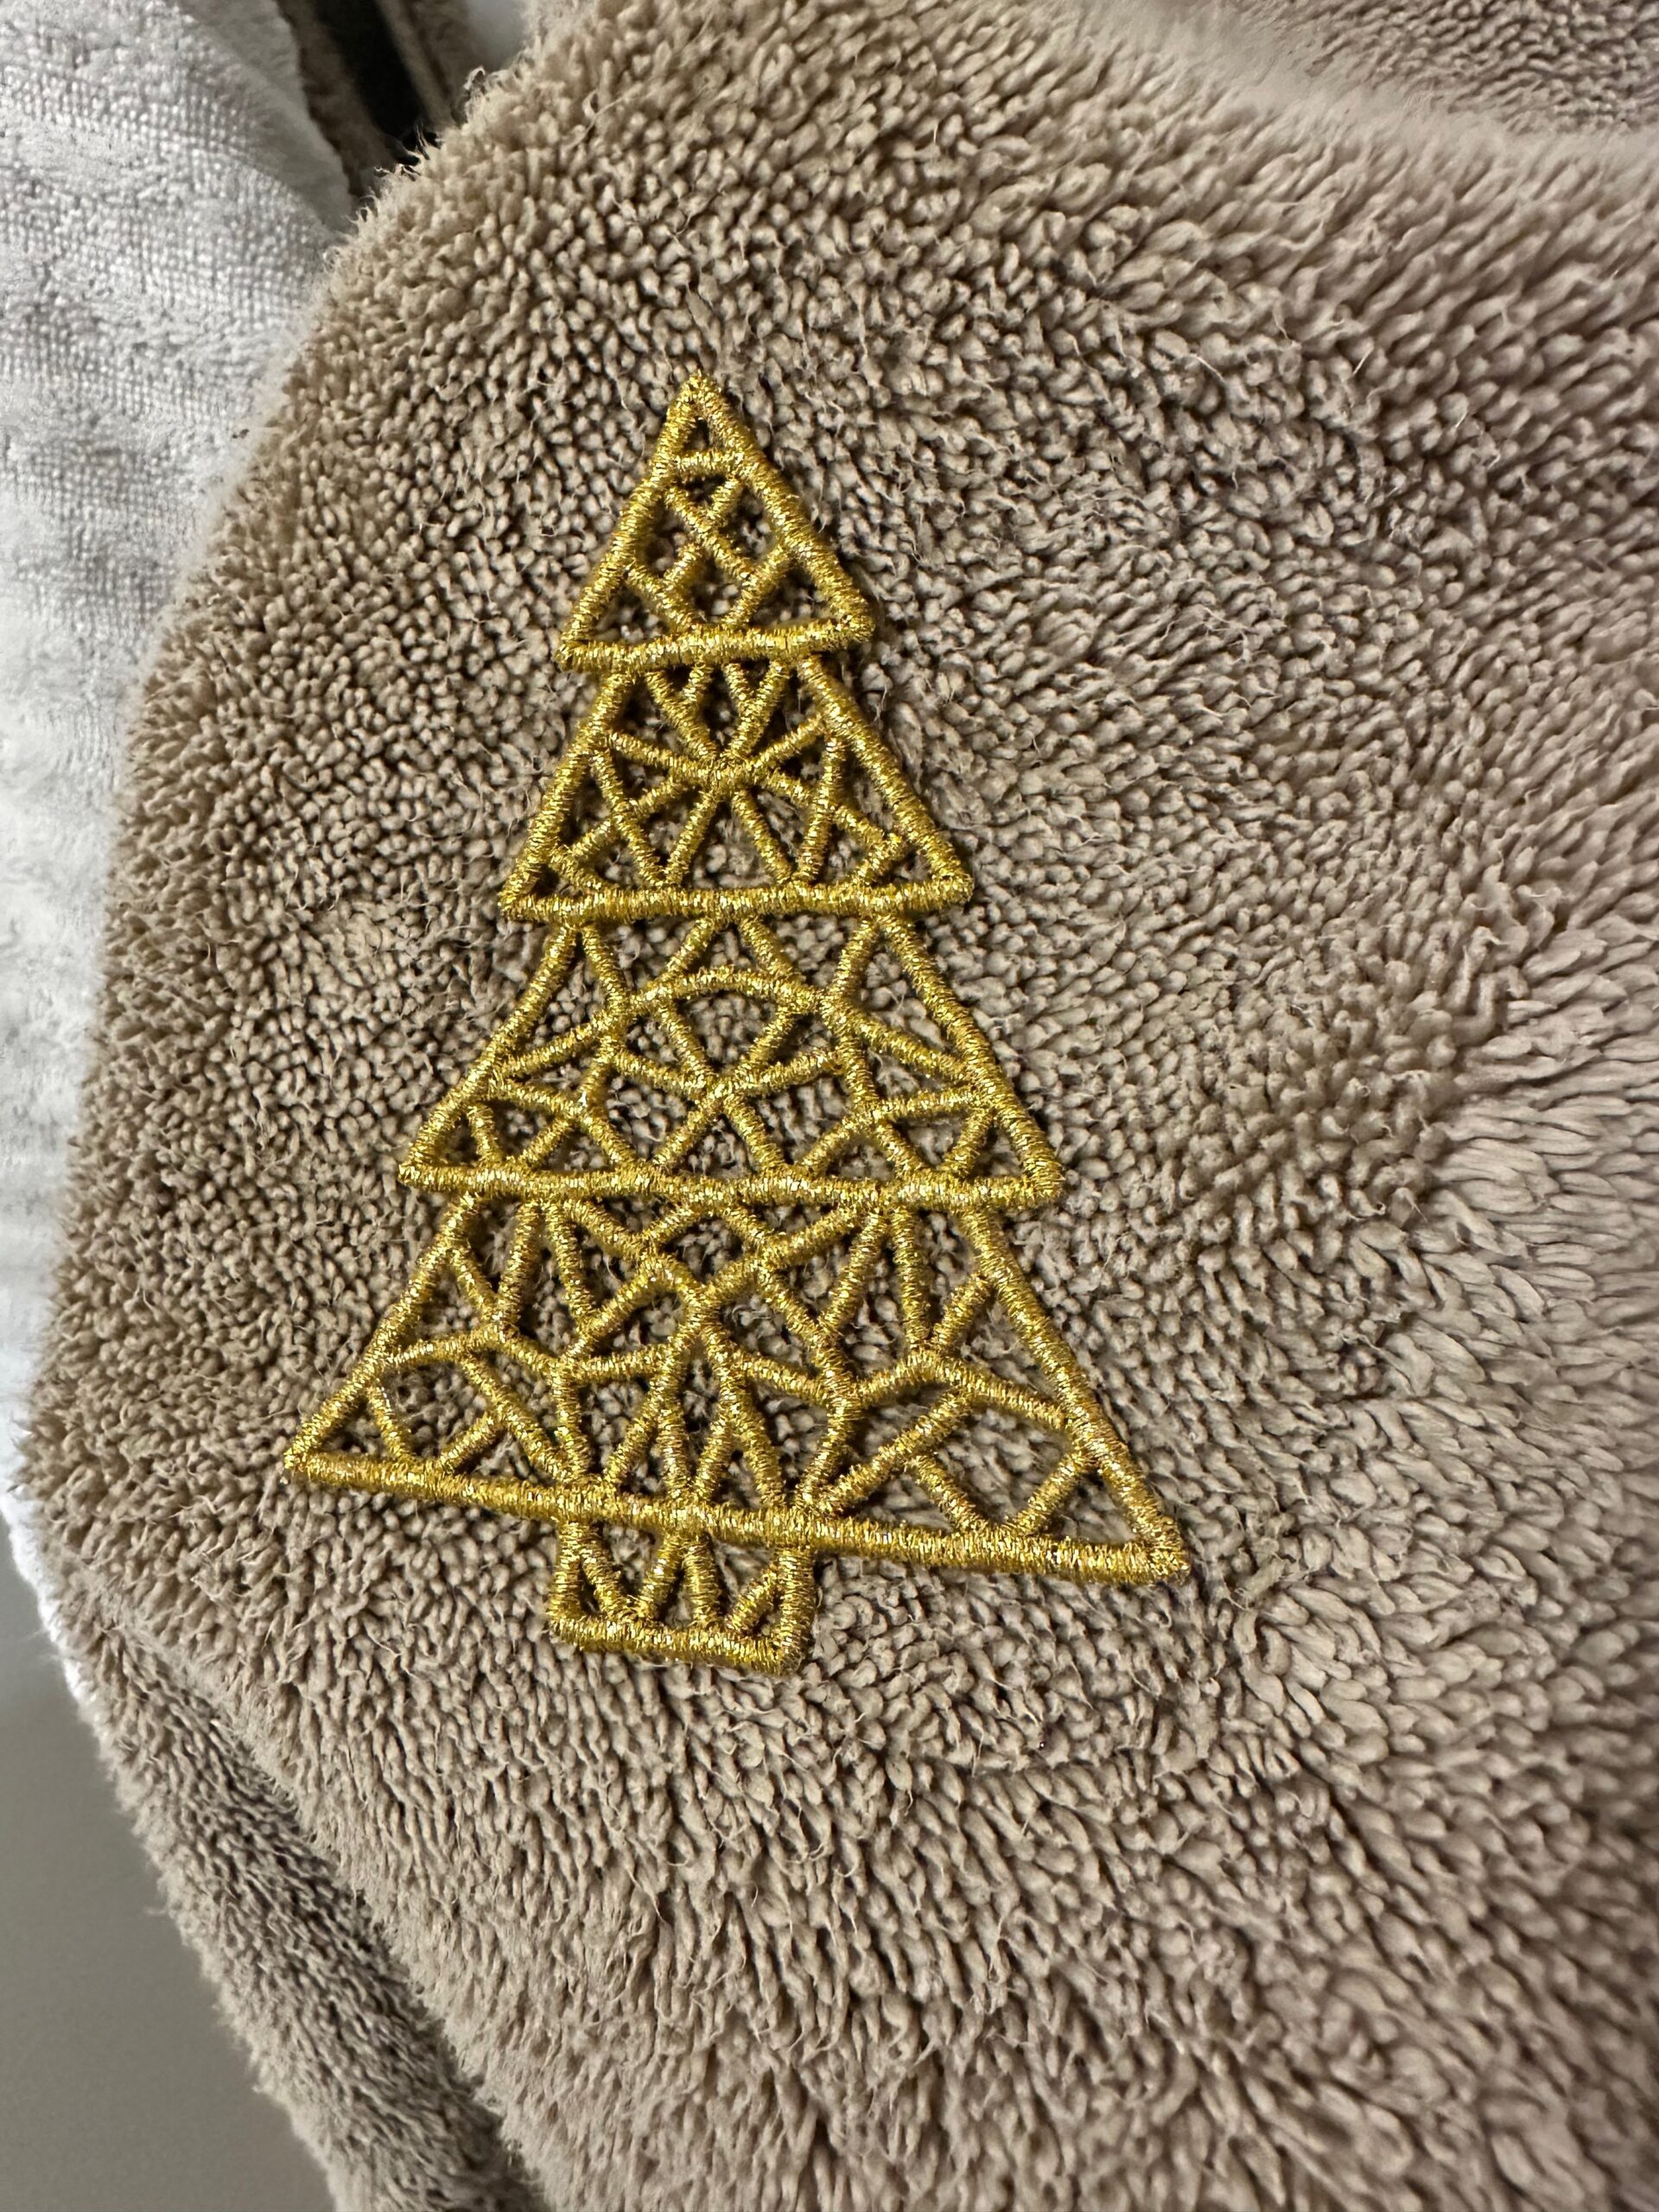
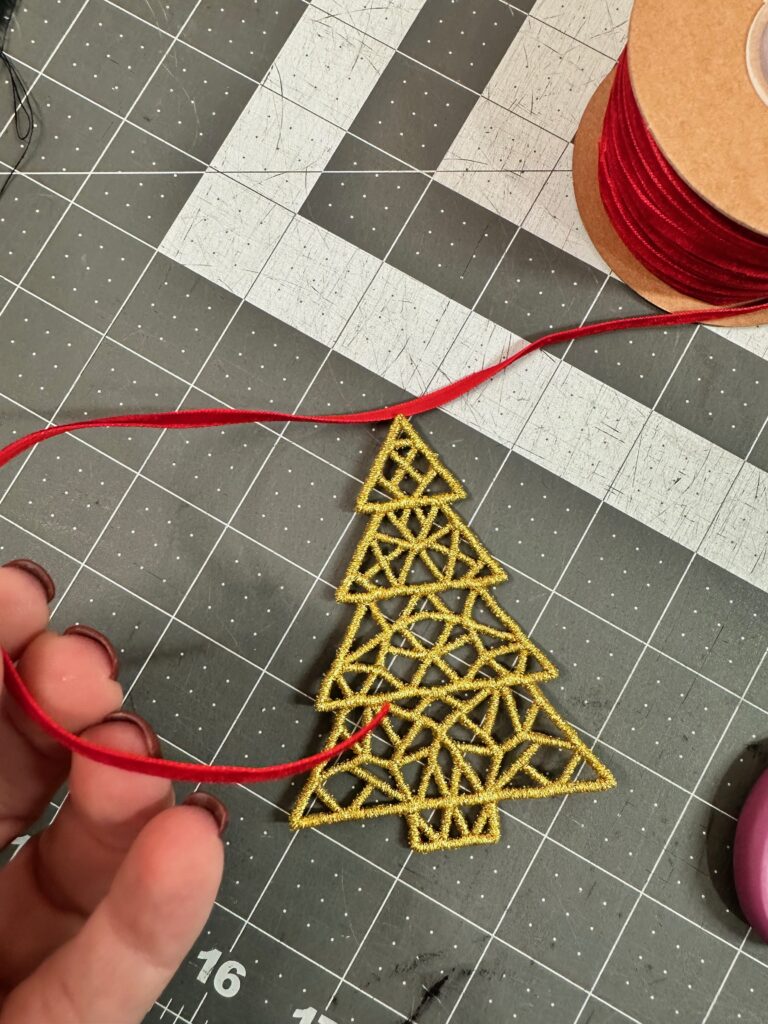
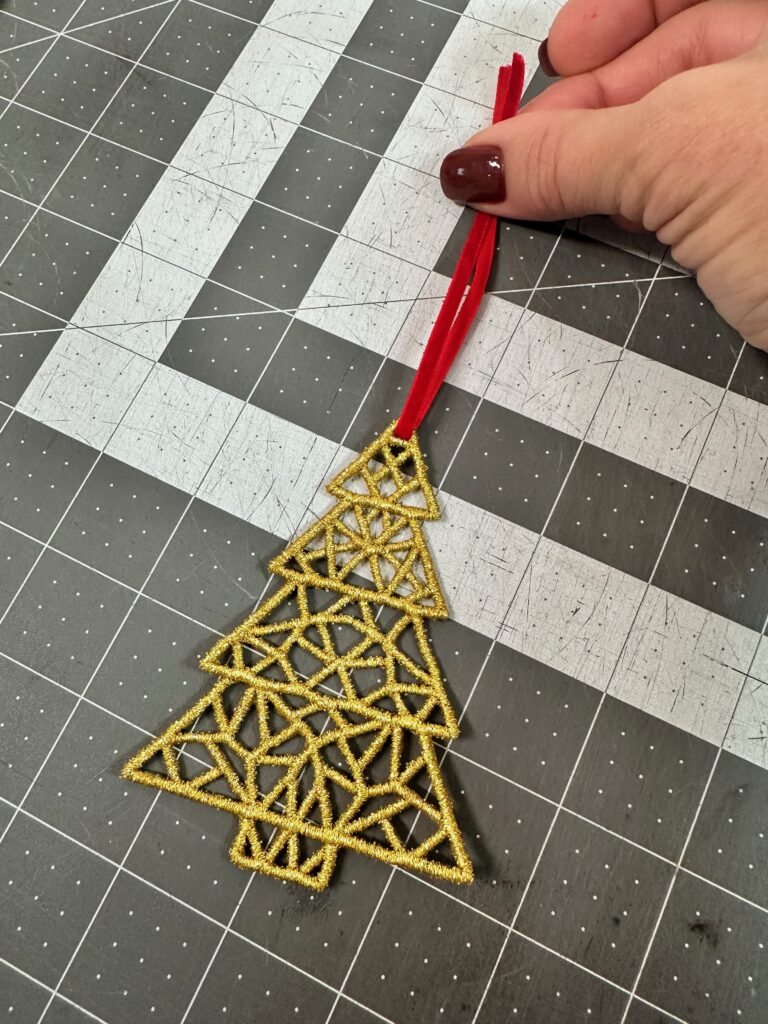
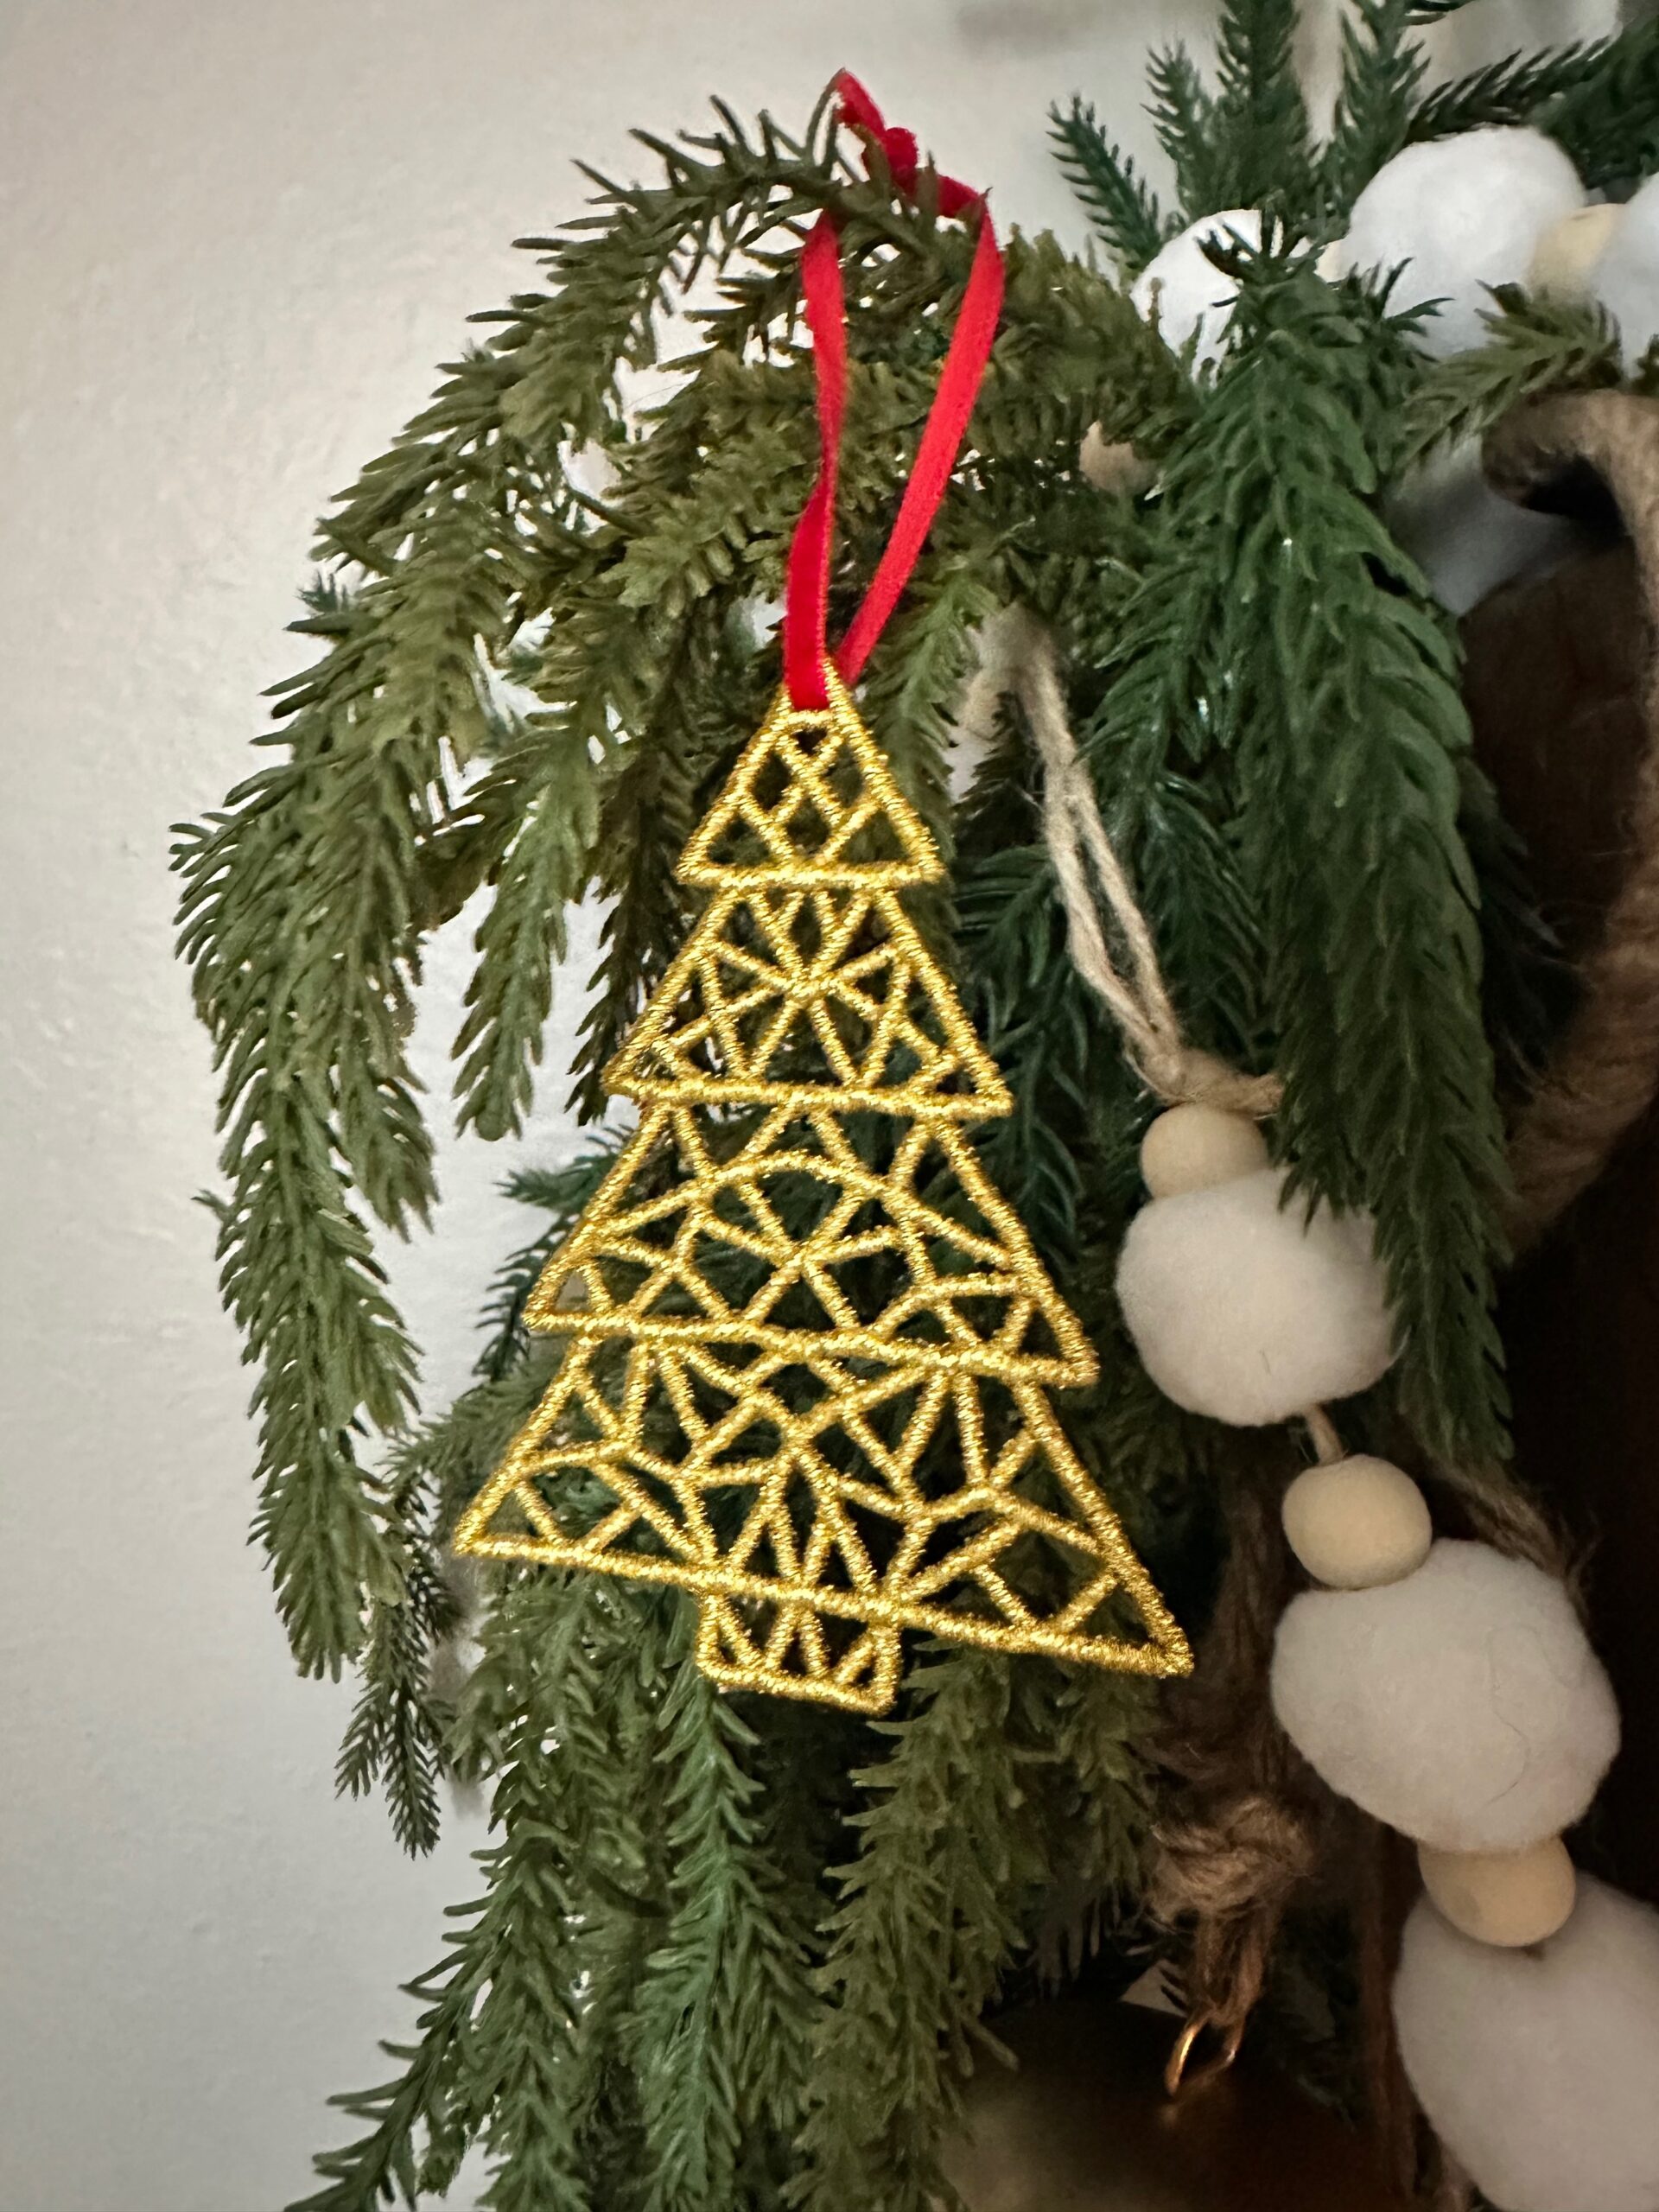
Once dry, tie a ribbon to the top of the design to create a stunning ornament. Or thread the ribbon through the lace center to attach it to a gift. Or, omit the ribbon and use it as a place card holder at your holiday table.
Freestanding lace designs like this one are versatile and add an elegant, handmade touch to every holiday celebration. With the right combination of thread, stabilizer, technique, and careful one-at-a-time stitching, your gift tags, ornaments and table accents will sparkle throughout the holiday season!

Wonderful design. Thank you so much for the tips to successful outcome. God bless you.🙏🏾🕊️💞🥰🎄