Freestanding Patch In the Hoop Design – NEW!
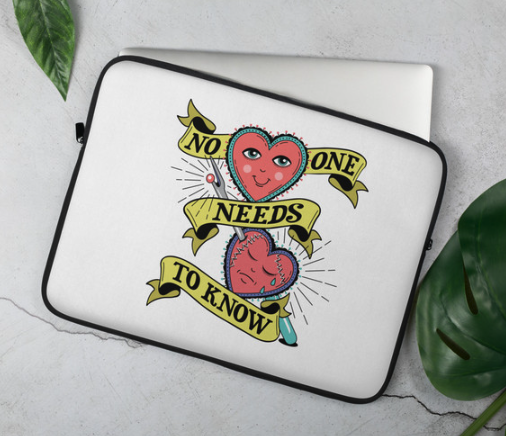
No One Needs to Know
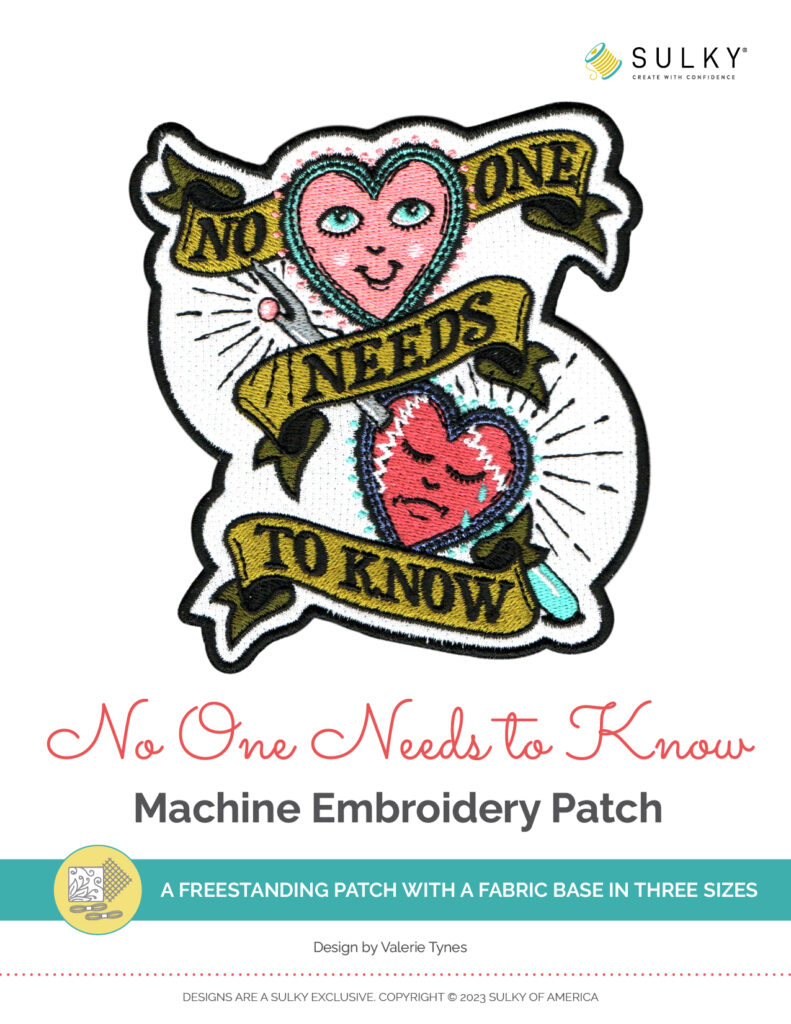
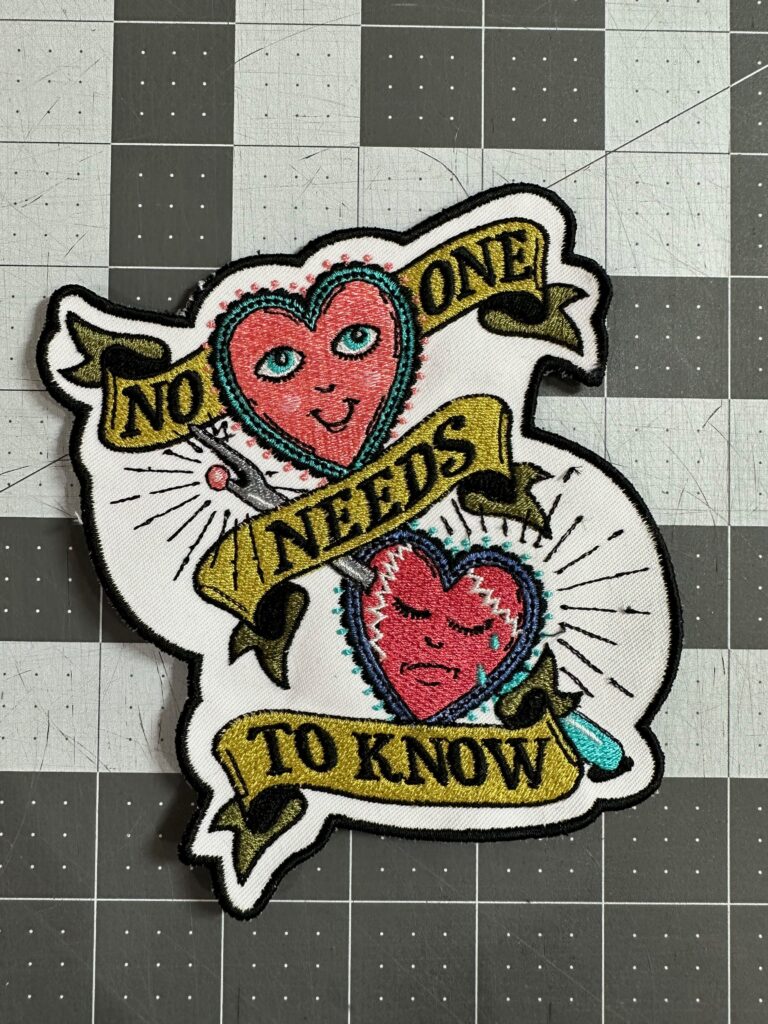
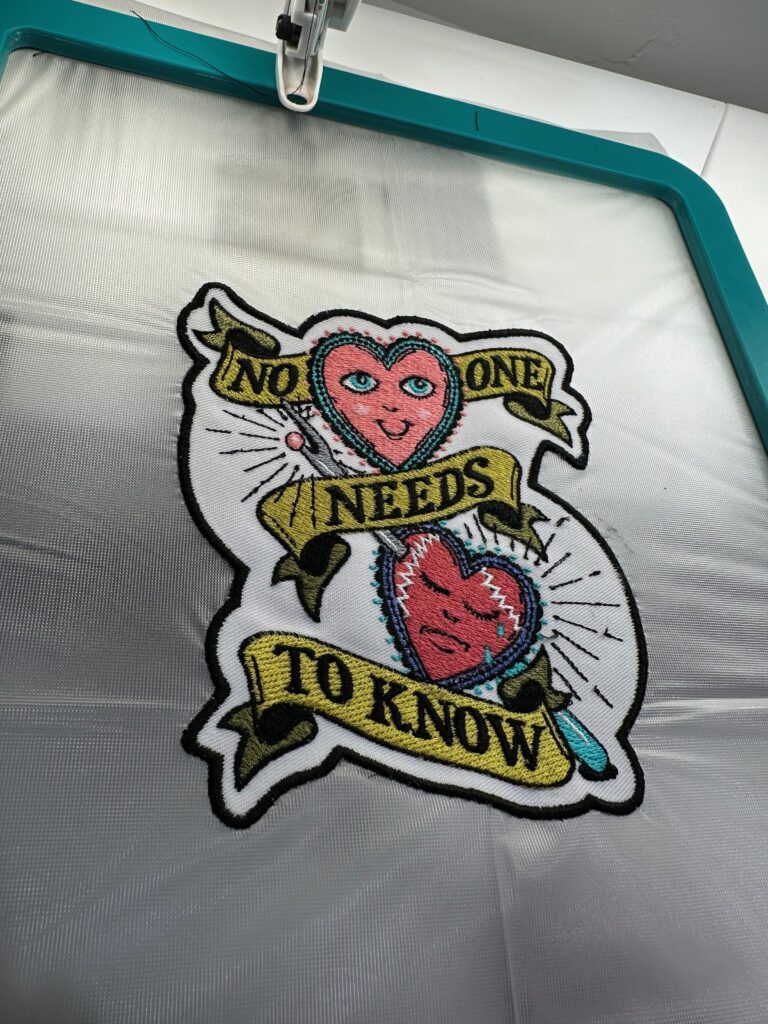
This freestanding patch in the hoop machine embroidery design is a cheeky nod to using your beloved seam ripper. Created as a freestanding patch, similar to an in-the-hoop appliqué, the design comes in three sizes: 3″, 4″ and 5″ tall. The stitching is dense and contains lots of colors for dimension and interest. Build the patch on Sulky Ultra Solvy with Sulky Twilly™ or Felty™ as the base. Then, sew the patch to a garment, bag or accessory using Sulky Invisible Thread.
- Suggested Stabilizer: Sulky Ultra Solvy
- Suggested base fabric: Sulky Twilly or Sulky Felty
- Suggested Needle: Organ Top Stitch 80/12
- Suggested Bobbin: Sulky 60 wt. Bobbin Thread or 60 wt. PolyLite Thread
FREESTANDING PATCH DESIGN DETAILS
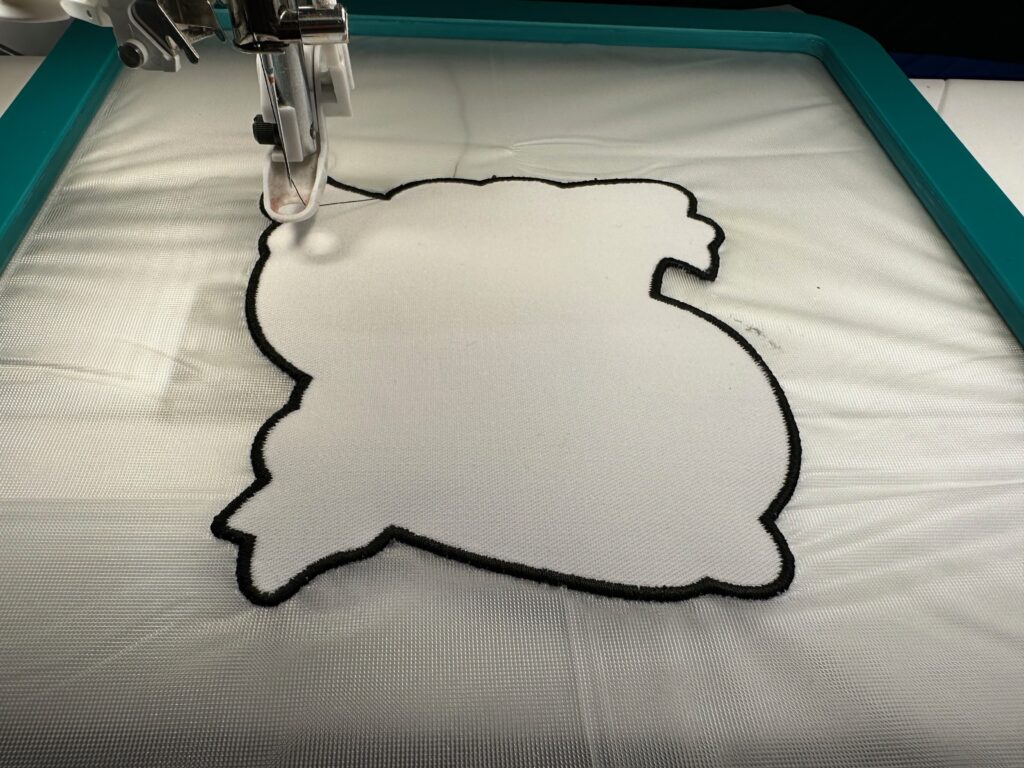
This design comes together similarly to an in-the-hoop appliqué. It is a multi-step patch embroidery design, and the machine stops so you can add the fabric base, tack it down and continue with the stitching.
3 size:
19,048 stitches
70.9 mm W x 76.2 mm H
2.79″ x 3″
4 size:
26,908 stitches
94.5 mm W x 101.6 mm H
3.72″ x 4″
5 size:
35868 stitches
118.1 mm W x 127 mm H
4.65″ x 5″
Featured Sulky Rayon Thread Colors:
- 942-1001 Bright White
- 942-1005 Black
- 942-1329 Dk. Nickel Gray
- 942-1020 Dk. Peach
- 942-1225 Pastel Pink
- 942-1288 Aqua
- 942-1558 Tea Rose
- 942-1226 Dk. Periwinkle
- 942-1243 Spring-Moss
- 942-1156 Lt. Army Green
HOOPING
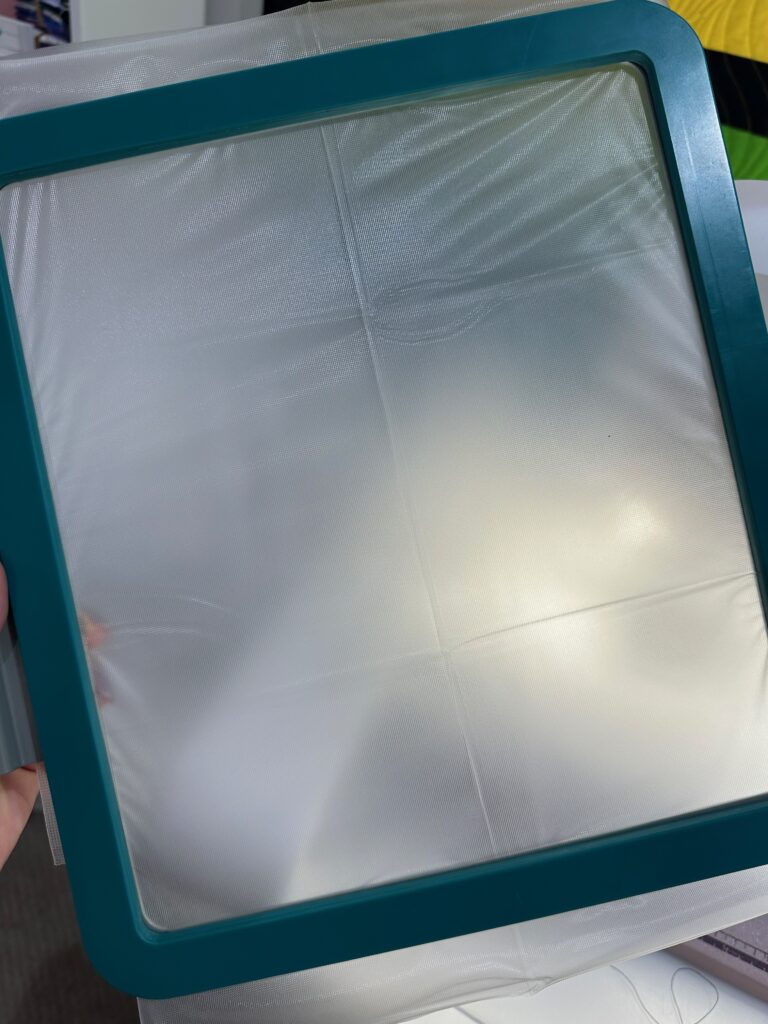
Use Sulky Ultra Solvy Stabilizer to build the patch in the hoop. Or, use two layers of Sulky Super Solvy. Ultra Solvy is four times as thick as Sulky original Solvy. And Super Solvy is twice as thick. It’s not recommended, however, to use four layers of original Solvy. Hoop only the stabilizer, as you’ll add the fabric base after the first color stop stitches.
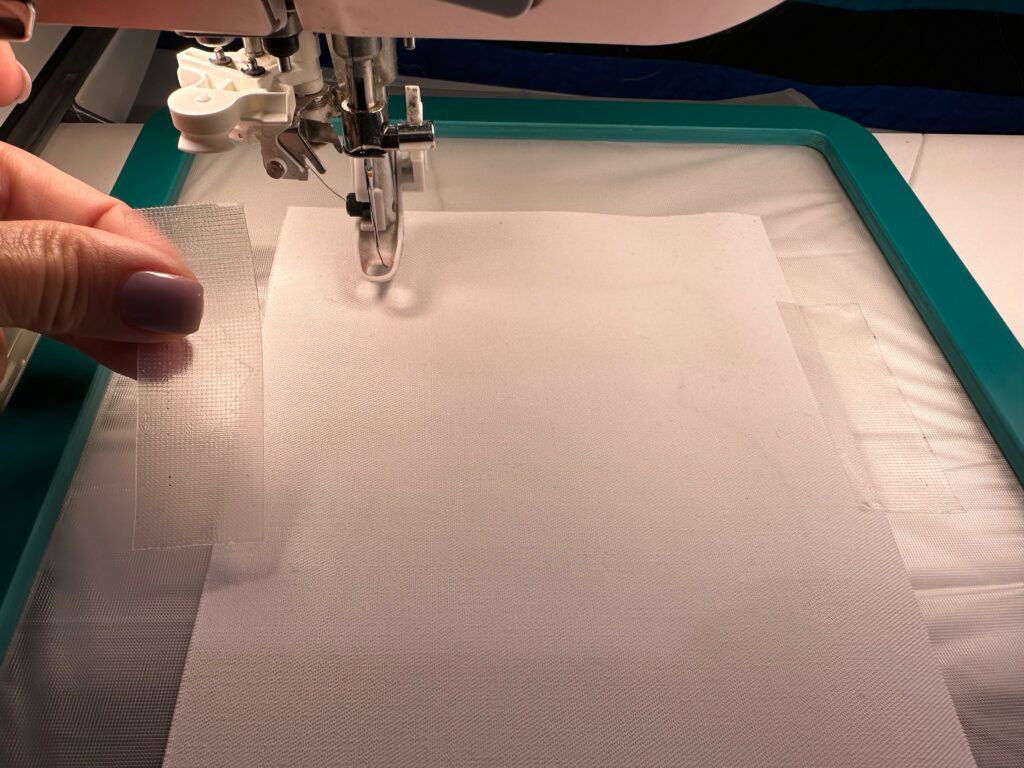
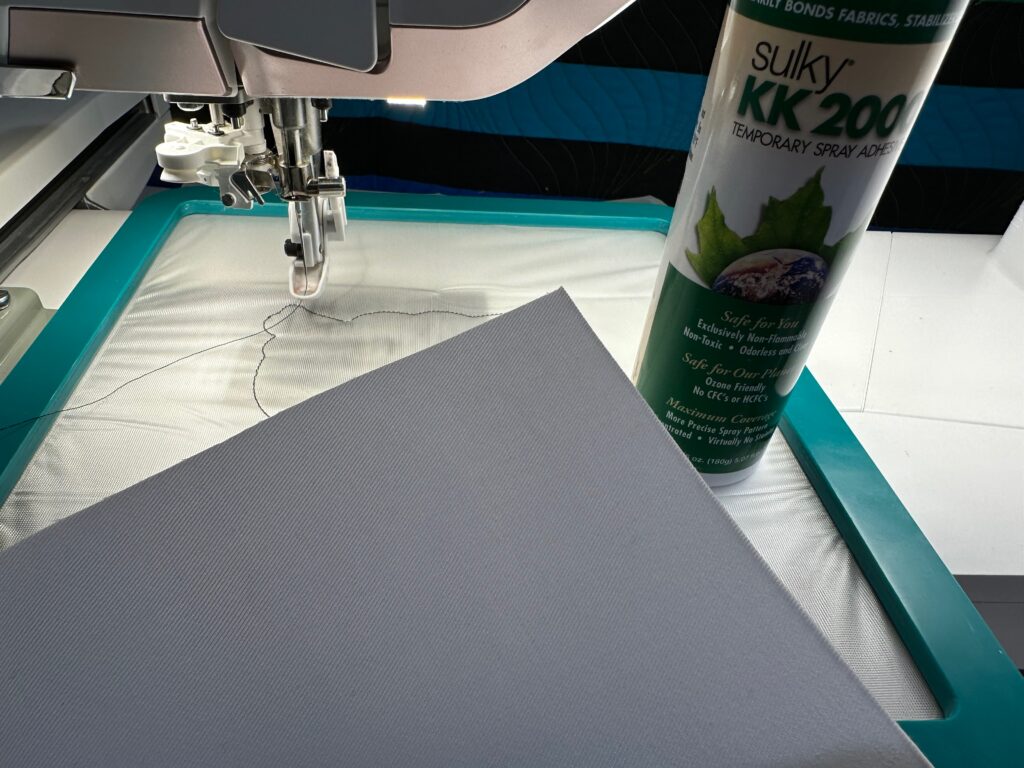
It’s helpful to use a combination of Sulky KK 2000 and Clear Embroidery Tape to secure the freestanding patch fabric base, but either one will do if you don’t have both.
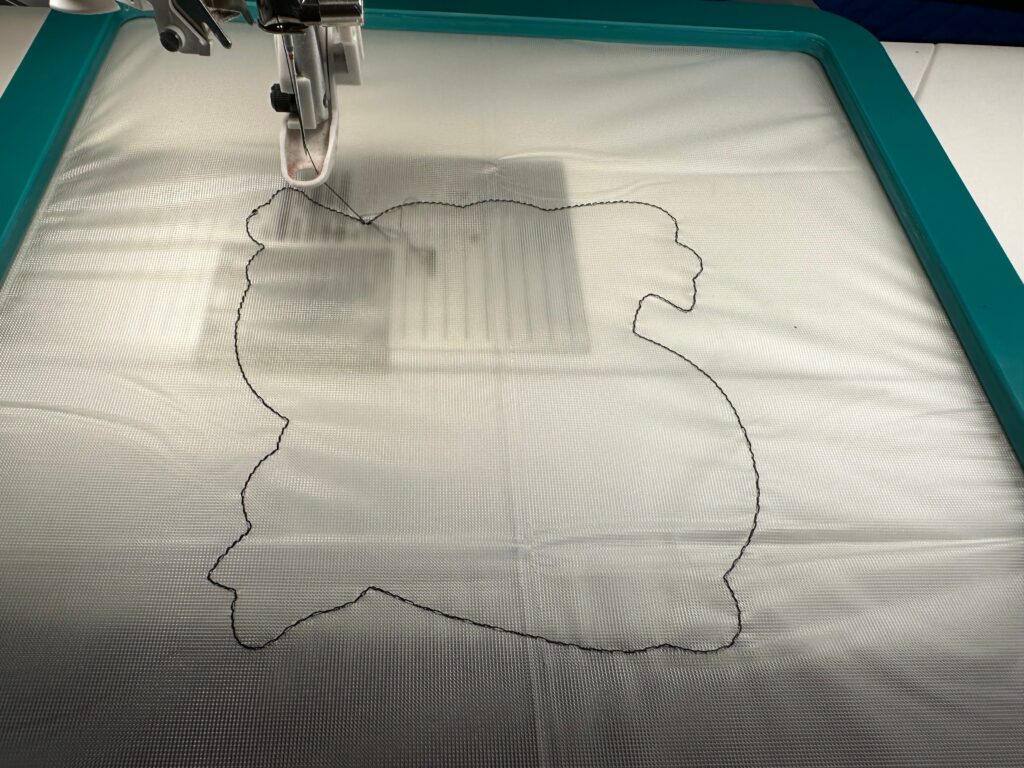
After performing the first color stop, which are the placement stitches for the fabric base, remove the hoop from the machine and trim the stitches on the right and wrong side of the stabilizer. This helps keep things tidy as you build the patch.
Then, spray the back of the fabric base (in this case, Twilly), with Sulky KK 2000. Center the fabric right side up over the placement stitches. Use a couple of pieces of Sulky Clear Embroidery Tape to further secure the fabric edges, too.
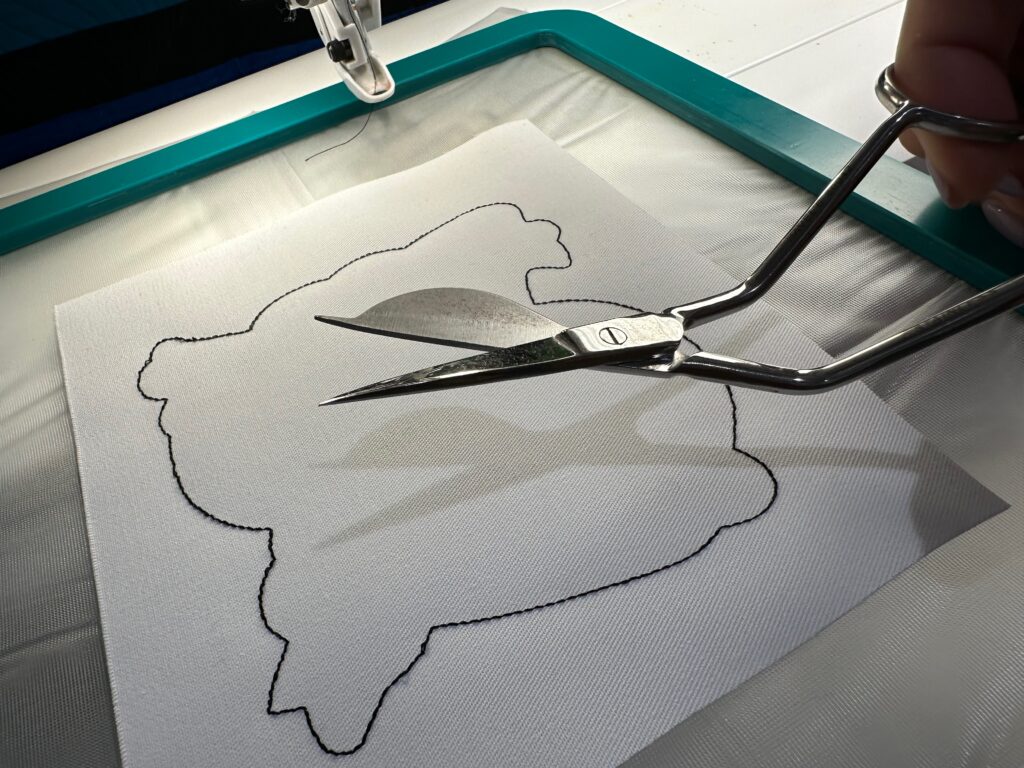
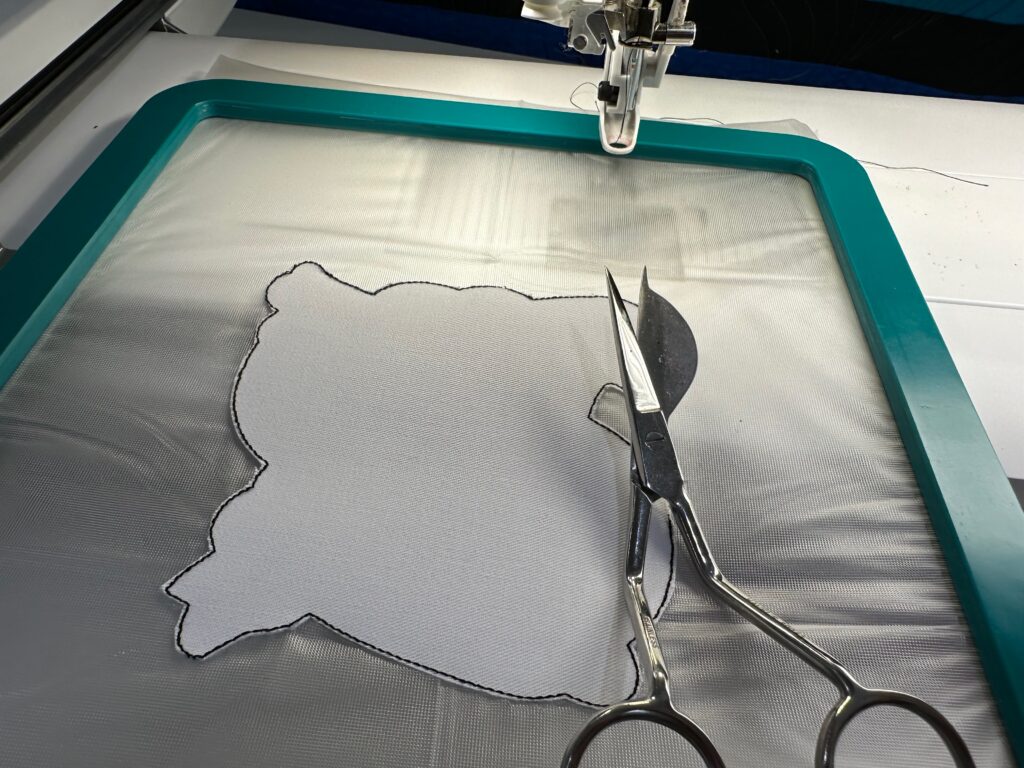
Perform the next color stop, which are the tacking stitches for the base fabric. After stitching is complete, use appliqué scissors to trim close to the tacking stitches without slicing through them.
Then, continue with the remaining color stops to finish embroidering the patch. Be sure to clip any jump threads with each thread color change.
PATCH FINISHING
When the embroidery is complete, remove the hoop from the machine. Trim up any jump threads still intact.
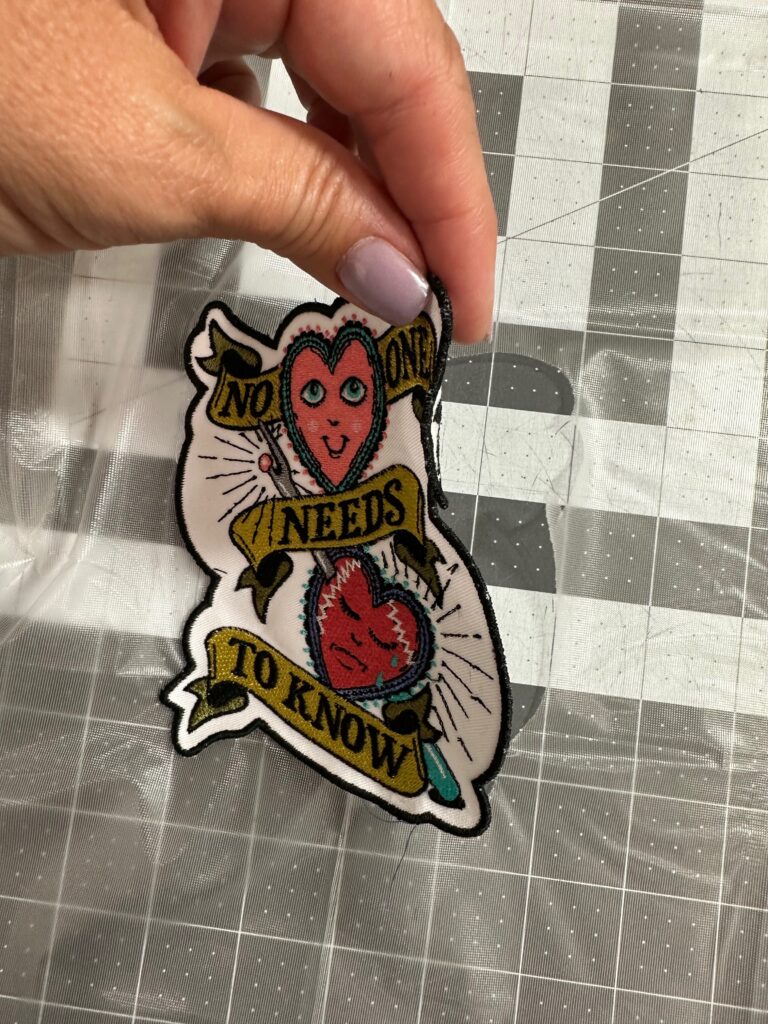
Trim the stabilizer close to the perimeter satin stitching. You may be able to lift the patch right up from the stabilizer, too.
Rinse and/or soak to remove the excess stabilizer; let dry.
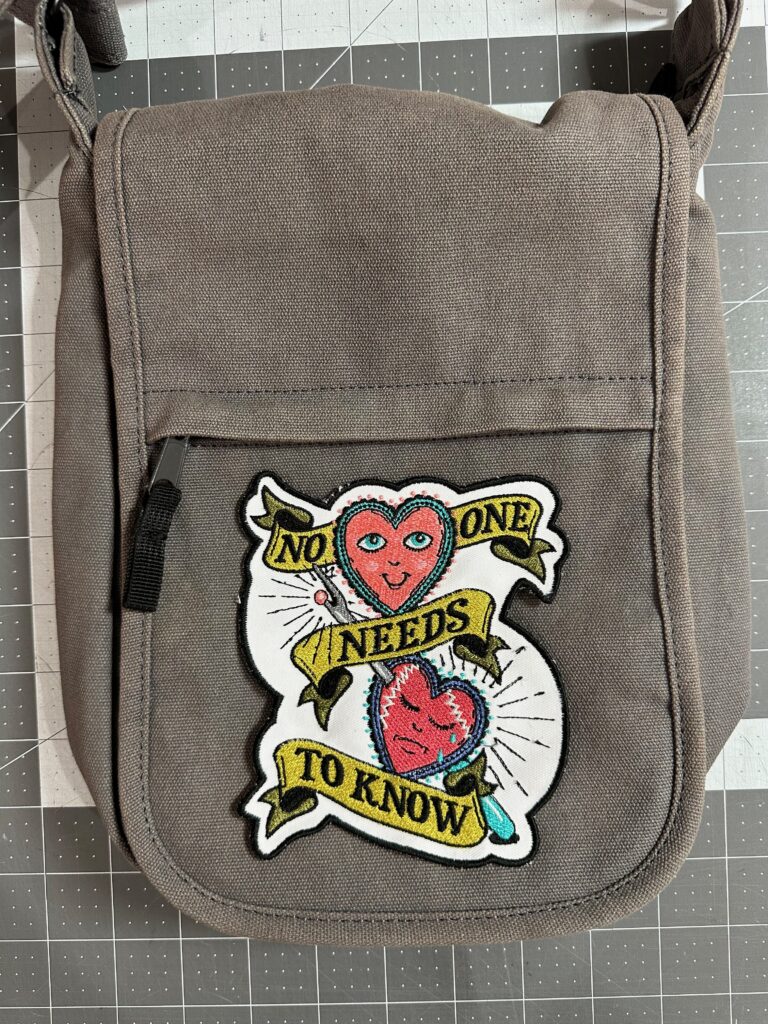
Apply the patch to another fabric or readymade item, such as a tote or backpack, using Sulky Invisible Thread. Choose a thread that matches the item for the bobbin thread, or use Invisible thread both in the needle and bobbin. Set the machine for a narrow zigzag and stitch over the patch satin stitch edging.
If you love this design, check out our Sulky Swag and have it printed on a new laptop case, tote, mug, T-shirt or phone case!




Is the embroidery design available?
Yes, you can find it here: https://sulky.com/no-one-needs-to-know-machine-embroidery-patch-design