Patchwork Christmas Pillow – Free Pattern
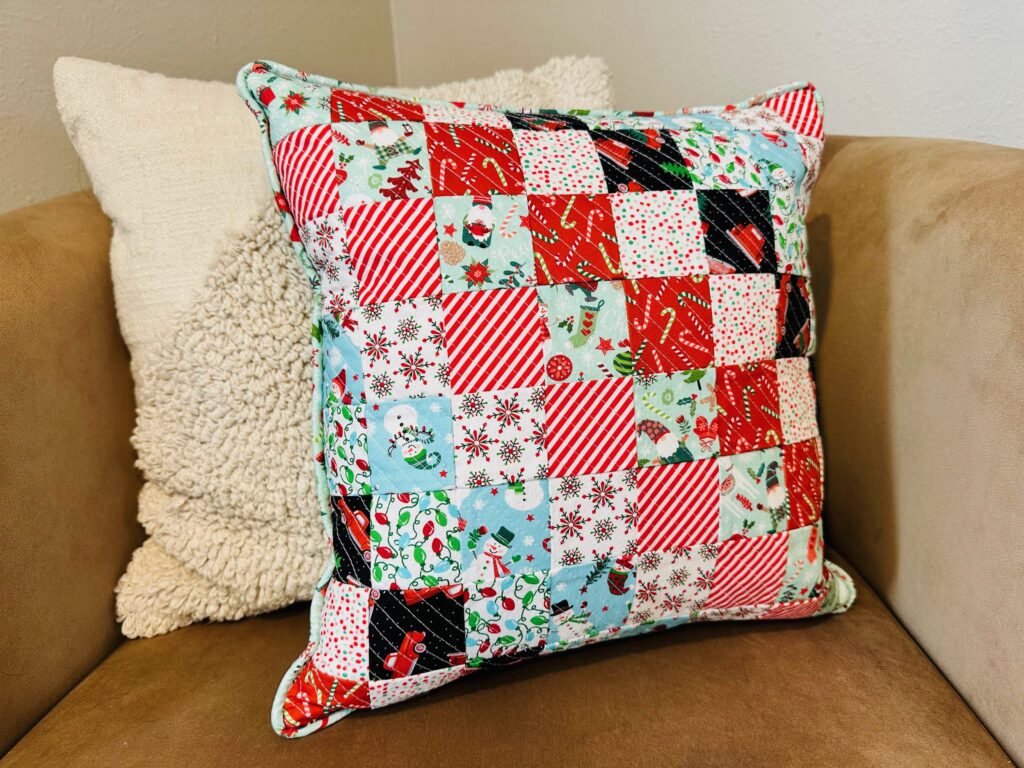
Create a festive patchwork Christmas pillow, featuring holiday prints. Map out your own grid onto fusible stabilizer to stitch perfectly accurate seams in a fraction of the time. To finish, quilt the pillow top and back in the manner of your choice and add piping for a designer touch. Grab this free Sulky pattern and create a pillow set for the holidays!
Finished Size: 16 square
PATCHWORK CHRISTMAS PILLOW SUPPLIES
- Patchwork Christmas Pillow Pattern (it’s free!)
- 16 Pillow Form
- Sulky Soft Sheer Extra Stabilizer
- 2 ½ wide assorted fabric strips (a jelly roll works perfect for this)
- Sulky 50 wt. Cotton Thread (piecing)
- 18 square of coordinating fabric (backing)
- Sulky KK2000 Temporary Spray Adhesive
- (2) 18 squares of low-loft batting
- Pre-made or self-made piping
- 20 to 22 long matching invisible zipper
- Invisible zipper foot (optional)
STABILIZER GRID BENEFITS
The Patchwork Christmas Pillow is created by using a fusible grid technique. There are plenty of companies that sell fusible interfacing with a preprinted grid for this technique; however, the method in this pattern allows you to create your own grid of any size. So you can create a grid to use 5″ charm square fabrics, 2 1/2″ squares cut from jelly roll strips, or even rectangles instead of squares for a completely unique design.
Sulky Soft Sheer Extra Stabilizer is a great choice to use instead of the traditional interfacing used for this technique. The stabilizer is a bit heavier, however, so keep that in mind if you’re using this technique on a quilt. Soft ‘n Sheer Extra also cannot withstand super high heat. So make sure your iron is set at a moderate heat, and test press before applying heat to the final piece.
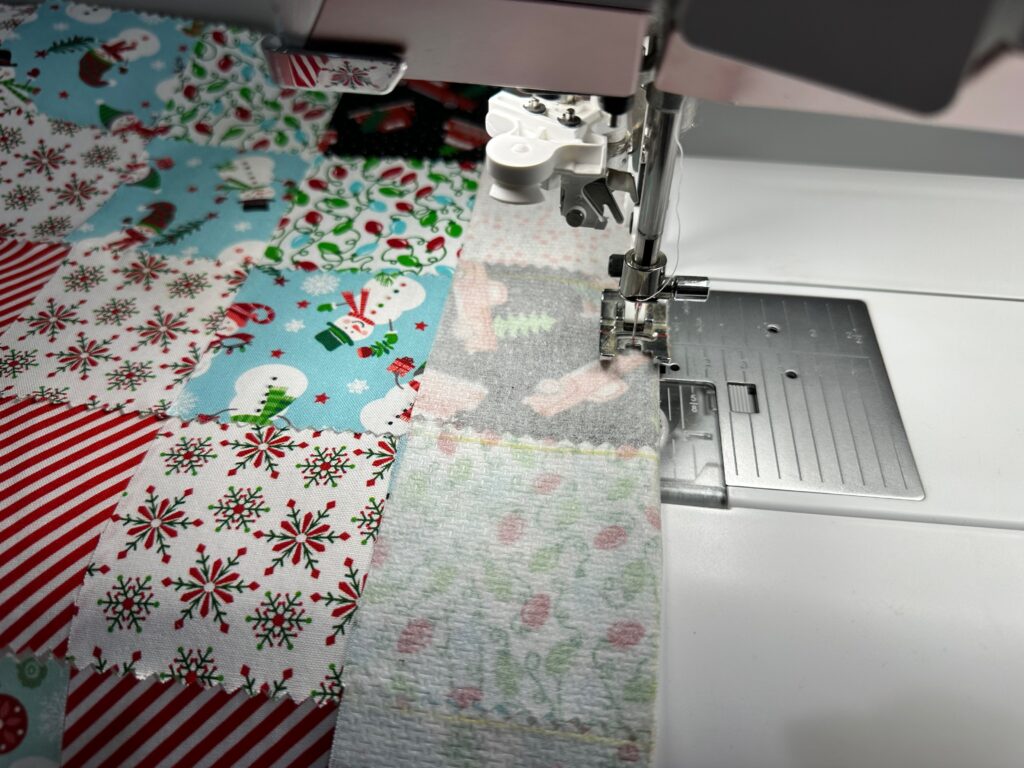
The great thing about this method is that the fabric pieces are fused to the grid before sewing. This allows you to achieve accurate piecing, matching all edges and corners as you go. Plus, the stabilizer ensures that the fabric doesn’t stretch, the edges don’t fray and the corners don’t roll or get caught under the presser foot during piecing.
PATCHWORK GRID HOW-TOS
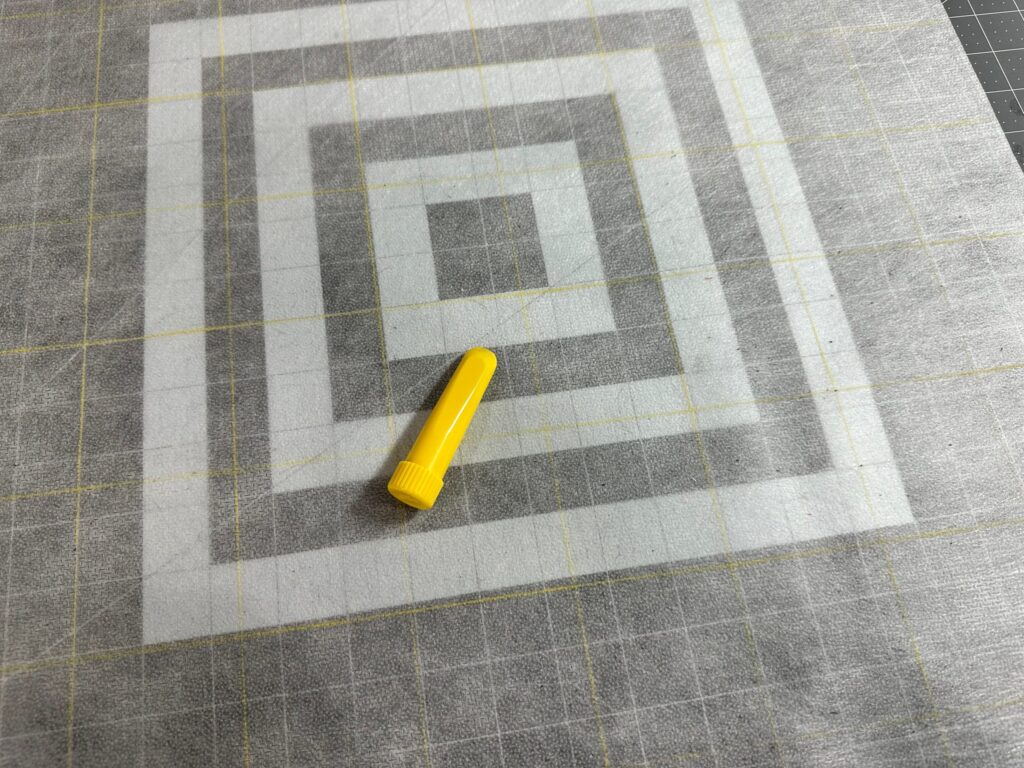
To create a grid on the stabilizer, first cut the stabilizer square (in this case) or rectangle to size, per the pattern. Then, draw a horizontal and vertical center cross mark. Use fabric chalk or a removable fabric marker that’s dark enough to see through the stabilizer on both sides.
Next, draw horizontal and vertical lines on the stabilizer to create the grid in the dimensions of your choice. For this Patchwork Christmas Pillow the lines are spaced 2 1/2″ apart.
Cut assorted fabrics to 2 1/2″ square, using enough squares to fill the grid in the pattern of your choice. A Jelly Roll works great for this, as Jelly Roll strips are 2 1/2″-wide x WOF. Place the squares right side up on the fusible side of the stabilizer.
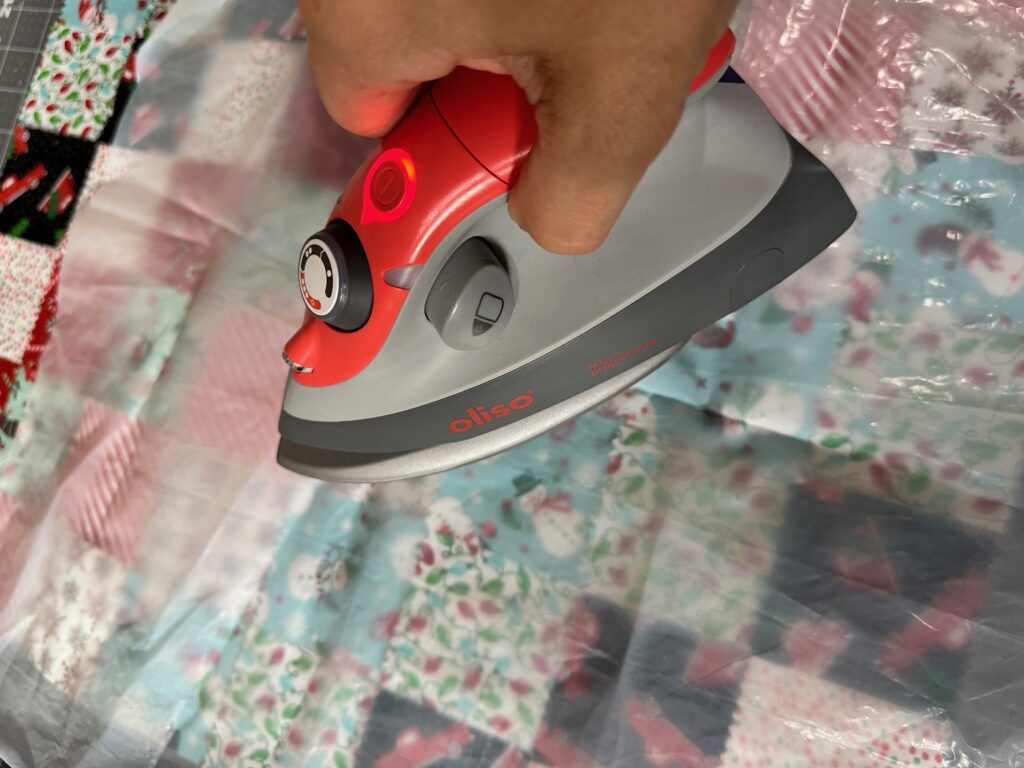
Next, fuse the fabric squares to the stabilizer, using a press cloth to avoid transferring any exposed fusible to the iron soleplate.
Follow the instructions in the free pattern to stitch the columns and rows, following the grid. It’s important to nest the seams to reduce bulk!
Finish the pillow with self-made piping and an invisible zipper. The zipper allows you to swap pillowcases for future holidays, by reusing the pillow form!
PILLOW VARIATIONS
Yes, this is called a “Patchwork Christmas Pillow.” However, you can use the fabric prints of your choice to make this pillow for any season or holiday!
Try using this technique to create patchwork yardage to use for stockings, potholders, and even larger quilts. (Grab up a bolt of Soft ‘n Sheer Extra if working on a large-scale project.)
Change up the grid dimensions based on the desired finished look! Use 5″ charm squares for a stunning patchwork table runner. Use 10″ layer cake squares for an amazing quilt. The choice is yours when you can draw your own grid lines!
GRAB THE FREE PATTERN >>


