
Tips for Machine Embroidery on Onesies

I have been all about baby lately! I have several friends that are having babies soon so I am making lots of baby things. I made a sweet blanket for one and Taggies for a set a twins. (Go here to check out the blanket and here for the Taggie tutorial). Next up, the onesies! I love seeing a brand new baby in a cute little onesie with a name or little embroidered applique on it, but let’s be honest, onesies are tiny and can be hard to embroider! Here are a few tips to make things a little easier.
- Hoop Size. Use a hoop that is about the same width as the onesie. This will help you with your placement and sizing the design or letters I used my medium hoop (5 x 7, I think). You aren’t going to actually hoop the onesie so don’t worry about it having to go inside the tiny little garment.
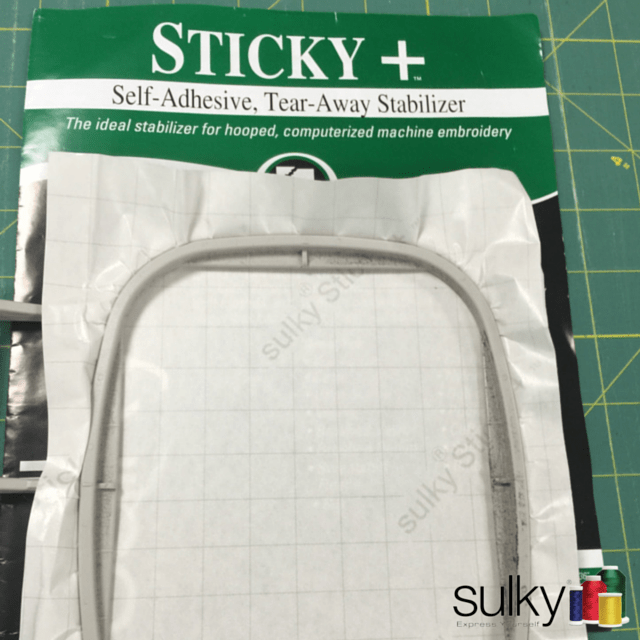
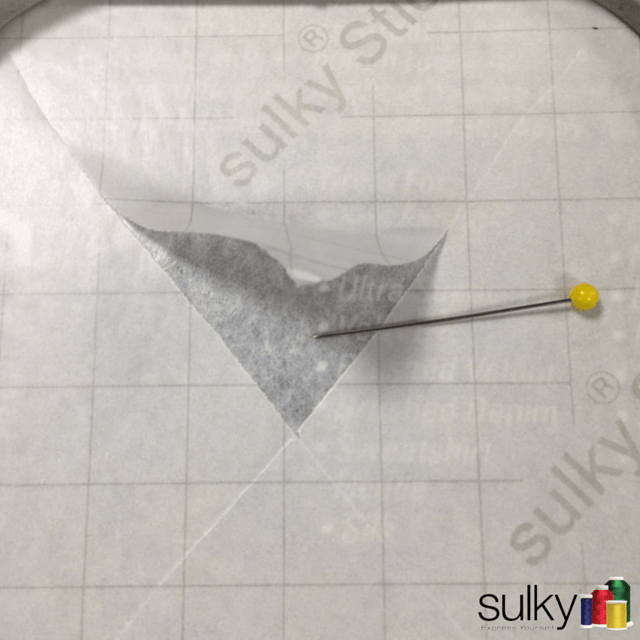
- Sulky Sticky+. When it comes to Onesies, Sticky+ is your best friend. Hoop the Sticky+ with the grid release sheet side up. Score the release sheet with an X using a straight pen, then remove the release sheet. Now you are ready to stick the onesie to the stabilizer instead of trying to hoop it.
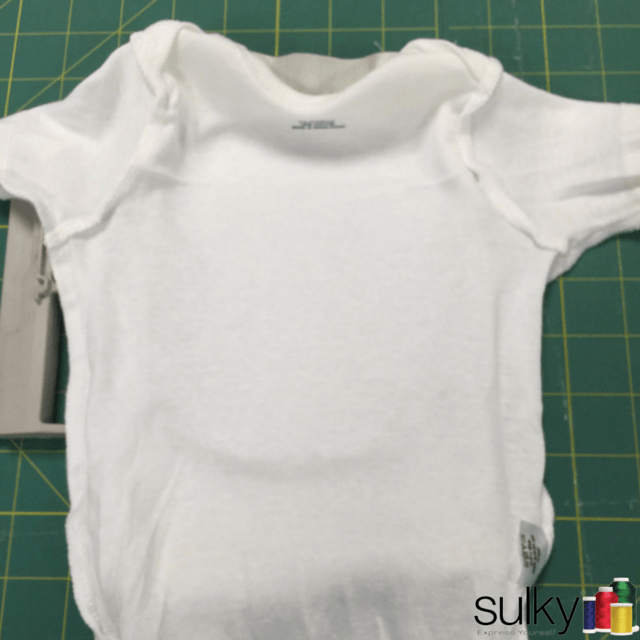
- Turn the onesie inside out. Straighten the onesie out with the front facing down. When you are ready to place the onesie, figure out where you want the design to go and put that in the center of the hoop and stick it down, flattening out any wrinkles, but being careful not to stretch or distort the knit. Once you are happy with the placement, turn the onesie back the right way being careful not to unstick the front from the Sulky Sticky+.
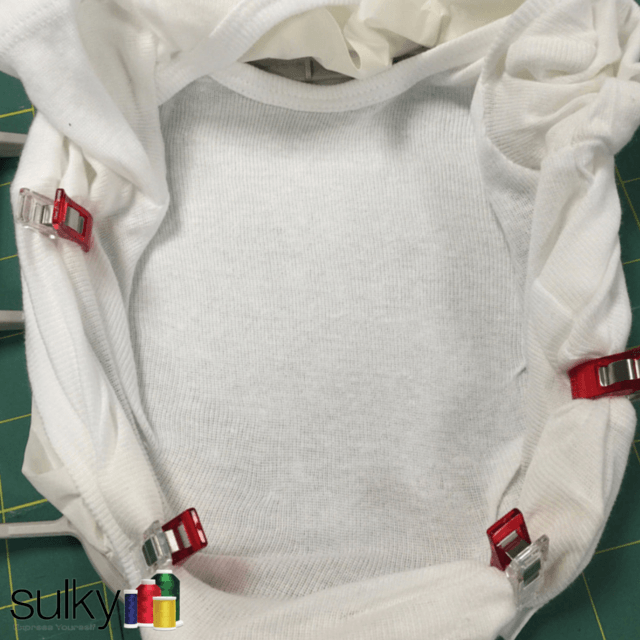
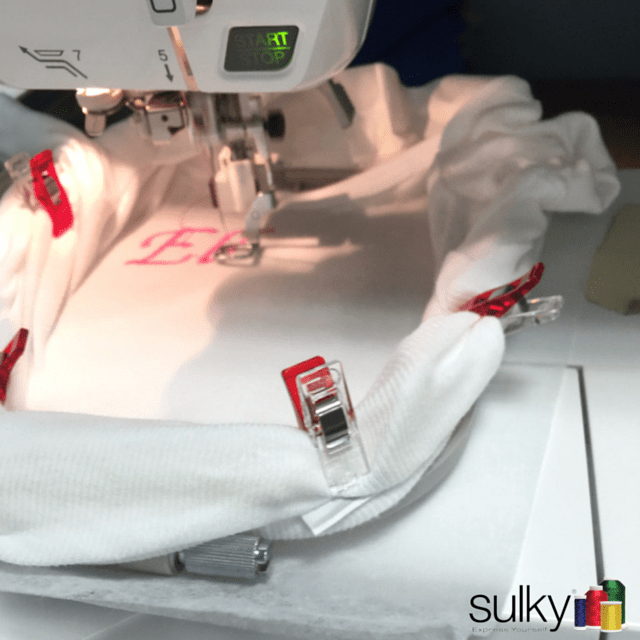
- Clover Wonder Clips to the rescue! Now it is time to turn the Onesie right side out again. Go ahead and turn it all the way, then gather up the edges and start clipping them out of the way. I love Clover Wonder Clips for this! They help keep the onesie away from the area that you are going to embroidery but they are not hard to clip on.
- Watch it stitch out. I have no idea why, I guess my machine just needs to be the center of attention, but if I am not watching it, it will mess up (she is a little diva!). But truly, when doing these tiny garments, it is best to watch. That way if your needle catches an edge that slipped out of a clip, you can stop it right away and fix the issue. Another tip: If your machine has the ability to baste your onesie down, that is a good idea, but I don’t have that feature on my machine.
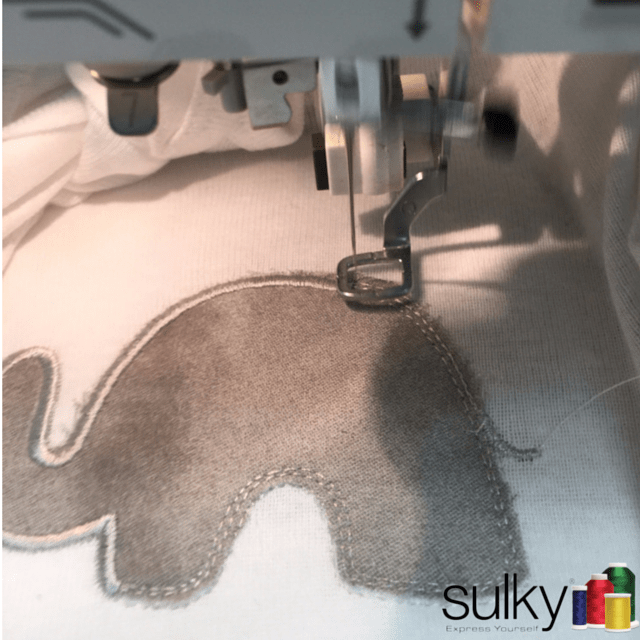
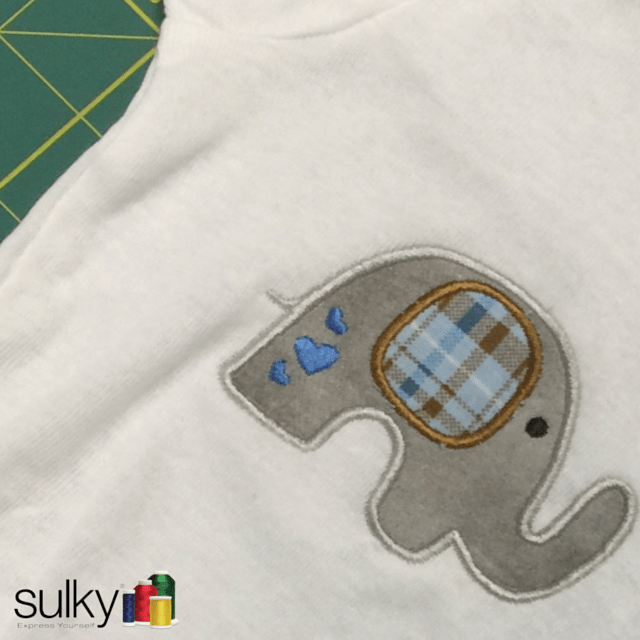
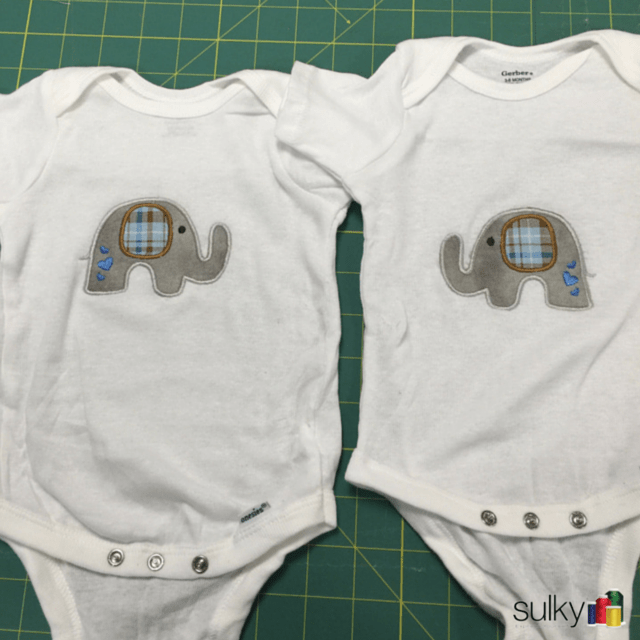
- If it’s applique, follow the directions and use duck bill scissors. I downloaded this cute elephant applique from the Sulky Embroidery Club. When you download designs from the Club, they come with a PDF of the directions of how to embroider the design. It even tells you when to put down the applique fabric and when to cut it out! I love that! When cutting out appliques, Duck Bill Scissors are great. They protect your stitching line but still cut very close.
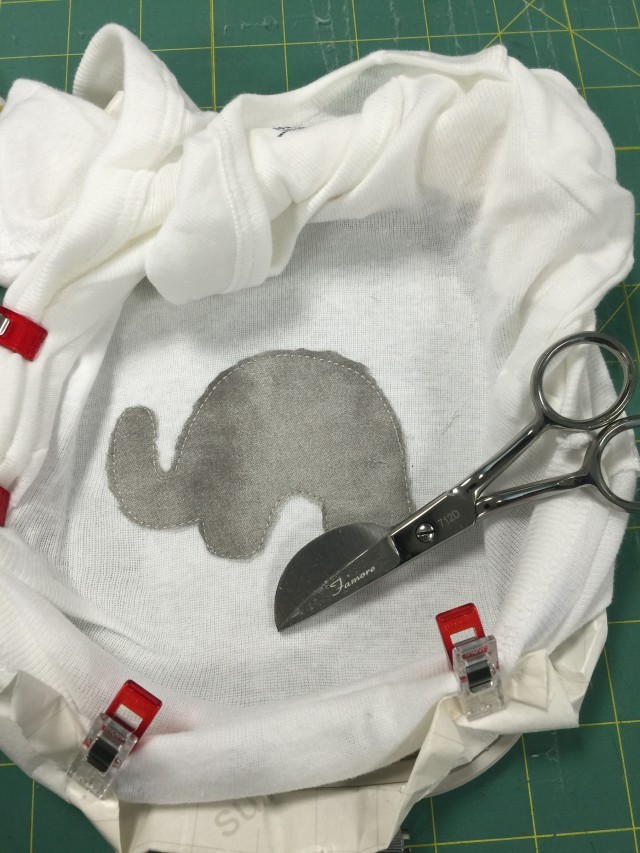
- Finishing touches can make all the difference. After the embroidery is done, unhoop the stabilizer, cut the jump stitches and carefully tear the stabilizer away. Be sure to tear towards the stitches so you don’t distort your design. I like to spray mine with a little of my homemade starch (recipe is in this post) because it is scented with lavender essential oil and then iron it flat. Now it is ready to be the best gift at the baby shower!
Do you have any tips for embroidering on tricky things like Onesies? If so, put them in the comments!
Happy Sewing!



26 Comments
Lisa W. Degregorio
Great ideas. I will study your ideas and embroidered shirts for my son with these cute animals
Sandy Tull
I can’t believe you found a way to do this at home! I normally just find a company who will do it for me. I’d be willing to bet that you could start a company that does this… I know I’d be willing to pay for someone with your custom emroidery skills!
Kelly Nagel
Thank you for the sweet comments Sandy, but I promise, if I can do it, you can too.
Andrew
Hi Kelly Nagel,
What a lovely cute elephan, you are too clever to do it, and so kindly for sharing your guide. I also have a small blog about sewing machine, when you are free, please visit my site.
Have a nice day
nhoabc1a
I hope your business does really well. I’ve been sewing for over 35 years and absolutely love it. It’s nice to see others succeed while working in the areas they love.
hehe
Thank you so much. I loved this zipper bag so much that I decided to incorporate it into a knitting needle case that I made! Now all my small knitting essentials are contained in the case and readily available…
Maria G
Hello Kelly Nagel,
Thank You for This GREAT Tips. And the blanket are so cute!
Cathey Davis
Thanks for the onesie tips–having trouble with hooping them and keeping the fabric out of my way!
Kelly Nagel
they can be tricky, especially the really small ones. If the Clover Wonder Clips don’t work for you, try using painter’s tape
Gina
Do you recall what size onesie you used? I managed a twelve month but it was a struggle and I’ve been asked to stitch on a newborn. I’m worried!
Kelly Nagel
I used a 0 – 3 months onesie for this post. The babies I made these for were twins and very tiny! I found that using the smallest hoop I could for the design, a little maneuvering, and using the clips worked really well for me.
Gina
That is excellent to hear – thanks so much for your reply. You’ve given me hope!
Gina
Hahaha – i just re read my first post – i should have written newborn “size”!
Amy
Can u help me i am nee to embroidery and i have tried to do a onesie but my machine just eats it and i have jo idea what i am doing wrong
Kelly Nagel
Amy, I am so sorry you are having issues. The first thing I would say is to be sure you are using a new needle, that your tension is set correctly and you are using the right stabilizers. If you are using a sticky backed stabilizer, like Sulky Sticky Plus, then you may also want to put some thread lubricant, like Sewer’s Aid on the thread right at the needle eye. If you would like to email me with more specific details, such has the machine type, the design, thread, etc, please do and I will get you in touch with our machine embroidery expert. I hope this helps!
Barbara Davis
I am a sewing enthusiast and lately i tried to do some embroidery work. I must say that it’s not so easy as i though but i will keep practicing. A good machines helps a lot but they are pretty expensive. Hope i will be able to buy one soon. Barbara.
Kelly Nagel
Machine Embroidery can be fun and addicting once you get the hang of it. Good luck Barbara and stick with it!
Louise
I always iron on tender touch when I’m done so that the stitches don’t scratch their delicate skin. I have also improved my placement when I mark the grid on both the onesie and the stabilizer. I was having problems getting the design too low on the onesie. This fixed it.
John
can i use a regular machine needle or do i need a special one for the onesies?
Kelly Nagel
That mostly depends on the thread you are using. If you are using Sulky 40 wt. Rayon thread, we recommend an 80/12 machine needle unless the thickness of the fabric calls for a 90/14.
John
So I don’t need a “ball point” needle for this?
stepcp
I’ve only used reg. embroidery needles and they have done fine.
Joan Shriver
I’ve made several onesies with embroidery and added a skirt, also. I cut up the side seam to embroider and then re-sewed it after.
Megan
I’ve just starting trying to embroidery onesies and I’m having problems with the shirt being so thin. My little one worn hers for the first time and it’s already ripping around my embroidery. Any advice?
Kelly Nagel
If the onesie is very thin and the embroidery is a dense design, you probably need more stabilizer. Instead of using Sulky Sticky +, I would hoop 2 layers of Sulky Soft ‘n Sheer ( https://www.sulky.com/catalog/sub/stabilizer/cut-away/softnsheer ) and then spray Sulky KK 2000 ( https://www.sulky.com/item/sulky-kk2000-temporary-spray-adhesive-42-oz-120g ) to the top of the stabilizer to keep the onesie in place. For extra security, you could also use a layer of Sulky Solvy on top ( https://www.sulky.com/catalog/sub/stabilizer/wash-away/solvy ) which you would also secure with the KK 2000. When you are finished doing the embroidery, carefully cut away the extra Soft ‘n Sheer and wash away the Solvy. You can then finish the entire things off by fusing a piece of Sulky Tender Touch on the back to cover the stitches ( https://www.sulky.com/catalog/sub/sulky-tender-touch-stabilizer ). This keeps the stitches from irritating the baby and keeps the fabric from tearing away from the embroidery.
I know this feels like a lot of stabilizers but this is how I have found the best success with very thin fabrics. I hope this helps!
stepcp
Great advice. Thanks for the specifics!