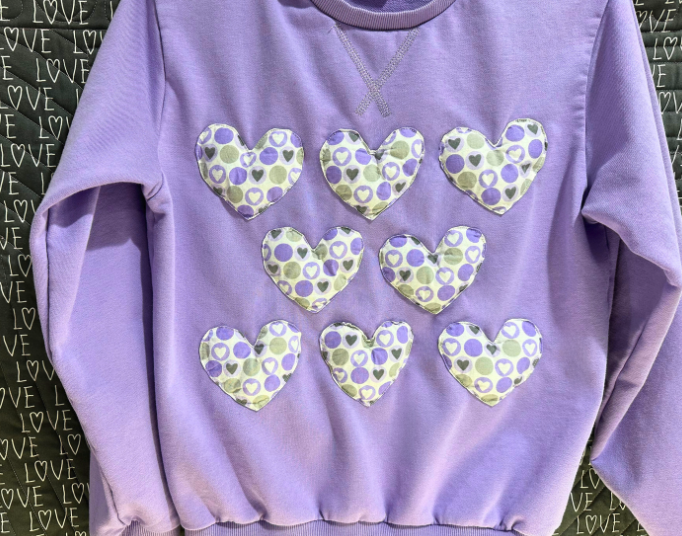
Puffy Heart Applique
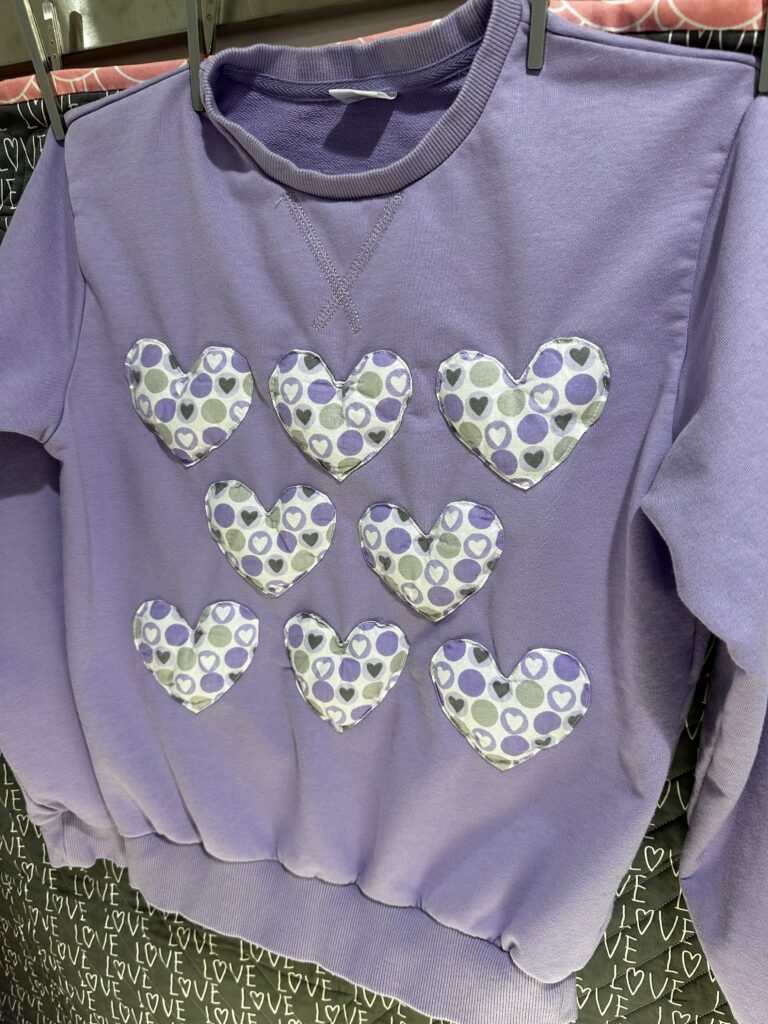
Try the Puffy heart Applique technique on a sweatshirt (as shown), tote bag or zip pouch. This applique technique is so quick and easy, and you’ll achieve great results especially on curved edges.
PUFFY HEART SWEATSHIRT SUPPLIES
- Purchased sweatshirt
- Puffy Heart Appliqué Template
- Removable fabric marker or chalk
- Sulky Fabri-Solvy™ Stabilizer
- 50 wt. Cotton Thread
- Organ® size 70/10 Universal Needles
- Quilting cotton print fabric (amount determined by number of hearts desired)
- Fiberfill
- Sewing pins
- Sulky Multipurpose Turning Tool
- Pinking shears (optional)
PUFFY HEART APPLIQUE
Print the Puffy Heart Applique template and cut out at least one heart. Three hearts are included if you want to streamline your sewing with multiples.
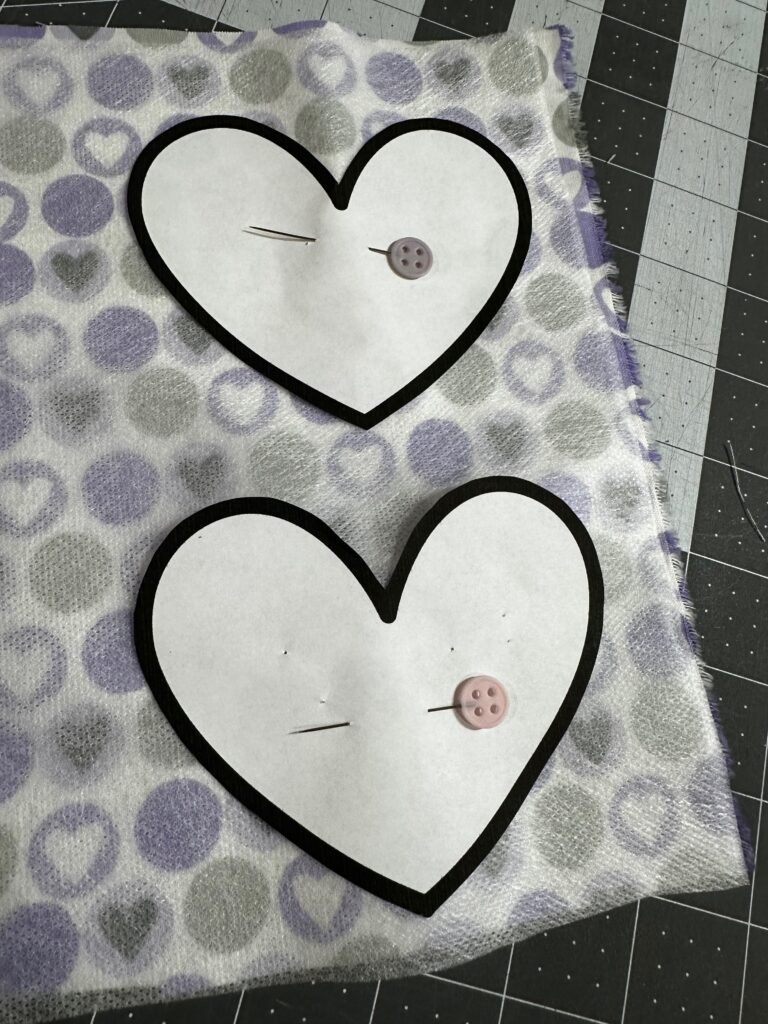
Place a fabric rectangle right side up on a flat work surface. Place a piece of Fabri-Solvy Stabilizer over the fabric. Then, place the heart template over the Fabri-Solvy. Pin the heart(s) in place.
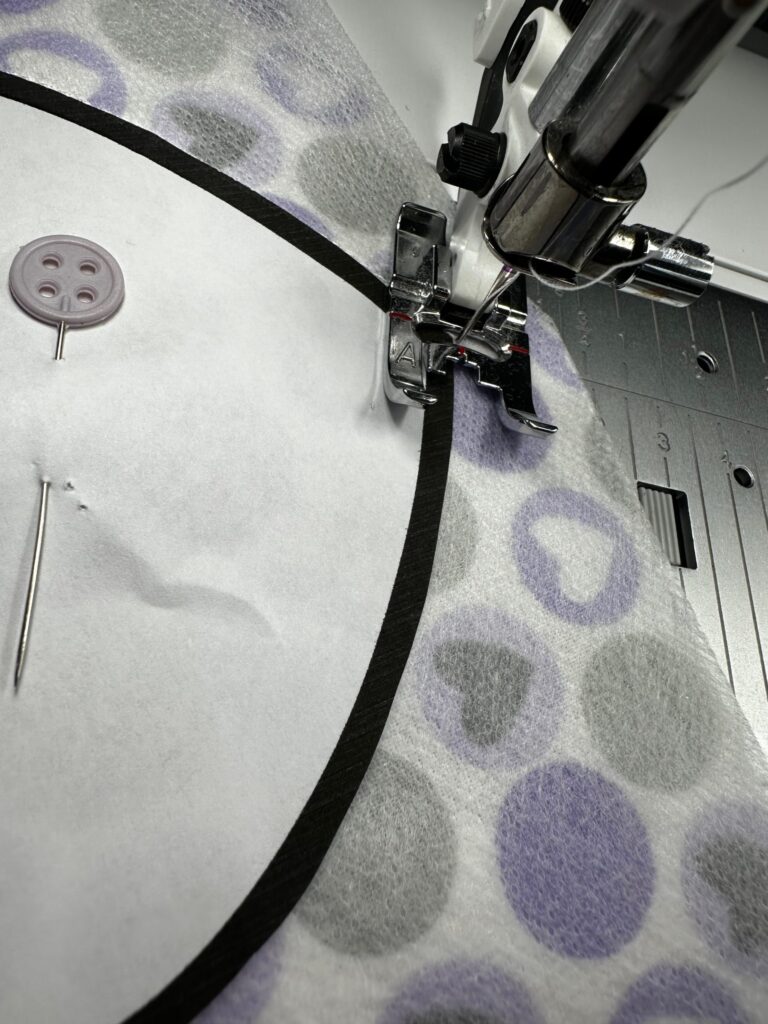
Set the machine for a straight stitch. Install a size 70/10 Universal Needle and thread it with 50 wt. Cotton Thread. Use the same thread in the bobbin.
Stitch just beyond the template edge.
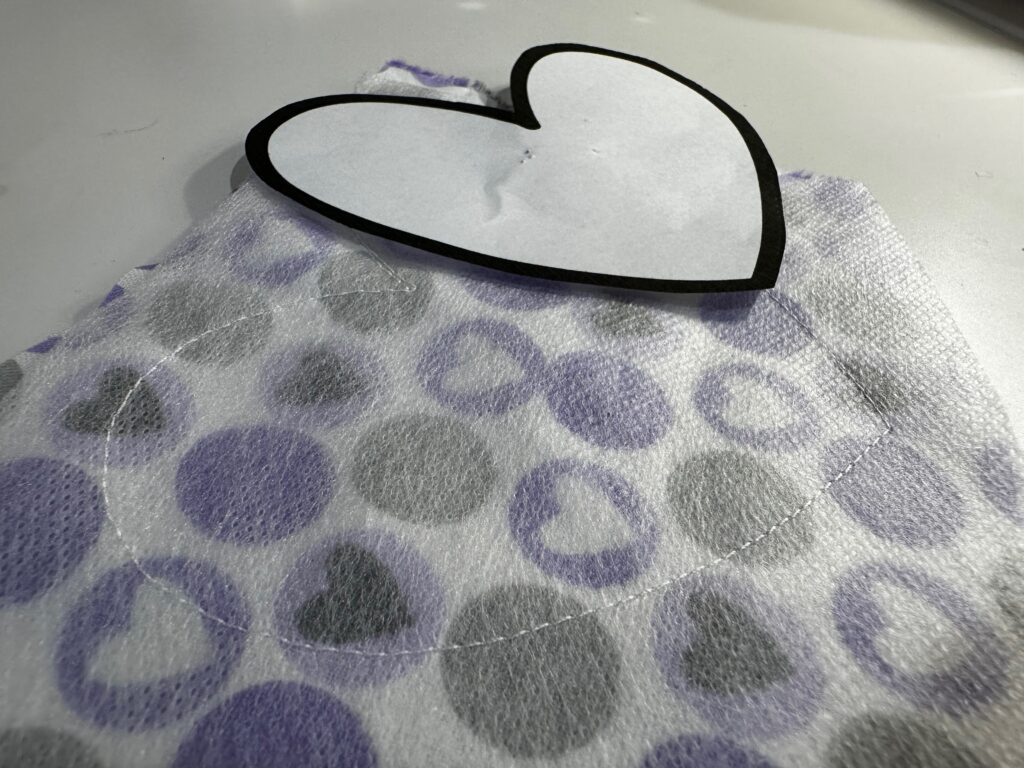
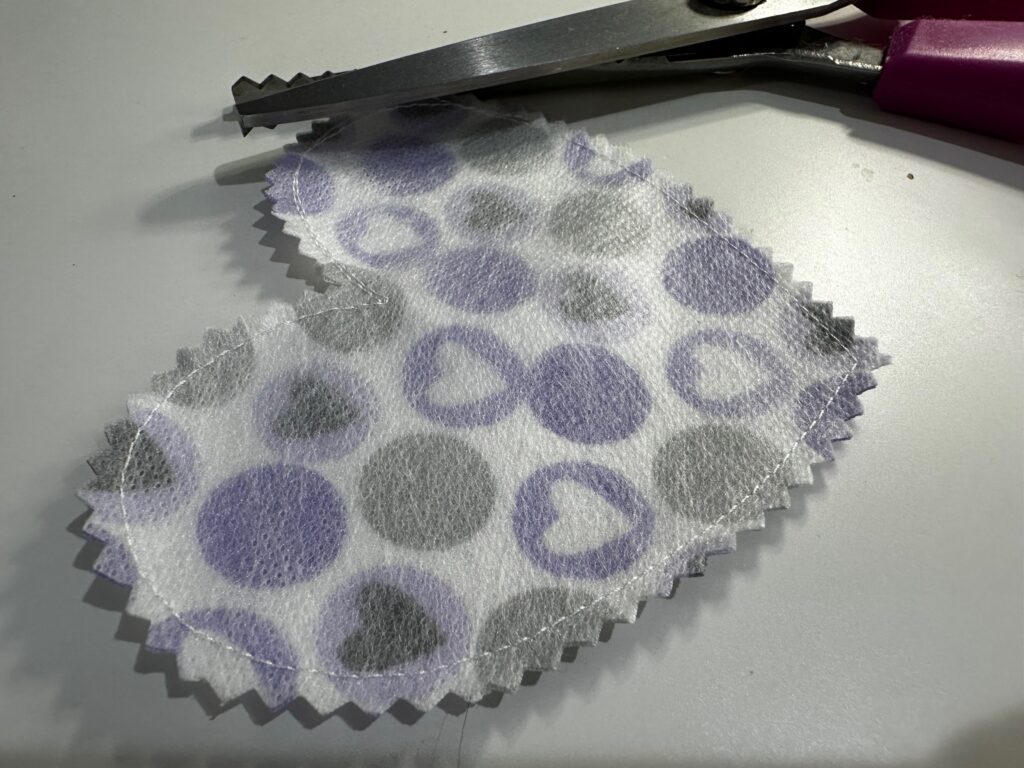
Remove the pins. Trim the heart 1/4″ beyond the stitching, using pinking shears. If you don’t have pinking shears, trim the heart using standard sewing scissors, and then clip into the seam allowance every 1/4″ along the curved edges.
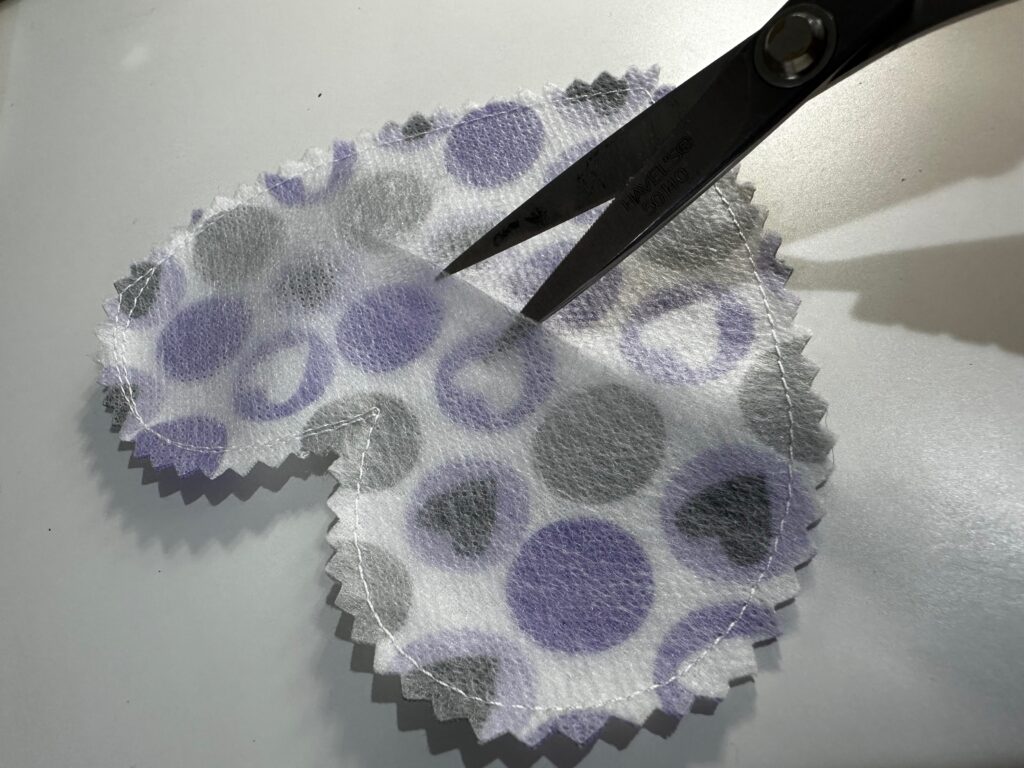
Using small, sharp scissors, cut a slit into the Fabri-Solvy being careful to not cut through the stitching or fabric.
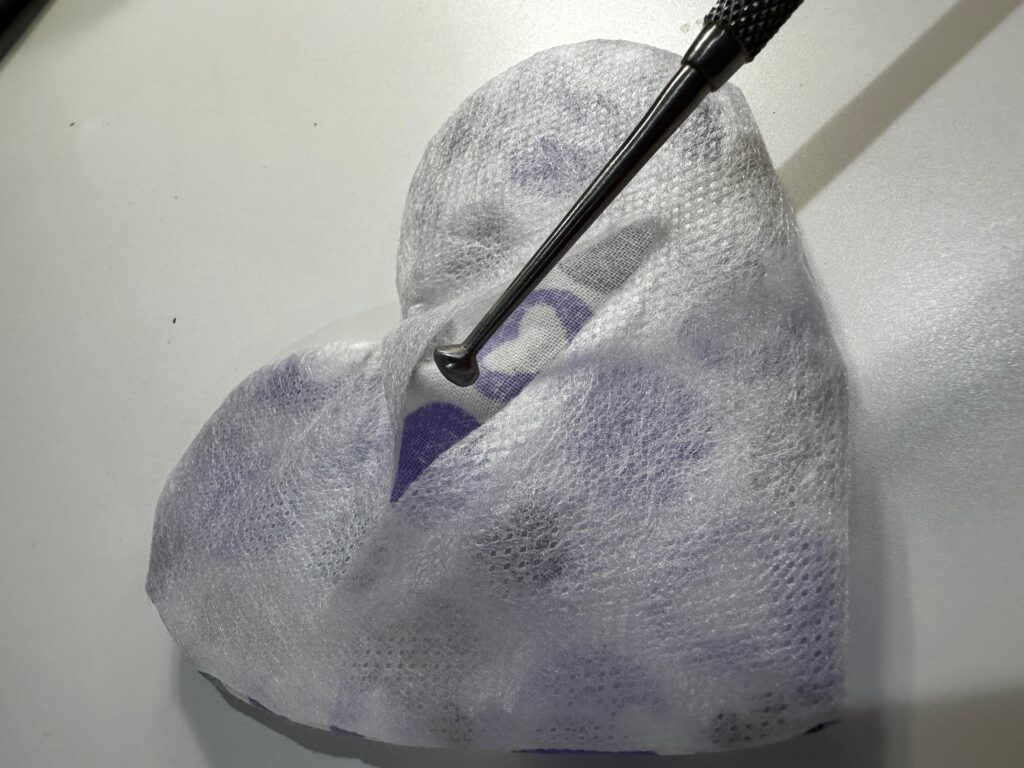
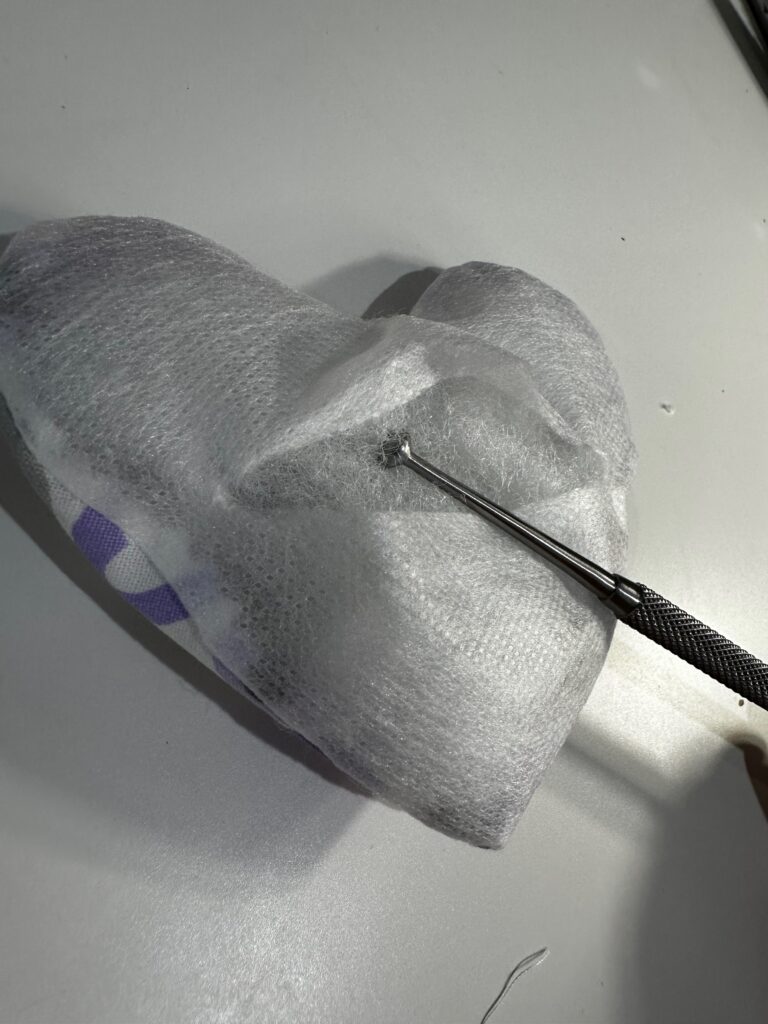
Clip into the heart upper-edge center, up to, but not through, the stitching in the corner point. Then, turn the heart appliqué right side out through the slit. Use a Sulky Multipurpose Turning Tool to smooth the edges inside the layers. Press gently from the fabric right side using NO steam.
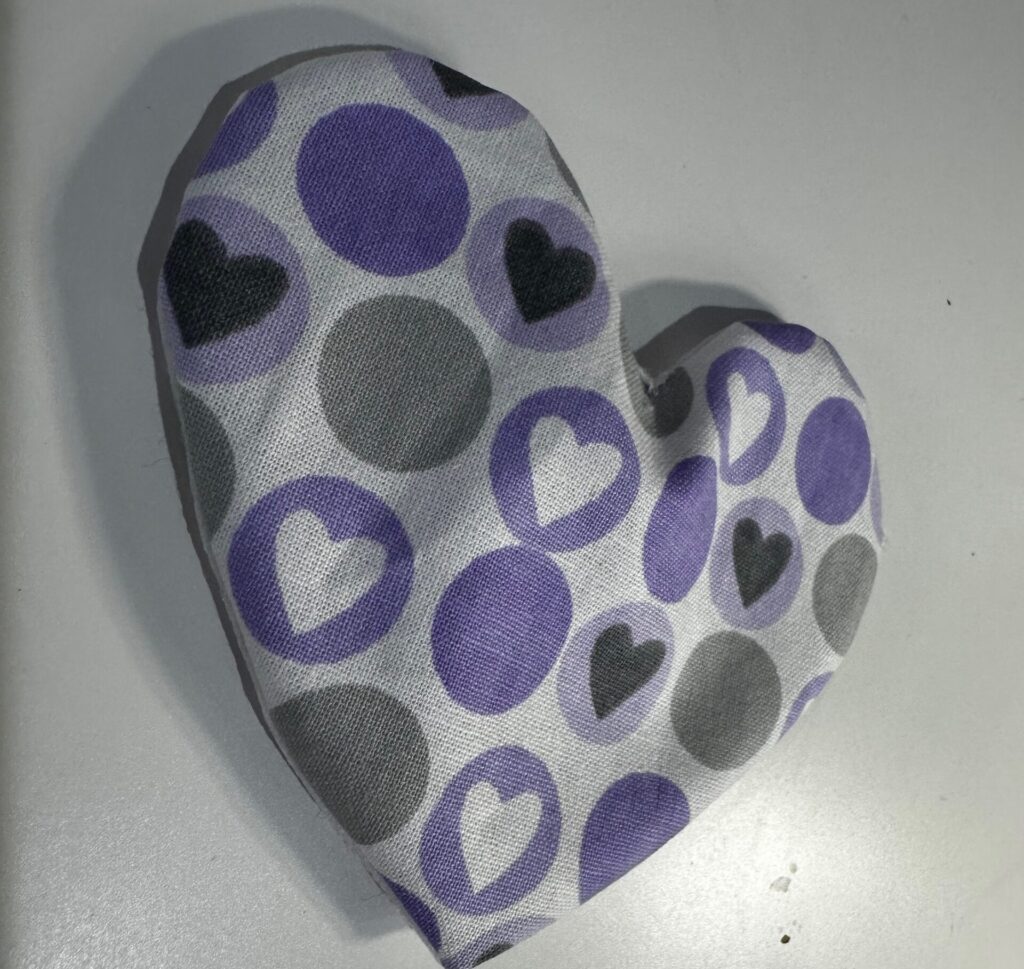
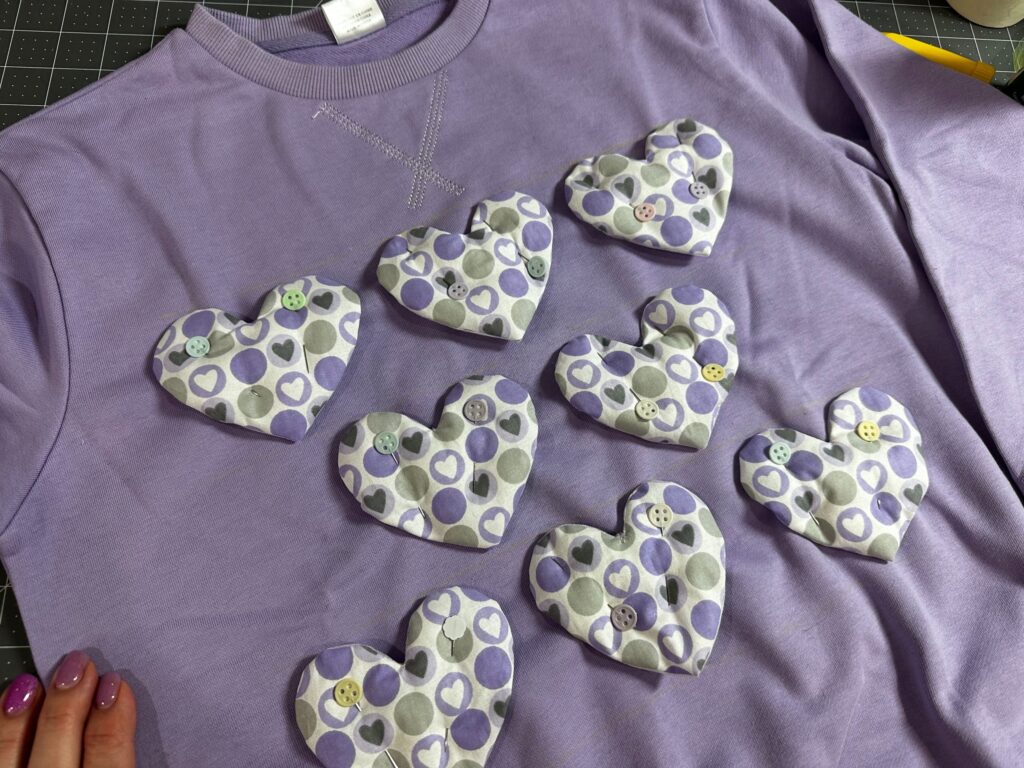
Create as many hearts as desired for the intended project. For the featured sweatshirt, make eight heart appliqués.
Stuff each heart with a bit of fiberfill. Don’t completely fill the heart, as that makes it too puffy and difficult to topstitch. Keep the fiberfill stuffing within the fabric and fabric seam allowance at the seam so it doesn’t show after the Fabri-Solvy is removed. (Use the Turning Tool to assist with this task).
SWEATSHIRT STITCHING
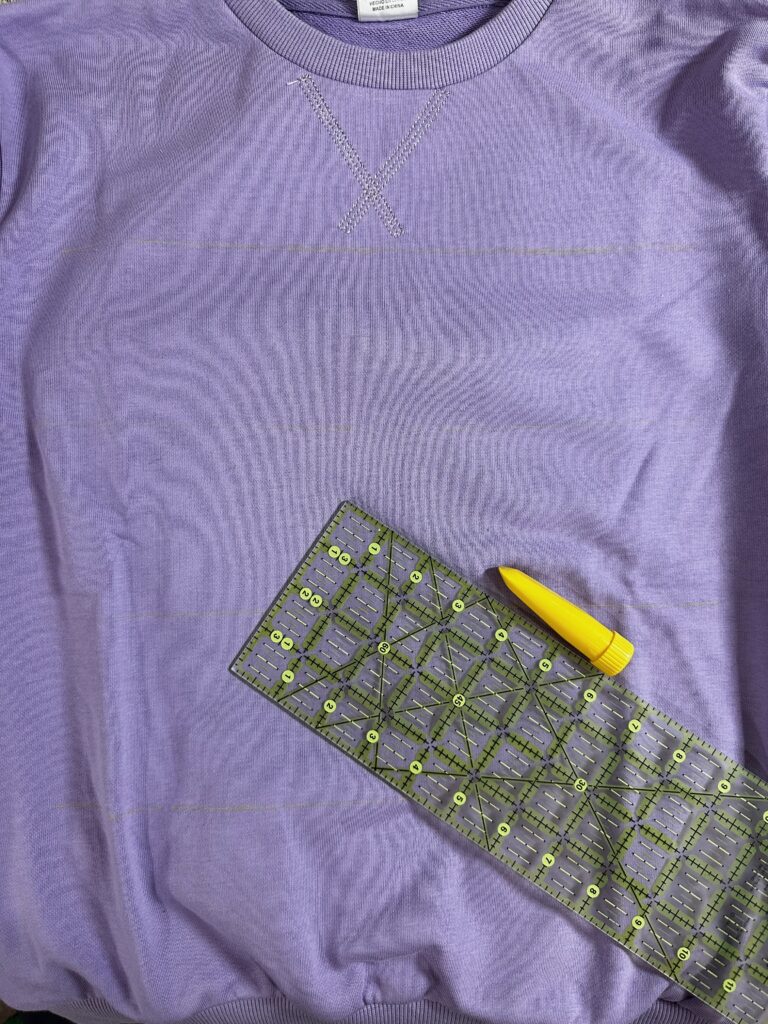
Place the sweatshirt right side up on a flat work surface. Plot the heart applique placements on the sweatshirt, using a removable fabric marker or chalk. For the featured sweatshirt, three lines are plotted on the sweatshirt, spaced 3 1/2″ apart. Then, the hearts are auditioned within the lines and spaced evenly widthwise across the shirt front.
Once the placements are determined, pin each heart in place with the right sides facing up.
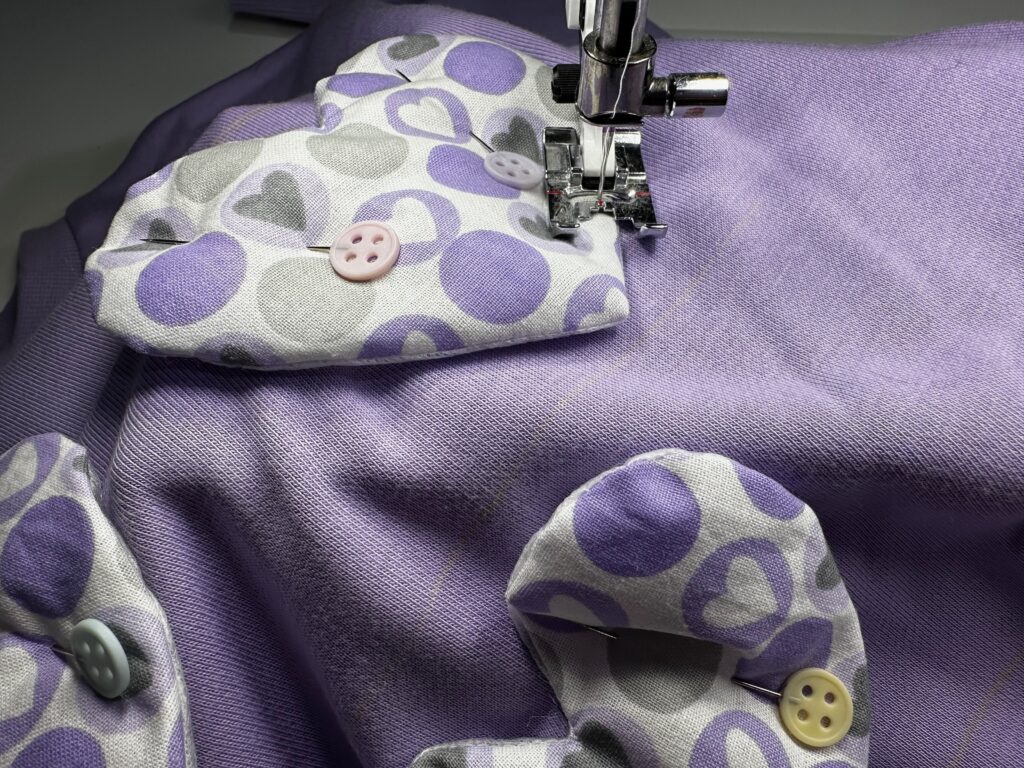
Next, edgestitch each heart perimeter, making sure the sweatshirt layers are separated so you don’t catch the back of the sweatshirt in the stitching. (It’s helpful to use the machine free-arm and remove the accessory tray to have more room during sewing.)
Take care to NOT stretch the sweatshirt while sewing.
When each heart applique is secured with stitching, remove the fabric marker or chalk. Launder the sweatshirt to remove the Fabri-Solvy stabilizer, leaving no trace!

