Quilt Binding Hacks & Time-Saving Tips to Learn
Quilt Binding Made Easy
Learn some great methods to bind quilts that save you time and frustration, resulting in a professional finish.
Binding a quilt is the last step in finishing the project you spent countless hours creating. Whether you opt for premade binding in the package or create your own binding strips, there are several methods for applying quilt binding depending on the desired finished look and your machine capabilities.
Traditional Quilt Binding Techniques
People bind quilts in tons of different ways. Quilters use either single- or double-fold binding, either cut on the bias or along the straight grain, depending on the look and the need for stretch. (Fabrics cut on the bias have a bit of stretch to them, making them easier to manipulate around curves.) This video tutorial gives a quick overview of how to bind a quilt in a traditional method. This is by no means the only way to bind a quilt, but it is a pretty popular way. It demonstrates hand sewing the binding fold to the quilt backing for a professional, invisible finish.
This is a time-consuming process, but well worth it. After spending weeks (or months, or years) piecing a quilt top and quilting it, why not spend the extra time to make sure the finish is impeccable? There are times when this more lengthy method is absolutely recommended and preferred. But there are also times when you want to save some time, get the quilt DONE (think about all those last-minute gifts for babies who arrive early!), and not stress about all that hand sewing.
Premade Quilt Binding
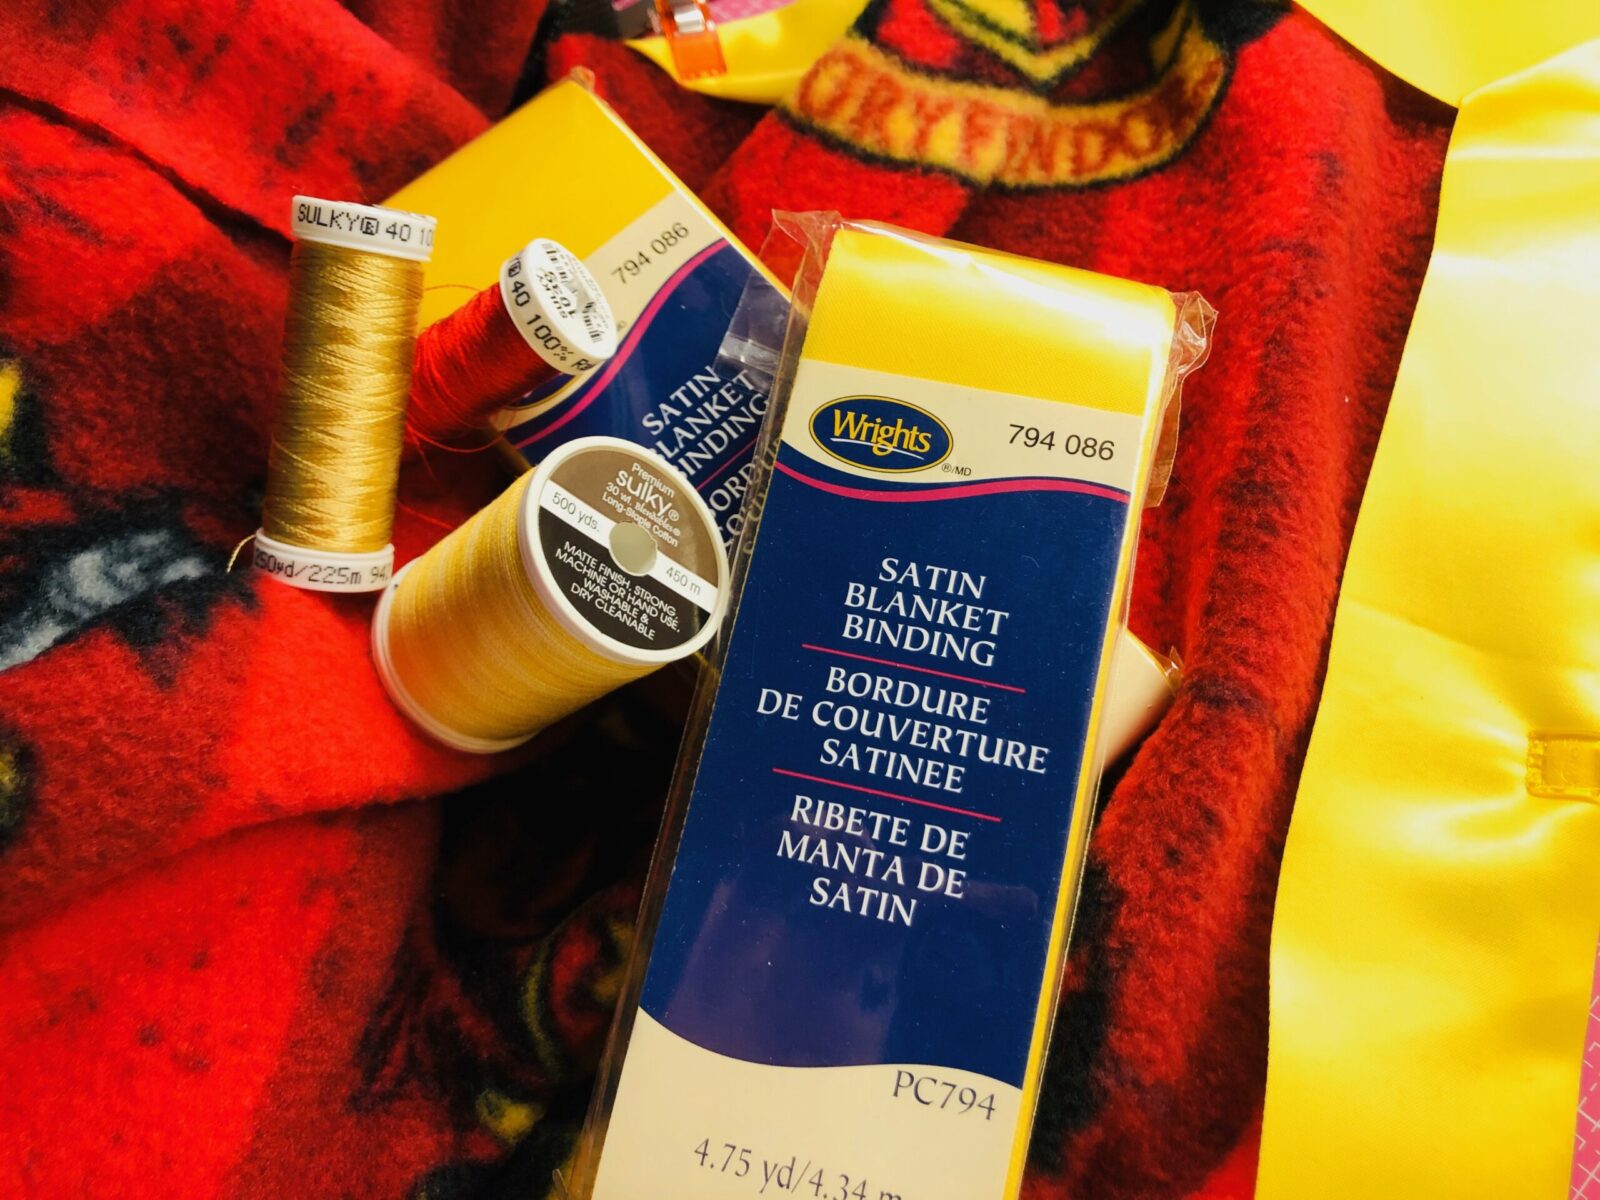
There’s a time and place for premade quilt binding that comes in the package. It’s a real time saver, but the quality and hand doesn’t always match that of the quilt or quilted project.
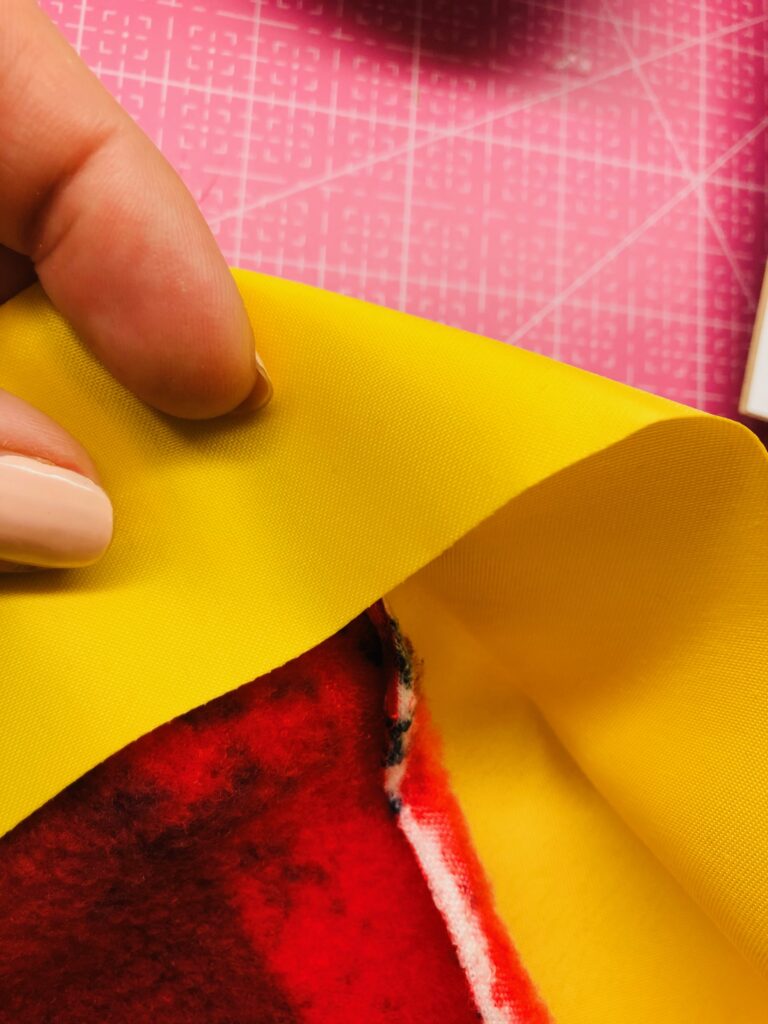
Satin blanket binding, however, is a great choice for plush quilts that are often difficult to bind in the traditional fashion. And satin blanket binding is actually super simple to use. This binding is really wide, so it has great coverage. It’s super soft, making it ideal for baby or kid quilts. The edges aren’t folded, but rather they have a ribbon-like quality so they are, in fact, finished edges.
Traditionally, you’d stitch this binding using a single-fold bias binding techniques, starting by stitching the raw edges to the quilt right side, wrapping the binding toward the backing, and then finishing with another stitch. The following method essentially showcases the ribbon-like satin binding edge, while incorporating decorative stitching for another fun element.
Quilt Binding “Hack”
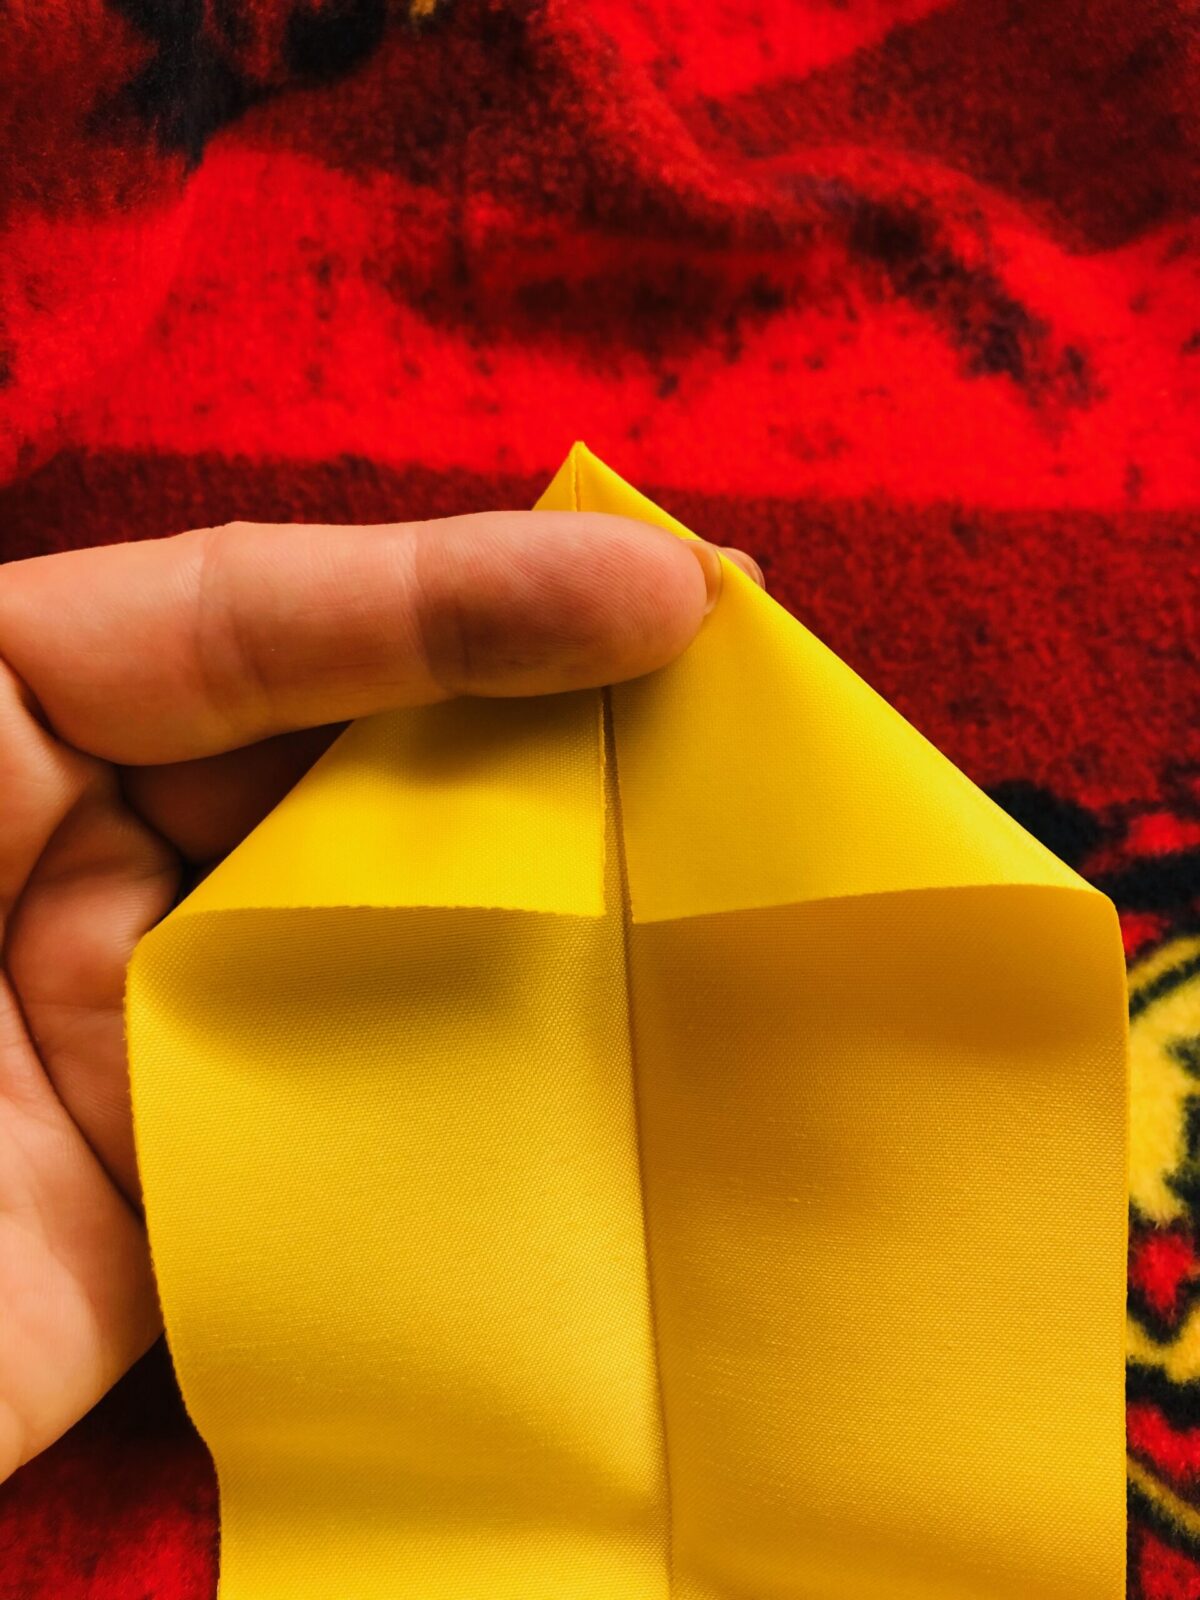
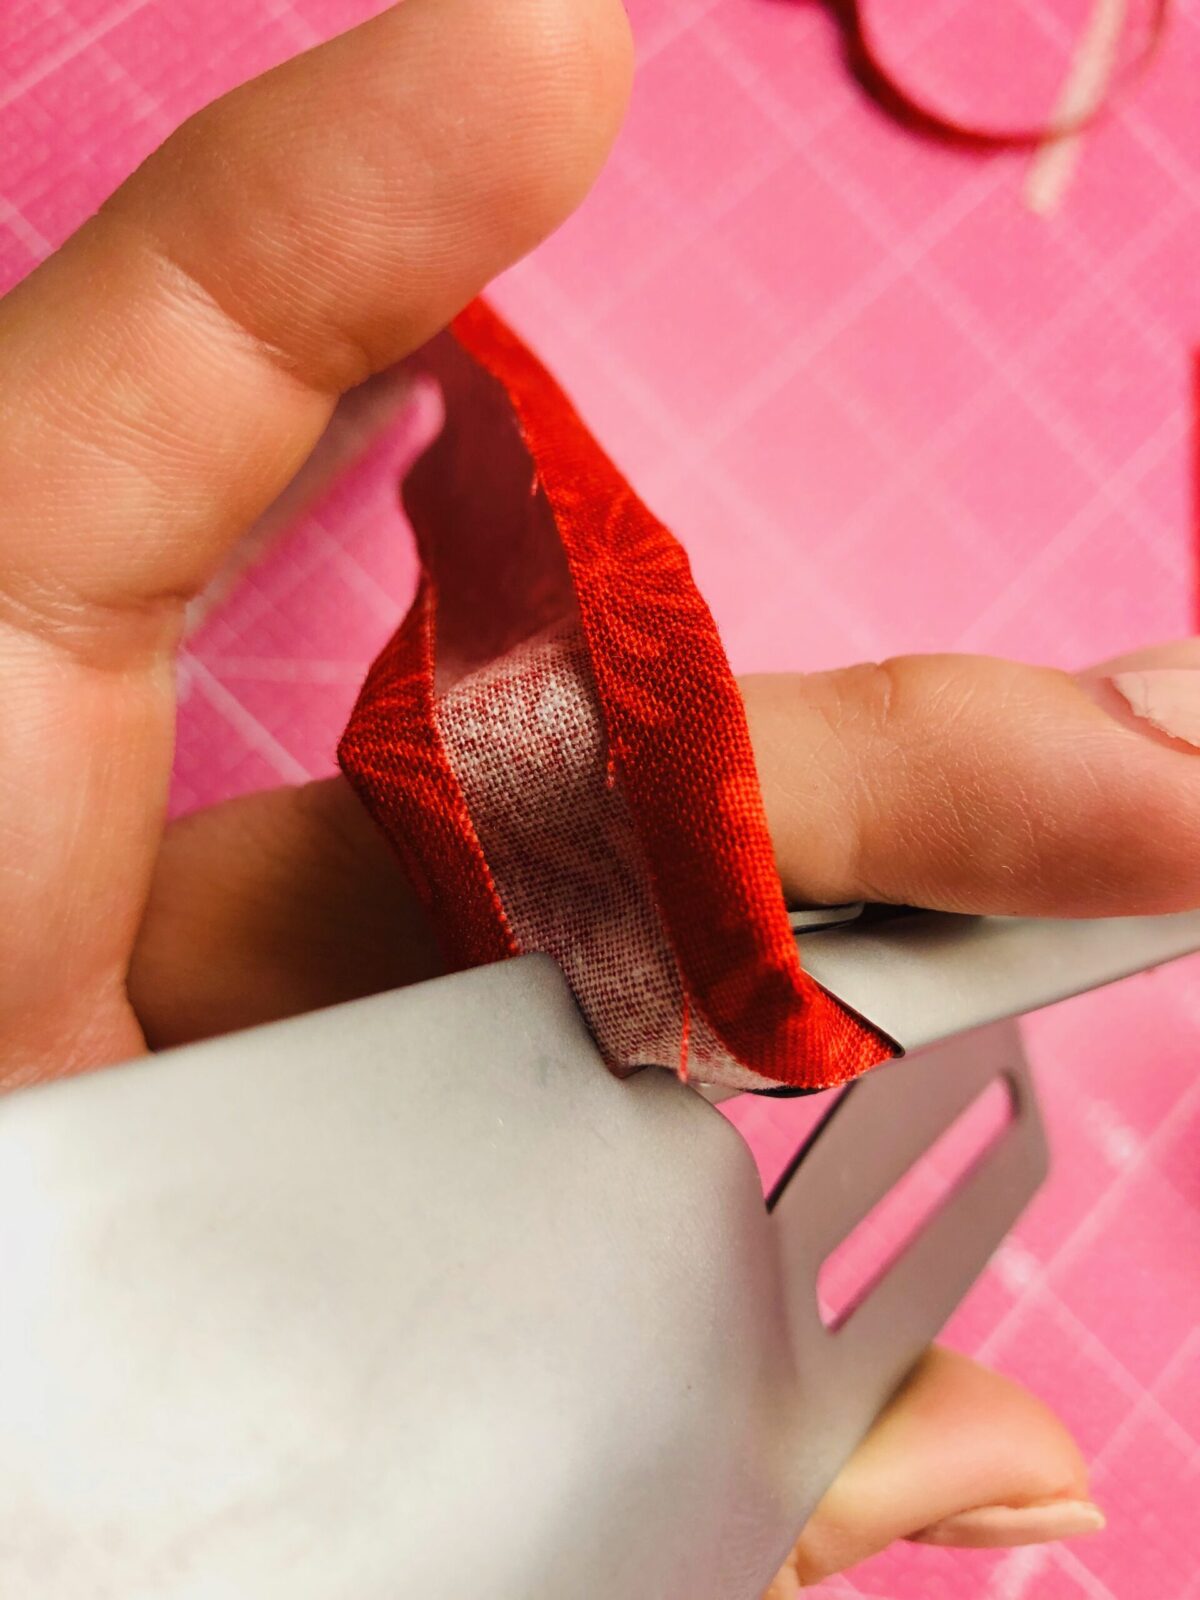
If you cut the end of the satin blanket binding at an angle at the stitching beginning, the binding edge could fray. Instead, fold the ends at an angle, tucking the excess binding into the wrong side of the binding.
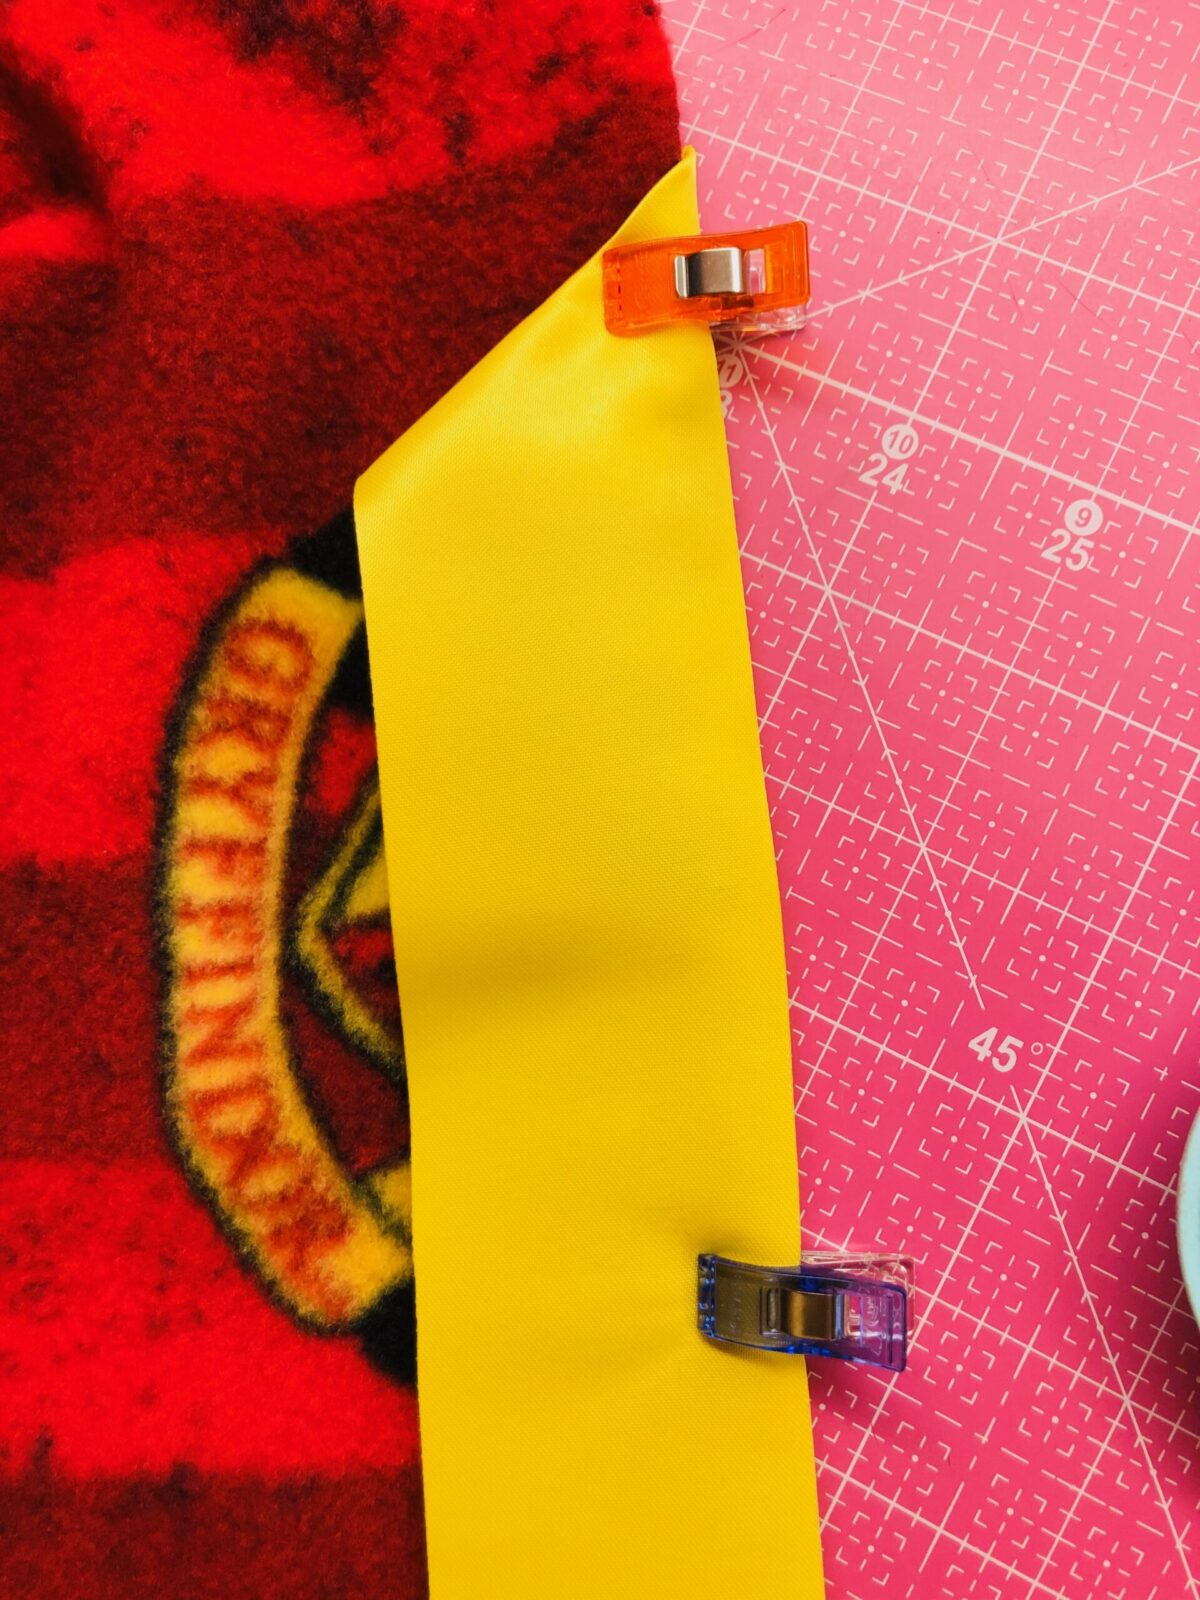
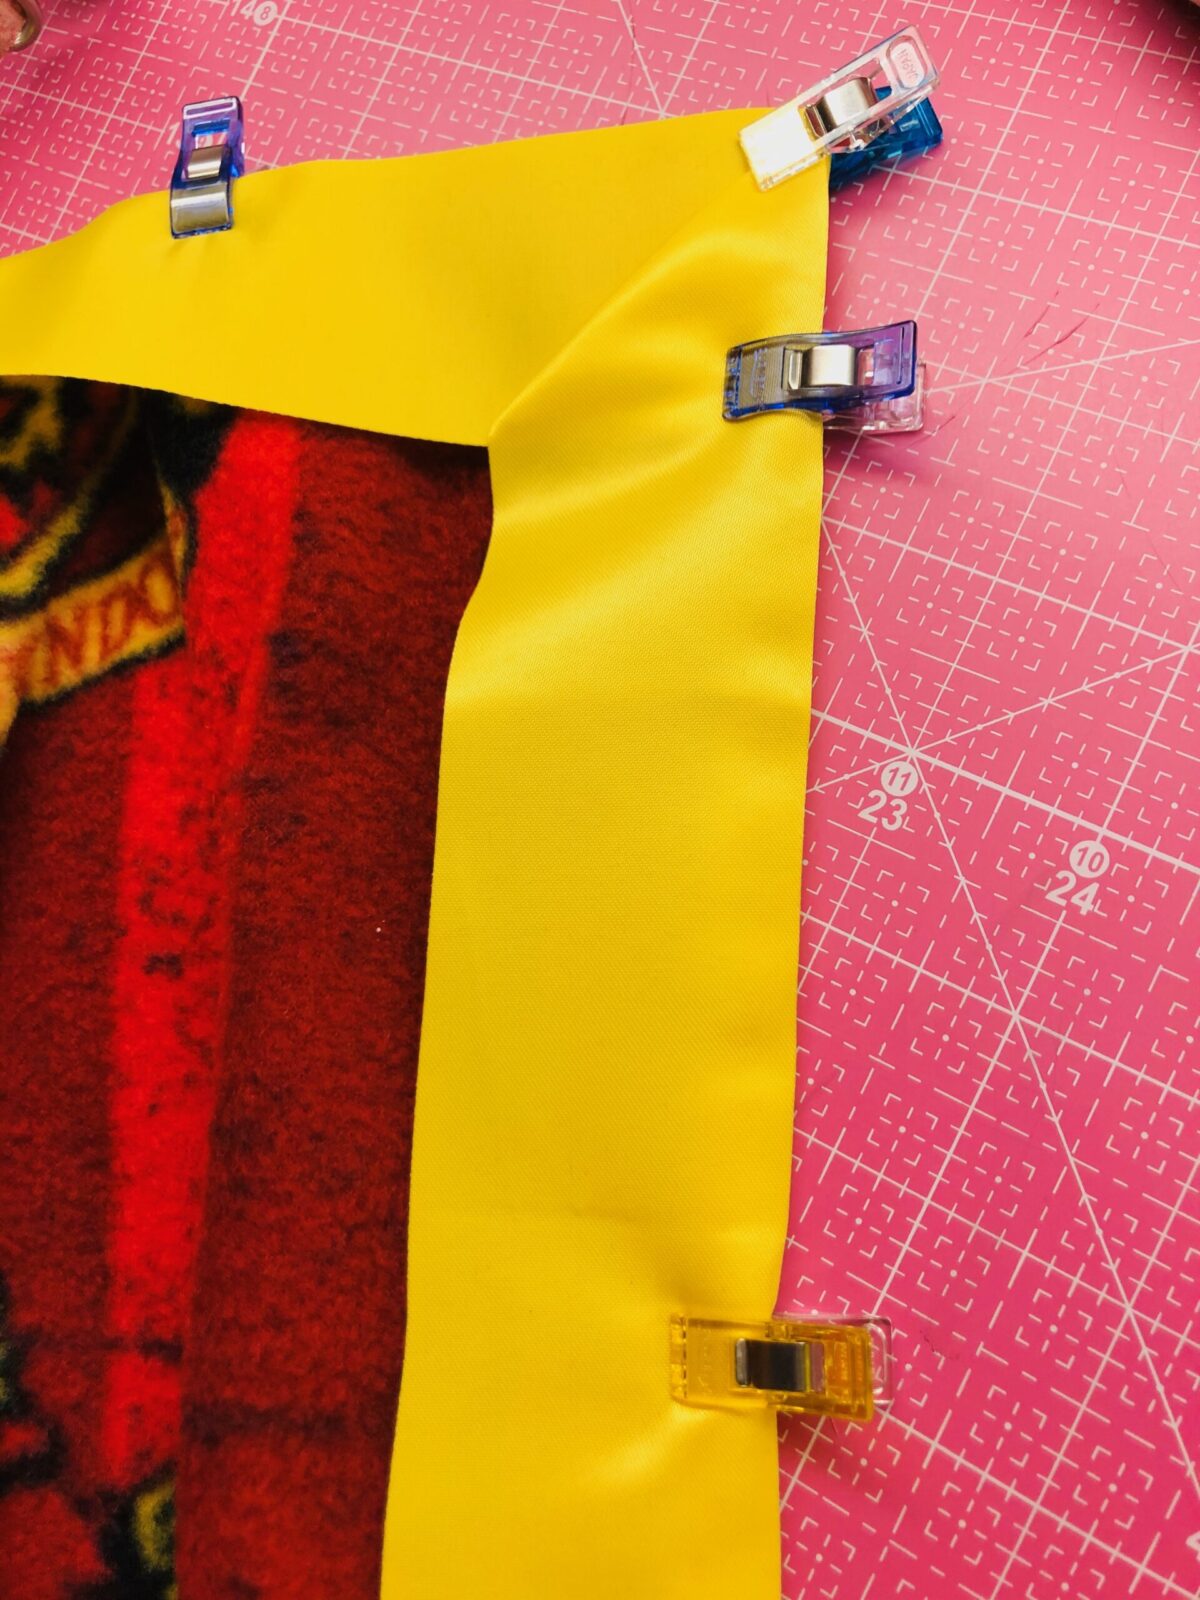
Wrap the binding around the quilt edge, centering the beginning fold along one edge. Use quilt clips to secure the binding, as pins will snag the satin.
Continue to clip the binding along the quilt perimeter, mitering the corners as you reach them.


Continue to clip the binding to the quilt until you reach the beginning fold.
Trim the binding end approximately 3″ beyond the beginning fold. Tuck the raw end into the fold, and then clip to secure.
If more than one package is needed to bind your quilt, fold the binding ends per the binding beginning. Tuck in the next strip ends into another binding fold per the previous instructions. Do all of this before stitching, using as many clips as needed to secure everything.
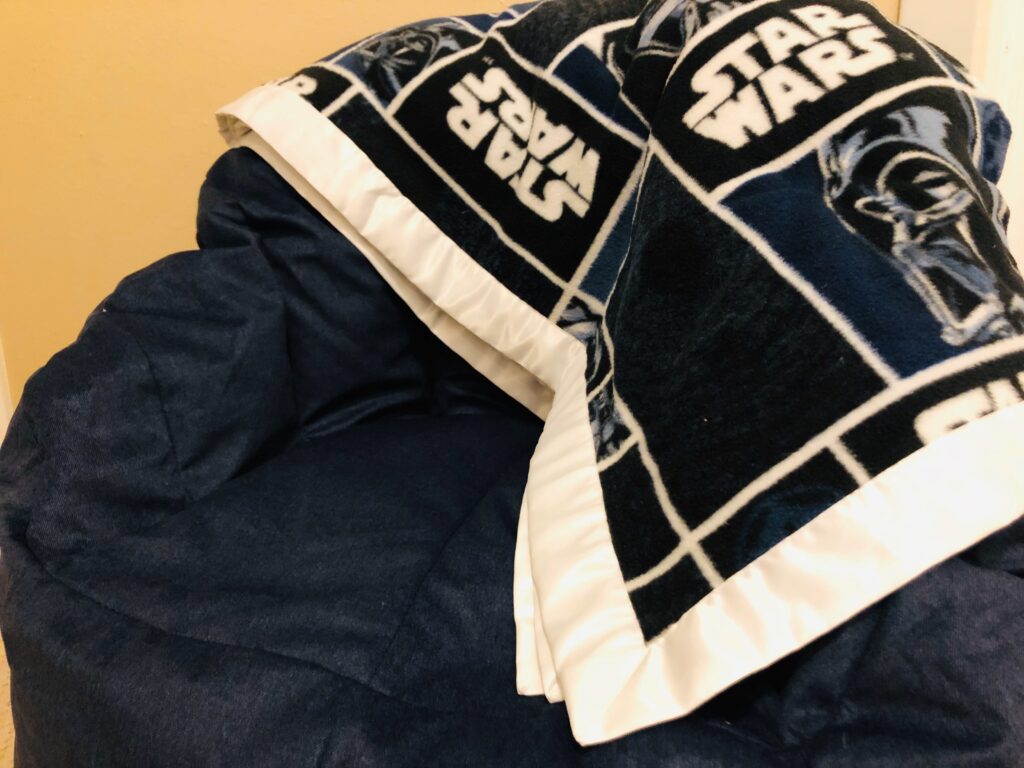
Thread the needle and wind a bobbin with Sulky Rayon to match the sheen of the binding. Select a decorative stitch on the machine. From the right side, stitch along the binding edge, making sure the stitch you’ve selected adequately secured the binding edge. A serpentine stitch is nice, and can veer off the binding to the quilt and back again for a decorative accent. If you don’t have decorative stitches on your machine, a wide zigzag also works well.
At each corner, stitch along the diagonal fold to secure it permanently.
Bias Binding Attachments
Whether you’re using single- or double-fold bias binding, there’s a foot attachment that likely exists for your machine brand. These attachments are typically suitable for knit and woven fabrics, so not only can you bind a quilt but you can also bind a knit T-shirt with the same attachment. You can even use a specialty attachment for a serger to bind a quilt in a flash.
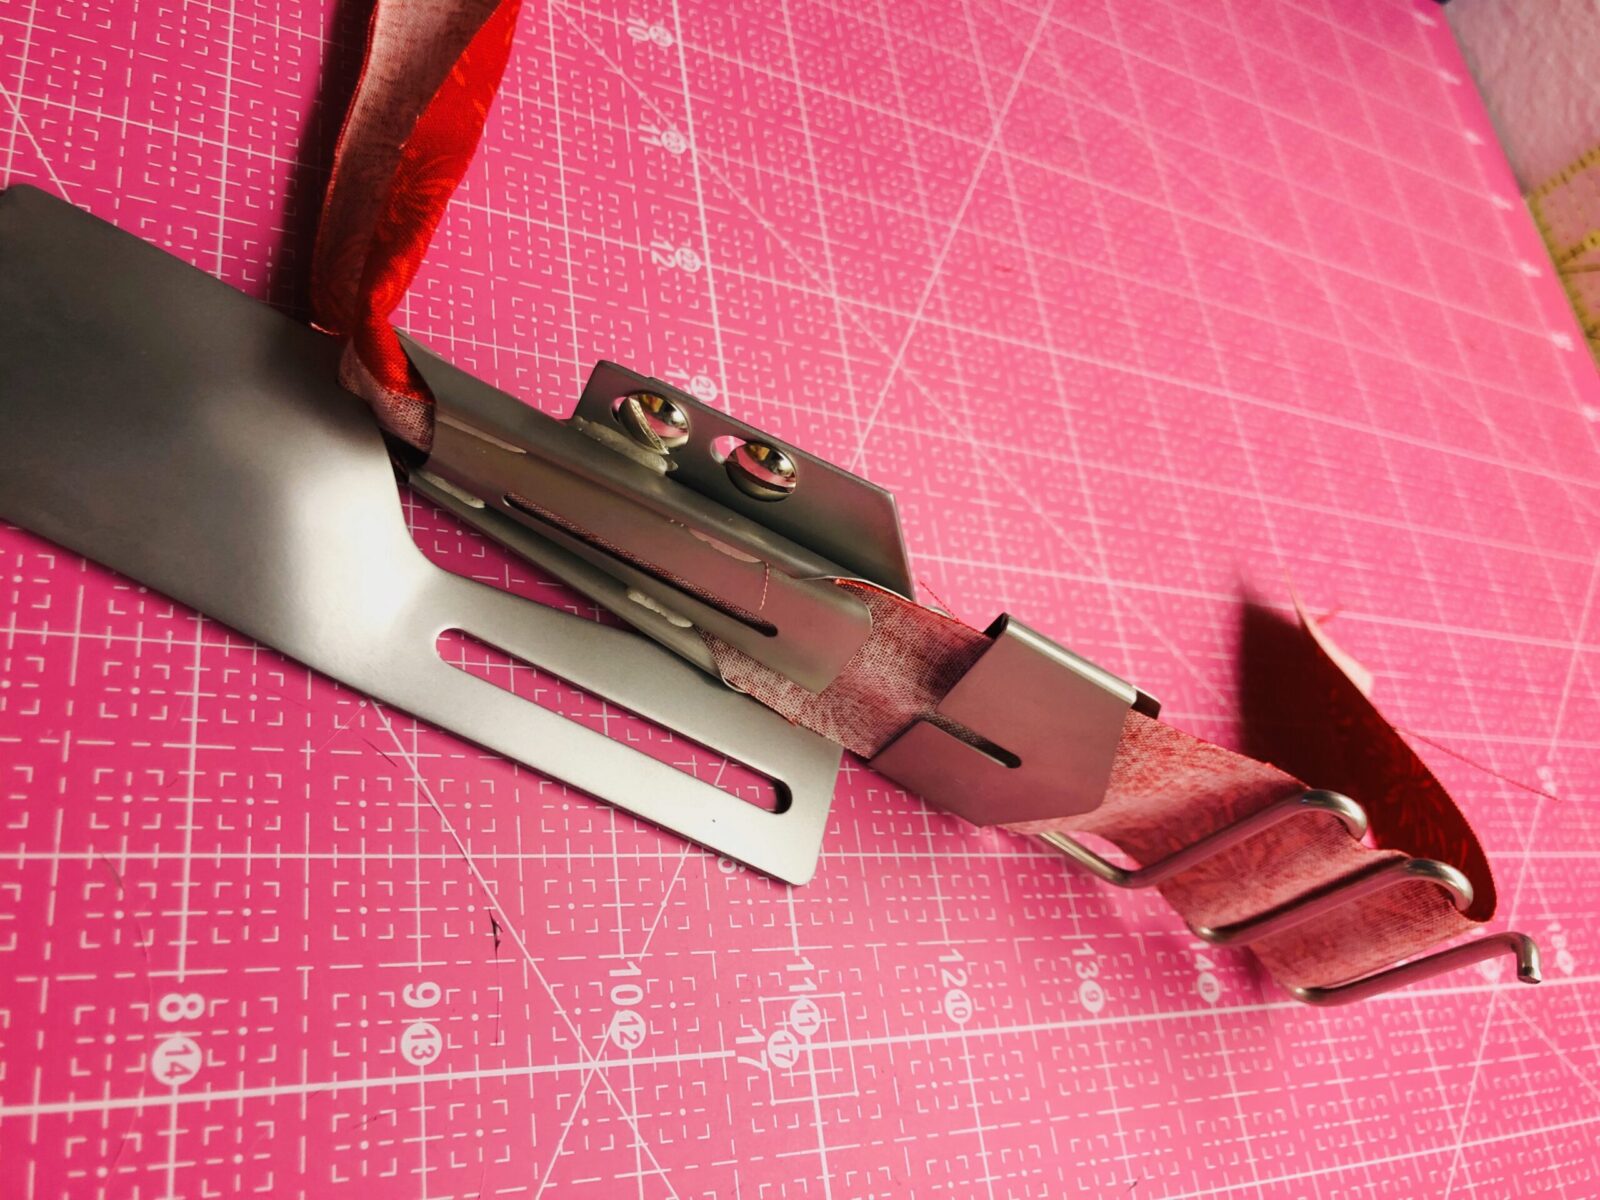
The attachment folds the fabric end (or ends, in the case of double-fold binding) for you, while it’s attaching to the fabric edge. It’s truly a magical sight to watch the binding enclose the raw edge right before your eyes, with no pressing needed!
The quilt binding attachment will recommend the stitch setting to use. Try 50 wt. Cotton+Steel Thread by Sulky in the needle for a nice lightweight thread application. Or choose 30 wt. Cotton Thread (Cotton Blendables® is particularly pretty along the binding) for more pronounced stitches.
If using a serger, corners are somewhat bothersome when using this attachment; round the quilt corners of the quilt prior to binding to negotiate the binding better.
The most important thing to do when using bias binding attachments is to practice, practice, practice. Once you get the hang of it, you’ll want to use the attachment for any project that needs a bound edge.

Ellen March
I am the Director of Content for Sulky of America. The former Editor in Chief of Sew News and Creative Machine Embroidery magazines, I hosted Sew it All TV on PBS for nine seasons. I've appeared on It's Sew Easy on PBS, DIY Network's Uncommon Threads, Hallmark's Marie Osmond Show, MacPhee Workshop and more! Come sew with me!


3 Comments
Linda Clark
I have been sewing for over 60 years. I always learn new tips and tricks. I really respect your viewpoint. Keep up the good work.
Ellen March
Thanks, Linda!