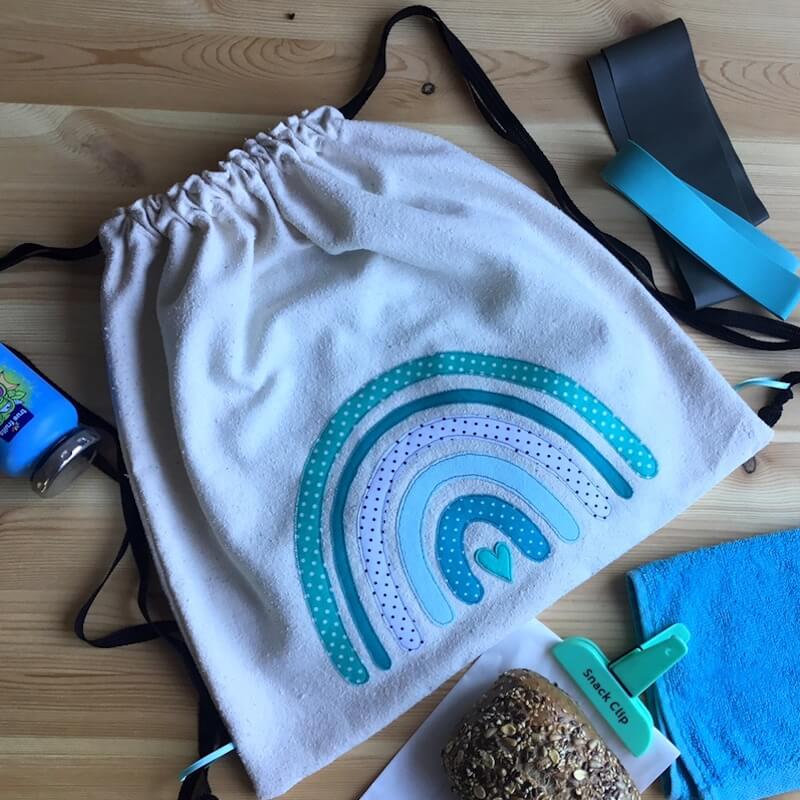
Rainbow Appliqué Drawstring Bag
Designed by Christa Rolf; modified
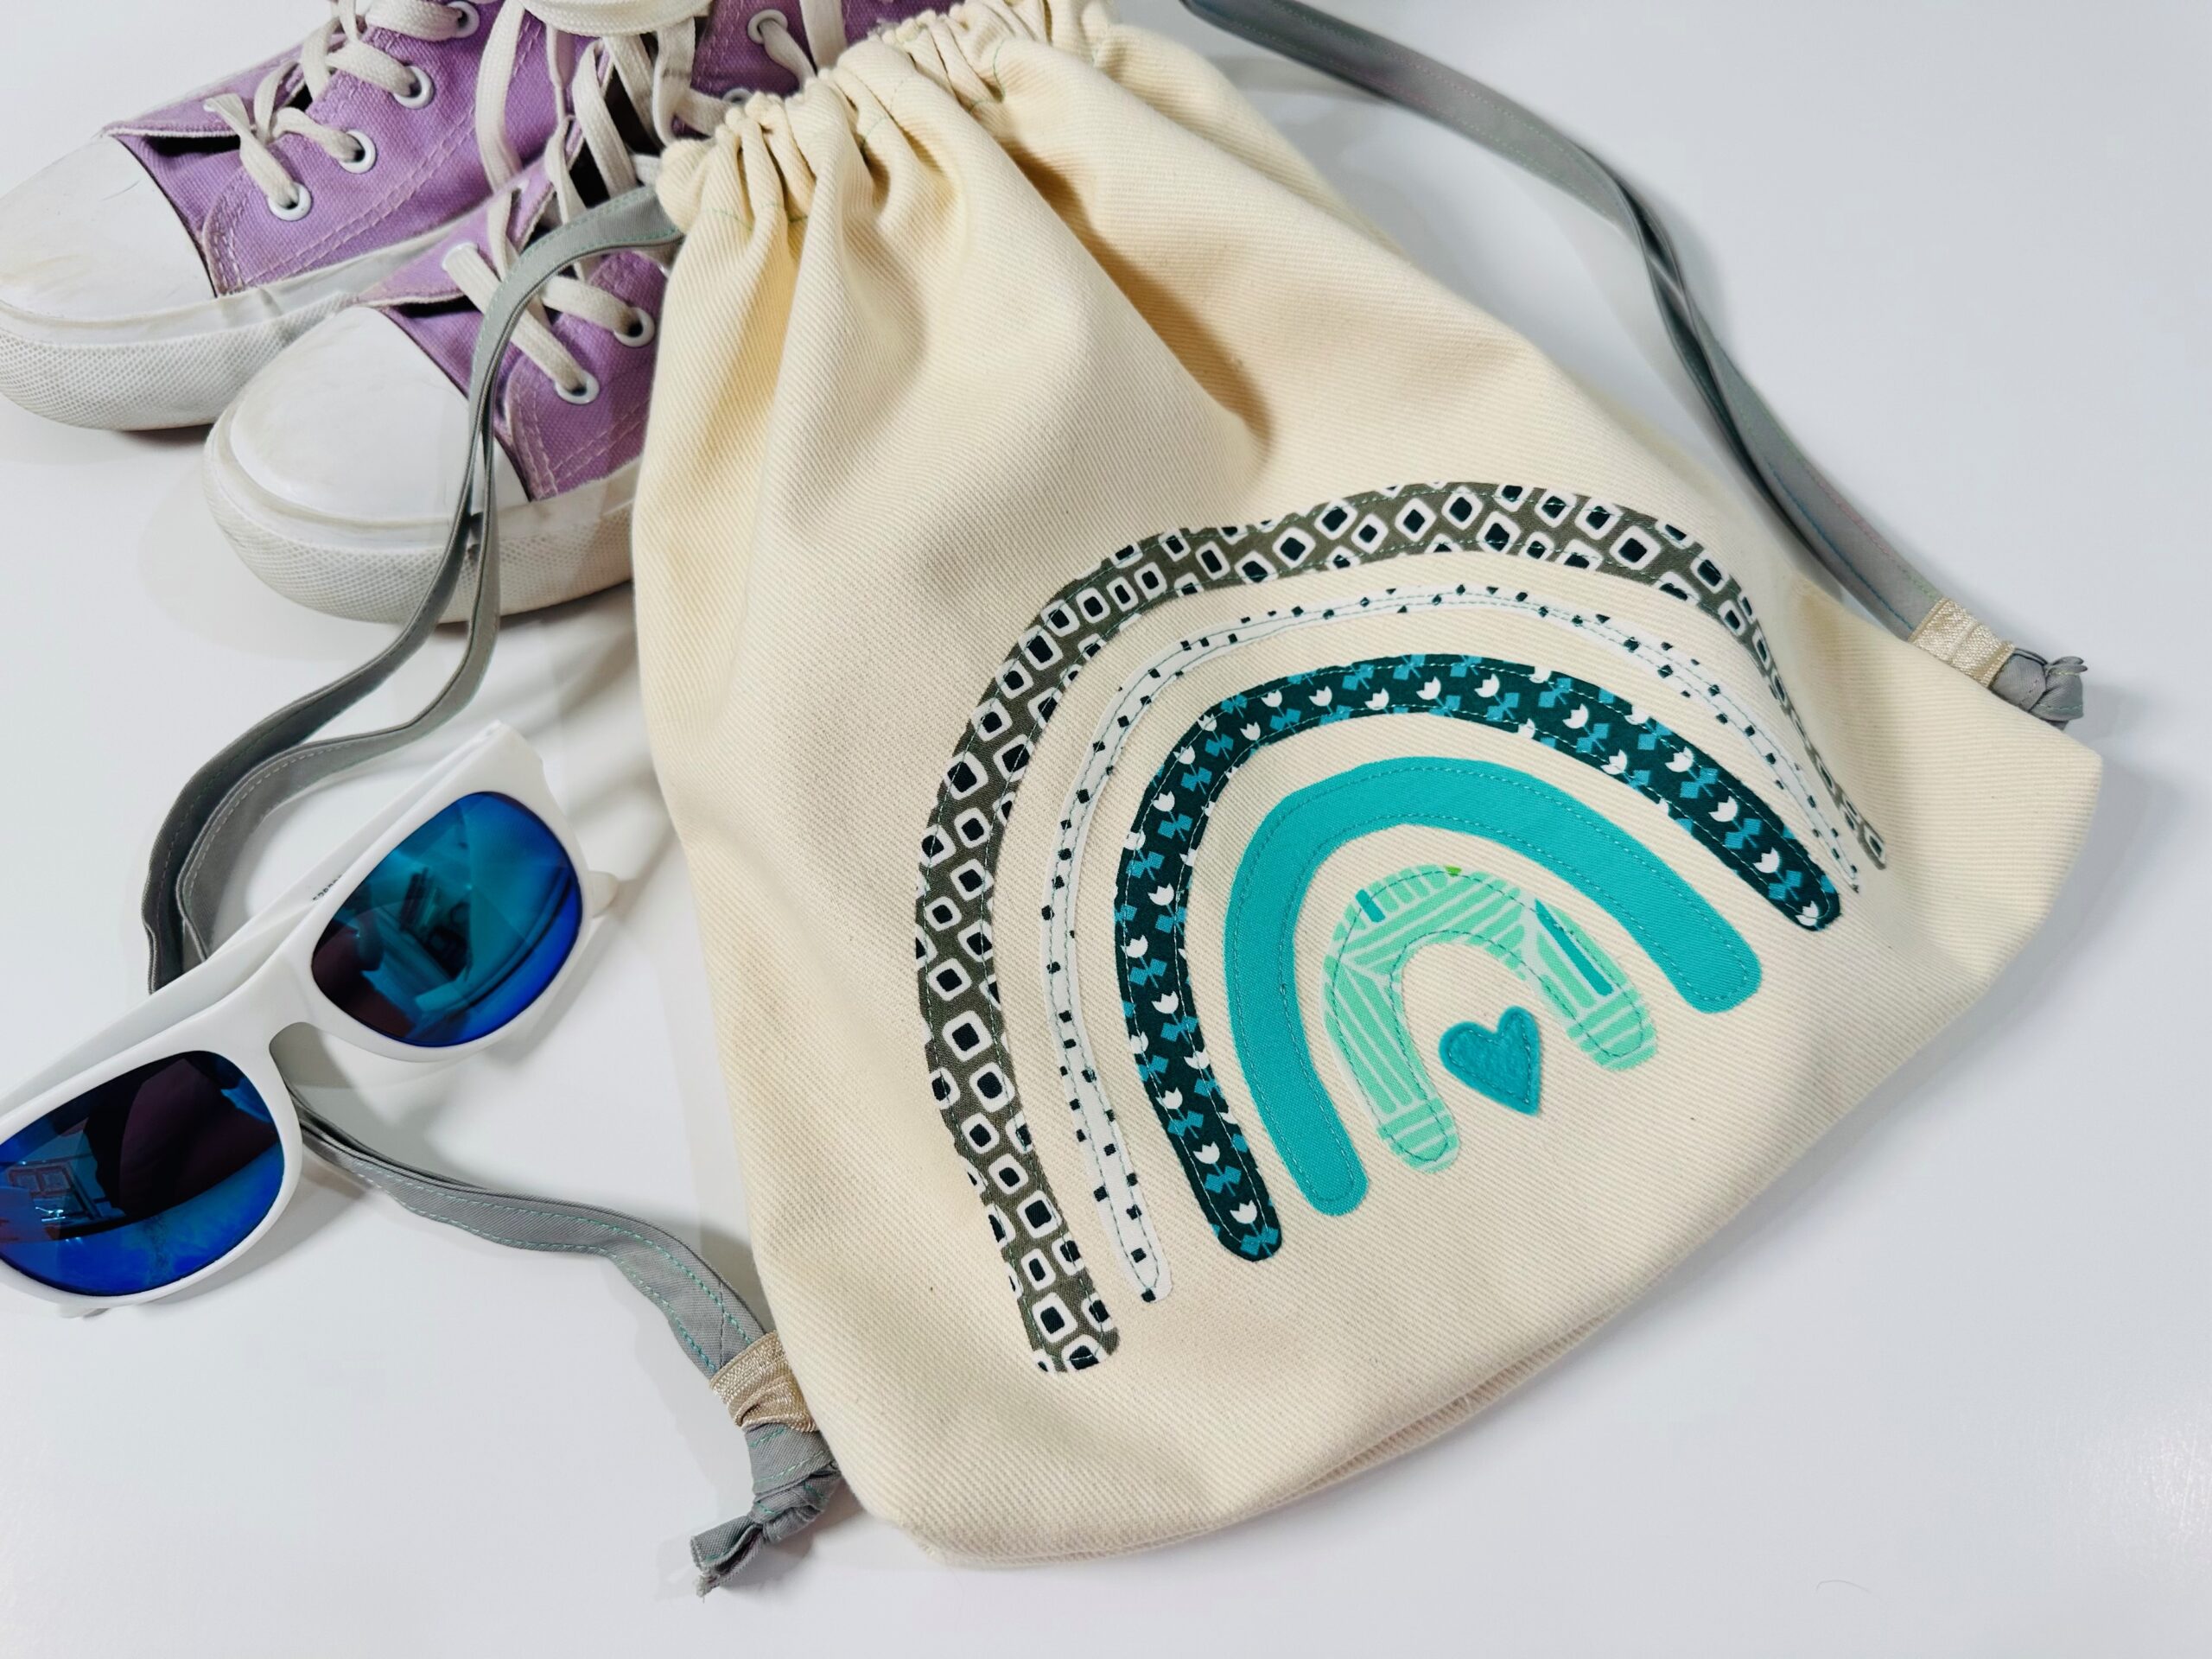
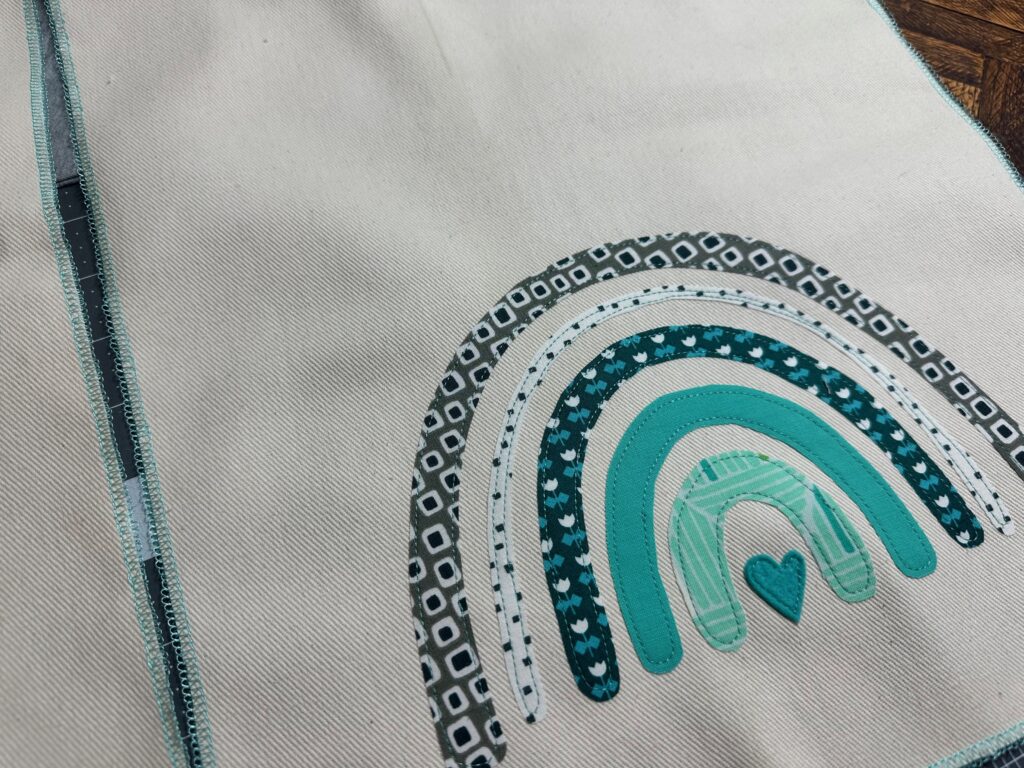
Create a simple drawstring bag embellished with a rainbow appliqué to tote shoes, summer essentials, sports gear and more. Made of canvas, this drawstring tote is durable and fully washable!
Drawstring Bag Finished Size: Approximately 12½” W x 15¾” H
RAINBOW DRAWSTRING BAG SUPPLIES
- Rainbow Appliqué Template
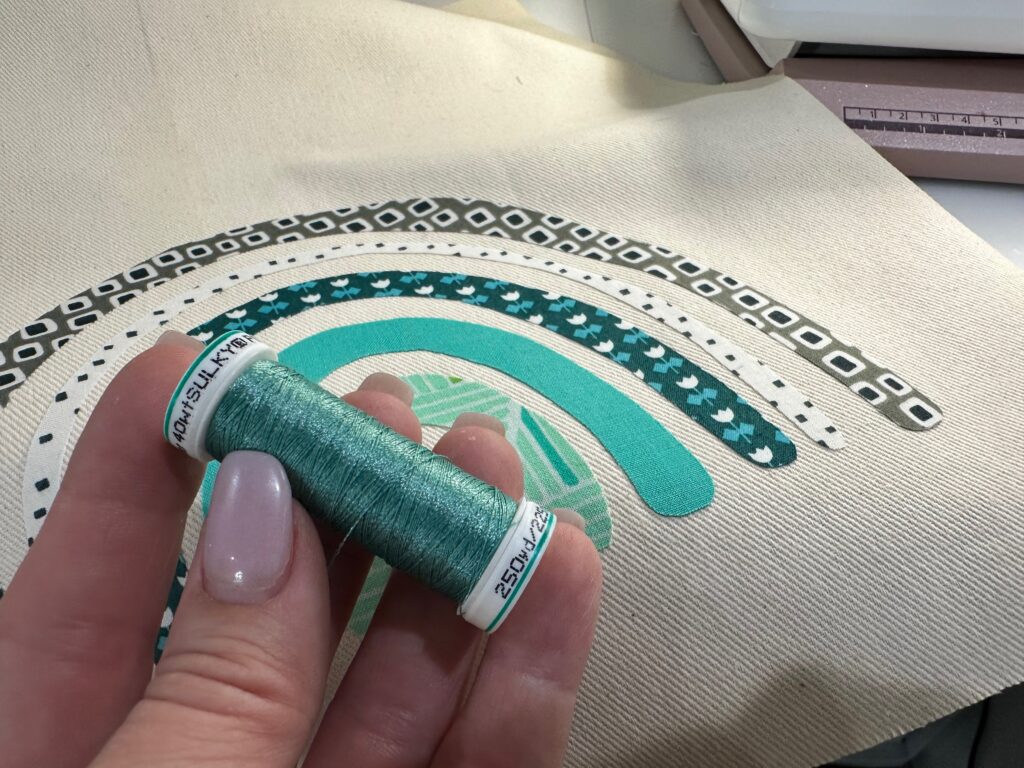
- Sulky Thread
- Rayon or Poly Deco (appliqué stitching)
- 30 wt. Cotton (construction)
- Sulky Perfect Appliqué Fusible Web
- Sulky Totally Stable Stabilizer (optional; if using lightweight exterior fabric)
- Scrap of matching Sulky Felty (heart appliqué; color of choice)
- Organ® size 90/14 Universal Needle
- ½ yard of exterior fabric (canvas or mediumweight cotton; beige)
- 5 different fabric print scraps (turquoise, mint, teal, black & white)
- 8” length of ¼”-wide satin ribbon or 4” length of foldover elastic
- 3½ yards of cotton ribbon or cording (at least ½” wide)
- Curved Tip Squeezers or seam ripper
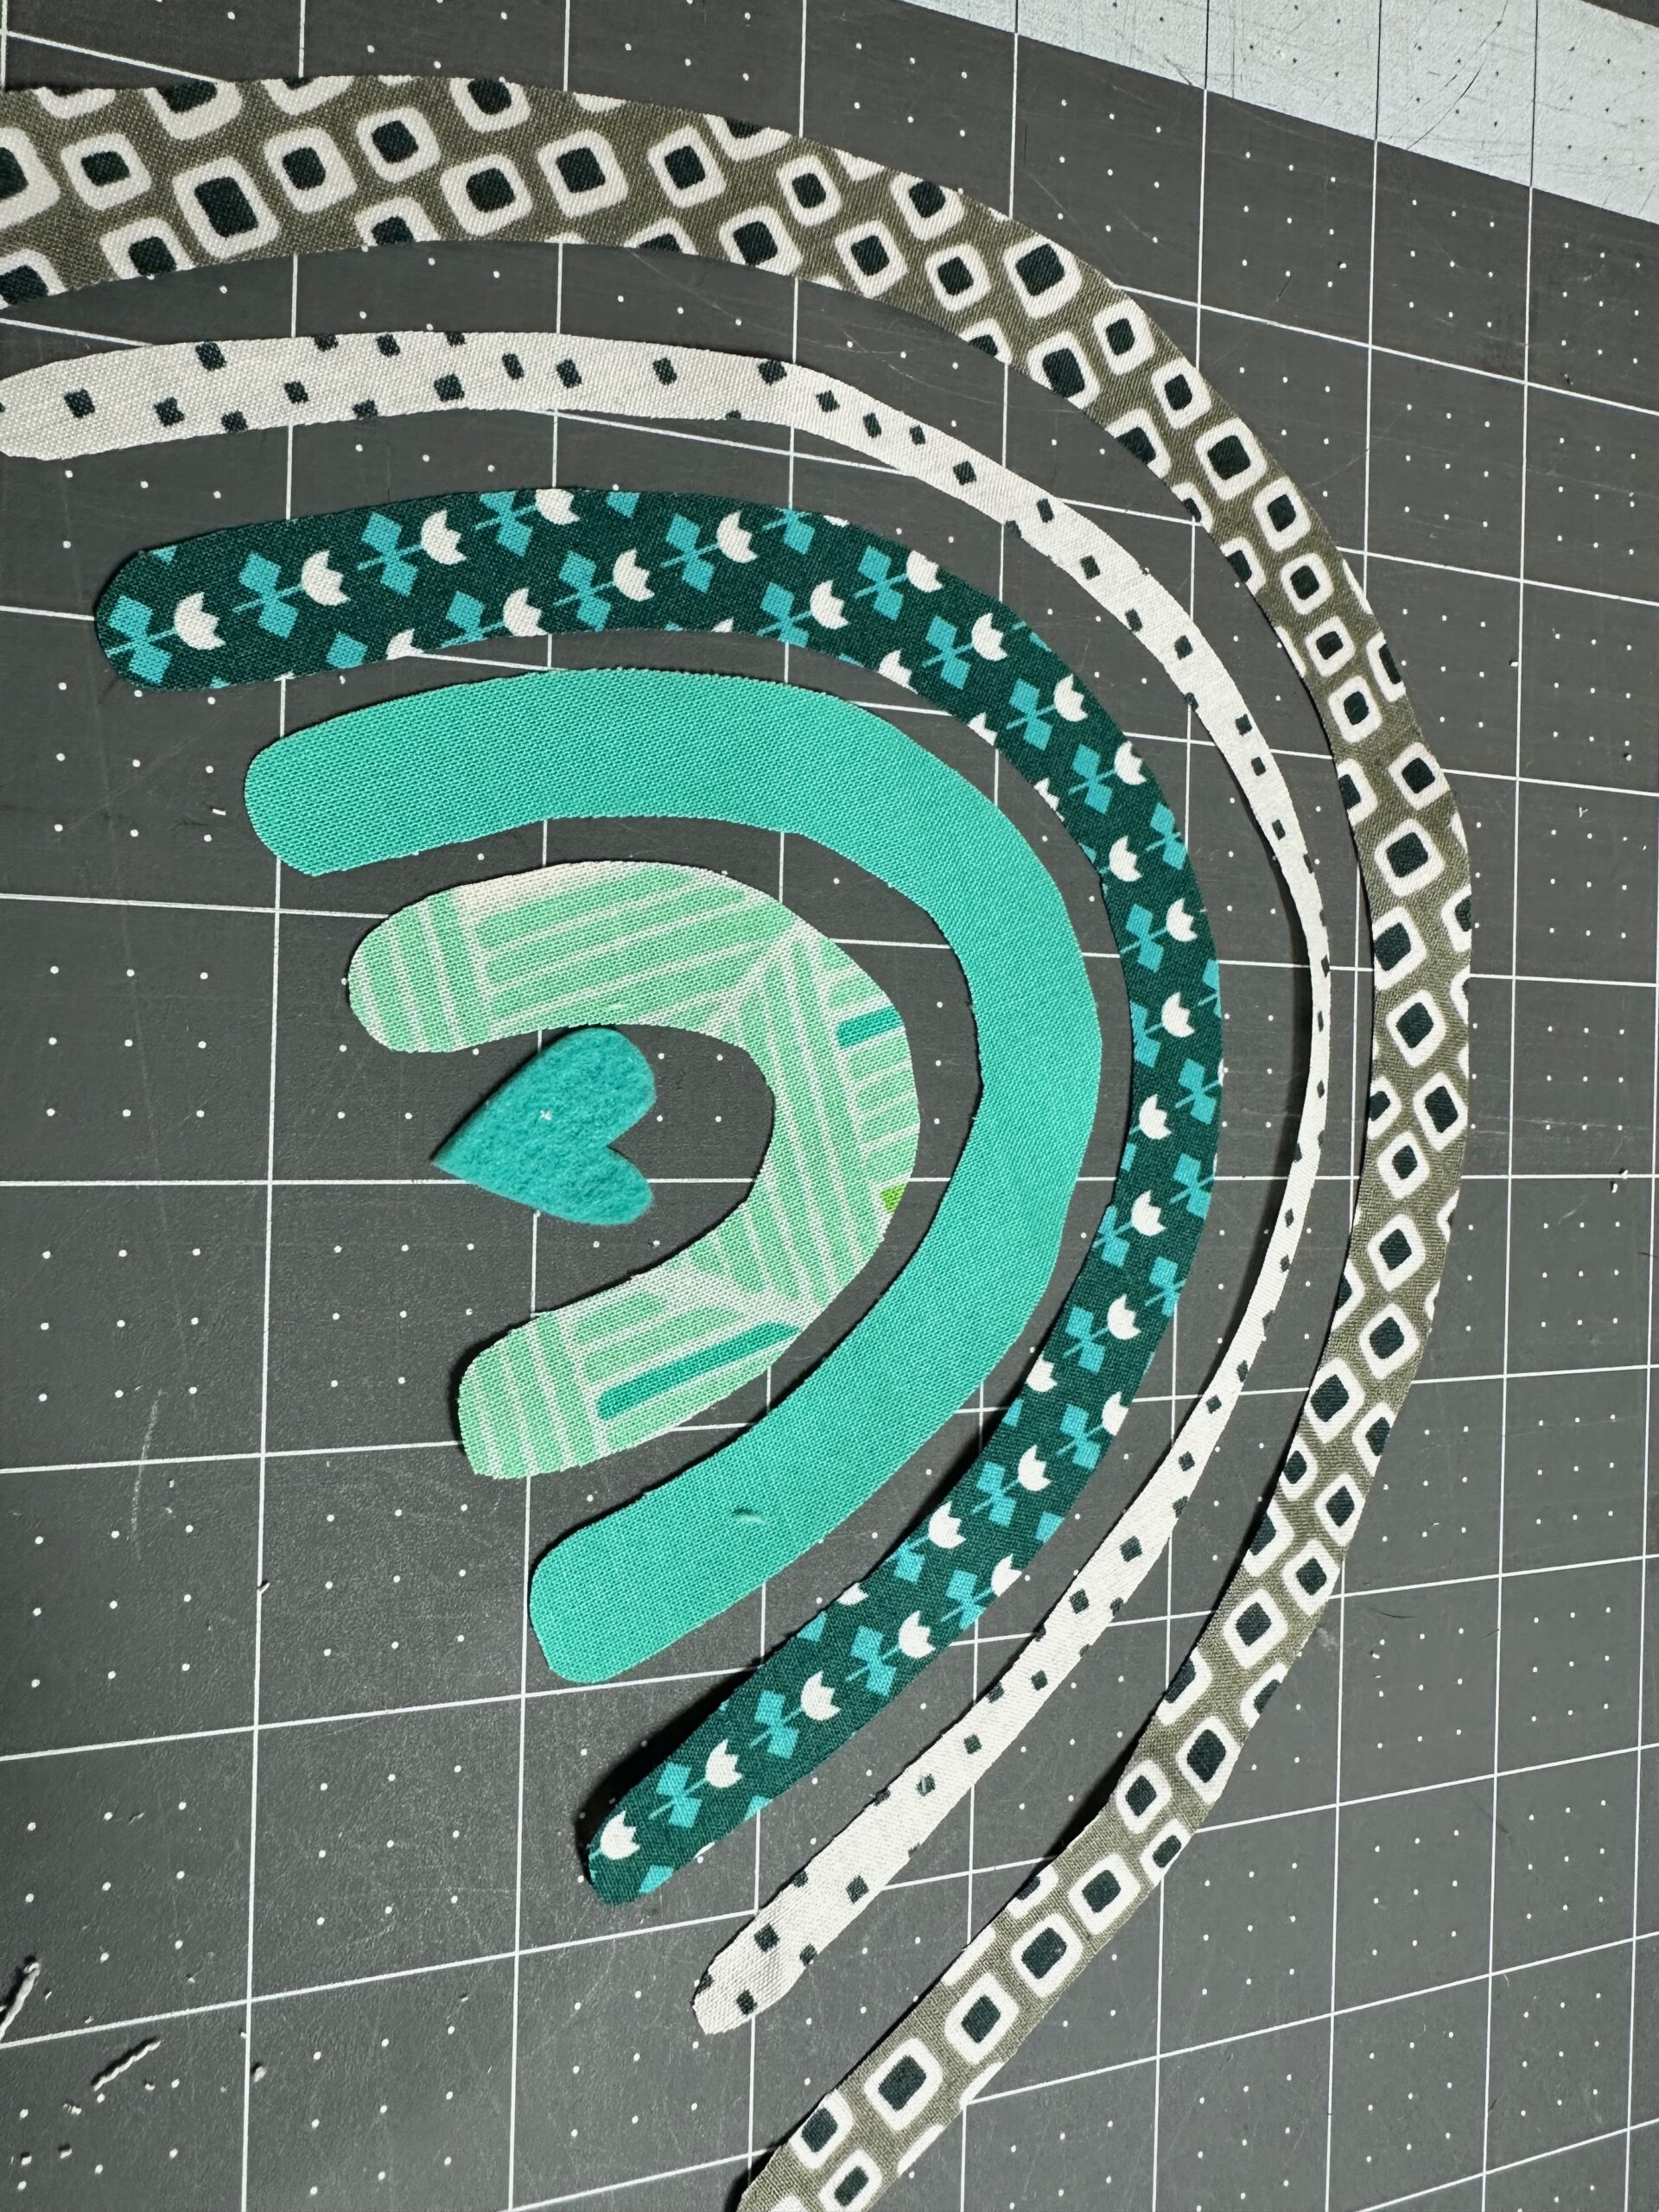
APPLIQUÉ PREP
Transfer the Rainbow Appliqué Templates to the paper side of Sulky Perfect Appliqué Fusible Web; roughly cut them out. Fuse each template to the wrong side of each fabric scrap.
Fuse the heart shaped template to the wrong side of the Sulky Felty.
After fusing, cut out out each shape; remove the fusible web paper backing.

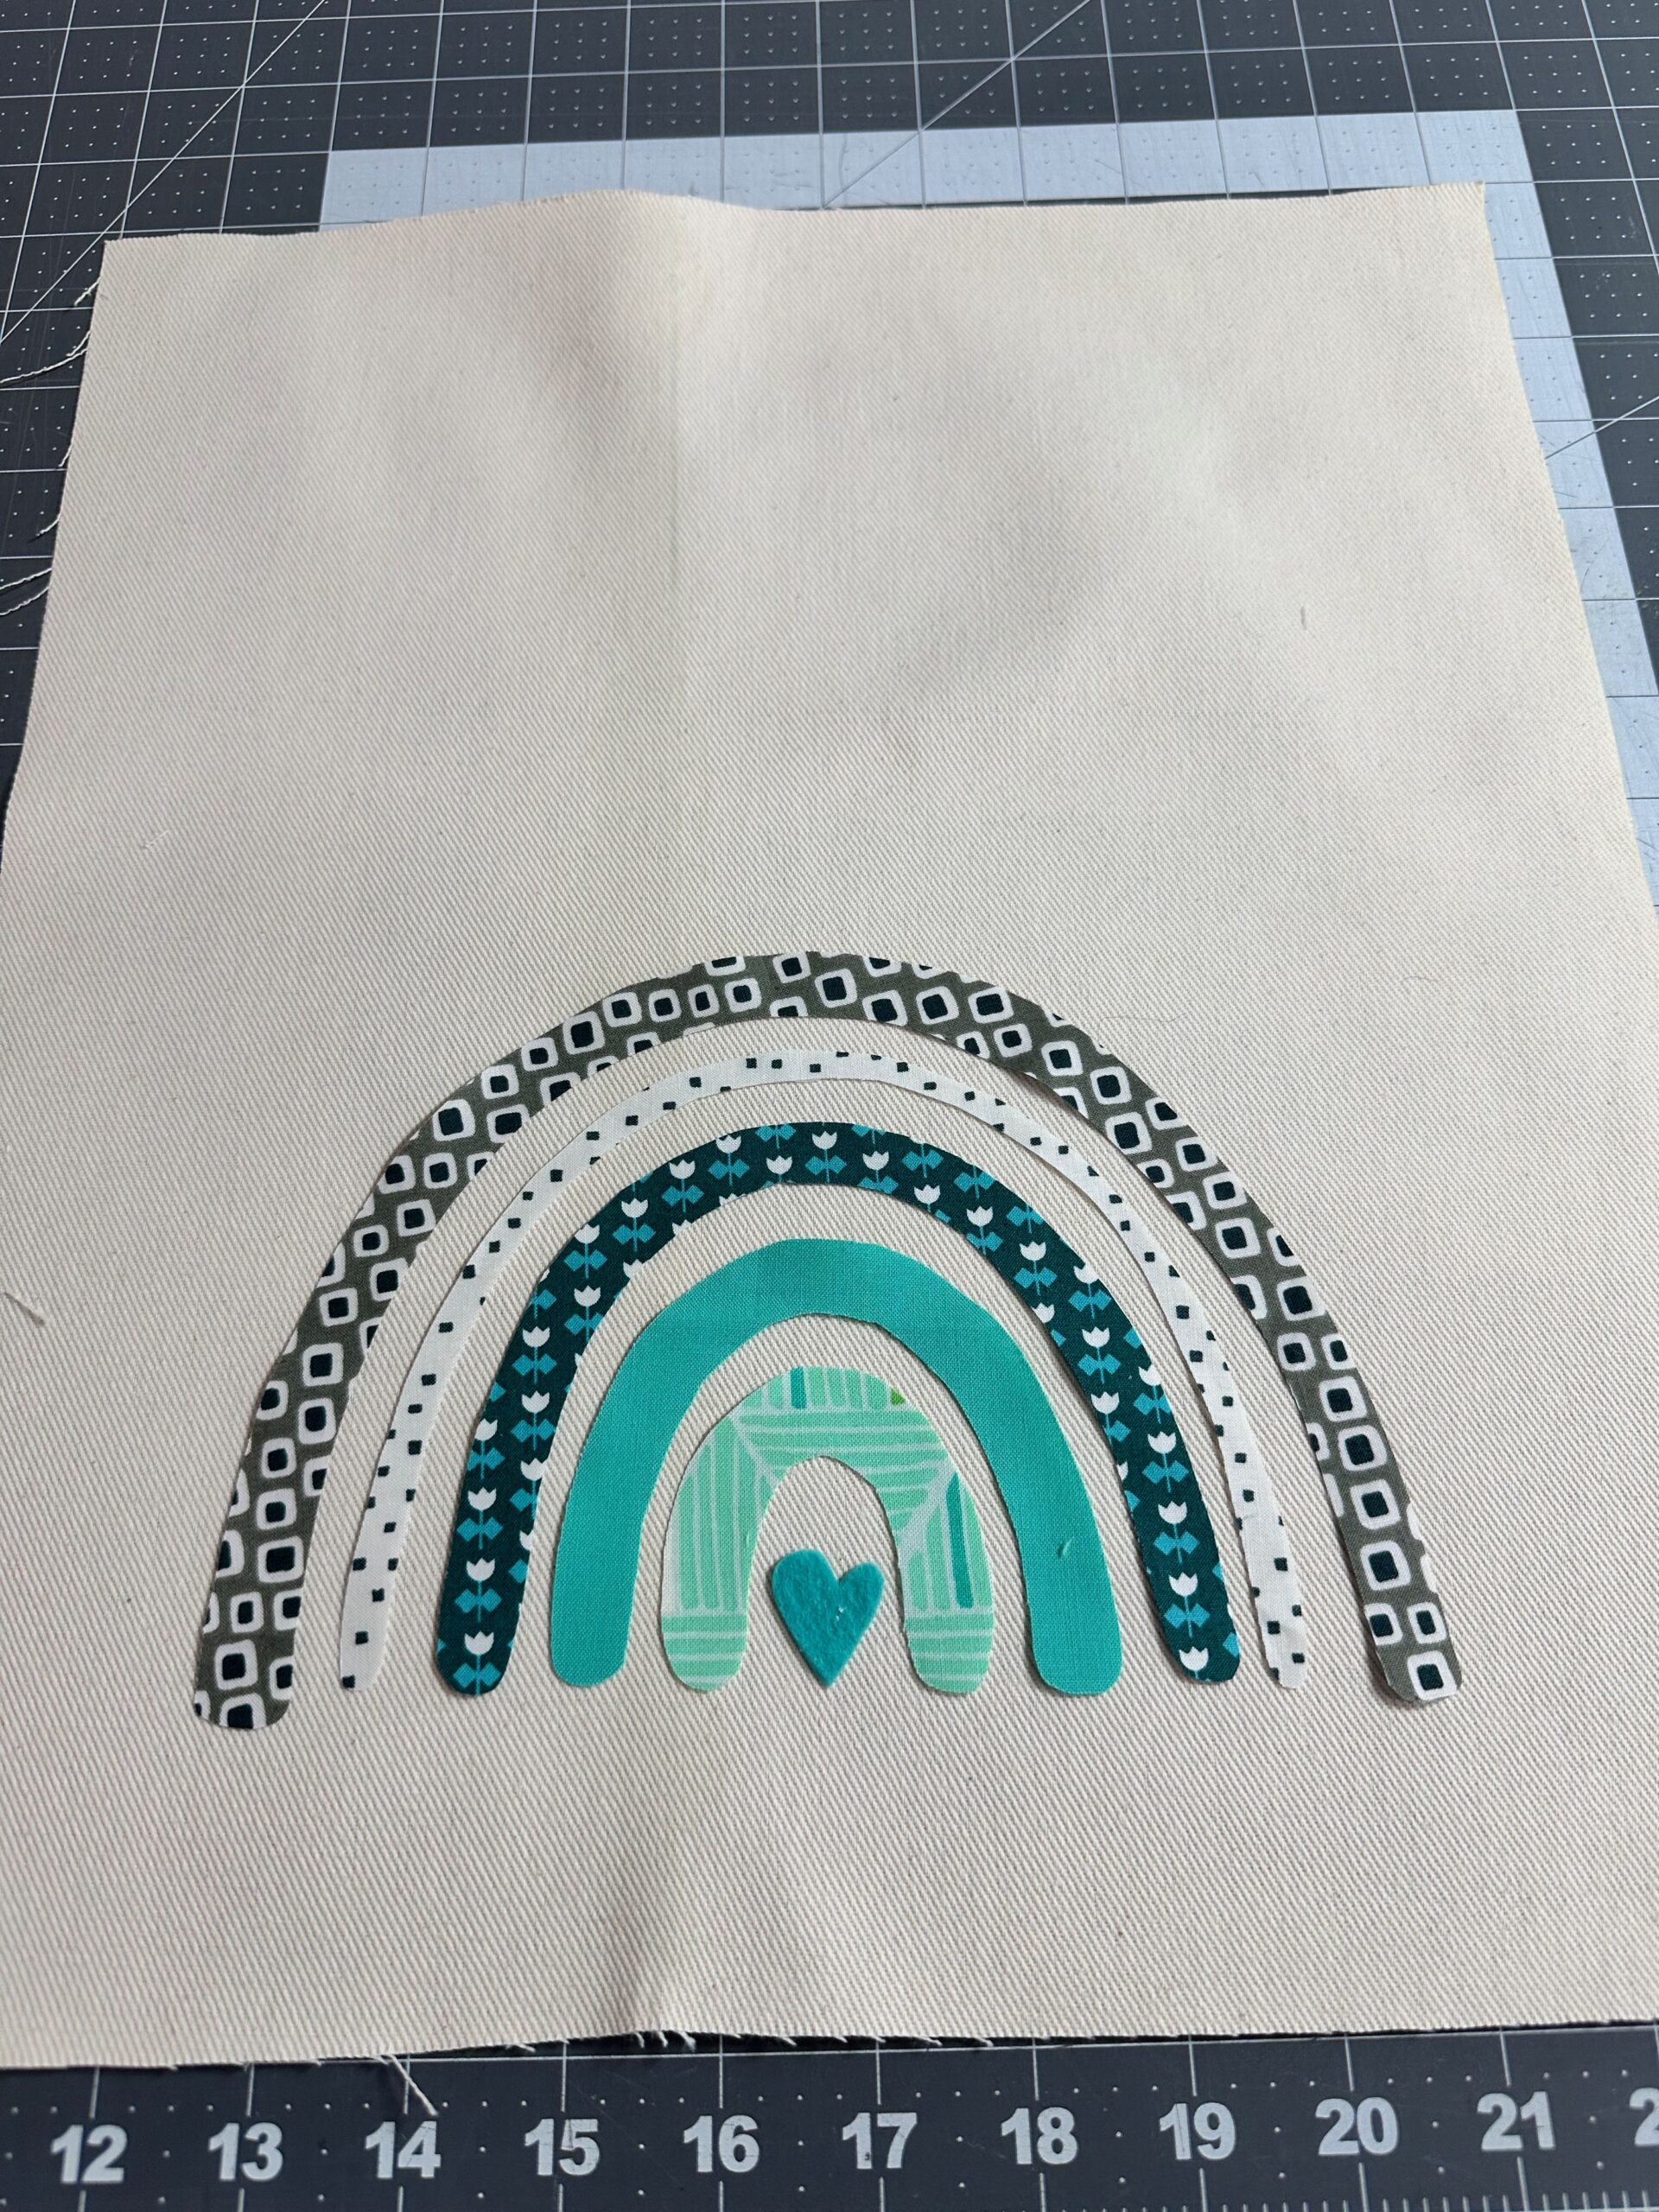
TOTE EXTERIOR
From the exterior fabric, cut two 13½” x 15¾” rectangles.
Fuse a rectangle of Totally Stable Stabilizer, if using, to the wrong side of one exterior rectangle; this is the front.
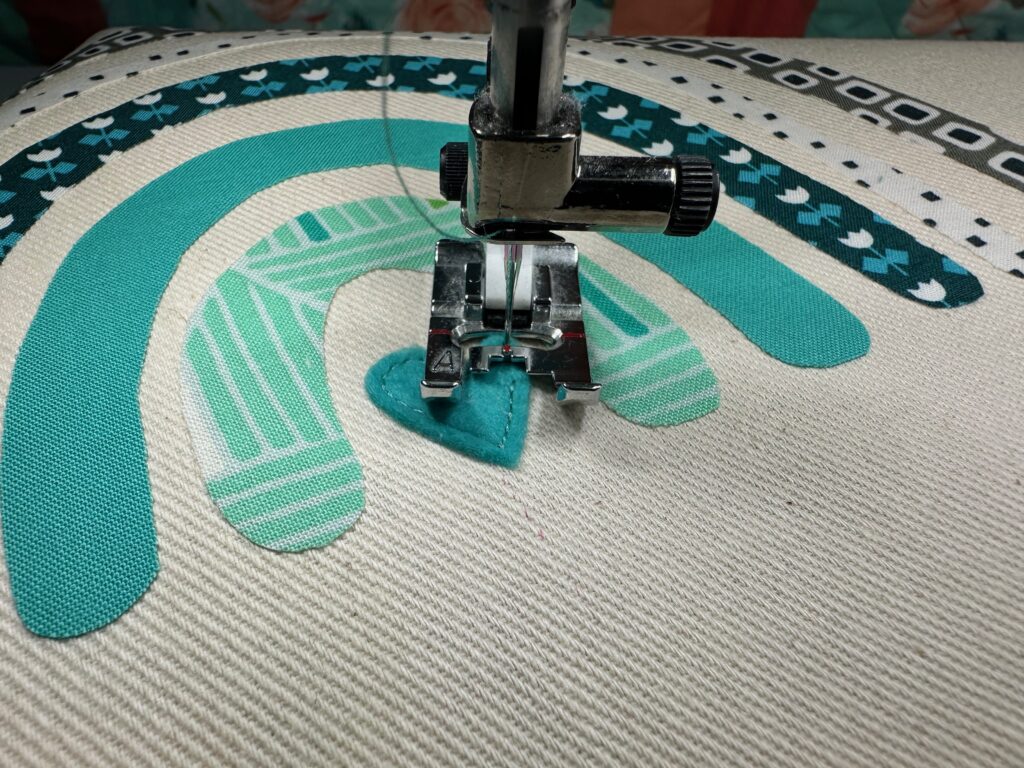
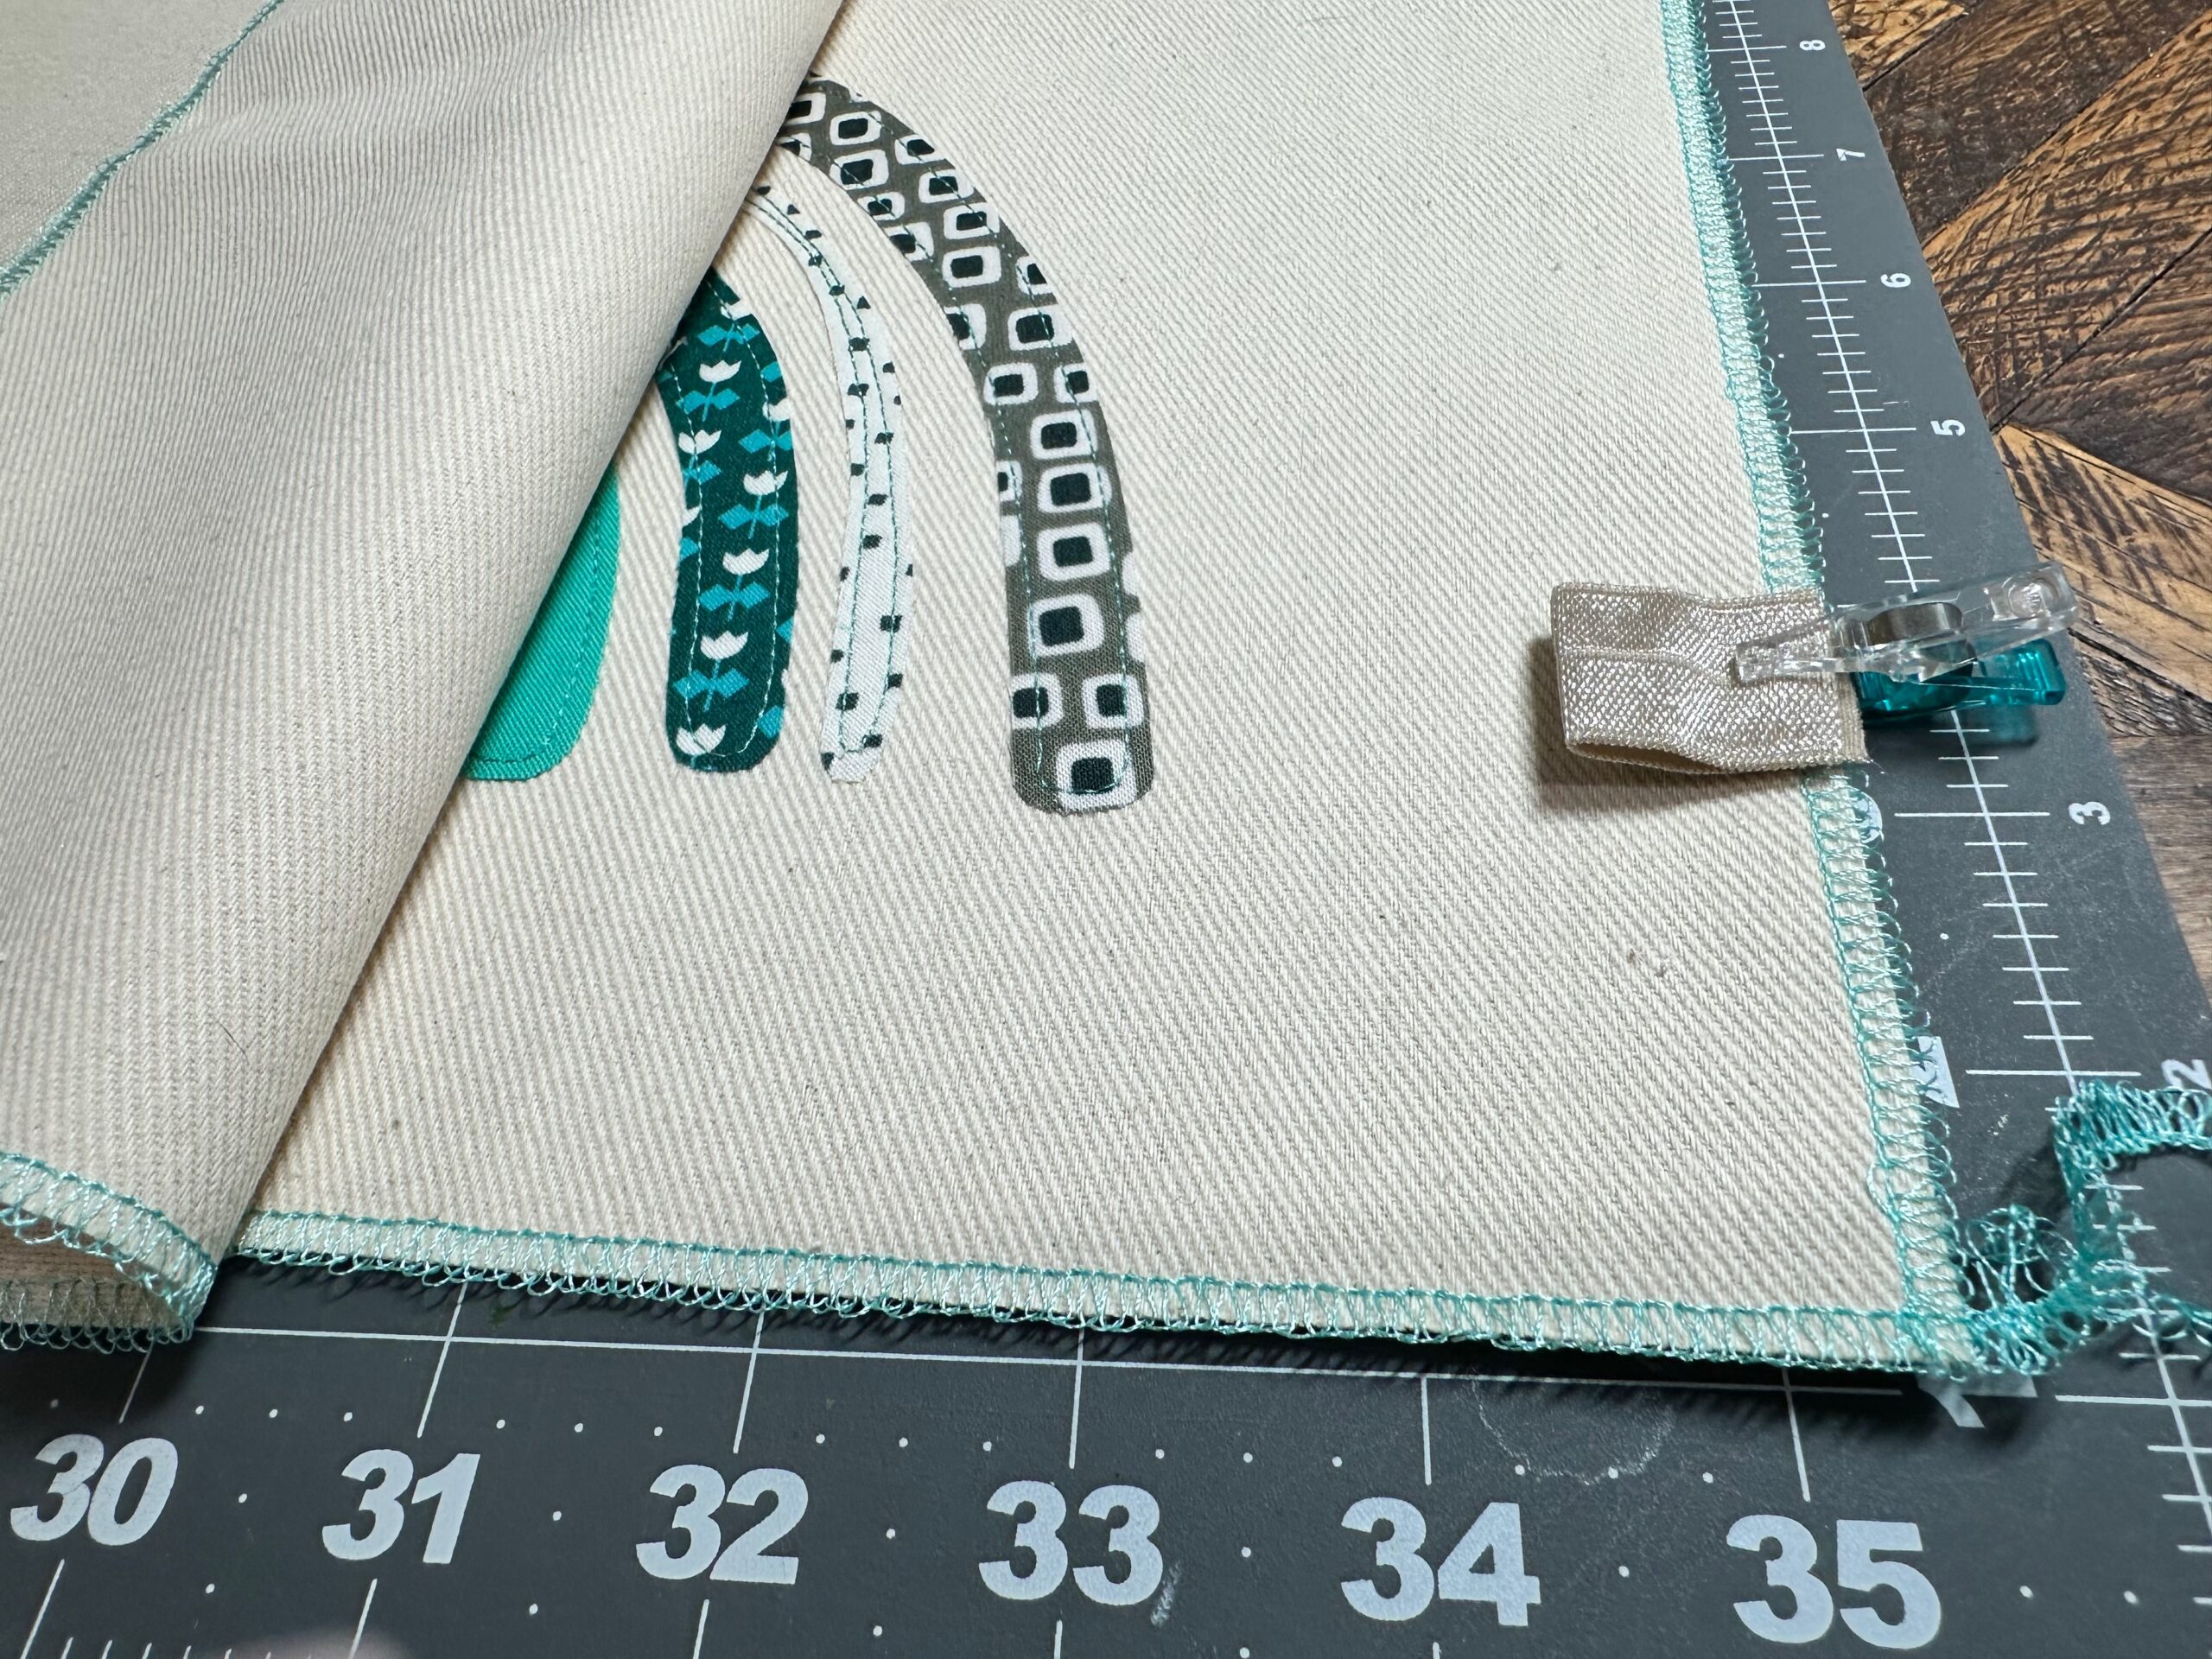
Arrange the Rainbow and Heart appliqués on the front exterior rectangle, approximately 2” up from the rectangle lower edge.
Thread a size 90/14 Needle with Sulky Rayon Thread. Choose the decorative stitch of your choice. Stitch each appliqué shape to secure it to the canvas exterior.
After the appliqué stitching is complete, remove the Totally Stable from the fabric wrong side by gently tearing it beyond the stitching lines.
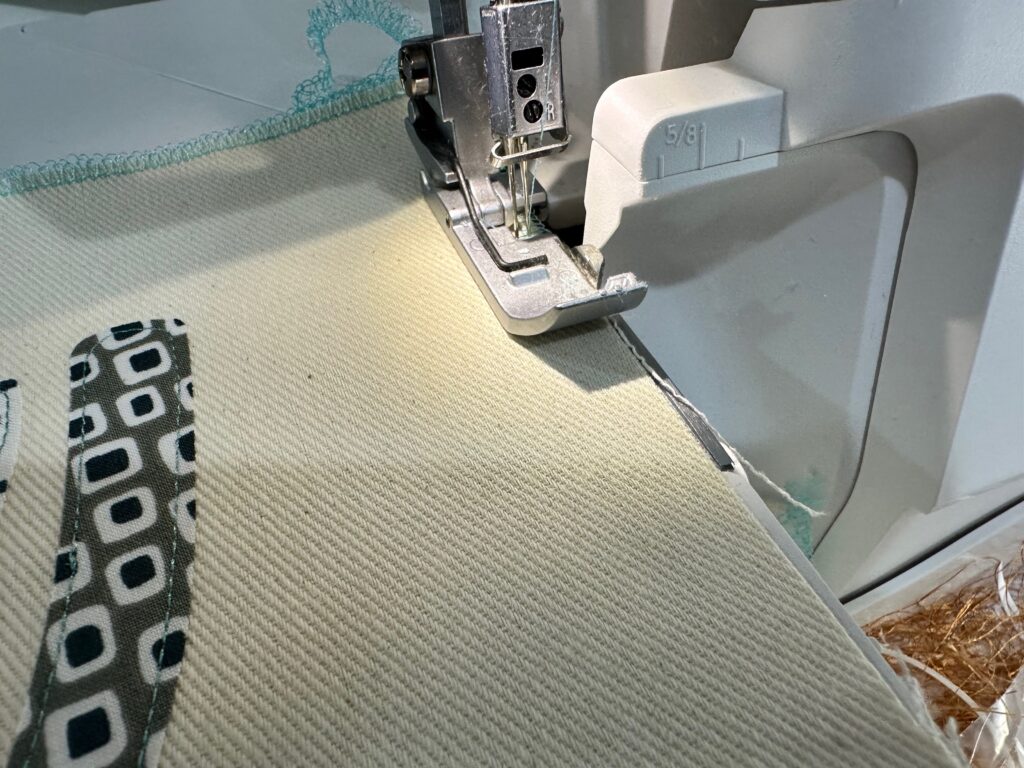
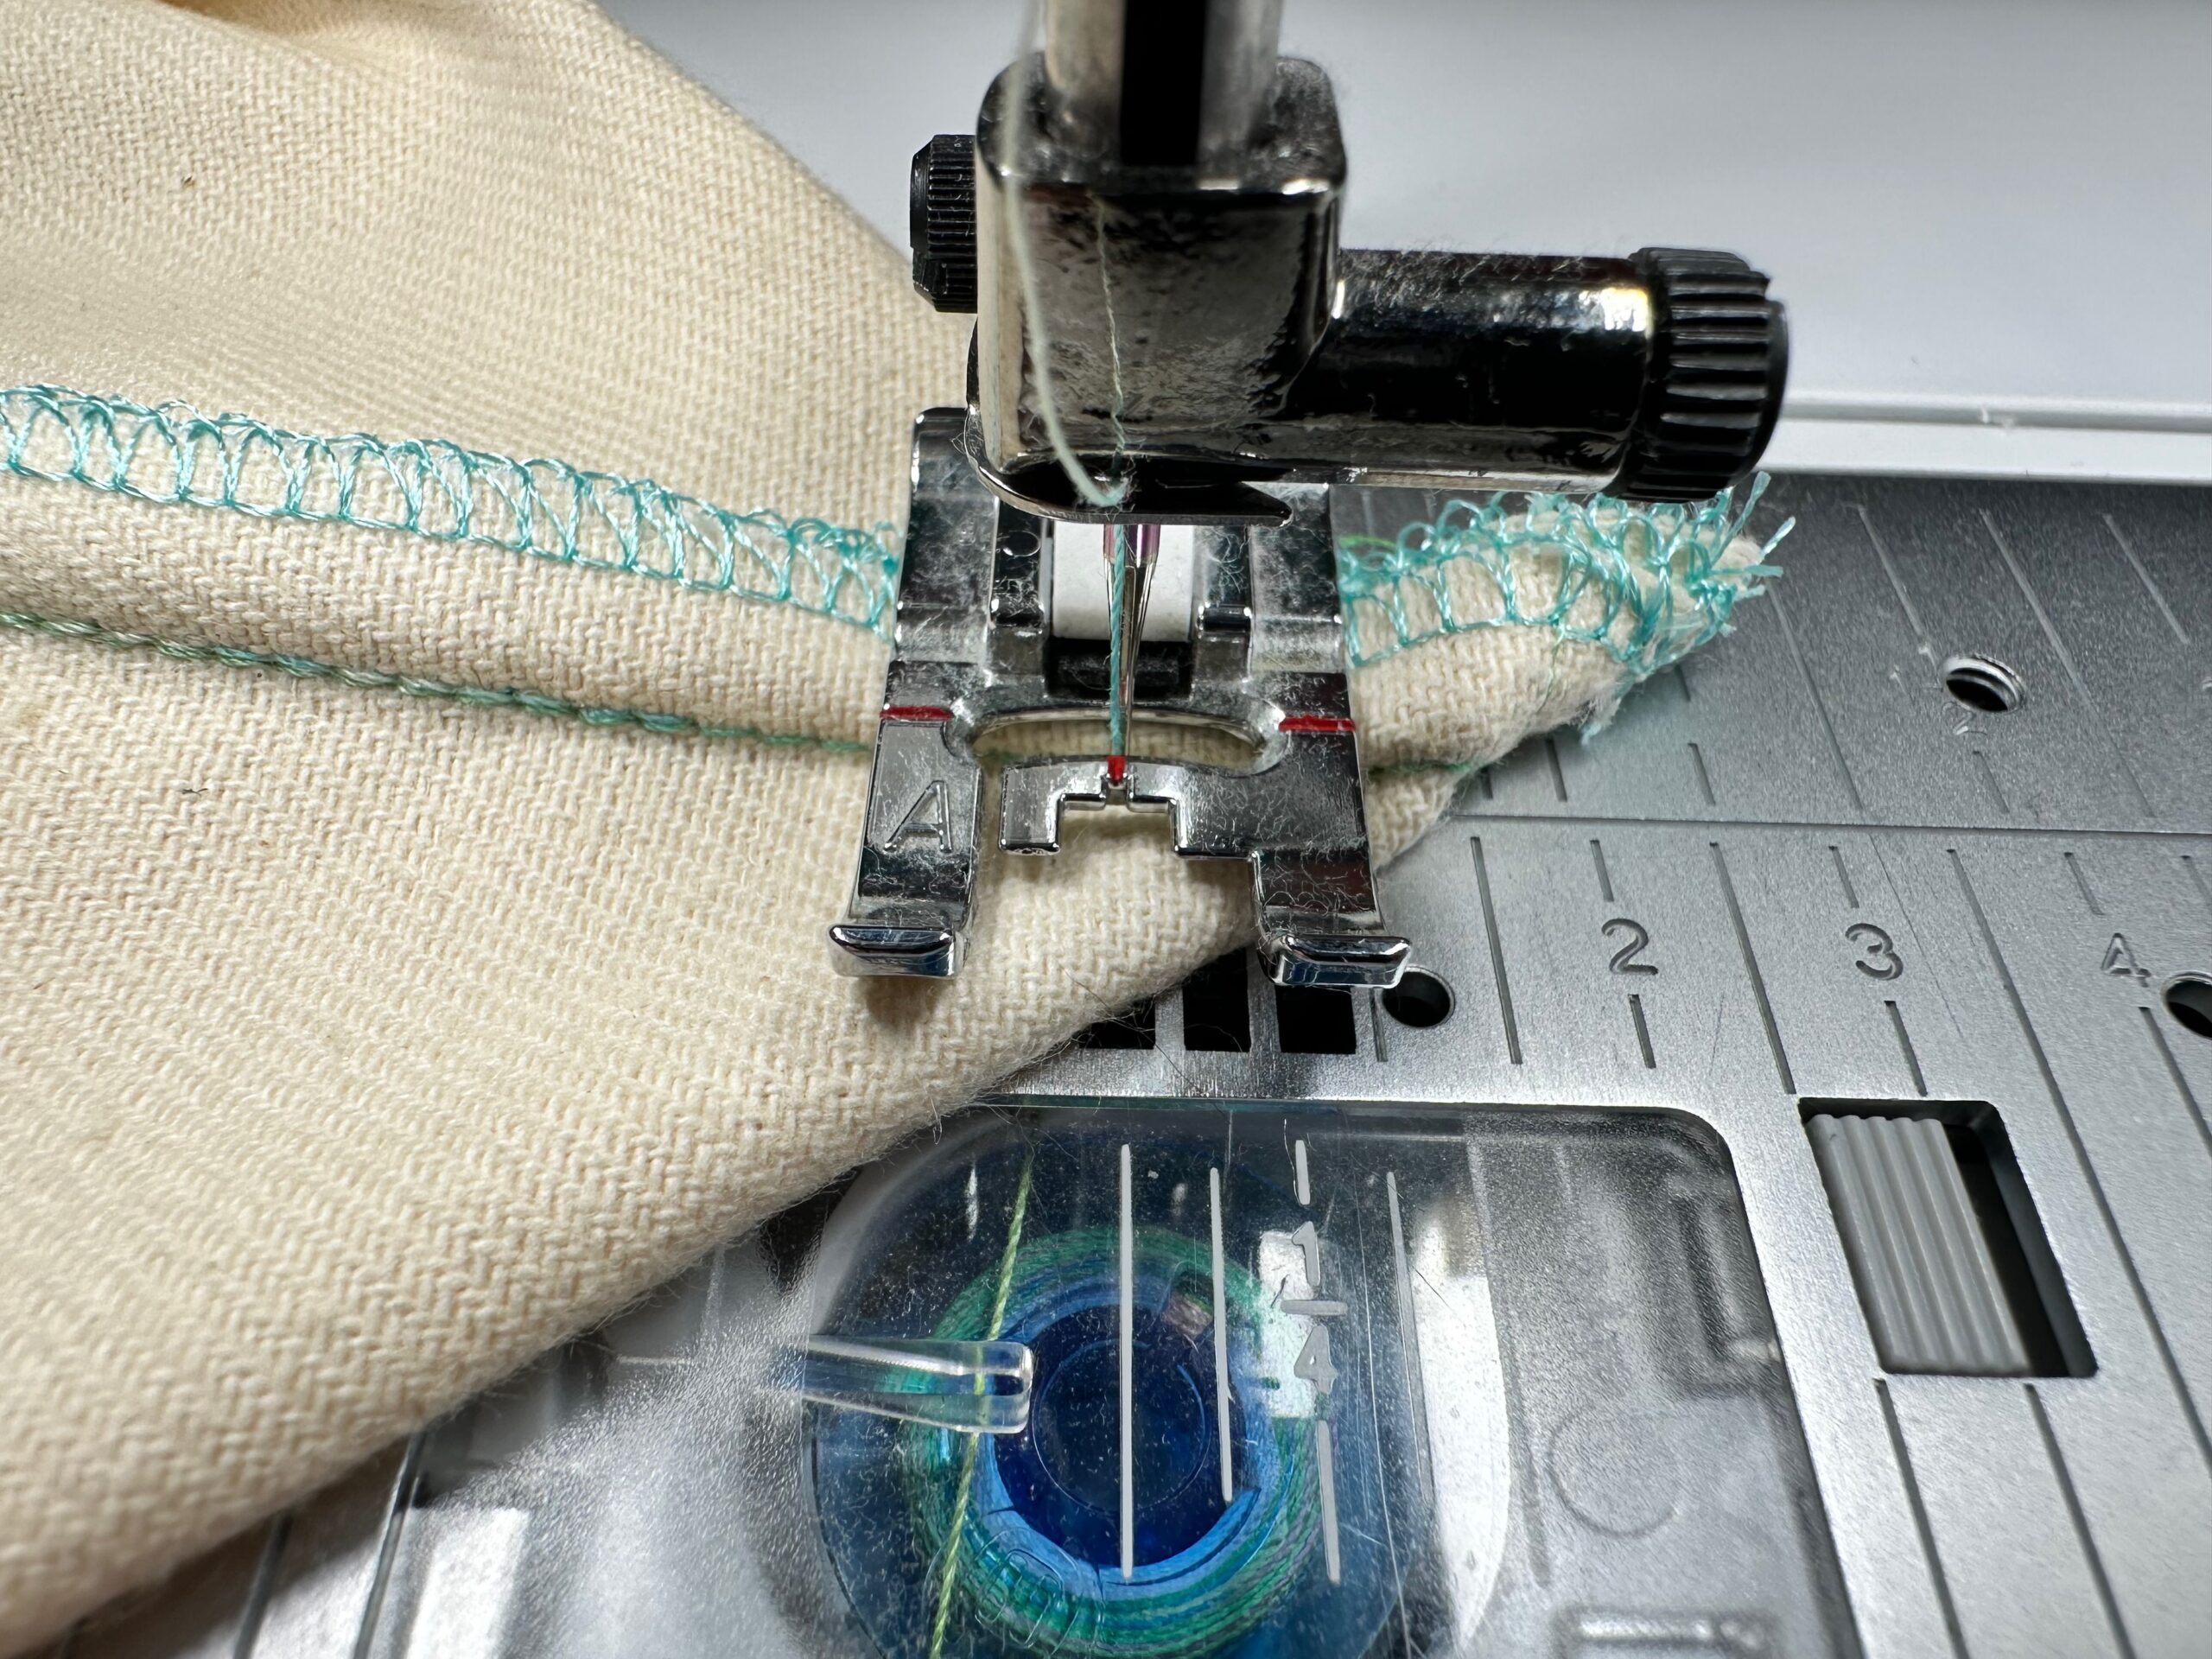
Serge- or zigzag-finish the exterior rectangle edges.
CONSTRUCTING DRAWSTRING TOTE
Thread the needle with 30 wt. Cotton Thread. Use the same thread in the bobbin.

Place both exterior rectangles right sides together.
For the side loops, cut either the ribbon or elastic into two equal pieces. Then, fold in half, matching the raw ends. Place the side loops between the front and back exterior pieces, approximately 2” from the lower edge. The ribbon/elastic raw edges should be parallel to the fabric side edges.
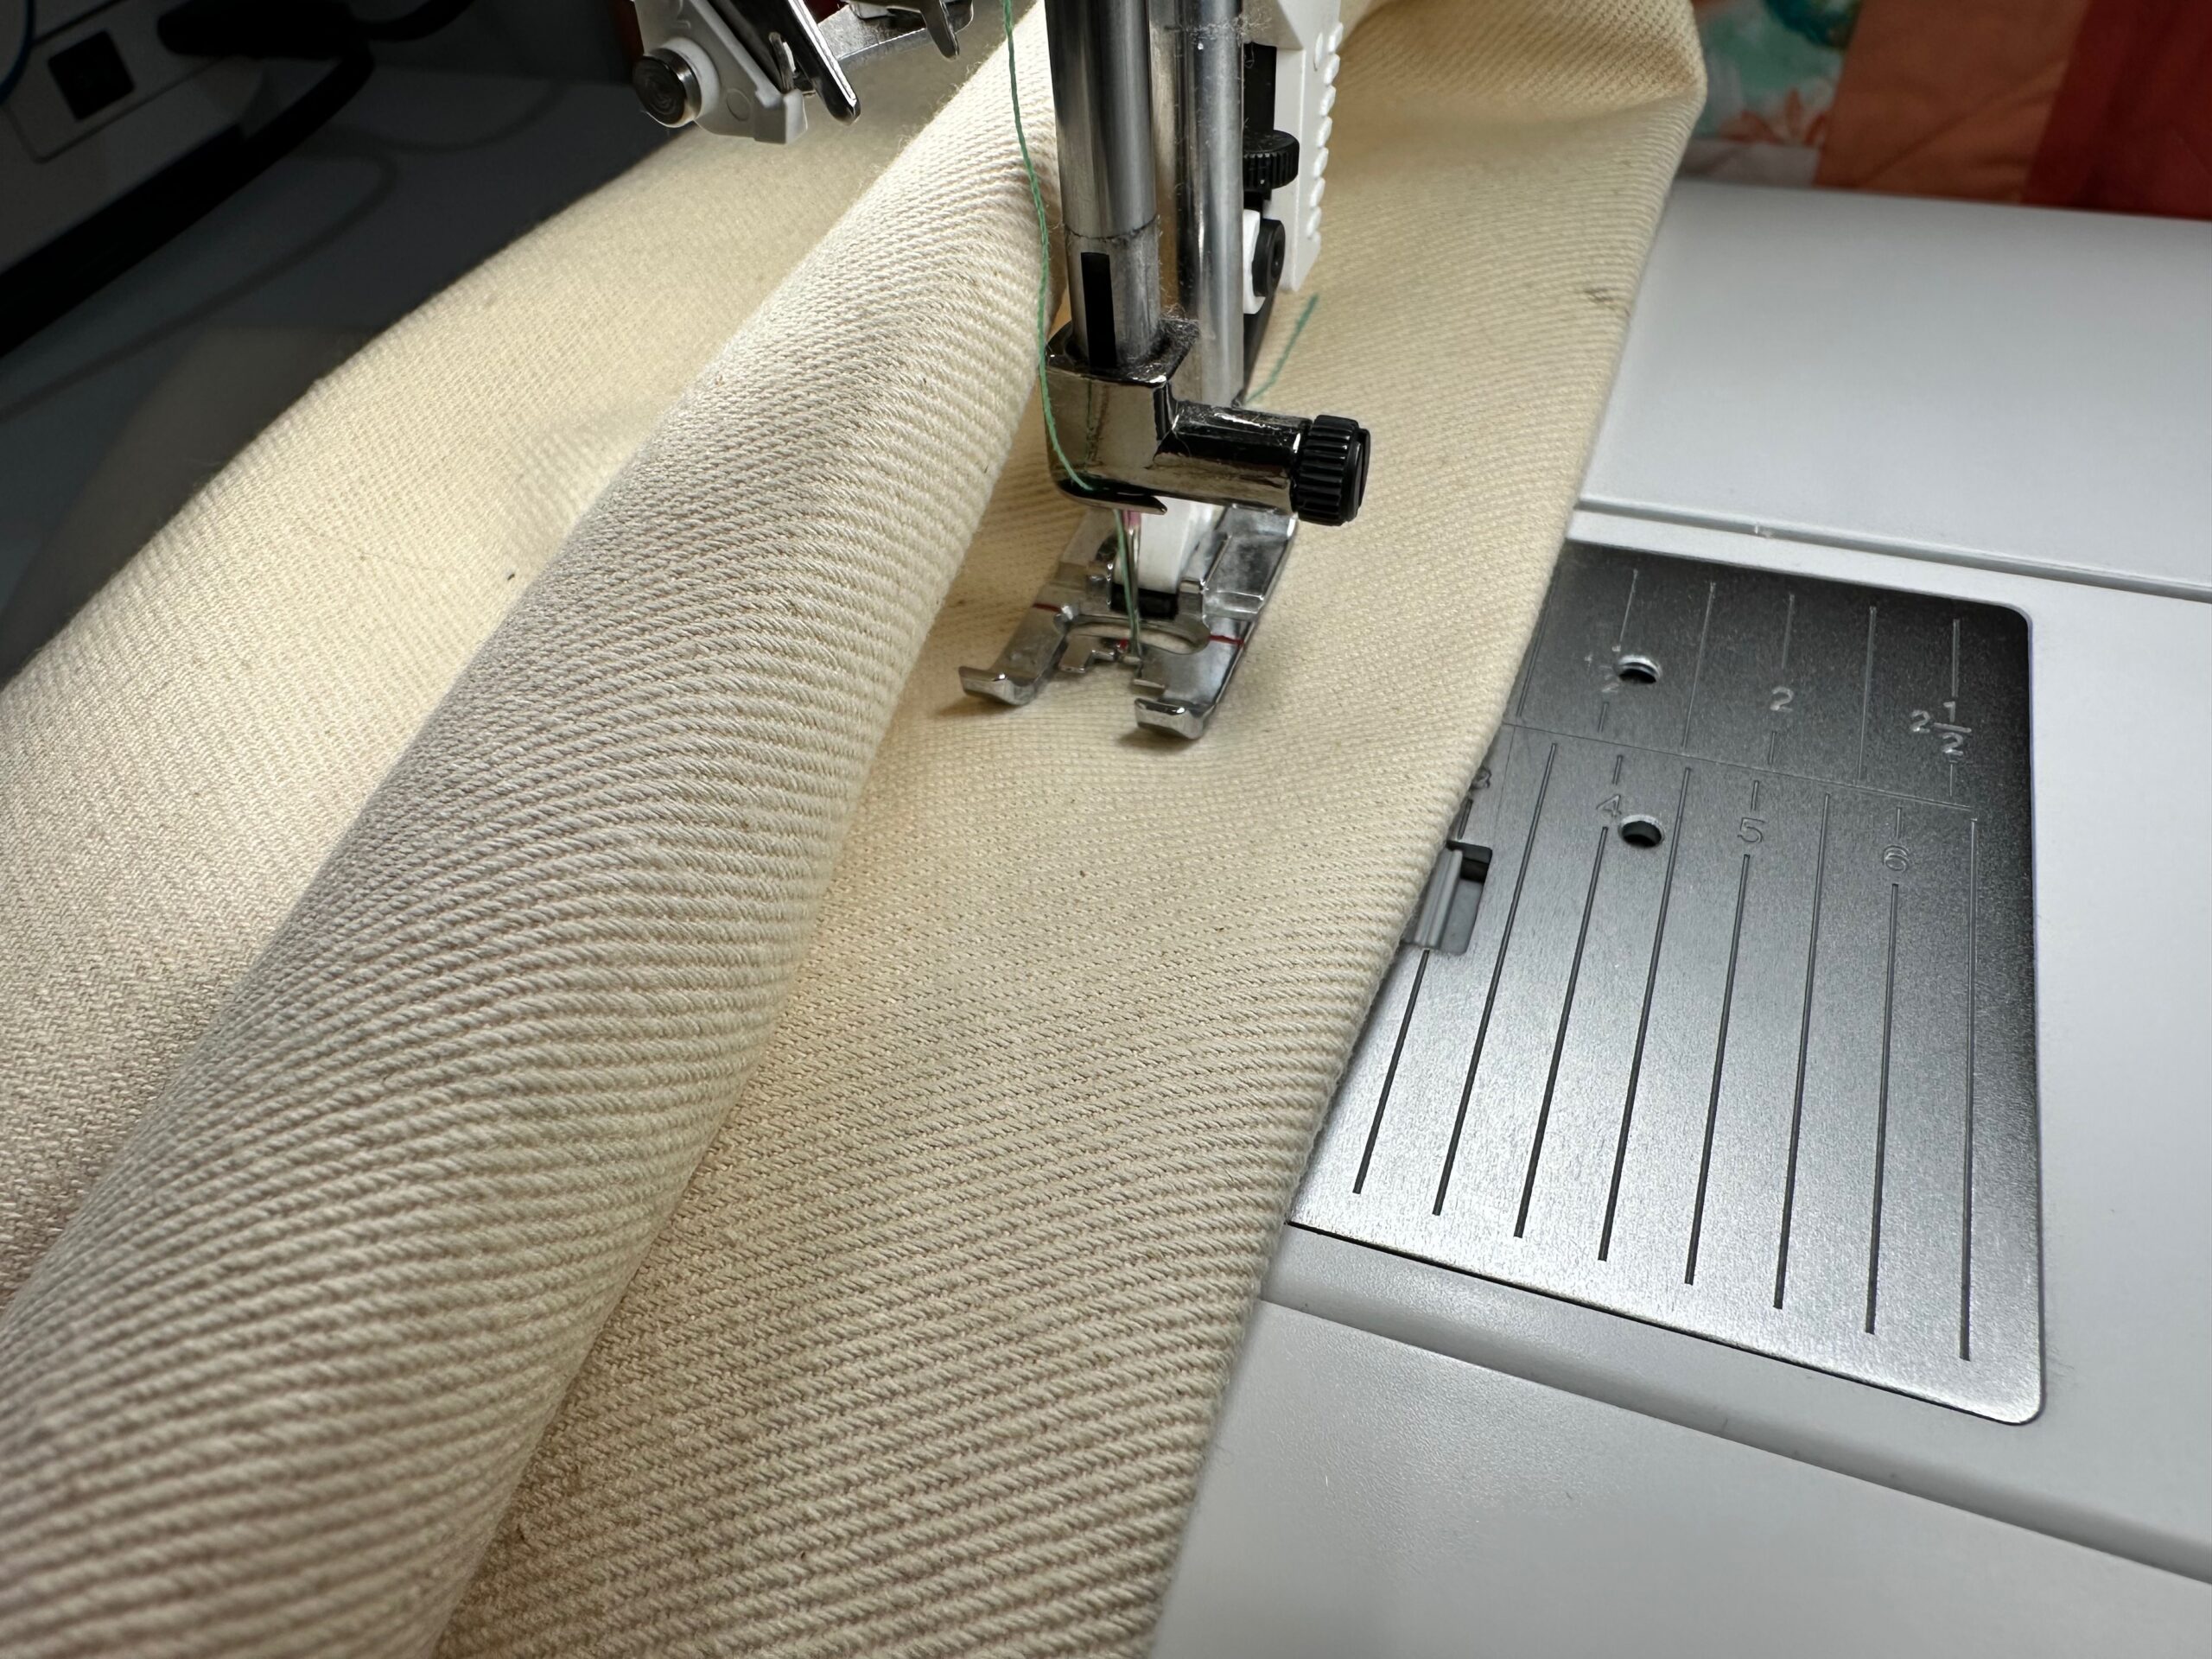
Stitch both side seams and the lower-edge seam using a 3/8” seam allowance. Slightly box the corner by matching one side seam to the lower-edge seam and stitching ½” from the point. Repeat to box the opposite corner.
DRAWSTRING TOTE CASING
Fold the exterior upper edge ½” toward the wrong side; press.
Then, fold the upper edge 1 ¼” toward the wrong side; press.
Topstitch 1/8” from the upper folded edge and 1/8” from the lower folded edge.
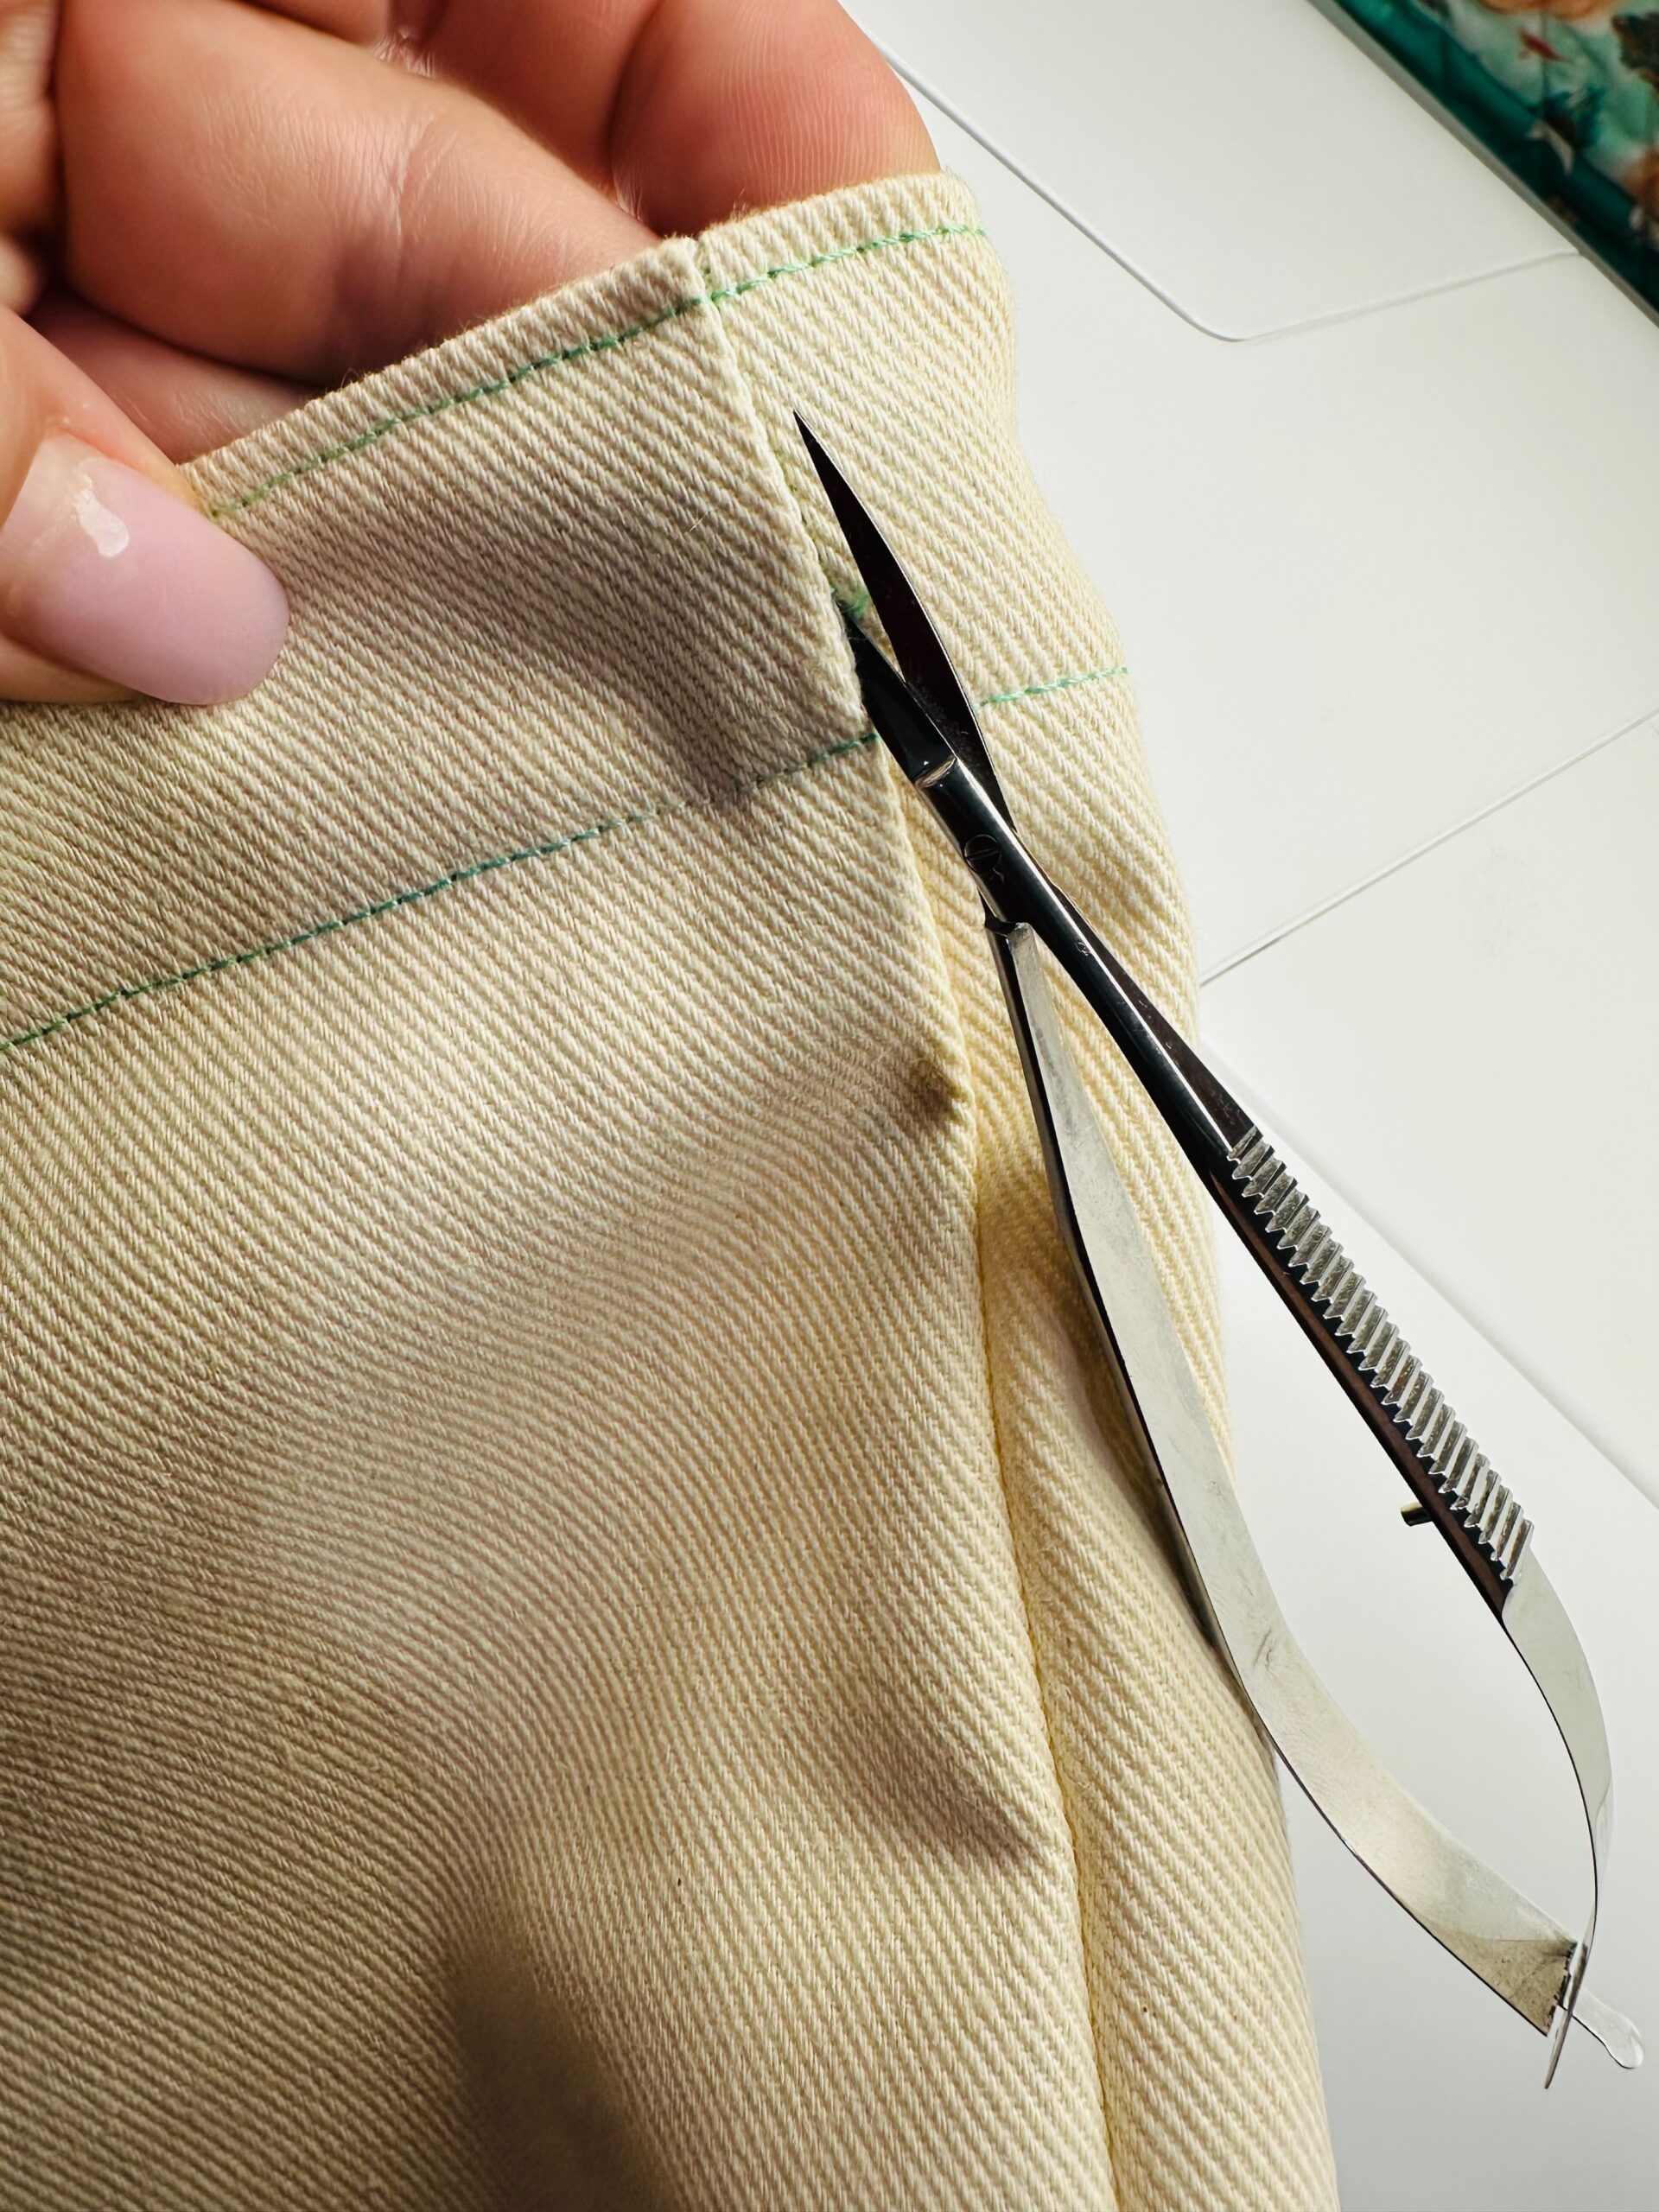
Use a seam ripper or Curved Tip Squeezers to undo the stitching along the side seams between the upper and lower casing stitches.
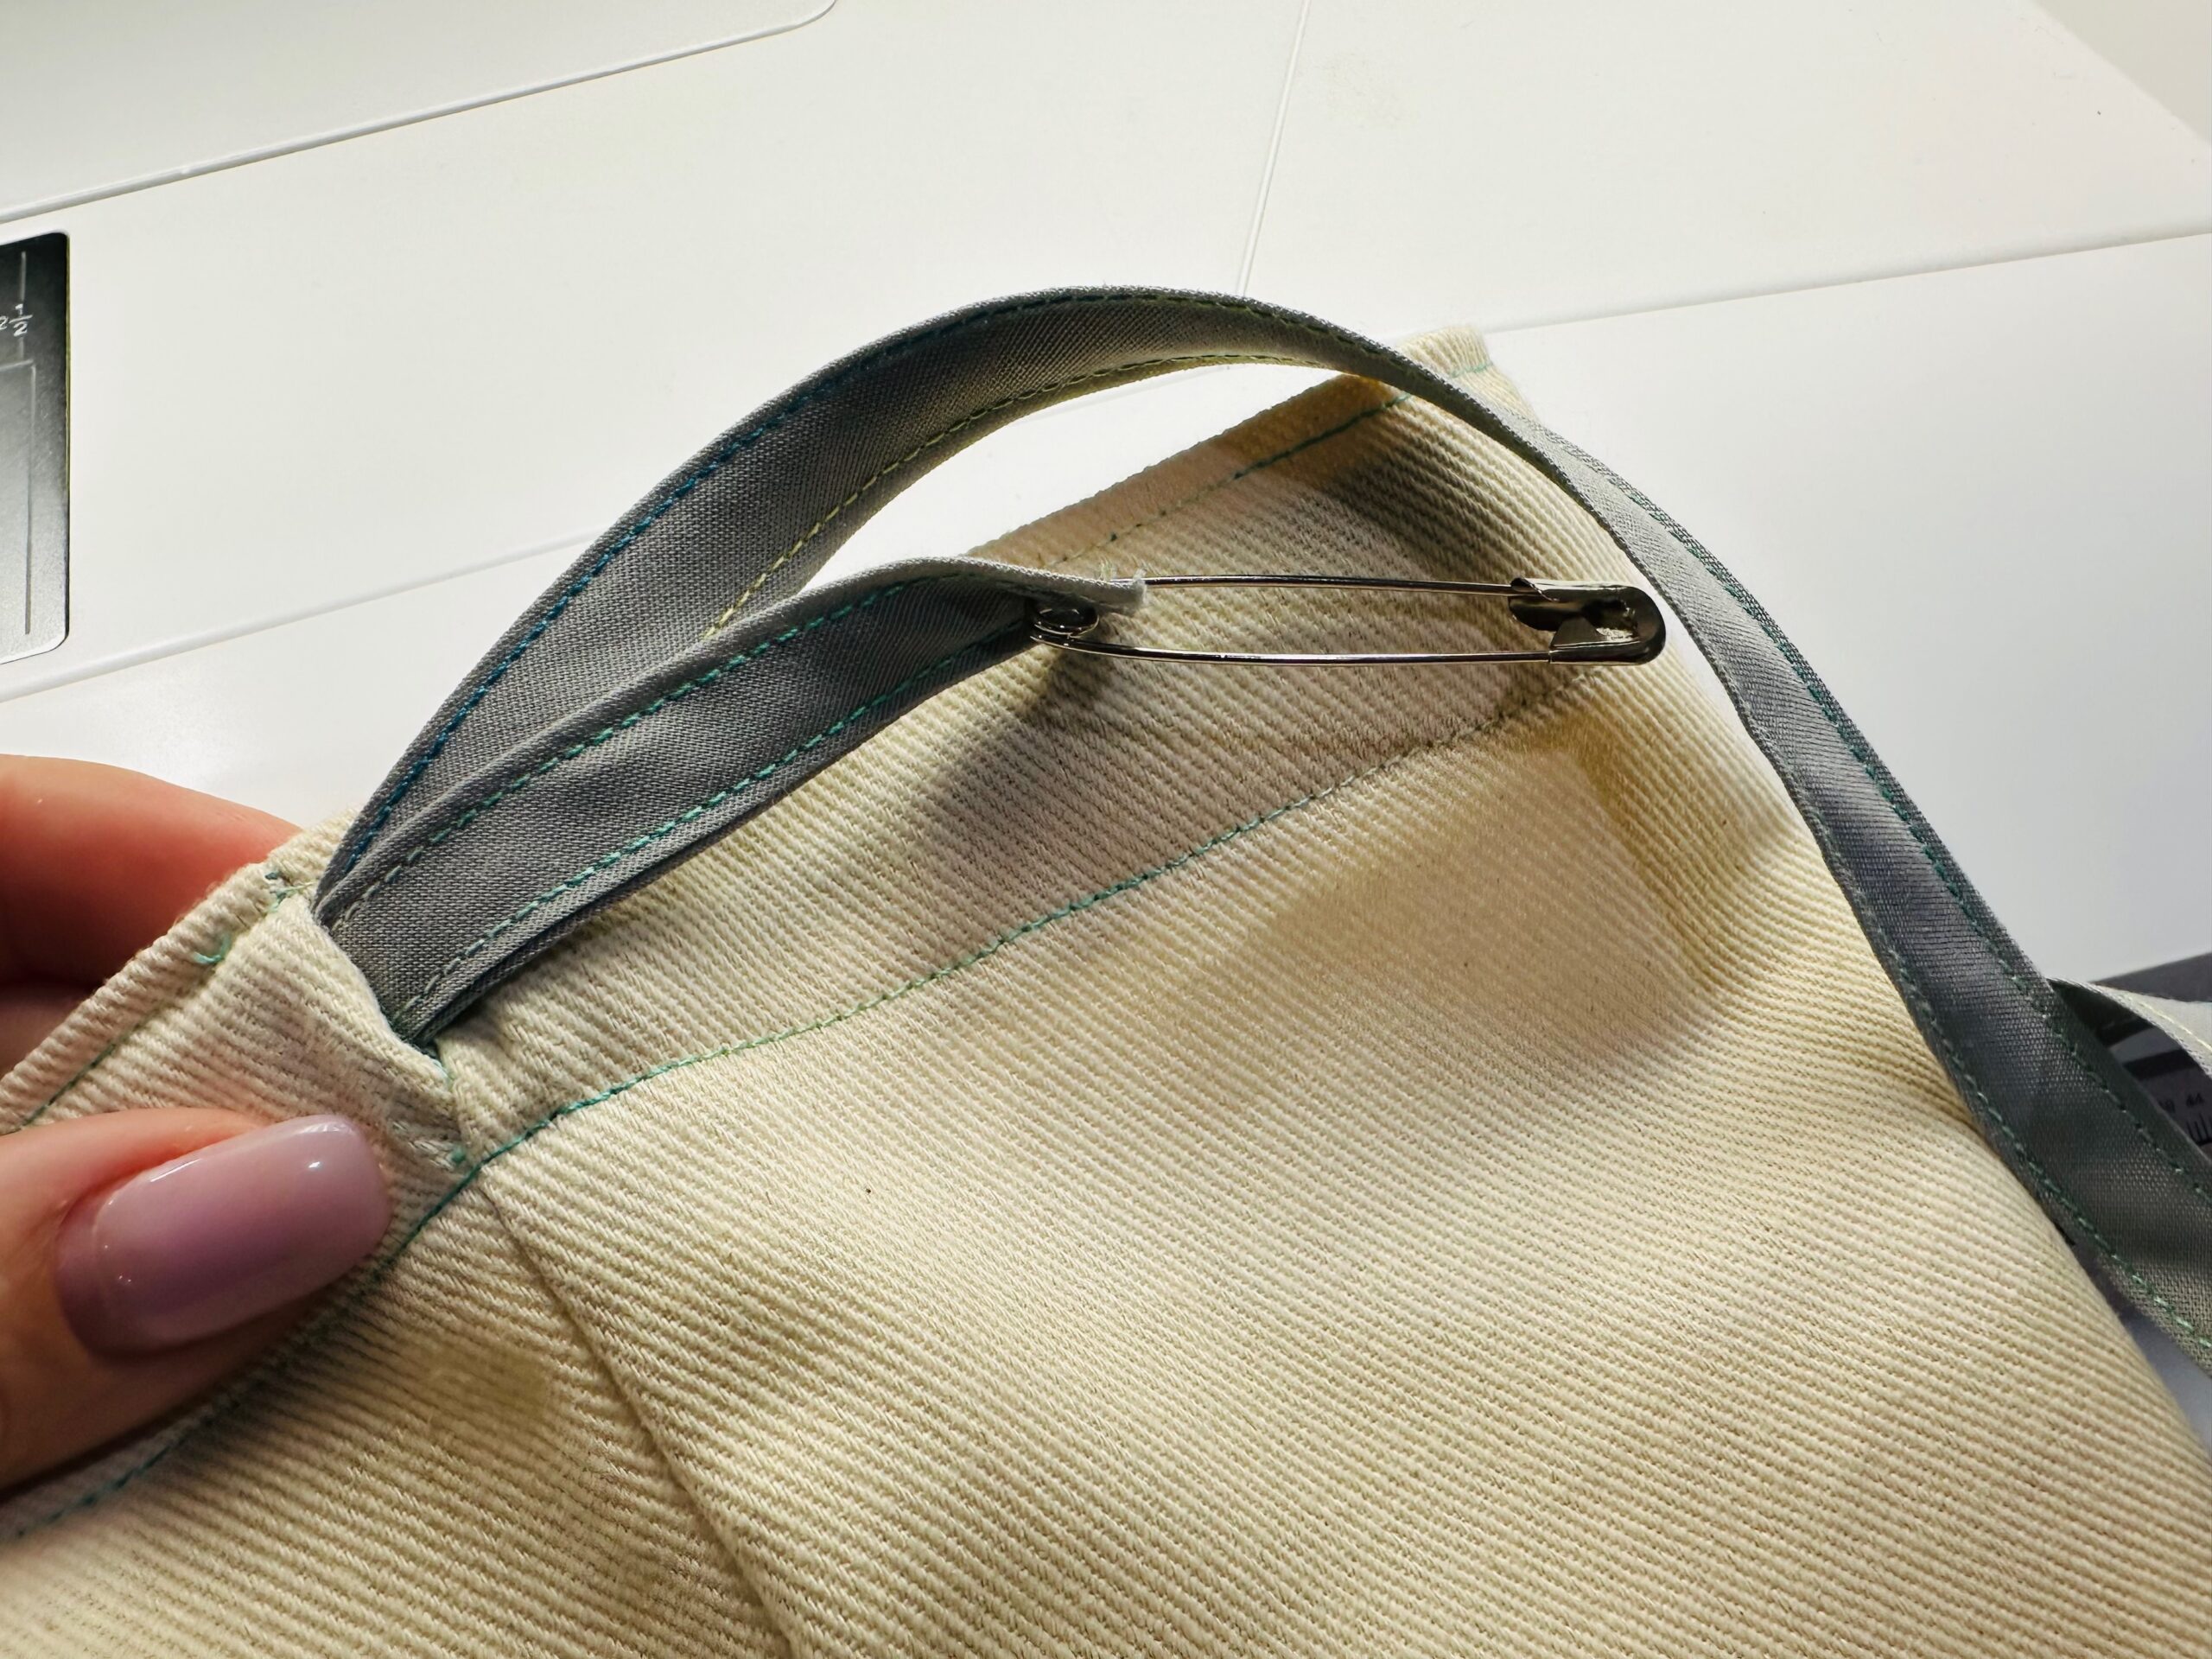
Cut the ribbon or cording into two equal lengths. Using a safety pin, thread one ribbon/cording end through both tunnels so the ends extend out of the same opening.
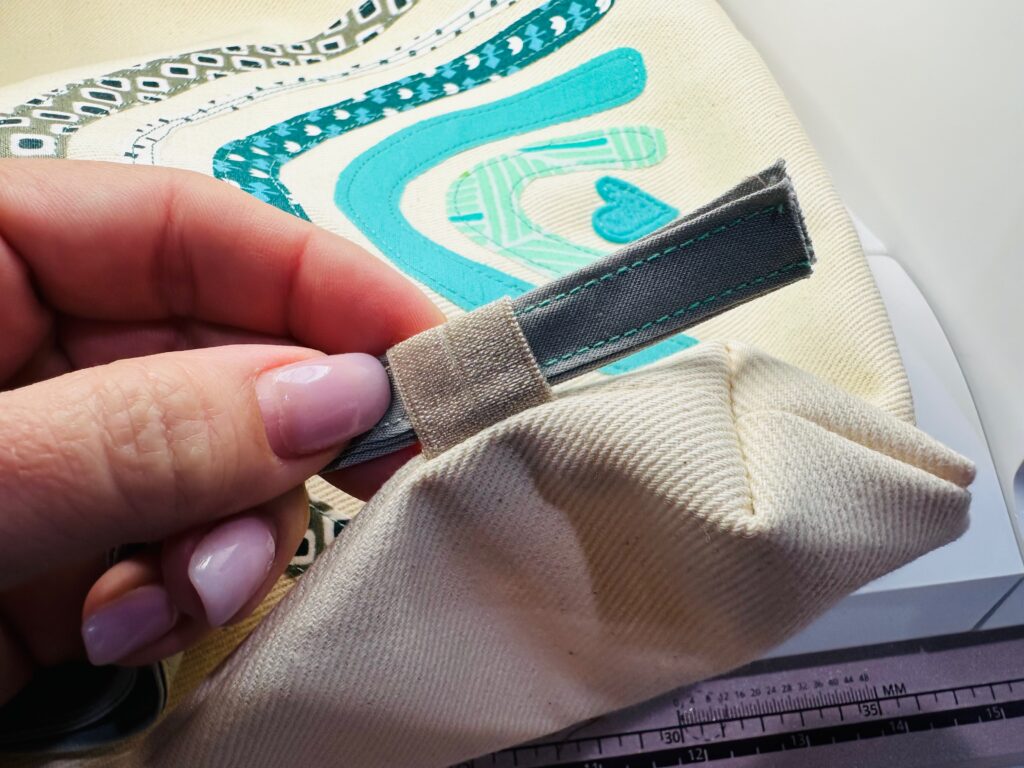
Thread the ribbon/cording through the side loops and double-knot the ends together.
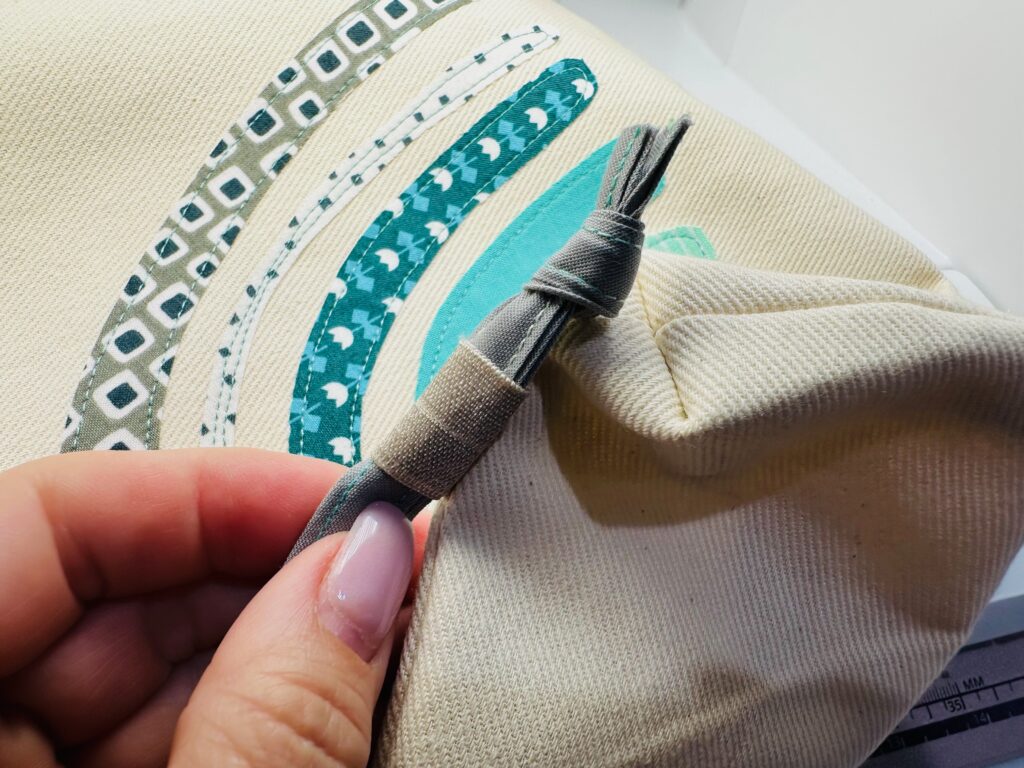
Repeat to thread the remaining ribbon/cording through the opposite tunnel opening. Thread the ribbon/cording through the opposite side loop and double-knot the ends together.
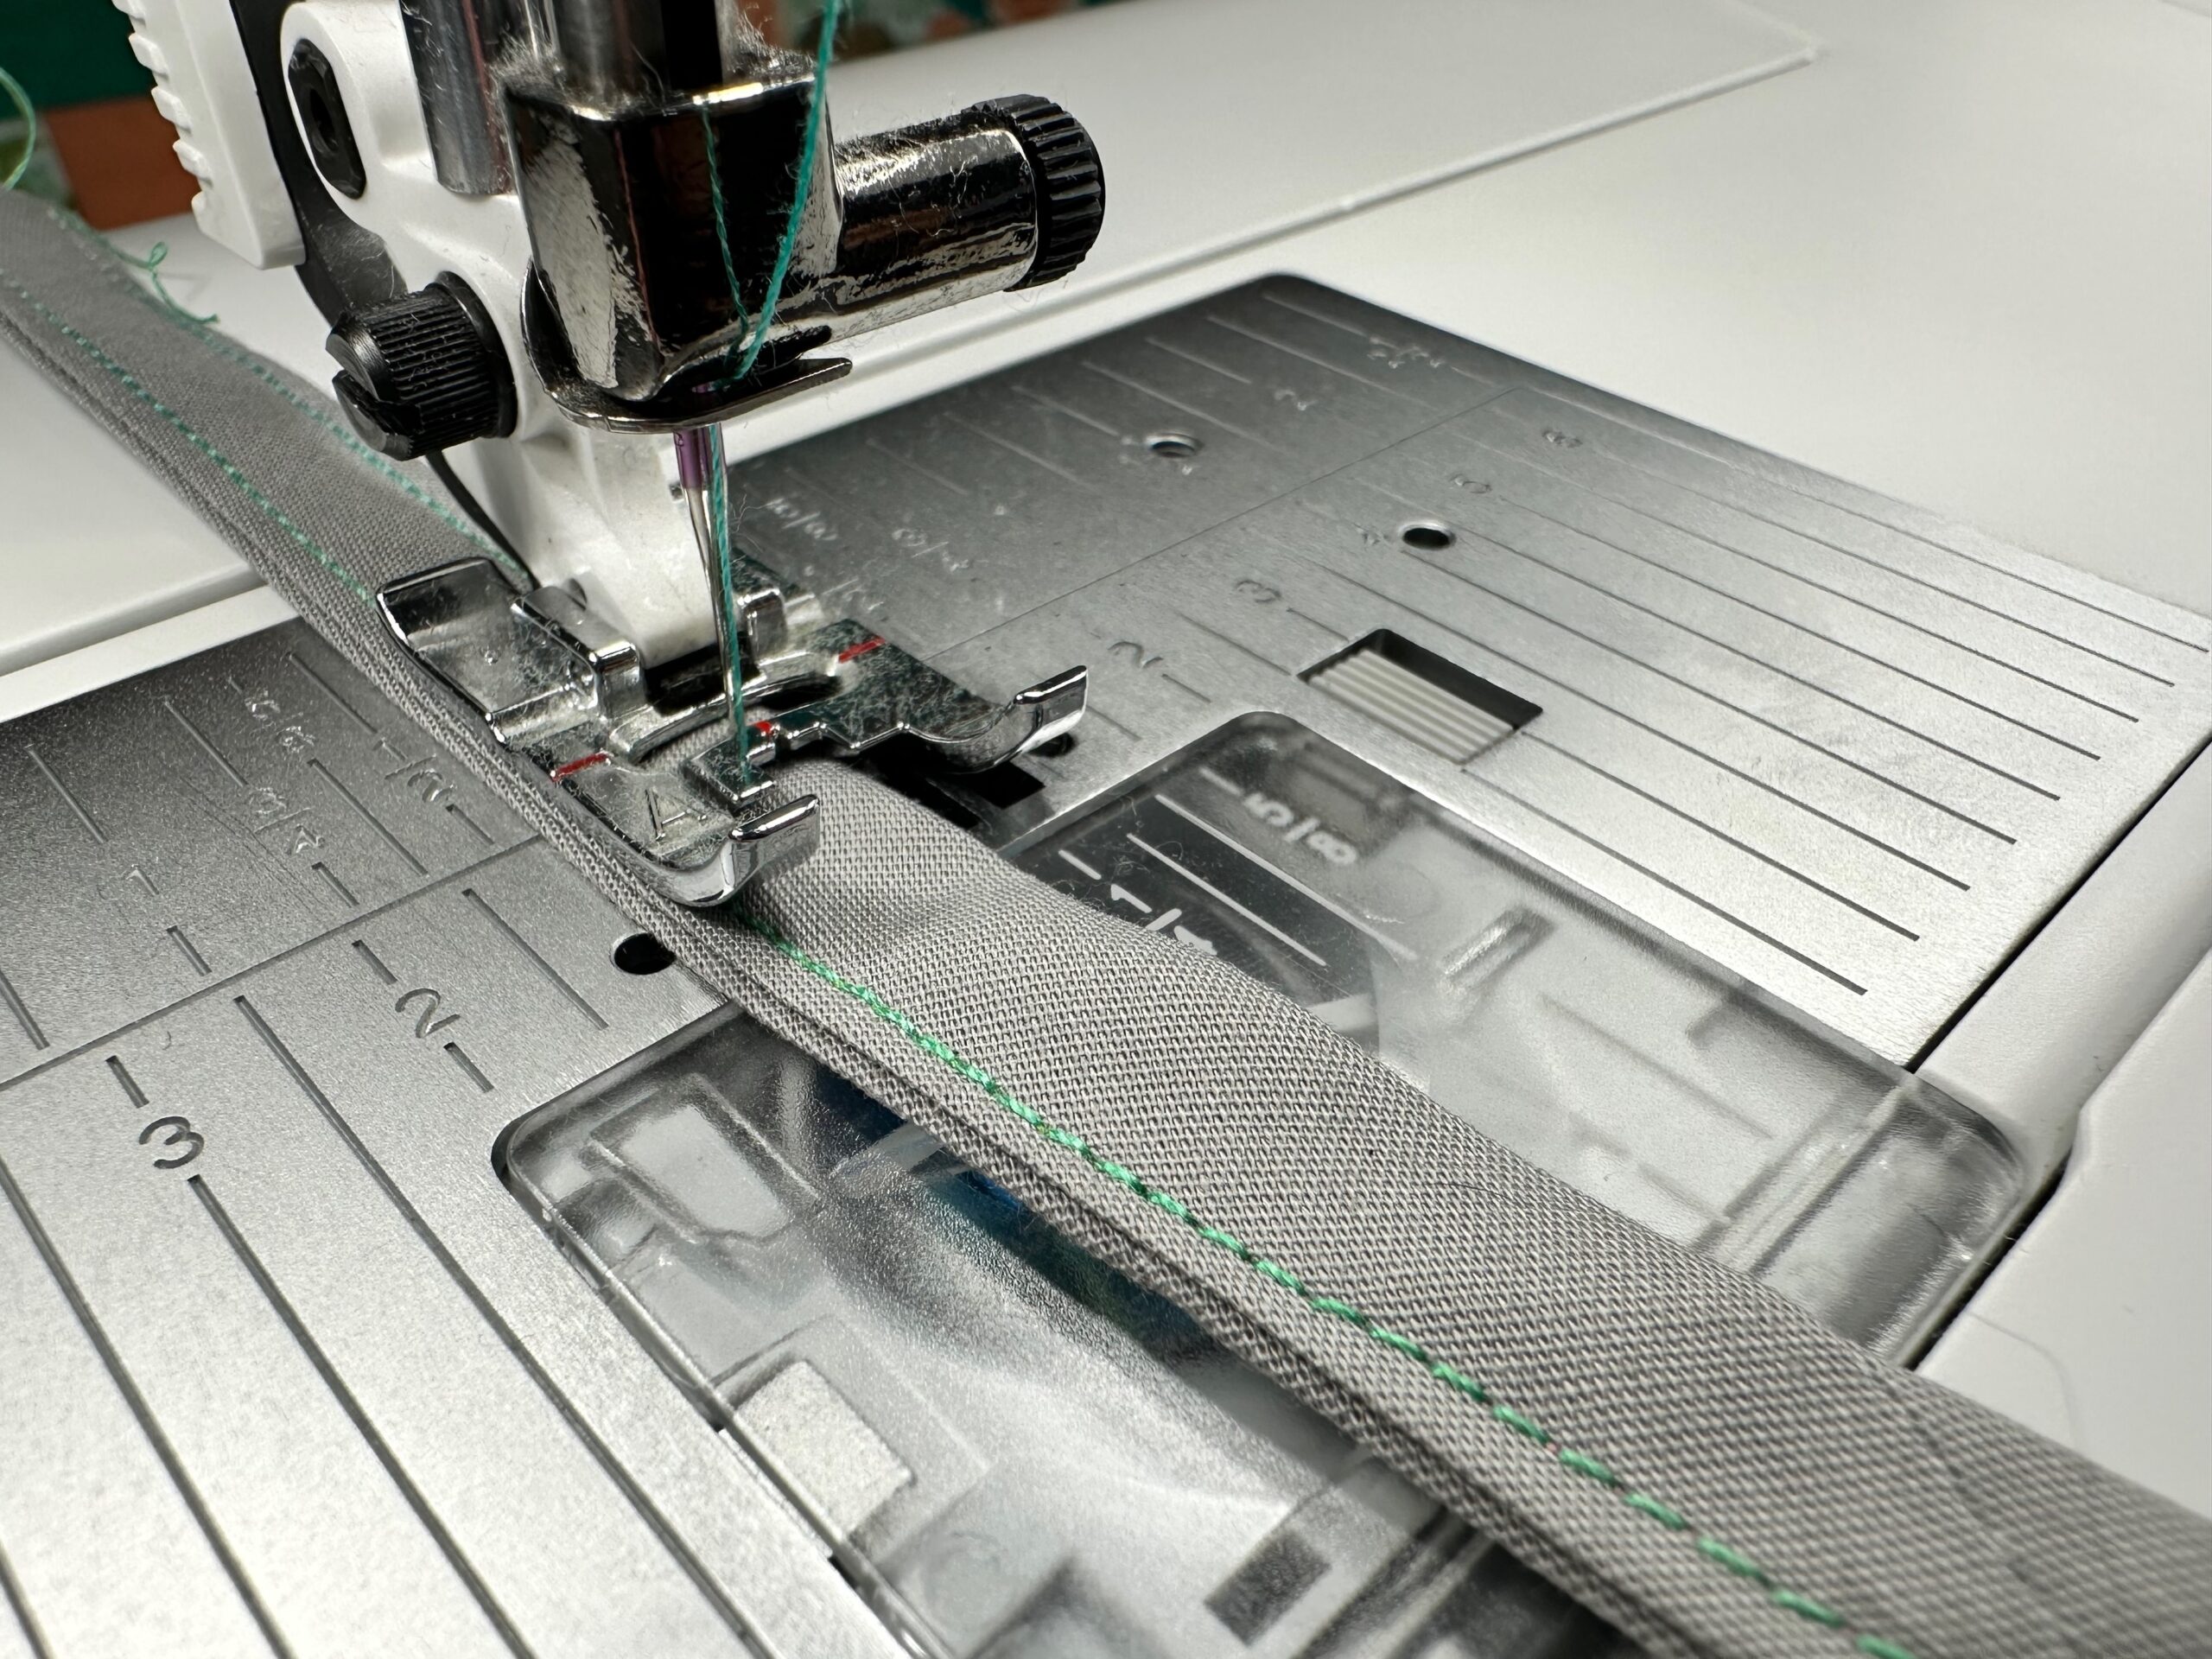
TIP: You can also substitute premade bias tape for the ribbon/cording. For a cohesive finish, topstitch both long edges using the same 30 wt. thread.