Did you know you can even glam up your fishing rod with Sulky Threads? Rod art is a great DIY gift idea for the fisherman in your life! We talked with John, who has been building rods to help make fishing easier for people with disabilities since becoming disabled himself. He uses Sulky Threads to turn his rods into beautiful works of art. Here are a few of his tips and tricks to making Rod Art: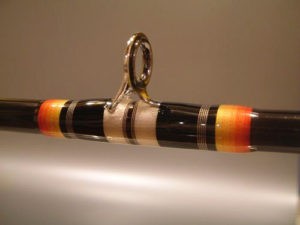
How did you get started with rod building?
After I became disabled my hands became very weak and the pain in my body made fishing very difficult. My wife gave me the idea that I should make my own fishing rods. The idea was to make a rod that was easier to hold and less painful. After talking to several people I was introduced to a really nice guy who started a rod building club. He taught me how to make rods that were easier to use, and how to do rod art. He warned me that it was addictive and it has proven to be just that! With all the different thread types and colors that you can only get from Sulky, there’s no end to the design possibilities. The only limit is your own imagination. Half the fun is making something no one else has.
How long does it take you to finish one rod?
Most people can build a rod in a day or two. However because of my disability it can take me several months.
Do you have any tips or tricks for people wishing to make their own rod art?
Trial and error, or, as some call it, “The school of hard knocks.” To come up with a new design, look at what others are doing and then look at the thread colors. You can find inspiration from anything and everything. Watch the “How To” videos and add your own twist. After all your threads are down, always use at least two coats of CP “color preserver”. This keeps the threads from moving when you put the epoxy on. Keep your pattern tight and straight by lining each thread as you go. To keep bubbles out of your finish use an epoxy mixer and never mix by hand. Use a heat gun to bust any bubbles.
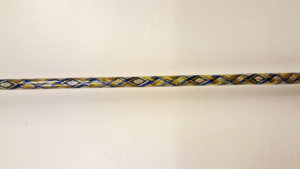
You don’t need a lot of money to get started. I made most of my tools or bought tools that are for a different craft but can be used for what I need. My first rod wrap cost me less than $20 to build. Use the internet to your advantage and let your imagination run wild!
This link is a great way to learn the craft: https://www.rodguild.com/how-tos/
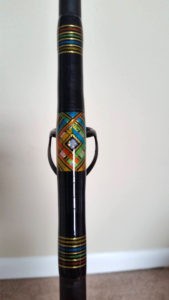
This is the second rod I ever made. I made it using the spiral wrapped eye technique. When a fish pulls on the line, instead of pulling the rod out of your hands, it bends the rod in a way that it pushes the handle back towards you.
What is your favorite Sulky product to use, and why?
It’s so hard to choose. The Sulky Rayon and Sulky Polyester Threads come in every color imaginable. They are super strong, they don’t stretch or sag, and the color doesn’t change or fade. Sulky Metallic Thread is almost as soft. However, my favorite Metallic has to be the Metallic Holoshimmer Thread. In direct sunlight it sparkles like diamonds. Plus, it reflects the color from the other threads you wrap over it. It makes a great base layer, you can weave it into the pattern, or it can be used all by itself like a trip band or accent wrap.

 If you want to learn more about how to get started in this craft you can visit The Custom Rod Builders Guild.

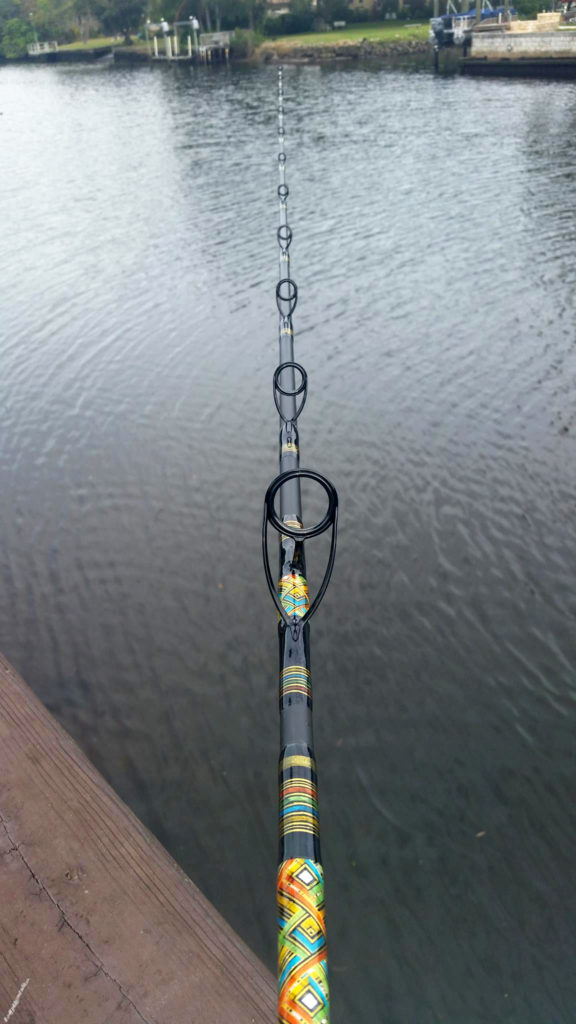
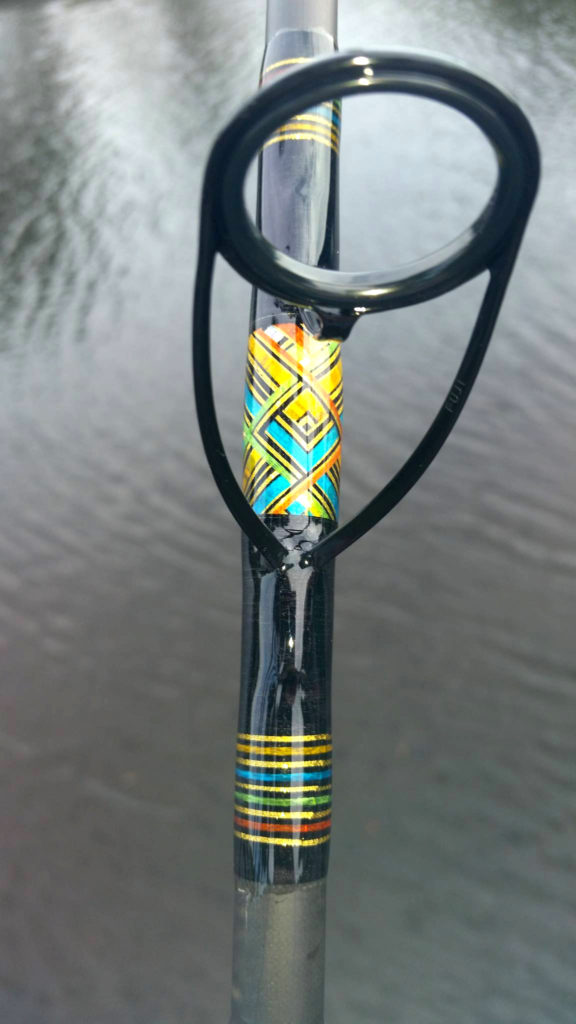
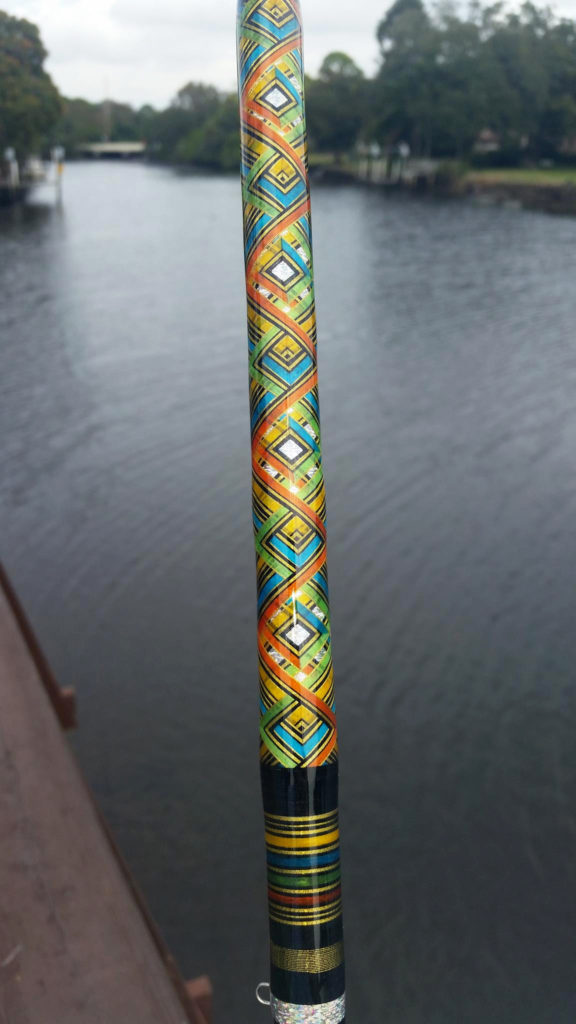


The rods are simply amazing. It never occurred to me that the art was done, Of course I had to go to the guild’s site and look at the photo gallery. Beautiful art work people!!!
All of these rods looks Amazing to me.
Honestly, the pattern are too much awesome to forget.
Thanks for this cool sharing.