Sandpaper Crayon Art
Sandpaper Crayon Art is a unique technique for embellishing, and even the kiddos can get in on the action.
I am still in a ‘beachy’ mood so I thought it would be fun to try doing the Sandpaper Seashells from the free pattern that we have on the website. I realized as I was doing it, the step-by-step instructions for actually doing the Sandpaper Crayon Art is no longer available on the site. This kind of thing happens when redesigning a website but we were all surprised that none of use has noticed this sooner.
So we decided this was the perfect opportunity to update that tutorial for you here.
Sandpaper Crayon Art
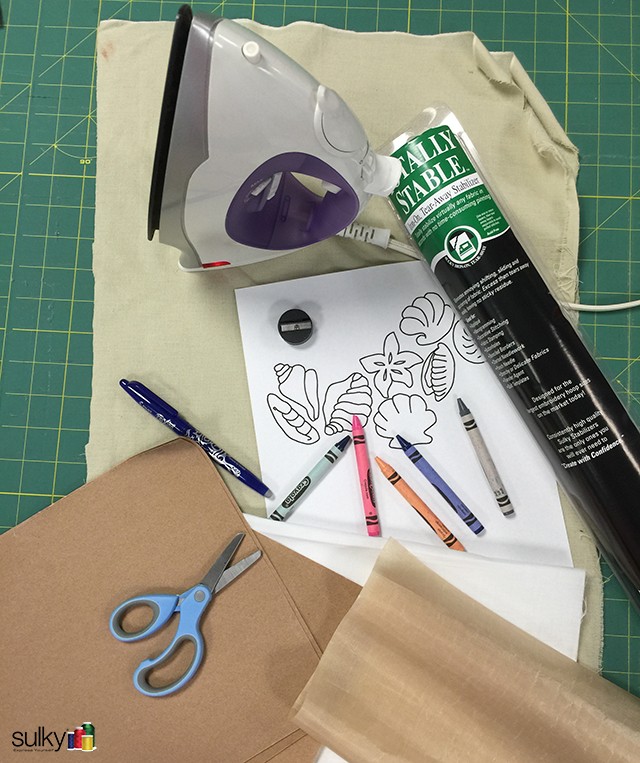
Supplies
- Sulky Totally Stable® stabilizer
- Fabric
- Crayons (I used Crayola and they worked great)
- Crayon Sharpener
- Pattern (I used the seashells from the Sandpaper Seashells free project: shell pattern)
- Pen or pencil for tracing
- Sandpaper (the coarser the sandpaper, the more ‘dotted’ the end-design will look)
- Scrap piece of muslin
- Appliqué Pressing Sheet
- Junk scissors (I used an old pair from my kids crafting station)
- Iron
How to Do Sandpaper Crayon Art
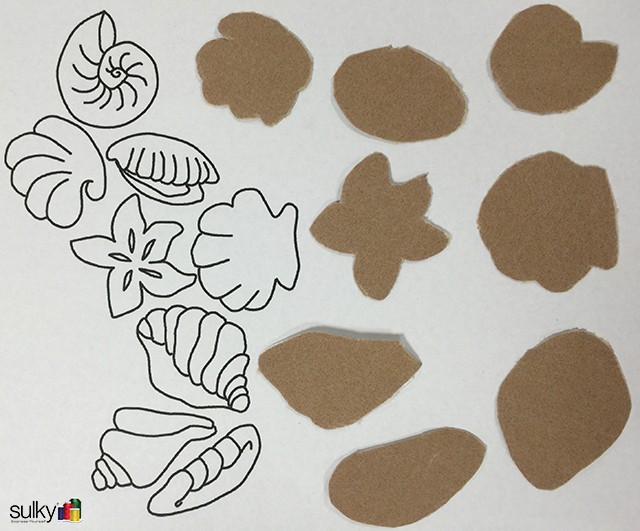
- After printing out the pattern, trace the seashells onto the Totally Stable. You can iron the Totally Stable to make it stick to the paper so it doesn’t slip.
NOTE: If you want bigger shells, enlarge the image and print it out bigger. You can also draw your own design directly on the Totally Stable as well. This is your project! You can be as creative as you would like.
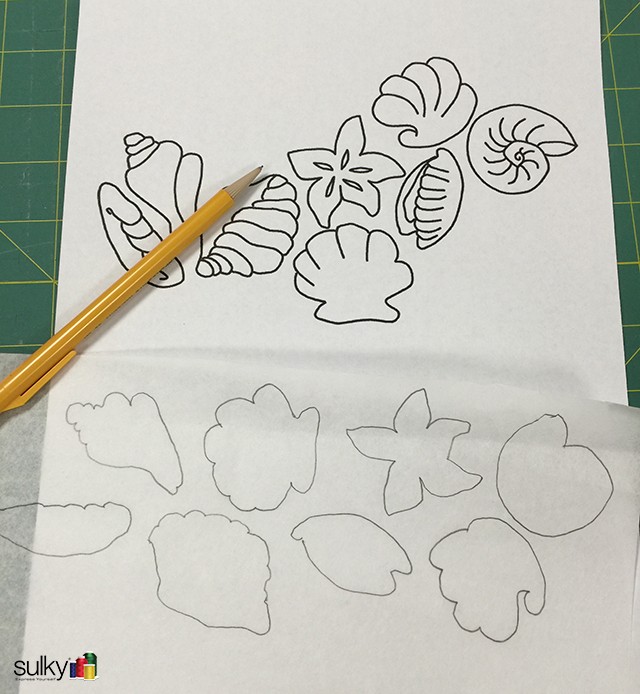
- Peel the traced patterns from the paper and iron the traced shells onto the paper side of the sandpaper.

- Using junk scissors, cut around each shell leaving approximately a 1/4″ outside the line.
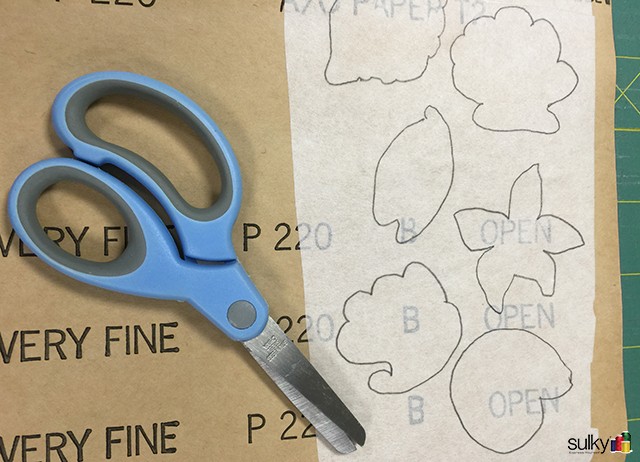
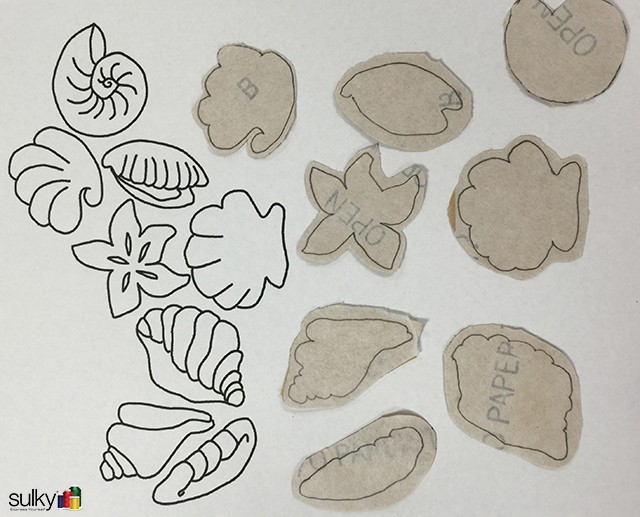
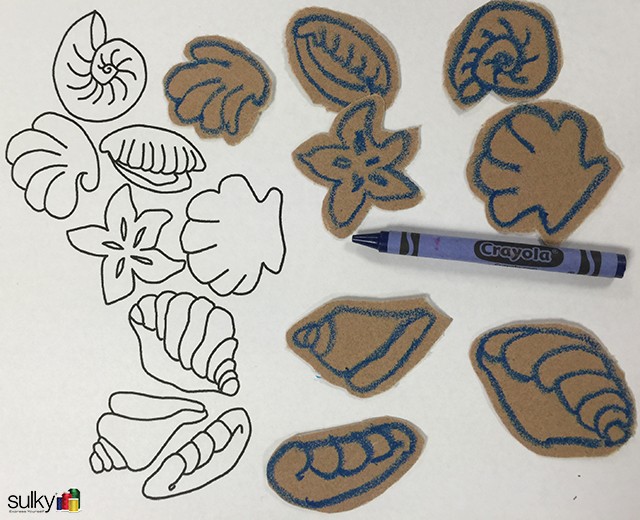
- Turn the designs over, so the sandpaper side is facing up, and using the cut-out template shapes as a guide, draw the designs on the sandpaper with crayon. Press down fairly hard. The more crayon that gets into the sandpaper grooves, the more color will come through. You can make them all the same color or use different colors! It’s completely up to you.
- Once you are happy with your shells, it’s time to iron! First, iron a piece of Totally Stable to the back of your fabric.
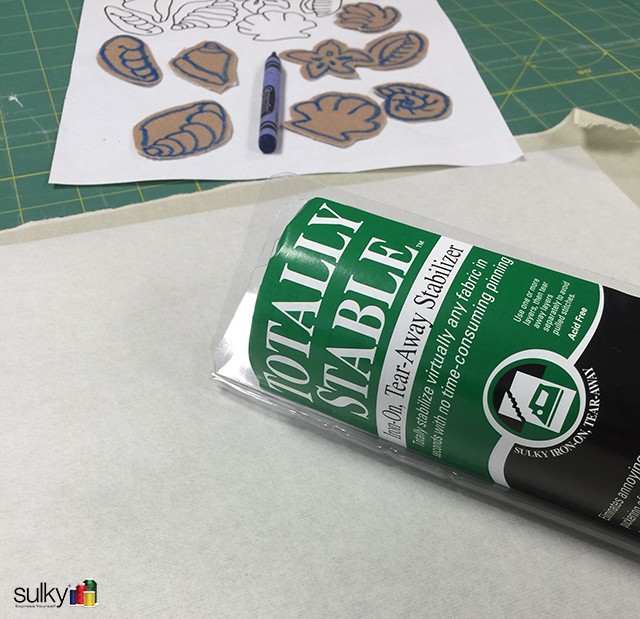
- Next, turn the fabric over (right side up) on top of the ironing board and place your shells with the crayon side down.
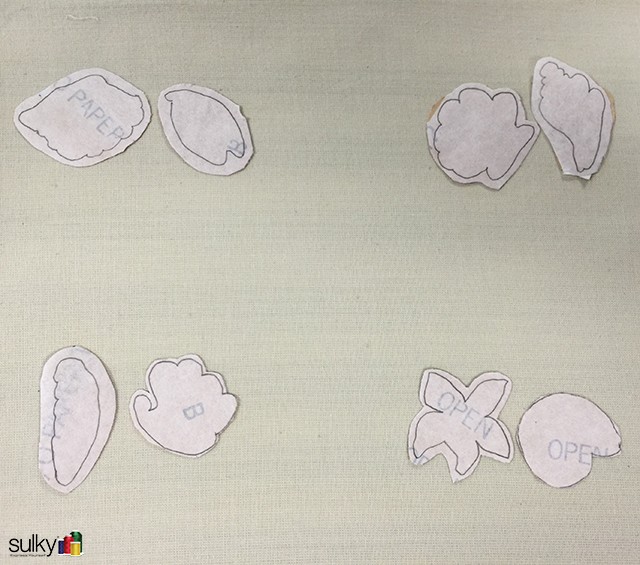
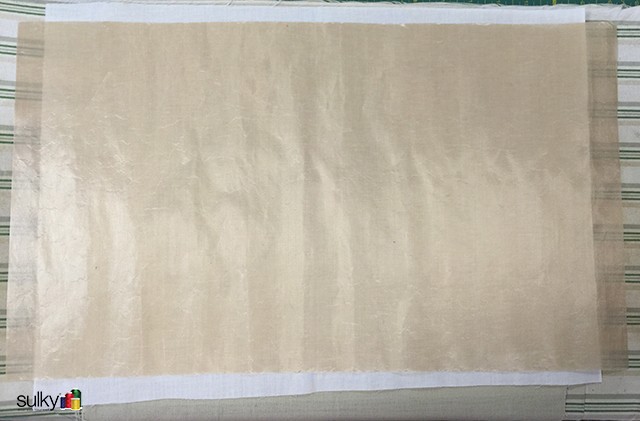
- Put your scrap piece pf muslin and the applique pressing sheet on top and press. Do not iron! If you move the iron, you will move the sandpaper and your art will come out blurry. You will want to press for at least 15 seconds. The longer you leave the iron, the more color that will transfer to the fabric.
- Ta-da! You now have sandpaper crayon art to use in your next project.
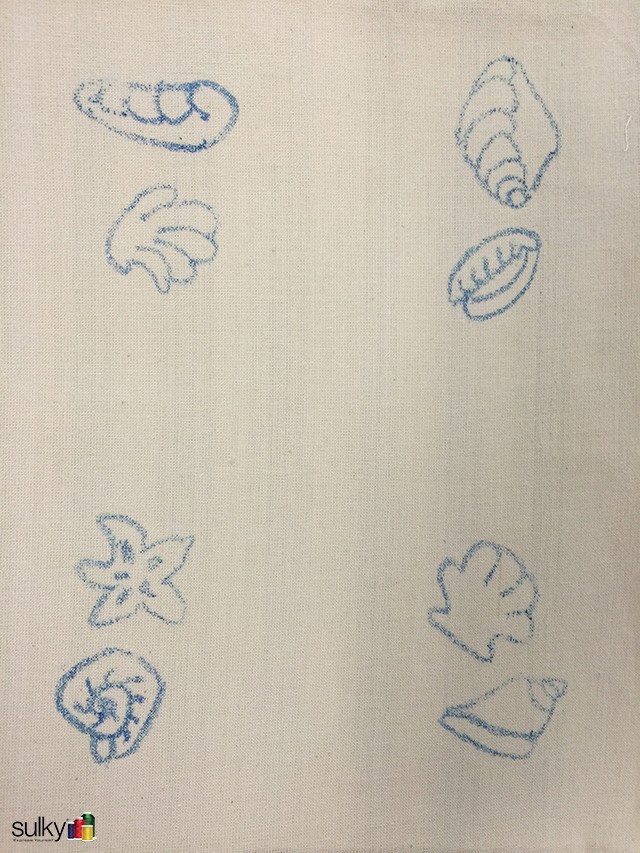
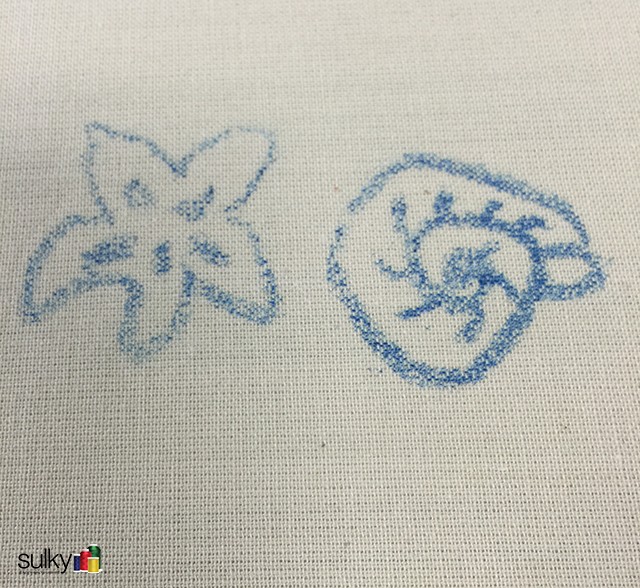
Use your sandpaper seashells to make a variety of beach-themed projects.
Happy Sewing!


Hi Kelley,
I was wondering if you could use a different color for the font. I don’t know if others are having the same problem, but I am finding it very difficult to read. The font is so light against the white that it almost blends in.
Thank you
Barbara Lussier