Serger Infinity Scarf with a Twist
A serger infinity scarf is quite possibly the quickest accessory you can make. This scarf is easily completed in an hour (or less!). Make one for yourself and one for a friend, to gift for Mother’s Day or a special birthday. The instructions below assume you’re using a knit/stretch fabric, but the method is easily adapted for a lightweight woven fabric, such as cotton sateen or voile, too.
This easy serger infinity scarf makes a great travel accessory. Wrap it once or twice around your neck, wrap it around your head, use it as a belt, or use it as a bandeau top on the beach. For maximum wearability and adaptability, you must use a knit fabric. But steer clear of double-knits or stretch fleece to allow for greater breathability and stretchability.
Note: If you don’t have a serger, use this same method with your sewing machine. Make sure to install a size 80/12 Jersey or Super Stretch Needle if using a knit and choose a narrow zigzag or stretch stitch. Install a size 80/12 Microtex or Top Stitch Needle if using a lightweight woven fabric, and set the machine for a standard straight stitch.
SERGER INFINITY SCARF SUPPLIES
- Coordinating Sulky 40 wt. Poly Deco™ Thread
- 1/2 yard of 54″- or 60″-wide lightweight knit fabric (If using a 44″-wide woven fabric, purchase 2 yards to have enough length without piecing; this will yield two scarves.)
- Organ™ EL 705 SUK Needles (If using woven fabric, purchase size 80/12 Organ™ Microtex or Top Stitch Needles, depending on fabric weight.)
- Hand sewing needle (optional)
SERGER SET-UP
Set up the serger for a 4-thread overlock stitch. (A 3-thread overlock stitch is also suitable, if preferred.)
Next, install two new Organ™ EL 705 SUK Needles.
Then, thread the needles and loopers with four (or three, if using a 3-thread overlock stitch) spools of Sulky Poly Deco Thread in a color that matches the fabric.
SCARF FABRIC PREP
Prewash, dry and press the fabric. Then, trim away the fabric selvage edges.
Fold the fabric in half lengthwise with right sides together. Pin the raw edges together, planning for a 2″ opening by placing double pins at either opening edge.
SCARF CONSTRUCTION
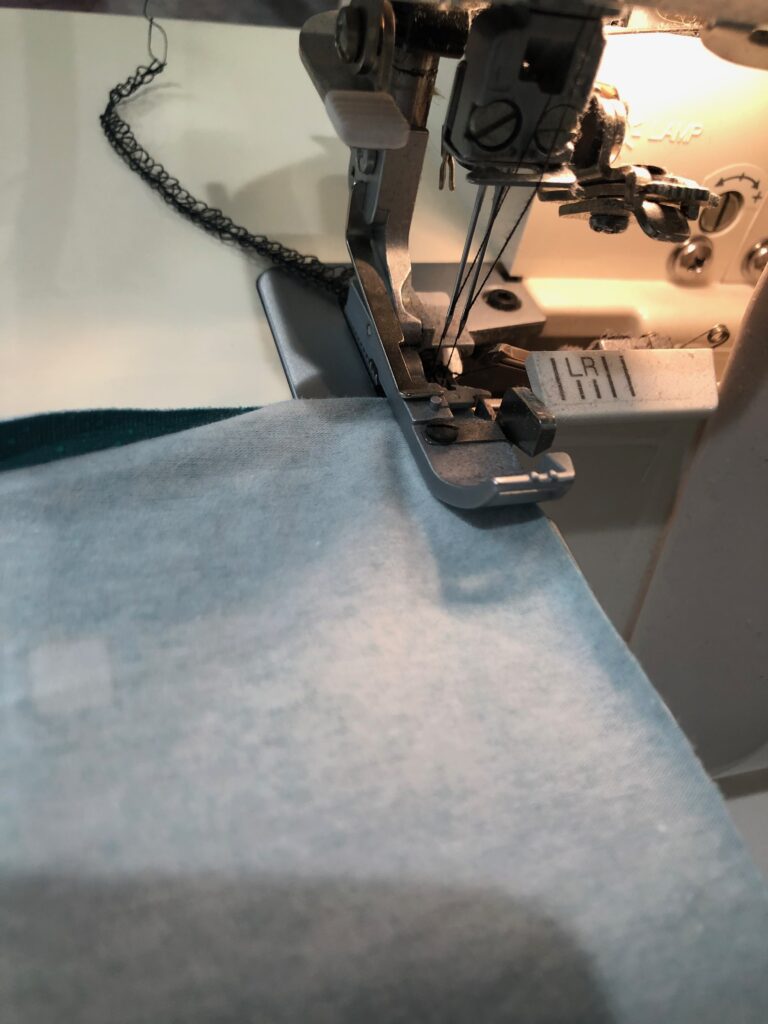
Serge the fabric raw edge, making sure to leave the opening for turning.
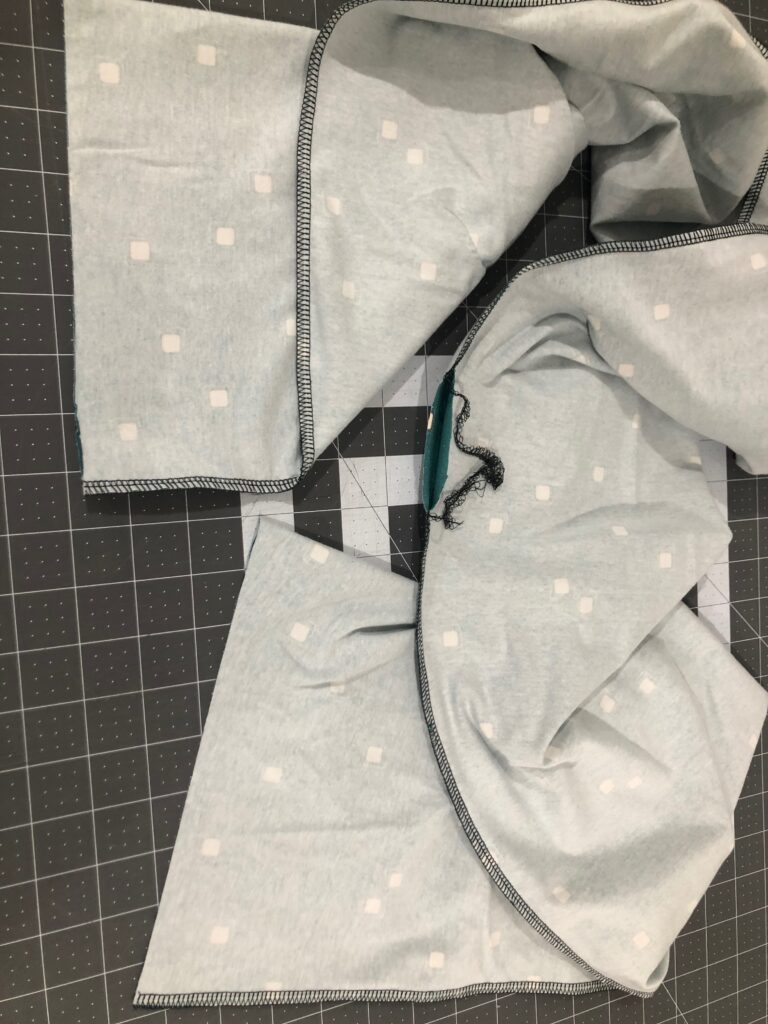
Reach your hand into the scarf and pull one raw end toward the opposite raw end, aligning the seam. Place the folded fabric on a flat work surface. Pin-mark along the serger infinity scarf long-edge seam.
Pin-mark the folded edge opposite the seam, only through the outer fabric.
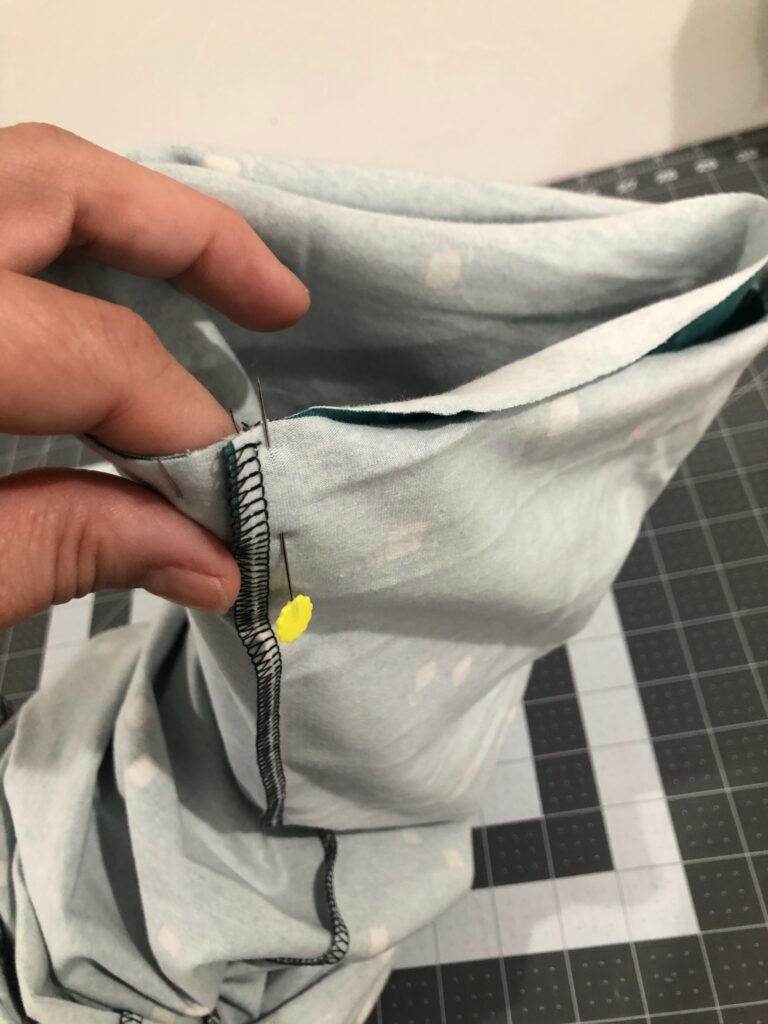
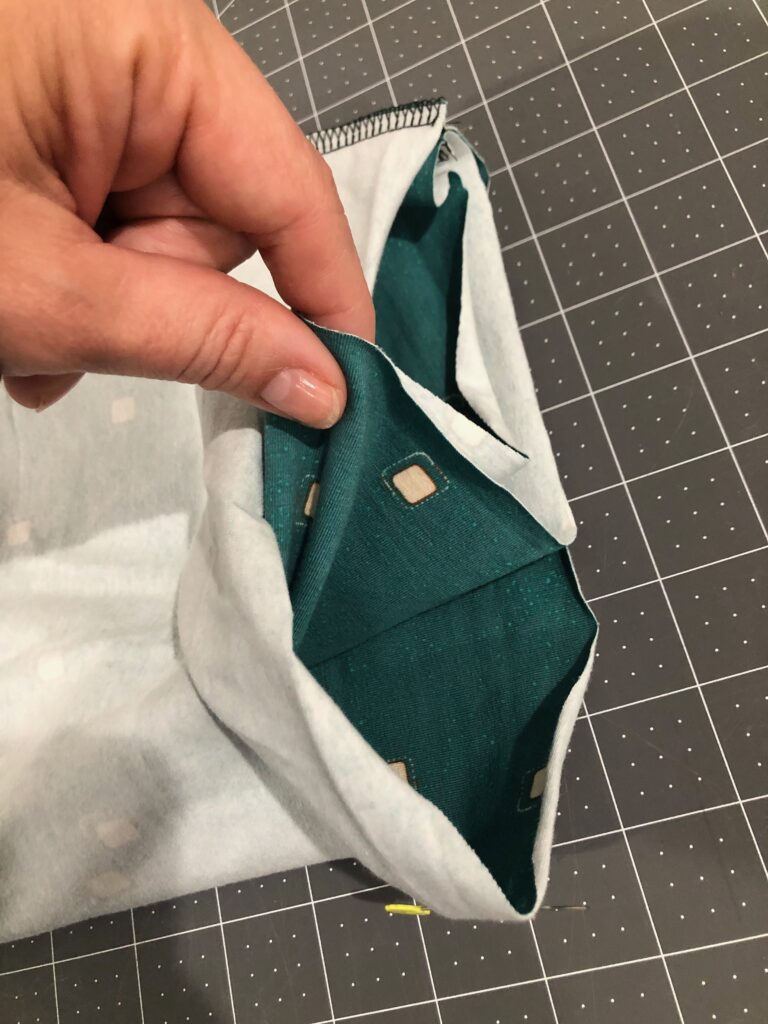
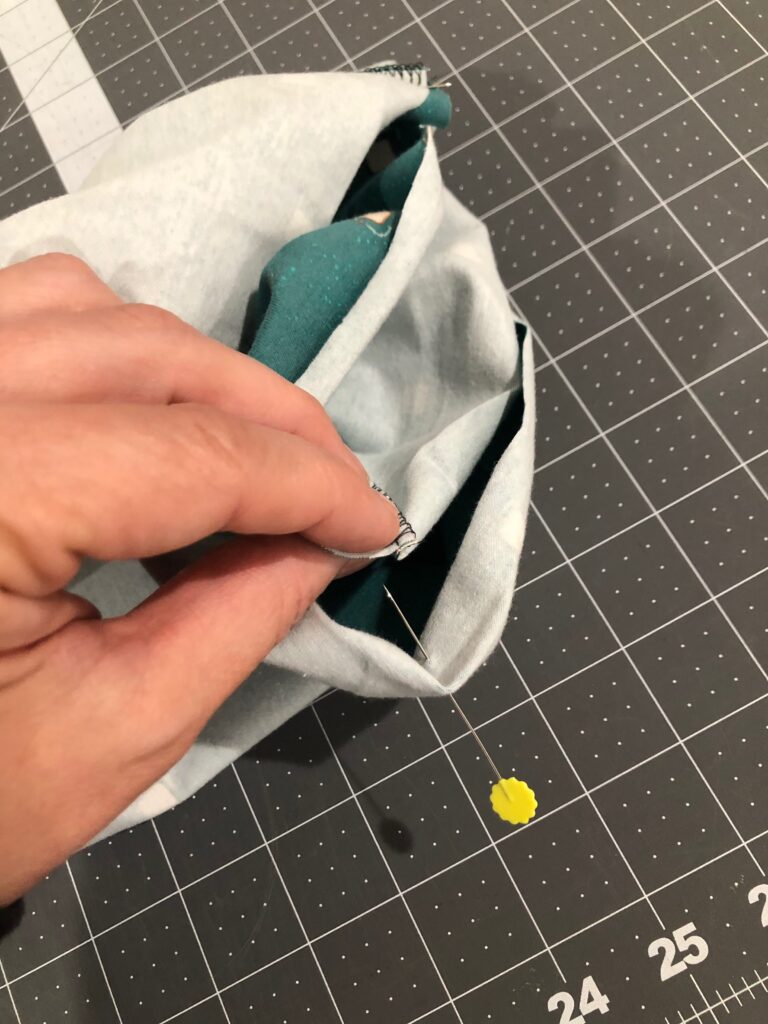
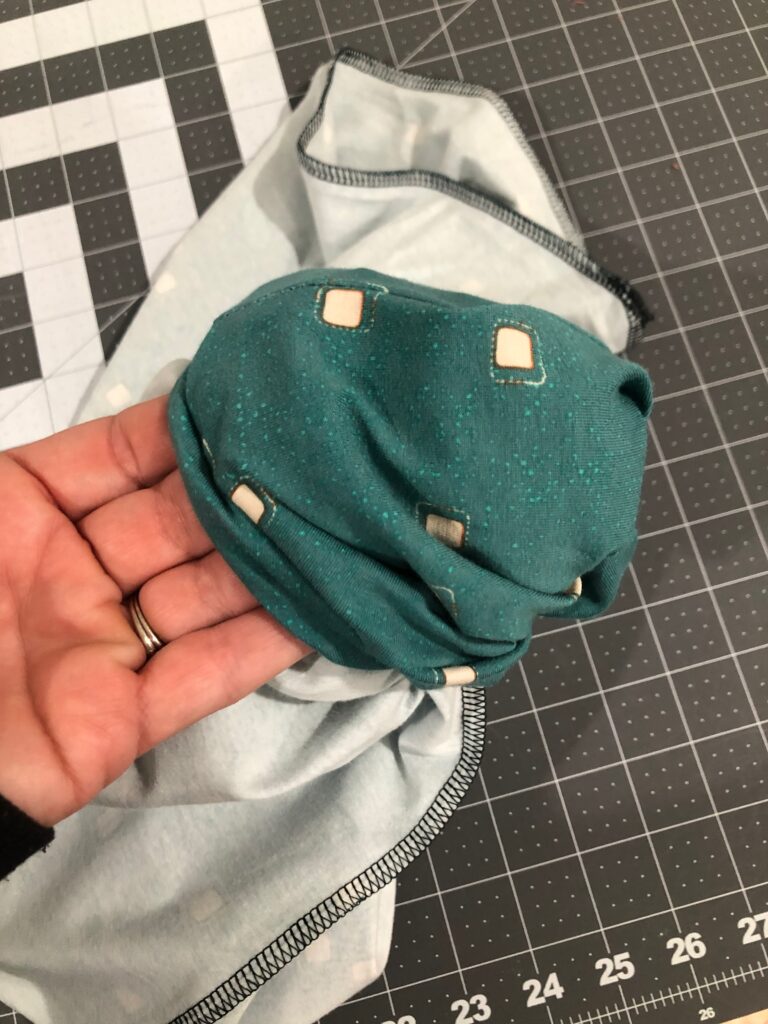
Then, twist the inner fabric edge to align the seamline with the pin-mark. Align the opposite folded edge with the outer seamline.
If desired, twist the fabric a second (or even third) time, aligning the seamlines and foldlines again. Make sure to twist in the same direction if adding additional twists to the fabric. The more twists, the more fullness in the scarf when worn.
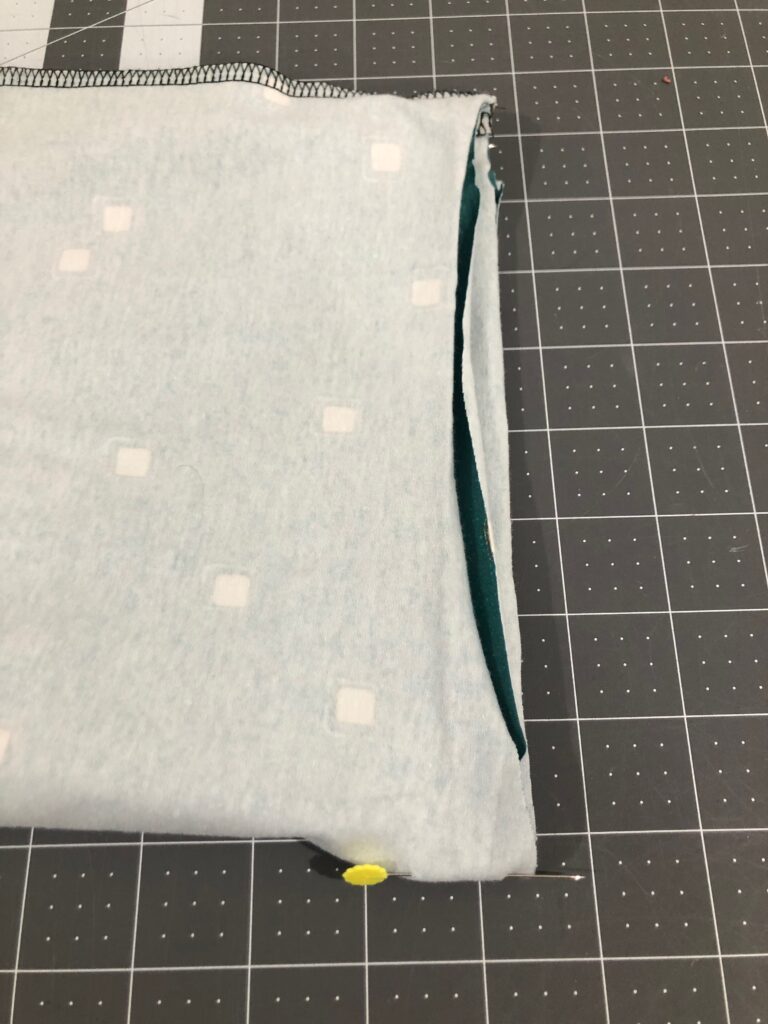
After twisting the fabric raw ends, pin them together.
SCARF FINISHING
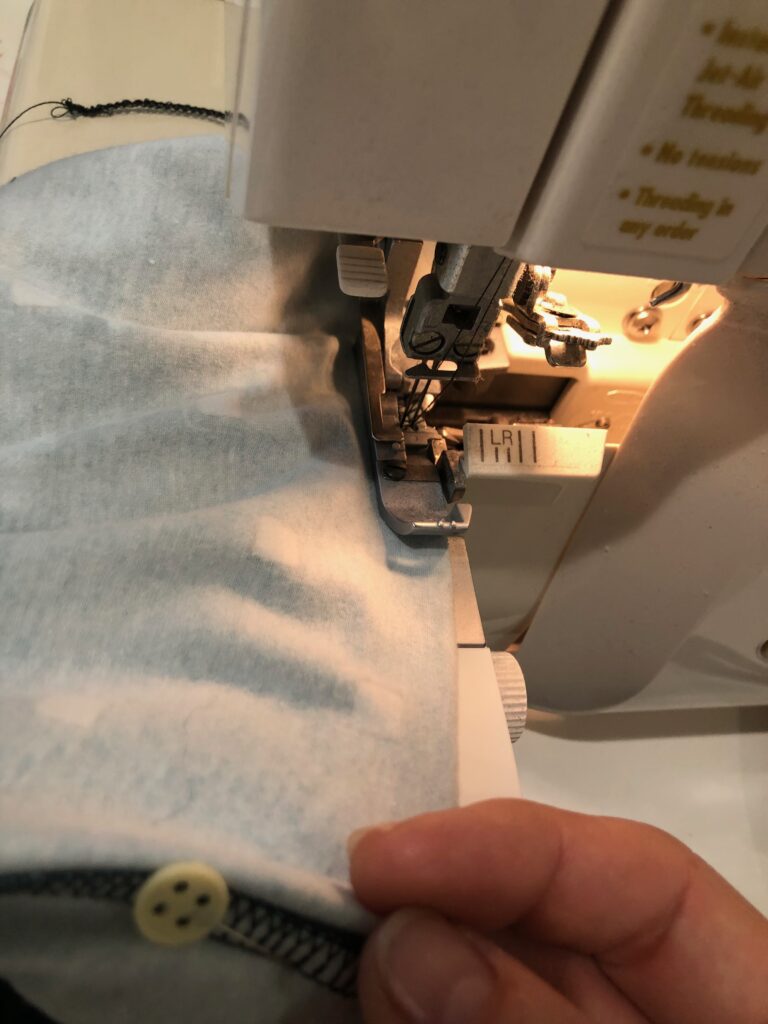
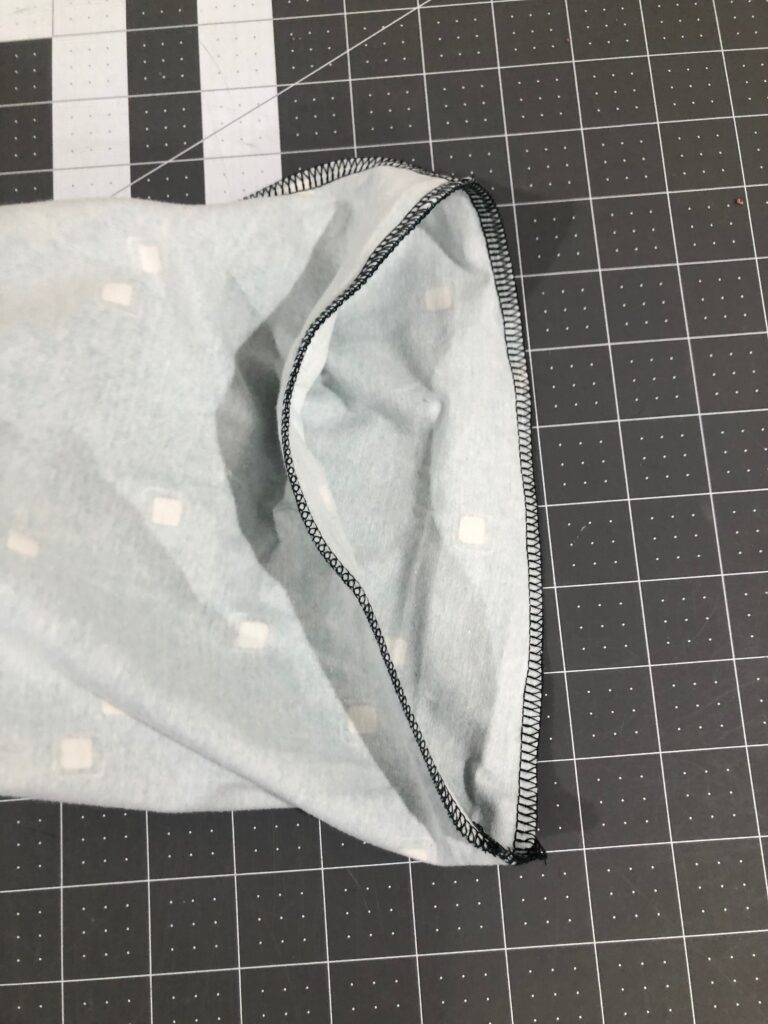
Serge the raw ends, removing the pins before reaching them.
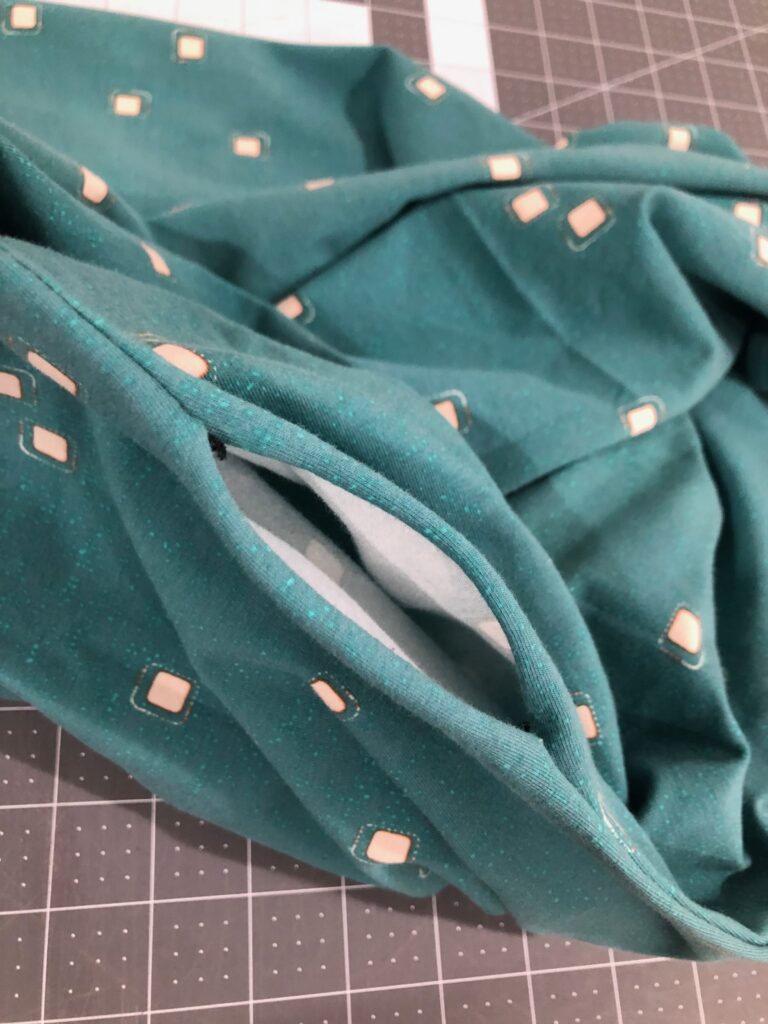
Turn the scarf right side out through the opening.
Fold the opening allowances toward the wrong side; pin or clip shut.
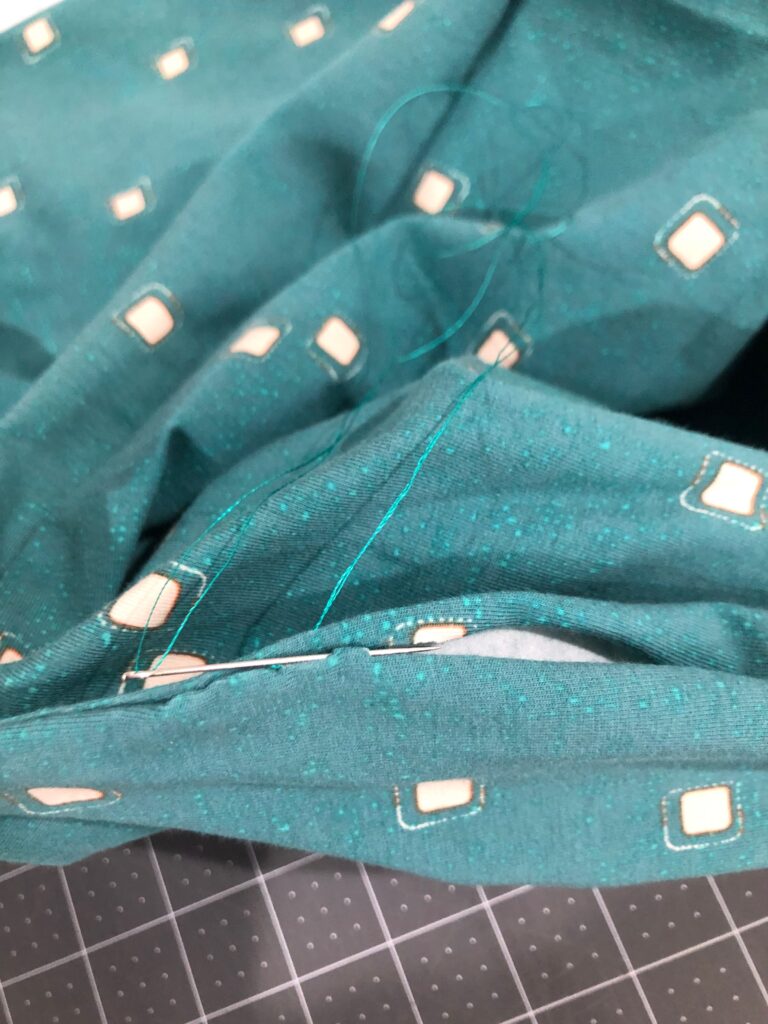
Hand sew the opening edges closed using a slipstitch or preferred invisible stitch.
Or leave the opening raw if using a knit fabric, as it’s well hidden and won’t fray! Stretch the opening slightly, encouraging the raw edges to curl inward.
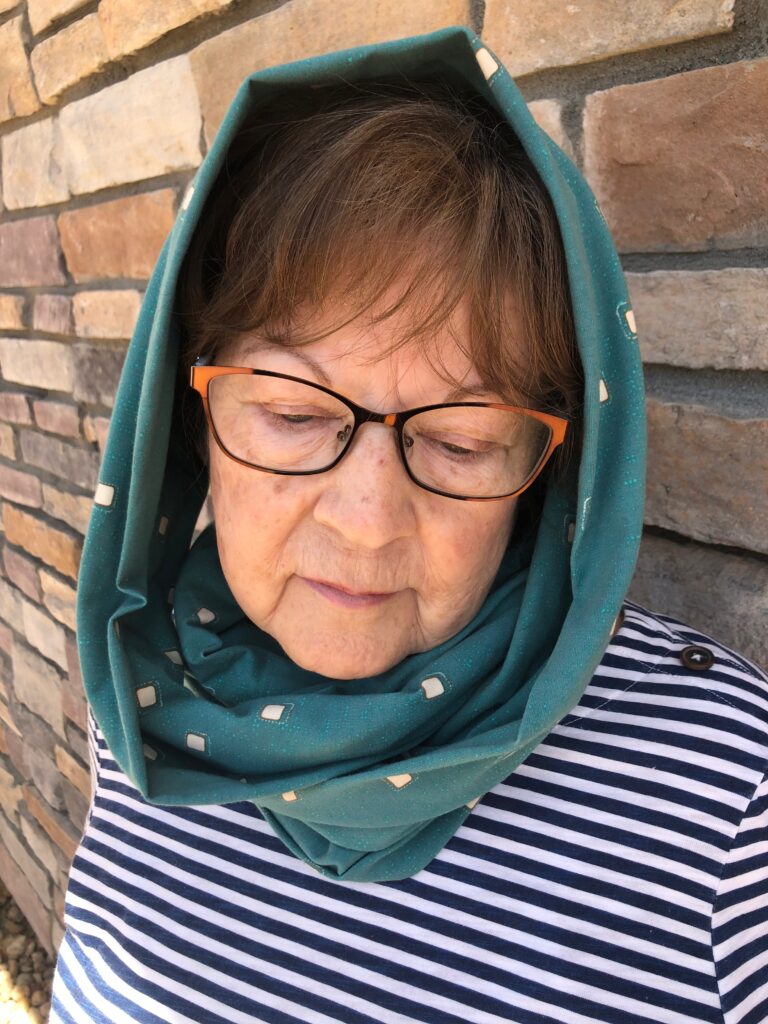
Wear the scarf infinite ways! Wear it in a single layer, double or triple layer, or partially over your head for different looks.




I think you need a video on this. I will have to read it over again, but I’m confused.
Hi Ruth,
I’d love to help! Please email us at info@sulky.com with your questions and we will assist.
Thanks. Got back from vacay, stopped at Joann’s to pick up some fabric and re-read the instructions. I think I understand now.