Table Runner Tutorial for Chocolate Lovers
Table Runner Tutorial
For Chocolate Lovers (& Valentines!)
Here’s a table runner tutorial for all you chocolate lovers out there! It’s a great addition to your Valentine’s Day décor and features fun sparkly Poly Sparkle (formally known as Poly Star) thread from the Sulky Ultimate Valentine Thread Pack. This table runner doesn’t need any quilting to keep it together, but you can certainly add hand or machine quilting as well as traditional binding, if preferred.
SUPPLIES
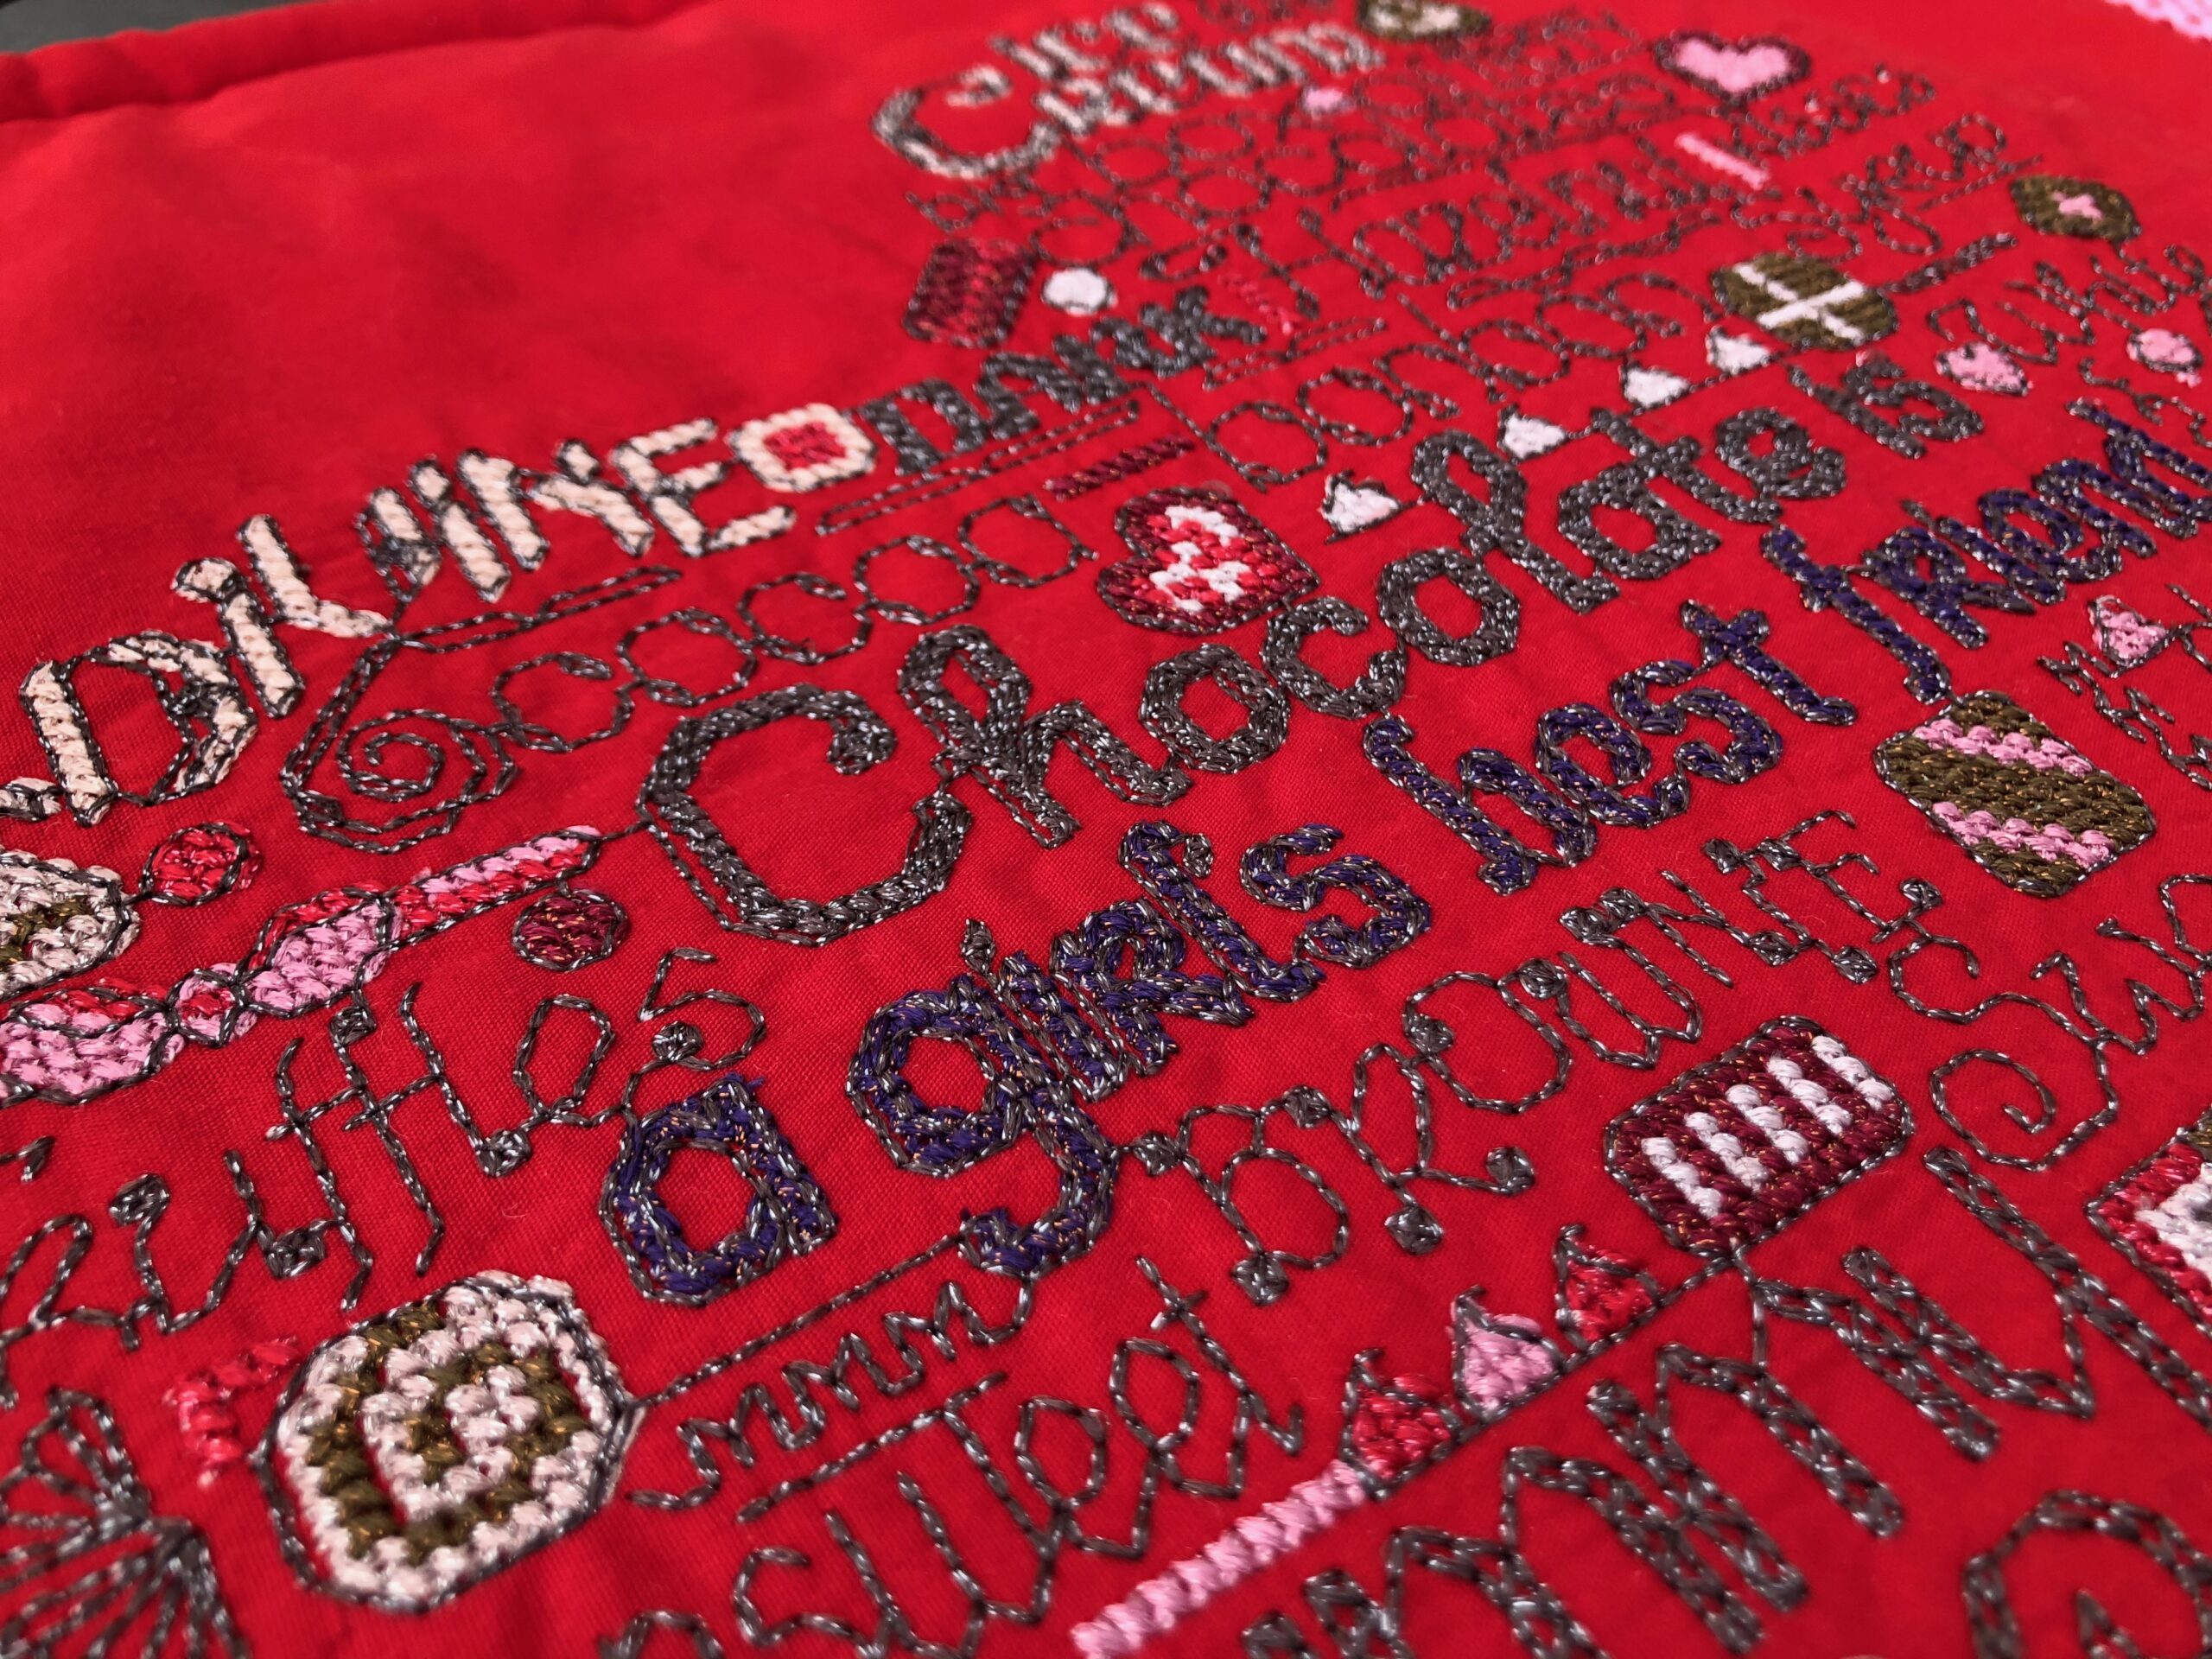
- Chocolate Heart Machine Embroidery Design; design file 11-8 Count (11.34” x 11.34”)
- Machine embroidery hoop size: at least 360×200 (featured hoop used: 360×260)
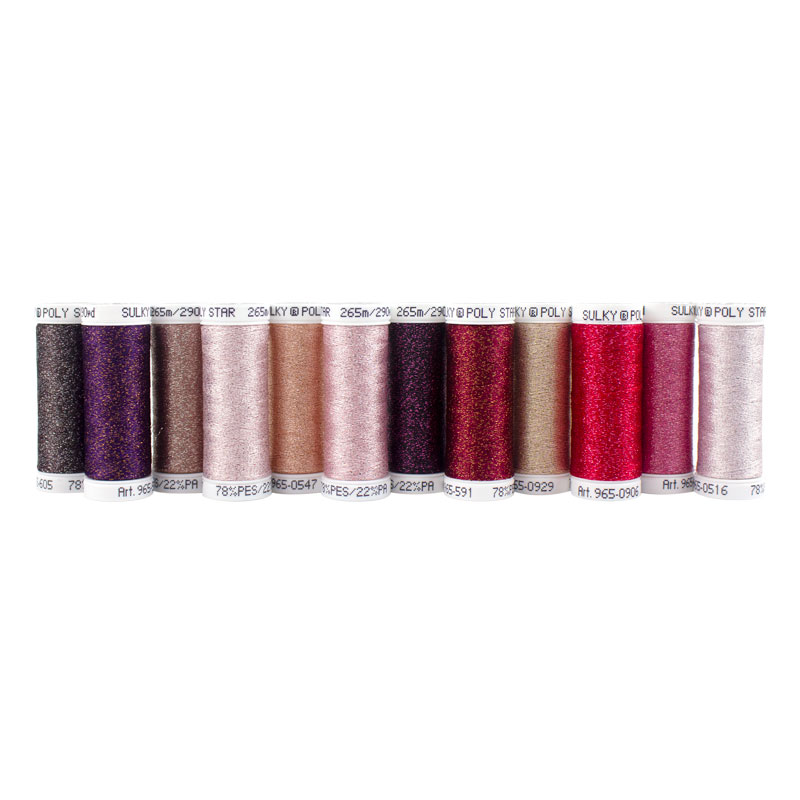
- Thread: Sulky Poly Sparkle Thread from the Ultimate Valentine Thread Pack
- Sulky Bobbin Thread
- Cotton + Steel Thread by Sulky (for construction)
- Organ Needle: size 90/14 Top Stitch or Metal
- Stabilizer: Sulky Soft ‘n Sheer™ Extra
- KK 2000™ Temporary Spray Adhesive
- 18” square of solid red fabric (more fabric may be needed if a larger hoop is used)
- 7/8 yards of coordinating print fabric
- 18” x 35” rectangle of cotton or polyester batting
EMBROIDERY
Load the embroidery design into the machine. Resize the design down 20% to fit a 360×260 hoop, if needed. (If you only have a smaller hoop, choose one of the other available design sizes and adjust the fabric dimensions accordingly.)
Install a size 90/14 Organ Top Stitch or Metal Needle. Load the bobbin with Sulky Bobbin Thread.
Fuse the Soft ‘n Sheer Extra to the wrong side of the large solid rectangle.

Hoop the stabilized fabric and place the hoop onto the machine.
Slow the machine speed by half.
Begin the embroidery design, swapping Sulky Poly Star for the Rayon Thread as follows.
- 1186 Sable Brown Rayon – 0605 Dark Tawny Brown with Silver Sparkle Poly Star
- 1558 Tea Rose Rayon – 0906 Burgundy with Tone on Tone Sparkle Star
- 1148 Light Coral Rayon – 0547 Coral Reed with Tone on Tone Sparkle Poly Star
- 1217 Chesnut Rayon – 0554 Light Burgundy with Tone on Tone Sparkle Poly Star
- 1158 Dark Maple Rayon – 0591 Claret with Copper Sparkle Poly Star
- 0521 Nutmeg Rayon – 0552 Medium Dark Ecru with Silver Sparkle Poly Star
Note: 0592 Poly Star was used for color stop 2; 0553 used for color stop 8; 0547 used for color stop 16; additional 0589 used for color stop 14 in the featured sample.

When embroidery is complete, remove the fabric from the hoop. Press lightly from the wrong side to remove any hoop markings. Trim the rectangle to 14 1/2”x15”, centering the embroidery. Leave the stabilizer intact throughout construction.
CONSTRUCTION
From the coordinating print fabric, cut one 15” x 30” rectangle for the backing and two 14 ¼” x 9” rectangles for the side panels.
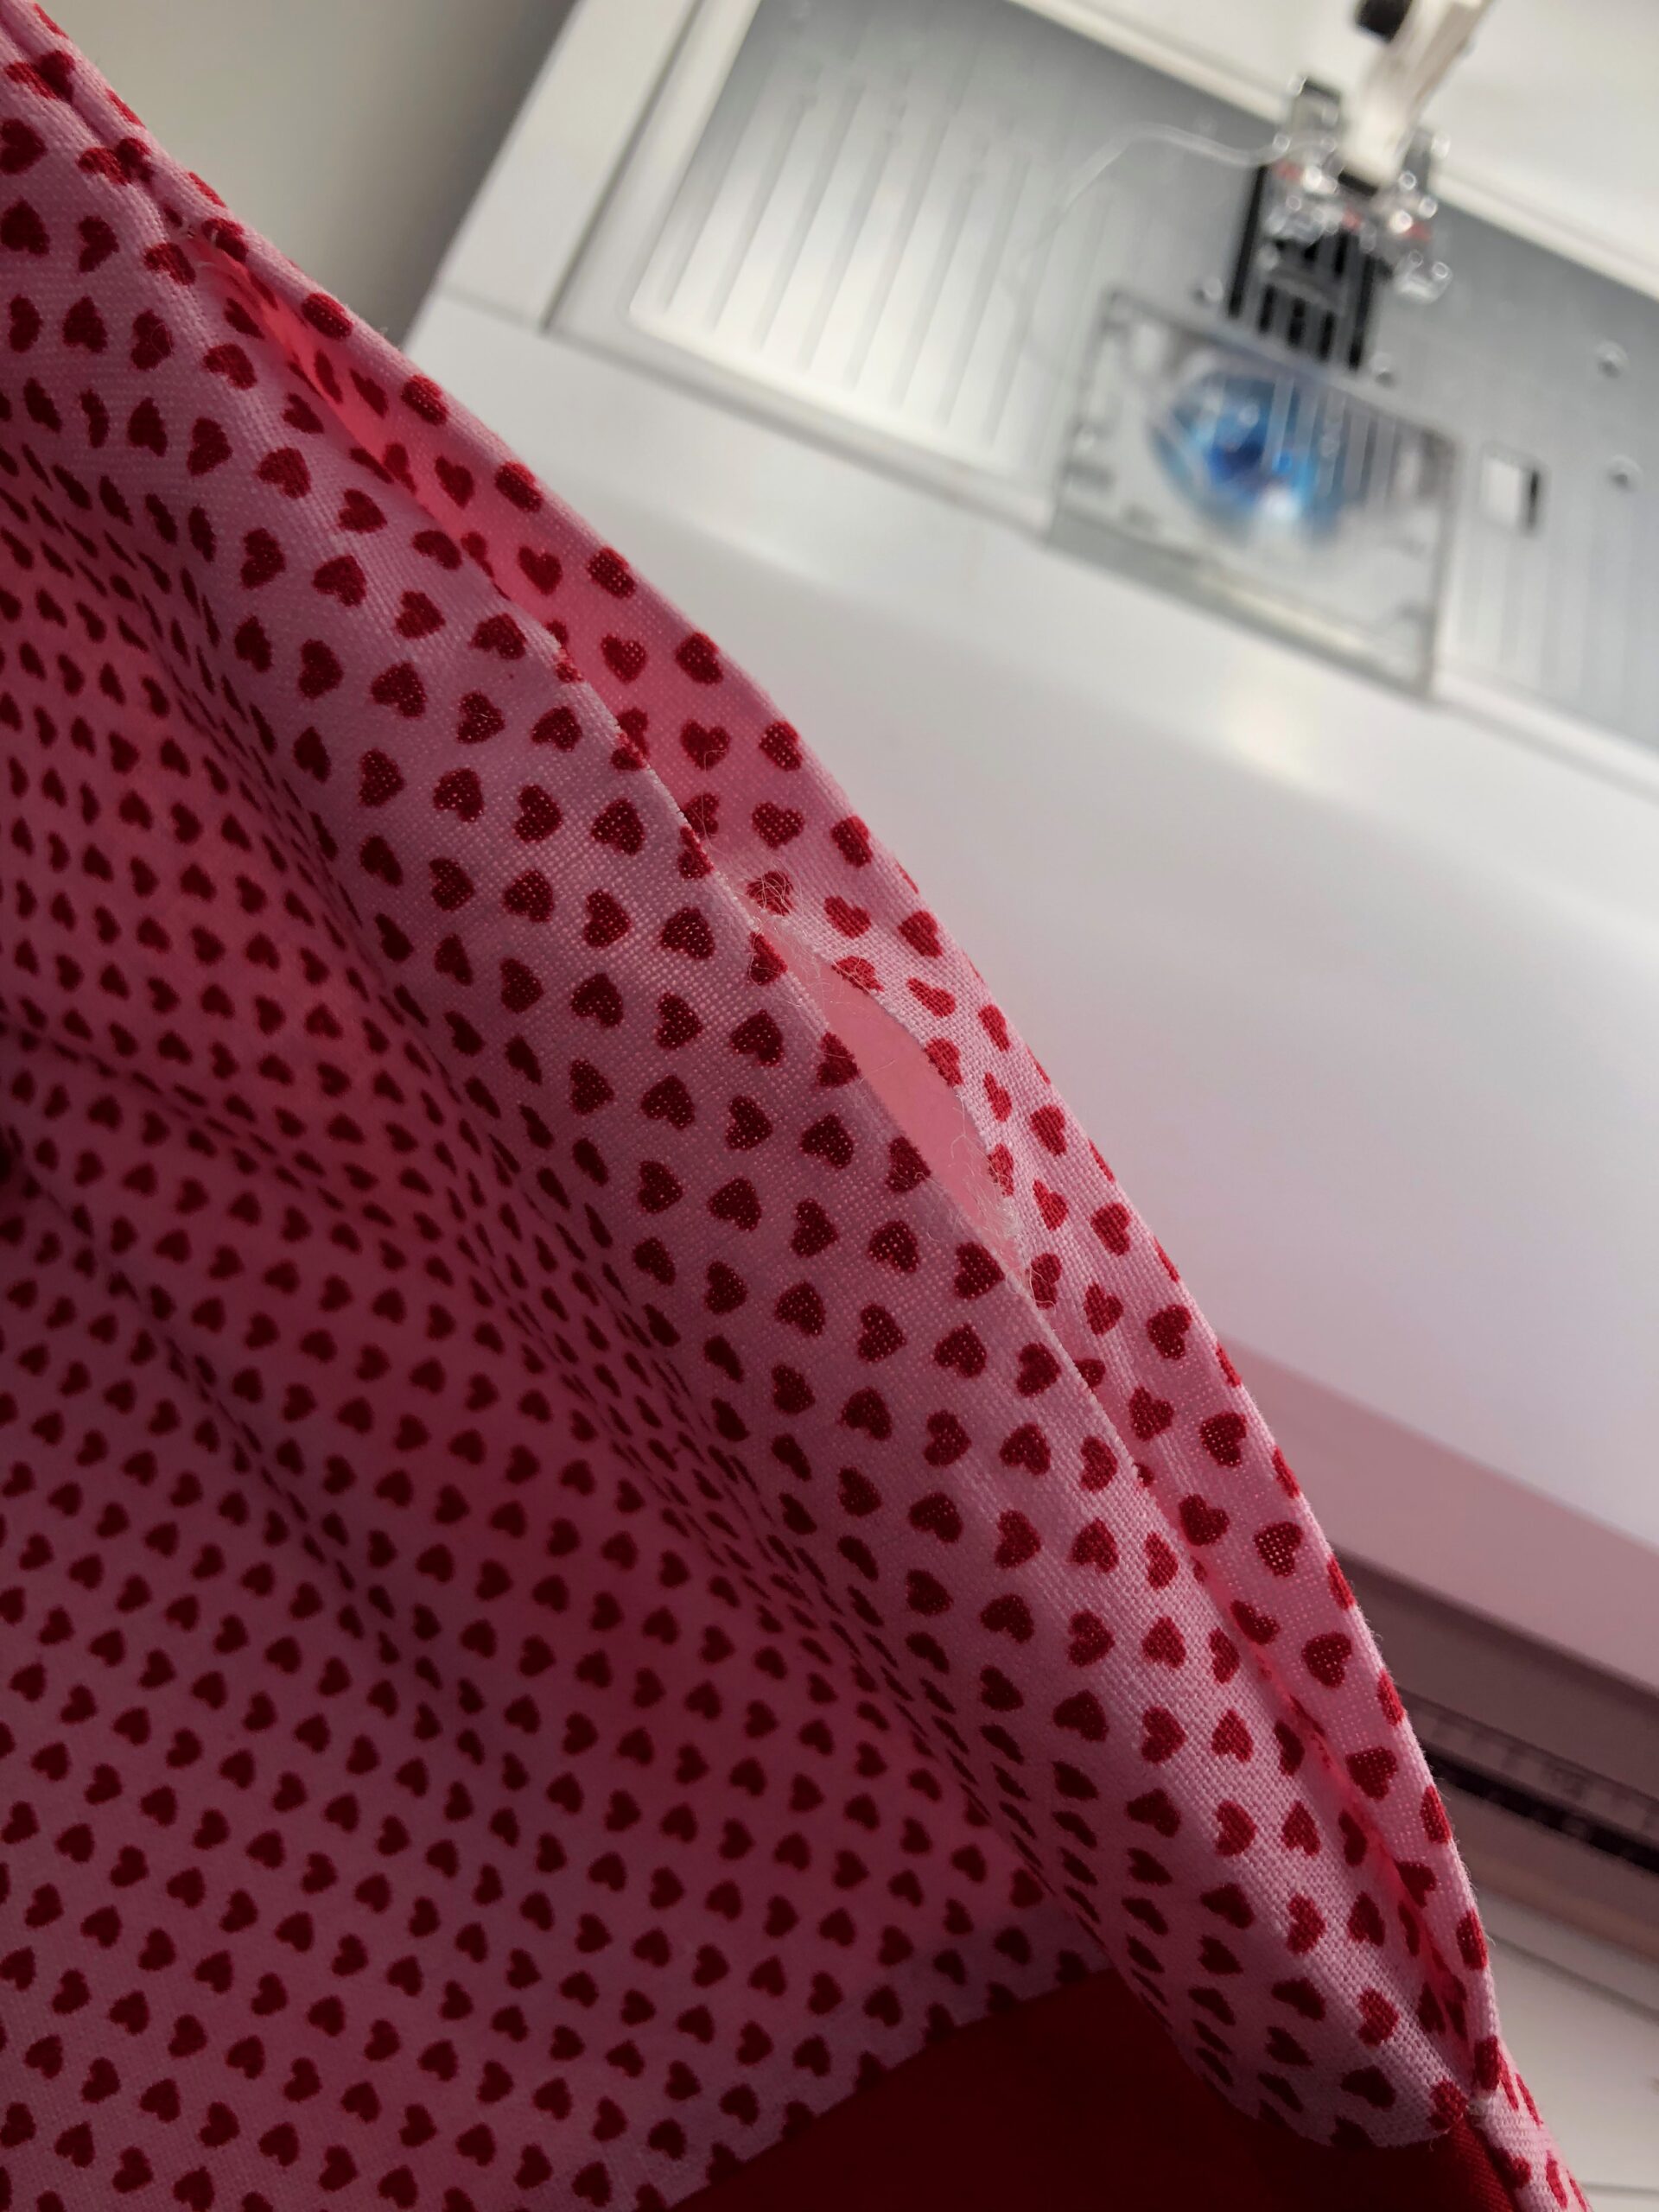
Piece the side panels to the center embroidered rectangle with right sides together and edges aligned. Press the seams toward the side panels.
Place the batting rectangle on a flat work surface. Position the table runner top right side up over the batting, using KK 2000 to secure. Place the backing rectangle over the top, aligning all corners and edges; pin the perimeter.
Stitch the perimeter using a ½” seam allowance. Leave a 5” opening unstitched along the lower edge for turning.
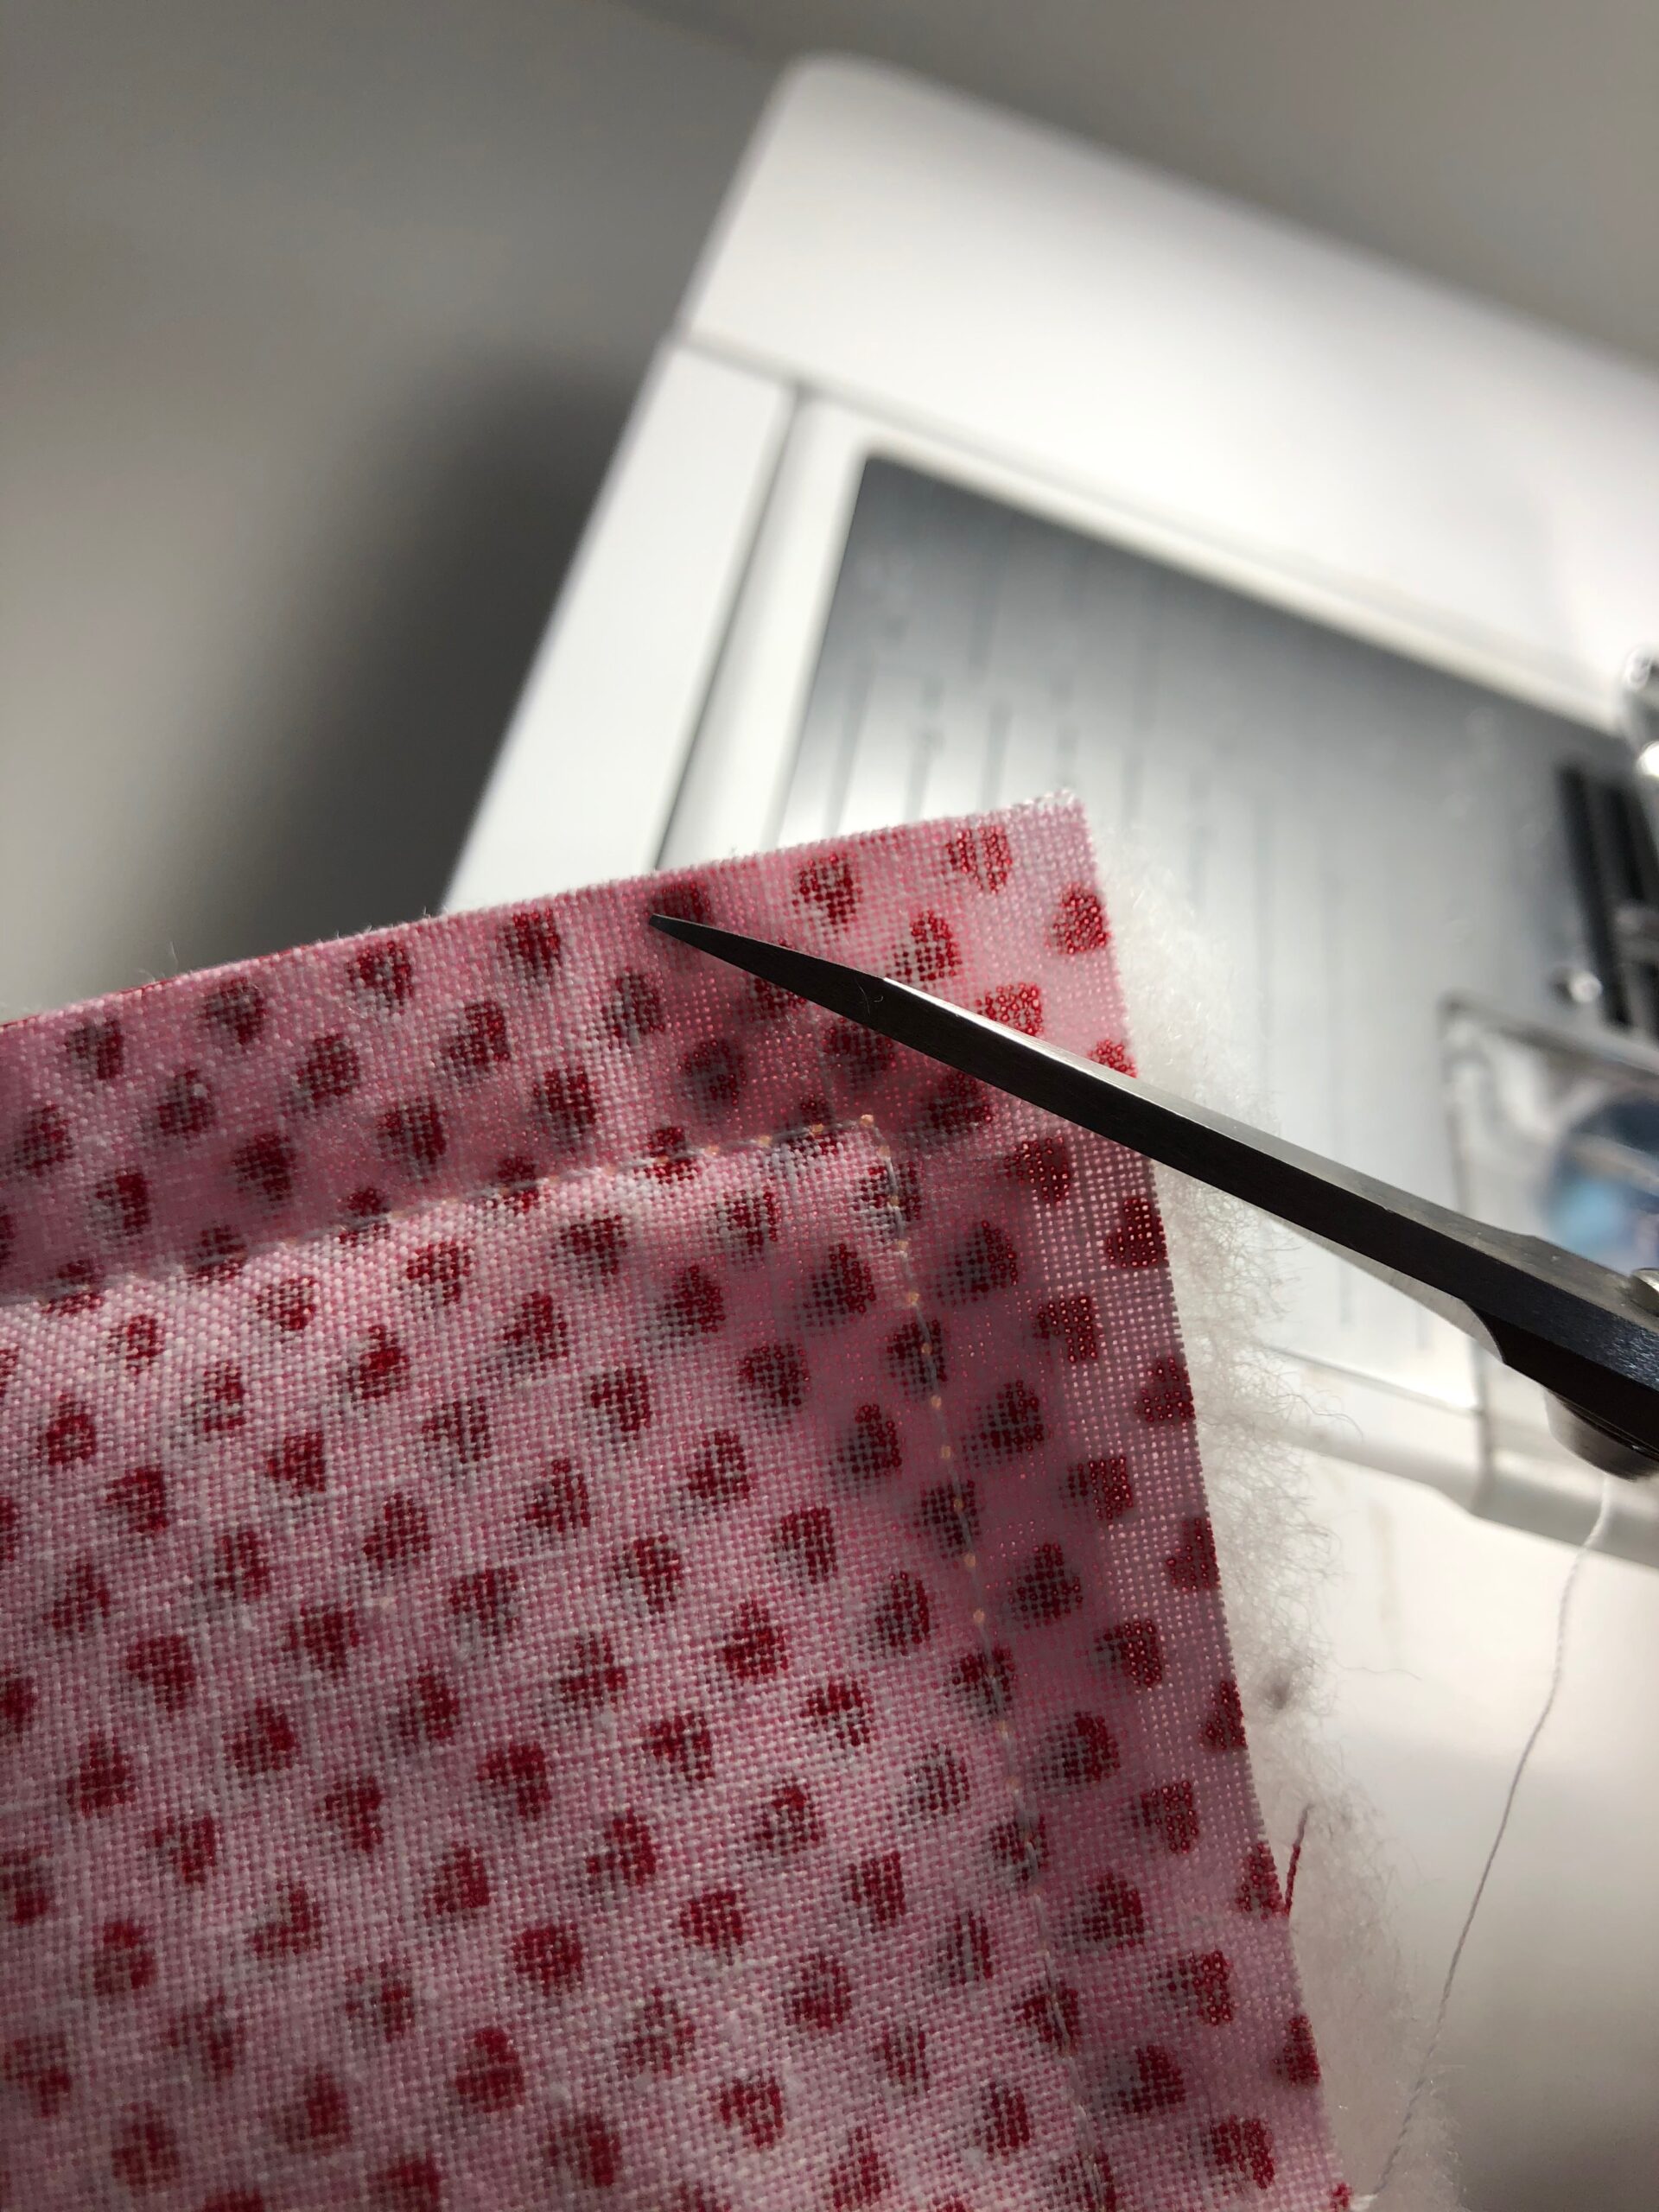
Clip the corners.
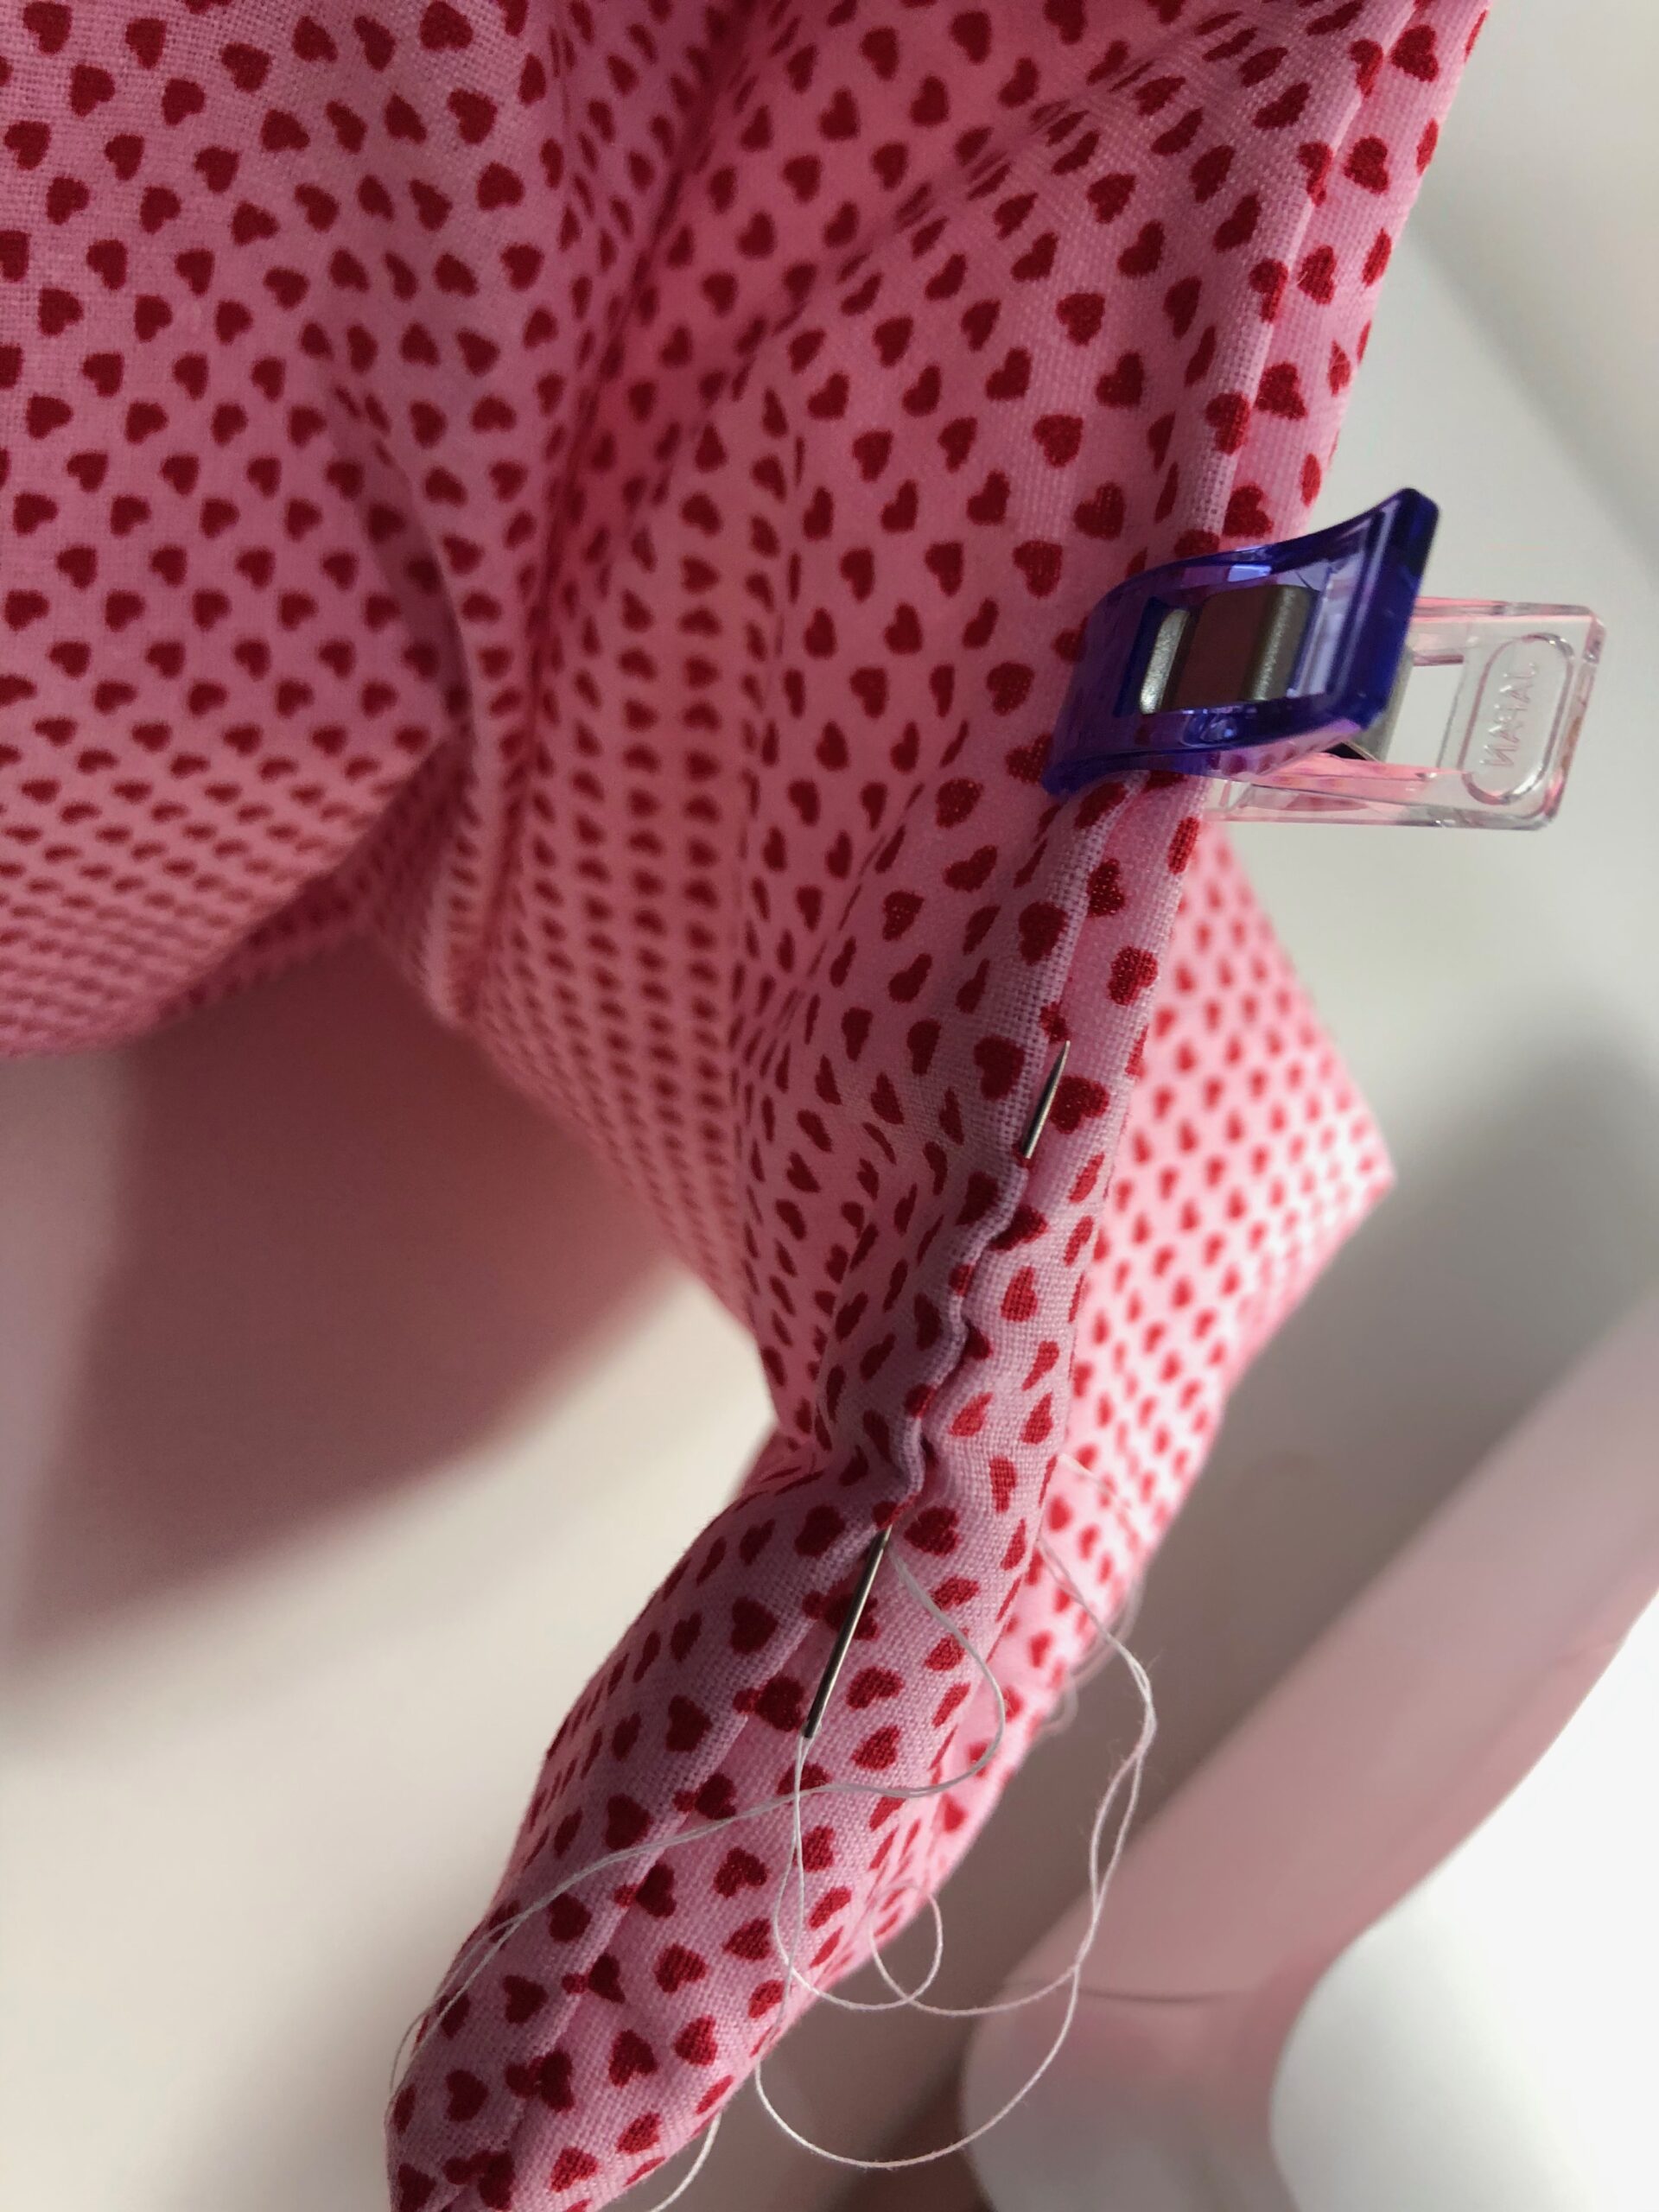
Turn the table runner right side out through the opening. Turn the opening seam allowances toward the wrong side.
Pin or clip the opening shut, using Clover Wonder Clips. Then, hand stitch the opening closed.
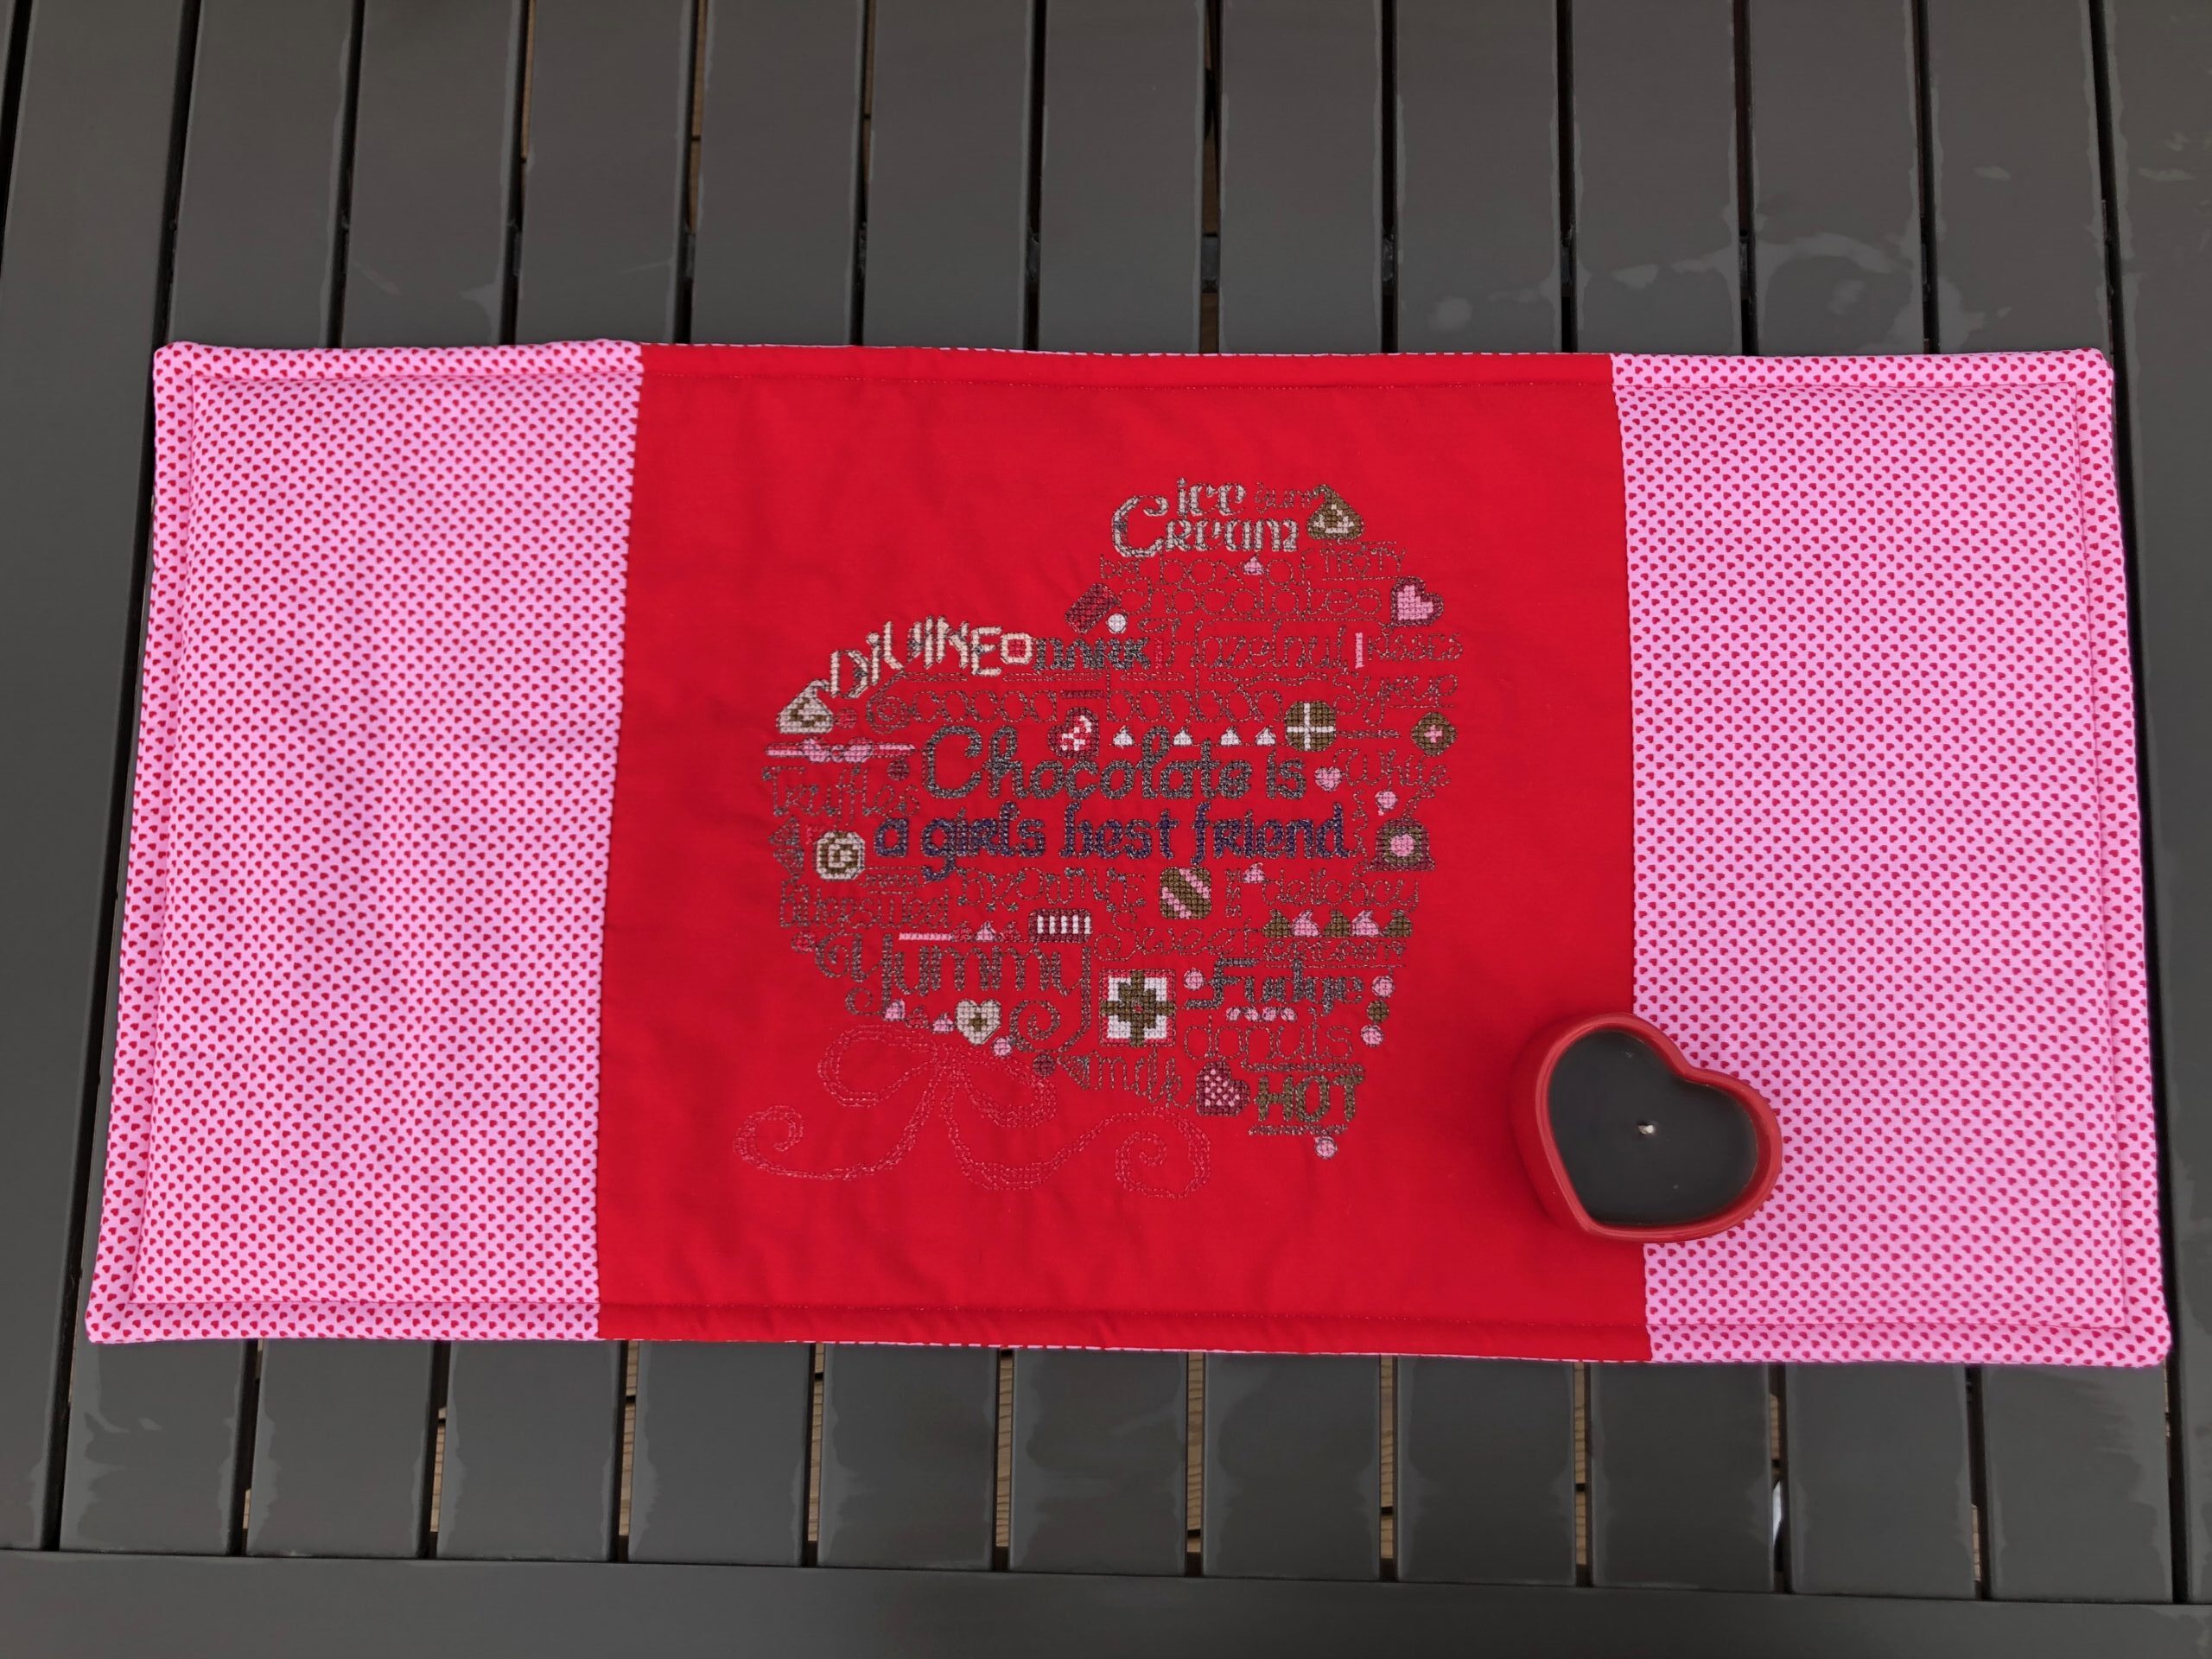
Gently press the table runner, avoiding the embroidery. Topstitch ½” from the table runner perimeter using one of the Poly Sparkle colors.

Voila!

Ellen March
I am the Director of Content for Sulky of America. The former Editor in Chief of Sew News and Creative Machine Embroidery magazines, I hosted Sew it All TV on PBS for nine seasons. I've appeared on It's Sew Easy on PBS, DIY Network's Uncommon Threads, Hallmark's Marie Osmond Show, MacPhee Workshop and more! Come sew with me!


13 Comments
leosrus2015
Love it, Thank you!
Jennifer A
What size of HV hoop did you use? I don’t think that I have a big enough hoop for my HV Diamond
Ellen March
I used a 360×260 but the design files come with loads of sizes so you can stitch it smaller and just add different sized borders or piece some other fabrics into it.
Cornelia Piloth
Where can I find the free Design chocolate lovers?
Ellen March
The design is linked in the Supply List at the top of this post. Click the link and you’ll be able to access it.
Happy Sewing!
Cornelia Piloth
Where can I find the free embroidery Design for this?
Ellen March
The design is linked in the Supply List at the top of this post. Click the link and you’ll be able to access it.
Happy Sewing!
Cornelia Piloth
Thank you!
patti r
thank you I hope this is going to be available in different sizes soon
Ellen March
Hello! The free design is available in a lot of formats. They are all in the zipped folder together. If you need further assistance, please email us at info@sulky.com.
Carol E.
Stitched out so beautifully. One question, I bought the Ultimate Valentine Thread Pack but color 0589 was not included. Was this a typo in the directions? The directions read: additional 0589 used for color stop 14 in the featured sample.
I just used what came in the pack and was very happy. Thank you SO MUCH! Needed this pick-me-up.
Ellen March
You are correct. 0589 was an additional color, not in the thread pack. I’m sure your design turned out great! Thanks for sharing!
Pingback: