Halloween Word Play
a NEW Curated Collection for Blanks, Pillows, Treat Bags & More!
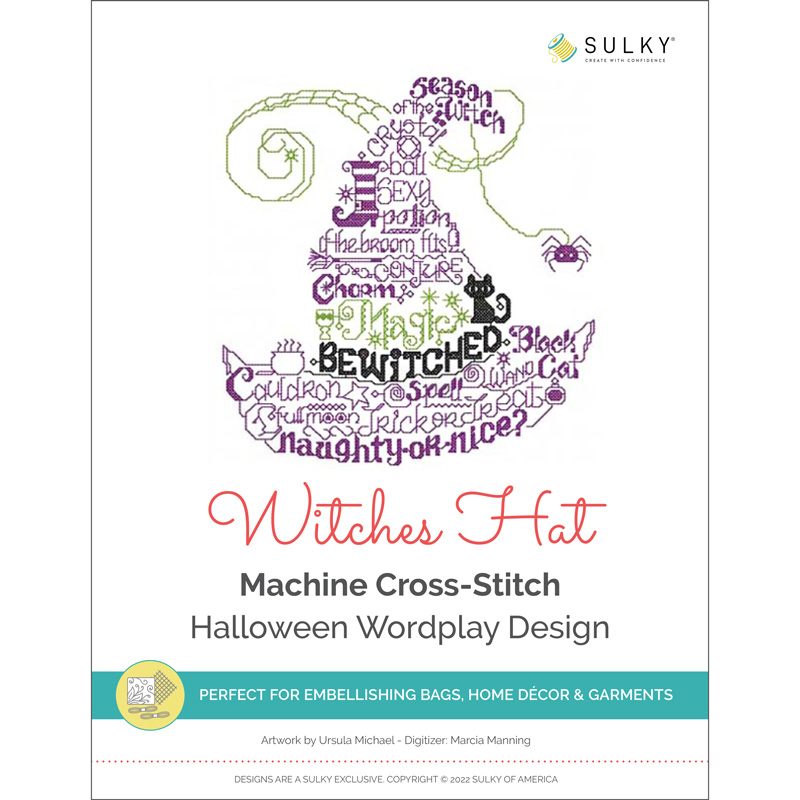
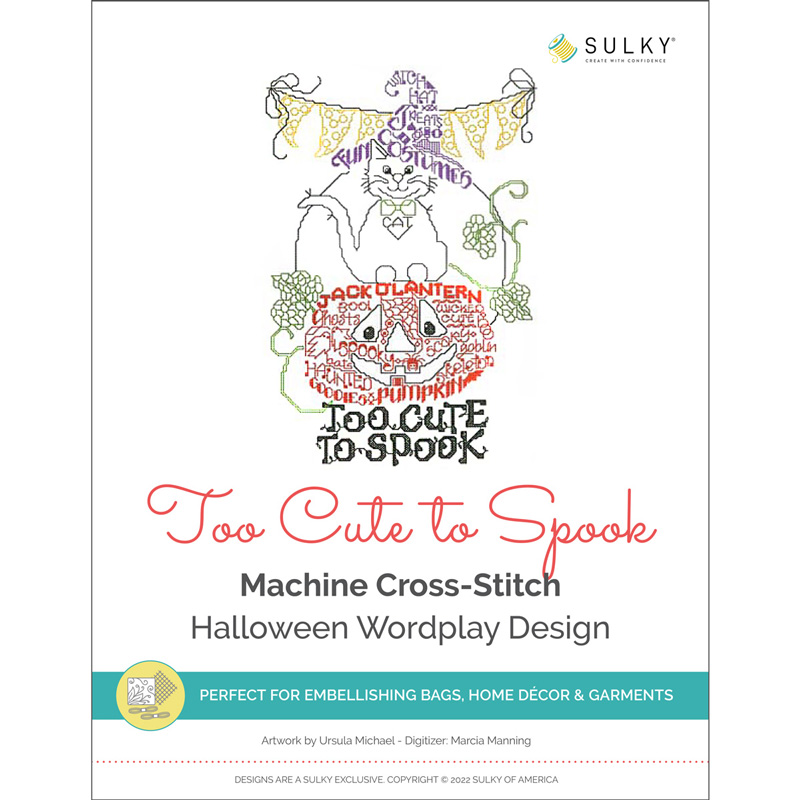
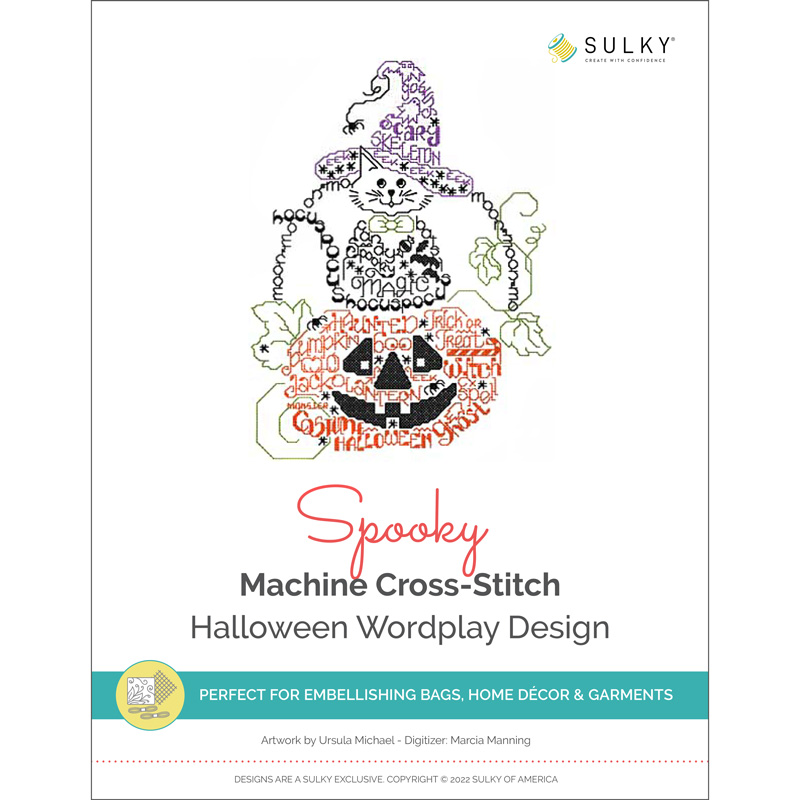
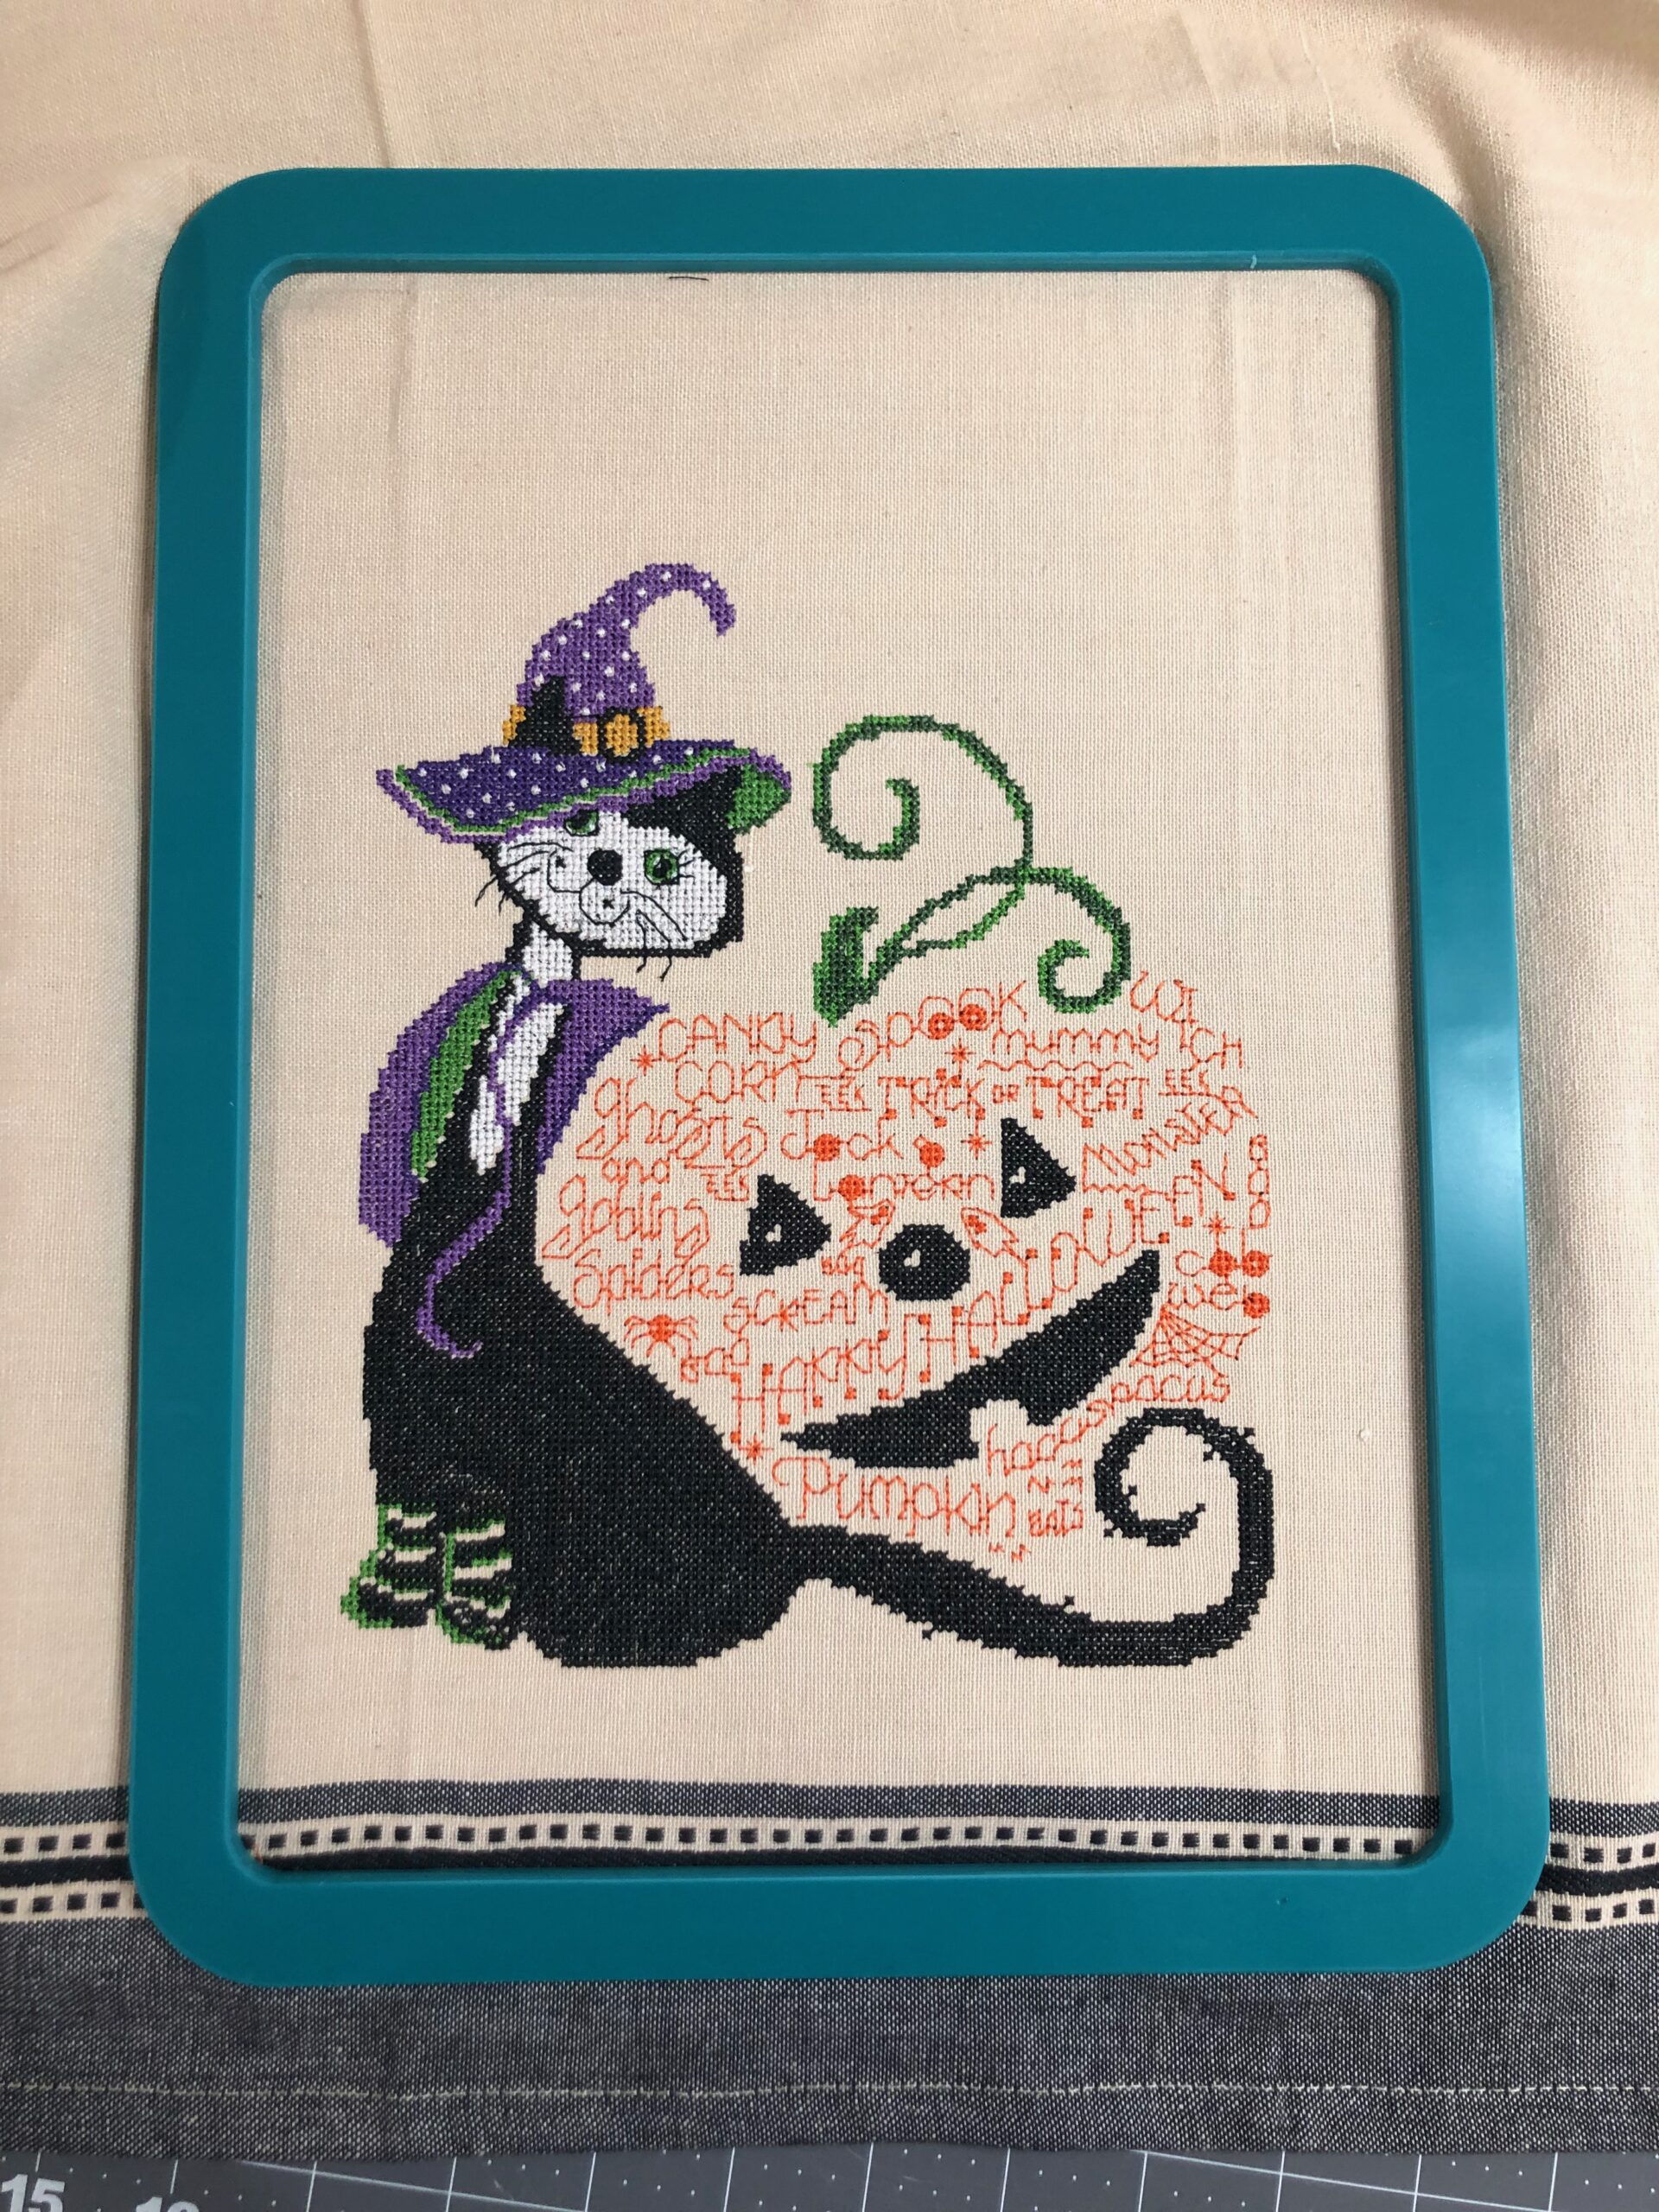
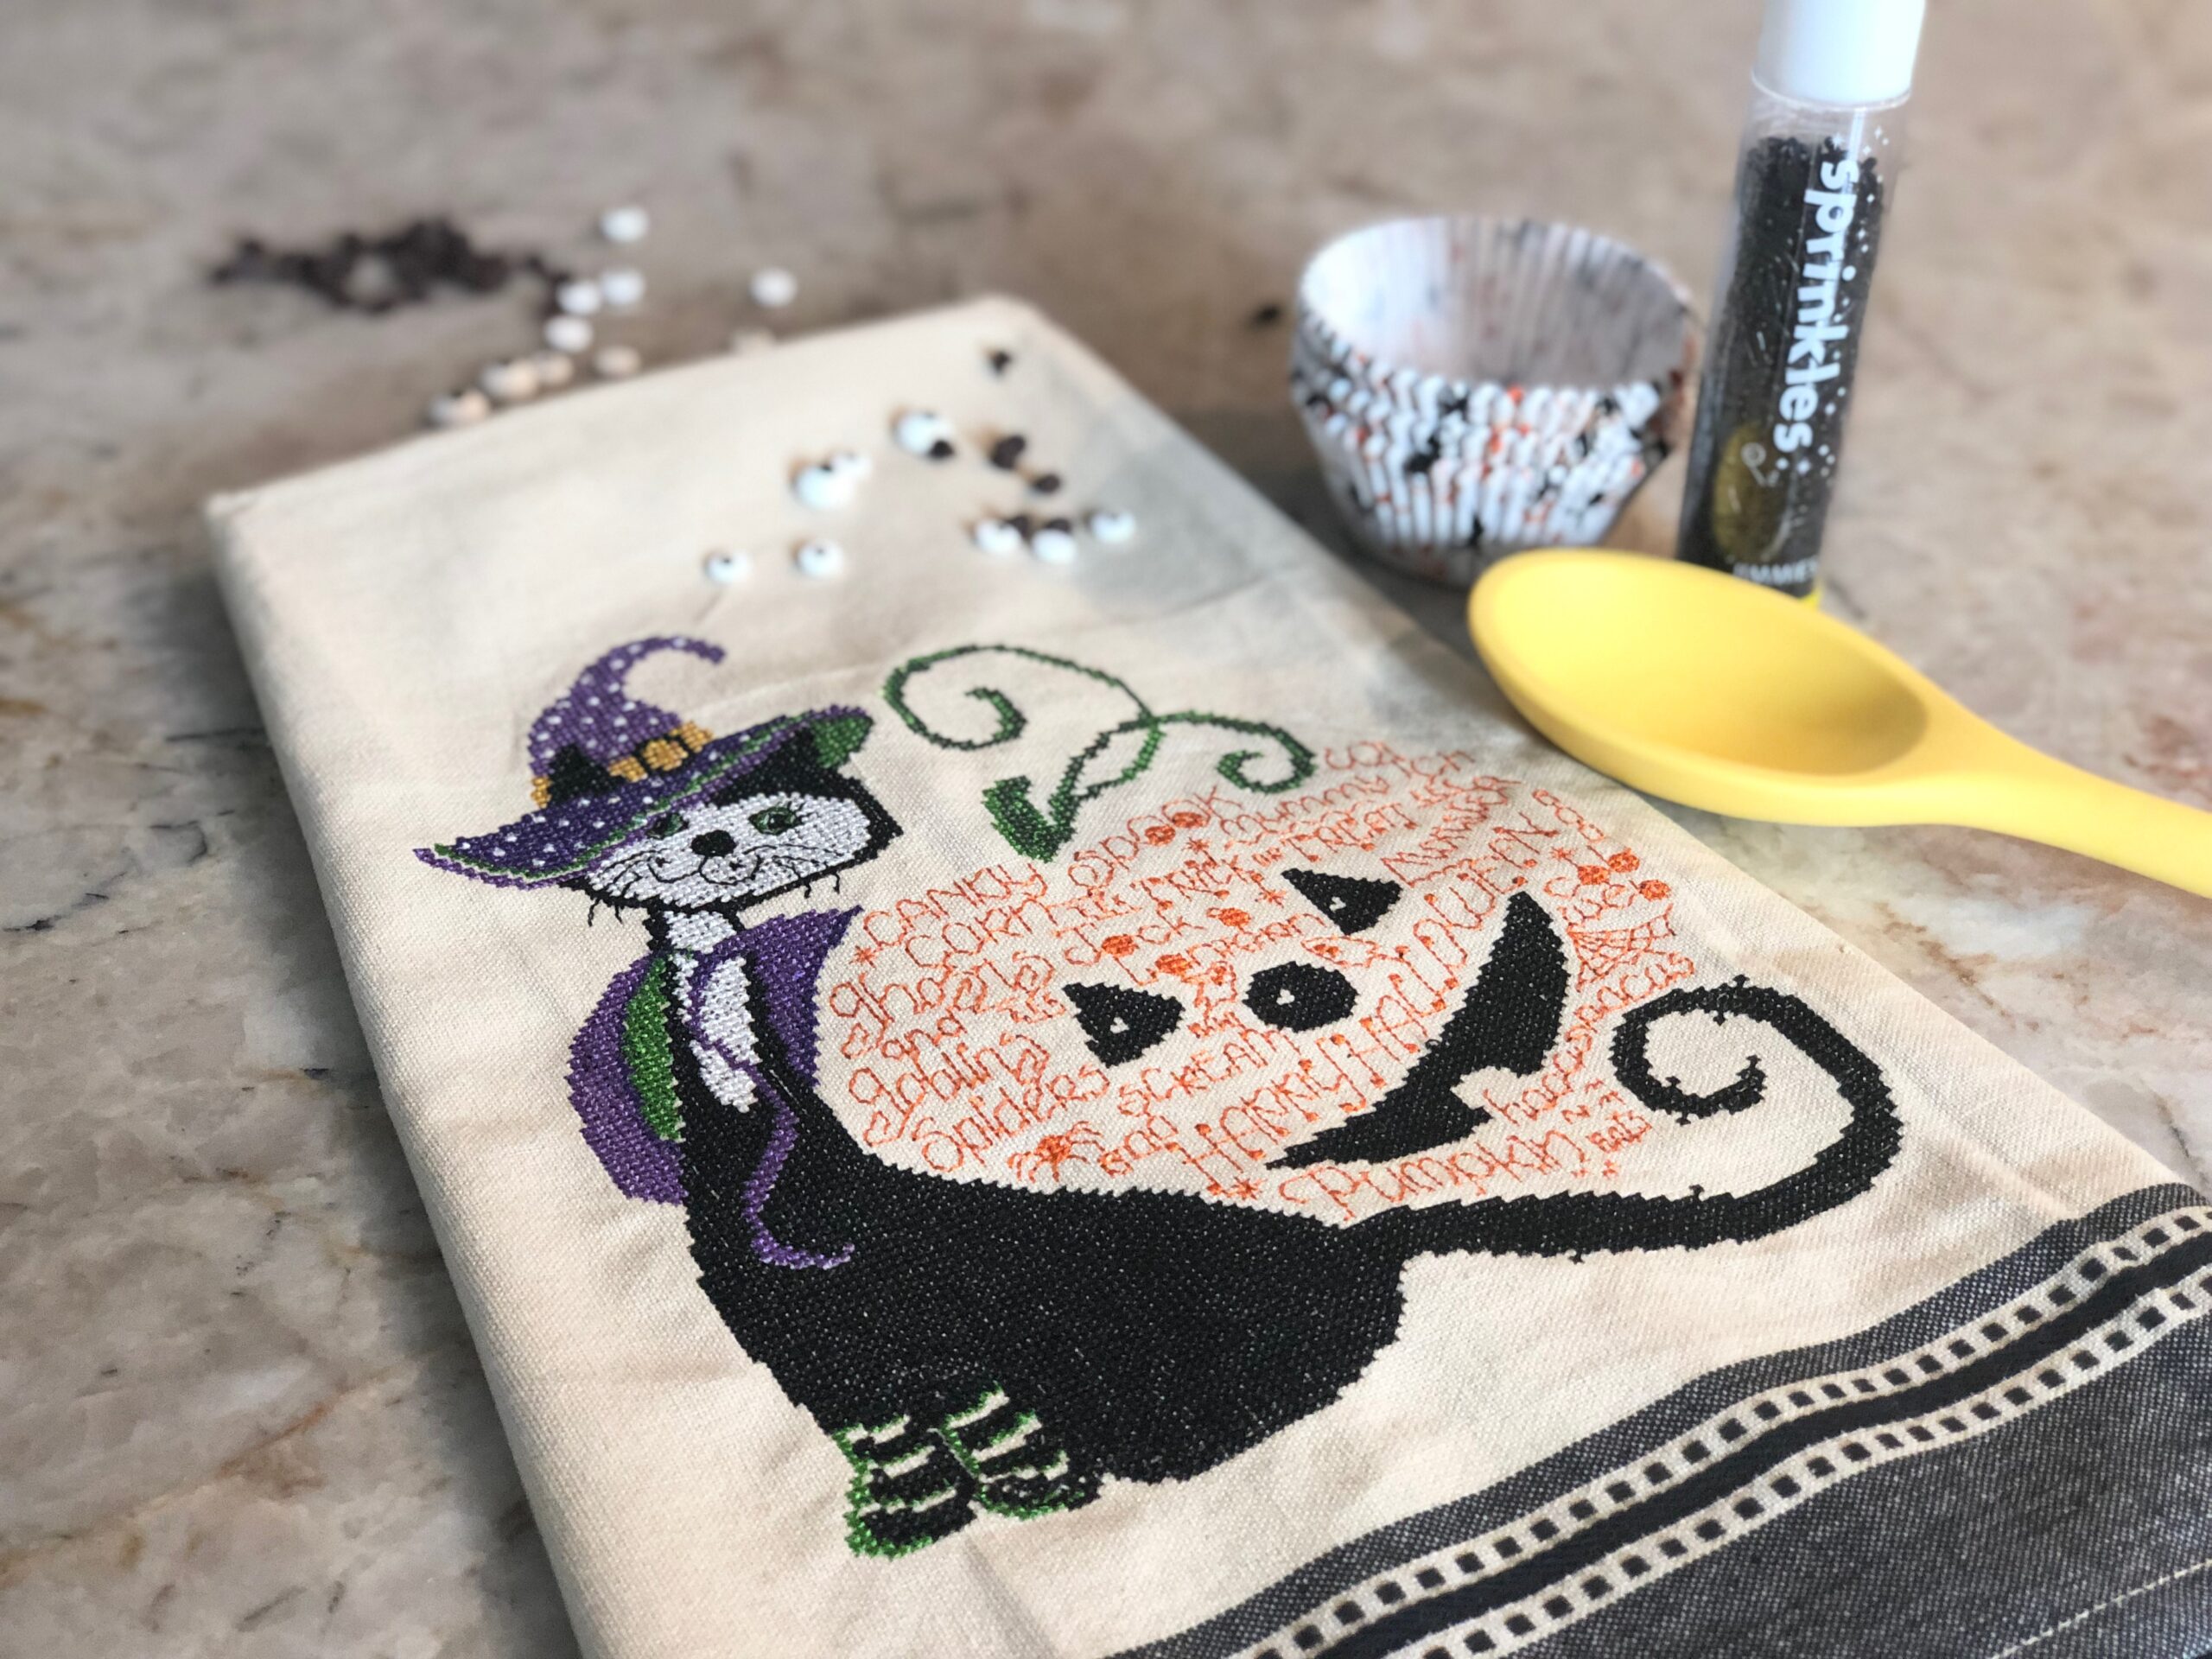
Halloween Word Play machine embroidery designs, with artwork by Urusula Michael and digitizing by Marcia Manning, are spooky cute and offer a quicker alternative to cross-stitch. That’s right! These designs come in multiple sizes (and counts) to enable you to do cross-stitch right in the hoop of your embroidery machine!
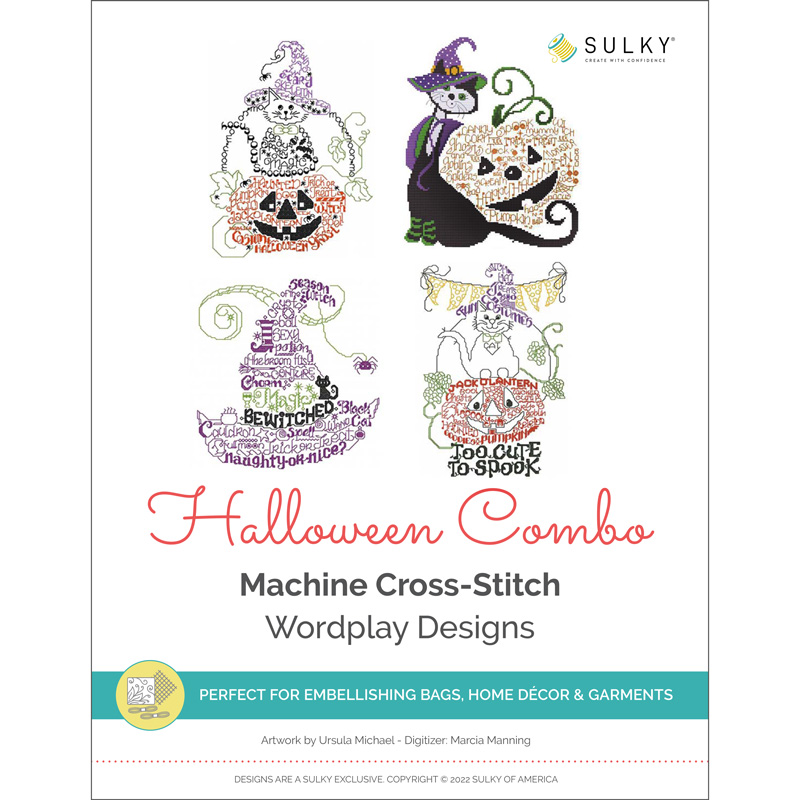
Add one of each design to a tea towel or kitchen towel blank and gift them to friends and neighbors for fun “boo-ing” during the Halloween season. Grab all four Halloween Word Play Designs as a “combo” collection, or purchase them individually.
HALLOWEEN TOWEL SUPPLIES
- Sulky Halloween Word Play Design(s)
- 40 wt. Rayon Thread (colors according to chosen design)
- 60 wt. Bobbin Thread
- Organ® size 80/12 Top Stitch or Microtex Needle (depending on towel fiber content)
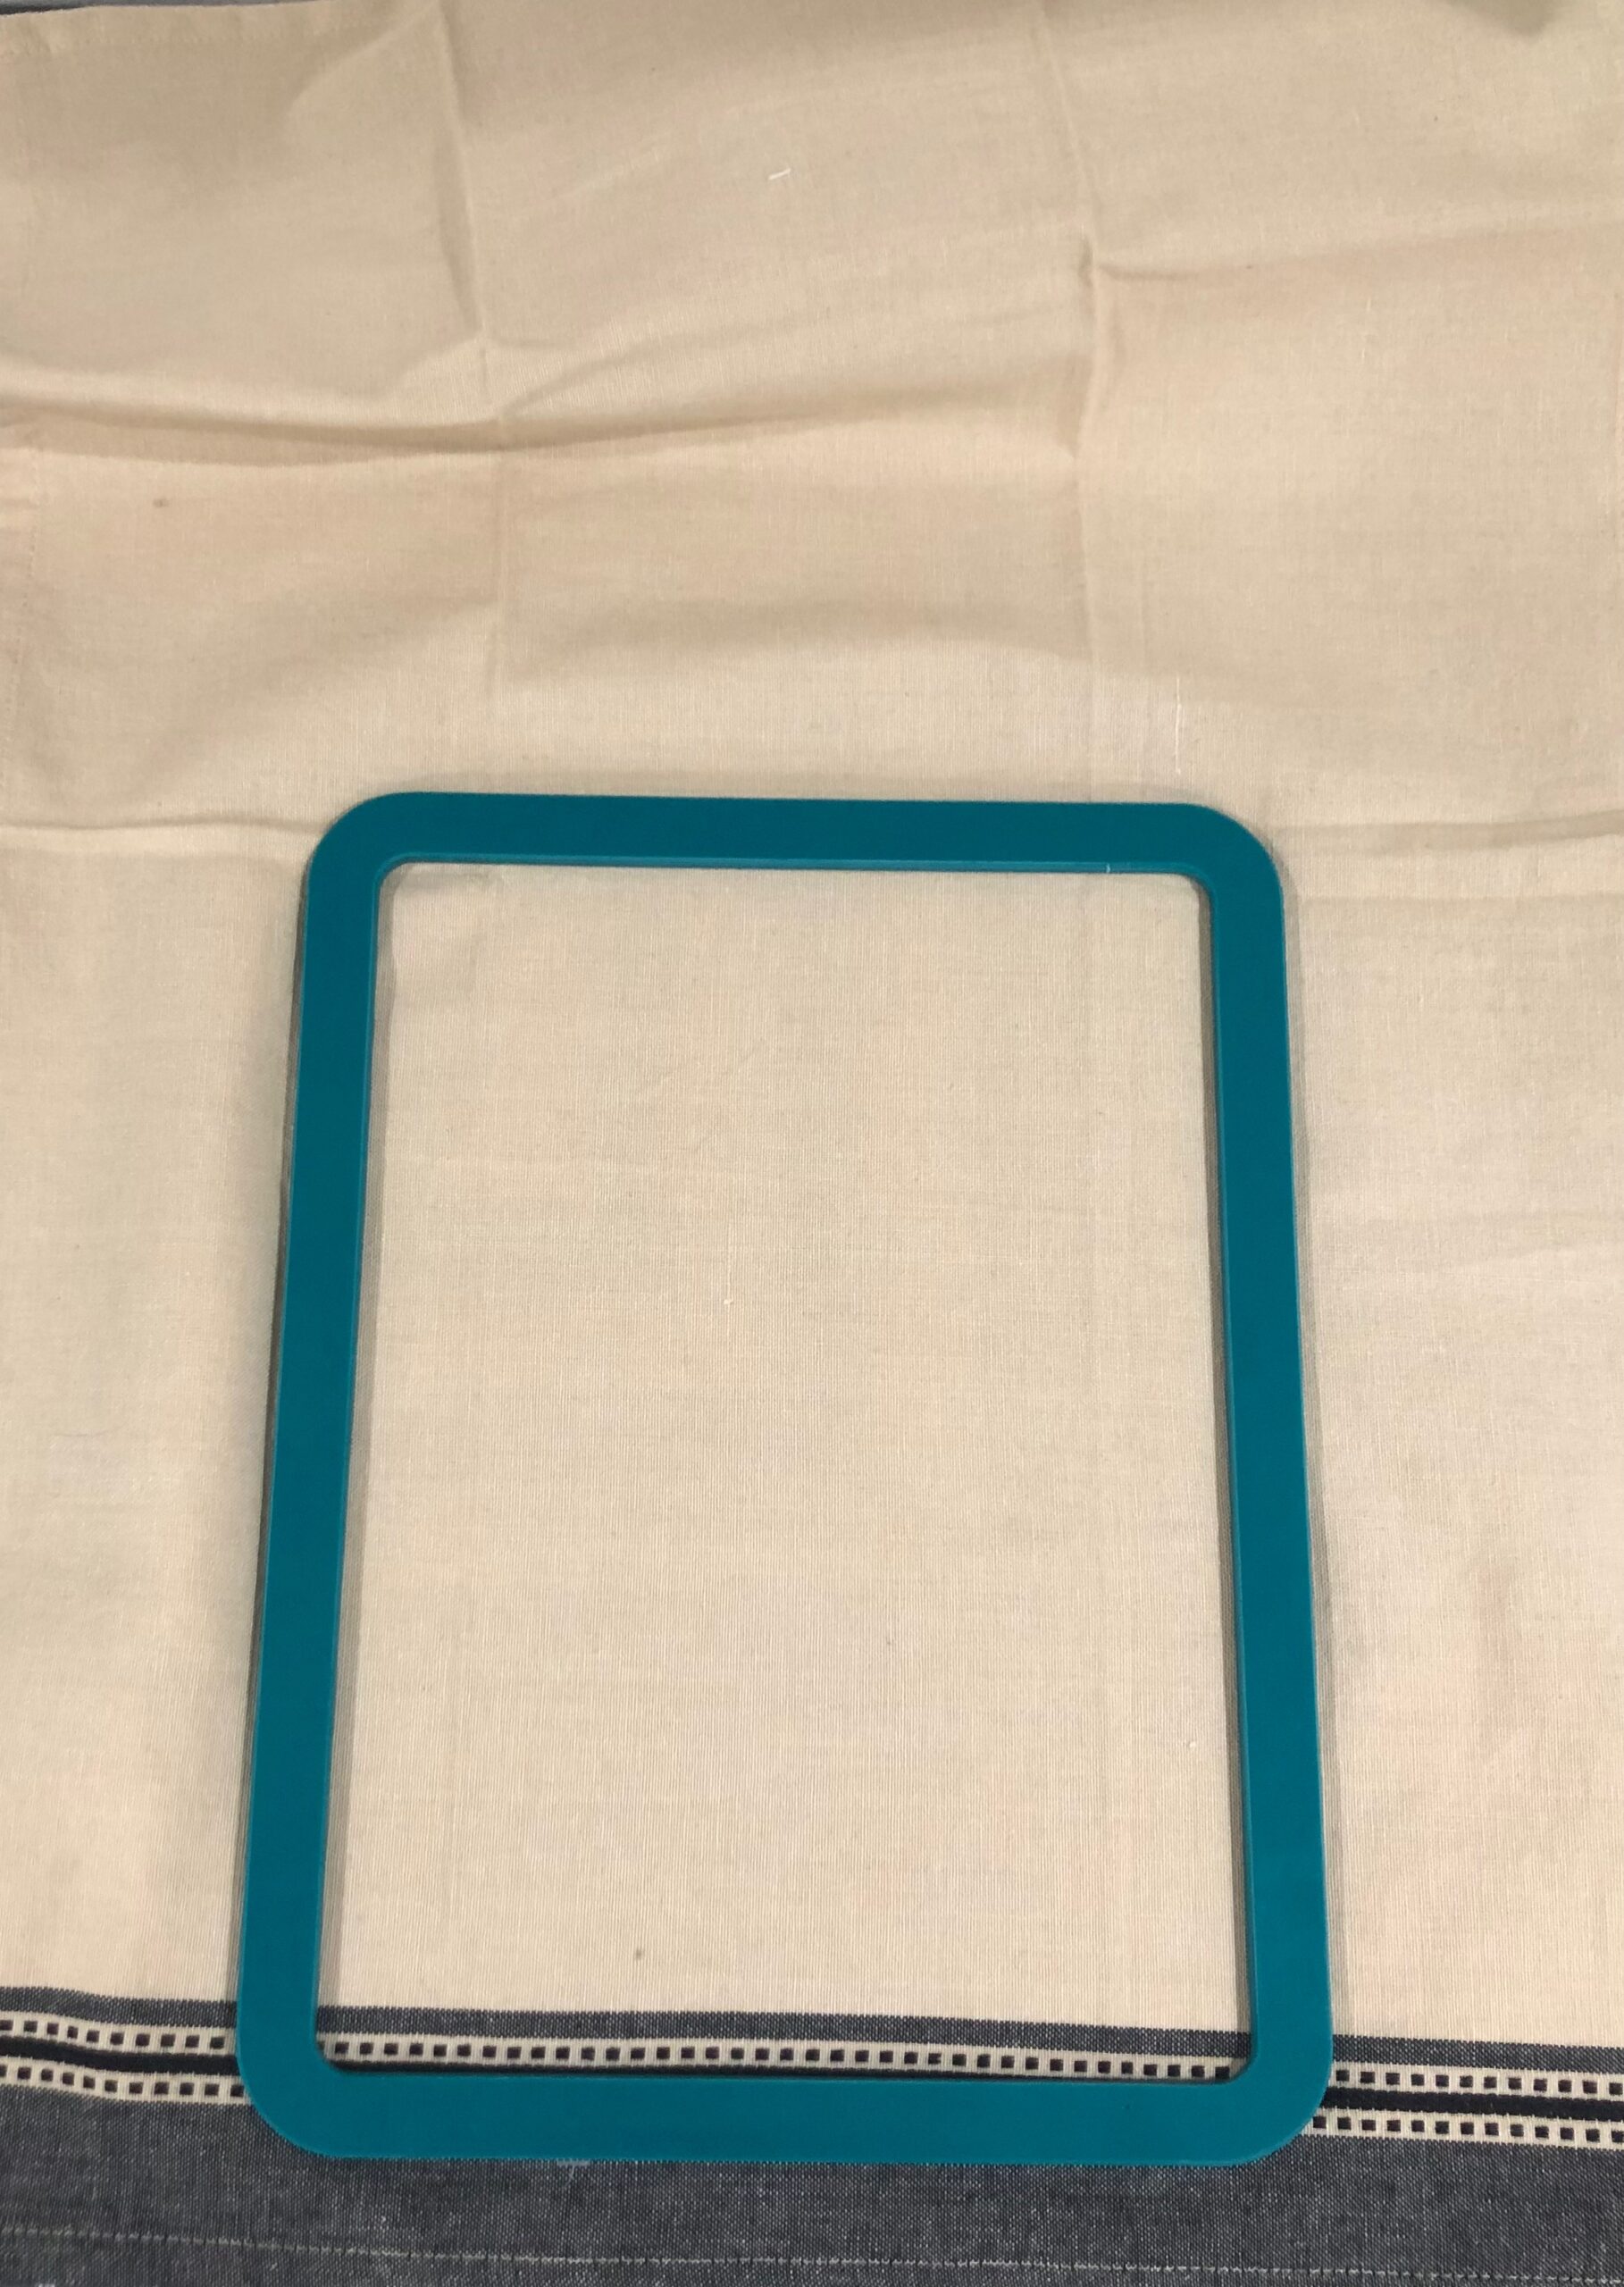
- Towel Blank (Choose one with an interesting windowpane pattern or hemstitched border to add a bit of interest or pop of color. Or grab a flour sack bundle to embroider several as gifts and keep one for yourself!)
- Sulky Fabri-Solvy Stabilizer
- Curved Tip Squeezers
HOOPING HALLOWEEN WORD PLAY TOWEL
Note: This tutorial is intended for a woven towel, such as linen or cotton; not a terry cloth towel. The latter requires a topper and is not conducive to a cross-stitch-style design, as the fine stitching is lost in the towel nap.
Decide on the desired design placement on the chosen towel blank. Mark the center cross-marks on the towel right side using a removable fabric marker. Or fold the towel widthwise and lengthwise to denote the desired design center. If you prefer a different placement technique, do what you prefer to ensure the design stitches where intended.
Hoop the towel with a piece of Fabri-Solvy Stabilizer. This stabilizer is water-soluble and lightweight. It will wash away entirely after embroidery is complete, leaving no trace. It’s great for embroidering lightweight flour-sack or tea towels.
Place the hoop onto the machine.

HALLOWEEN WORD PLAY EMBROIDERY
Install a size 80/12 Top Stitch or Microtex Needle. Use a Top Stitch for a medium- to heavyweight towel fabric and a Microtex for a lightweight, fine fabric.
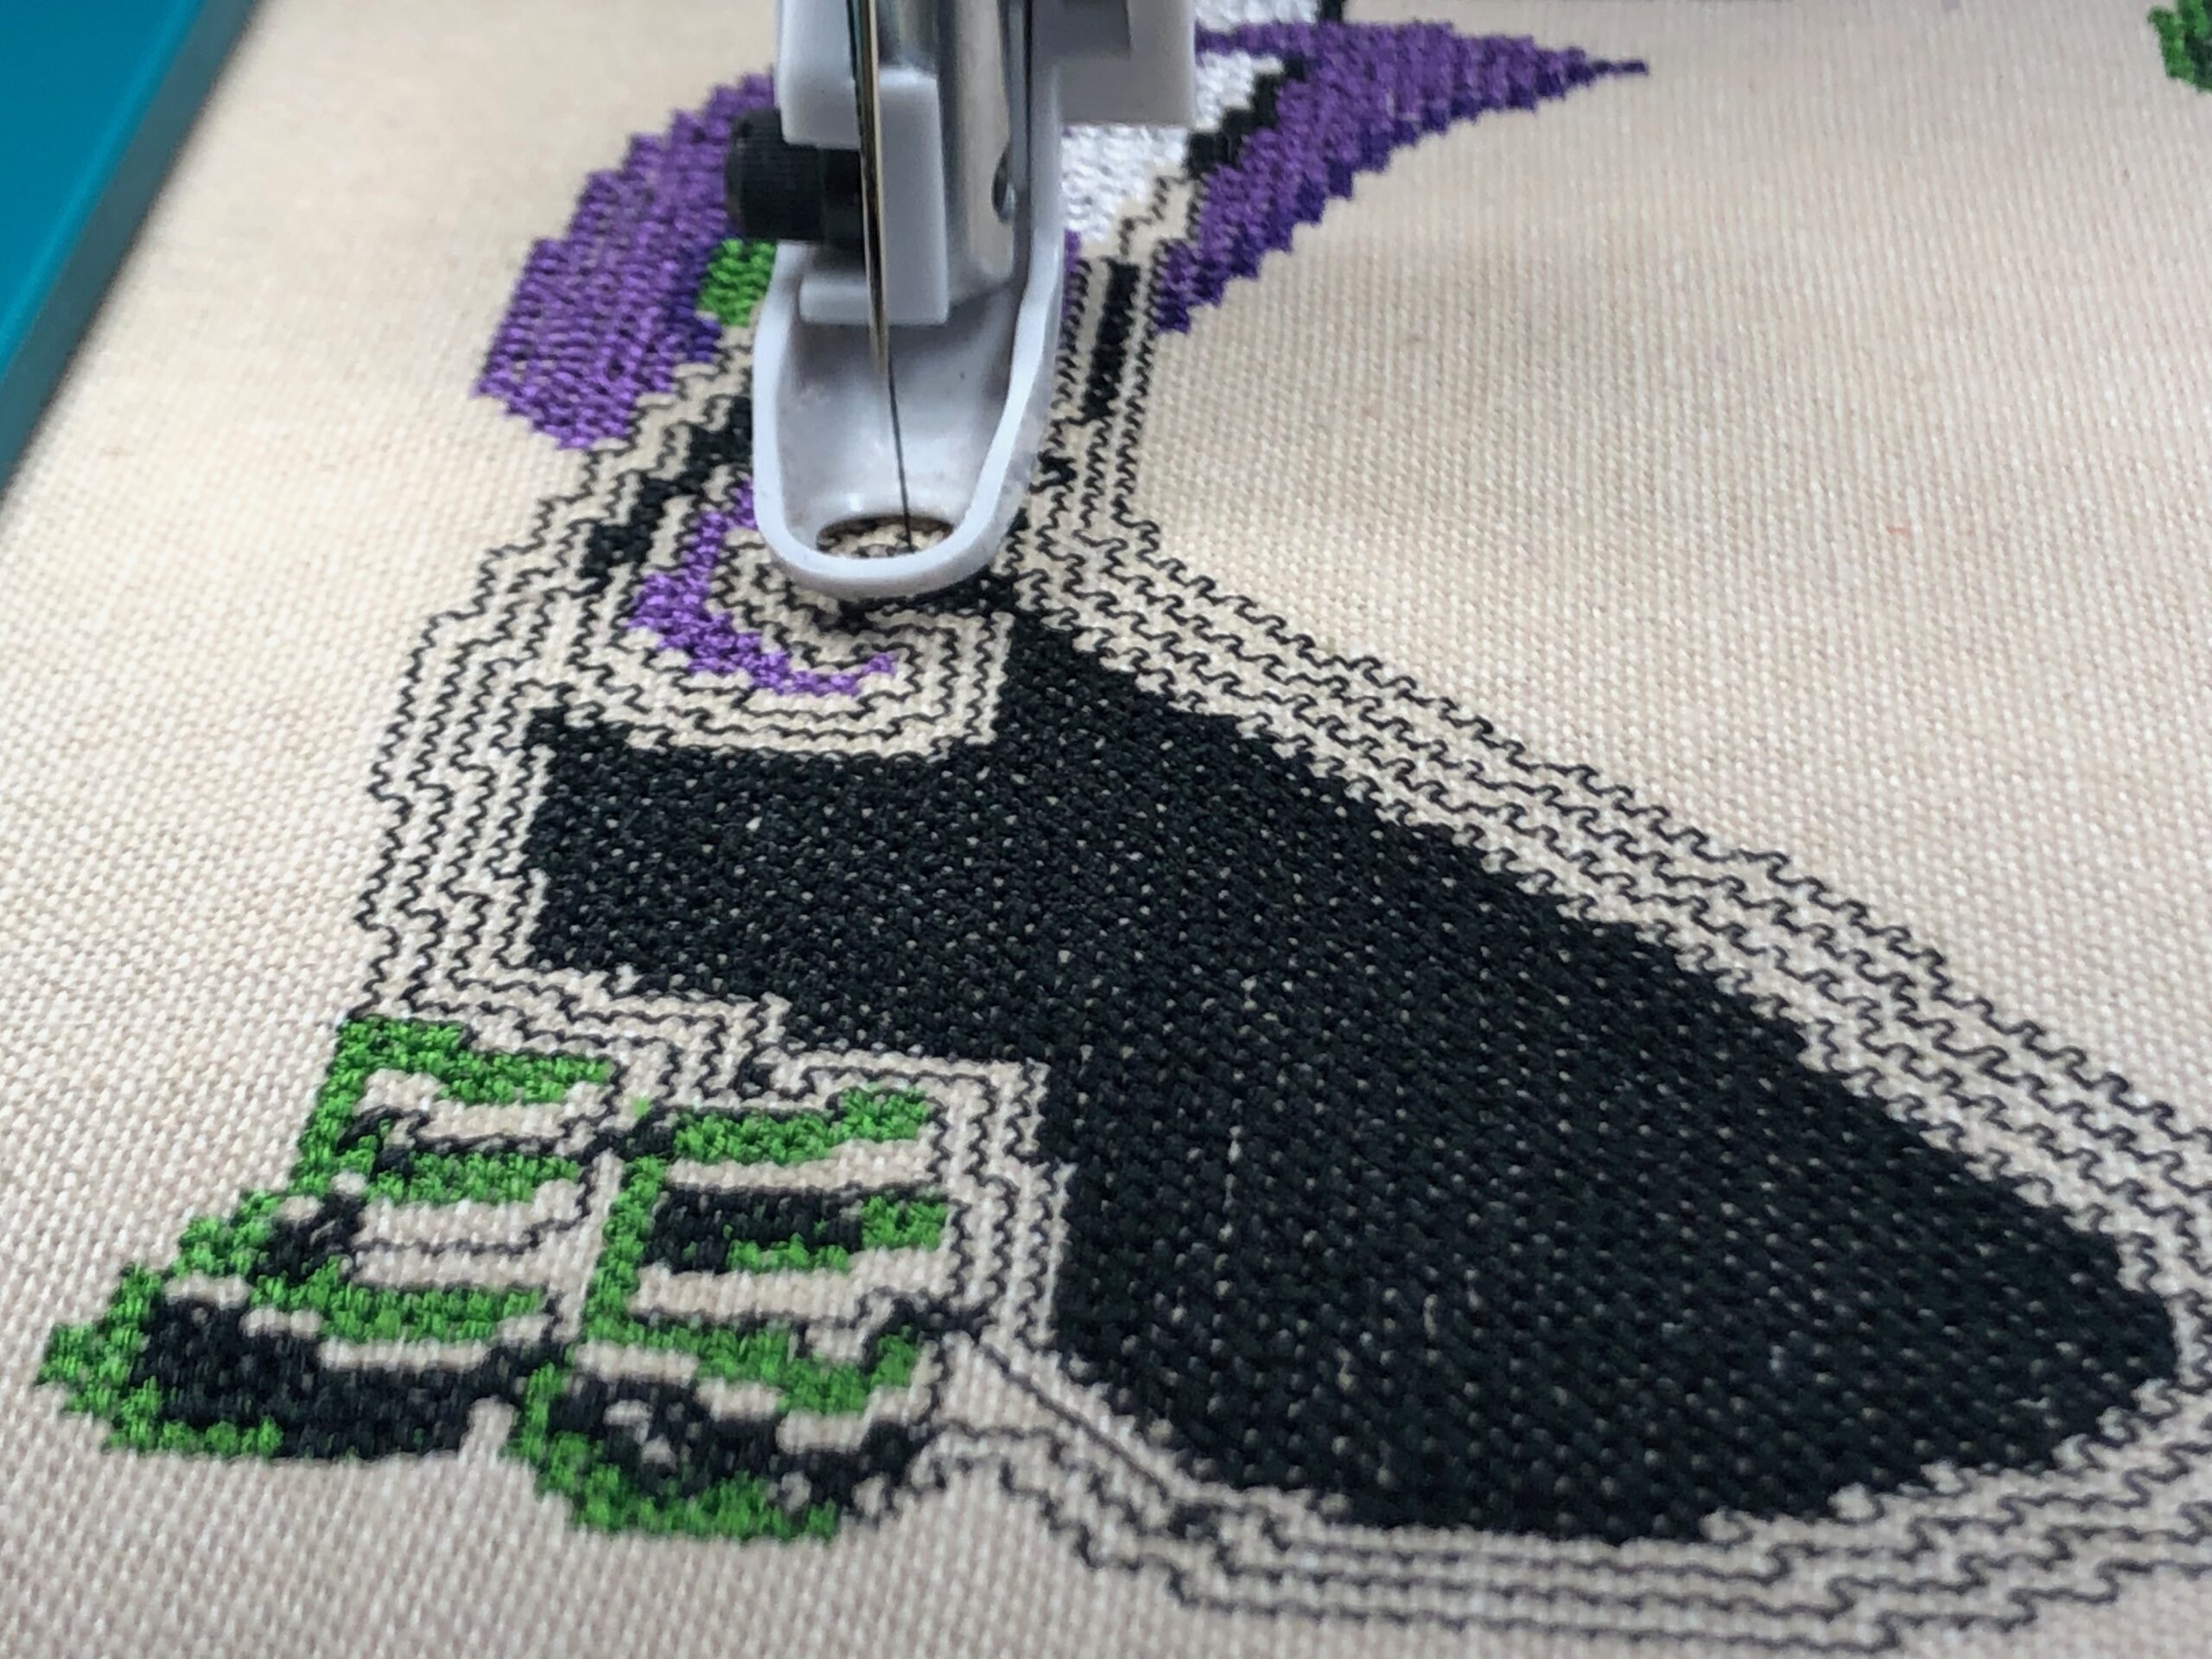
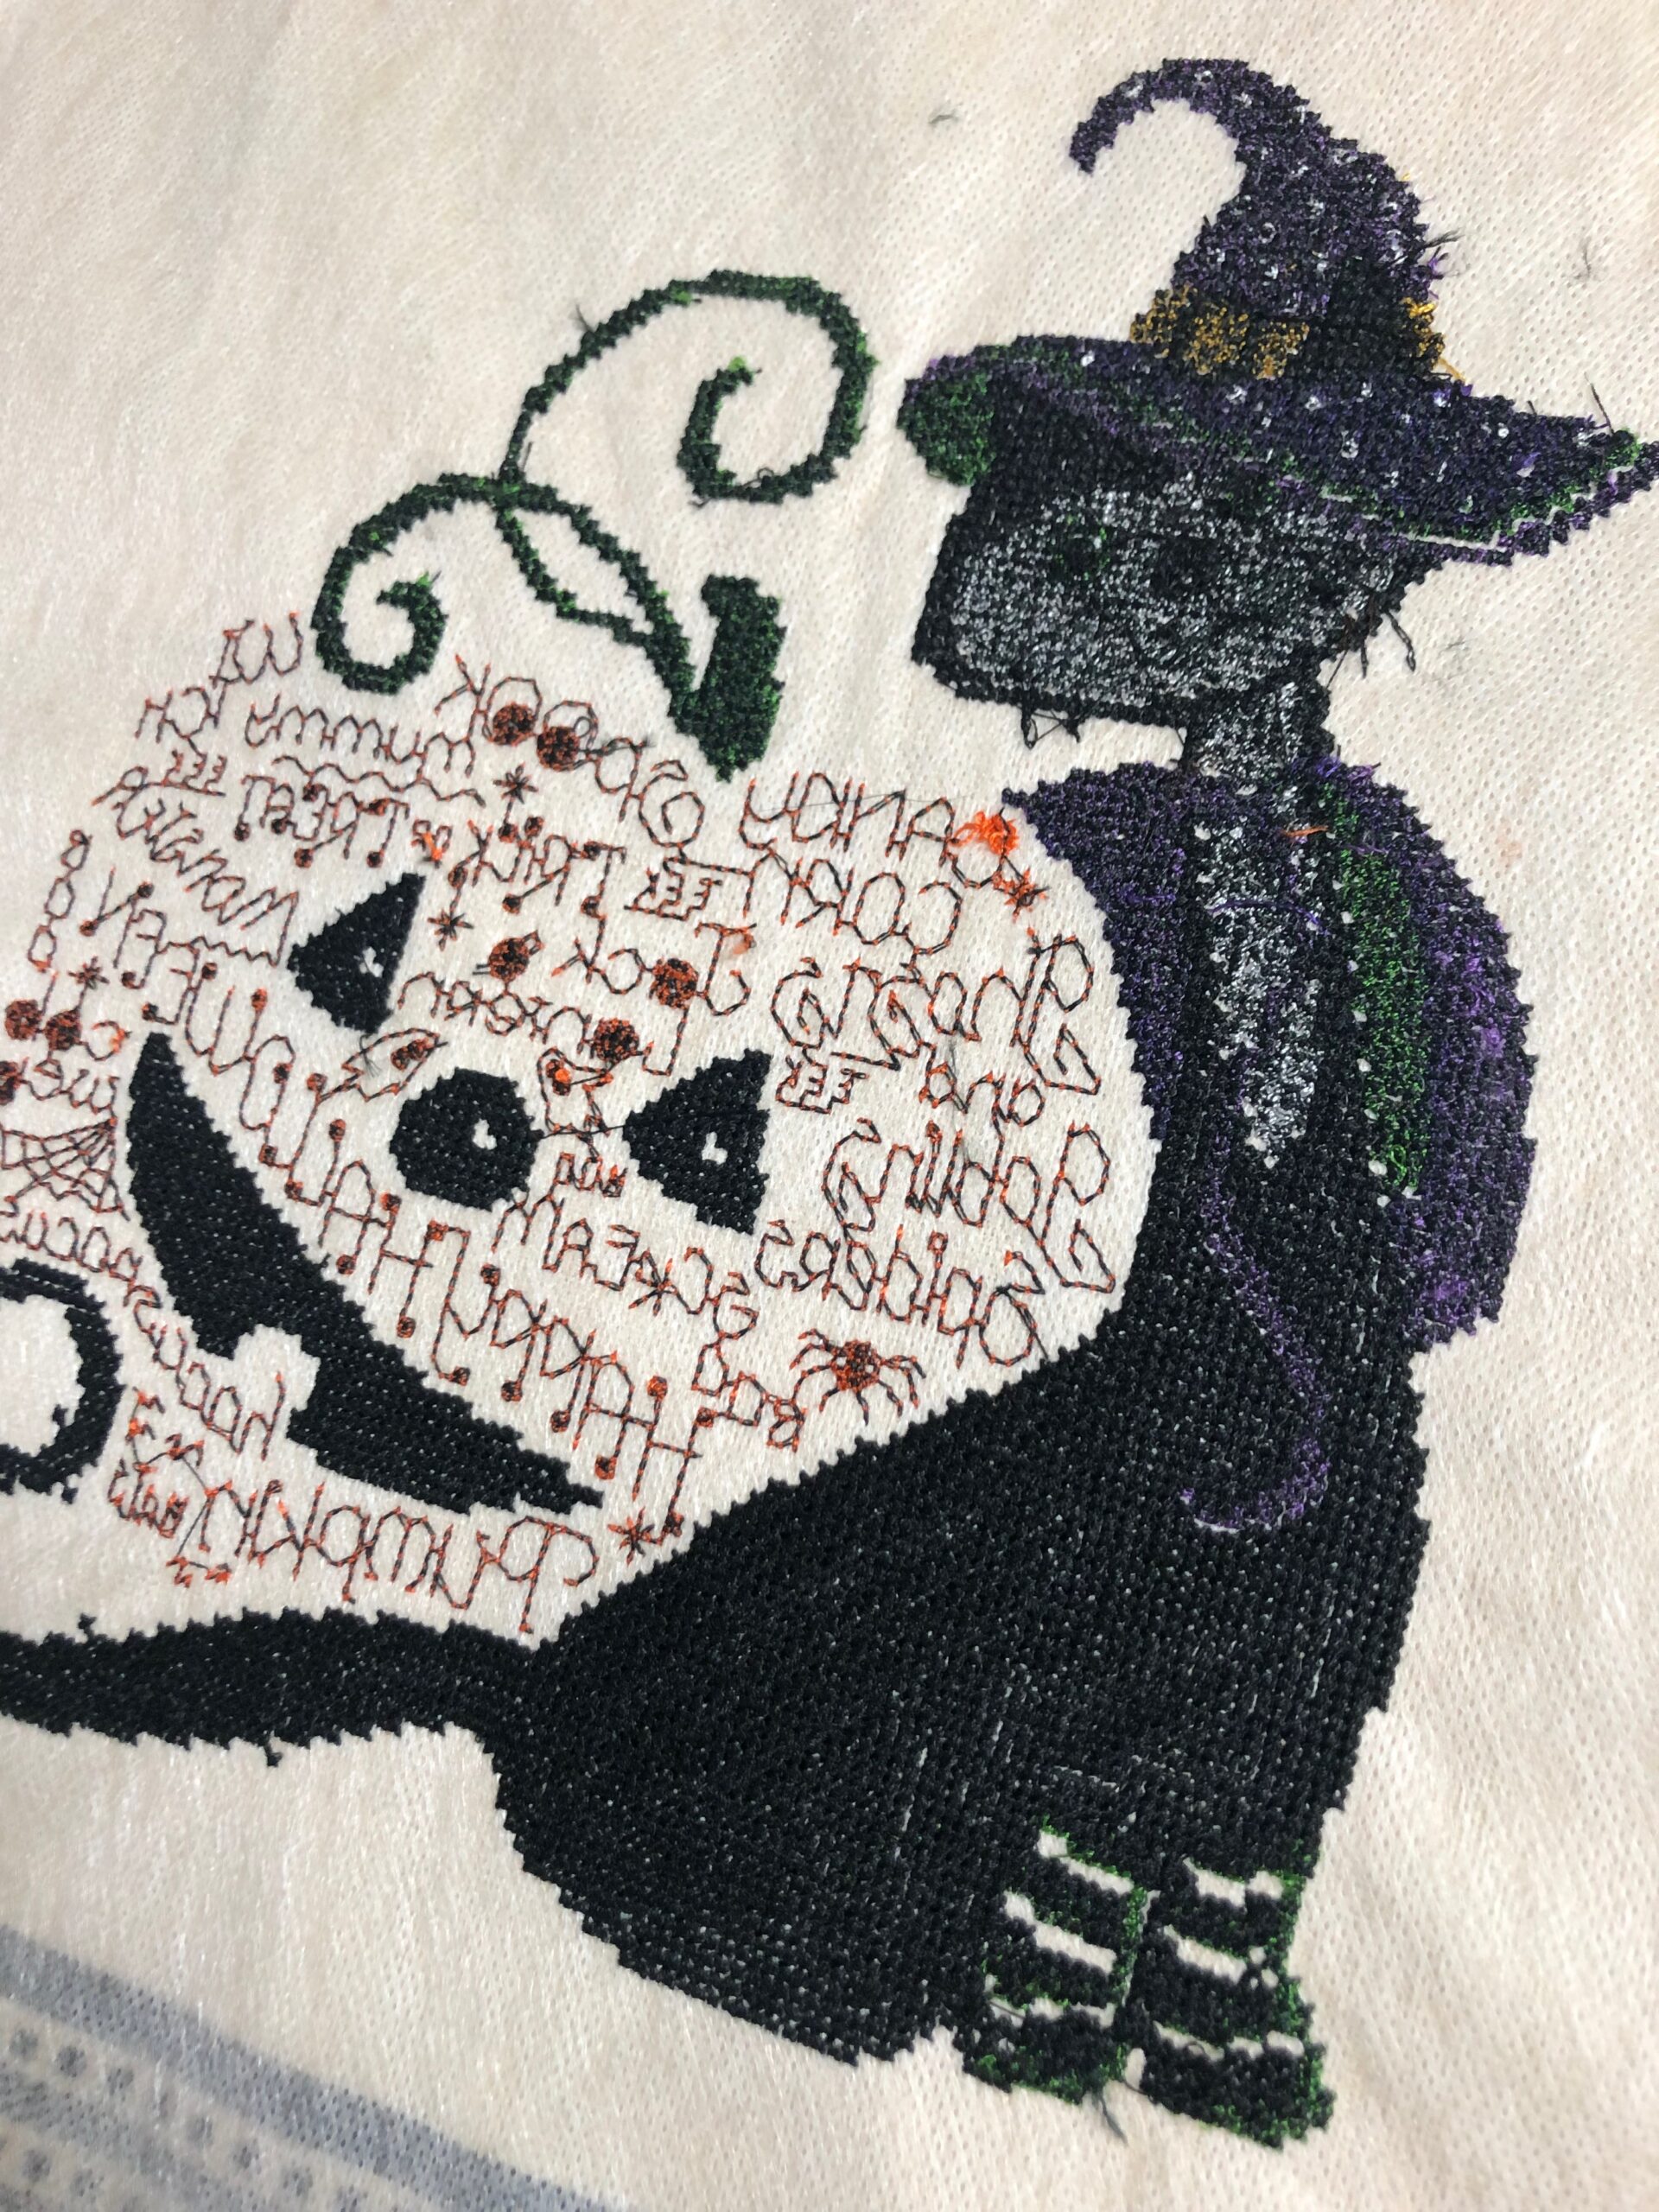
Thread the needle with the first Rayon Thread color in the design. Wind a bobbin with Sulky 60 wt. Bobbin Thread. For the featured towel, black bobbin thread was used to match the towel border color. Or plan to use the same thread color in the bobbin as in the needle, as the towel wrong side will show.
Embroider the design.
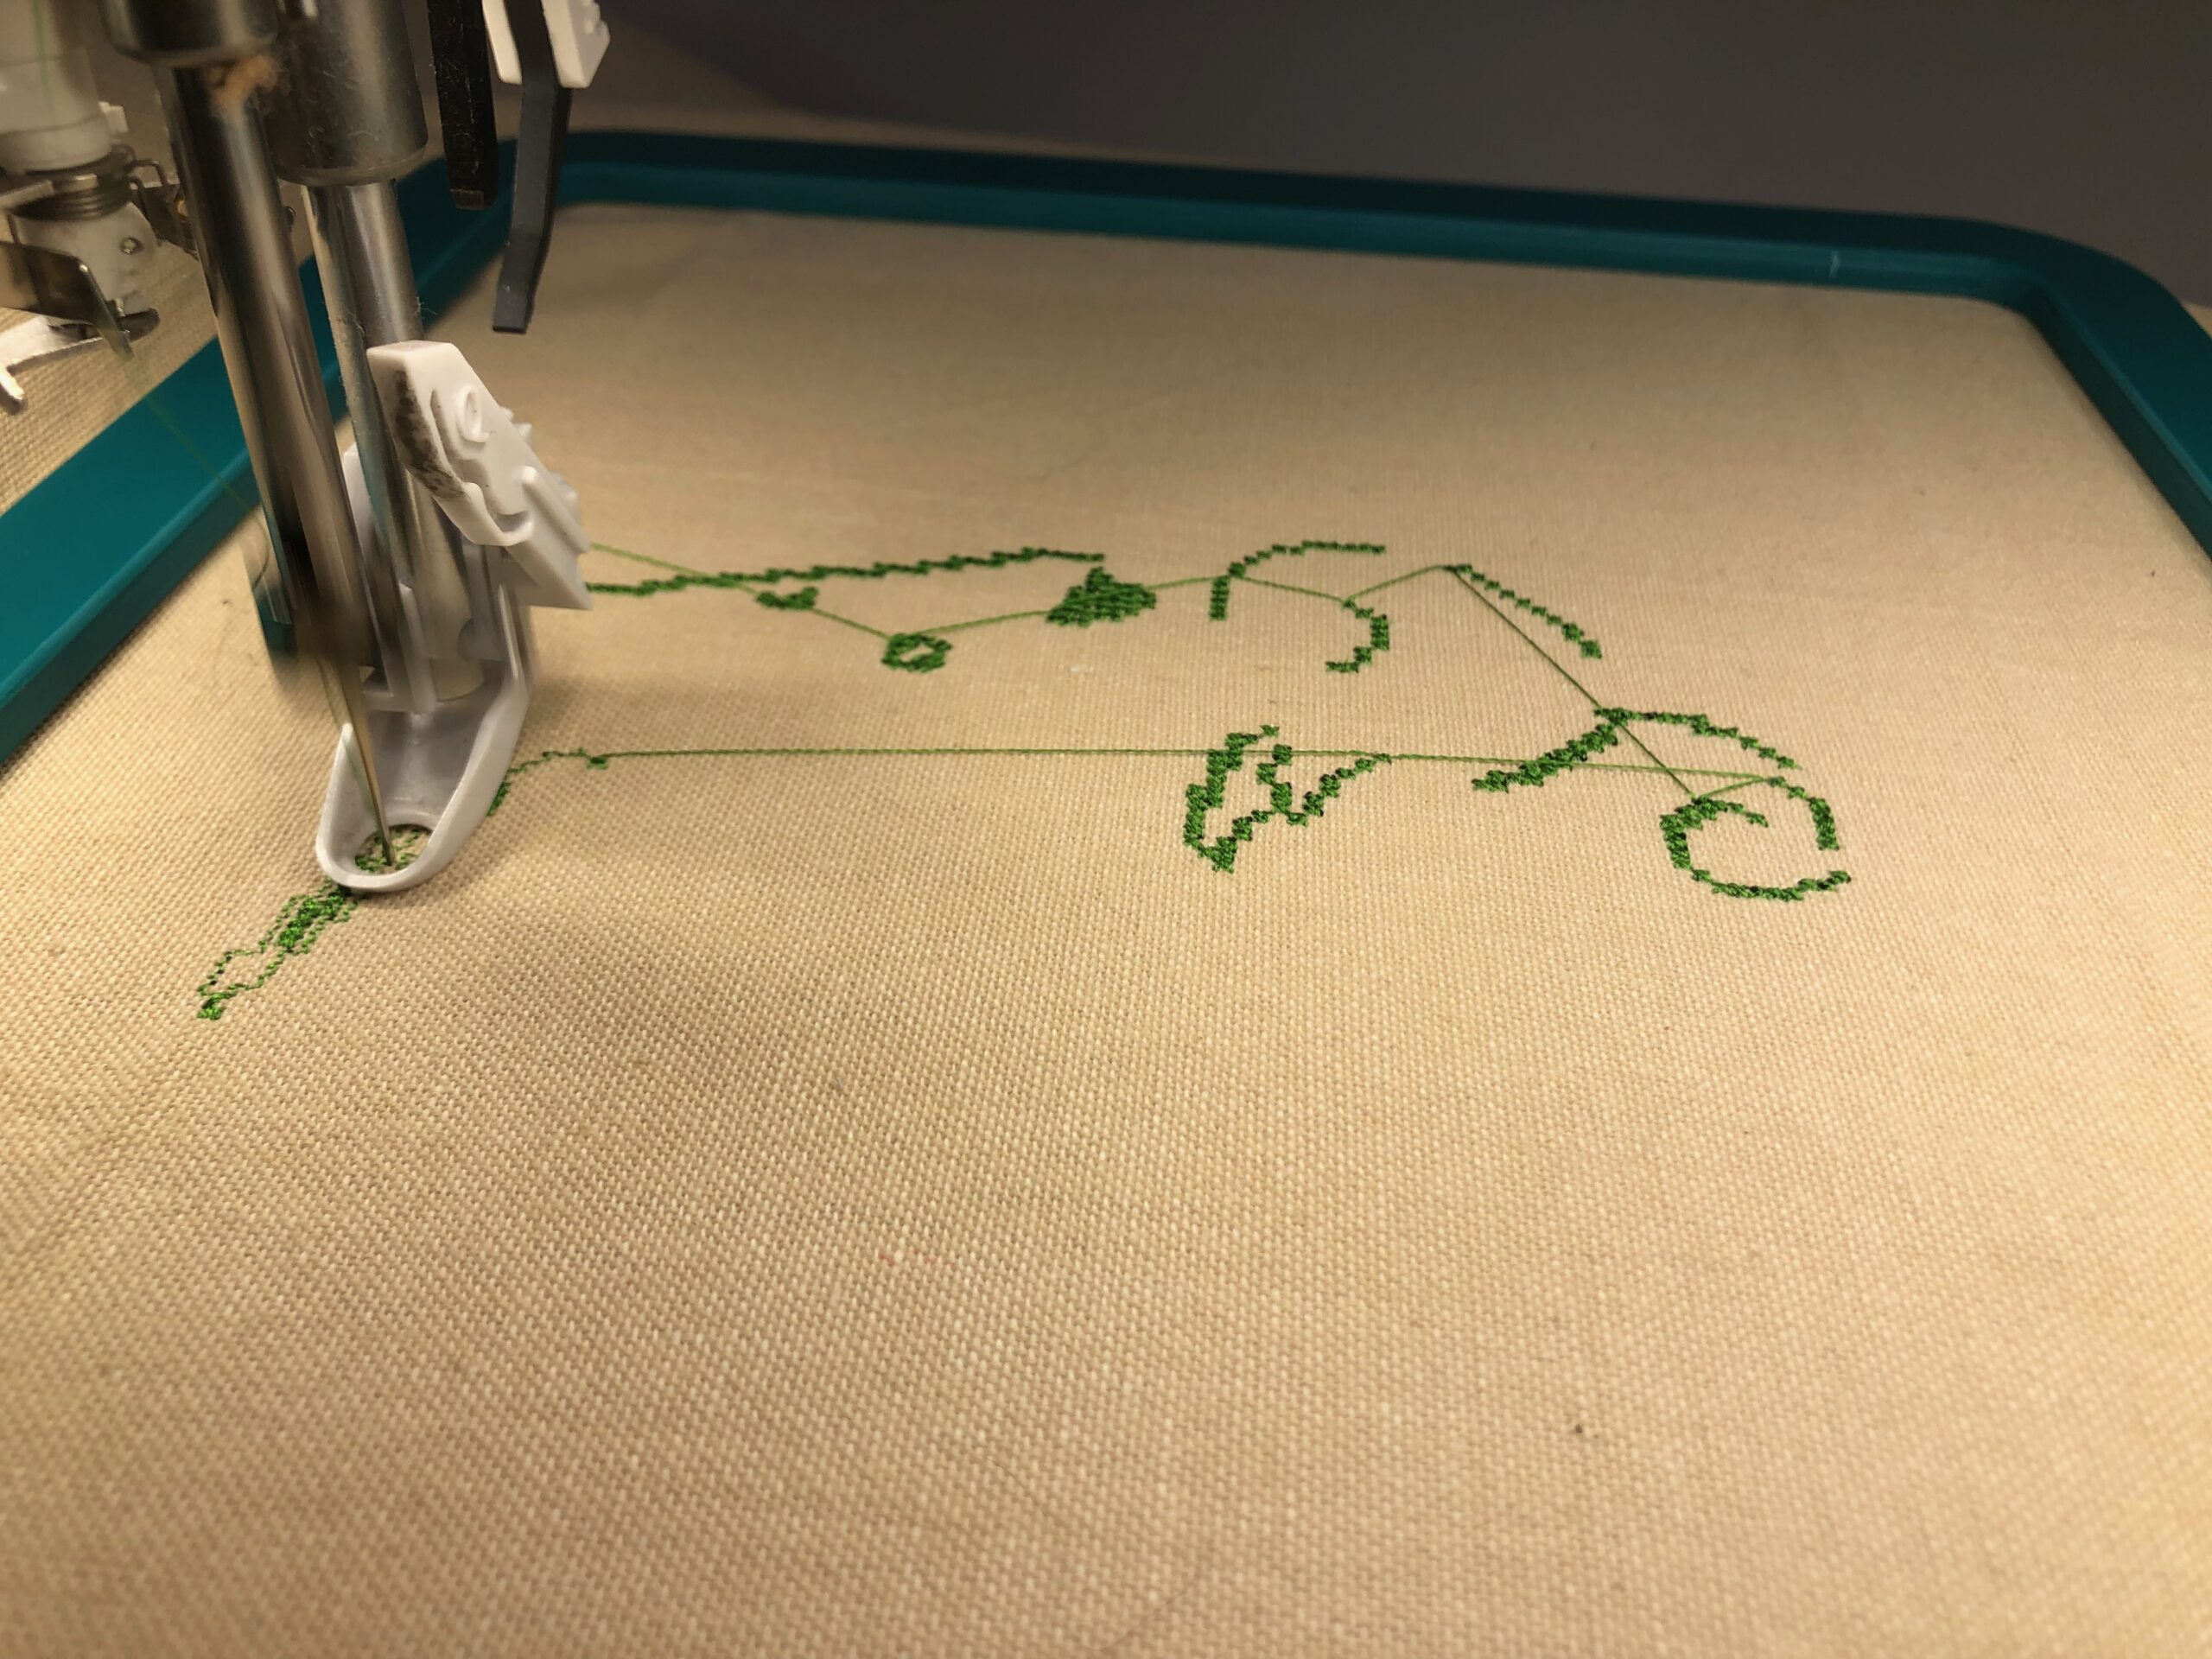
Clip jump threads with each thread change, on the right and wrong side of the towel. Use Curved Tip Squeezers to get close to the threads without clipping through them.

As the mini cross-stitches begin to take shape, notice how much quicker the machine performs rather than doing all that work by hand!
When the embroidery is complete, remove the towel from the hoop.
FINISHING HALLOWEEN TOWEL
Flip the towel over so the wrong side is facing up. Clean up any additional jump threads on the design wrong side.
Trim away the excess stabilizer close to the design perimeter.


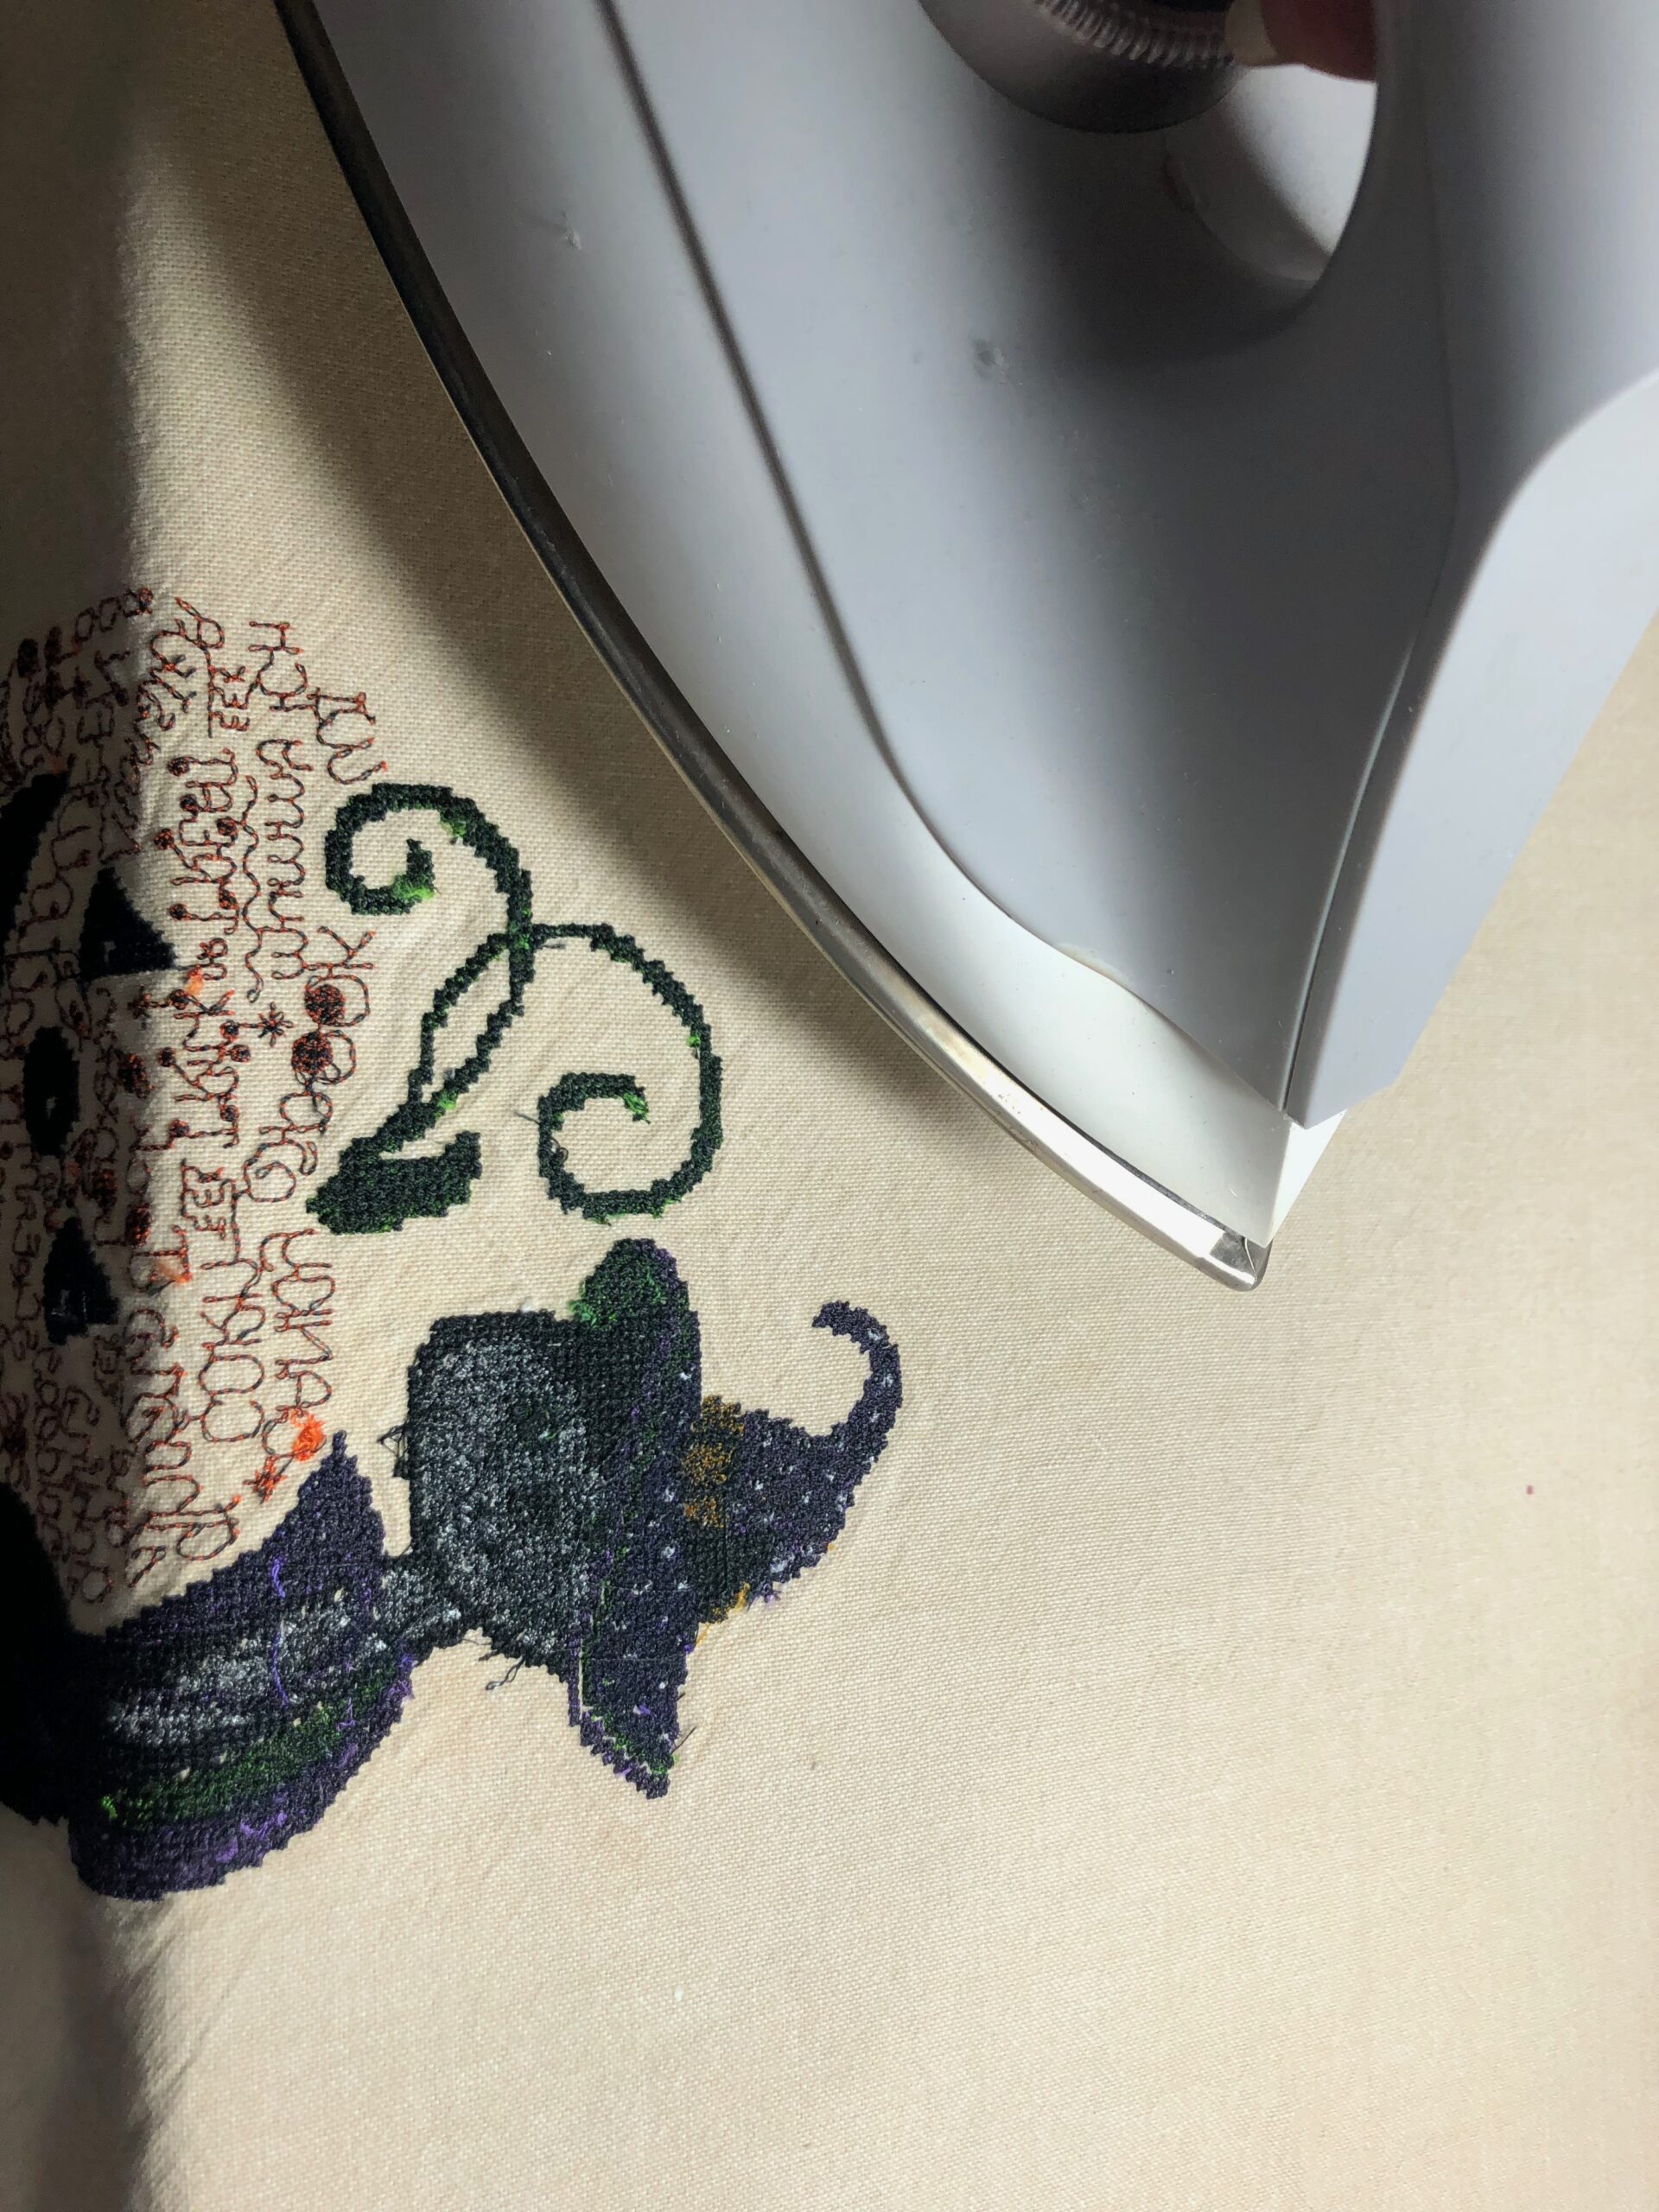
Throw the towel in the washing machine to remove all traces of the Fabri-Solvy Stabilizer. Or agitate the towel under running water until the stabilizer dissolves. Then, let dry flat on a towel (or machine dry, if desired). Then, press the towel from the wrong side.
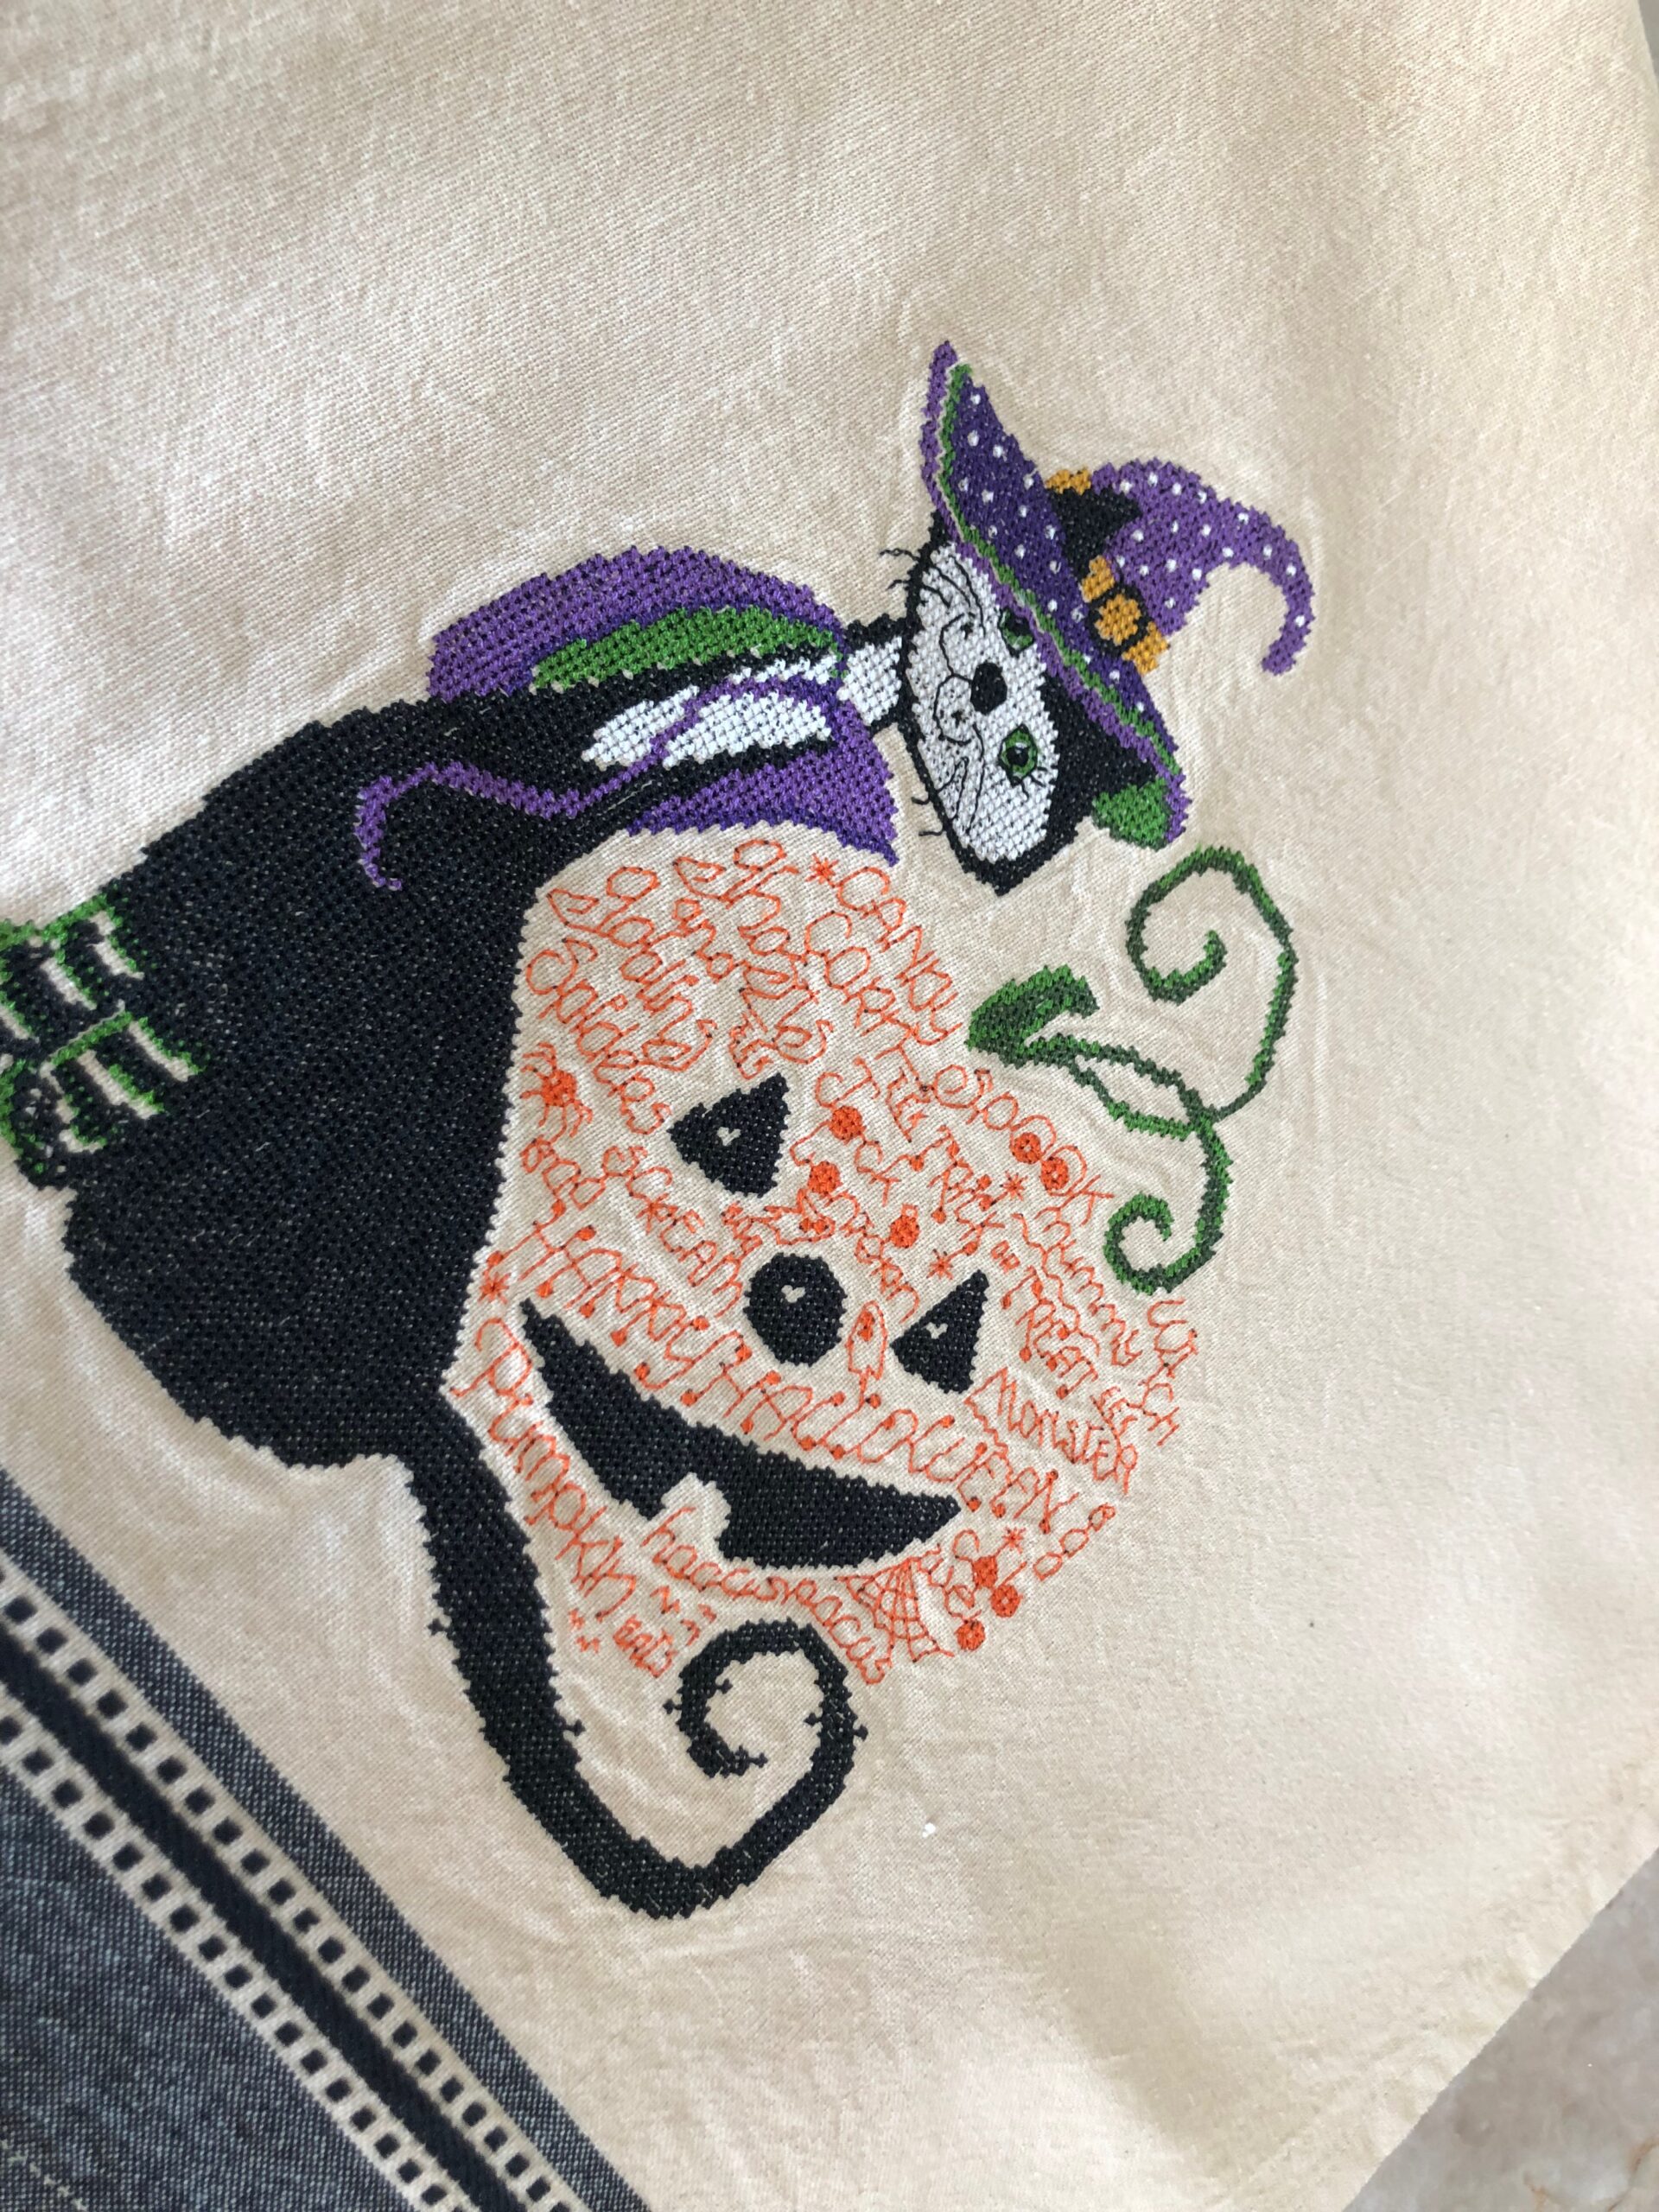
Fold the towel neatly, centering the design on the front or where desired. Package with fun sprinkles and cupcake wrappers and gift to a friend! Or host a Halloween baking party and show off your towel.

I love the designs you choices