Sewing Themed Mini Pillow

a shelf sitter for your sewing room
Sewing themed anything is fun for your sewing space, and this mini pillow is no exception! Embroider a fun sewing themed design onto a Felty™ base, and then choose a fun sewing-themed fabric print and mini pom-pom trim. Gift this to a sewing buddy or fellow guild member, or display it proudle in your sewing room to celebrate National Sewing Month!
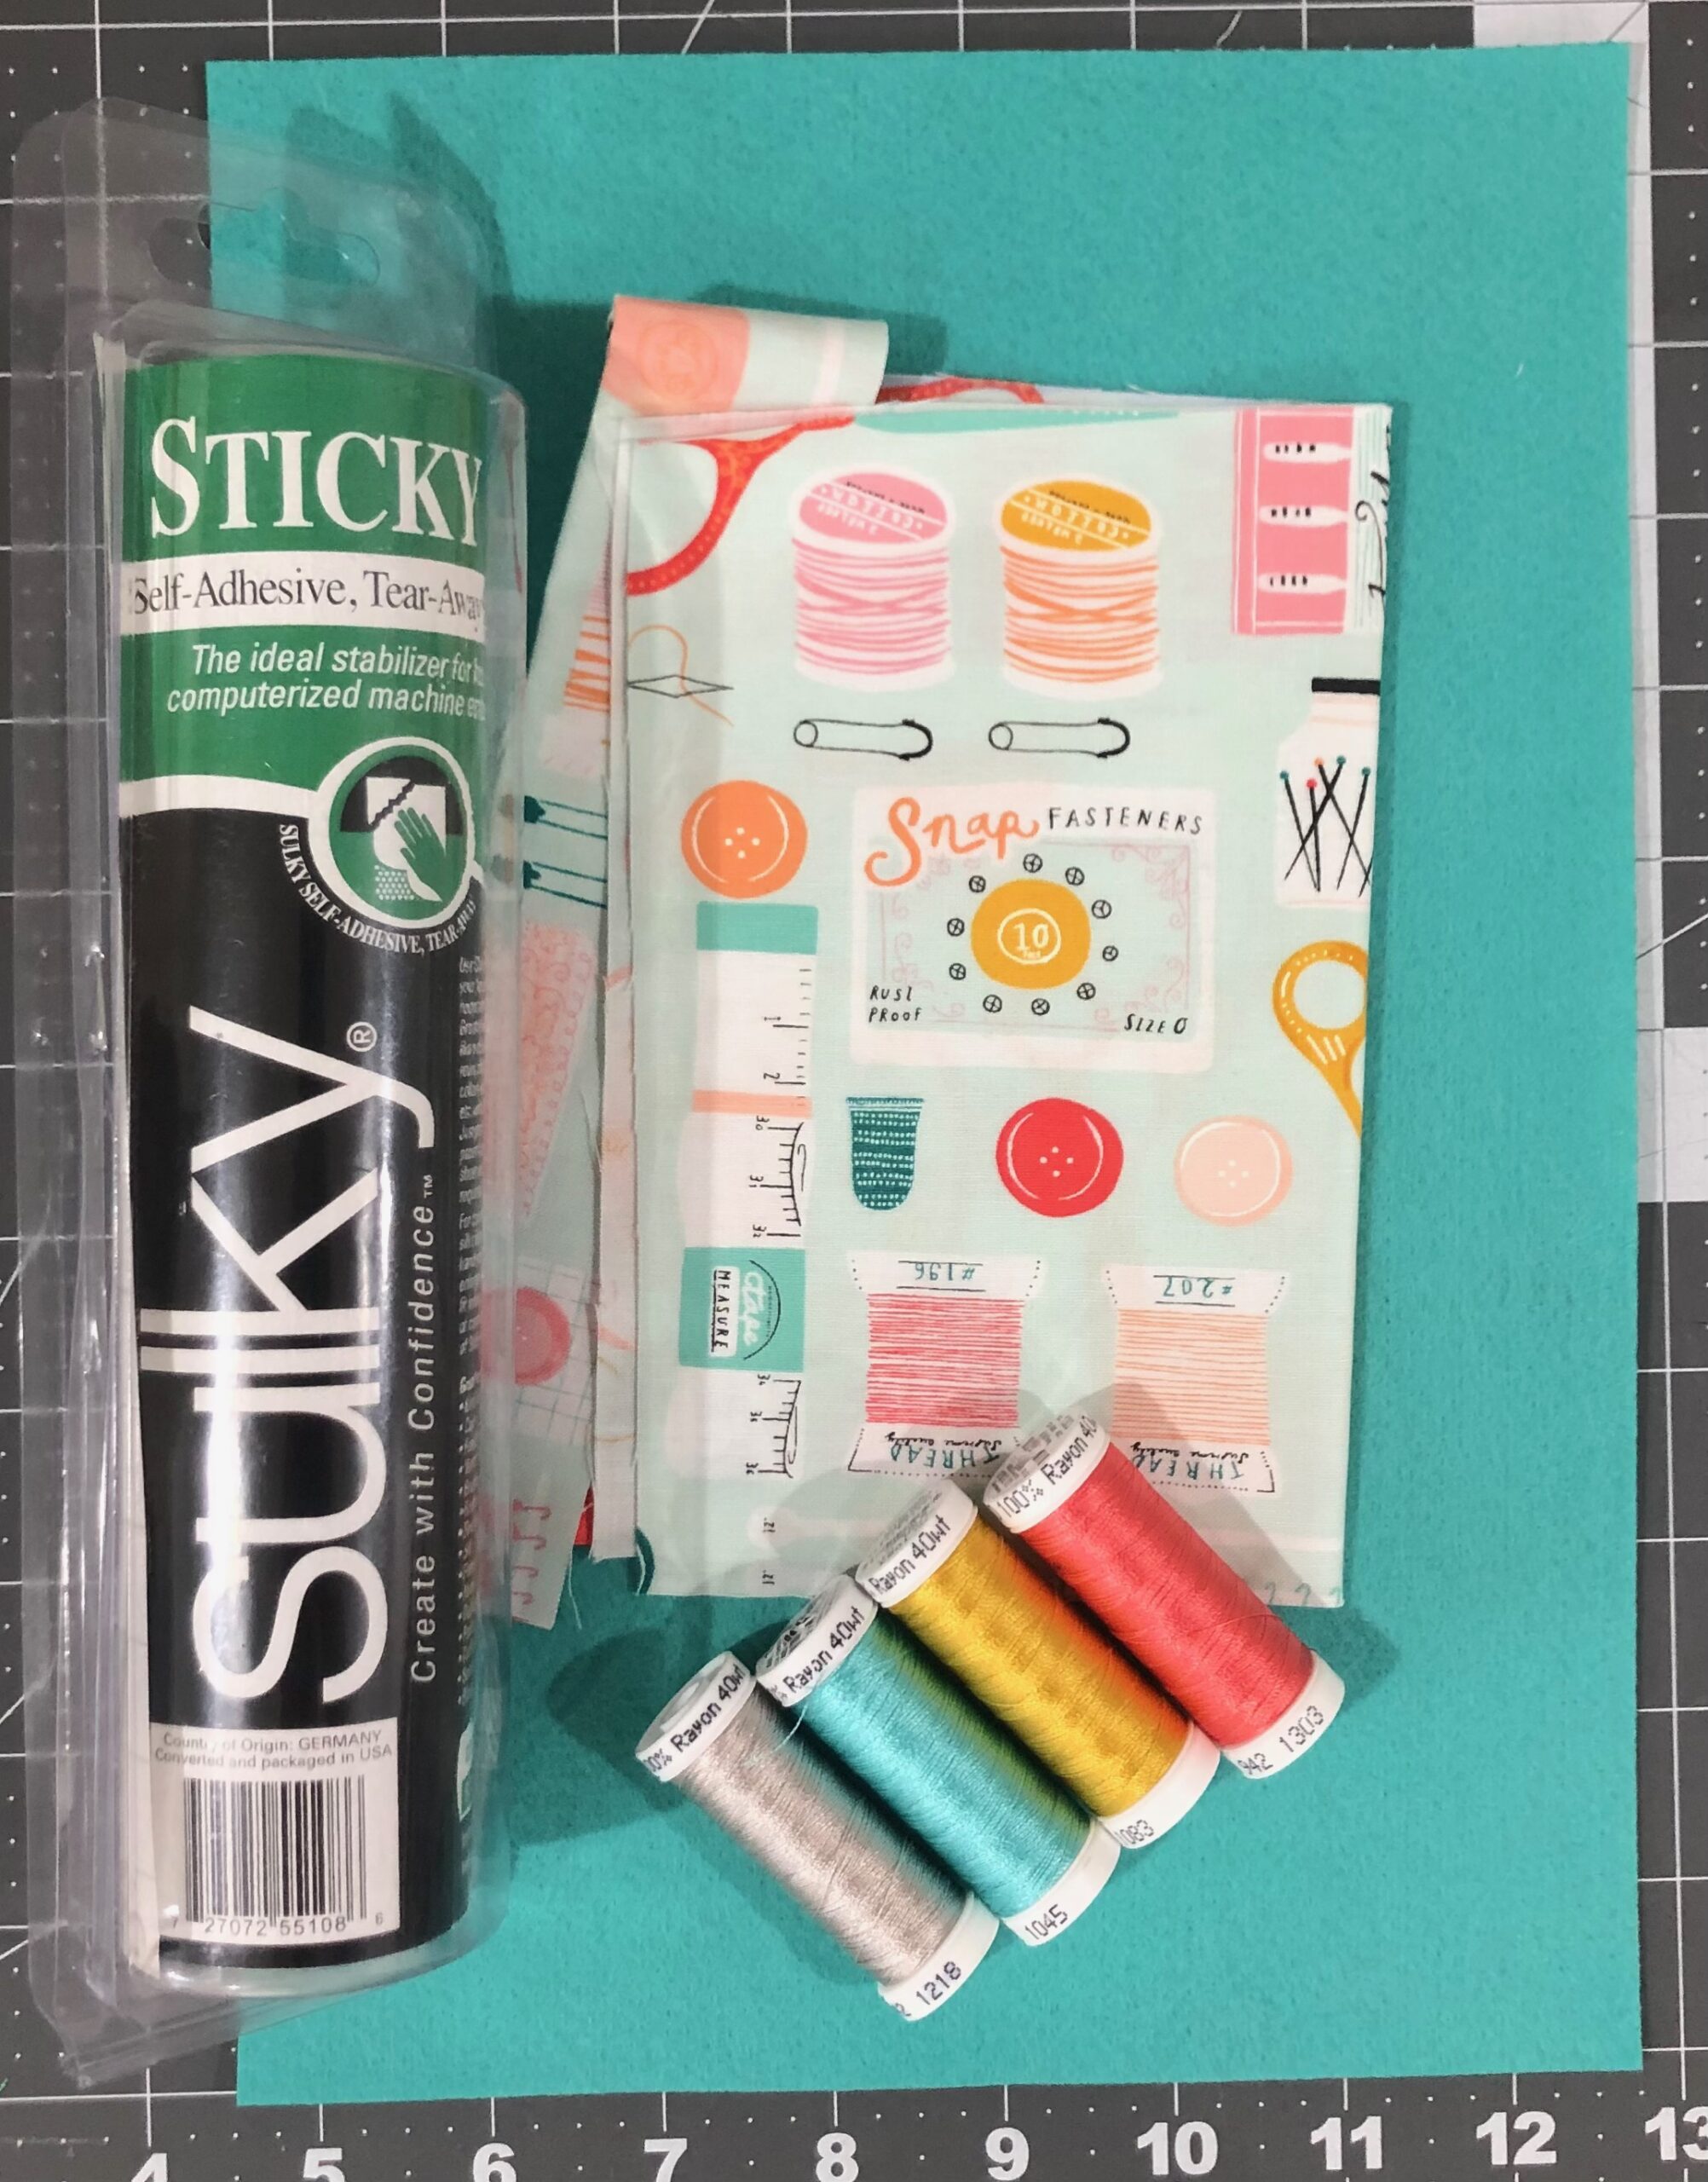
SEWING THEMED PILLOW SUPPLIES
- 8″ x 11″ sheet of Sulky Felty™
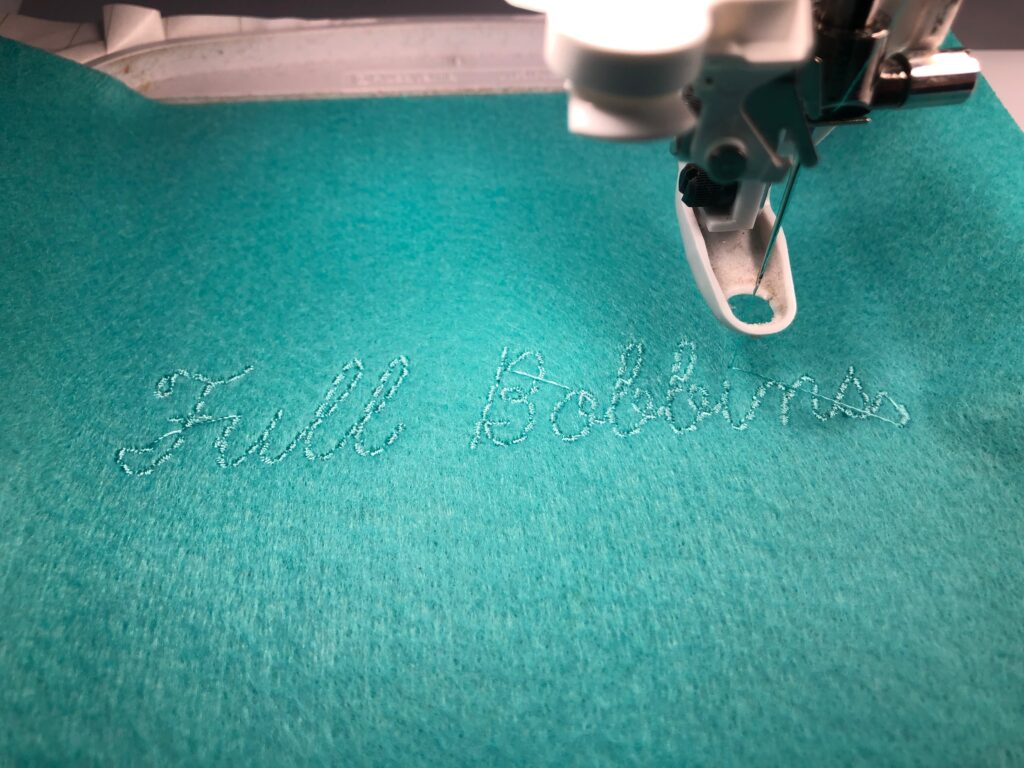
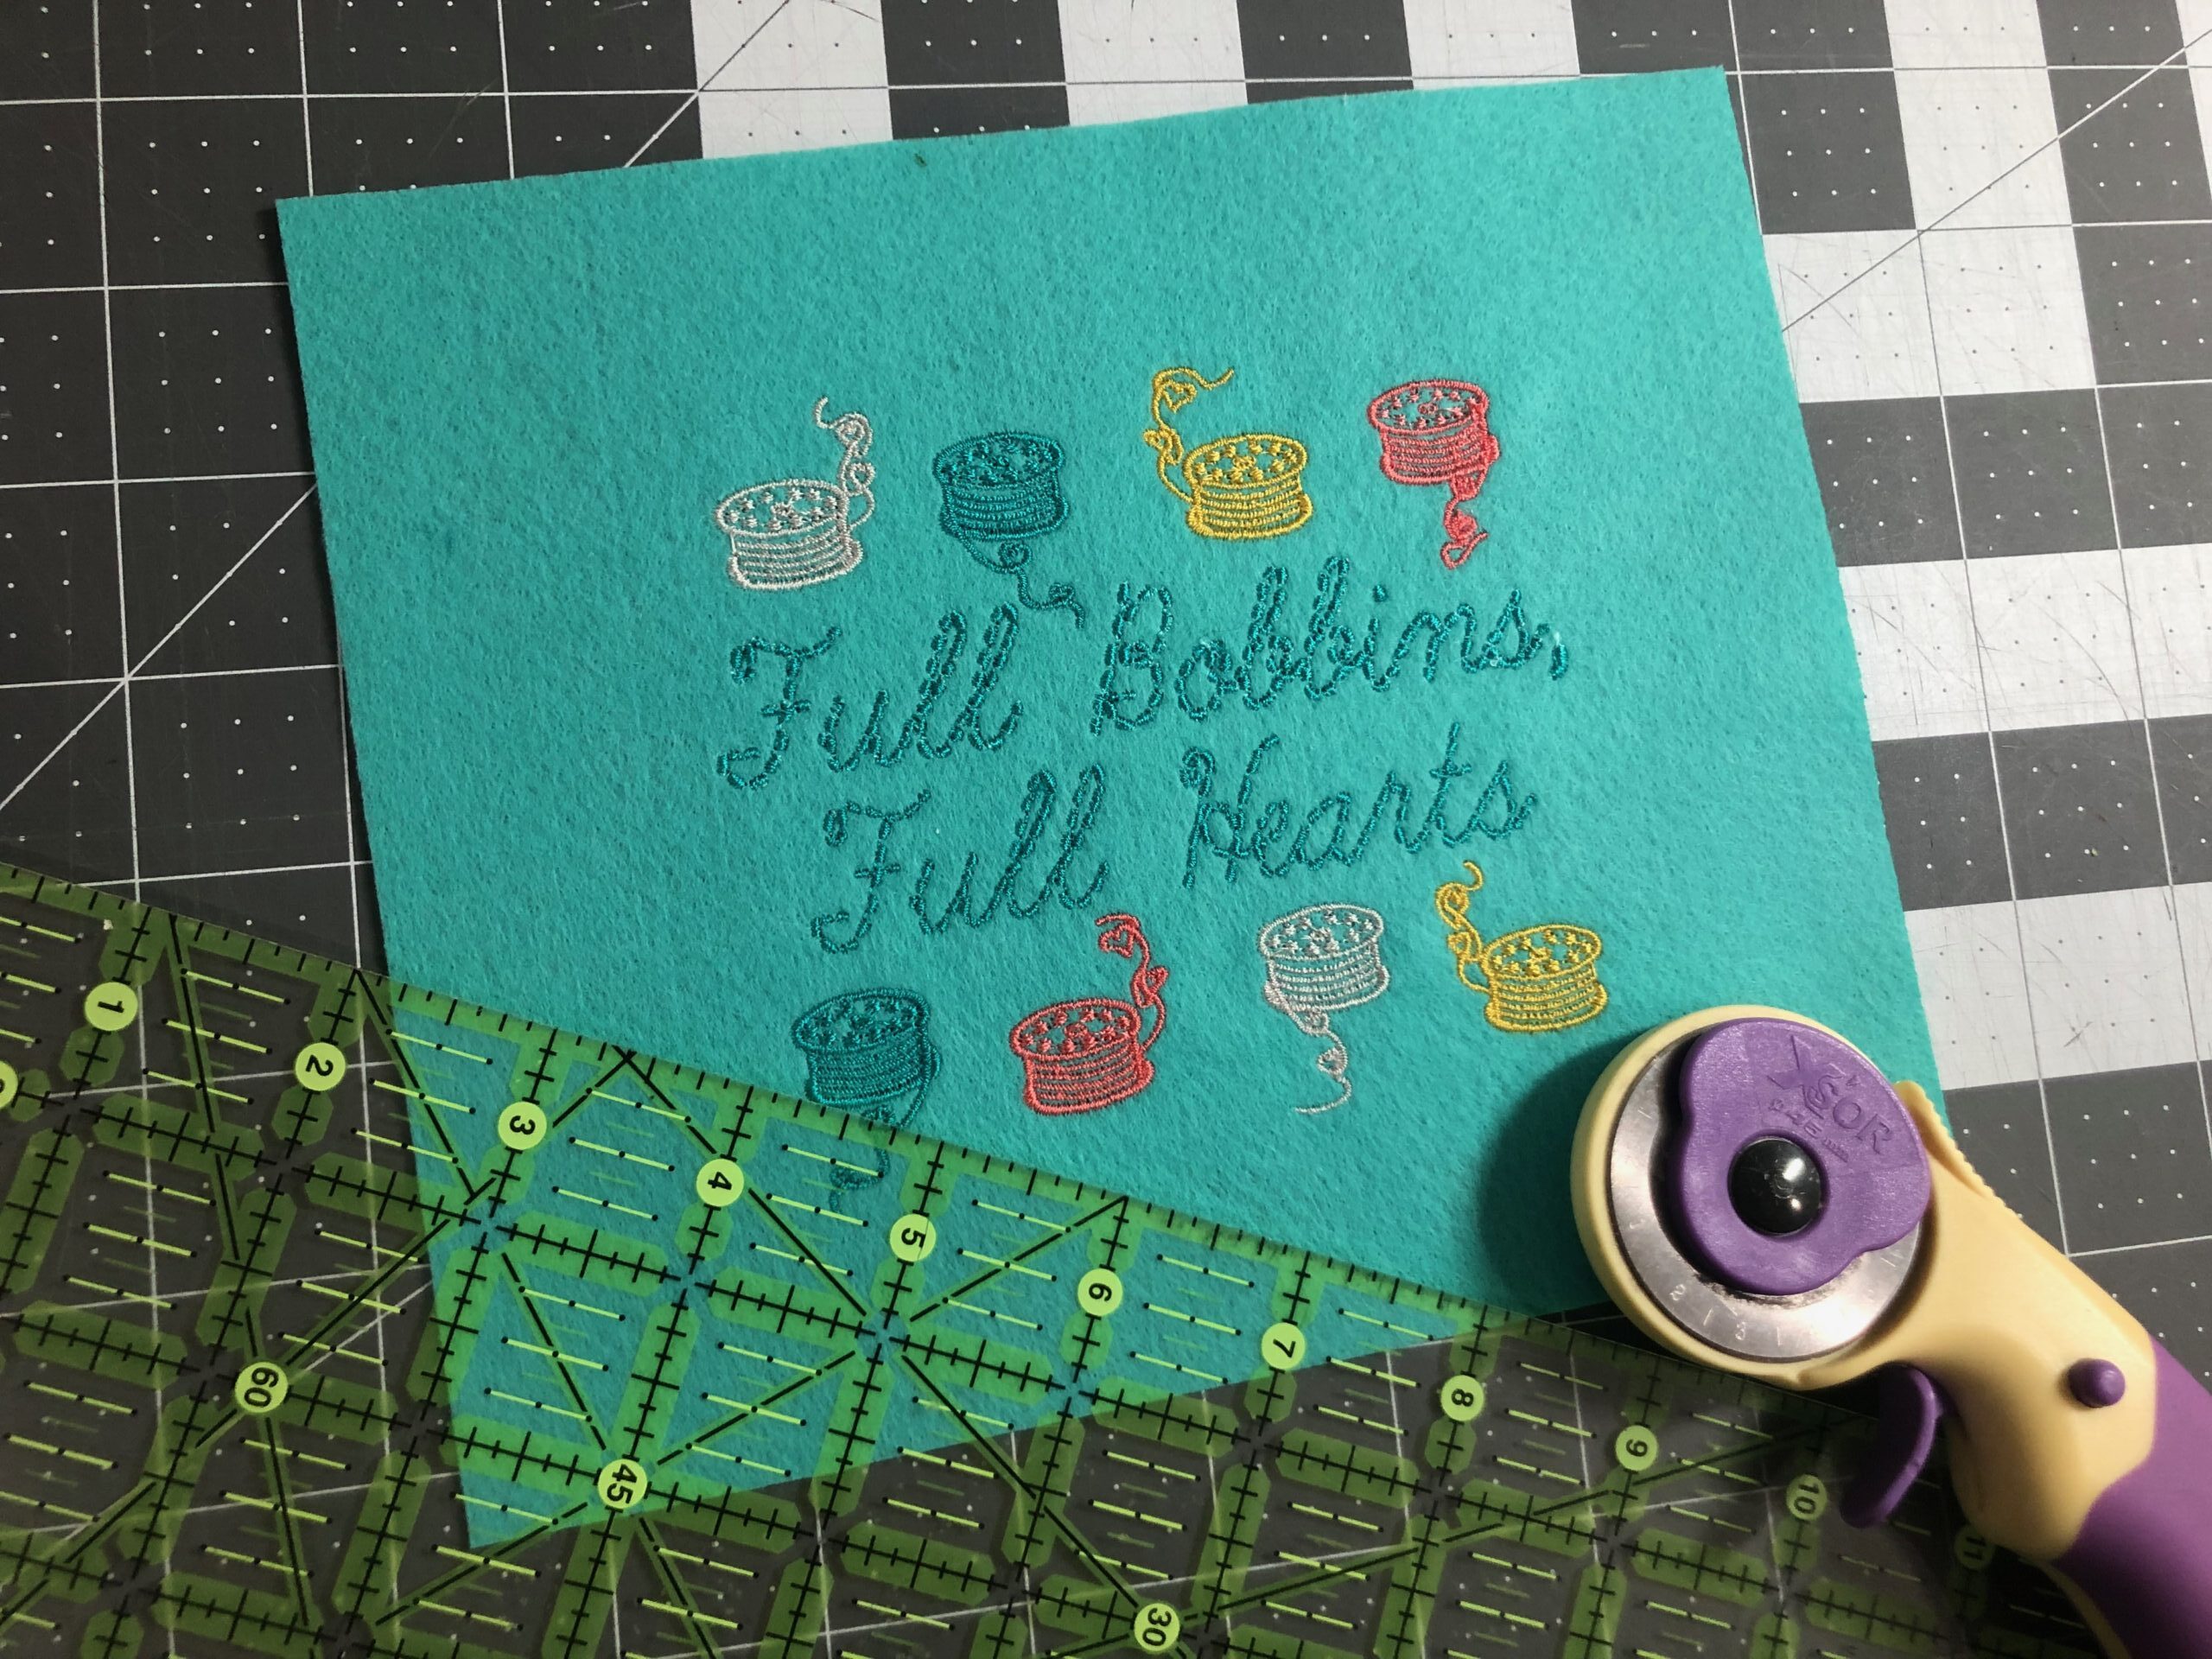
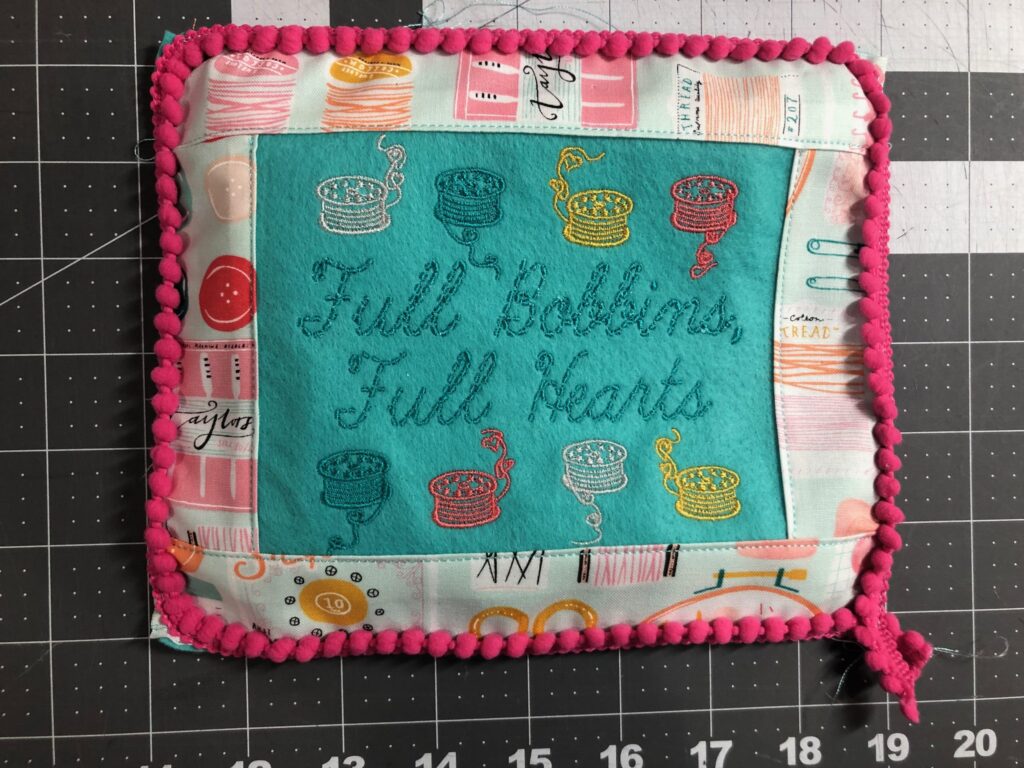
- Love to Sew Machine Embroidery Palette (comes with 6 spools of Sulky Rayon Thread and six sewing-themed designs; Full Bobbins is used for the sample, which measures 4.5″ x 4.08″)
- Sulky Sticky+ Stabilizer
- Sticky+ Slitting Pen
- Organ™ size 80/12 Microtex Needles (embroidery) & Universal Needles (construction)
- Sulky Bobbin Thread
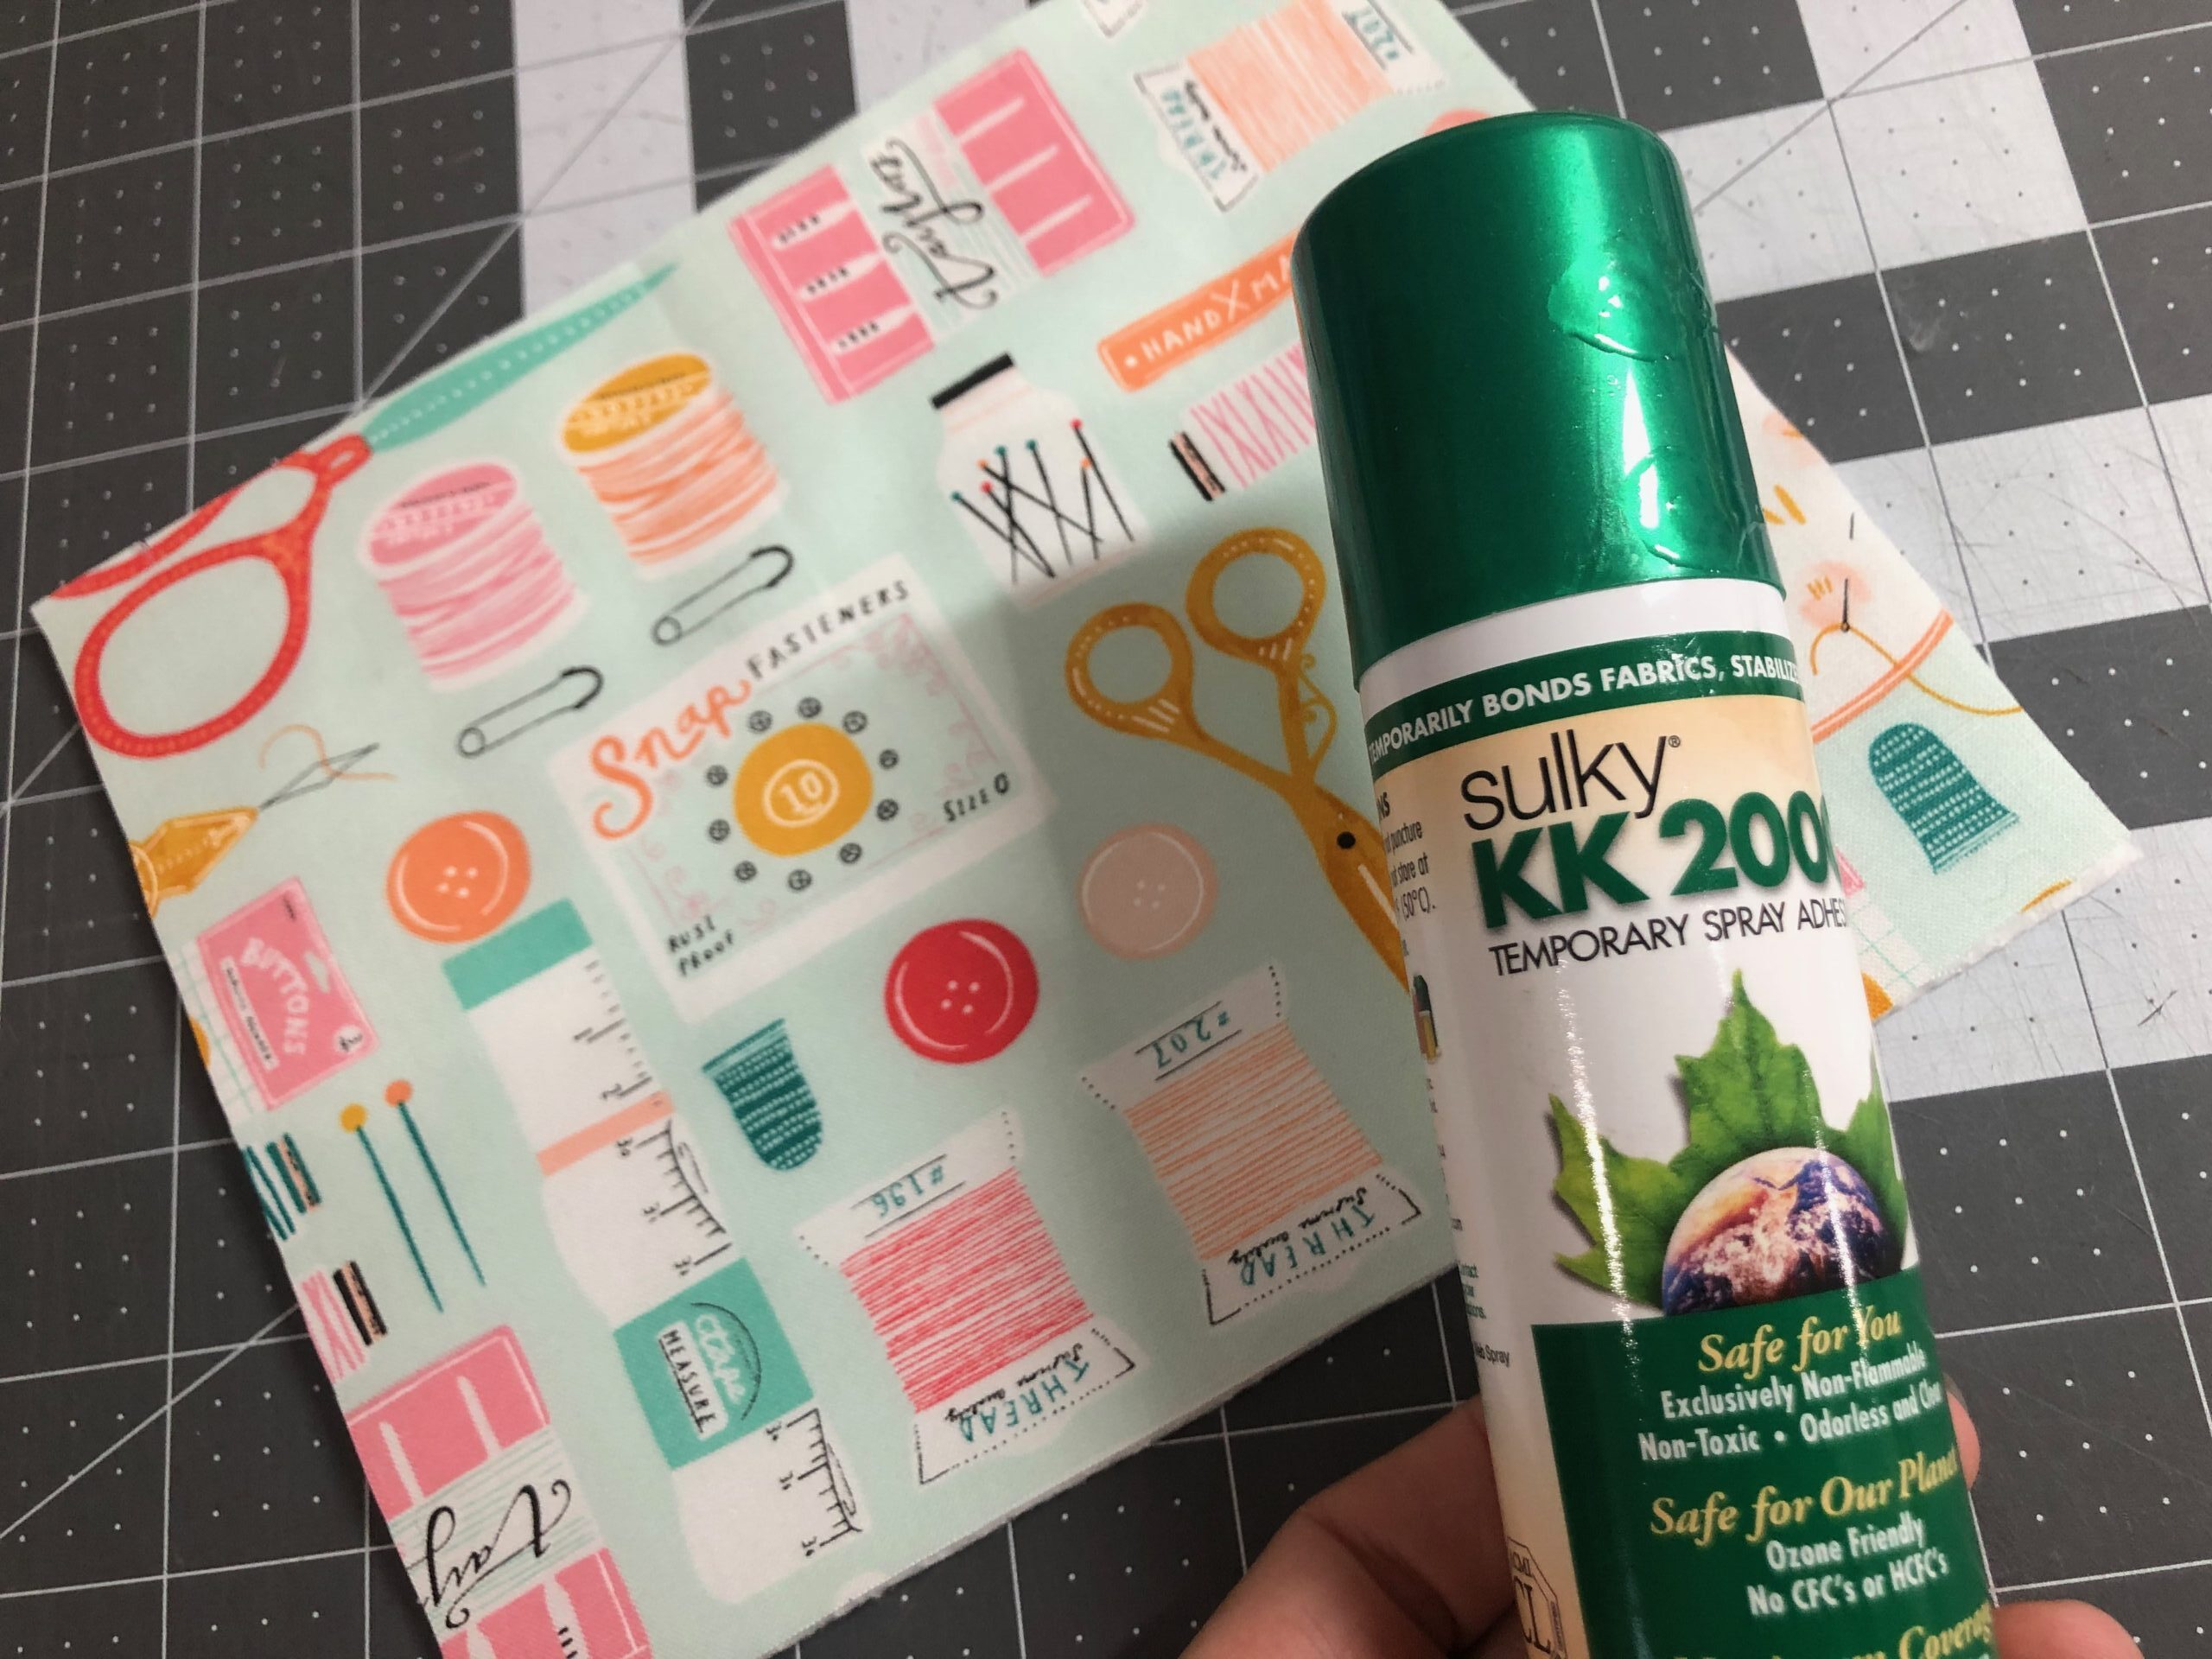
- 8″ x 14″ rectangle of sewing-themed print cotton fabric
- 1 yard of mini pom-pom fringe trim
- KK 2000™ Temporary Spray Adhesive
- Curved Tip Squeezers
- Clover Hot Ruler
FABRIC PREP
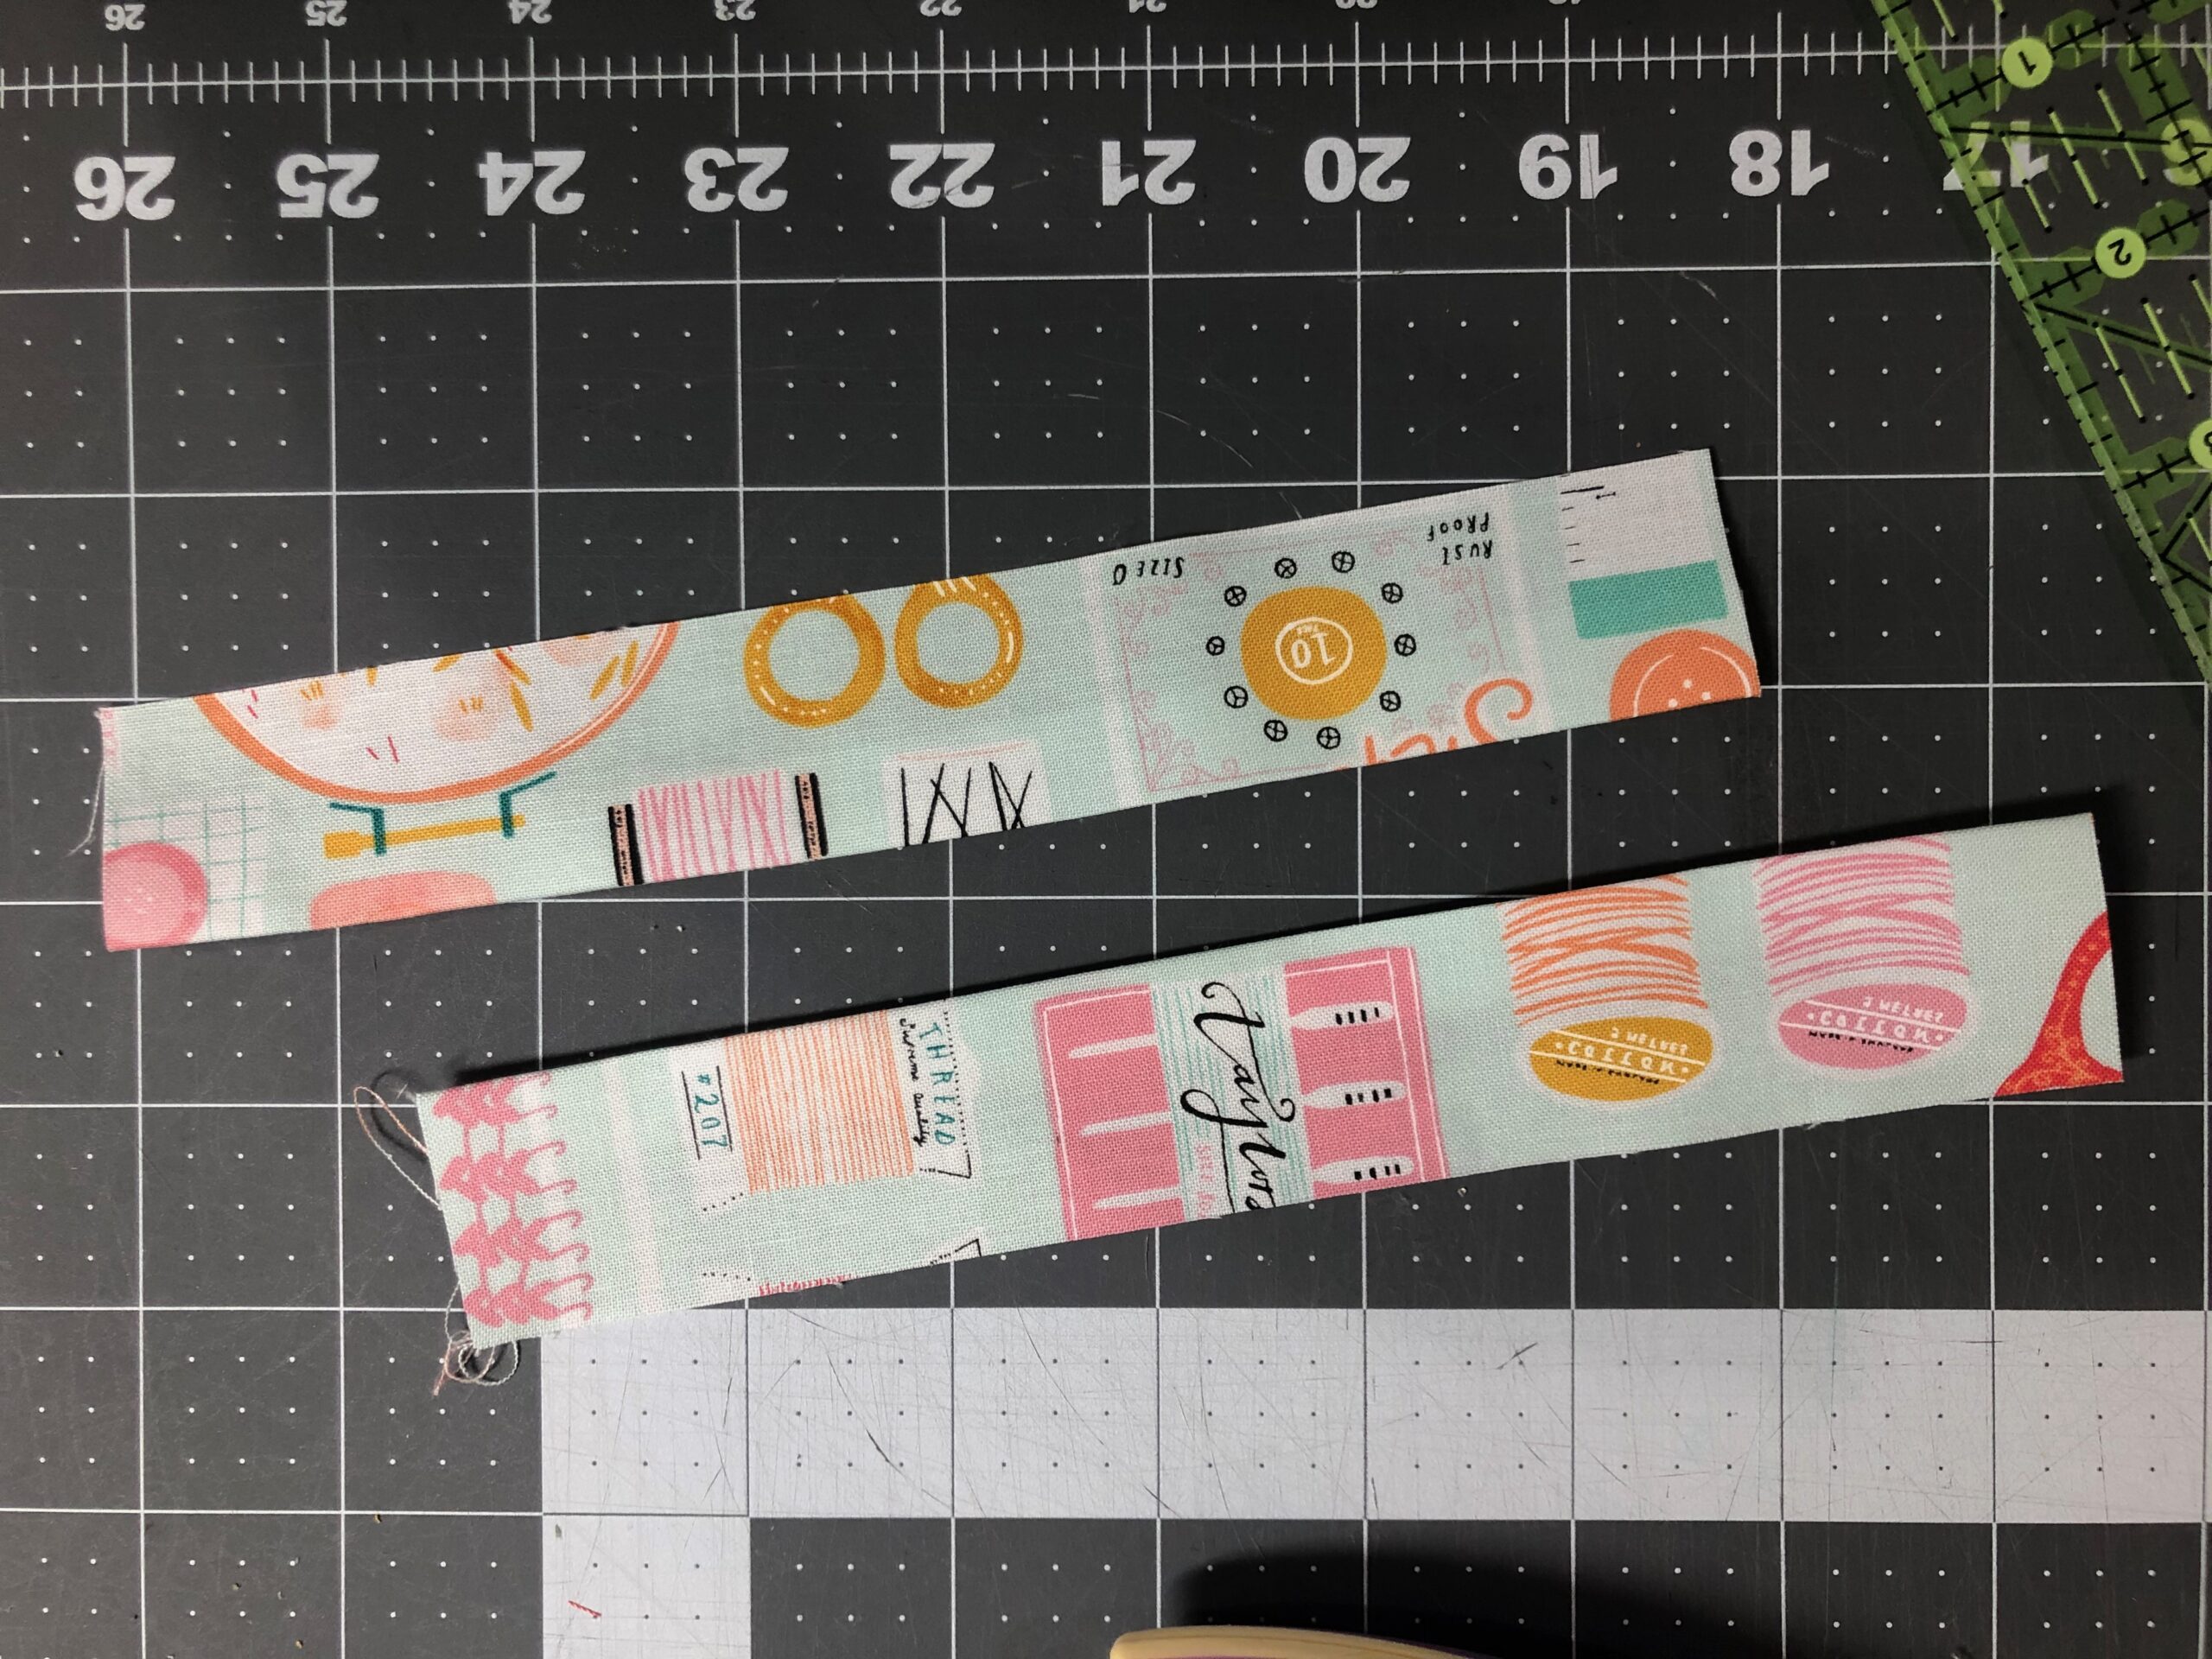
From the sewing themed print cotton fabric, cut one 6 3/4″ x 8″ rectangle for the pillow back, two 1 3/4″ x 4 1/4″ rectangles for the short pillow borders and two 1 3/4″ x 8″ rectangles for the long pillow borders.
From the pom-pom fringe, cut one 31 1/2″ length.
SEWING THEMED EMBROIDERY
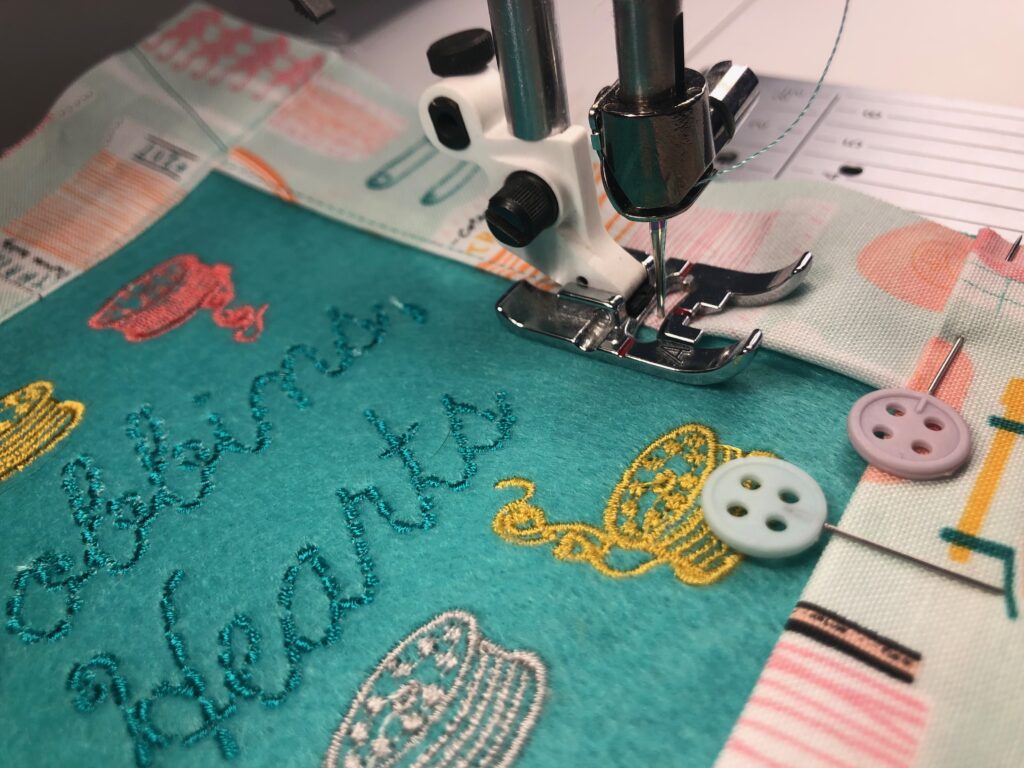
Load the chosen design into the embroidery machine. Wind a bobbin with Sulky Bobbin Thread. Install a size 80/12 Microtex Needle. Thread the needle with the first thread color in the design.
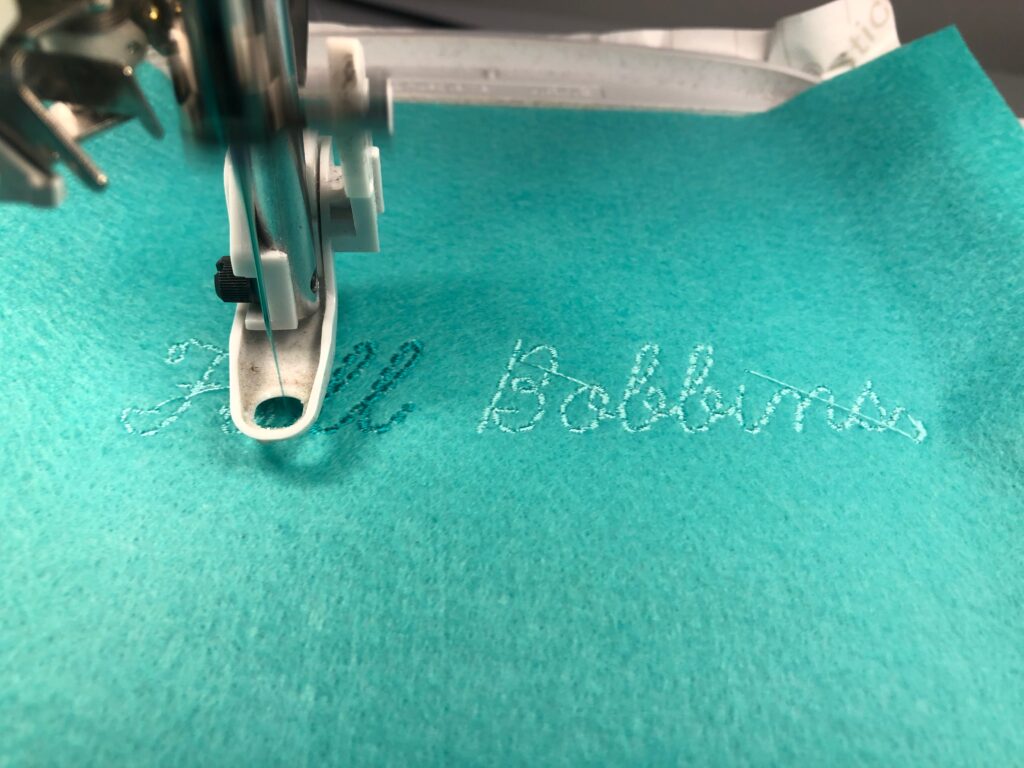
Note: If needed, swap thread colors to match the Felty chosen for the pillow. For the featured design, a darker teal thread was chosen after stitching the recommended color, as it blended into the Felty color and resulted in poor visibility.
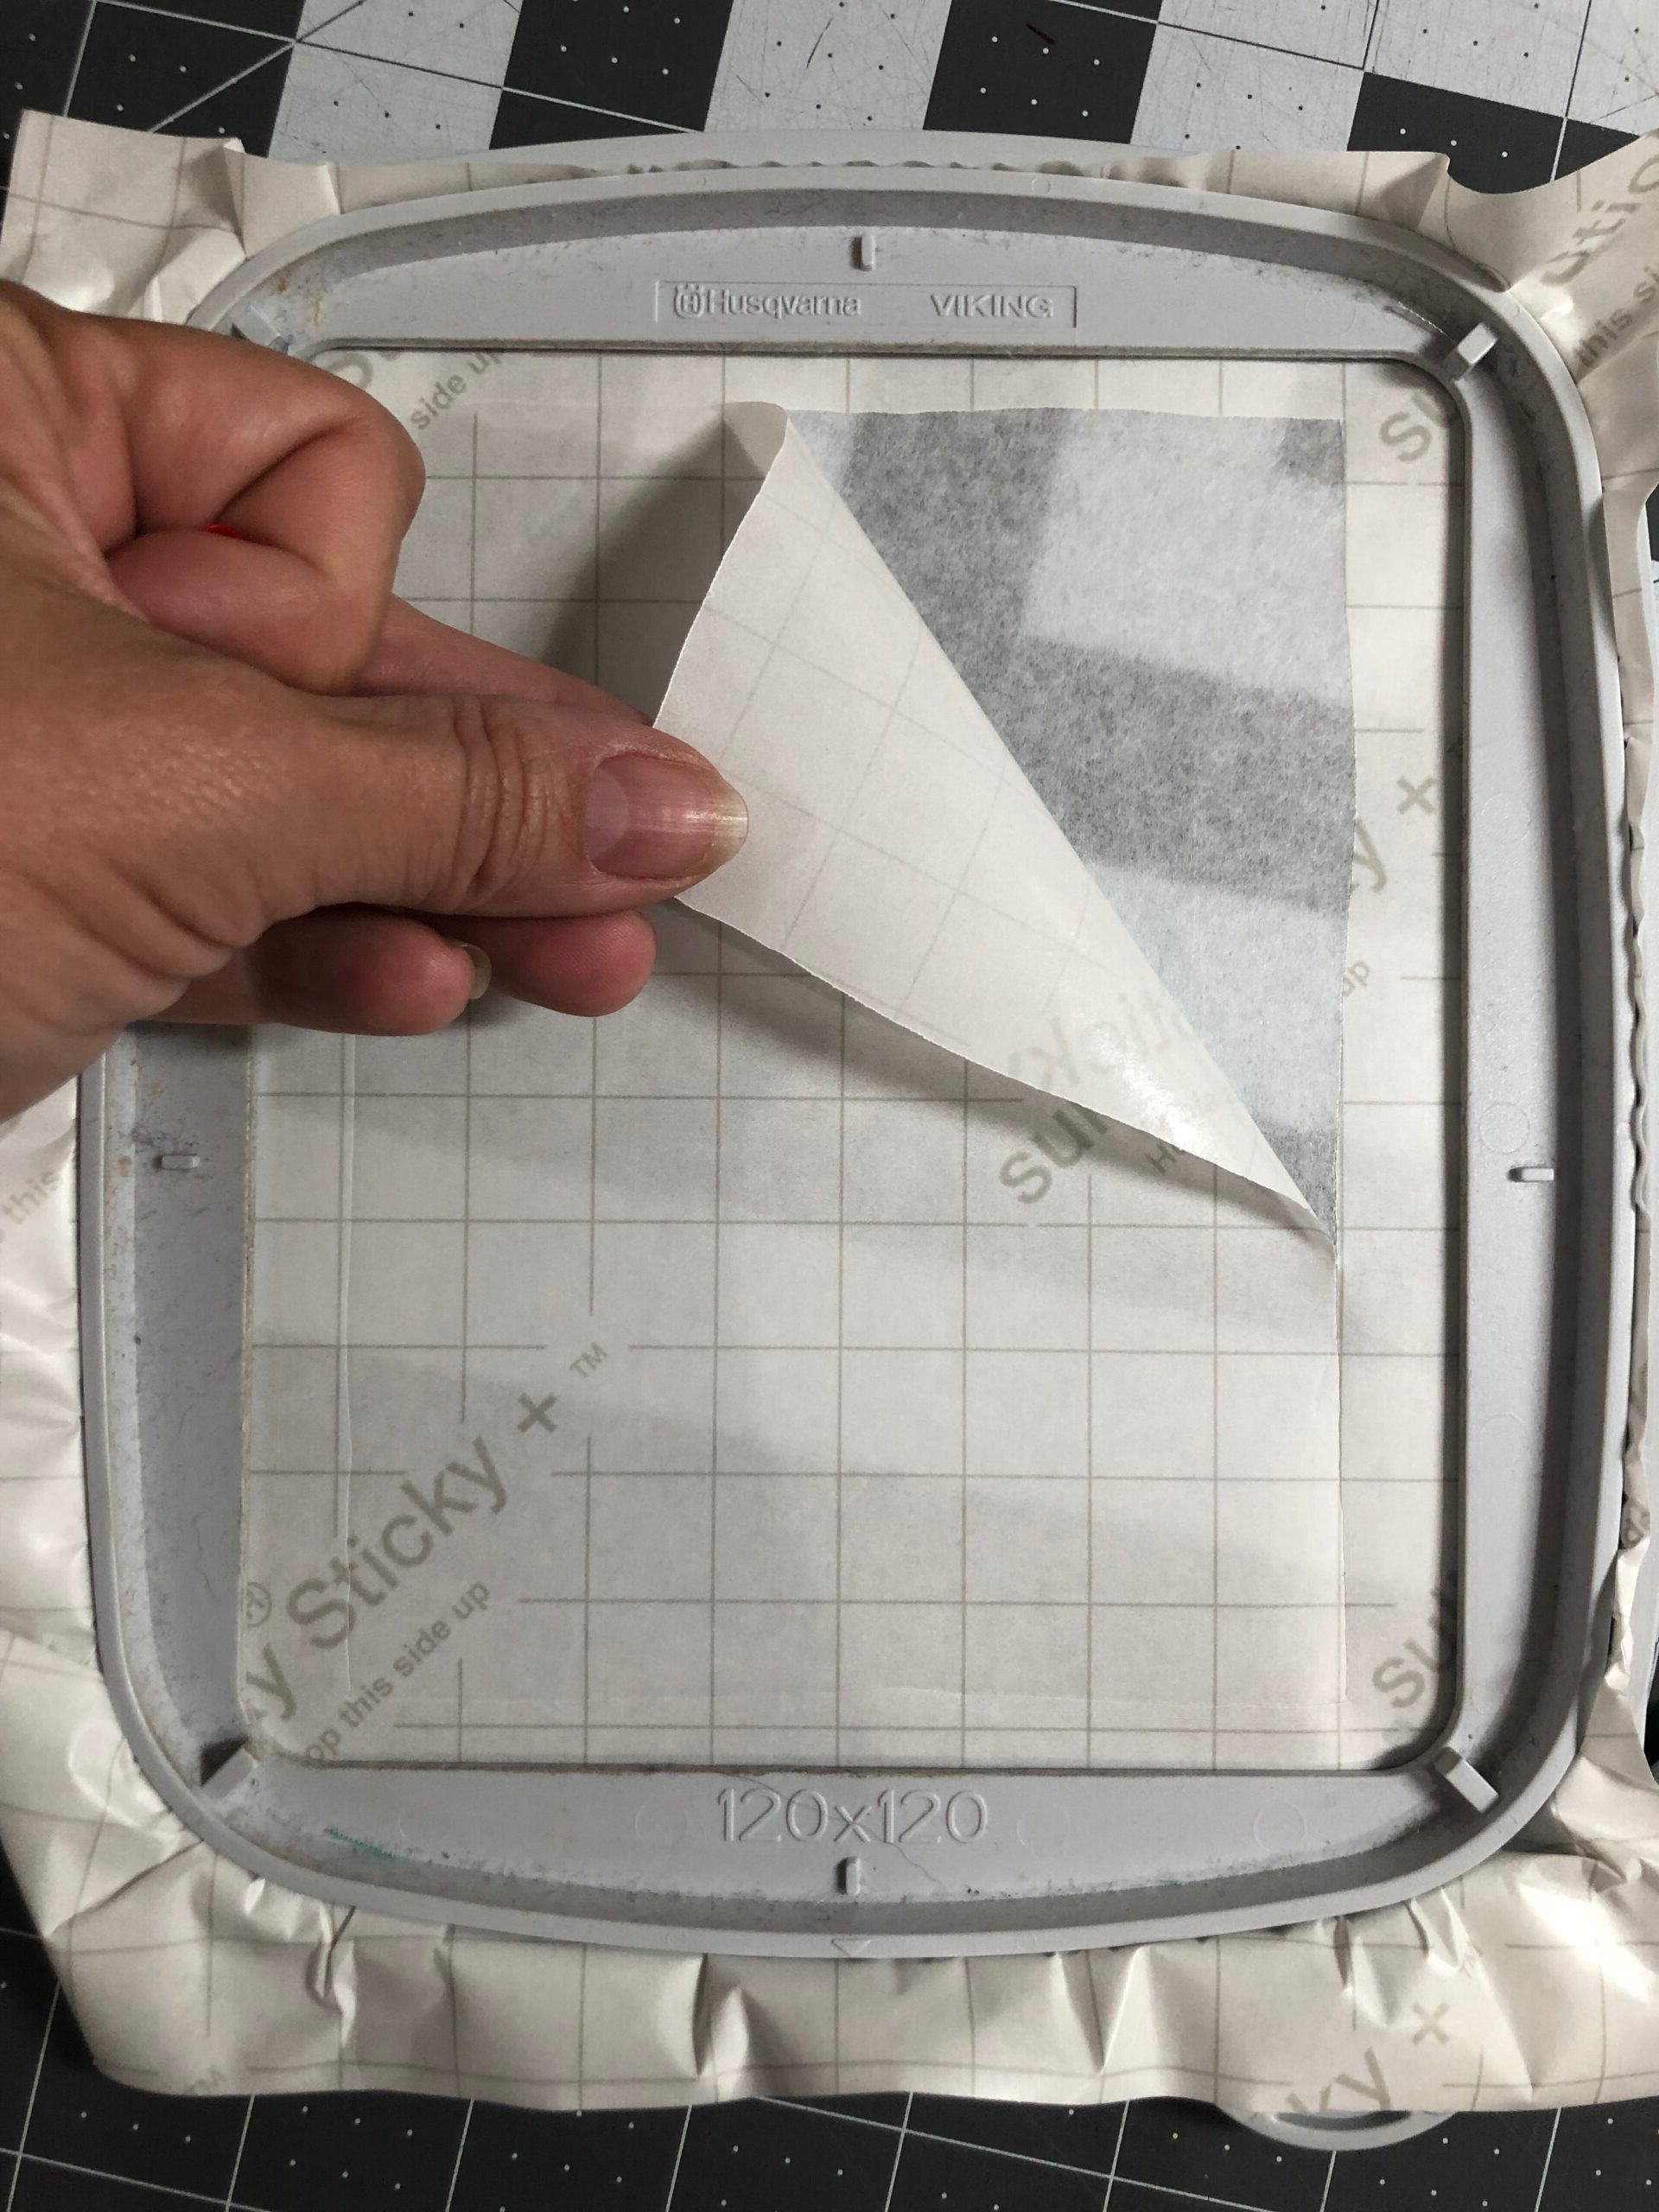
Hoop a piece of Sulky Sticky+ Stabilizer with the paper side facing up.

Score the paper within the inner hoop frame using the Sticky+ Slitting Pen.
Carefully tear away the paper backing along the scored lines to reveal the adhesive.
Place the Felty sheet on the sticky stabilizer surface, centering the desired design area. Use the placement method of your choice to ensure proper placement.
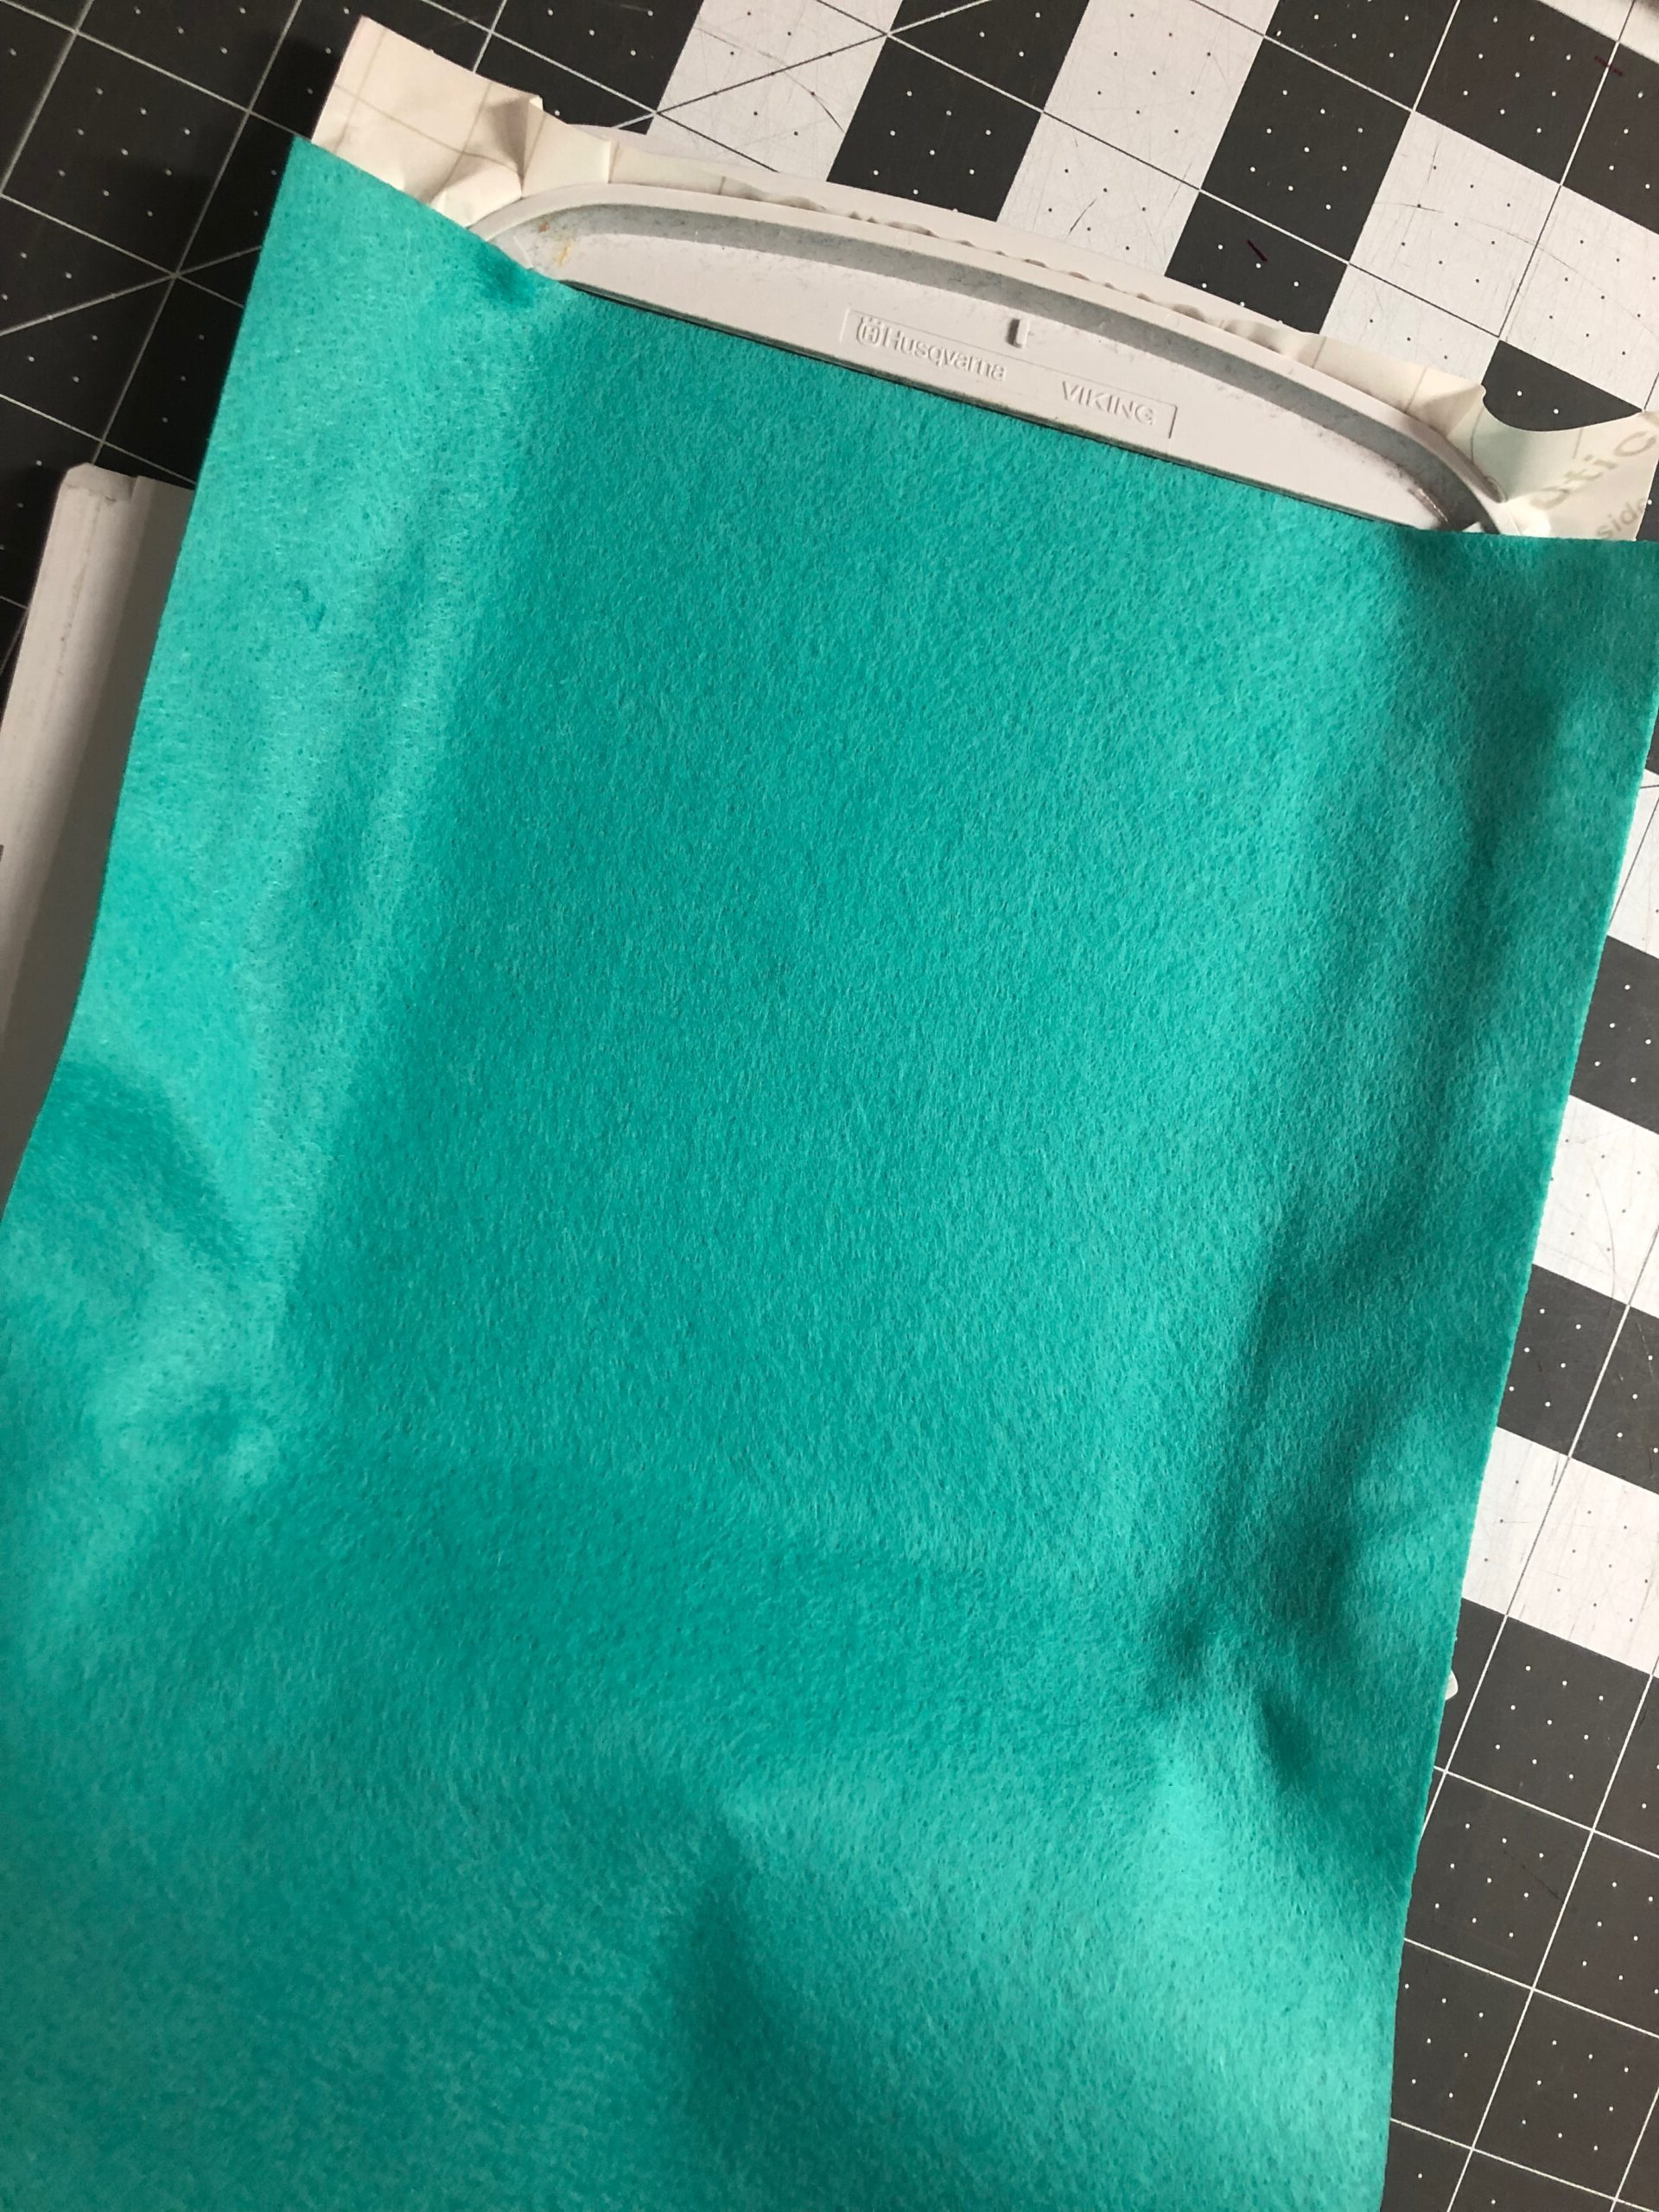
Insert the hoop onto the machine. Then, embroider the design, clipping jump threads with each thread change using the Curved Tip Squeezers.

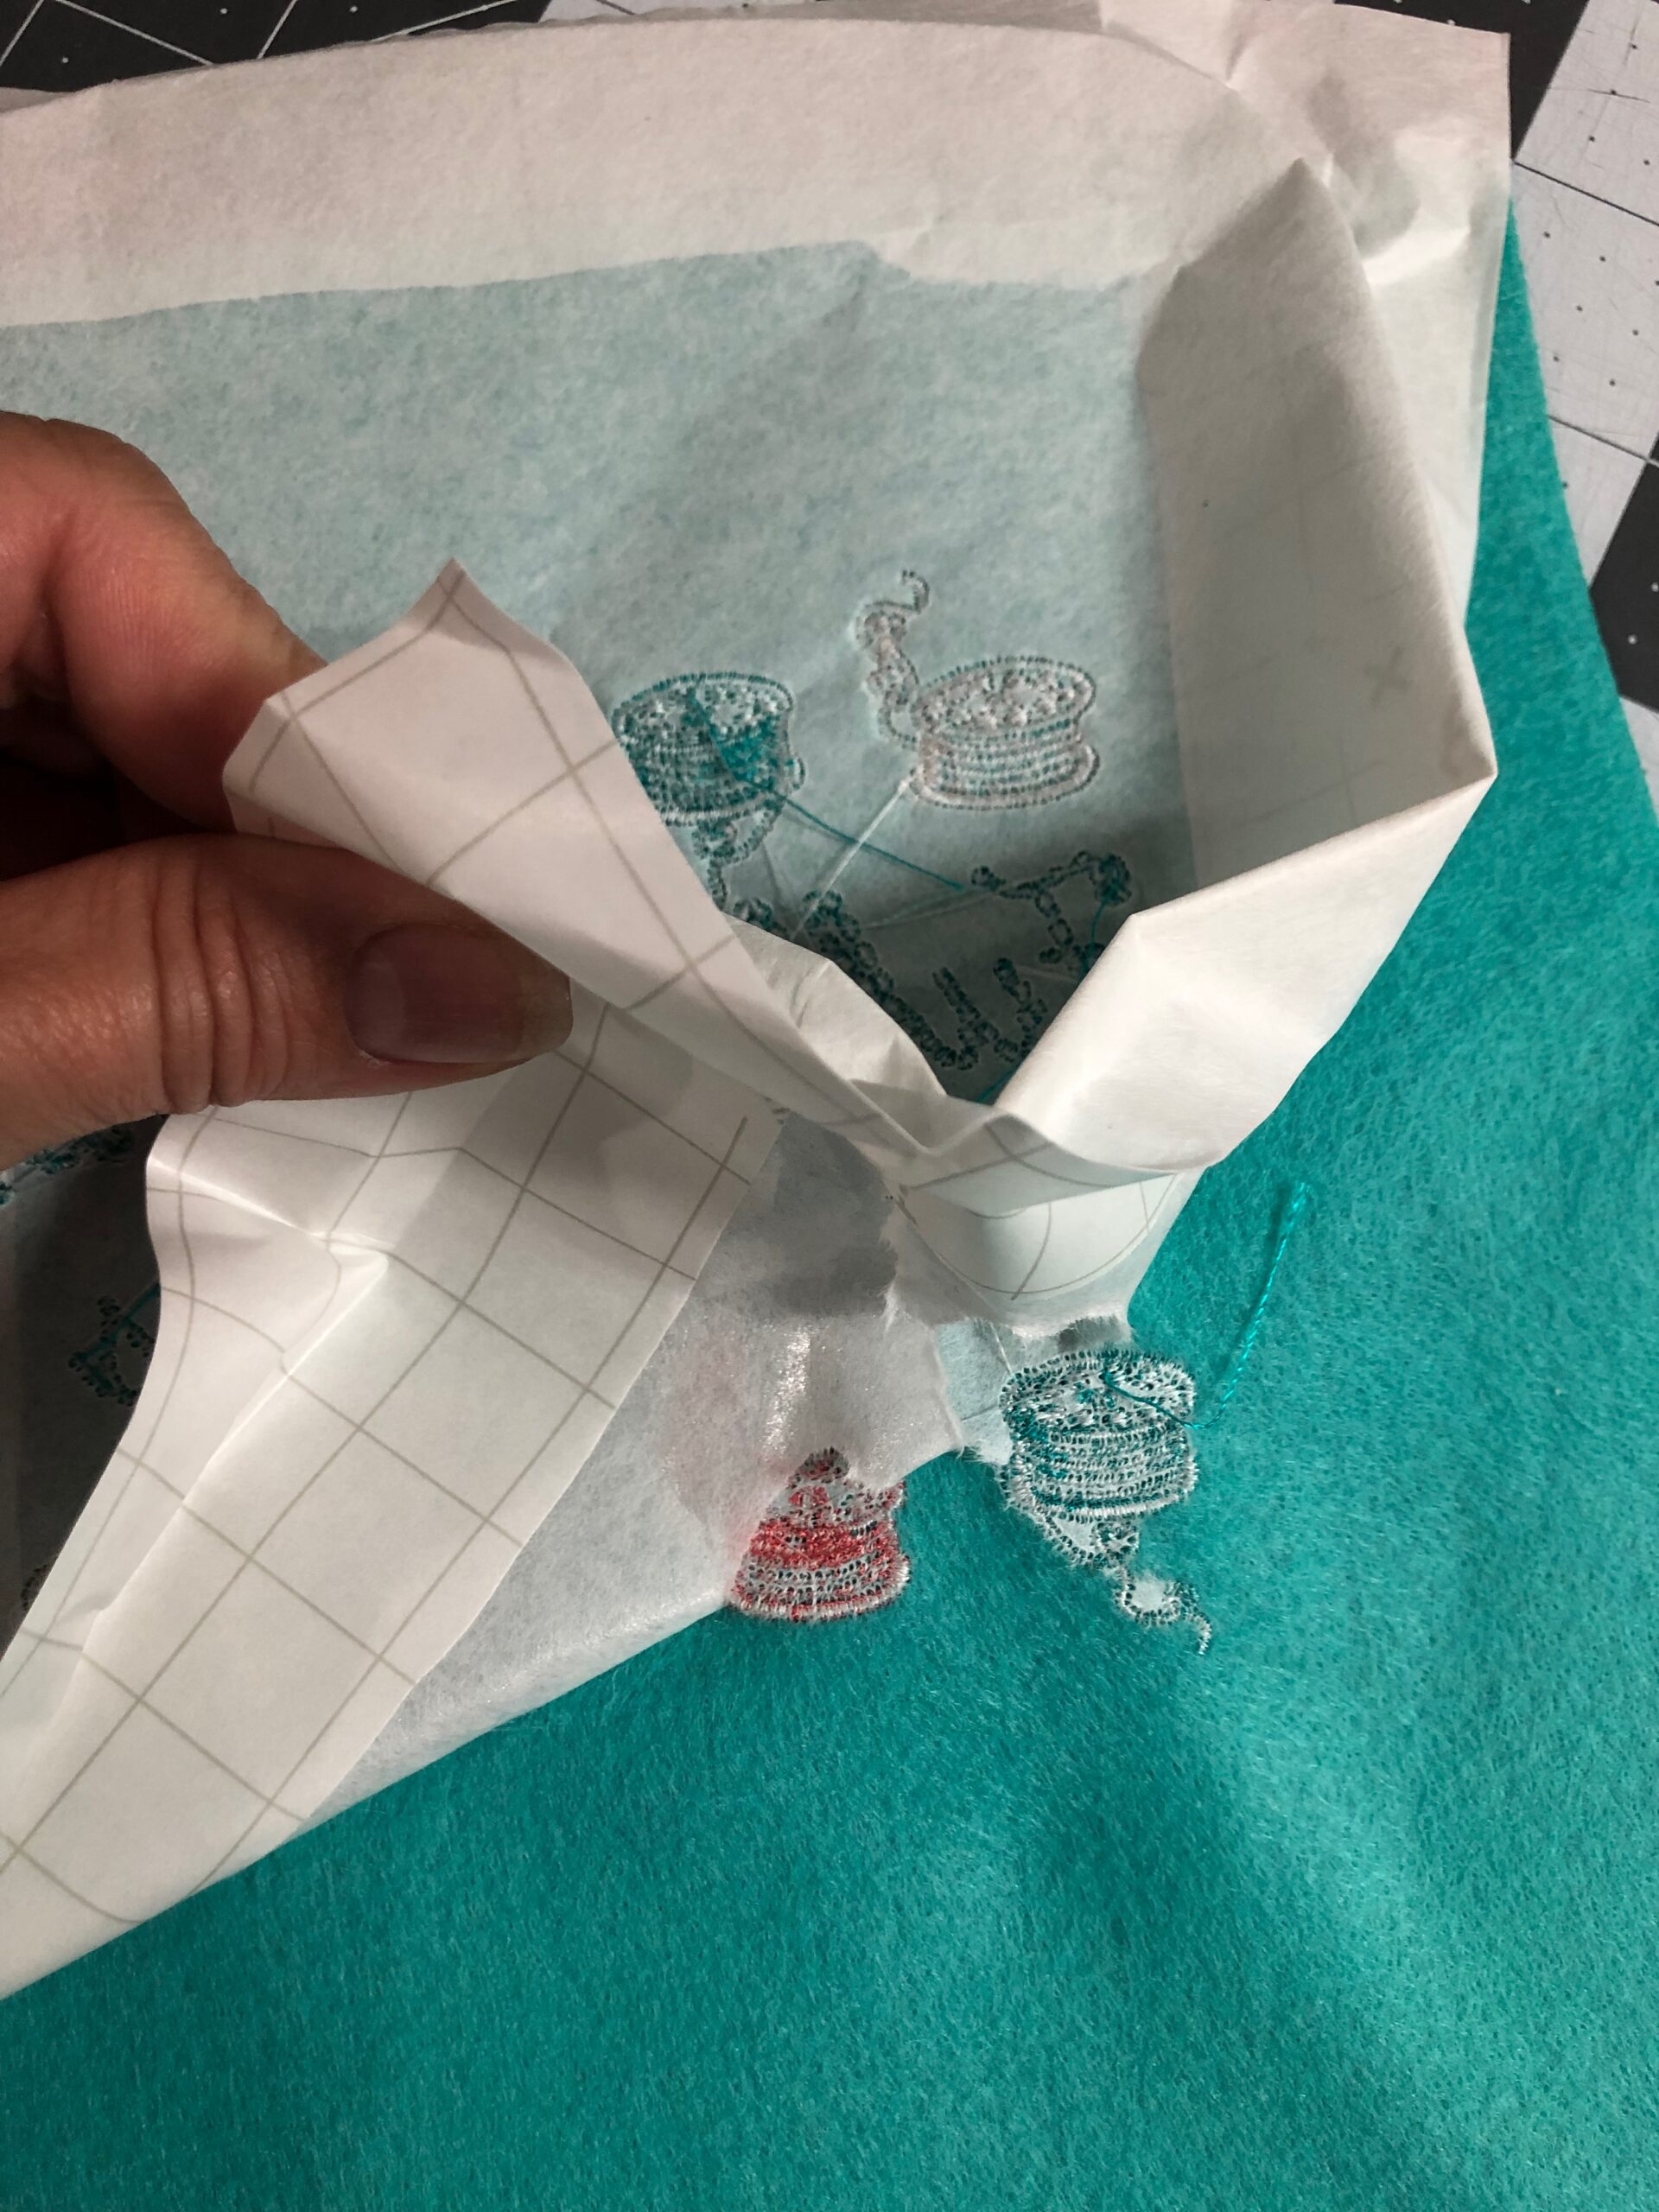
When embroidery is complete, remove the hoop from the machine and the stabilizer from the hoop. Carefully tear away the stabilizer beyond the design perimeter.
MINI PILLOW CONSTRUCTION
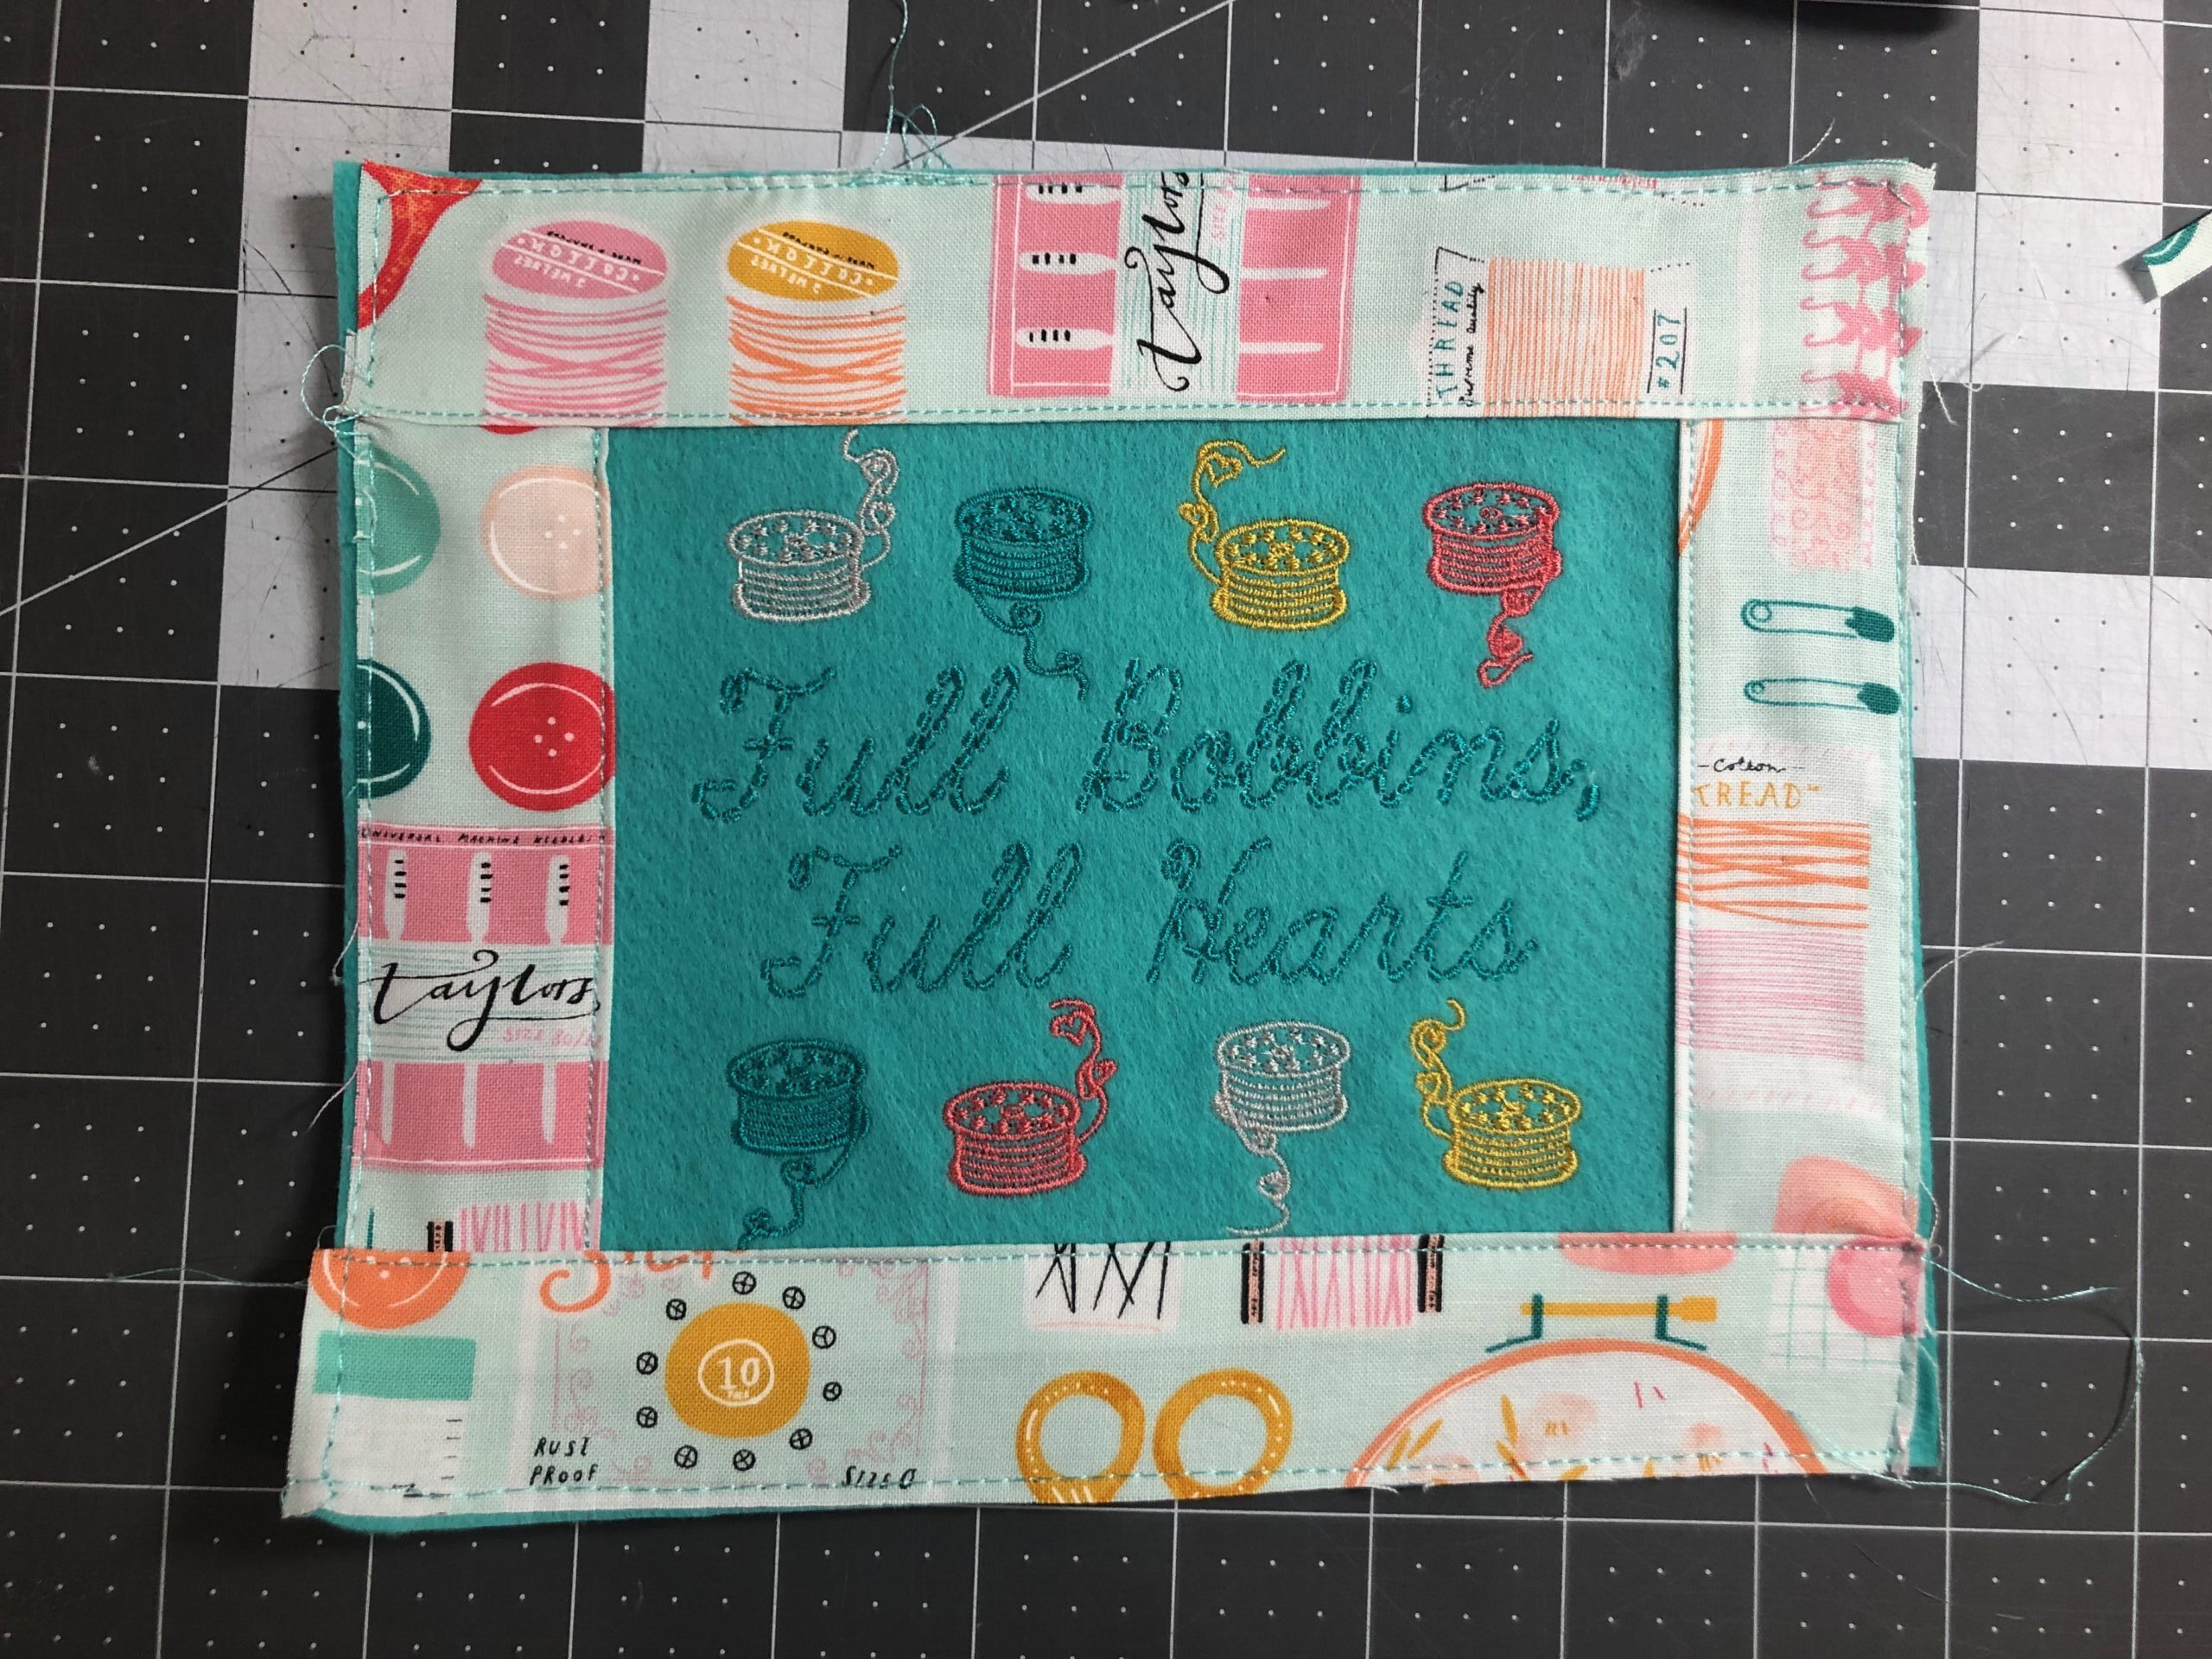
Trim the embroidered Felty to 6 3/4″ x 8″, centering the design as desired.
Fold one long edge of each long border rectangle 1/2″ toward the wrong side; press using a Clover Hot Ruler for a crisp, even foldline.
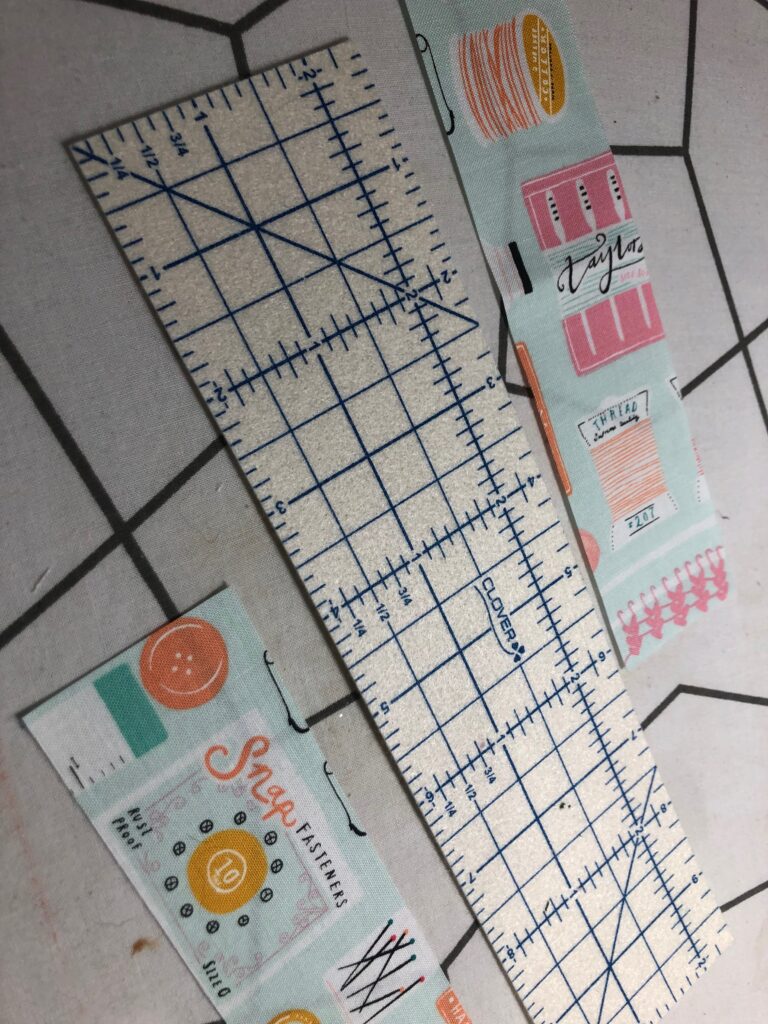
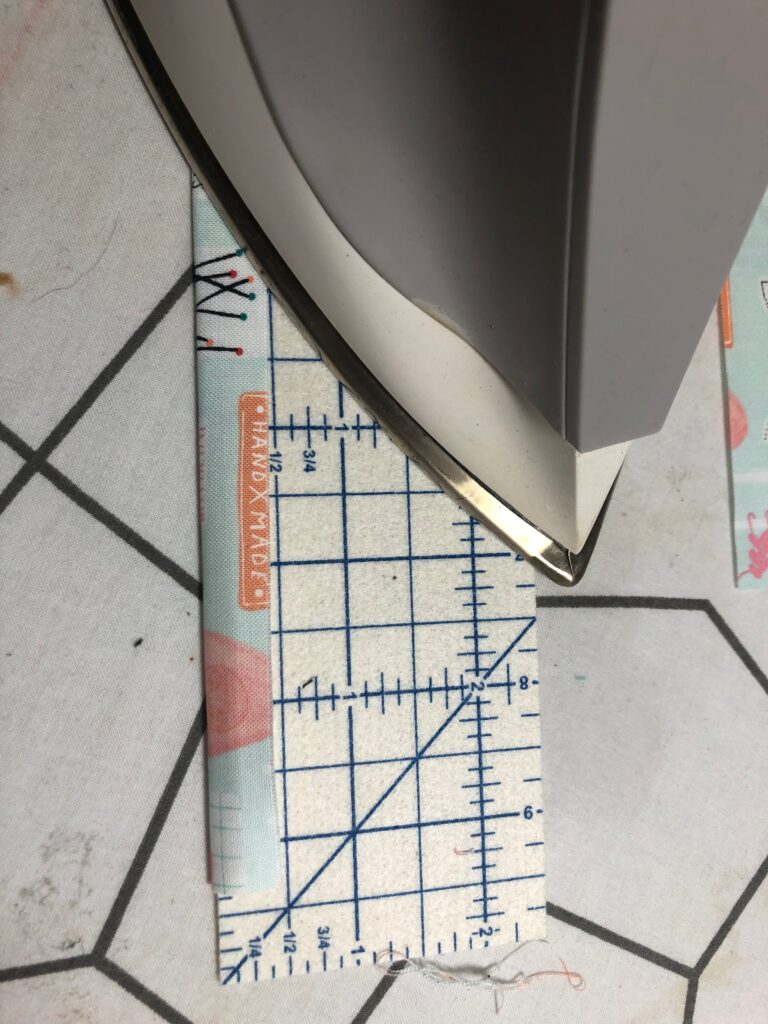
Repeat to fold one long edge of each short border rectangle.

Note: If using a directional print, be sure to fold the edge that will border the embroidery and place the print accordingly.
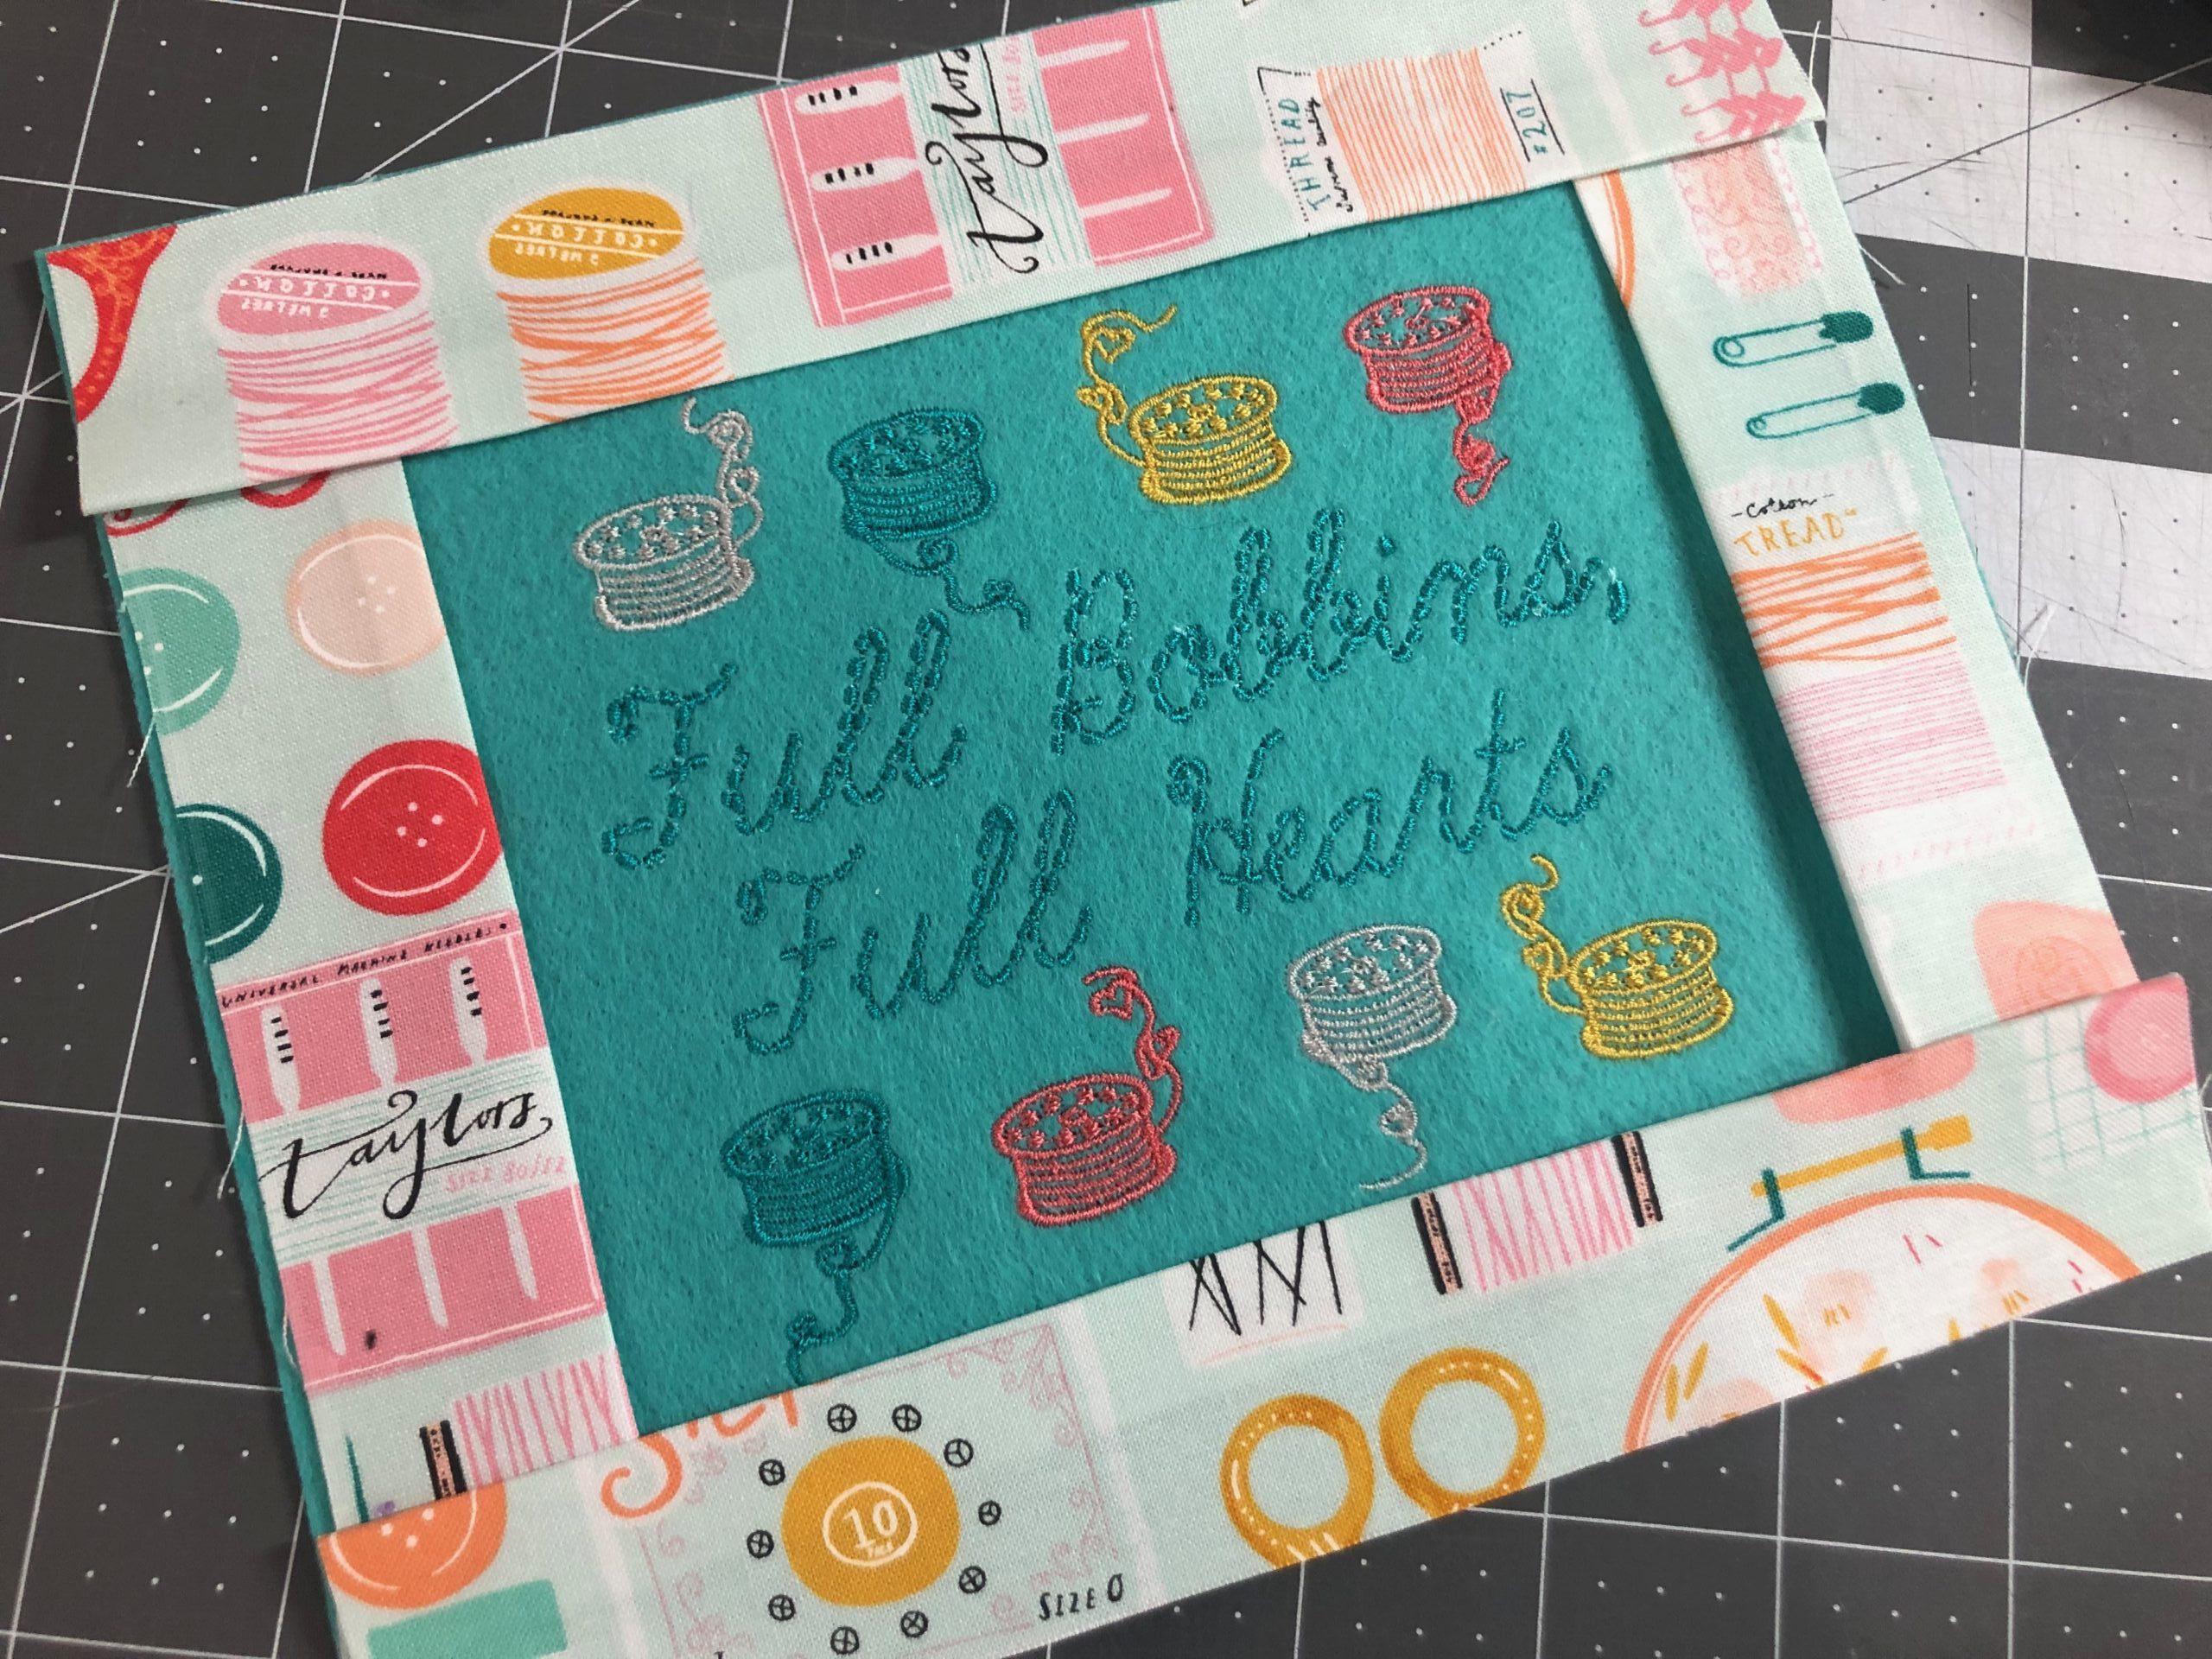
Place each long border along the upper and lower Felty edge, aligning the long raw edges and making sure the embroidery stitches aren’t covered by the fabric folded edges. If the folded fabric edge conceals any of the embroidery stitches, create a wider fold and then adjust the side border folds to match.
Center each short border along the Felty short edges, tucking the raw ends under the long borders.
Pin the borders in place.
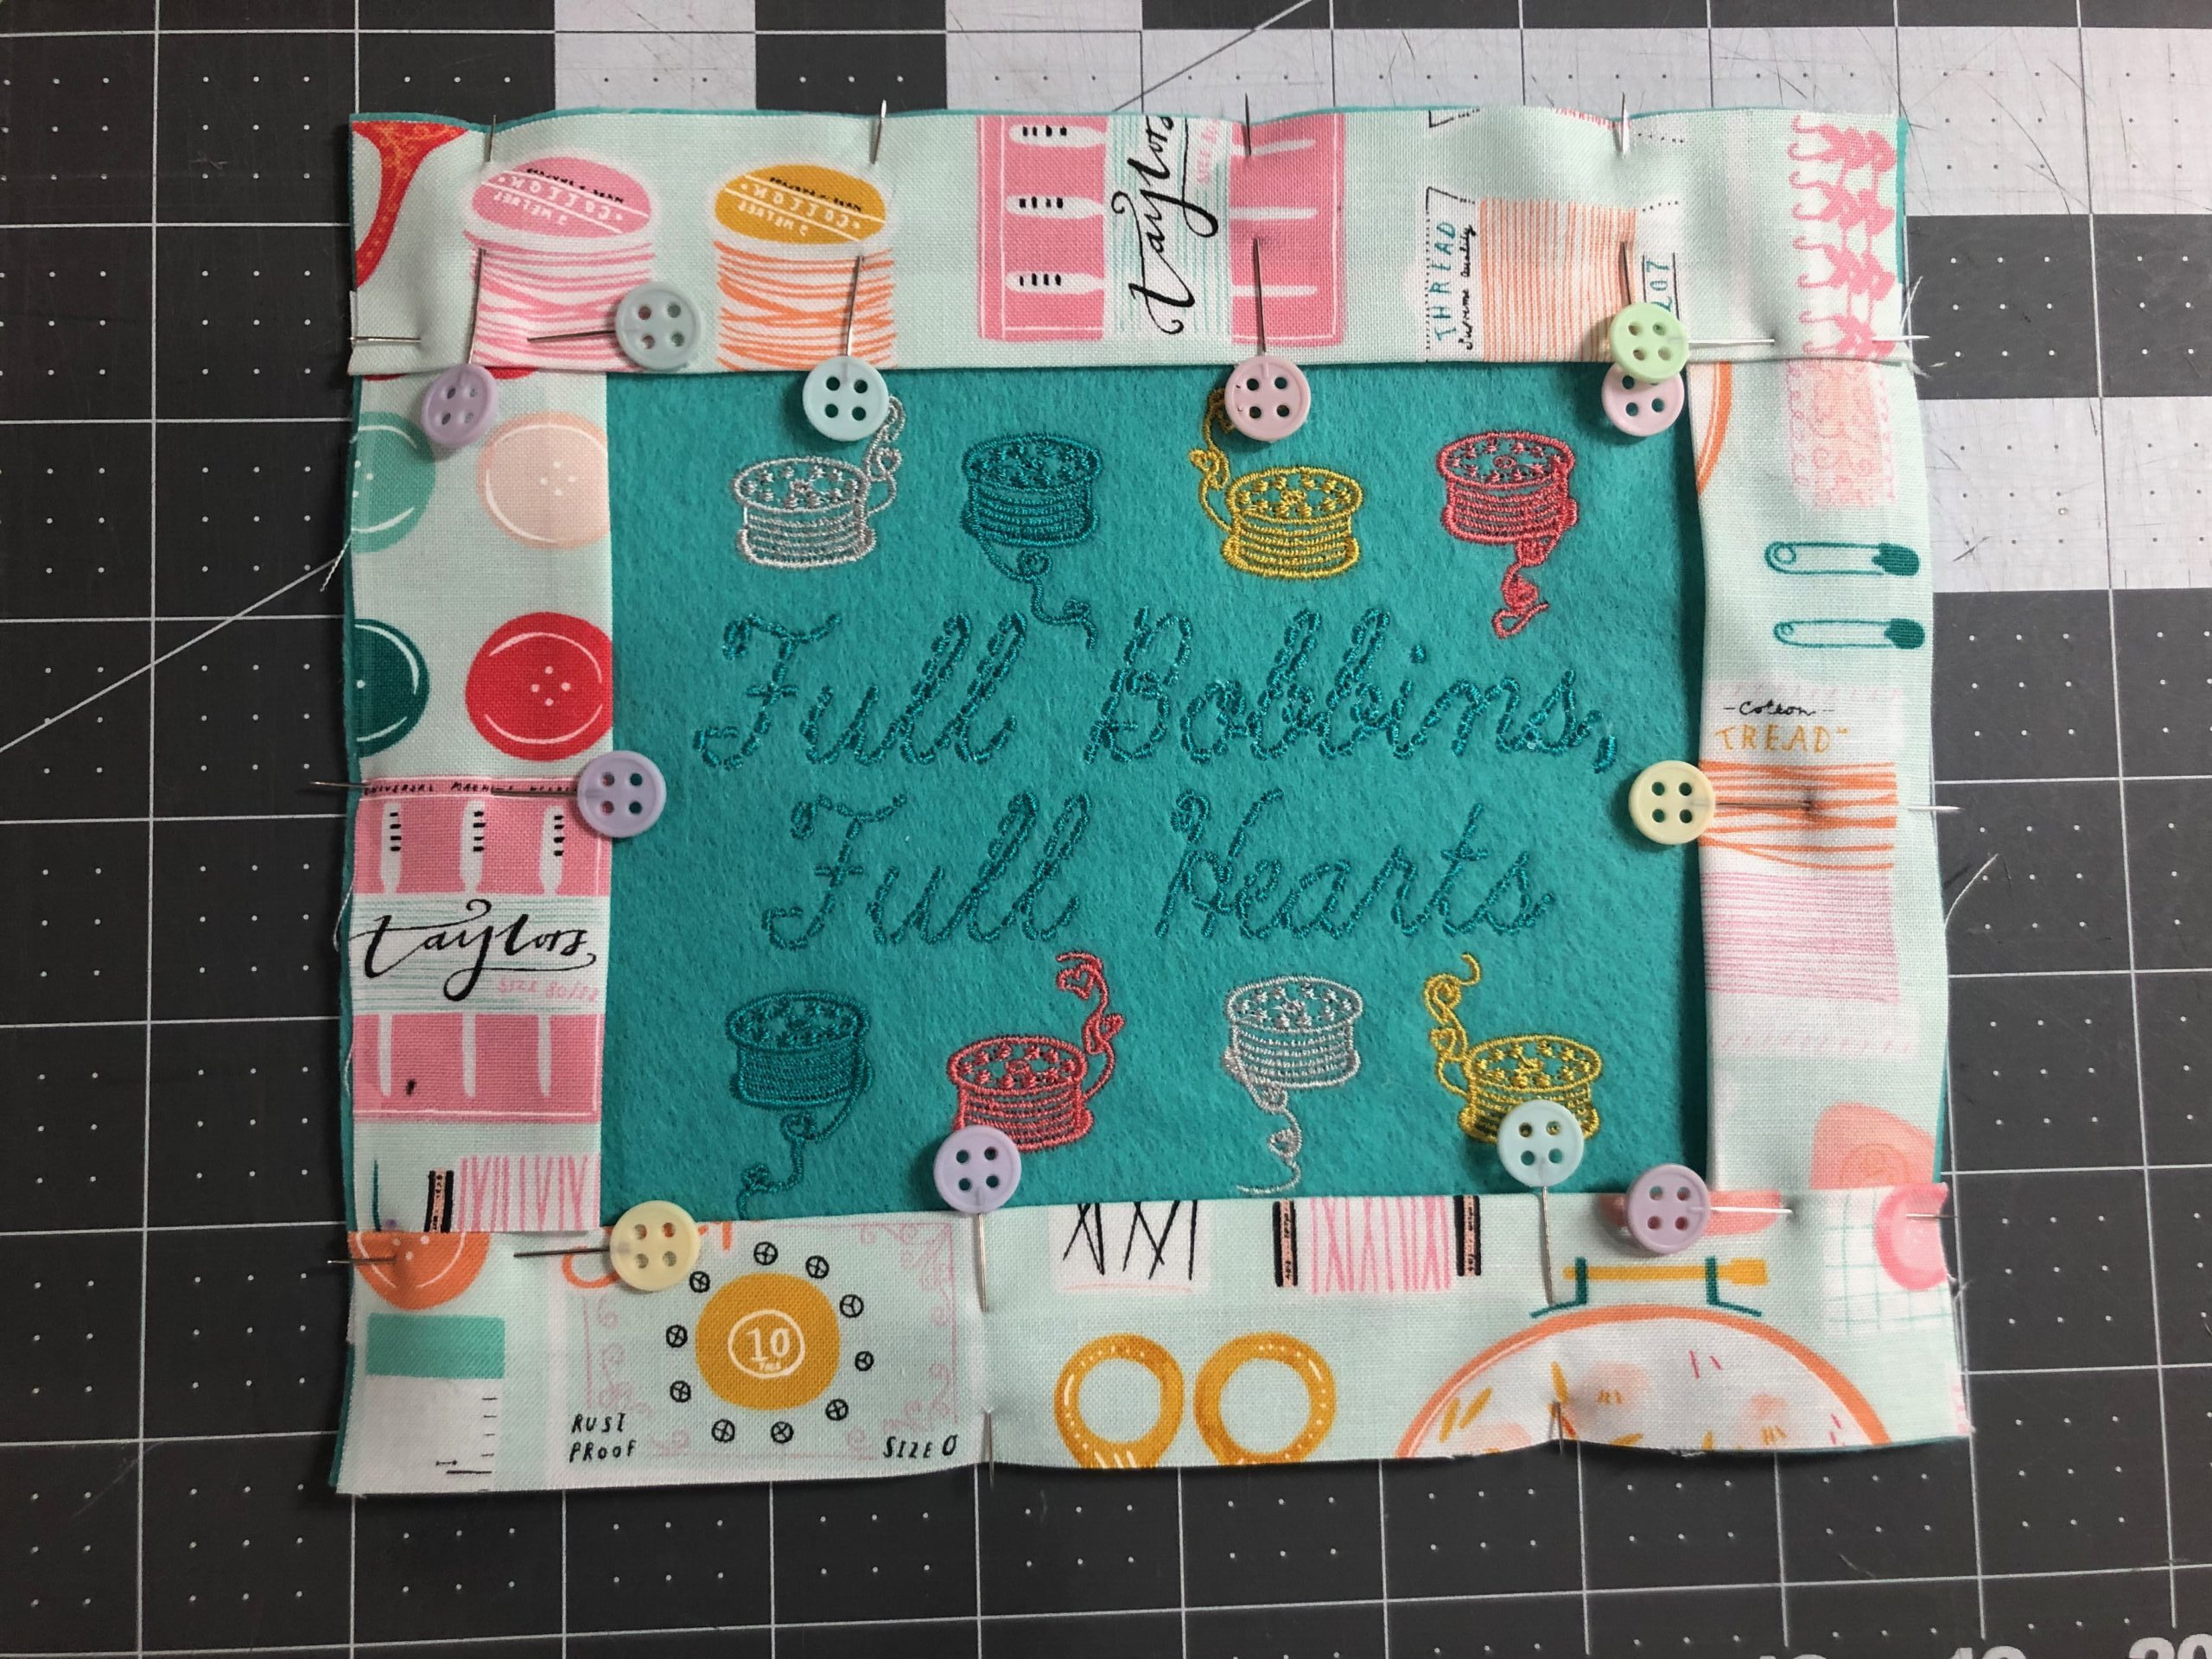
Next, topstitch along the border foldlines.
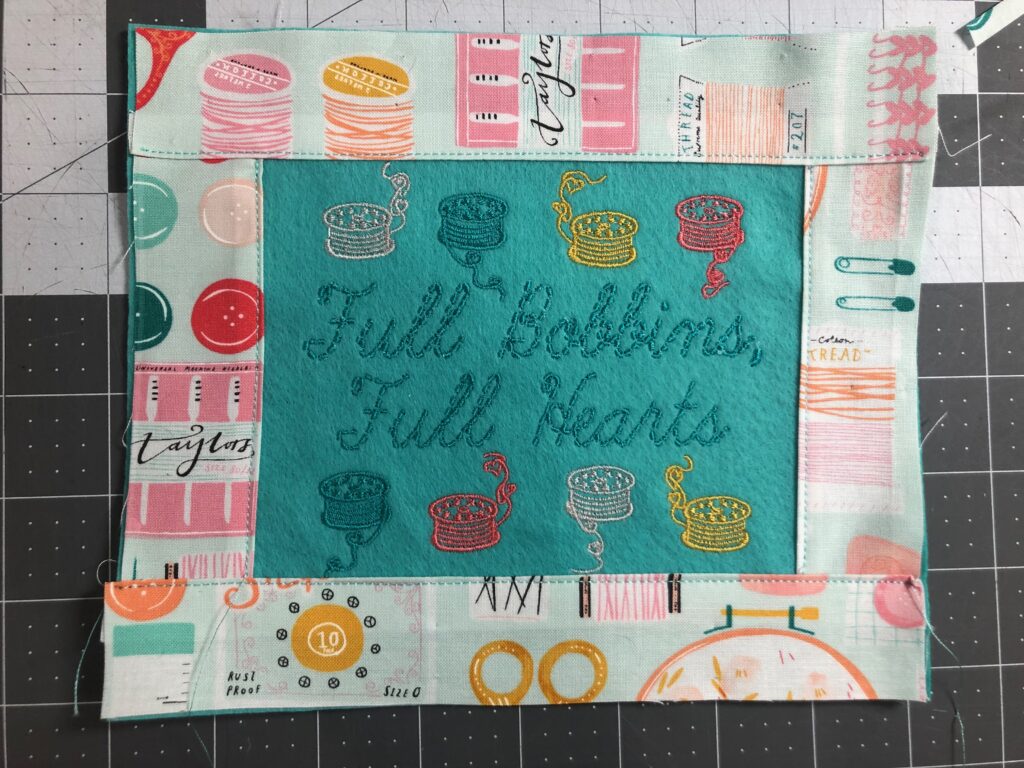
Then, baste the outer perimeter using a 1/8″ seam allowance.
FINISHING THE SEWING THEMED PILLOW
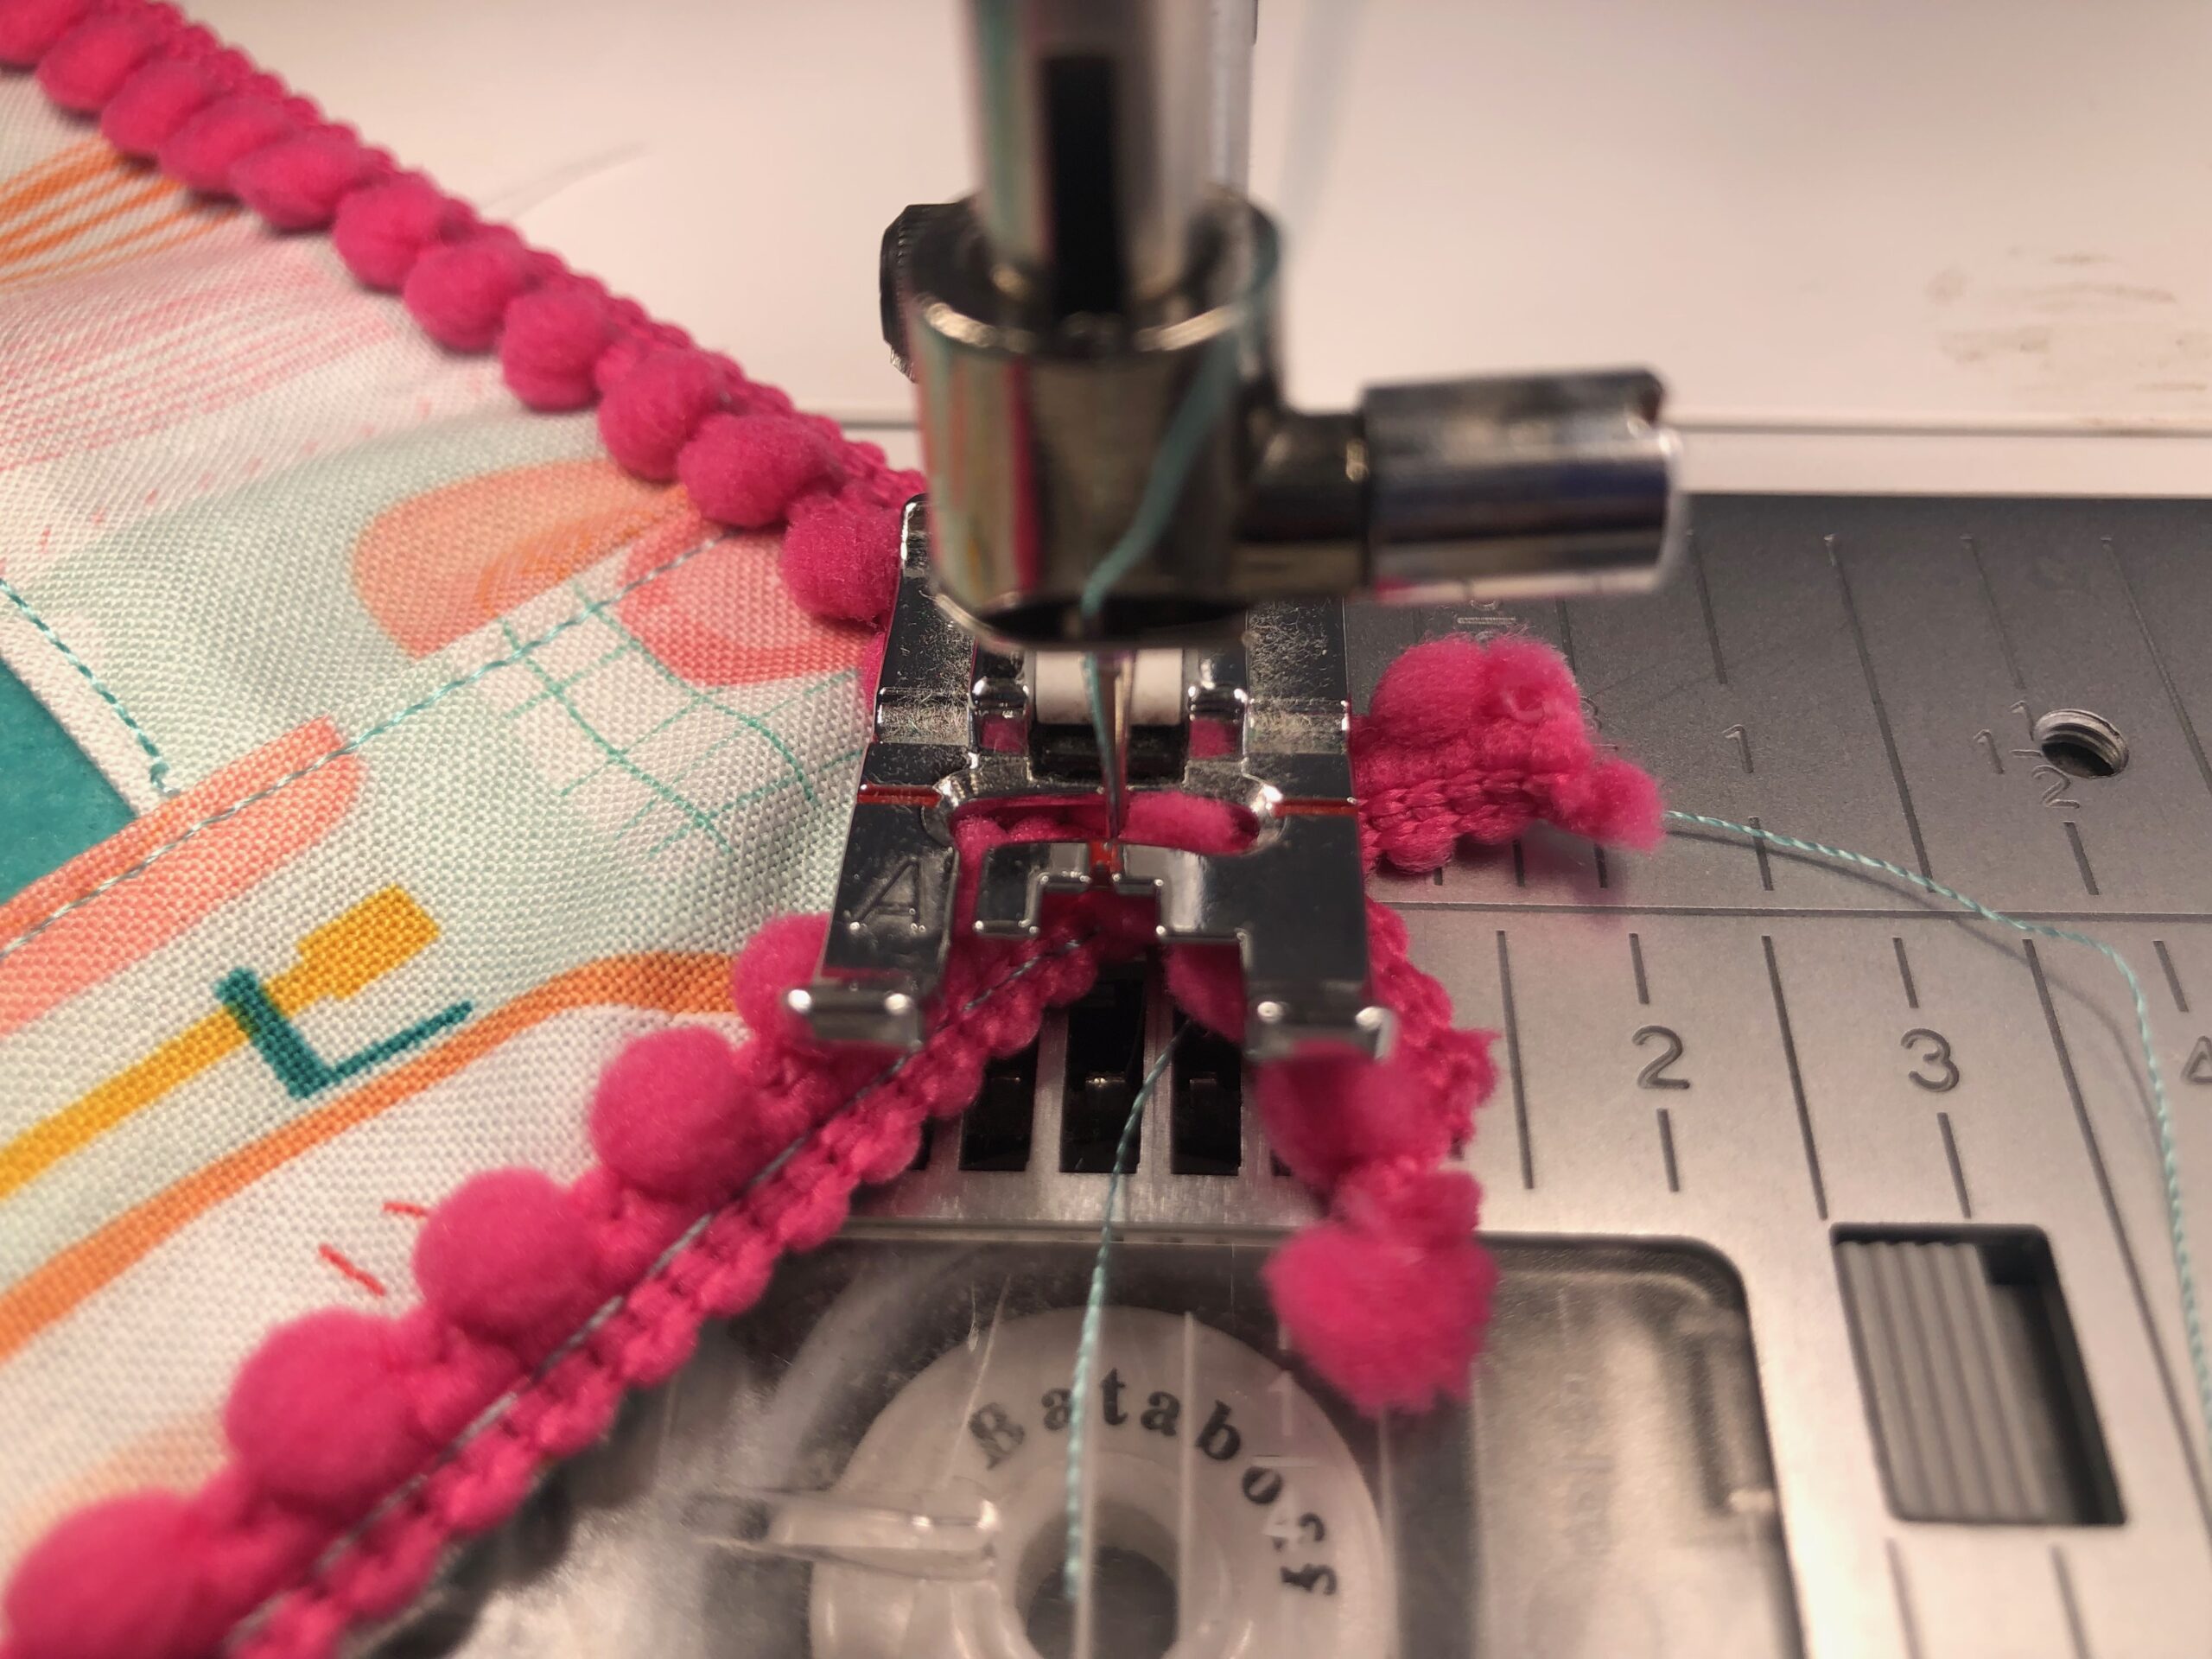
Place one pom-pom trim end 1/2″ beyond the lower-right corner. Baste the trim to the Felty perimeter, following the previous basting stitches.
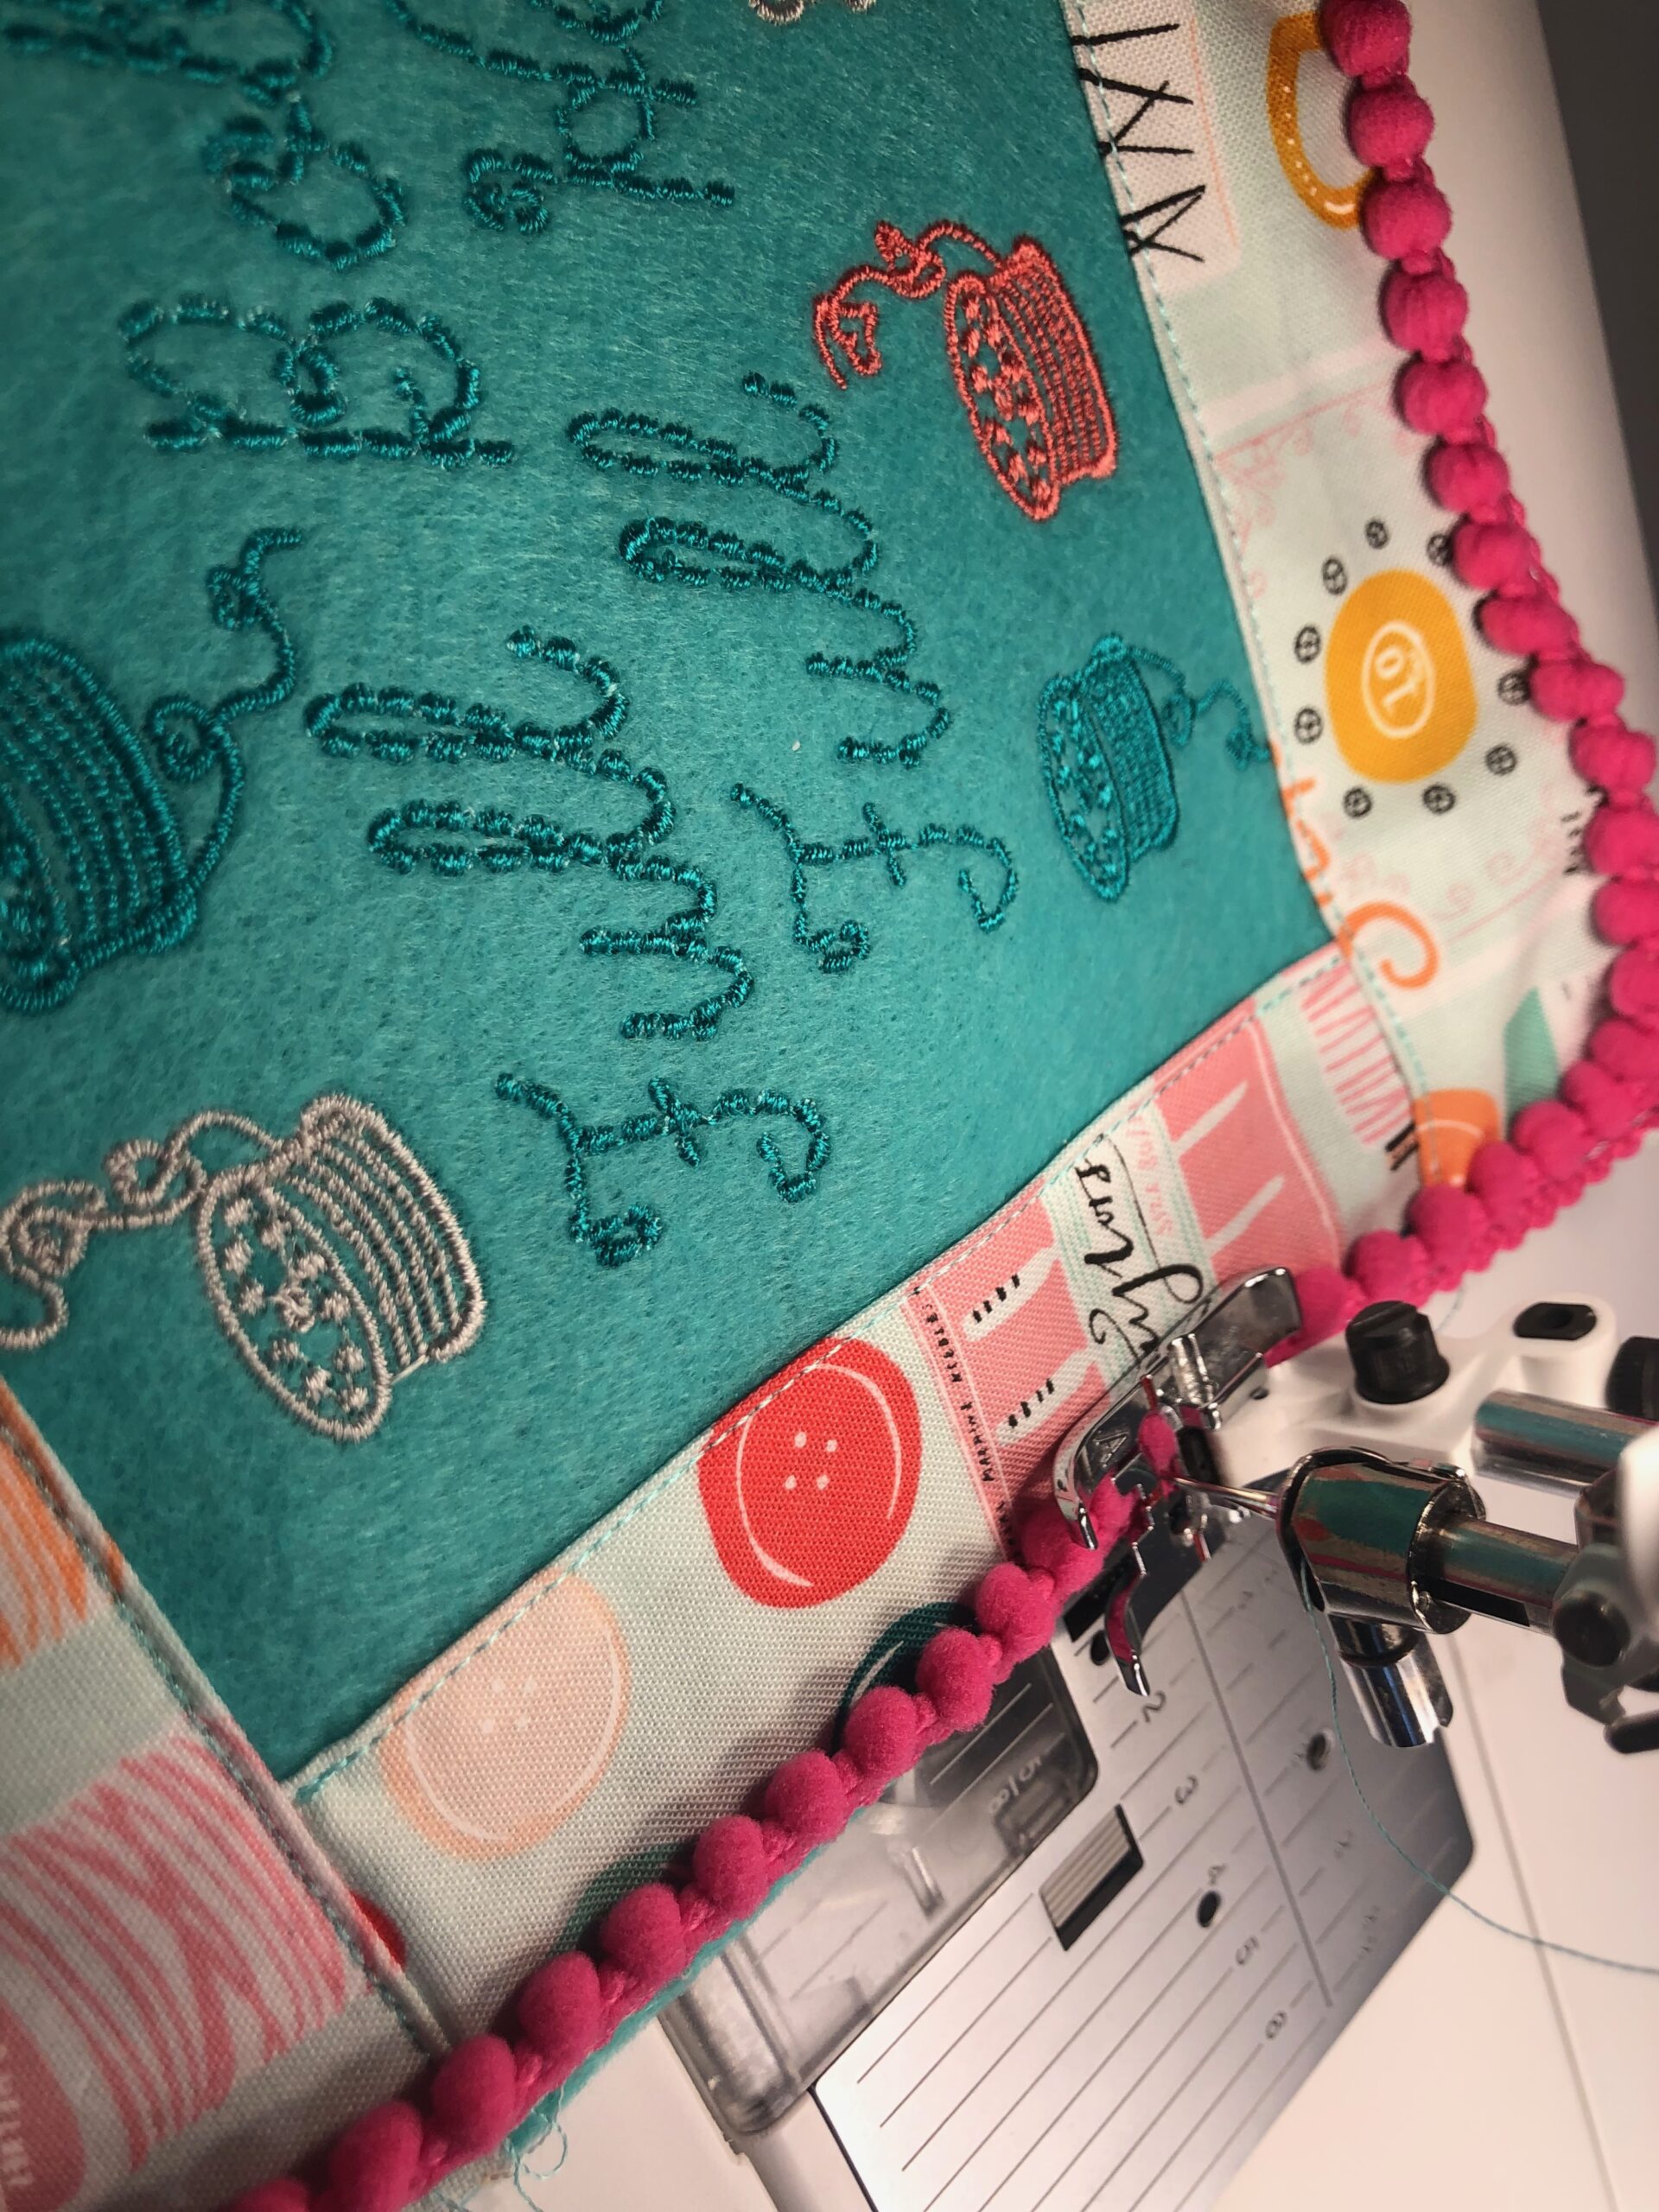
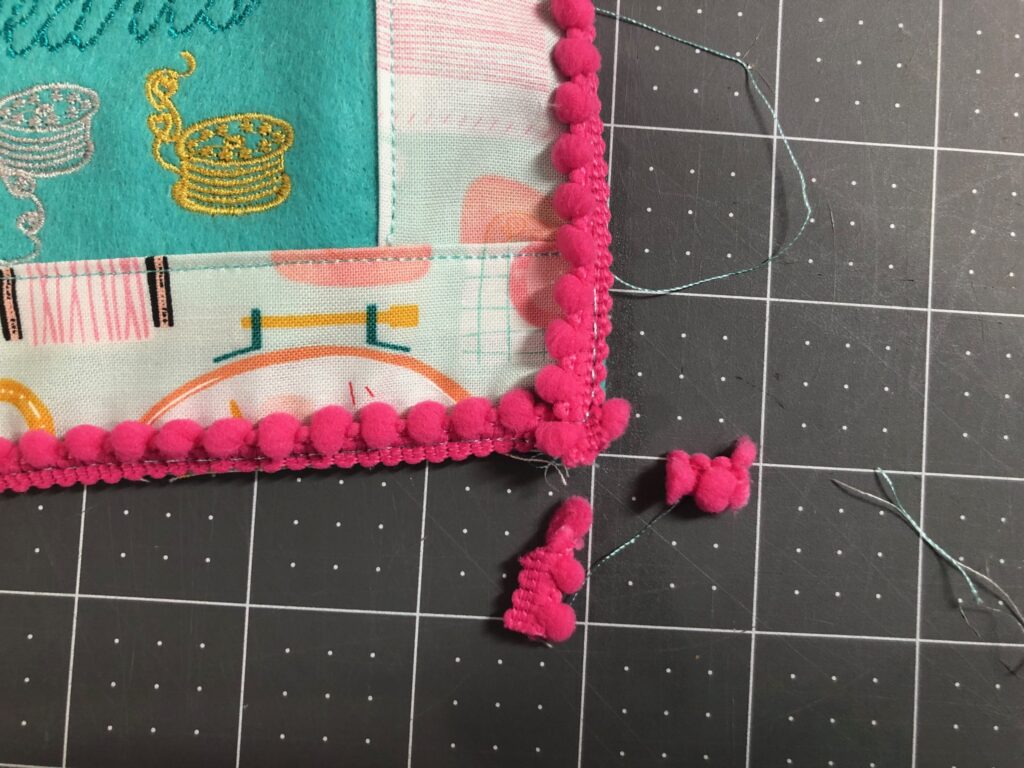
At the pom-pom trim opposite end, overlap the ends by 1/2″, criss-crossing the trim at the Felty corner.
After the trim basting is complete, trim the pom-pom trim at the overlapped corner to reduce bulk.
Next, place the backing rectangle right side up over the batting rectangle. Use KK 2000 to secure.
Then, center the Felty rectangle over the backing rectangle with right sides together; pin.

Stitch the perimeter using a 3/8″ seam allowance. Leave a 2 1/2″ opening along the lower edge for turning.
Next, clip the corners, being careful to not clip the stitching.
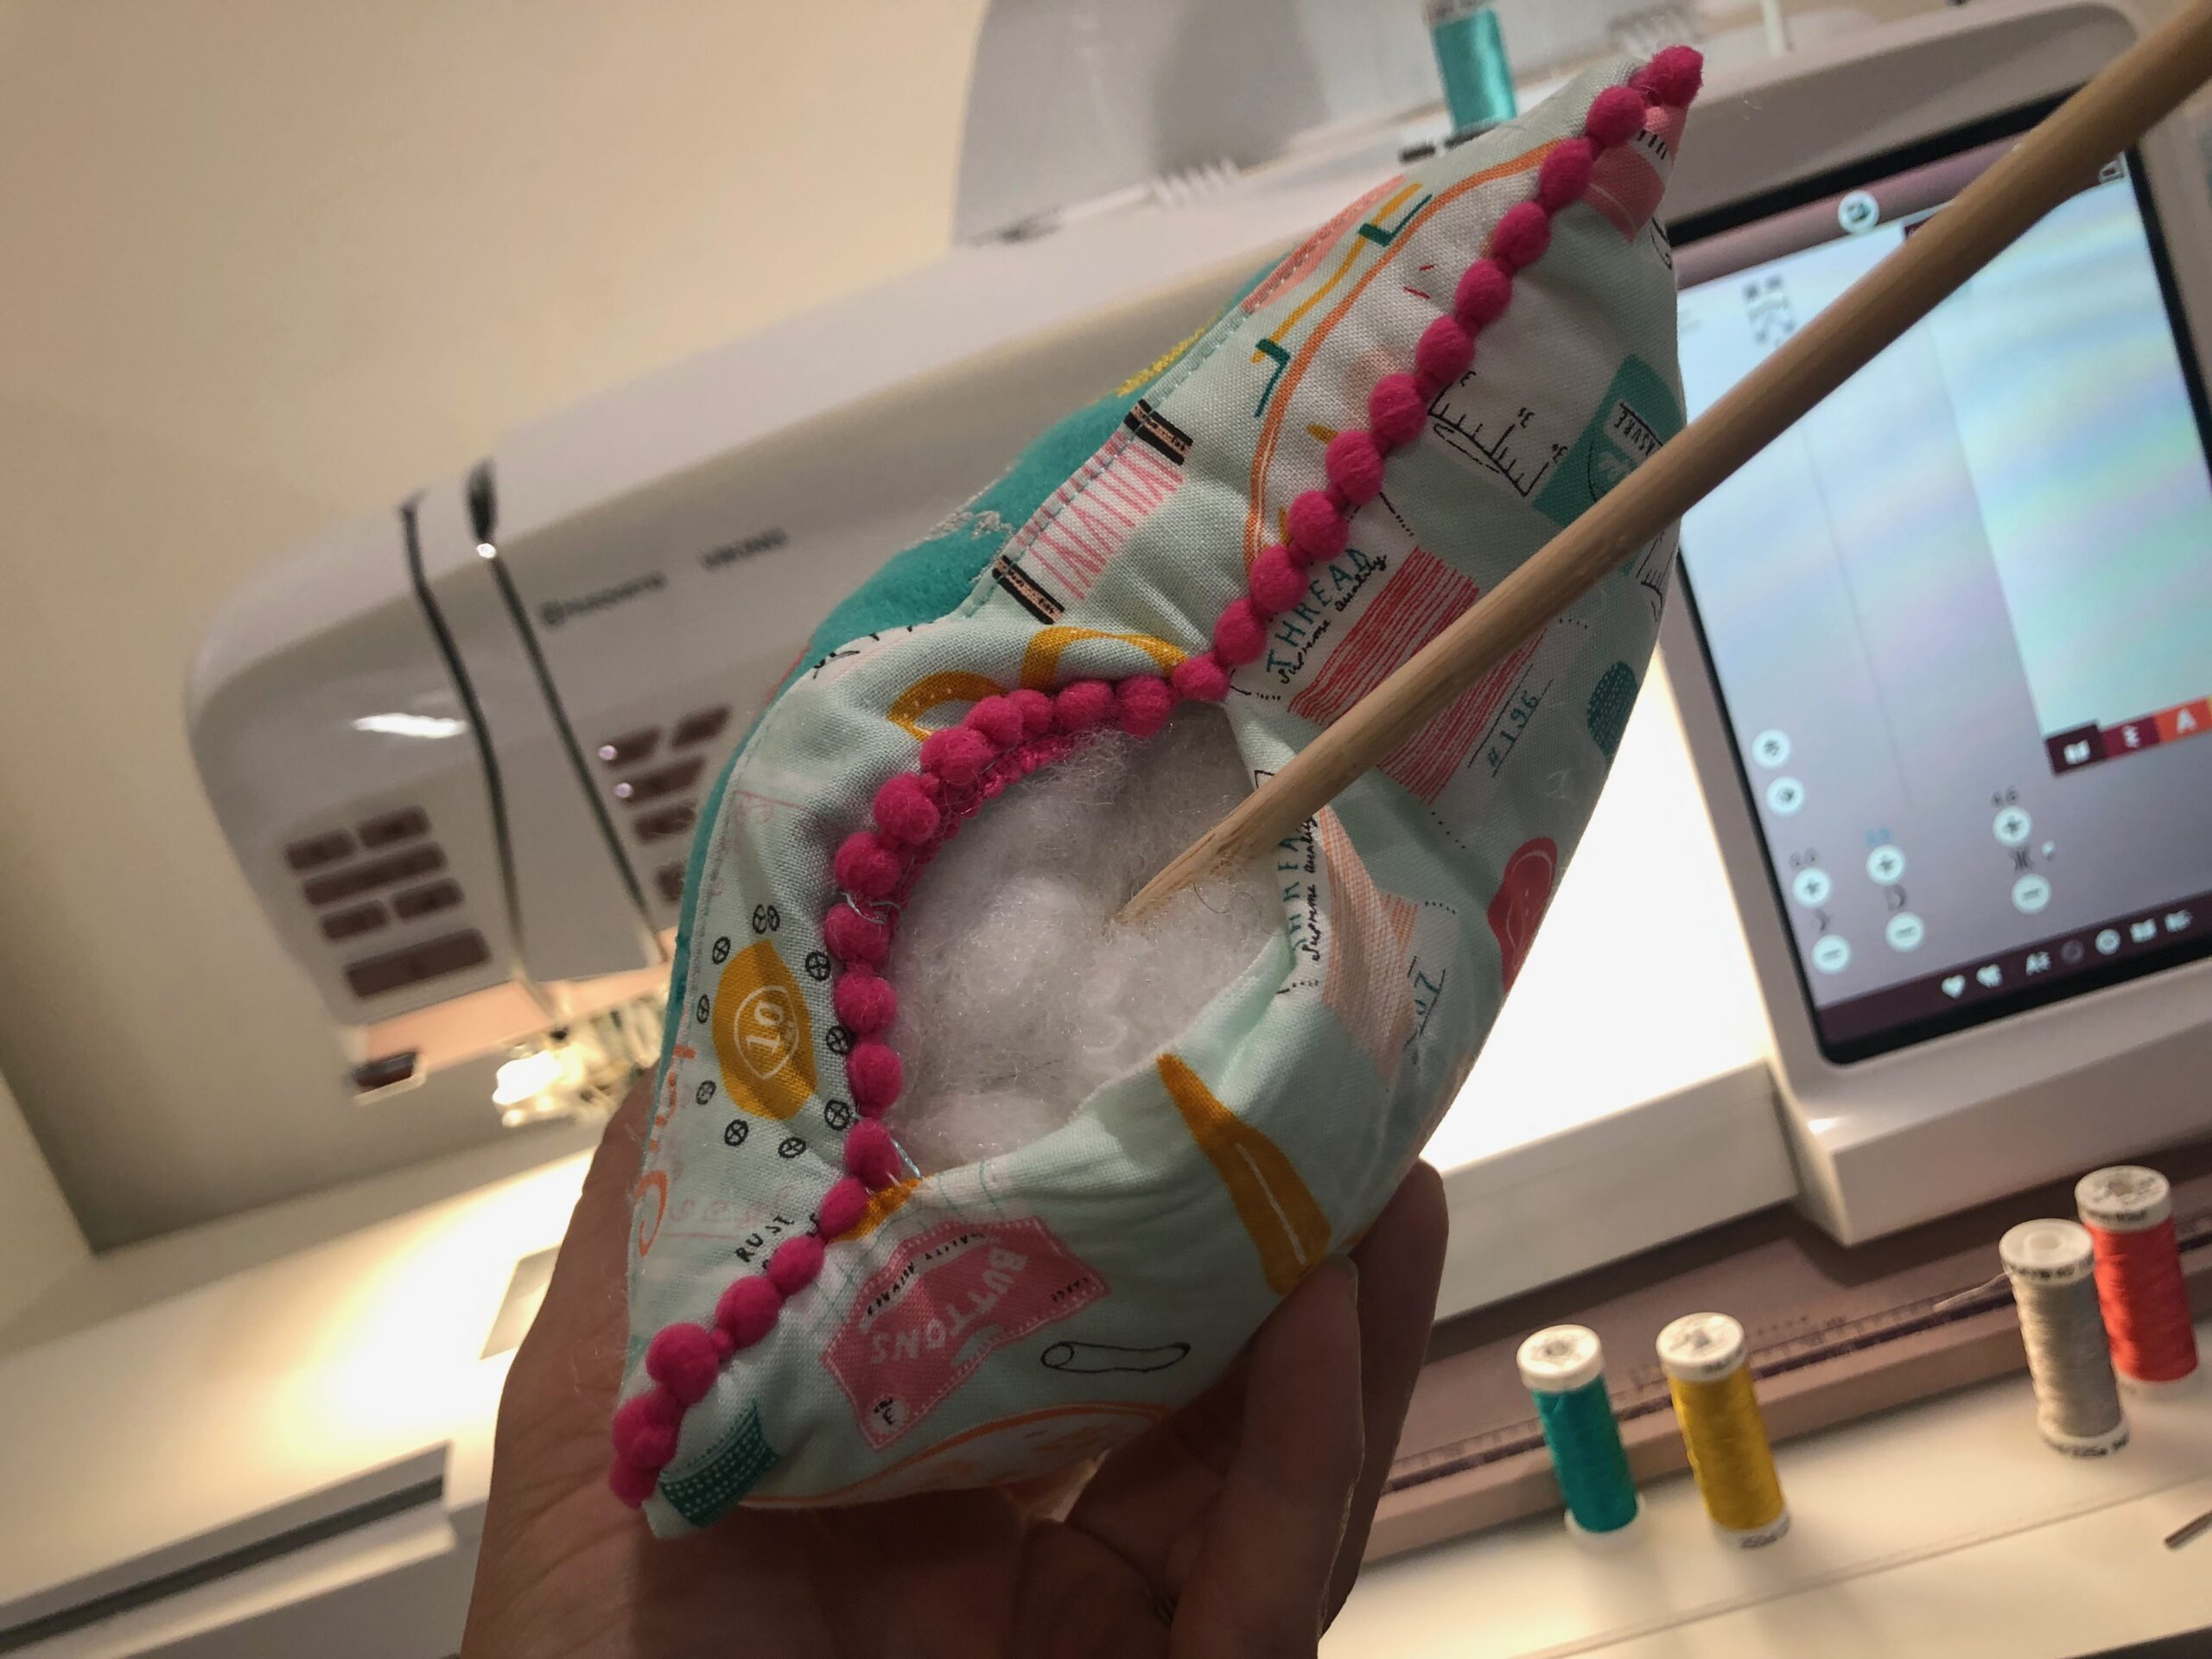
Then turn the pillow right side out through the opening.
Finally, stuff with fiberfill until plump.
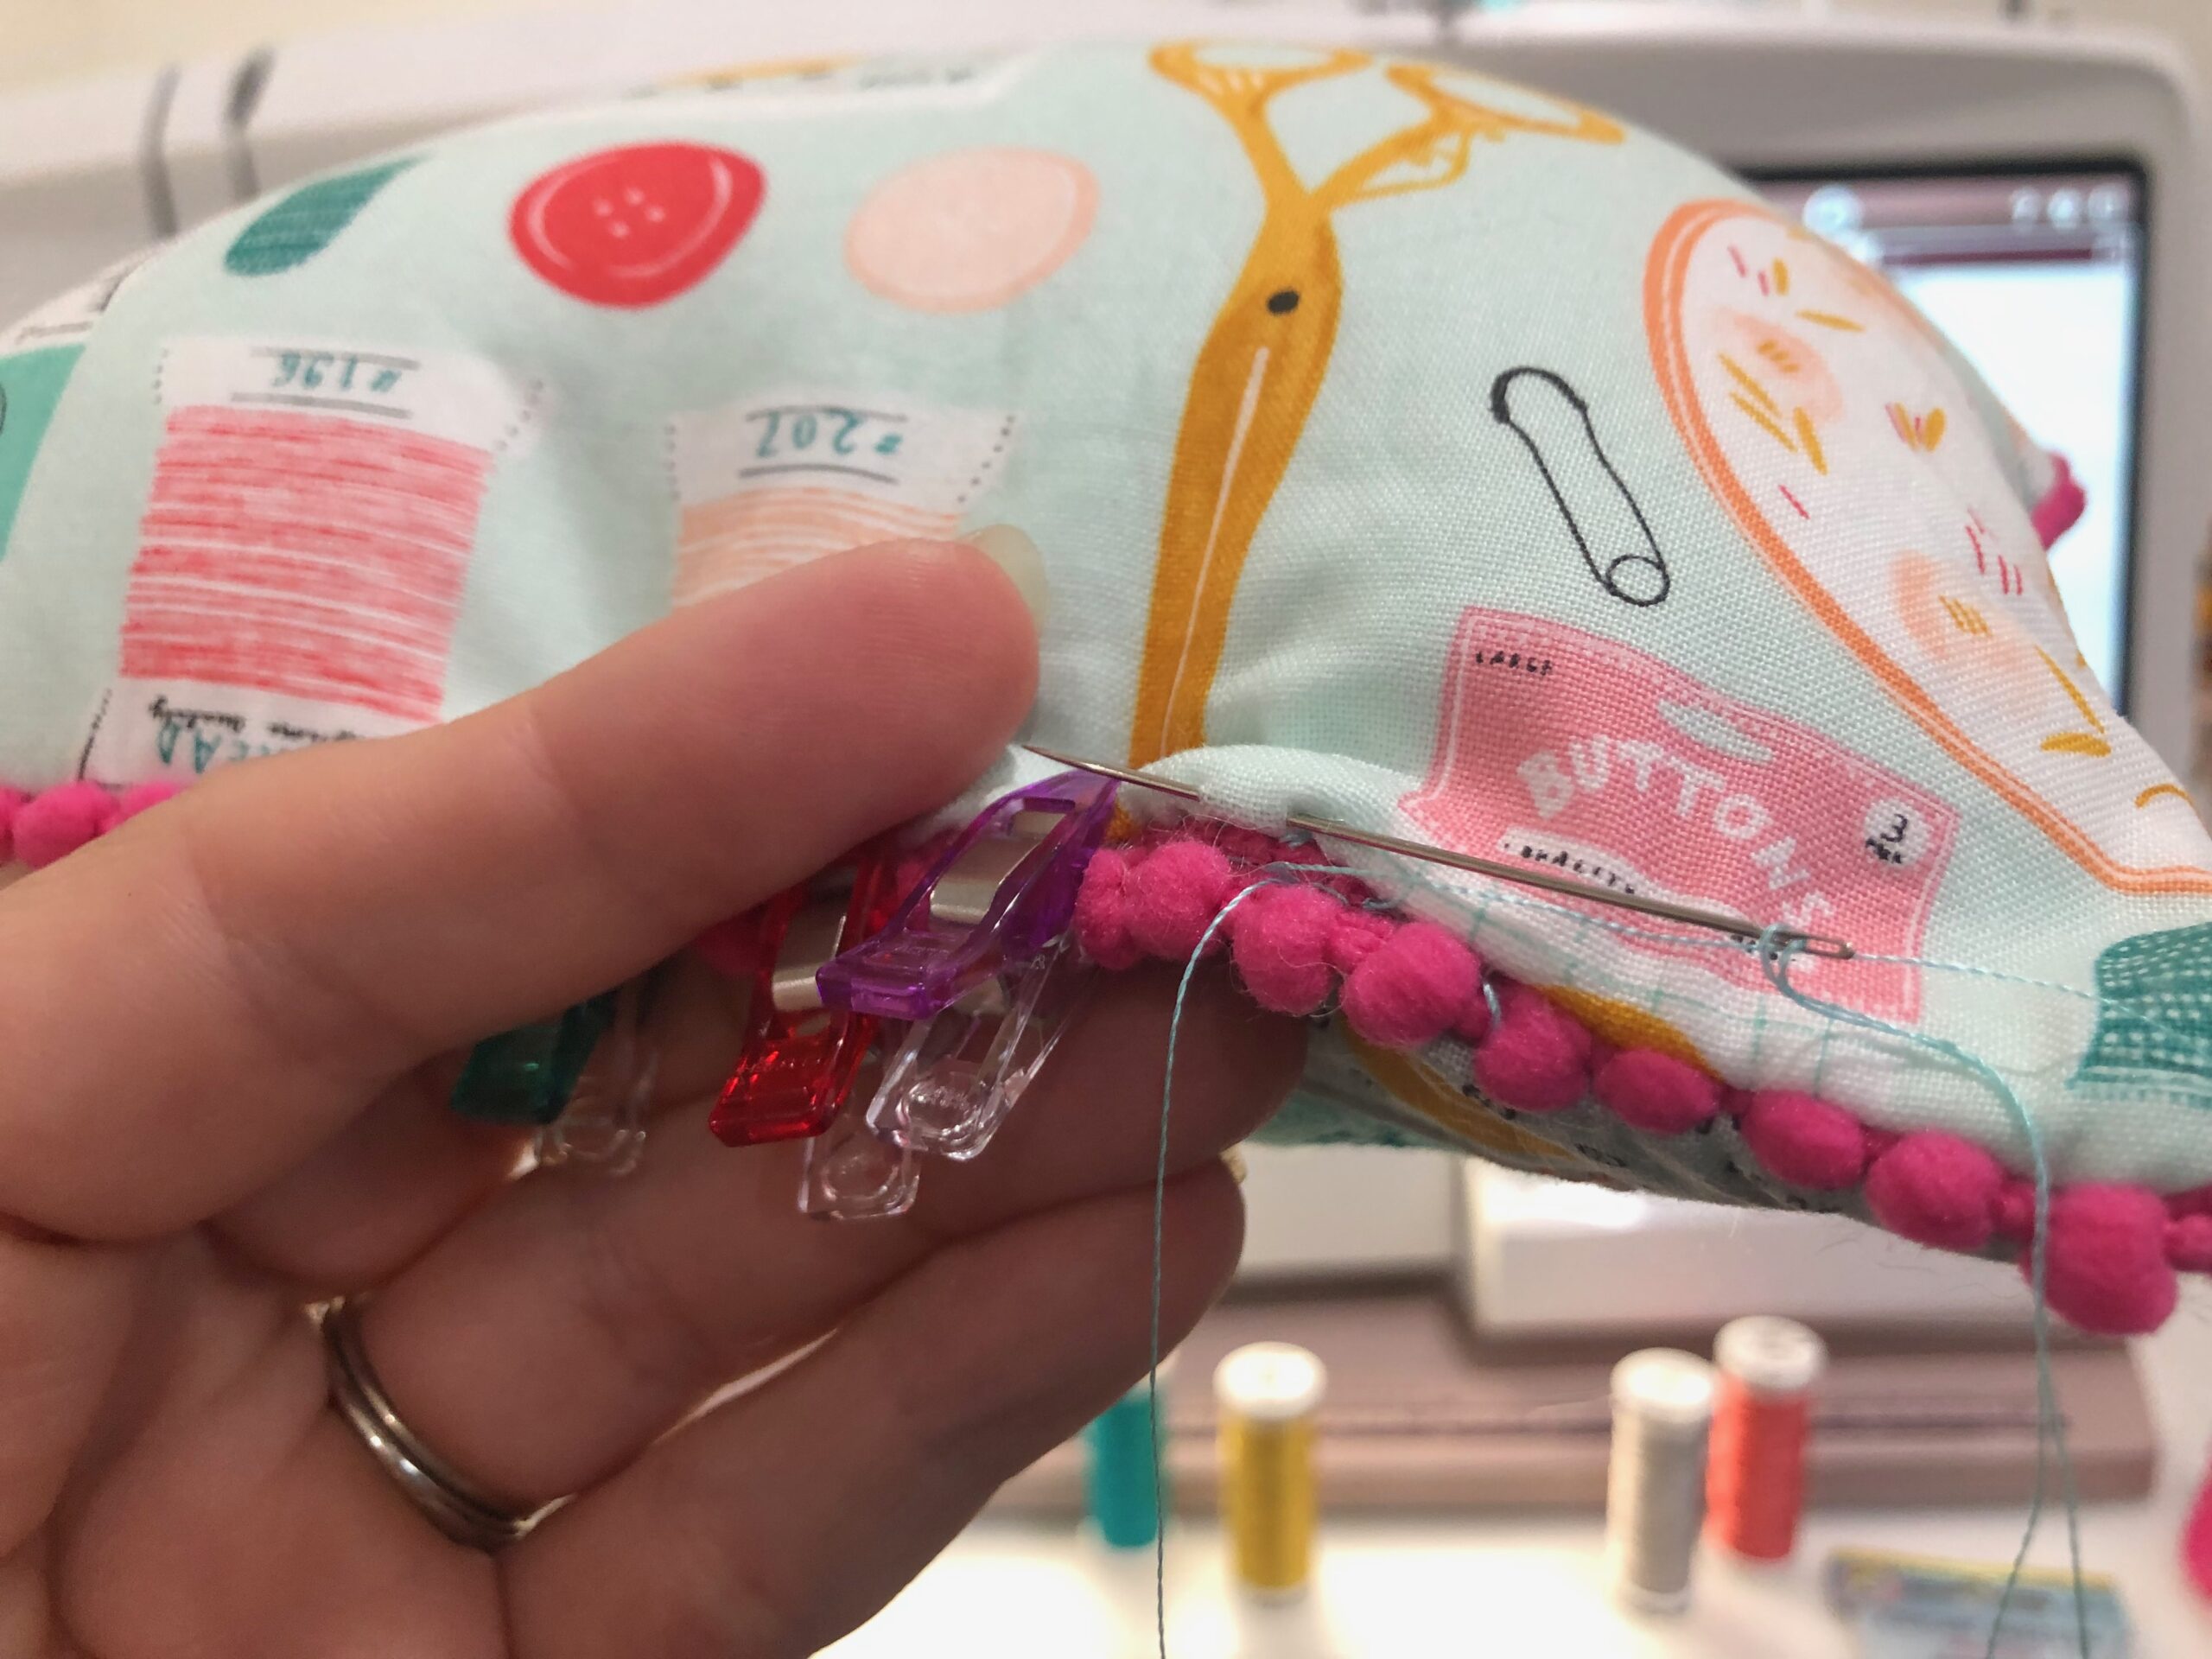
Hand sew the opening closed.
Enjoy the pillow and celebrate your love of sewing!


love this little pillow and your instructions. The embroidery design is perfect. Is it available to download?
Thank you Lynitta.
Yes, the design can be found here: https://sulky.com/love-to-sew-full-bobbins-machine-embroidery-design
Enjoy!