“Thanks A Lot” Appliqué T-Shirt
DIY Designer Dupe
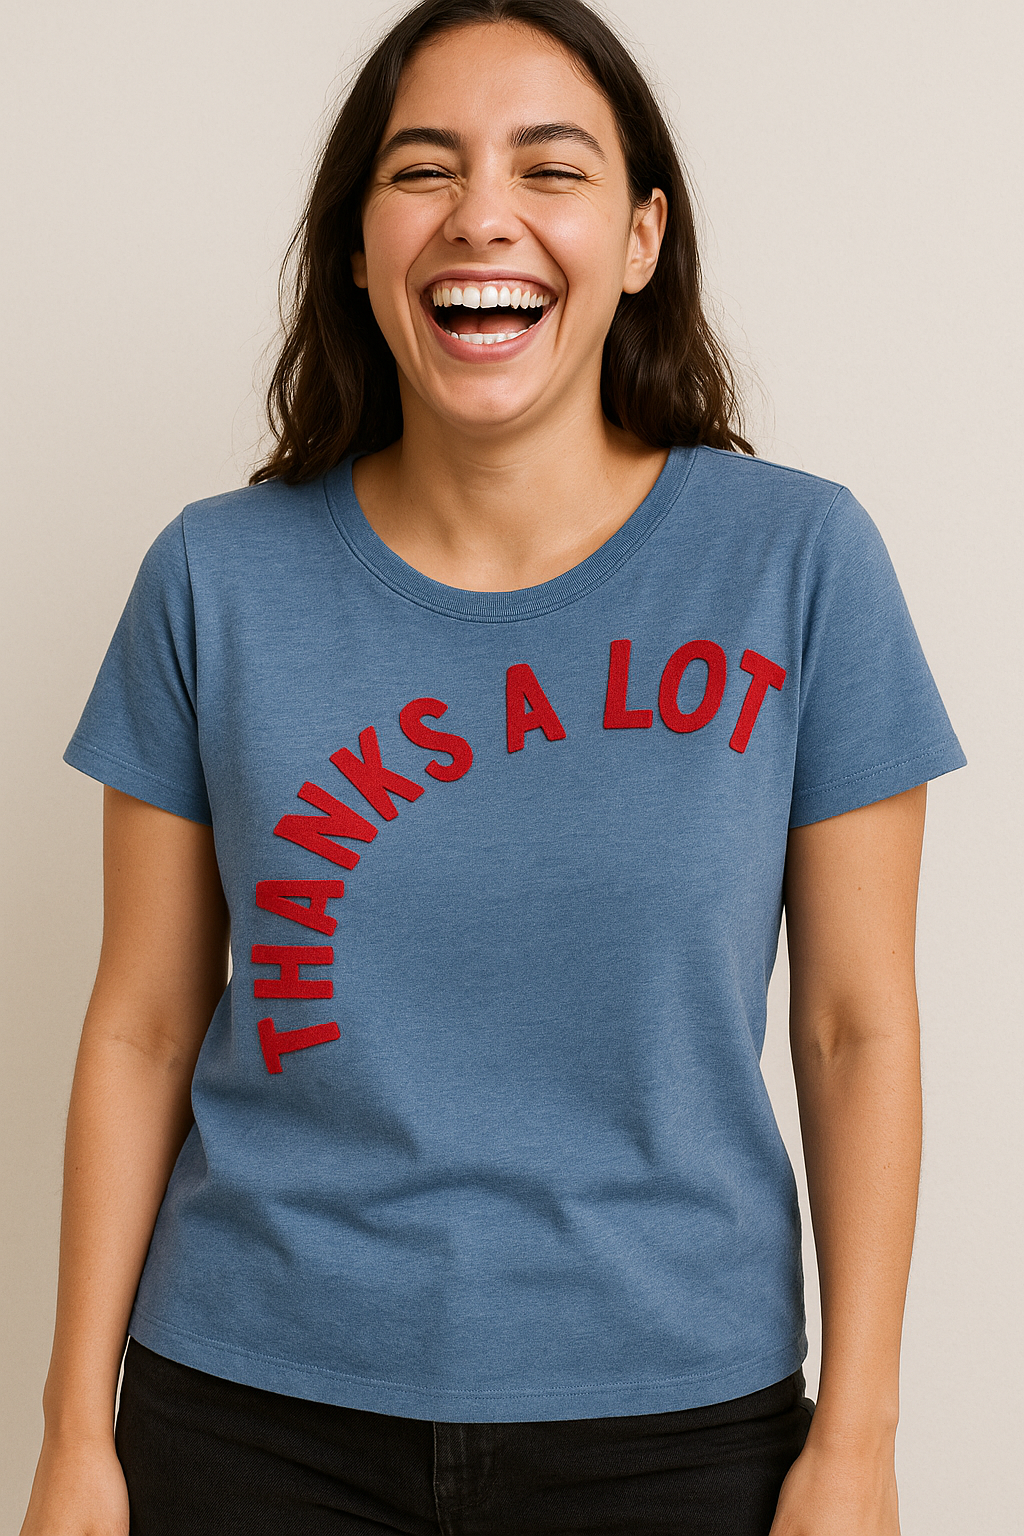
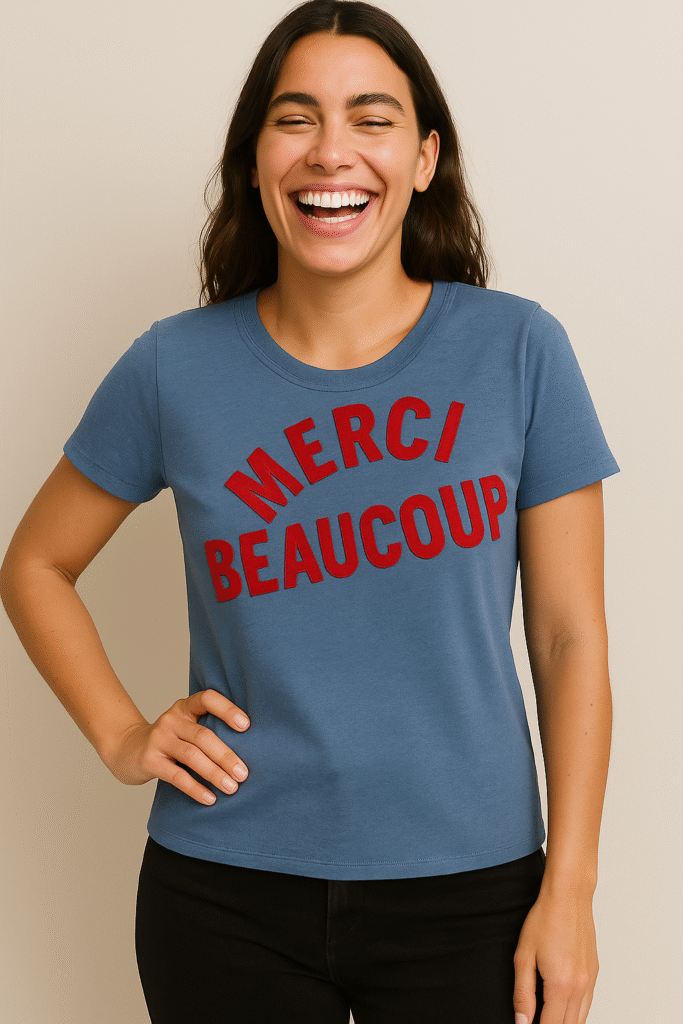
You may have seen that playful “Thanks A Lot” T-shirt gracing high-end racks (we’re looking at you, Neiman Marcus) with a hefty $135 price tag. It’s cute. It’s cheeky. But let’s be honest—it’s also just a basic tee with appliqué letters. Using your sewing talents, you can recreate this look for under $15. Here’s how to do it.
✂️ Supplies for Thanks a Lot T-Shirt
- Basic knit T-shirt (cotton or cotton blend works best)
- Red knit fabric (1/4 yard is more than enough)
- Sulky Perfect Appliqué Fusible Web
- Sulky 50 wt. Cotton Thread in red (or a color that pops against your shirt)
- Printed block letters for tracing (or use this template)
- size 70/10 Jersey or Universal Needle
🪡 Step-by-Step Instructions
1. Choose A Font
Download a bold, simple block font like Arial Black, Impact, or Futura Extra Bold. Type out “THANKS A LOT” in all caps, adjusting the size so that the letters will fit in a gentle arc from the left side seam to the upper right chest of the shirt.
Or, download the Thanks a Lot template created for the featured T-shirt.
Print the template.
2. Create the Appliqué
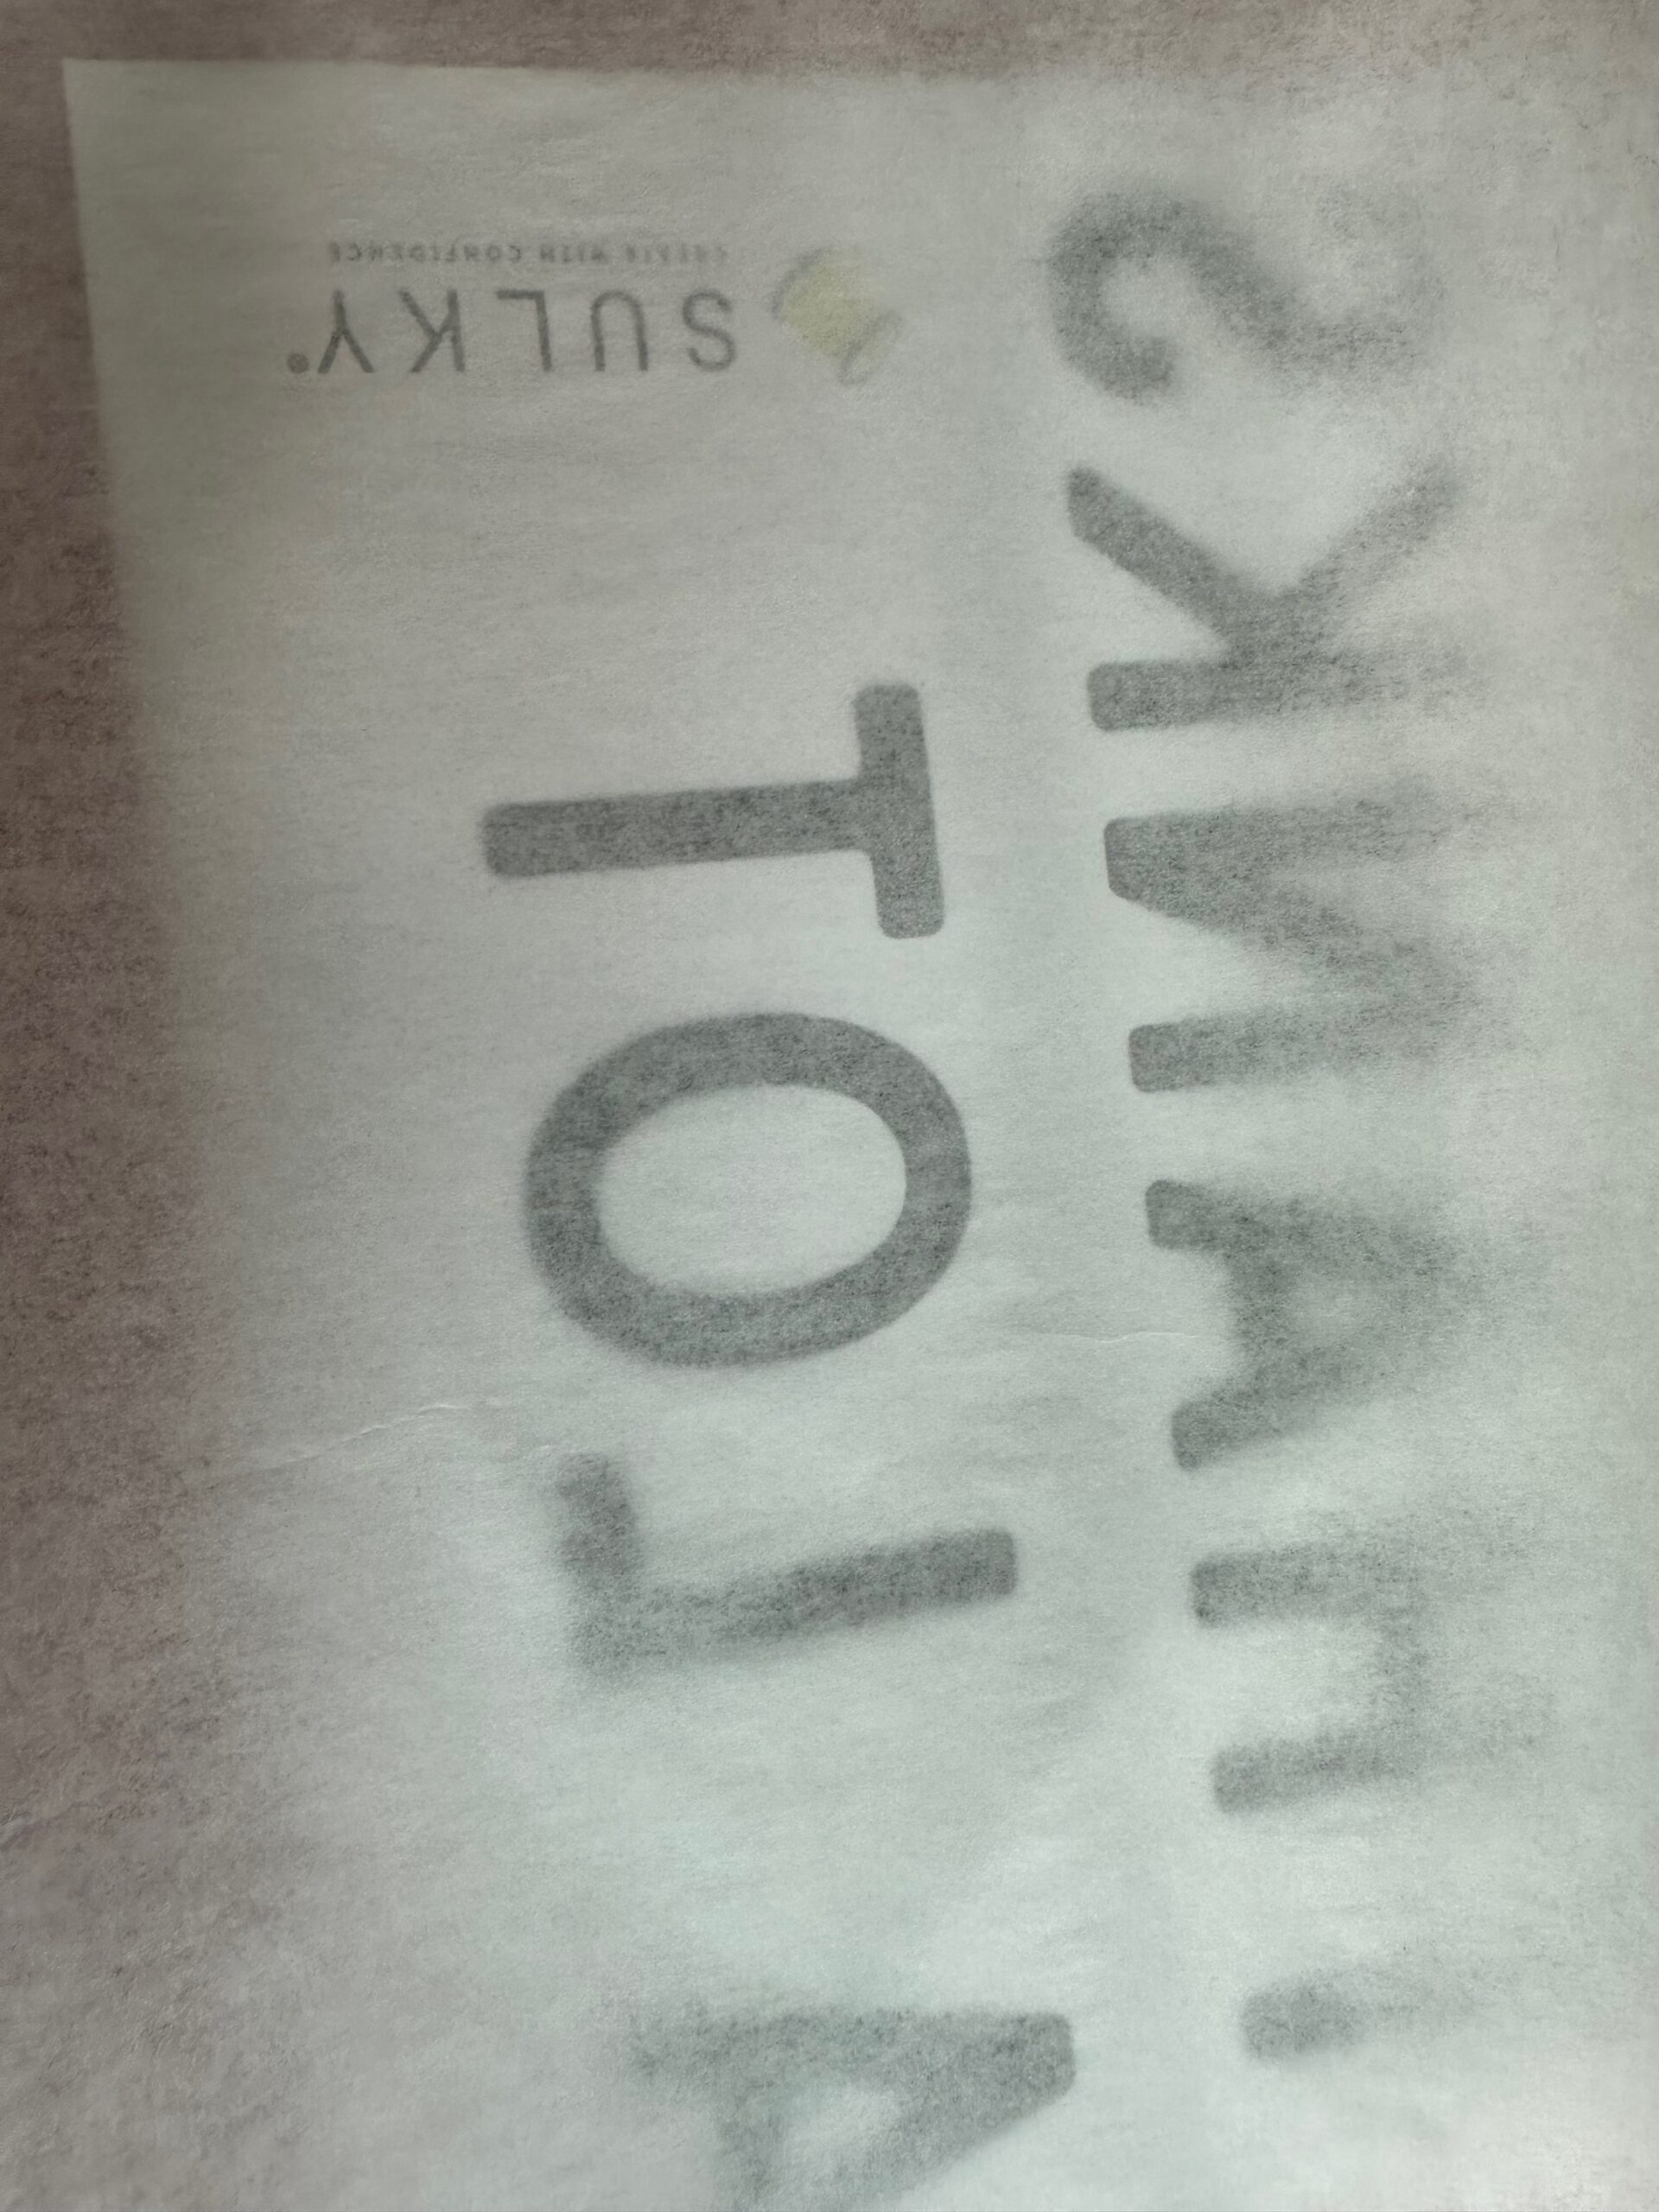
Trace the block letters in reverse (mirror image) onto the paper side of the fusible web.
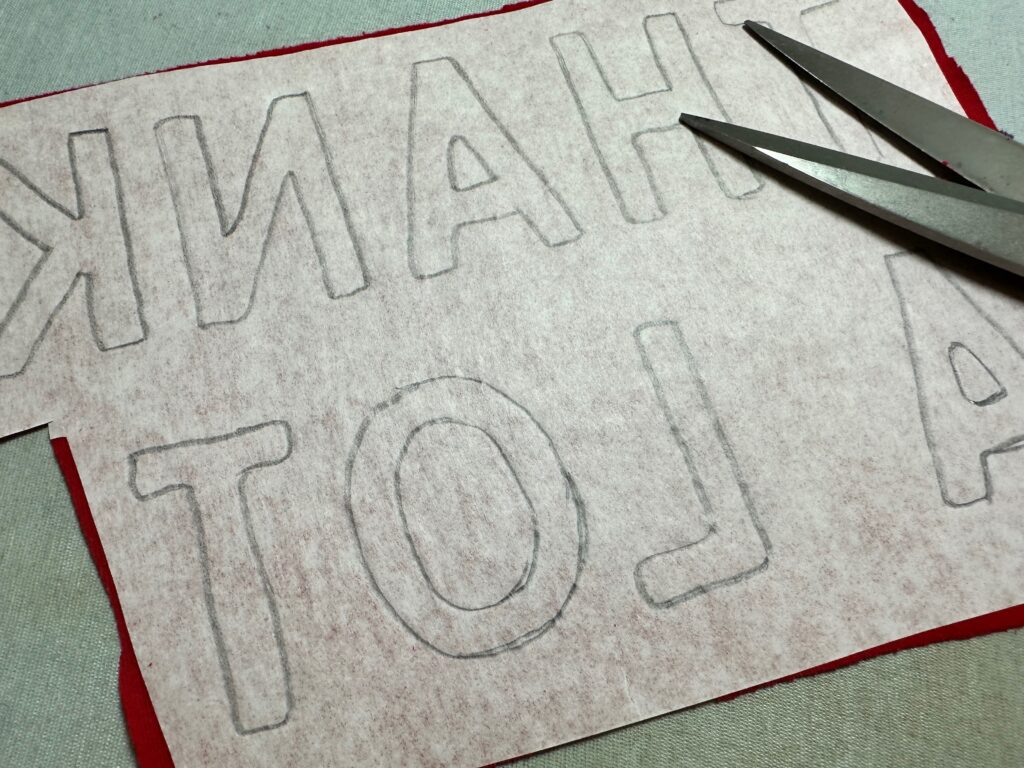
Next, fuse the Fusible Web to the wrong side of the red knit fabric, being careful to not stretch it. Then, cut out each letter.

3. Arrange the Design
Peel off the fusible web paper backing from each letter.
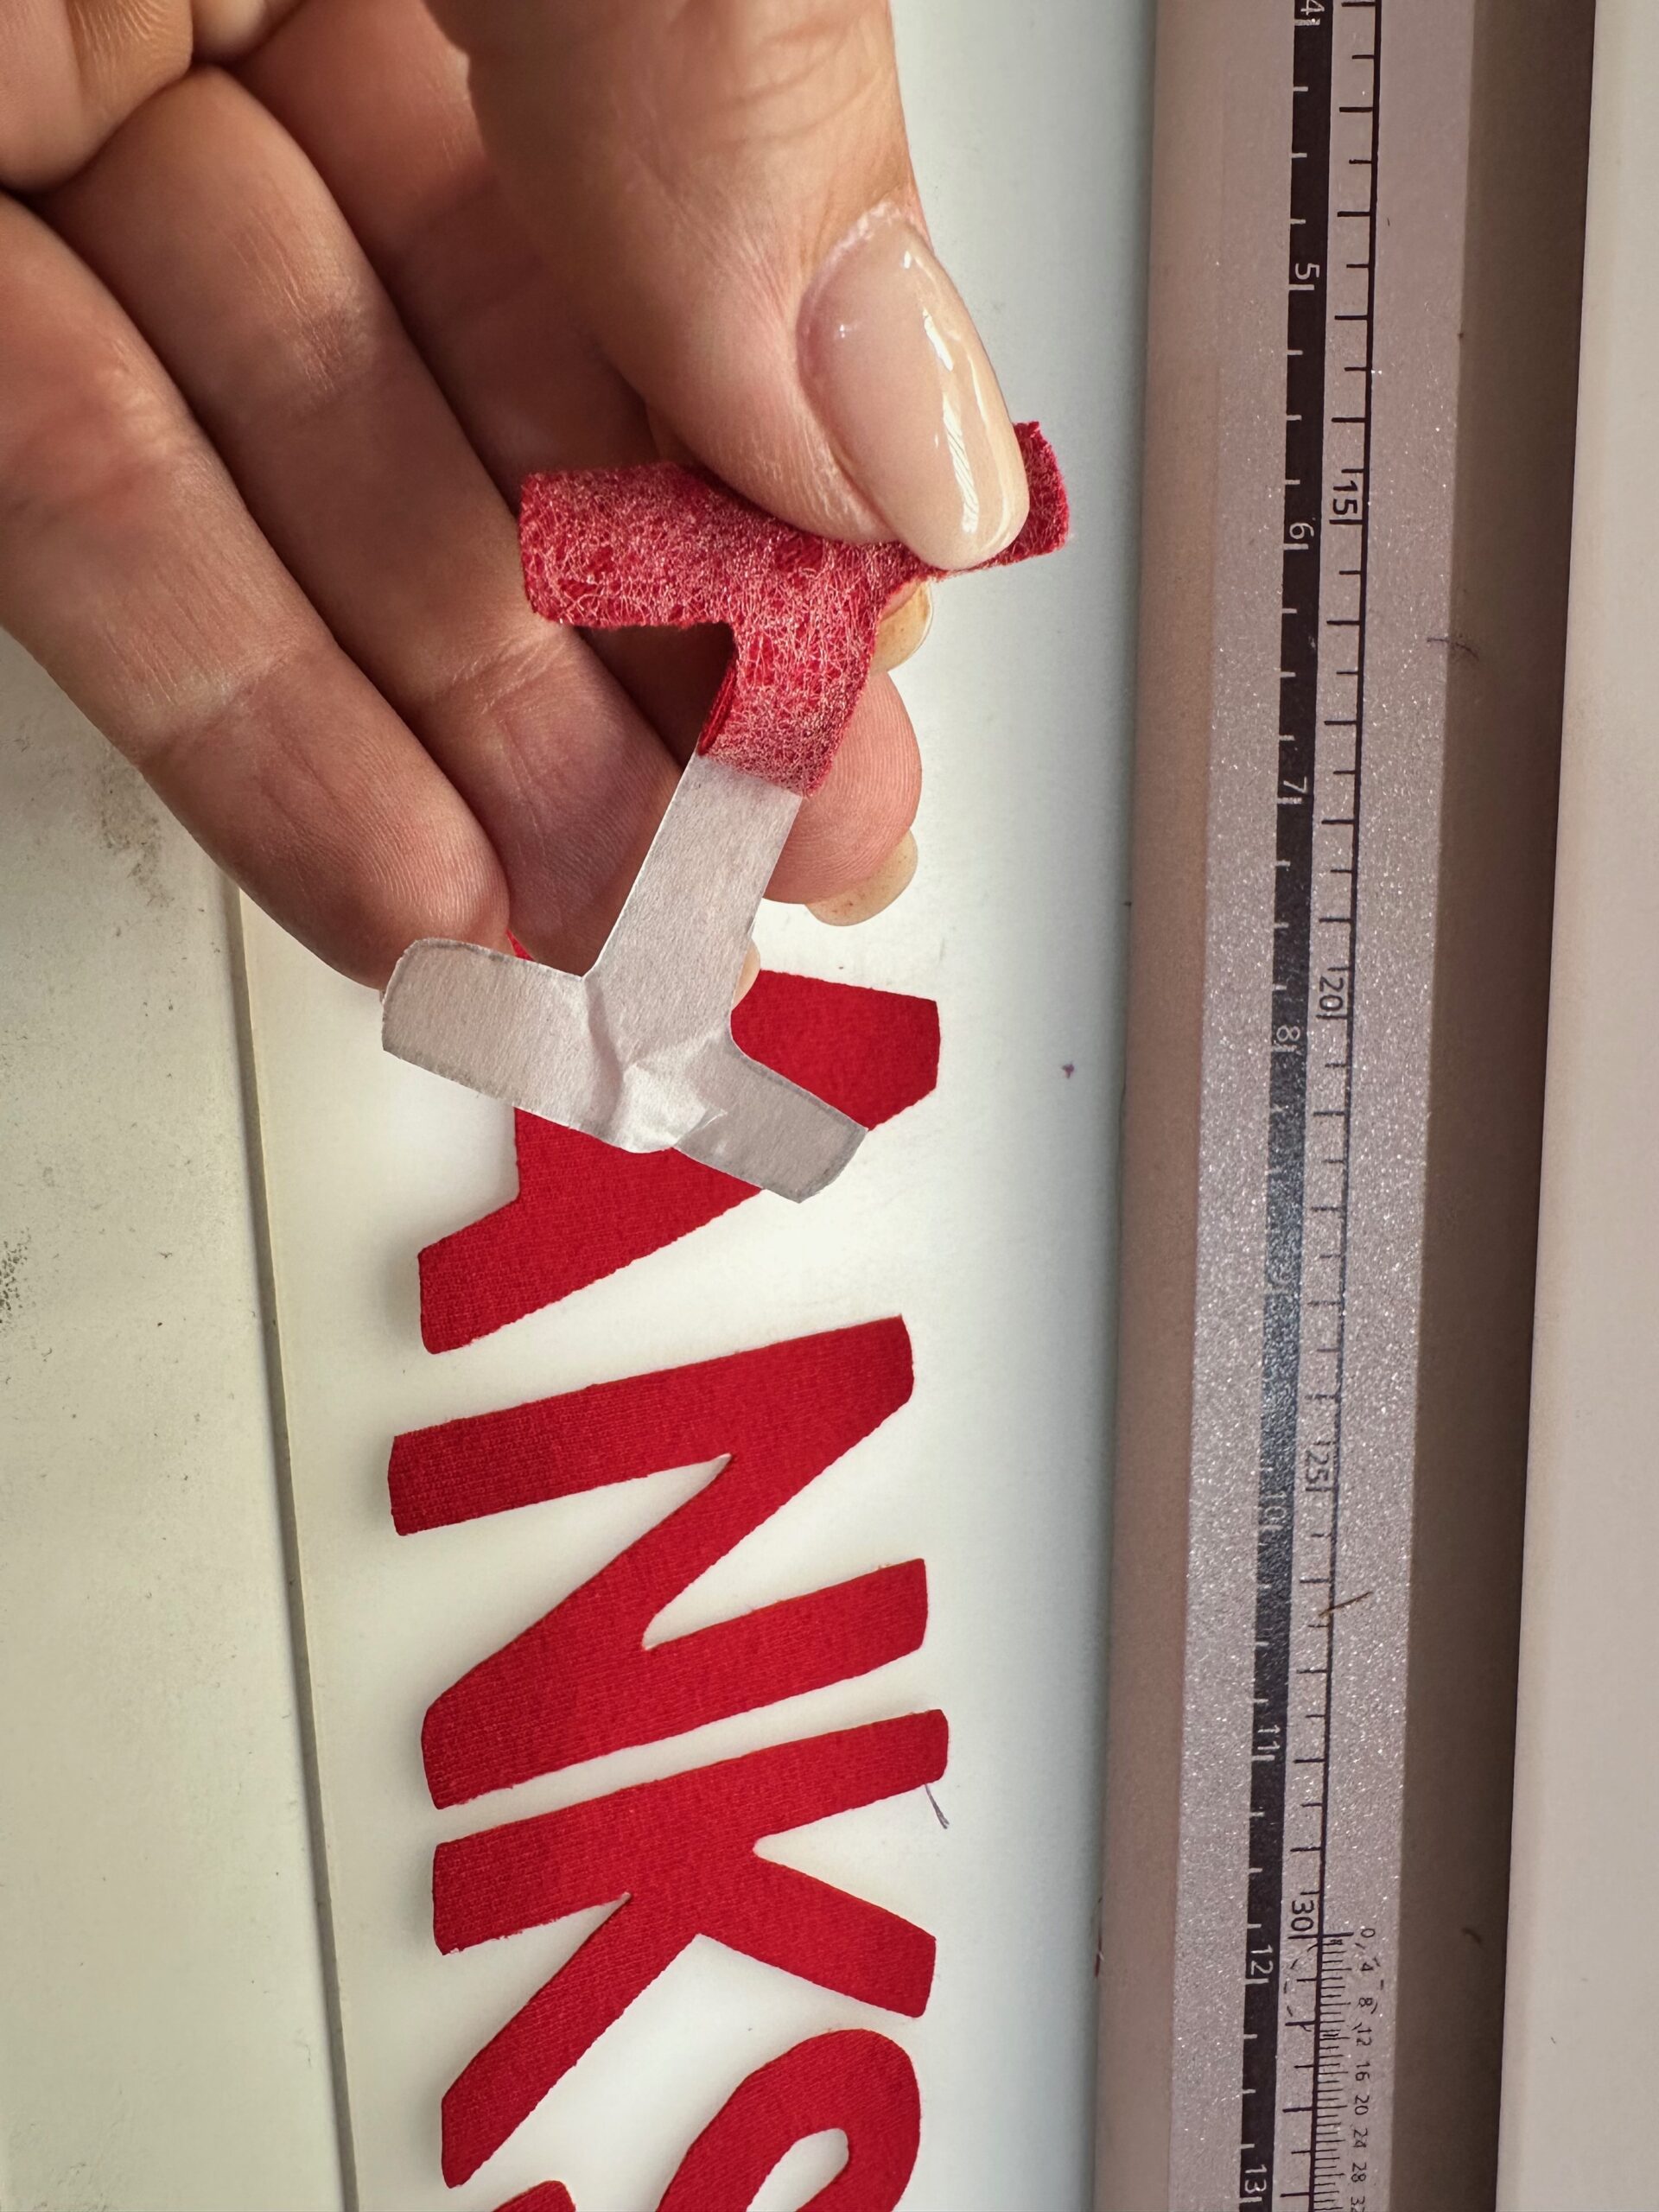
Next, arrange the letters in an arc, starting from the lower left side of the shirt and curving up toward the collar and across the chest.

Use a ruler or chalk to help with placement and symmetry.
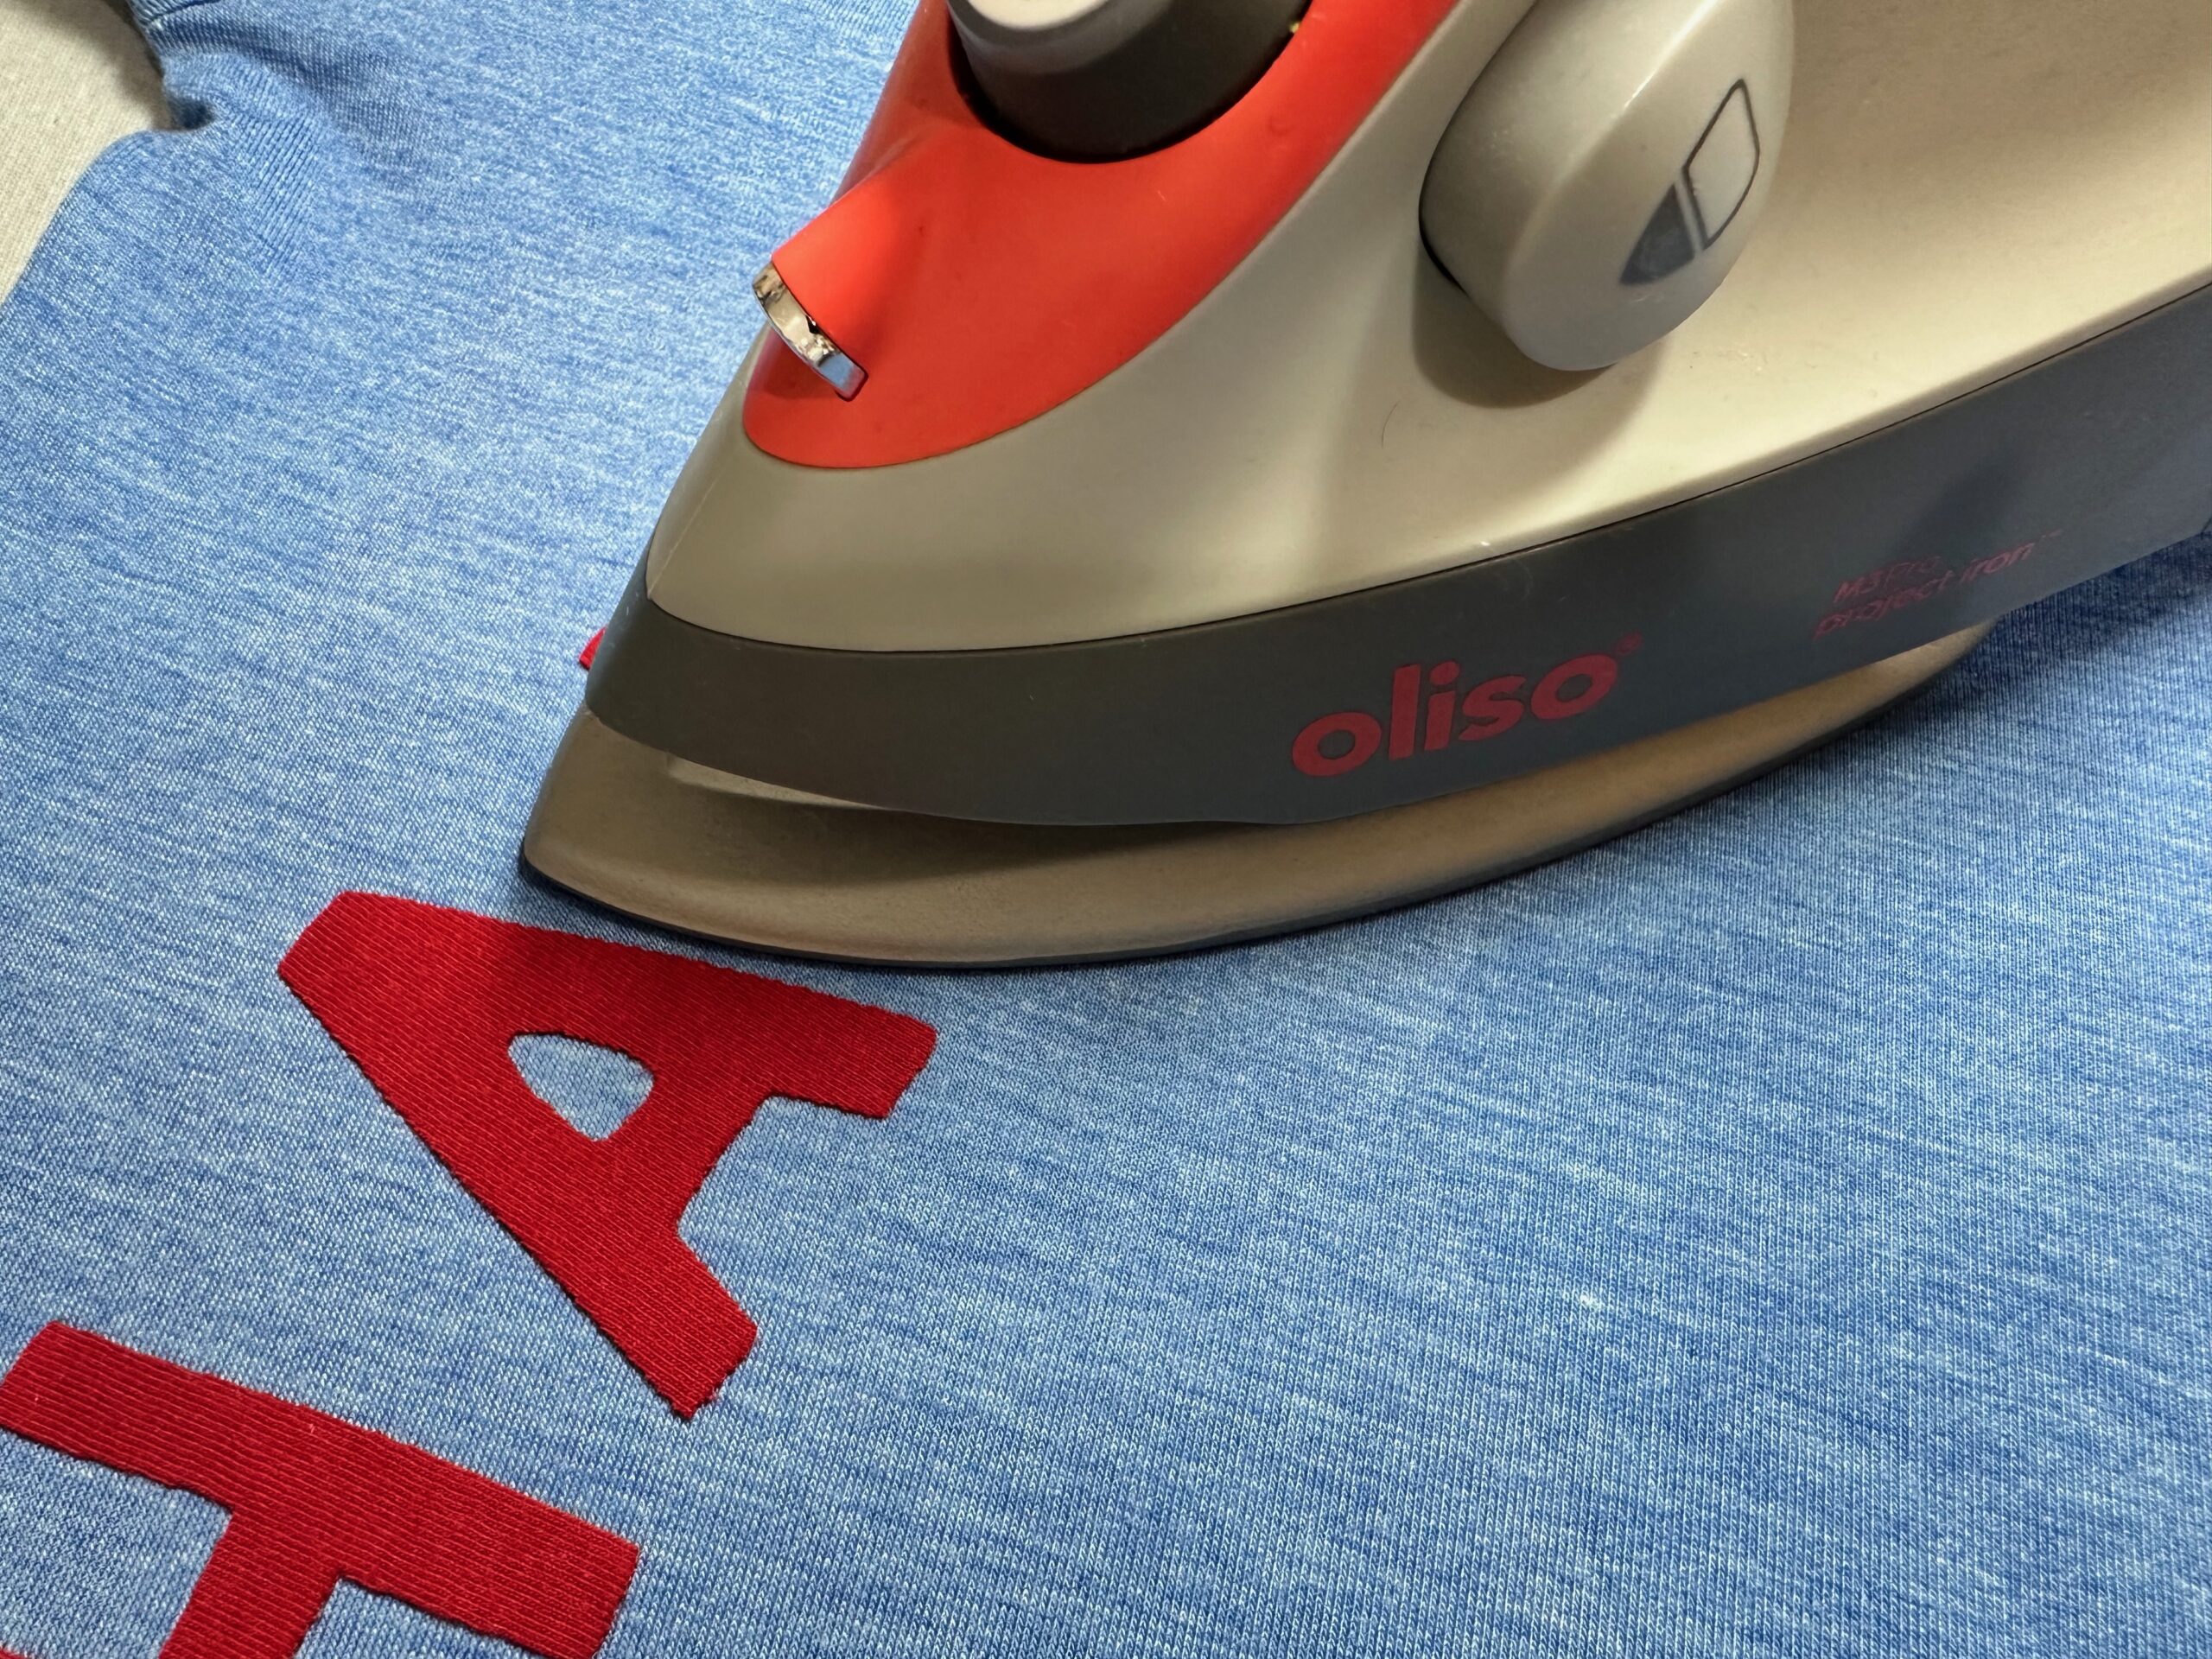
When you’re happy with the appliqué placements, fuse the letters onto the T-shirt using a medium-temp iron. If desired, use a press cloth to protect the fabric and iron soleplate.
4. Appliqué Stitching
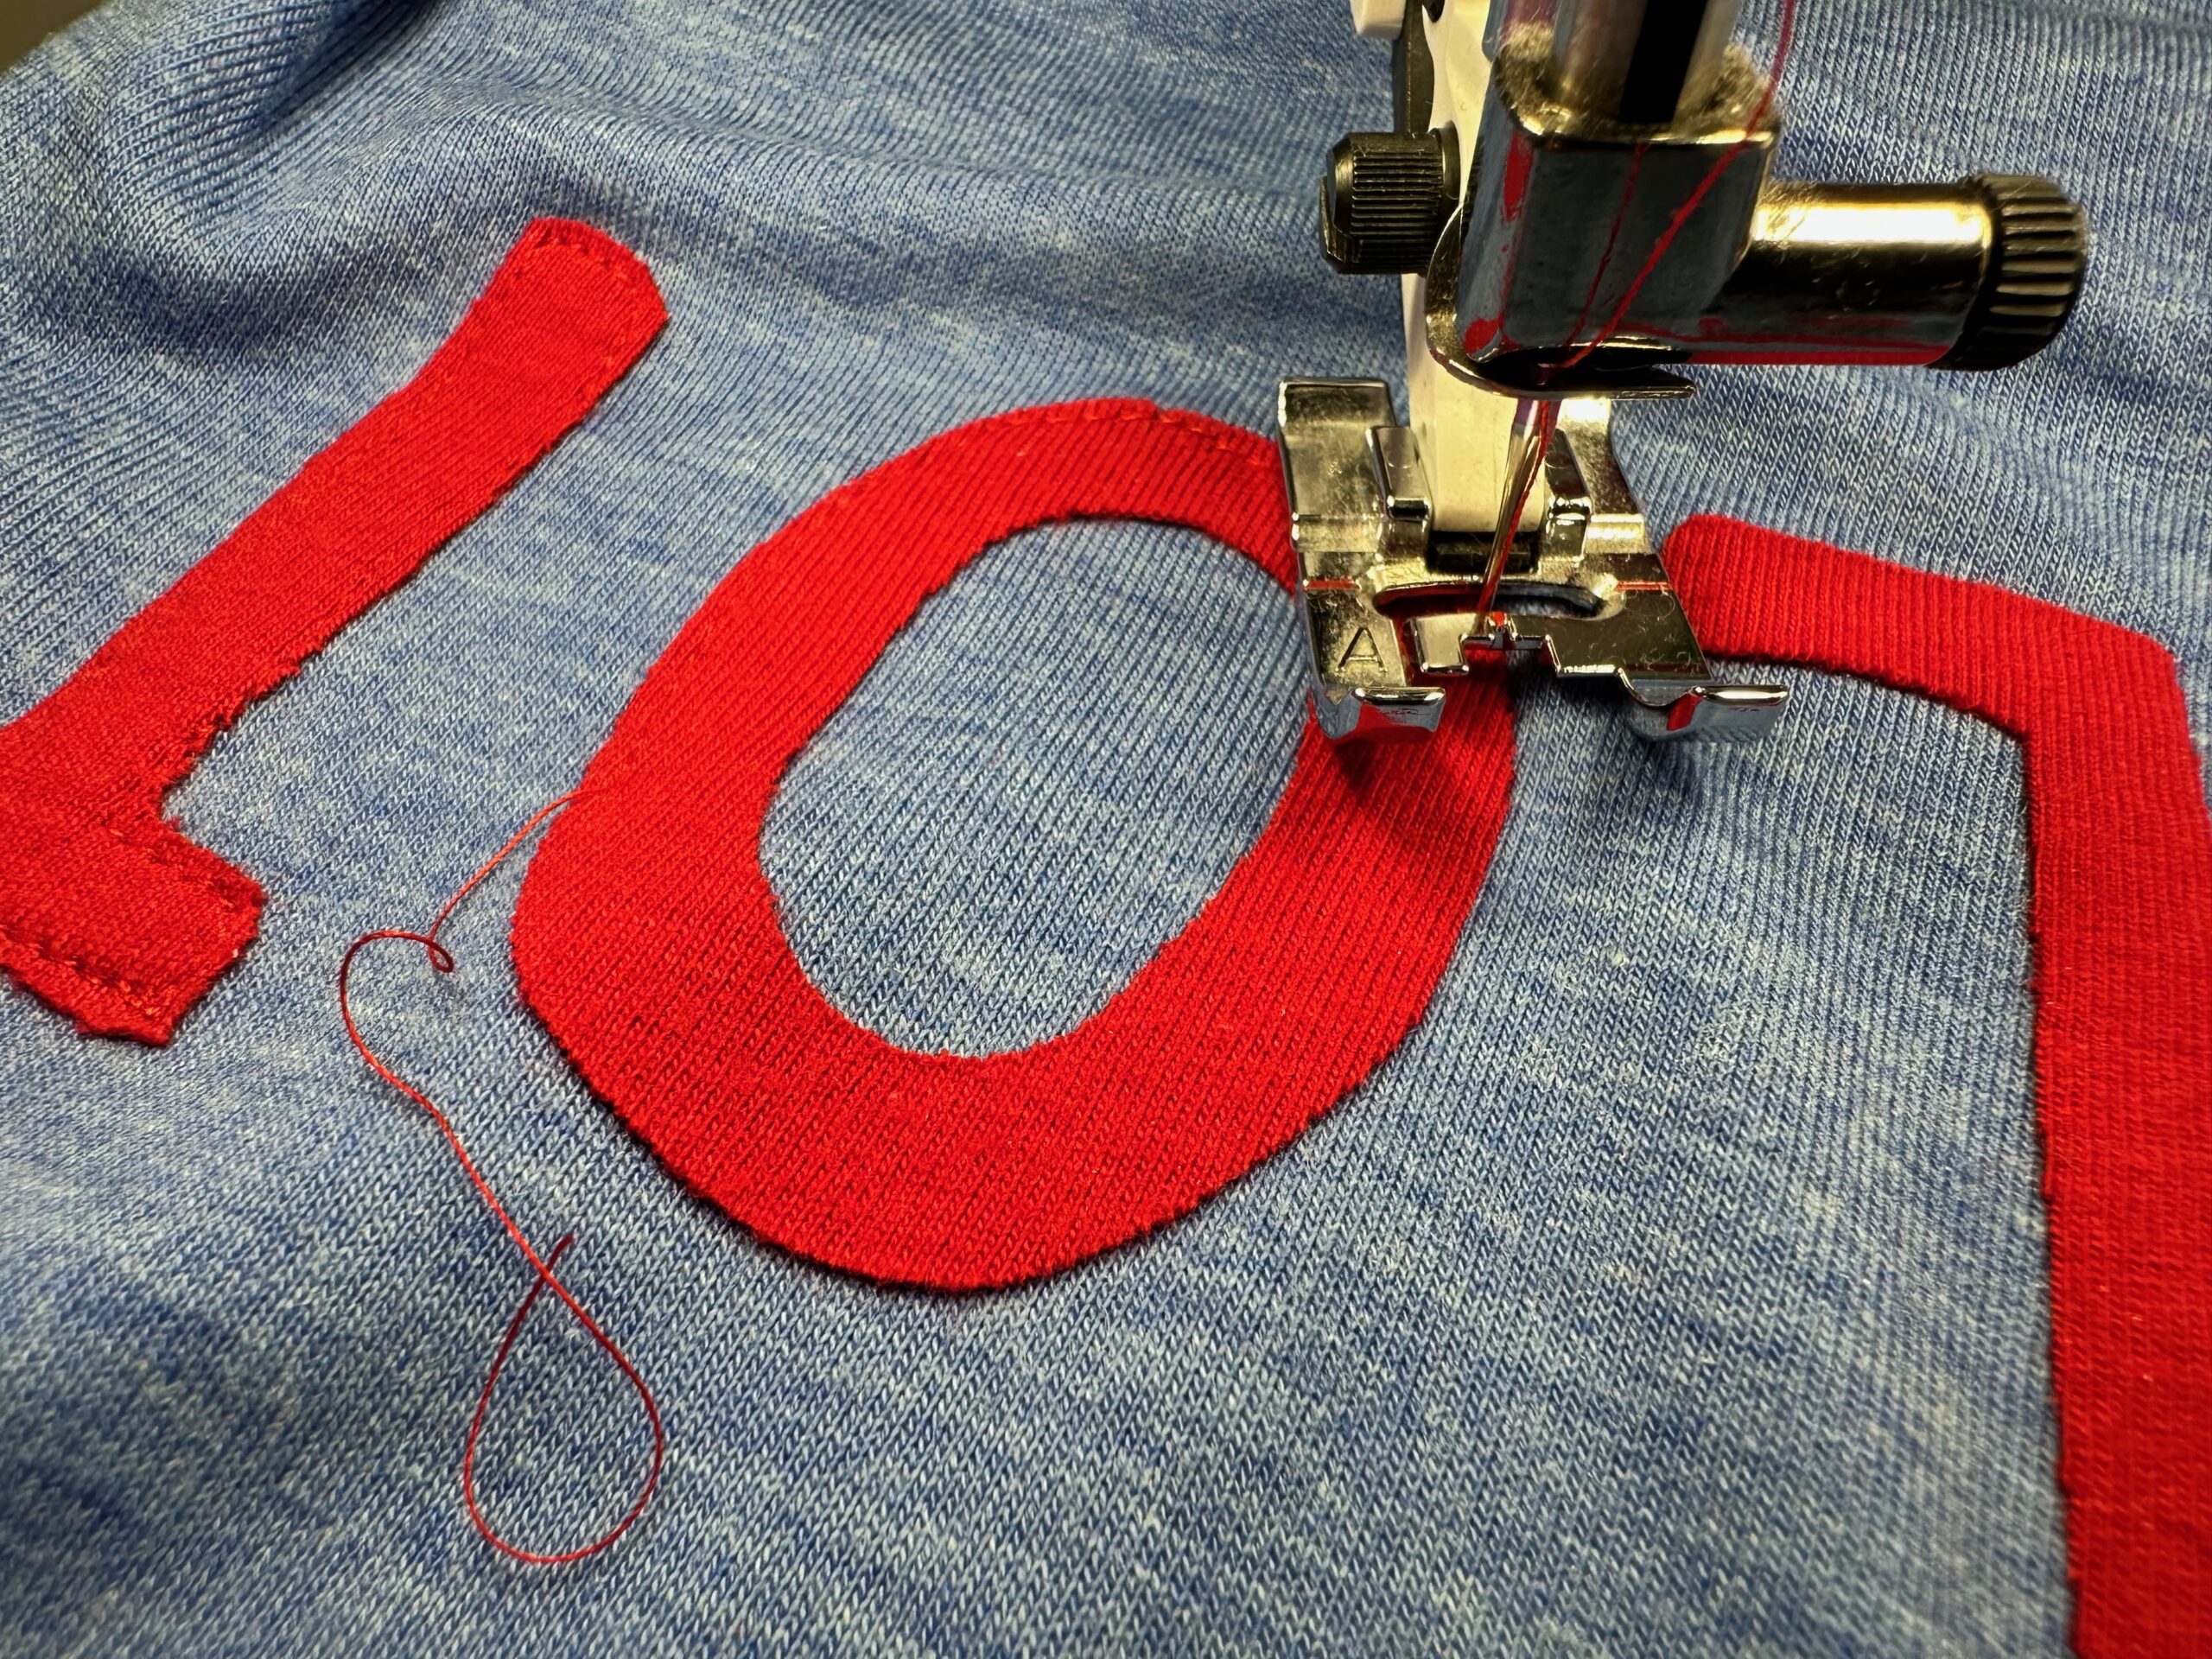
Thread the machine with Sulky 50 wt. Cotton Thread—this stuff is strong, silky, and gives your stitches a professional finish.
Using a tight zigzag, straight or satin stitch, sew the perimeter of each letter. Go slowly around corners and pivot at sharp angles. This step is what elevates your DIY from craft to couture.
5. Final Touches
Give the shirt a good press to smooth everything out.
The designer shirt also featured contrast stitching at the sleeve and hem edges. If desired, mimic this look using a coverstitch machine or wide zigzag stitch in the red thread.
🧵 The Result?
A cheeky, polished tee that looks just like the $135 designer version, minus the guilt. The best part? You can personalize it—try other languages, phrases or colors, and make one for a friend while you’re at it.

💸 Cost Breakdown:
-
Basic T-shirt: $5–$10
- Knit appliqué fabric: $1
-
Perfect Appliqué Fusible Web: $2 (for a small piece)
-
Sulky Thread: $2.69
Total: $10–$15
This project is great for beginner sewists and a perfect weekend craft. Who says you need a big budget to look like a big deal?
Happy stitching, and thanks a lot for reading!
