Upcycled reusable shopping bags
I need to confess. I am obsessive when it comes to the environment. I recycle everything, I compost, I reuse and I upcycle as much as posssible. I think it is important to be a good steward of the one and only planet in the Galaxy that God made for us humans to live on. I always have my reusable shopping bags in my car in case I need to stop at the store, but the ones that I had purchased are starting to wear out. Instead of going and buying more, I started looking around the house for something I could use to make shopping bags. I found this old pillow case and my hubby’s old white t-shirts that he was using as rags in the garage. Perfect! Here is how I made them into my new shopping bags!
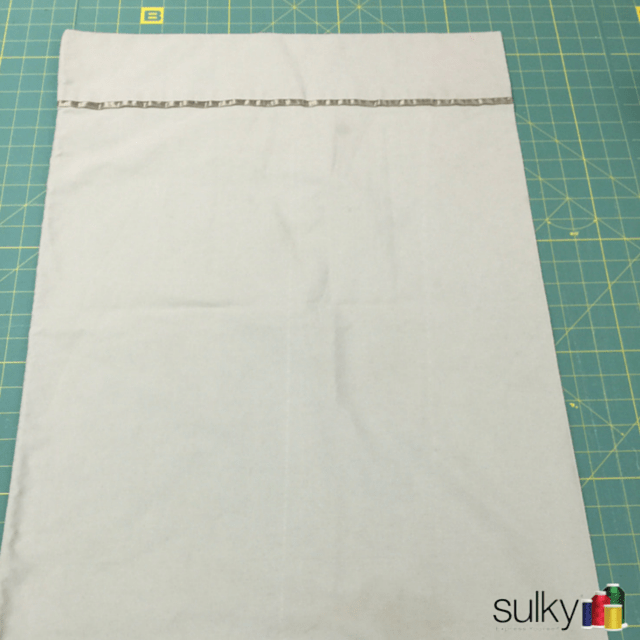
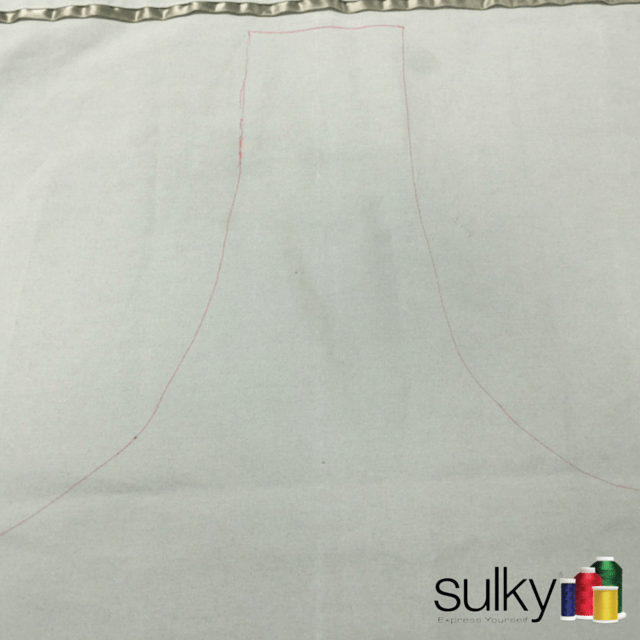
I started with a regular pillow case.
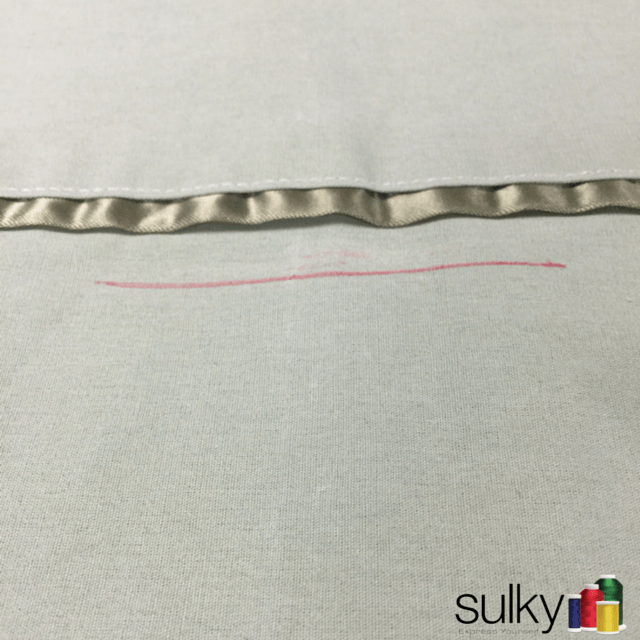
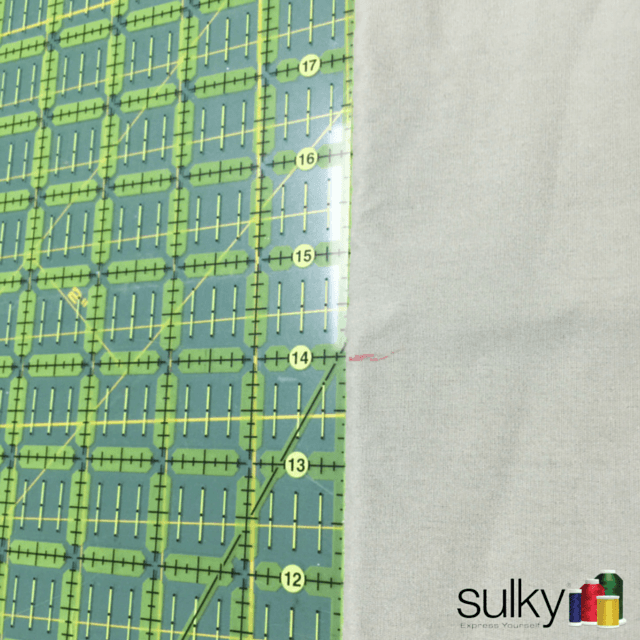
This first thing I did was mark the center of the top, right under the piping and on each side up 14″ from the bottom. I used a FriXion pen to make the marks.
Then I just connected the top to the side marks in an arch. This doesn’t have to be perfect, I just eye-balled it.
Now cut on the line you drew!
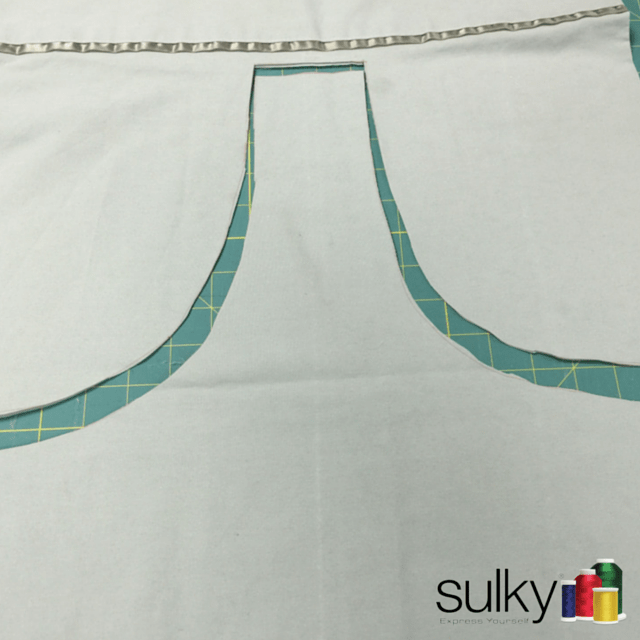
To finish it off, just sew the top of the handle together and turn under the raw edges. I used my rolled hem foot to do this and Sulky Poly Deco Thread. You could use this to practice some decorative stitches that you don’t normally use on your machine as well! HINT: If you don’t have any old pillow cases around your house, they always have them at thrift stores for as little as 25 cents!
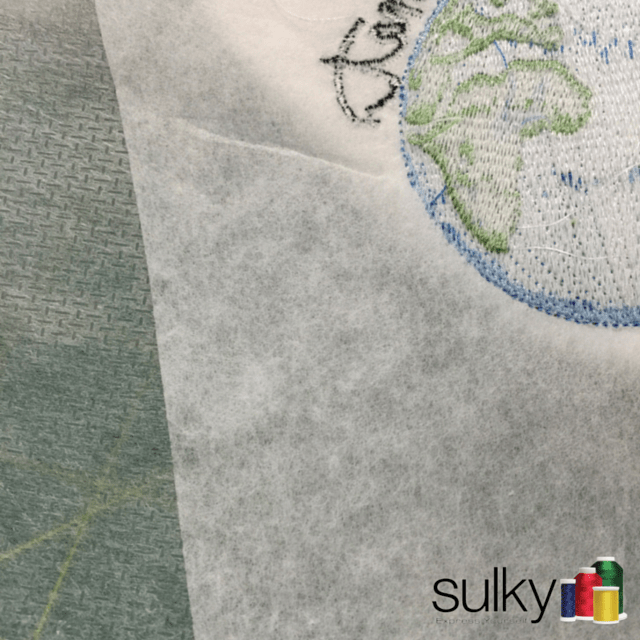
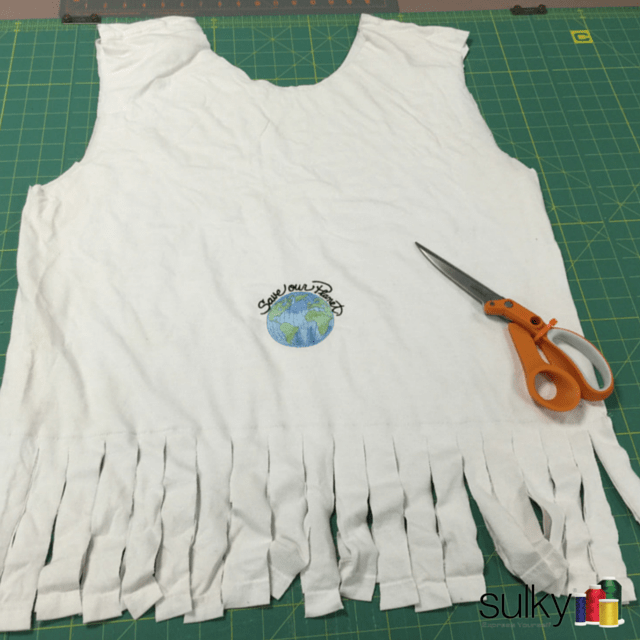
My second upcycled bag is from one of hubby’s old t-shirts. When his white t-shirts get too stained to wear, he puts them in a stack in the garage to use as rags or towels. (He says an old t-shirt is the perfect things to dry off the car after it has been washed). I took a shirt and started by putting this embroidery design in the center of the front of the shirt.

Since this is knit, I used Sulky Soft ‘n Sheer™ and Sulky Tear-Easy™ for my stabilizers. The design is pretty dense so I wanted to be sure it came out nice and flat.
Side note: When this design was stitching out, I kept getting this message.

I did rethread once, but it happened again so I changed my needle to a brand new one. I didn’t have another thread break for the rest of the day!
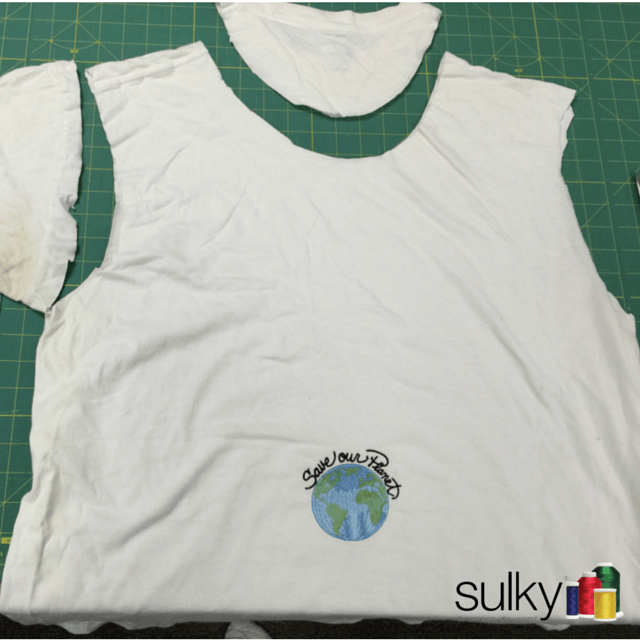
Once the design was all stitched out, I laid the shirt flat on my cutting table and cut off the sleeves and cut the neck so I would have a bigger bag opening.
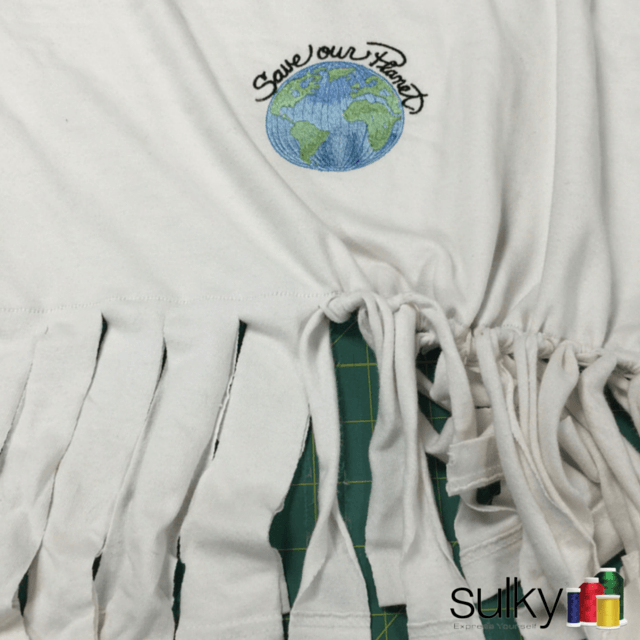
Next, I sewed the bottom of the shirt closed about 6″ up from the bottom. Then I cut up from the bottom to the sew line about every inch to make fringe (because it’s fun!).
Fringe is a fun little added detail, but if you tie the fringe together, is also strengthens the bottom of the bag so it can hold more stuff!
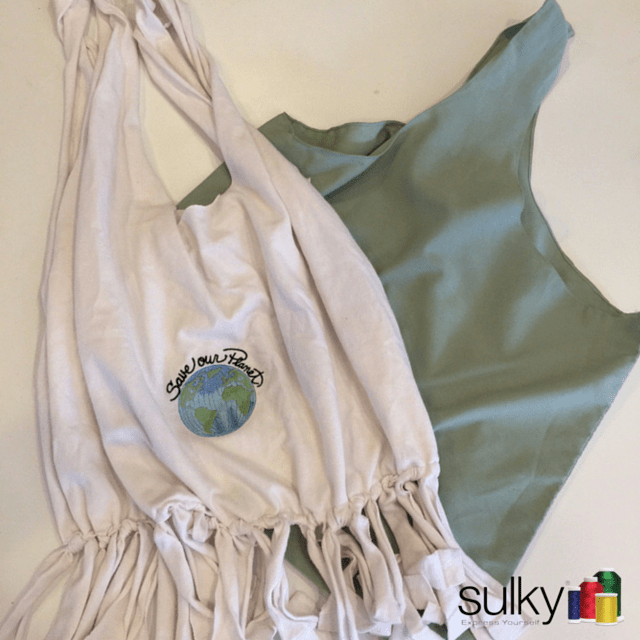
And here they are! My two new (sorta new) shopping bags. Quite frankly, I like these better than the ones I bought at the store. I wonder if hubby would miss some of his other t-shirts? 🙂
Do you upcycle? What are your tips for saving our planet? I would love to hear them in the comments below.
Happy Sewing!


2 Comments
Beal
I shop with reusable bags, but I need the disposable plastic for dog poop. So I get those bags from the plastic bag recycling bin. 🙂
Kelly Nagel
Great tip!