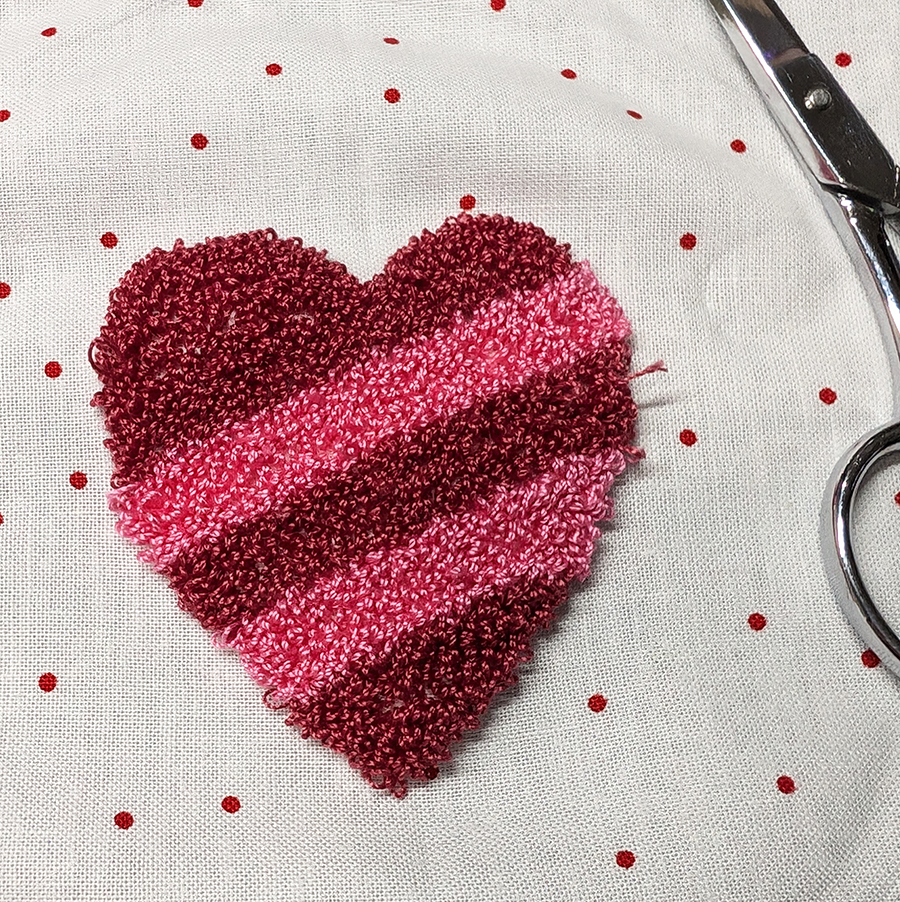
Valentine Punch Needle Patterns
Designed by Heidi Pridemore, the Whimsical Workshop
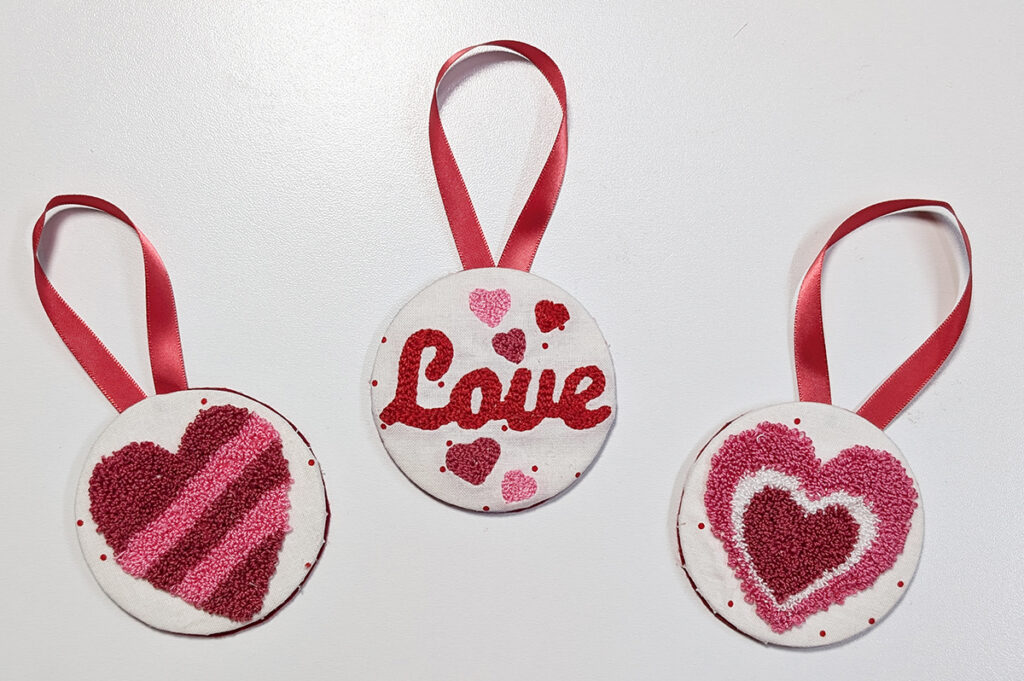
Valentine punch needle embroidery is a fun and accessible craft that allows you to create beautifully textured designs. Sulky 12 wt. Cotton Threads add a luxurious touch to punch needle projects, with their rich colors and silky sheen. Valentine’s Day is the perfect opportunity to infuse your home with handmade love, and what better way to do that than with personalized Valentine Punch Needle Ornaments?
Read on to learn the steps to craft heartwarming punch needle ornaments that can be used as decorations, gift toppers or keepsakes. Whether you’re new to punch needle or a seasoned pro, this project is sure to spark joy and creativity.
VALENTINE PUNCH NEEDLE SUPPLIES
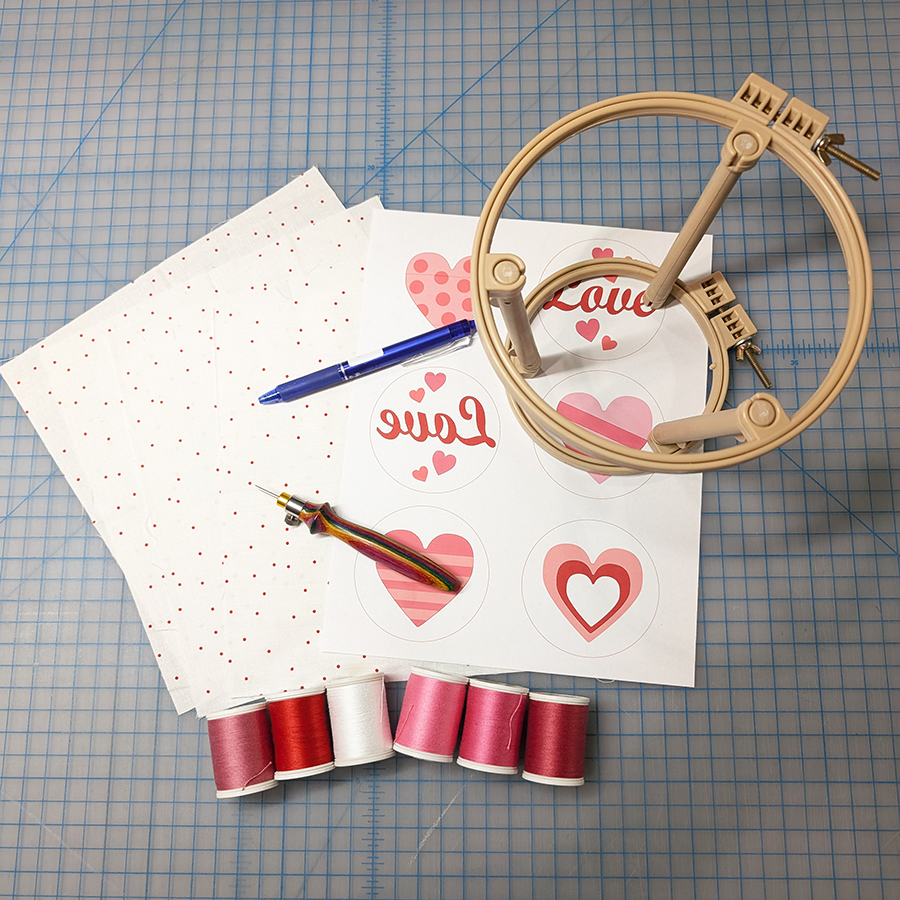
- Punch Needle Patterns (Get these FREE with purchase of our Valentine Petites Thread Palette!)
- 100% Cotton Fabric
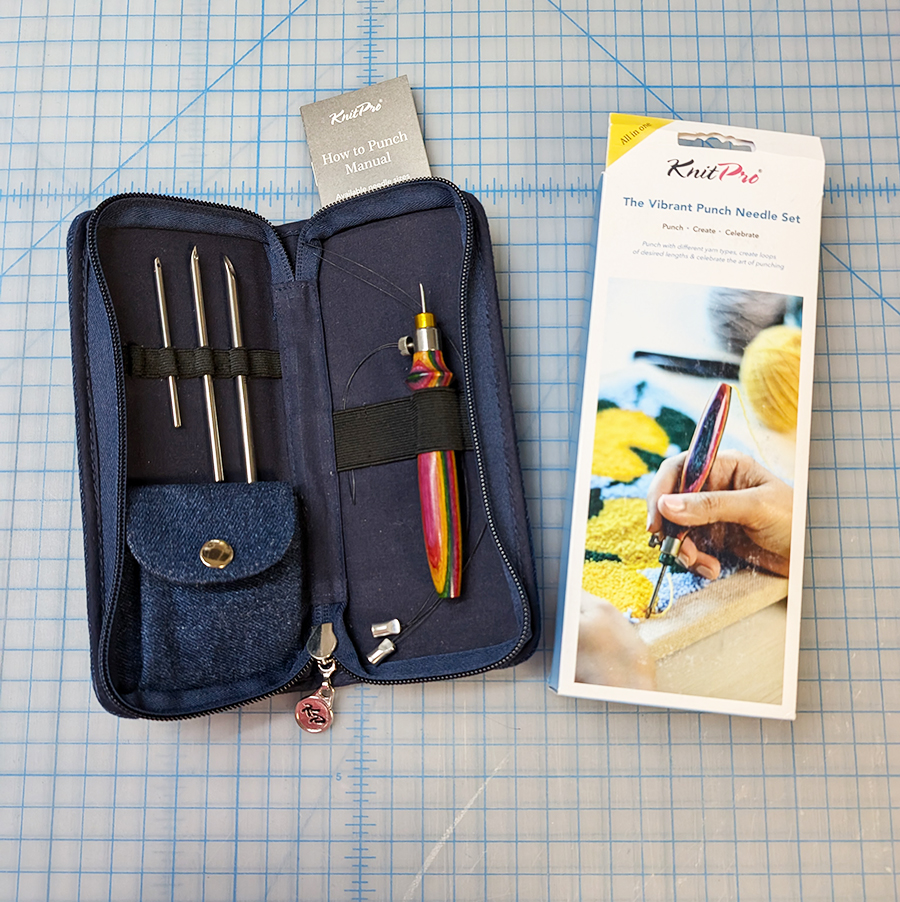
- Punch Needle Tool Set
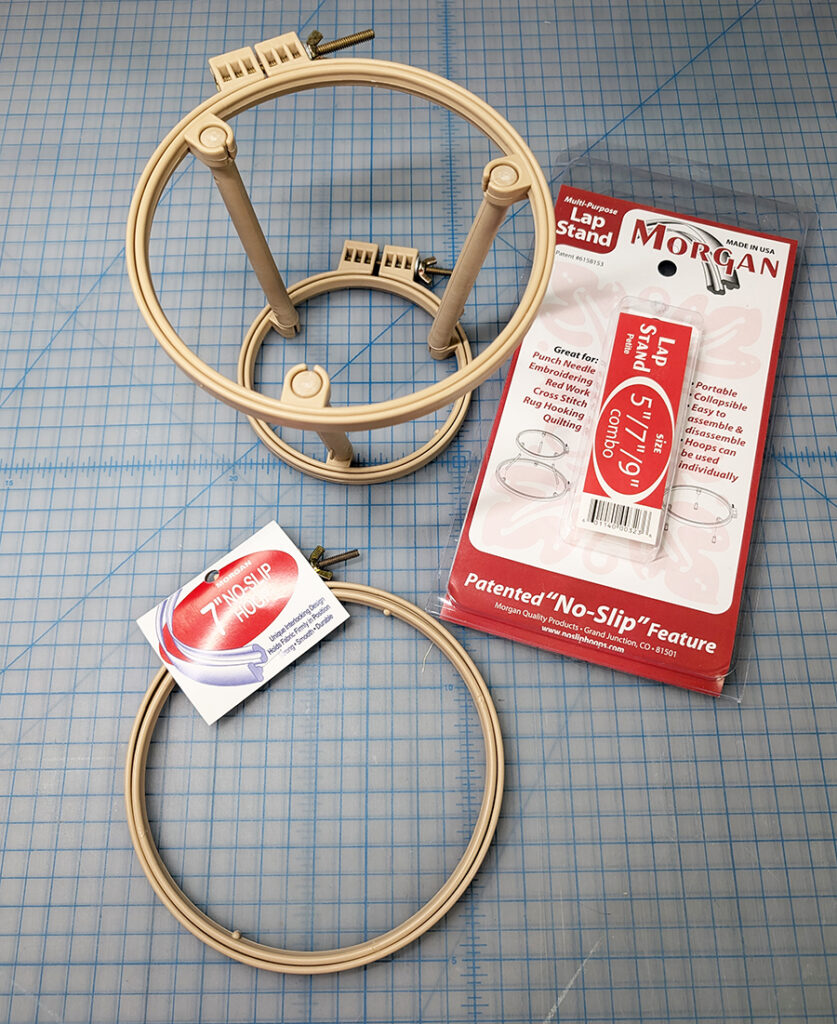
- Embroidery Hoop: Morgan 5 hoop or 5/7 Lap Stand recommended*
- Small Scissors
- Sulky 12 wt. Cotton Threads (Grab our Valentine Petites Palette to have the threads you need!)
- Removable fabric marker or pen with fine tip
*Some of the above links are affiliate links. Sulky may earn a commission if you choose to purchase something through those links.
PUNCH NEEDLE PREP
First, position the artwork:
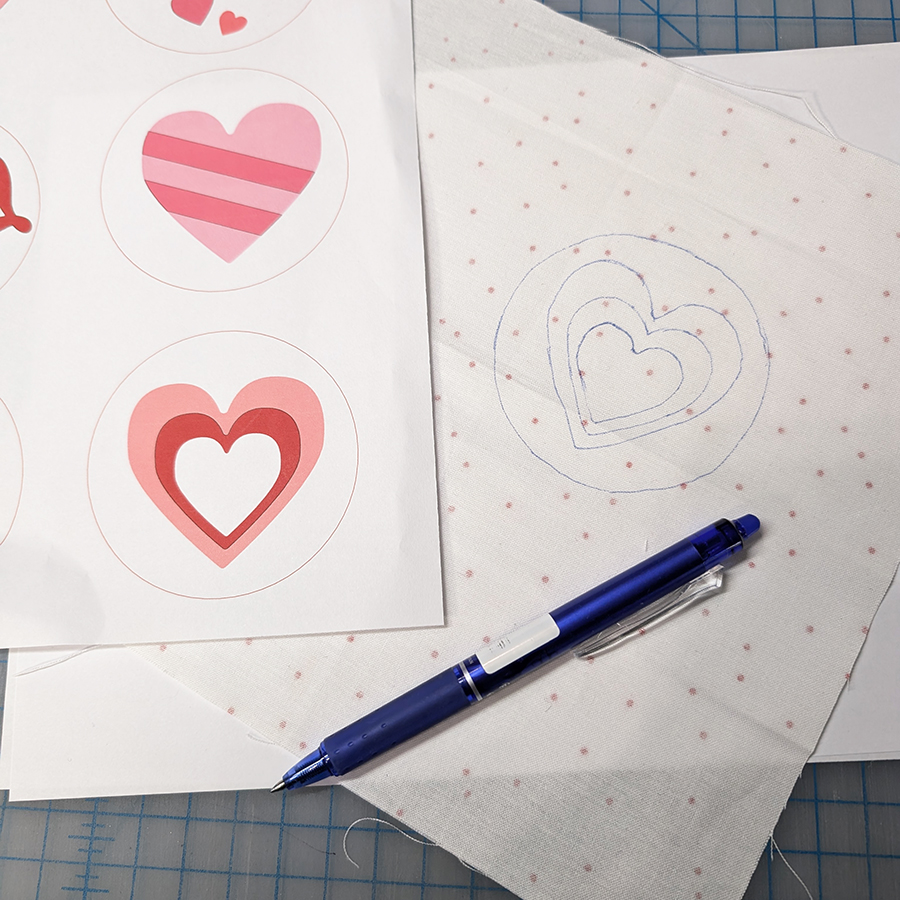
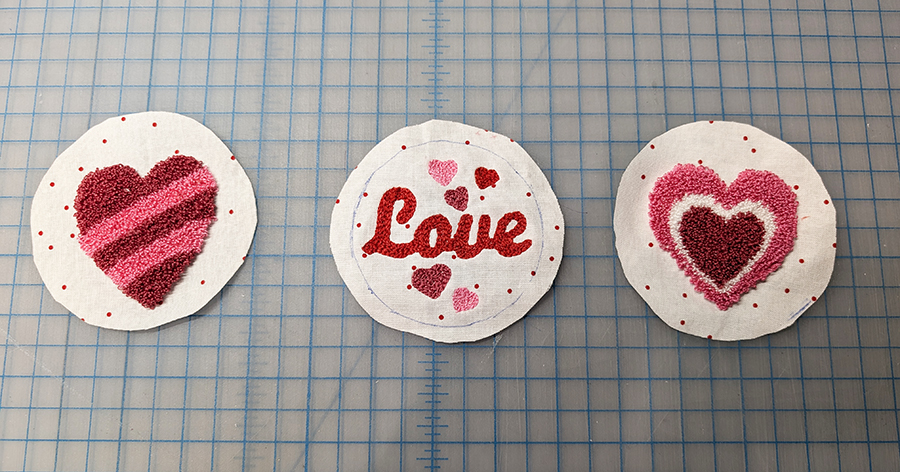
If using the three featured patterns that come with purchase of the Valentine Petites Palette, download the pattern template and print it out. If not using the featured artwork, choose a desired motif from clipart or create your own using illustrator tools on your computer or tablet. Once satisfied with the design, print it out.
Position and trace the chosen artwork onto the fabric, using a removable fabric marker or pen with a fine tip. Note: If you want the loop side to show, trace the mirror image on the wrong side of the fabric. If you want the flat side to show, trace the image as you want it to appear on the right side of the fabric.
Then, prepare the fabric:
Place the fabric inside the embroidery hoop, centering the artwork in the middle of the hoop. Make sure the fabric is pulled taut, as this will make punching easier and more precise.
Use a hoop that has a no-slip grip between both hoops. Or use a no-slip hoop with lap stand for the ultimate in comfortable crafting!
Next, thread the Punch Needle Tool:
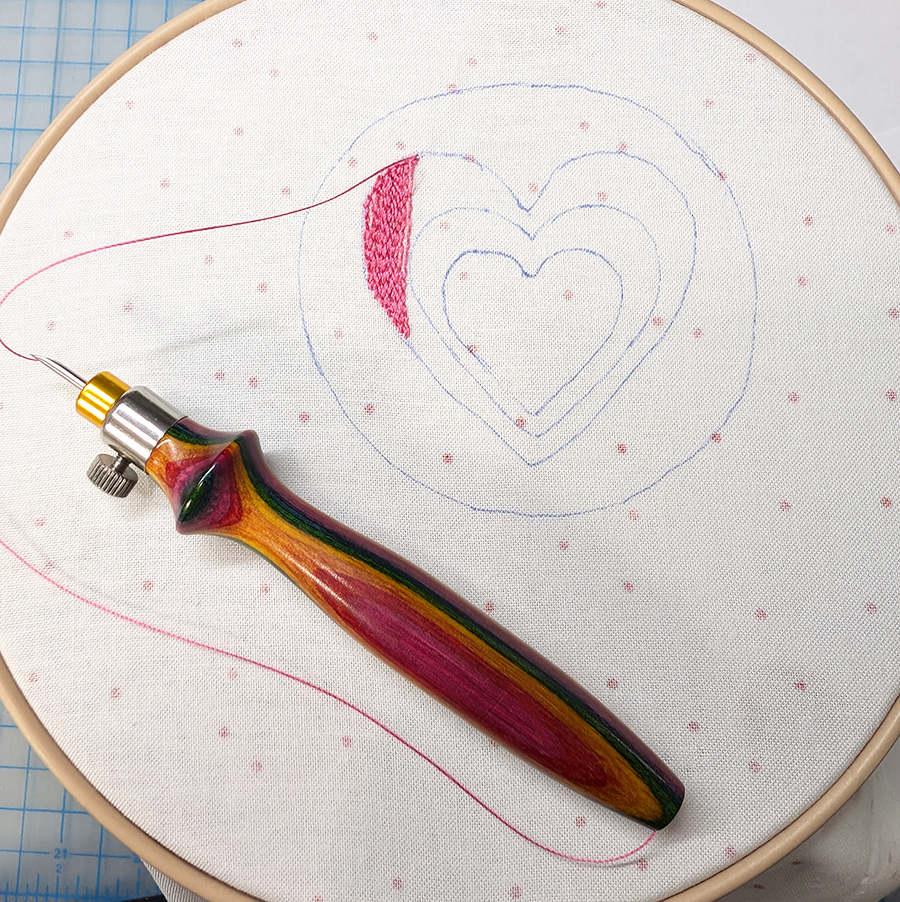
For 12 wt. thread, work off of the spool and don’t cut the thread until finished. To thread the tool, insert the threader through the needle’s body starting at the needle tip and pull the threader through the tool body. Slide the thread into the threader and pull the threader back through the body so the thread comes out the tip.
Next insert the threader to through the needle tip from the rounded side to the concave side as shown. Slide the thread into the threader and pull the threader through the needle eye to pull the thread through the needle.
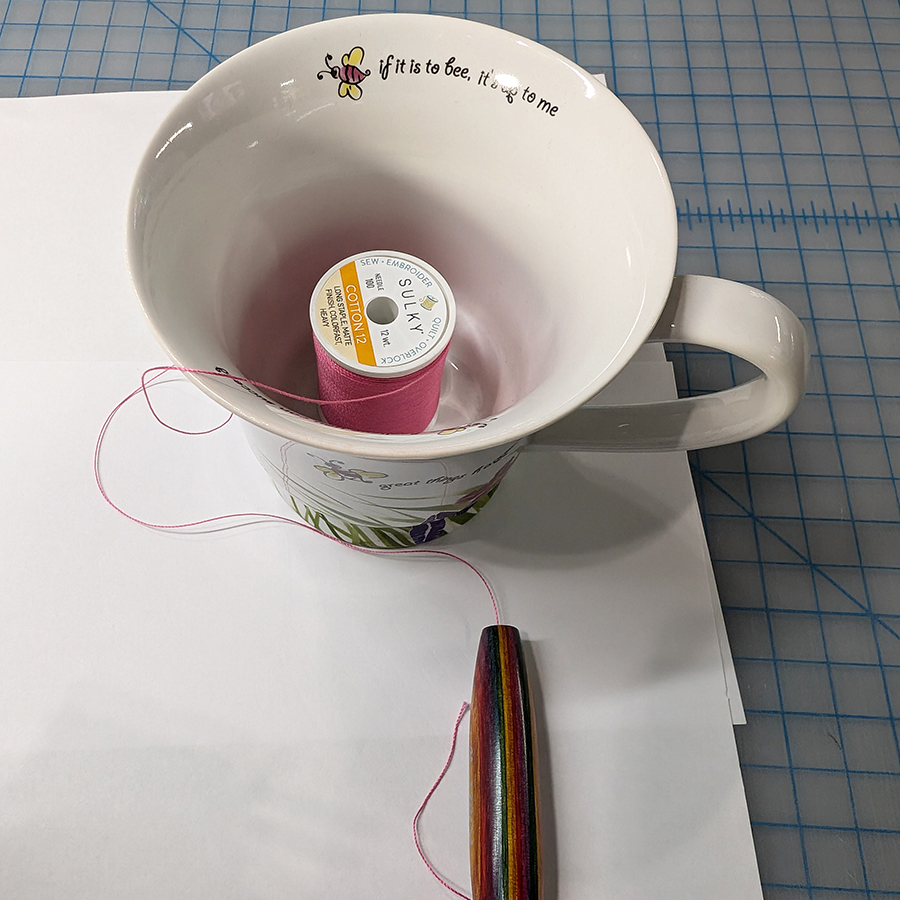
TIP: Use a coffee mug to hold the spool of thread while working with each color.
PUNCH NEEDLE PROCESS
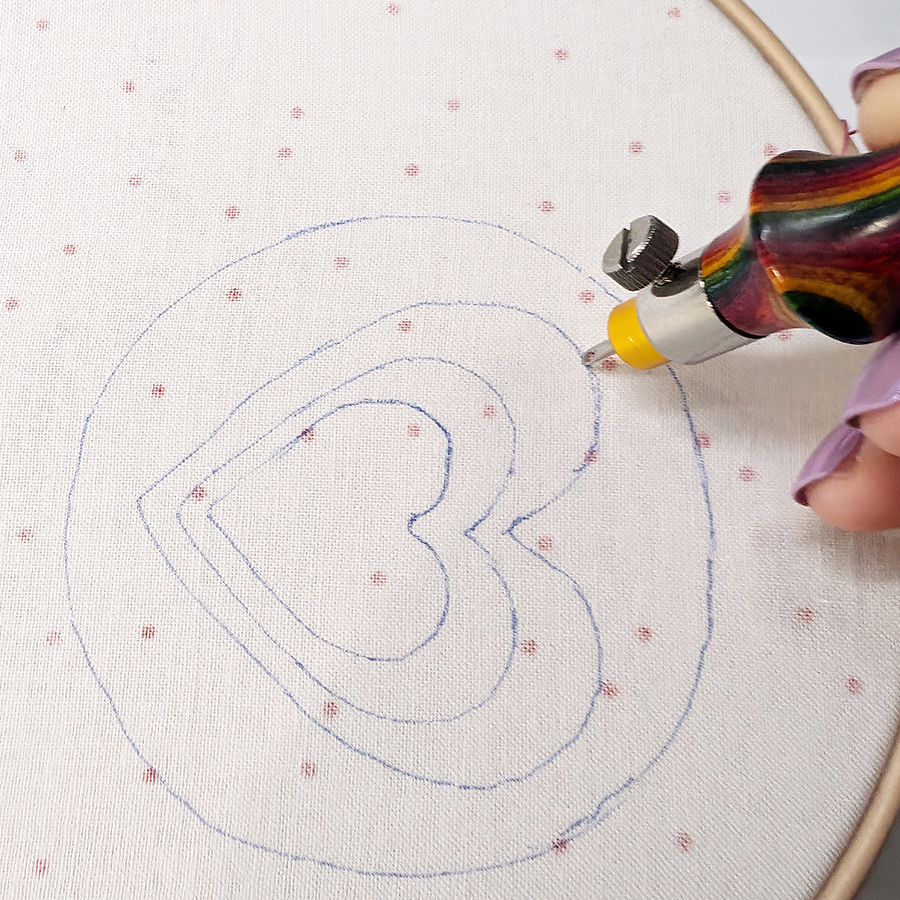
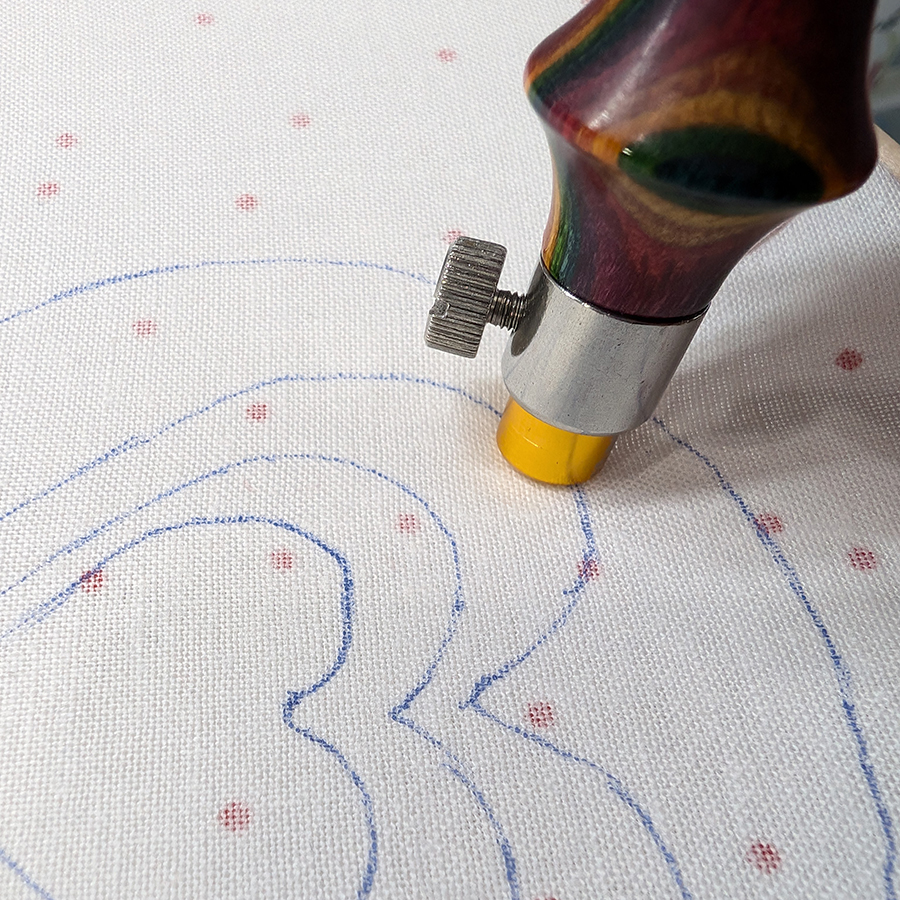
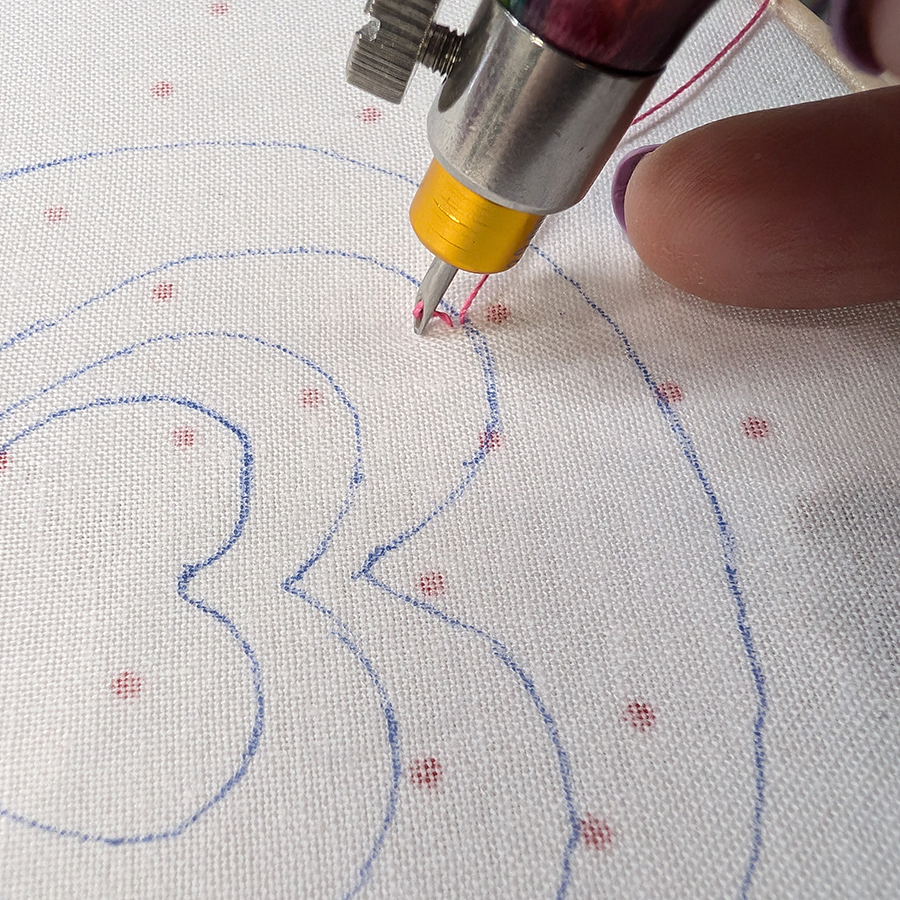
First, Hold the punch needle tool like a pen, with the bevel (open side) facing forward. Begin by punching the needle into the fabric at a starting point. Push it all the way through until the handle touches the fabric.
Then, gently pull the needle back out of the fabric just enough to move to the next stitch, without lifting it too high. Punch the needle down again a short distance from the previous hole. Keep the needle tip close to the surface of the fabric to ensure consistent loops.
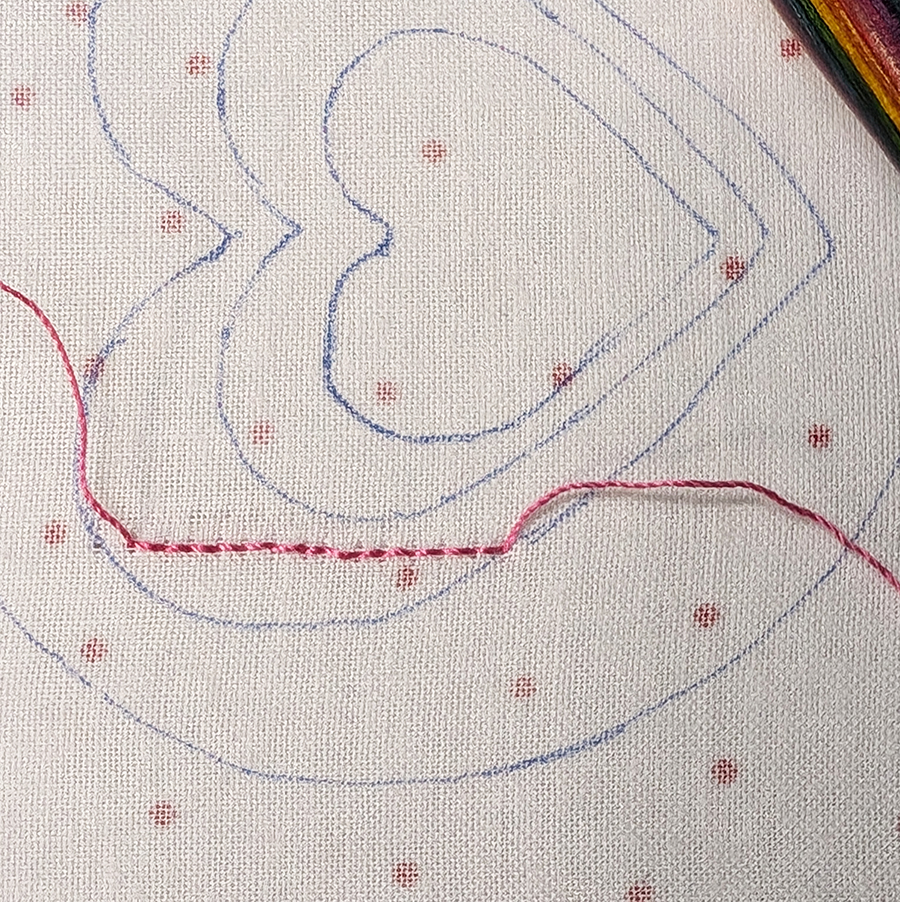
To fill the design elements, continue punching stitches inside design. To fill larger areas, make rows of punched stitches close to each other. For outlines, punch along the edges of the design.
To change colors, place your finger on the thread at the end of the tool and carefully pull the needle out, cut the thread, and thread the needle with the new color. Start punching again where you left off.
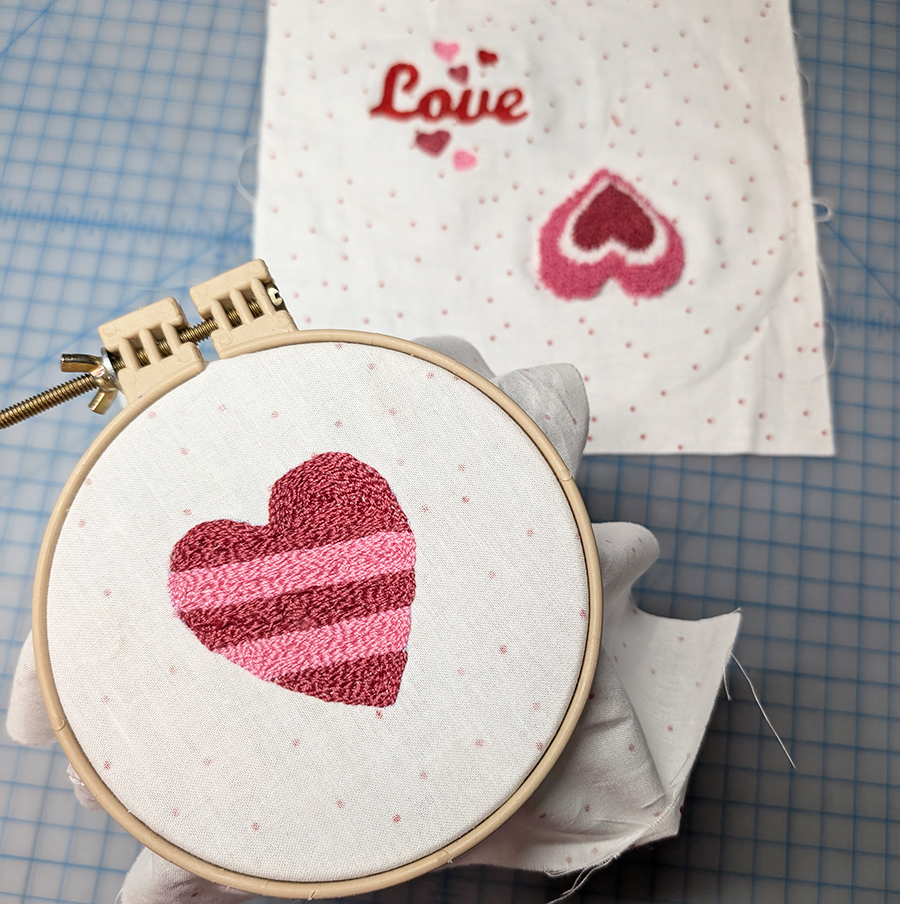
Once the design is complete, cut off any excess floss, and press the loops down gently. Flip the piece over to the loop side and trim any loops that extend above the rest to make all the threads even across the top.
If you want to secure the loops, first determine the front from the back. If you want to secure the back of the project, apply fabric glue or fusible interfacing to secure the loops.
Tips for Punch Needle Success:
- Keep the fabric tight. Loose fabric will make your loops uneven and hard to control.
- Consistent loop size. Hold the needle close to the fabric to maintain even loops.
- Practice on a scrap piece. Before starting a full project, practice on a small piece of fabric to get comfortable with the punching motion.
VALENTINE PUNCH NEEDLE ORNAMENTS
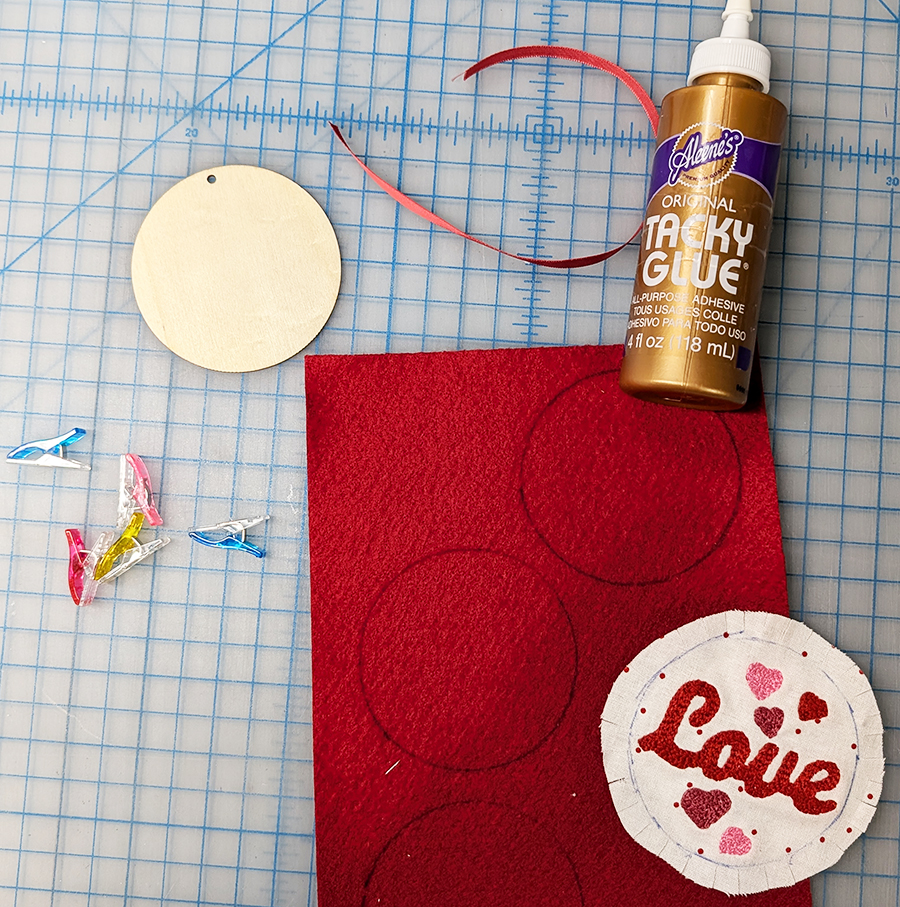
ORNAMENT SUPPLIES
- (3) Finished Punch Needle Designs (measuring no larger than 2 ¾” diameter)
- (3) 3 diameter wooden circles
- (3) 6 lengths of wide ribbon
- (3) 3 circles of Sulky Felty
- Tacky Glue
- Wonder Clips
- Removable Fabric Marking Pen
PUNCH NEEDLE ORNAMENT INSTRUCTIONS
Draw a 3 circle around each Valentine punch needle piece using a removable fabric marker. Cut 3/8 away from the drawn line to cut out each piece for the ornament front.
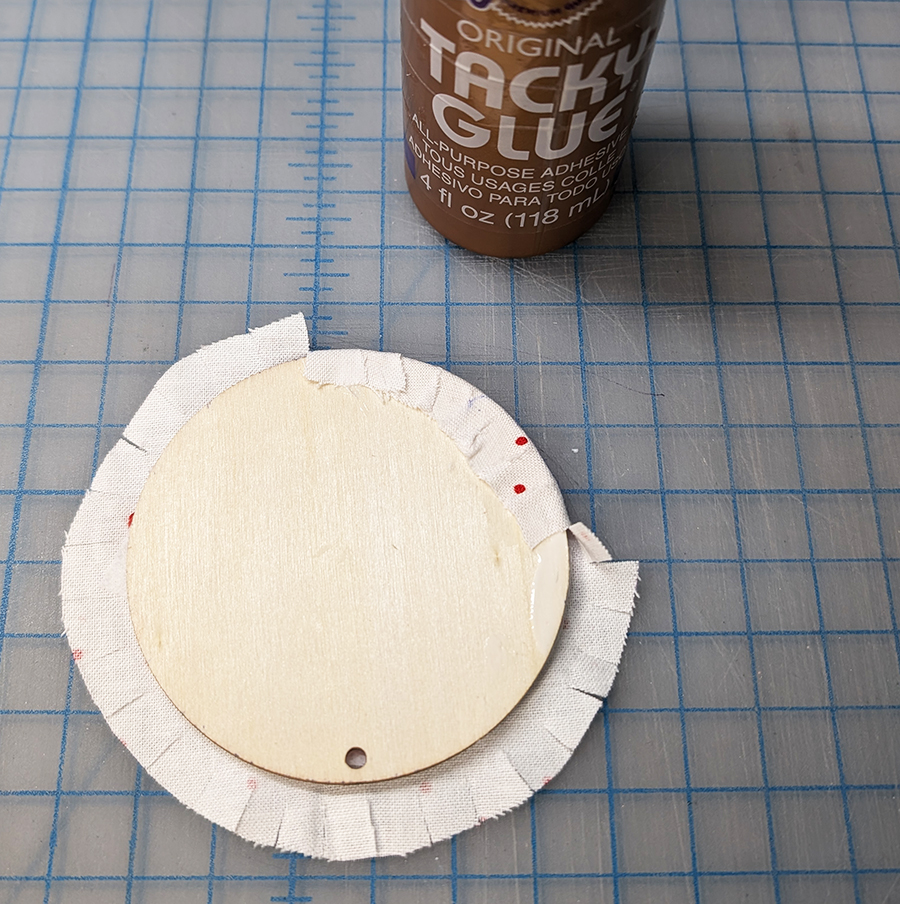
Use tacky glue to center and glue each ornament front to the wood disc. Carefully clip the fabric edges up to the wooden disc. Glue the clipped tabs to the back side of the wood disc, attaching the ornament front to the wood disc.
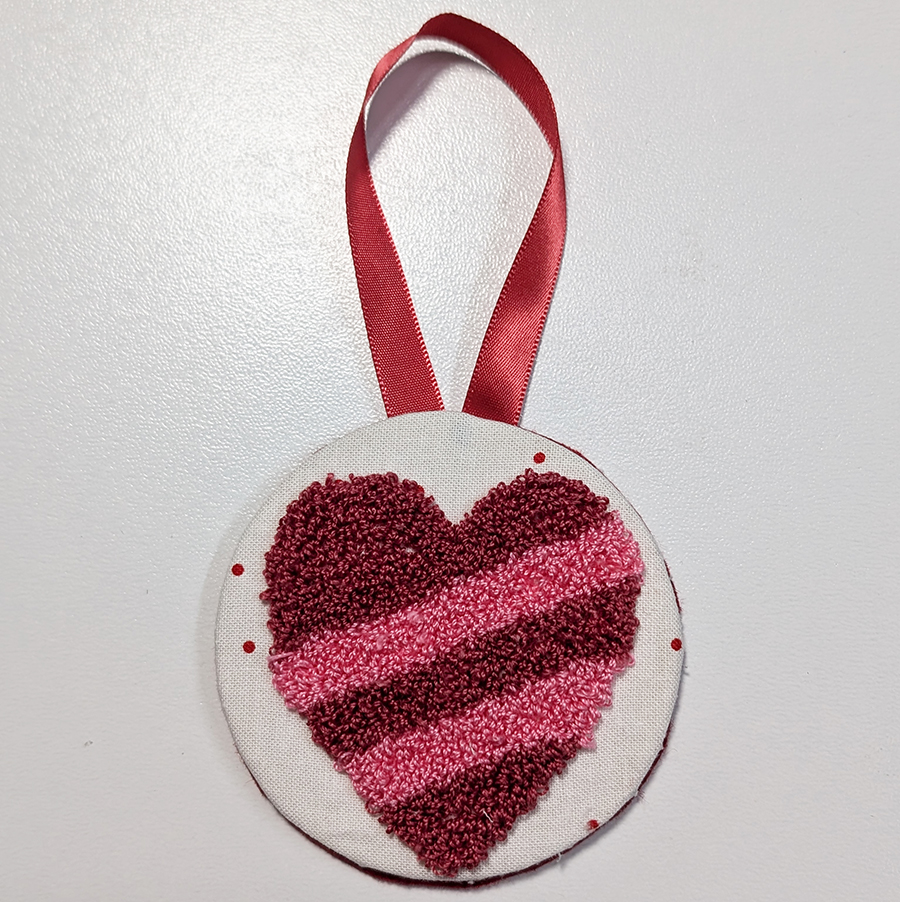
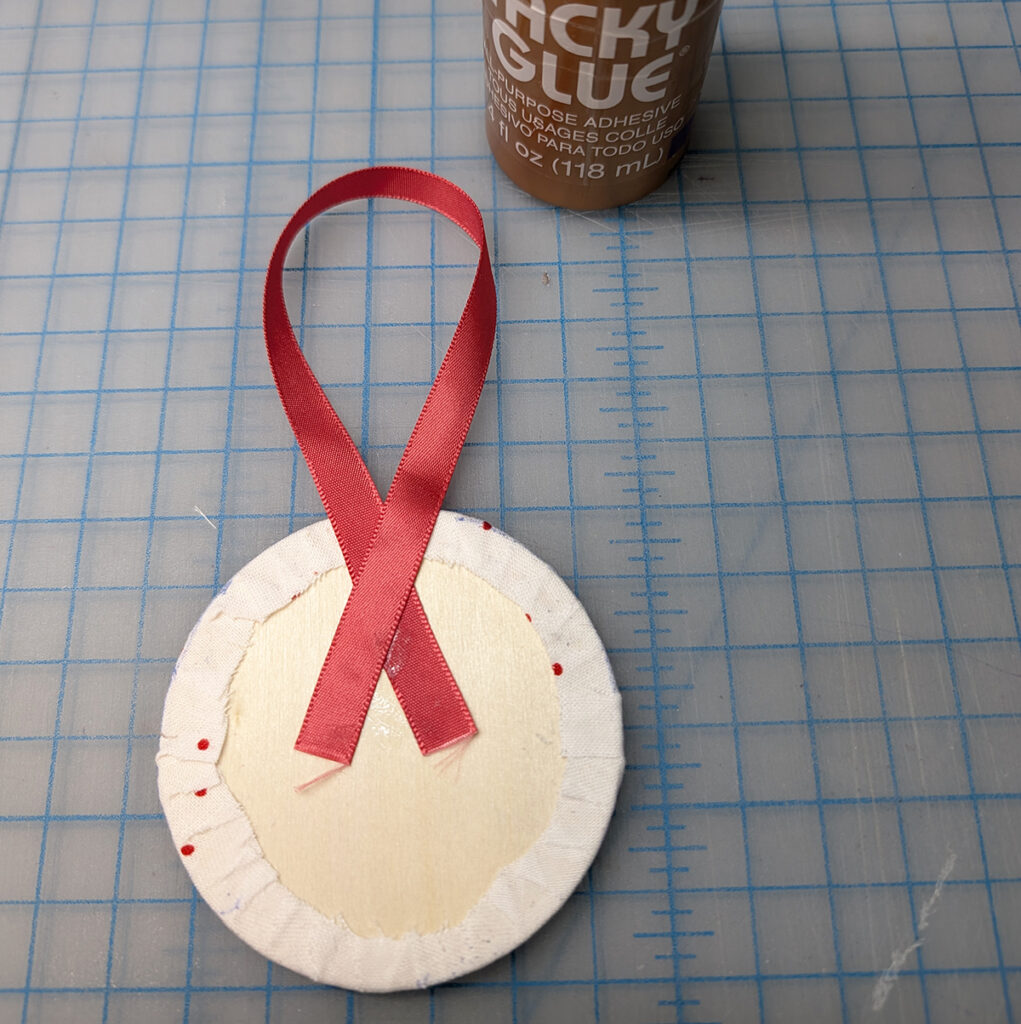
Fold the ribbon piece in half to form a loop. Glue the loop ends to the back of the wood disk. Repeat to glue the remaining two ornaments.
Glue one 3 circle of red Sulky Felty to the back of the ornament to complete. Use Wonder Clips, if needed, to secure the layers while drying.
Hang the Valentine Punch Needle Ornaments or gift them to someone special to share a piece of your heart! Keep exploring the art of punch needle embroidery and to celebrate every occasion with a handmade touch.

