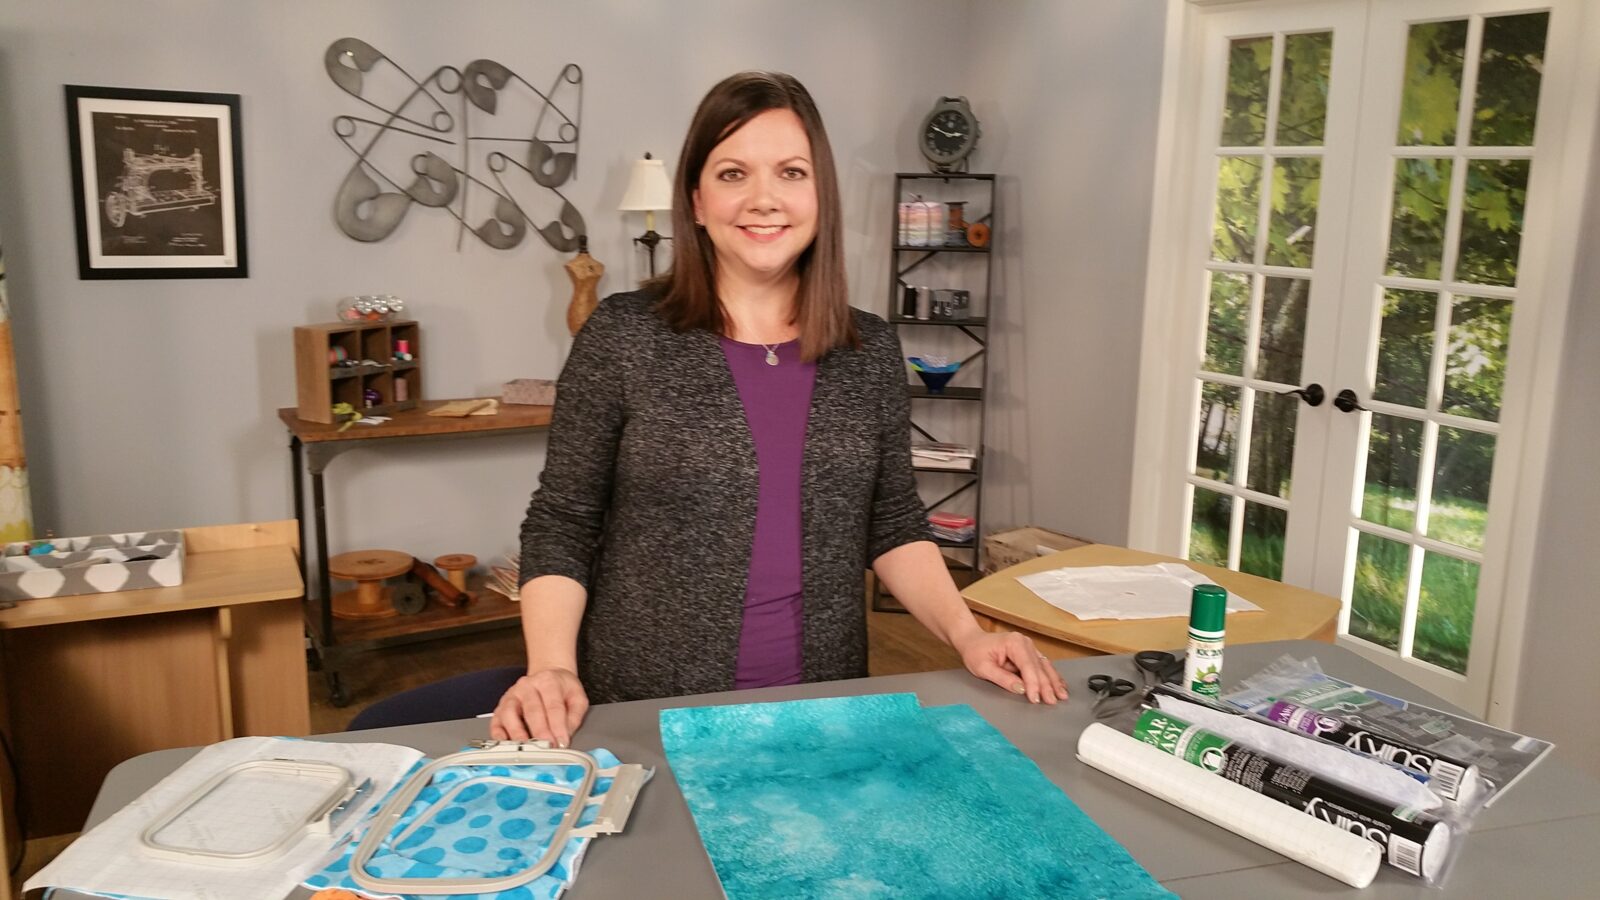
“What is Stabilizer?” on It’s Sew Easy!
Ellen March, Sulky Director of Content, takes you through which stabilizer to use when, and how to best hoop your project for best results in episode 1806 of It’s Sew Easy.
1806: Embroidery
Whatever the weather, unique embroidery will make your garments memorable. Sarah Gunn opens the show with a cover-up that features beautiful embroidered monograms and pompom trim for a fun look. Then it’s time to add the collar to the trench coat with Angela Wolf. Last is Ellen March with hoop hints to make your embroidery more successful.
Here is the information we had to condense on the episode. As you can see there is so much to learn about stabilizers and hooping!
Stabilizer Overview
Stabilizer is a backing that’s added to fabric to simplify the sewing process. Used most often for machine embroidery, stabilizer is a versatile product that’s also useful in other sewing applications, such as seaming knit fabrics, sewing perfect buttonholes and hemming delicate silks, and techniques, such as appliqué, couching and foundation piecing.
Let’s focus on machine embroidery applications to understand how to achieve successful machine embroidery stitchouts every time.
STABILIZER TYPES
Cut Away

Cut-away stabilizers are permanent and non-woven for knits and stretch fabrics. These stabilizers eliminate pulled or sagging stitches and remain with the fabric through washing and wearing for continued support. In addition to a backing, such as Sulky Soft ‘n Sheer™ or Sulky Soft ’n Sheer Extra™, or Sulky Cut-Away Plus™ there are specialty stabilizers meant to be applied after machine embroidery is complete to 1. Protect the wearer from scratchy stitches and/or protect the design from unraveling over time (Sulky Tender Touch™) and 2. Seal needle holes produced by machine embroidery on waterproof fabrics (Sulky Stitch ‘n Seal™).
Tear Away

Along with supporting the fabric and stitches to prevent tunneling, distortion and puckering, tear-away stabilizer is easily removed after stitching. The fabric and technique/design combination must be suitable for tear-away stabilizer, meaning the stitches won’t pull or pop when the tear-away is removed. There are many varieties of tear-aways, depending on the chosen fabric, technique and design, including self-adhesive sticky-backed tear-away (Sulky Sticky+™), crisp and firm tear-away (Sulky Stiffy™), soft and lightweight tear away (Sulky Tear-Easy™) and an iron-on fusible tear-away (Sulky Totally Stable®).
Wash Away
Wash-away, or water-soluble, stabilizers are ideal when no trace of stabilizer is desired after embroidery. Suitable as a backing or topper, wash-away stabilizer is great for high-pile fabrics, eliminating the tendency for stitches to get lost in the fabric nap, and when creating freestanding lace, when no fabric is used and the thread is the project medium. Be sure the fabric can withstand washing when using this stabilizer type. Many varieties of wash-away stabilizer are available, depending on the technique: basic wash-away (Sulky Solvy®), mediumweight wash-away (Sulky Super Solvy™), heavyweight wash-away (Sulky Ultra Solvy™), fabric-like wash-away (Sulky Fabri-Solvy™), paper-like wash-away (Sulky Paper Solvy™) and self-adhesive wash-away (Sulky Sticky Fabri-Solvy™).
Heat Away

Heat-away stabilizer is a clear film that’s applied as a topper when tear-away and/or wash-away stabilizer isn’t suitable. This stabilizer literally dissolves with the heat of an iron, so make sure the fabric can tolerate 260-300 degree heat (cotton setting on most irons).
THE RIGHT STABILIZER FOR YOUR PROJECT
Choose the stabilizer that’s a similar weight to the fabric you’re using. In some instances, two layers of stabilizer are recommended. Or adding a layer of iron-on stabilizer to increase the thread count of a delicate fabric prior to applying additional stabilizer is recommended.
We’ve included a link with this episode to a handy stabilizer selection tool to find the correct combination of backing and topping for the specific technique and fabric you’re using. It’s a great resource, but remember that it’s a general guideline so always test-stitch the combo to make sure you’re on the right track.
HOOPING HINTS
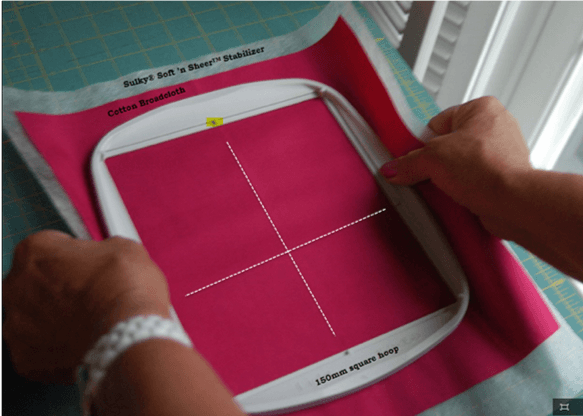
Most stabilizers are pretty intuitive as far as use is concerned. Place the fabric over the stabilizer and hoop both layers as one. If the stabilizer is iron-on, follow the manufacturer’s instructions to fuse the stabilizer to the fabric wrong side before hooping.
To hoop the fabric/stabilizer combo, place the outer hoop on a flat work surface. Place the fabric/stabilizer over the hoop with the fabric right side up, centering the design area. Place the inner hoop over the fabric; push down until secure. TIP: Gently push the inner hoop slightly beyond the outer hoop. This ensures a taught, but not too tight, hooping.
If there are any folds, gathers or if the fabric isn’t taut when hooped, take the time to rehoop it. Never pull at the edges of the fabric or stabilizer to make them more taut in the hoop, as this will distort the fabric.
One of my favorite stabilizers is self-adhesive paper-backed tear-away stabilizer (Sulky Sticky+). It’s great for hard-to-hoop items and fabrics that shouldn’t be hooped, such as velvet, fleece and stretchy knits. These fabrics can suffer from what’s called “hoop burn,” in which the hoop edge permanently distorts the fabric by crushing or stretching it.
This fabric needs “hoopless embroidery” techniques to ensure a beautiful result. This is also a preferred method if you’re embroidering anything that can’t be hooped, such as a shirt collar or small pattern piece.
HOOPLESS EMBROIDERY HINTS
Hoop the stabilizer only, with the paper side facing up. Score the paper within the inner hoop ring, and then tear it away to reveal the adhesive. Place the fabric right side up over the stabilizer, and then gently press with your fingers to secure.
When working with a high-pile fabric, place a wash-away stabilizer over the fabric right side. Float this topper over the hoop and secure with the baste-in-the-hoop function, if applicable. Or partially secure it with the exposed sticky stabilizer in the hoop. The stitches will secure it during embroidery, so fully adhering it to the fabric isn’t necessary.
If you’ve run out of self-adhesive paper-backed stabilizer, but still need to do hoopless embroidery, you can use a cut- or tear-away variety and spray the stabilizer with temporary spray adhesive before positioning the fabric onto it. The baste-in-the-hoop function is particularly handy for this method.
PRACTICE
The most important tip is to practice your hooping skills, especially when working with a fabric that’s new to you. Purchase extra fabric and stabilizer to run at least one test stitchout before embroidering the finished product to make sure the fabric, stabilizer, needle and thread all work together to produce the best result.
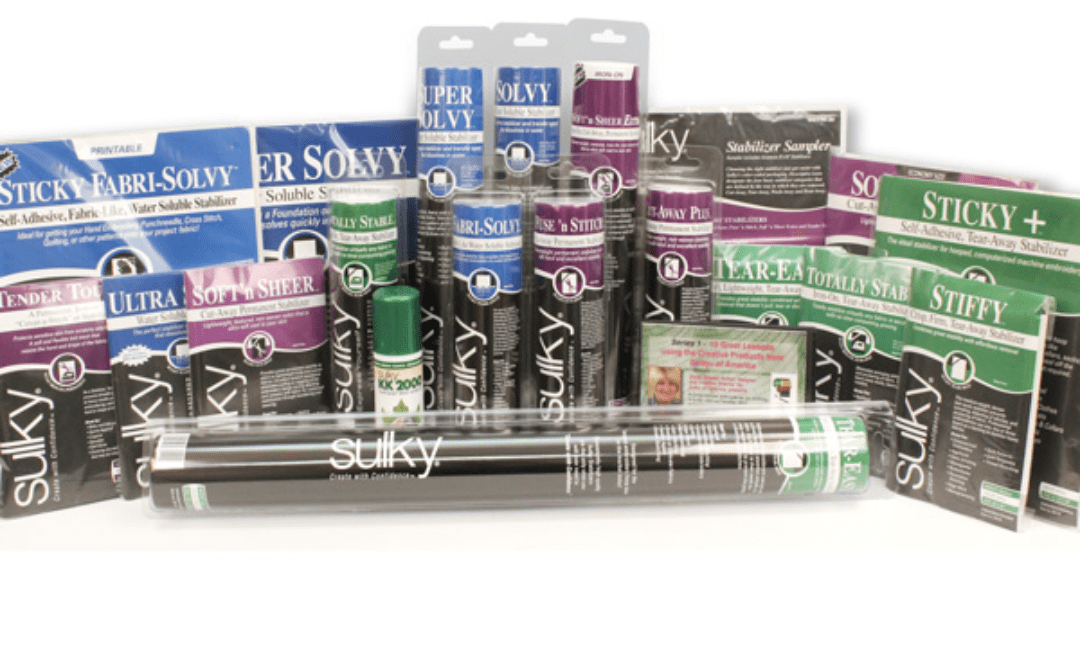
Visit sulky.com to find all the stabilizers mentioned, stabilizer samplers and special assortments, including the Embroidery Essentials Stabilizer Pack. Plus, find all the rayon, polyester, cotton and bobbin thread you need to create beautiful machine embroidery designs with confidence.
