Bike Bucket Bag
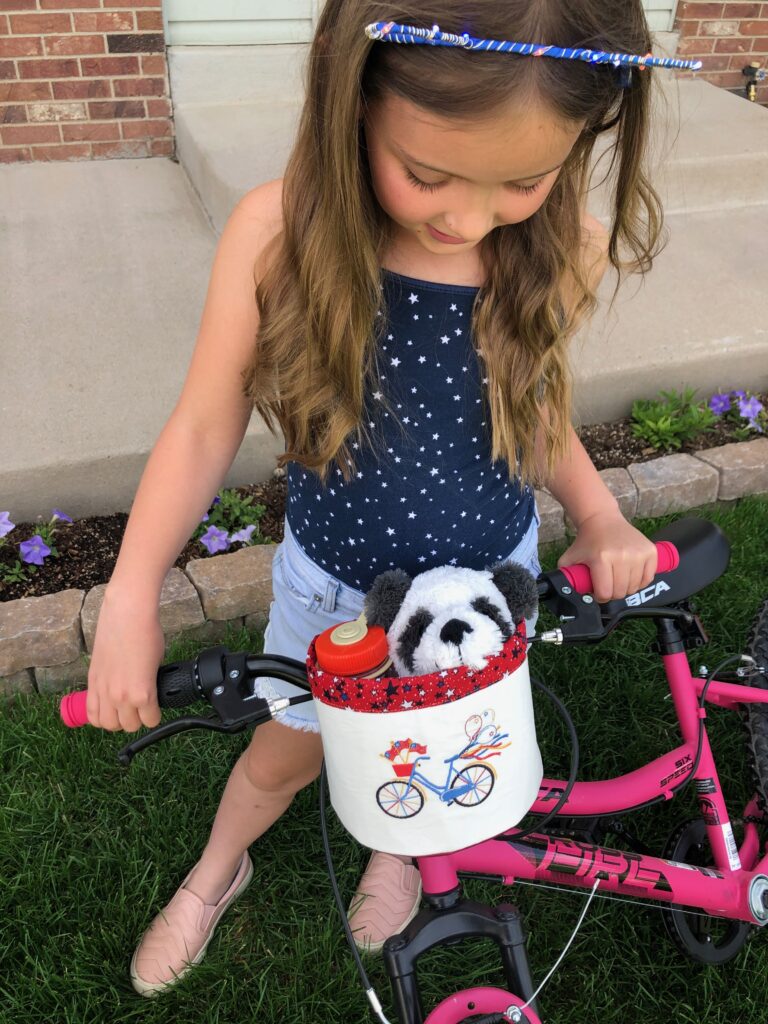
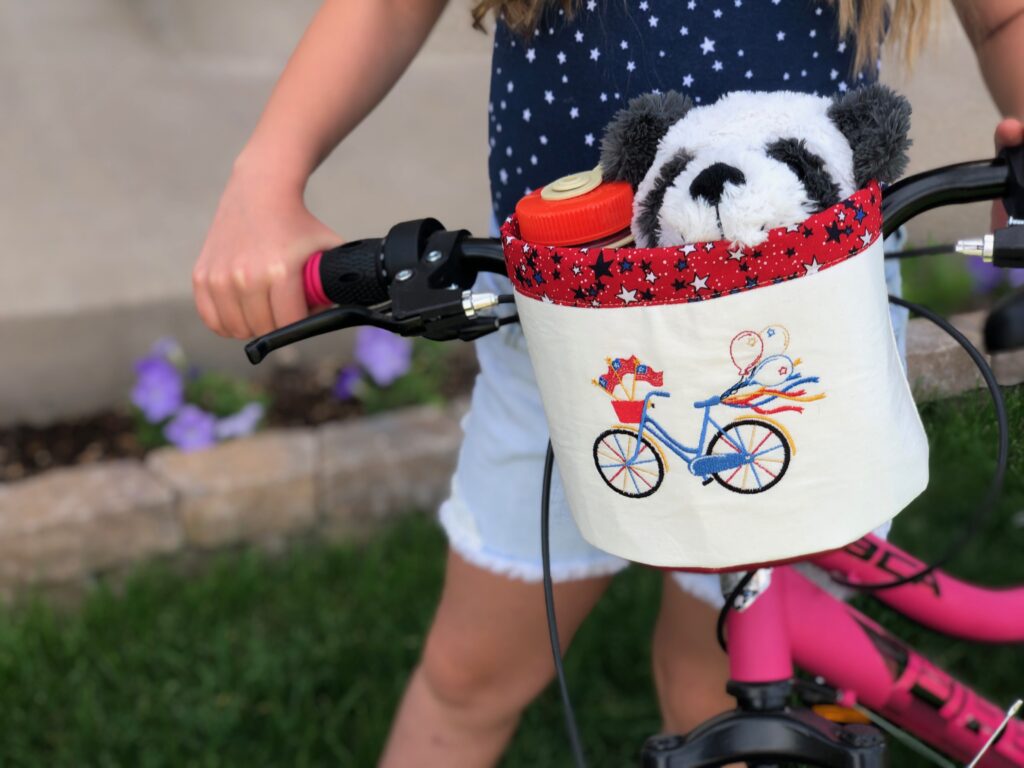
A bike bucket bag is a great accessory if you’re headed to a patriotic bike parade to celebrate July 4. Start with the free Bike Bucket pattern by Noodlehead and add a machine embroidery motif! Try our Ride with Pride design. Further customize the bike bucket bag with a name, monogram or fun saying and make one for everyone in the family.
BIKE BUCKET BAG SUPPLIES
- Bike Bucket Pattern
- Sulky Soft ‘n Sheer Extra Stabilizer
- Uncle Sam Machine Embroidery Palette (includes 7 spools of Sulky Rayon Thread, 4 spools of Sulky Poly Sparkle Thread and 6 patriotic-themed designs in 3 sizes)
- Sulky Thread: Poly Deco (construction) & Bobbin (machine embroidery)
- Organ® Needles: size 90/14 Embroidery & size 80/12 Universal
- 1 solid fat quarter (outer embroidered bag)
- 1 coordinating print fat quarter (lining)
- 21 1/2³ W x 4 1/2³ H rectangle of matching or coordinating fabric (binding)
- Stiff double-sided fusible interfacing
- 5″ length of 3/4³-wide Velcro®
- scrap of mediumweight fusible interfacing
- Curved Tip Squeezers
BIKE BUCKET BAG PREP
Following the pattern instructions, cut the following from the solid exterior and lining print fabric:
- one 8 1/2³ W x 7³ H rectangle (bag back)
- one 12³ W x 7³ H rectangle (bag front)
- one base piece using the pattern
Cut the remaining pieces for the handle tab, and the interfacing pieces needed, referring to the pattern.
MACHINE EMBROIDERY
The featured Uncle Sam: Ride with Pride design comes in three sizes: for a 4×4 hoop, 5×7 hoop and 9×10 (or larger) hoop. The available embroidery field on the front pattern piece is about 5″ x 8″. So, the 5×7 size was used for the featured project.
Load the design into the machine and gather the threads per the color sequence chart. Wind a bobbin with Sulky Bobbin Thread and install a size 90/14 Embroidery Needle.
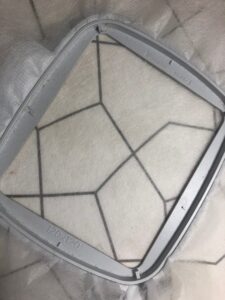
Fuse a Soft ‘n Sheer Extra Stabilizer rectangle to the bag-front fabric-rectangle wrong side. Hoop the fabric in the chosen hoop. Note: If using a hoop larger than the cut fabric, you have two options. Hoop only a piece of Soft ‘n Sheer and adhere the stabilized fabric to it using KK 2000 Temporary Spray Adhesive. Or cut the fabric after embroidery is complete.
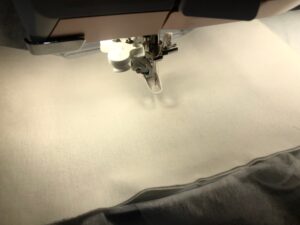
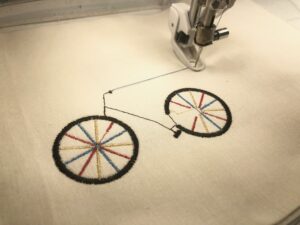
Place the hoop onto the machine and begin the design.
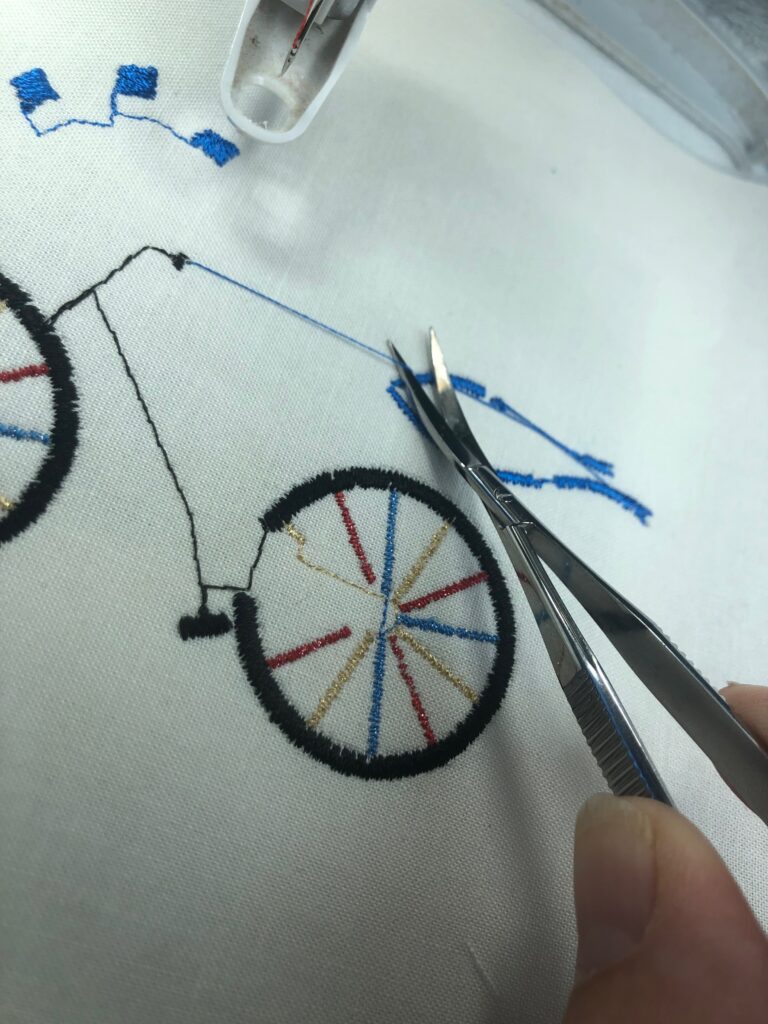
Clip jump threads with each thread change, using Curved Tip Squeezers.
When the embroidery is complete, remove the hoop from the machine and the fabric from the hoop. If you used Soft ‘n Sheer in the hoop, rather than hooping the stabilized fabric, trim it about 1″ beyond the design perimeter before continuing.
Clip jump threads on the fabric wrong side.
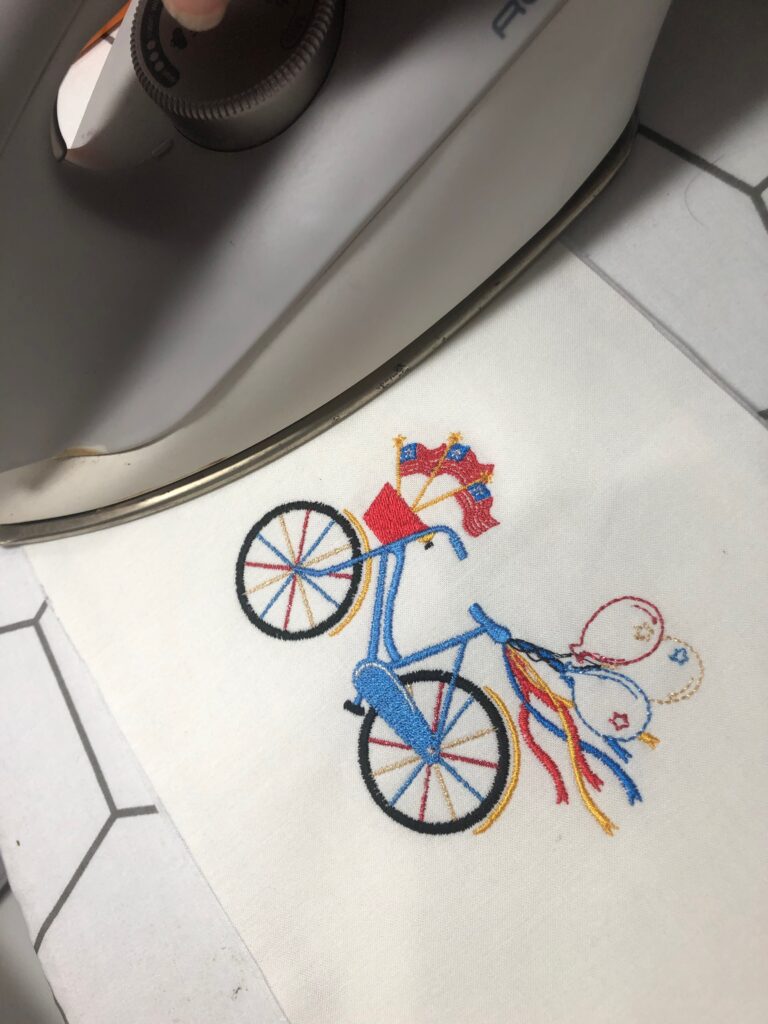
Press the fabric from the wrong side to remove any hoop markings.
BIKE BAG CONSTRUCTION
Follow the pattern to construct the bike bucket bag. Use Sulky Poly Deco Thread that matches the outer fabric and/or base piece and install a size 80/12 Universal Needle. Note: If using cork fabric or faux leather for the base, use a Top Stitch Needle.
A few helpful pattern modifications:
- Instead of inserting the fusible stiff interfacing between the layers after sewing them, fuse the interfacing to the outer pieces before construction. Center each piece on each corresponding outer fabric and fuse to adhere. When fusing to the embroidered rectangle, keep the iron away from the stitching as much as possible. Then, after constructing the outer bag insert the lining and fuse per the pattern directions. This method results in a stronger and easier fuse.

- Use cork fabric or faux leather for the outer base piece. This provides more structure and protects the bag from the elements as you’re riding your bike. Instead of fusing the stiff interfacing to the cork or faux leather base, adhere it with KK 2000. Then construct per the pattern directions.
- The blog tutorial (free pattern) doesn’t include instructions for sewing the side seams. First, attach the base per the instructions. Then, align the side seams and stitch.
- Use a 3/4″ seam allowance for the lining construction so it fits tightly into the outer bag. At the base corners, add a small tuck to fit it in the wider seam allowance. This tuck is virtually invisible after construction.
- Use the machine free-arm to stitch the handlebar attachment and binding for better accuracy and maneuverability.
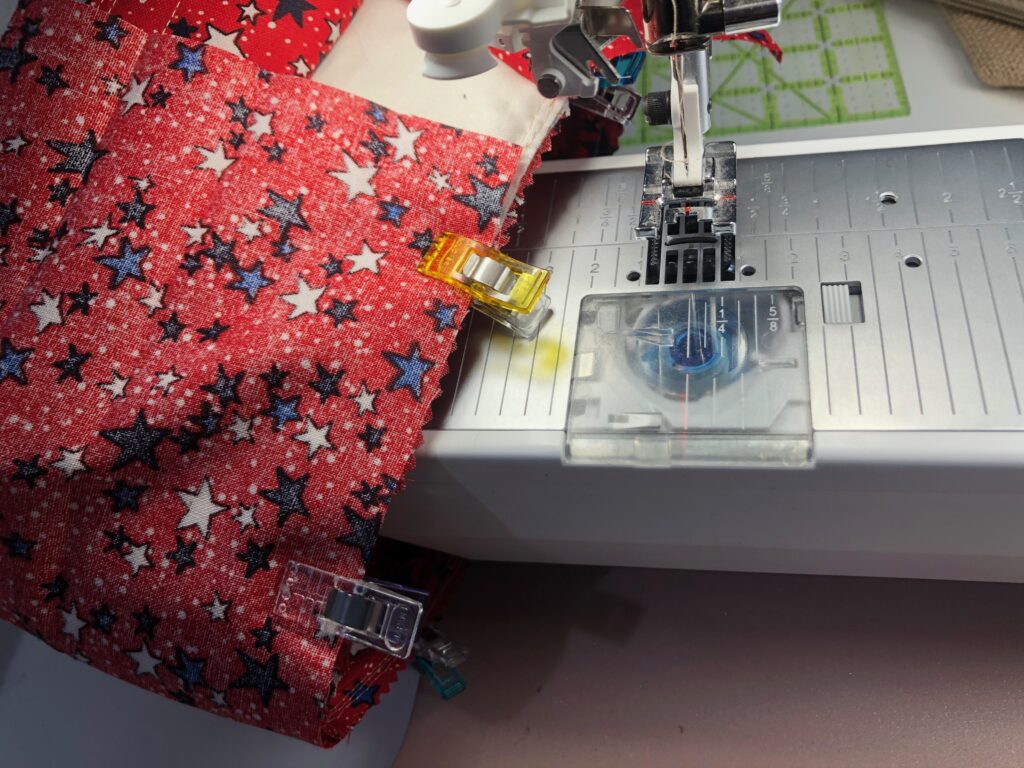
- Baste the upper edge, and then trim if needed, before attaching the upper-edge binding.

