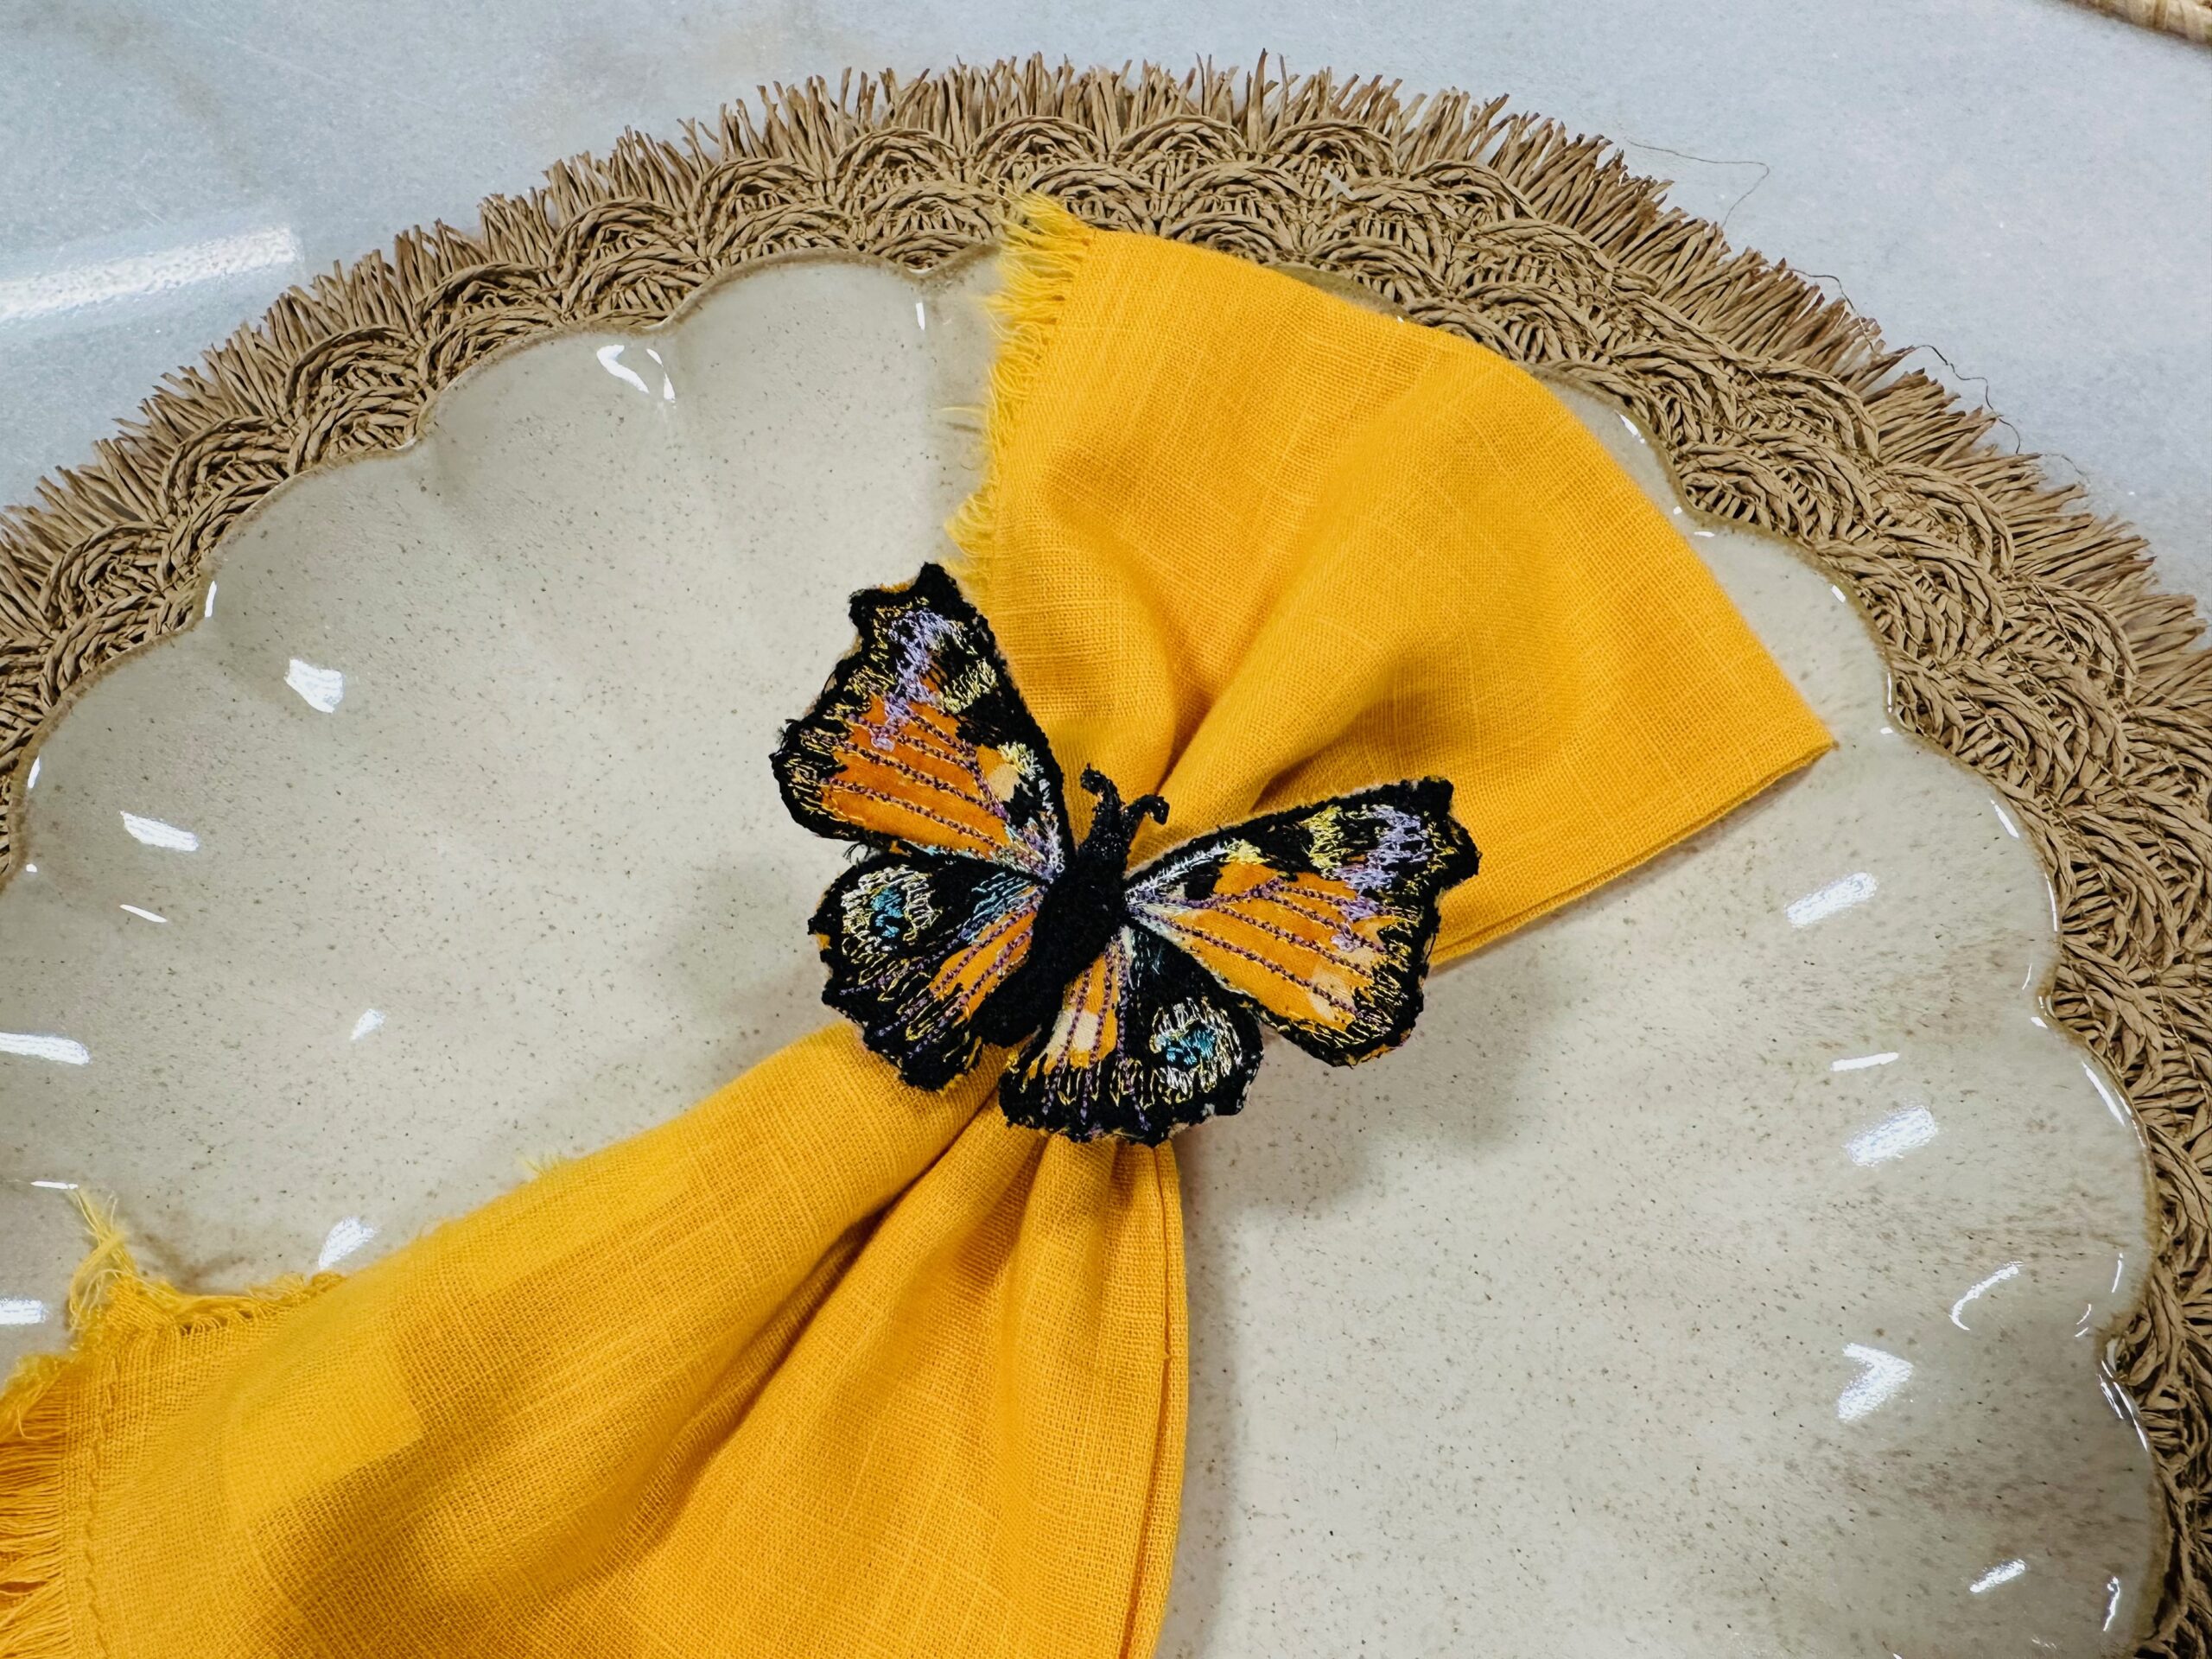
Butterfly Napkin Rings
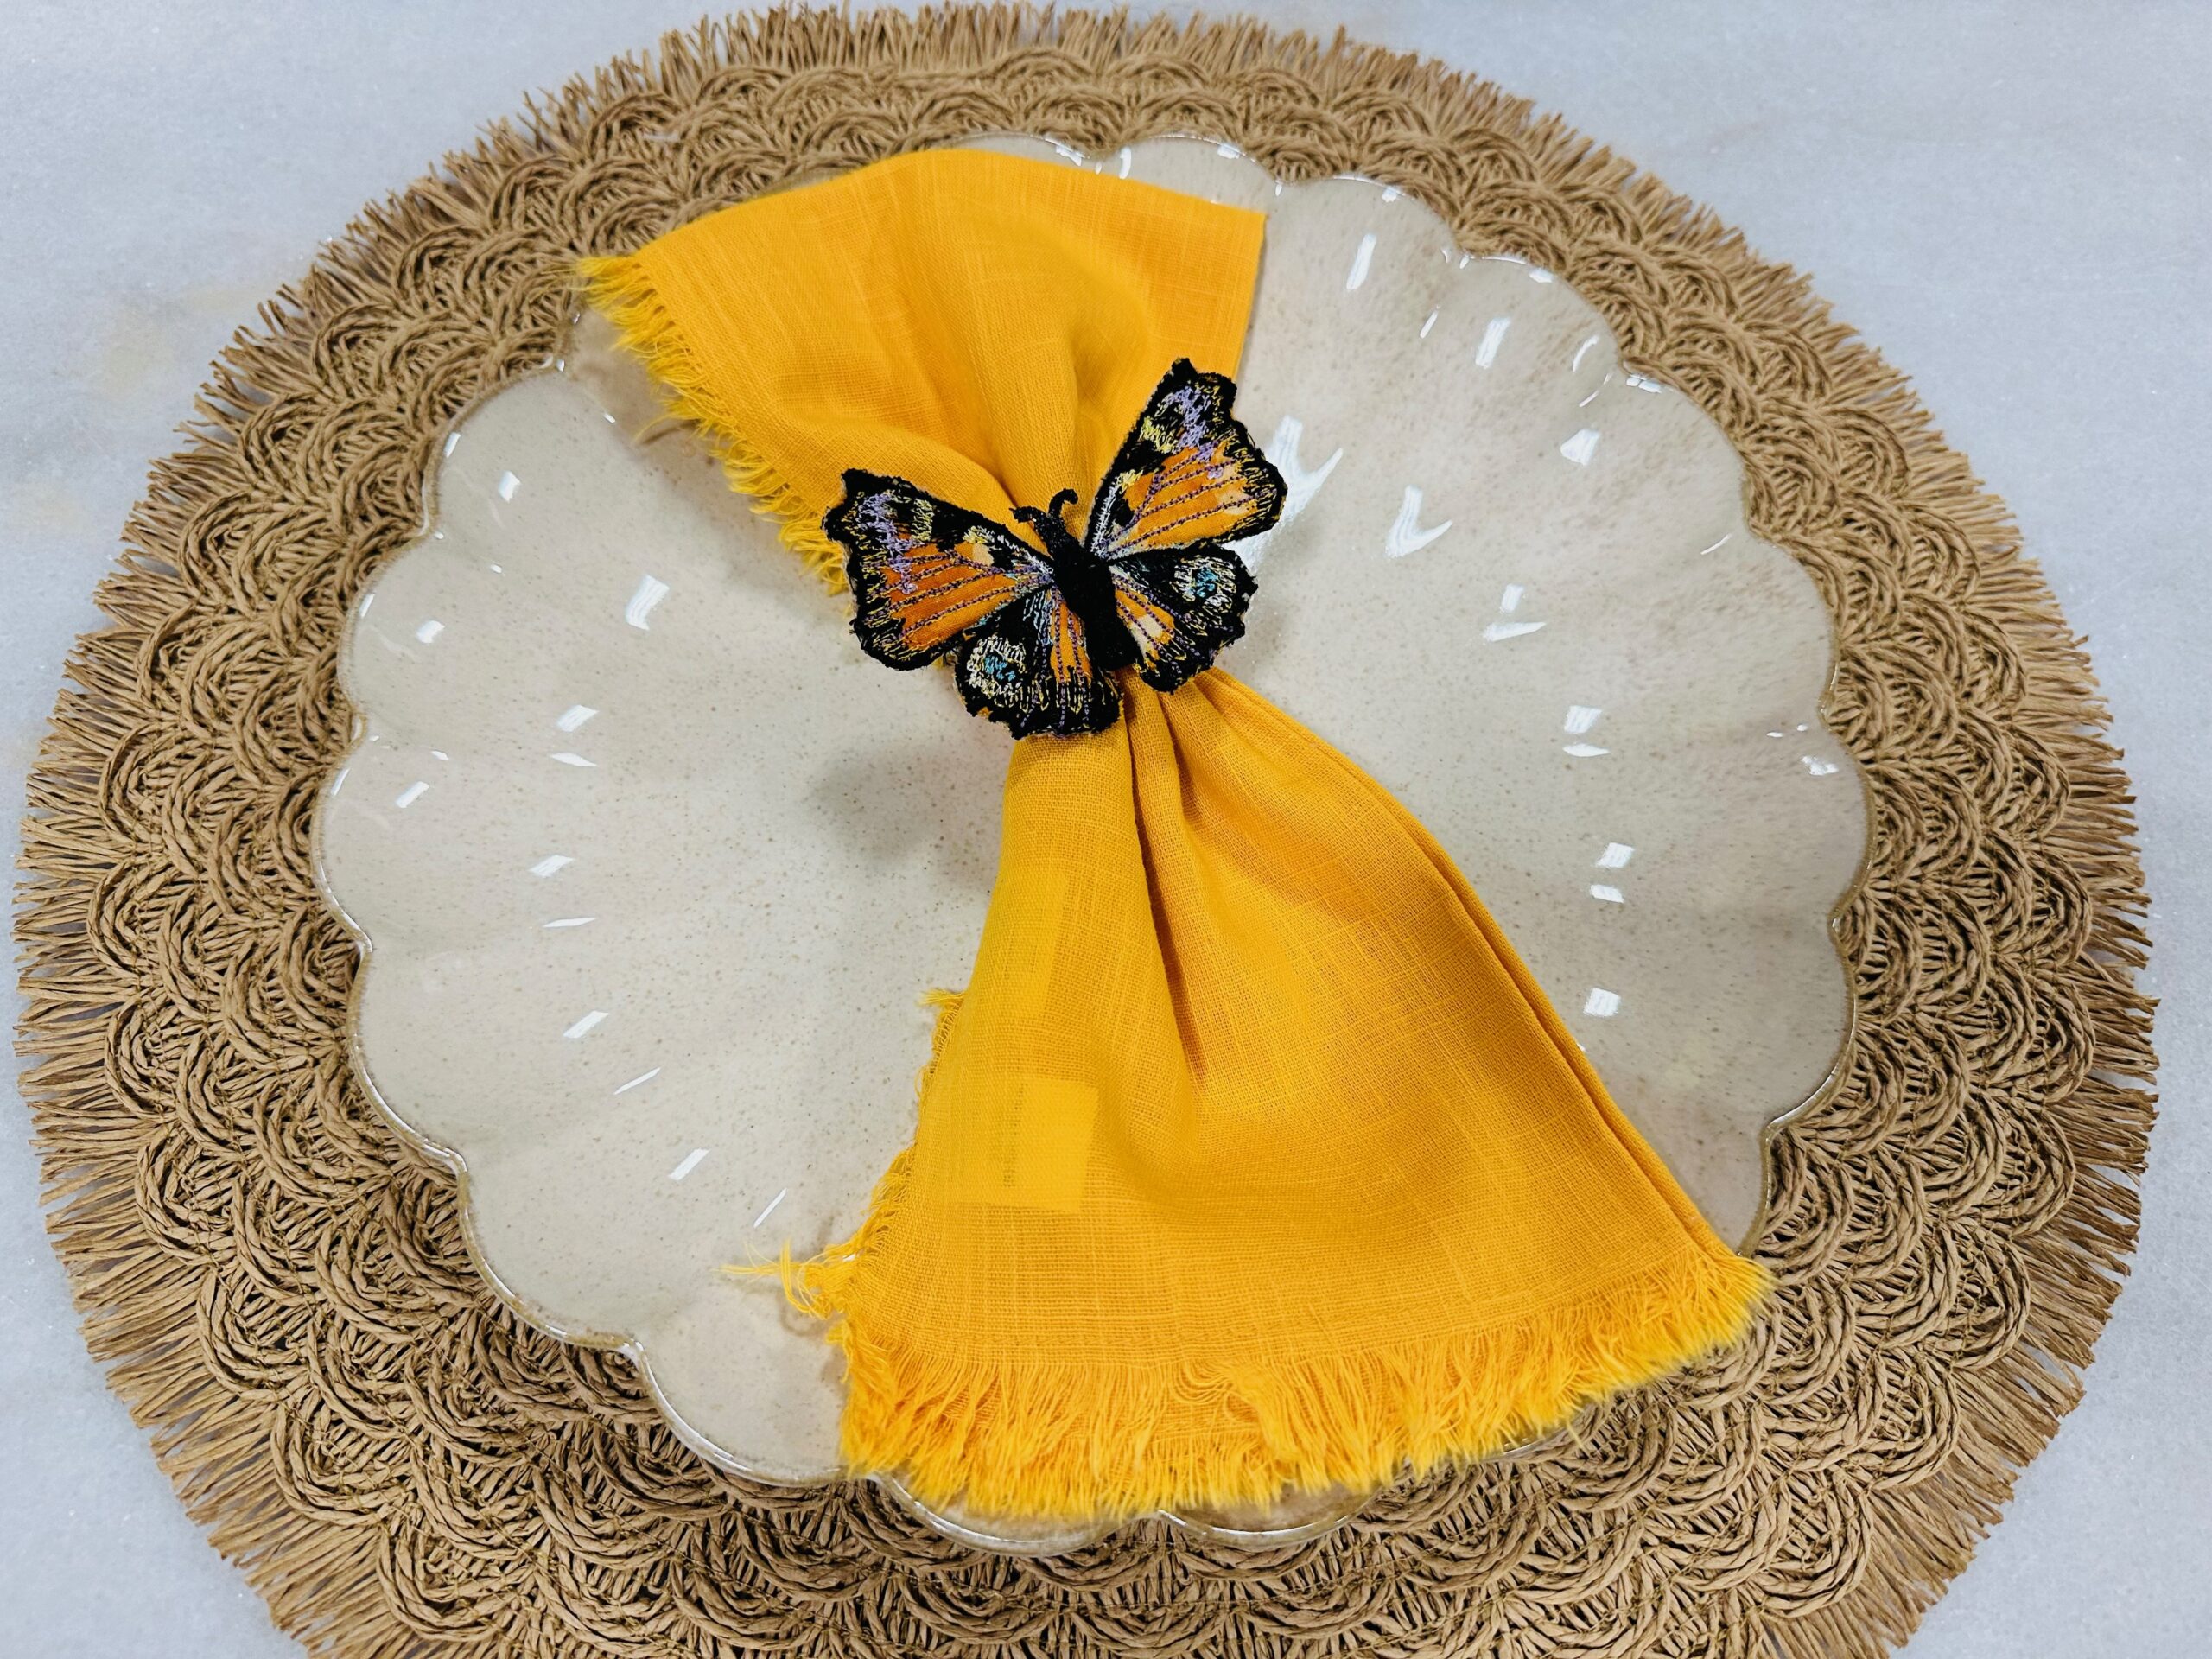
with Freestanding Lace Techniques
Create freestanding butterflies to adorn your summer table. Add an elastic to wrap the butterflies around napkins for a fresh tablescape that brings the outdoors in.
BUTTERFLY NAPKIN RINGS SUPPLIES
- Butterfly Palette for Machine Embroidery (Includes 10 spools of Sulky Rayon Thread and multi-step butterfly designs in two sizes)
- Black Bobbin Thread
- Sulky Ultra Solvy™ Stabilizer
- Fabric scraps (for butterfly front; batik fabric looks especially great!)
- Sulky Clear Embroidery Tape
- Cork or faux leather fabric scraps (for butterfly back)
- Organ® Size 80/12 Microtex or Embroidery Needles
- Nylon/elastic hair tie
- Hand sewing needle
- Appliqué scissors
- Curved Tip Squeezers
Some of the above supplies contain affiliate links. We may earn a commission if you purchase something through those links.
HOOPING
Choose the smallest butterfly body and wings designs; load the designs into the embroidery machine.
Resize the designs to go as small as possible on the machine (20%).
Fit as many butterfly bodies and wing sets as possible in one hooping to make as many napkin rings as desired. (You may need to do two or four hoopings, depending on your hoop parameters.)
Hoop one layer of Sulky Ultra Solvy in the hoop.
Before embroidering, float a second layer of Ultra Solvy over only the area where the body/bodies will stitch. The extra stability is needed for the antennae to stitch nicely when the design size is reduced. TIP: Use a bit of Sulky KK 2000 Temporary Spray Adhesive to adhere a small bit of stabilizer over the stabilizer in the hoop; or slightly moisten the stabilizer scrap with a spritz of water so it sticks to the stabilizer in the hoop.
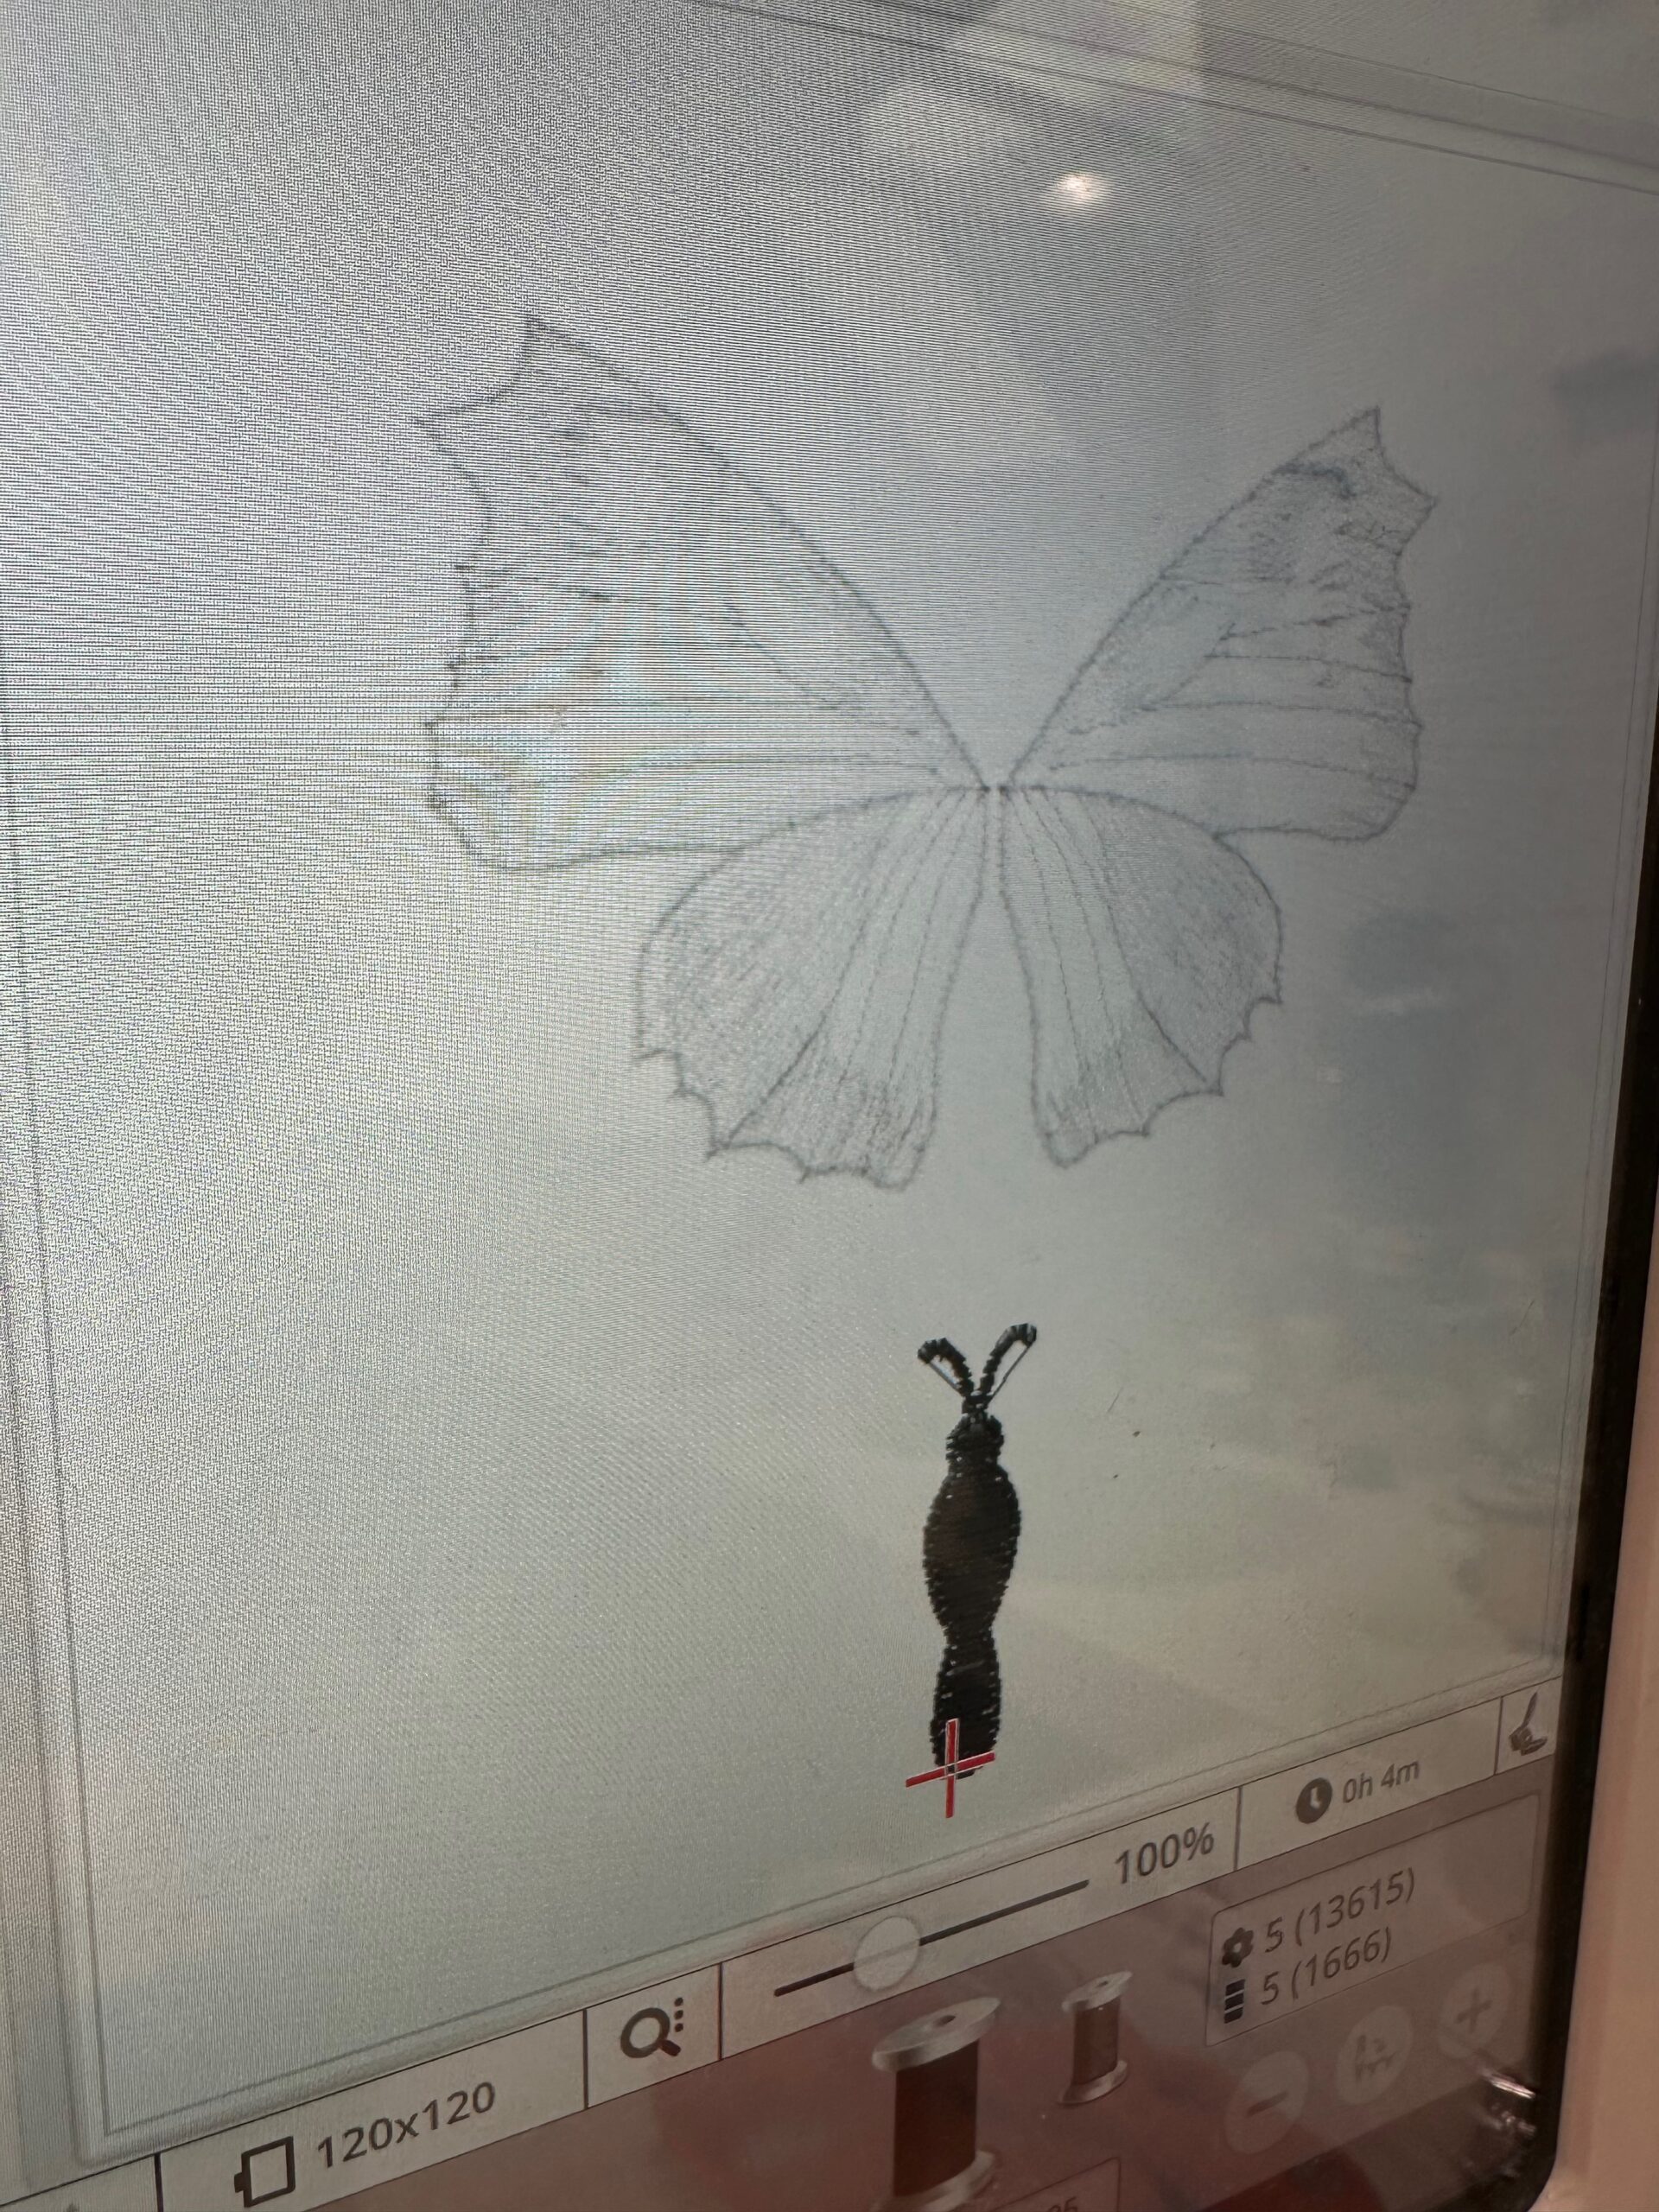
BUTTERFLY EMBROIDERY
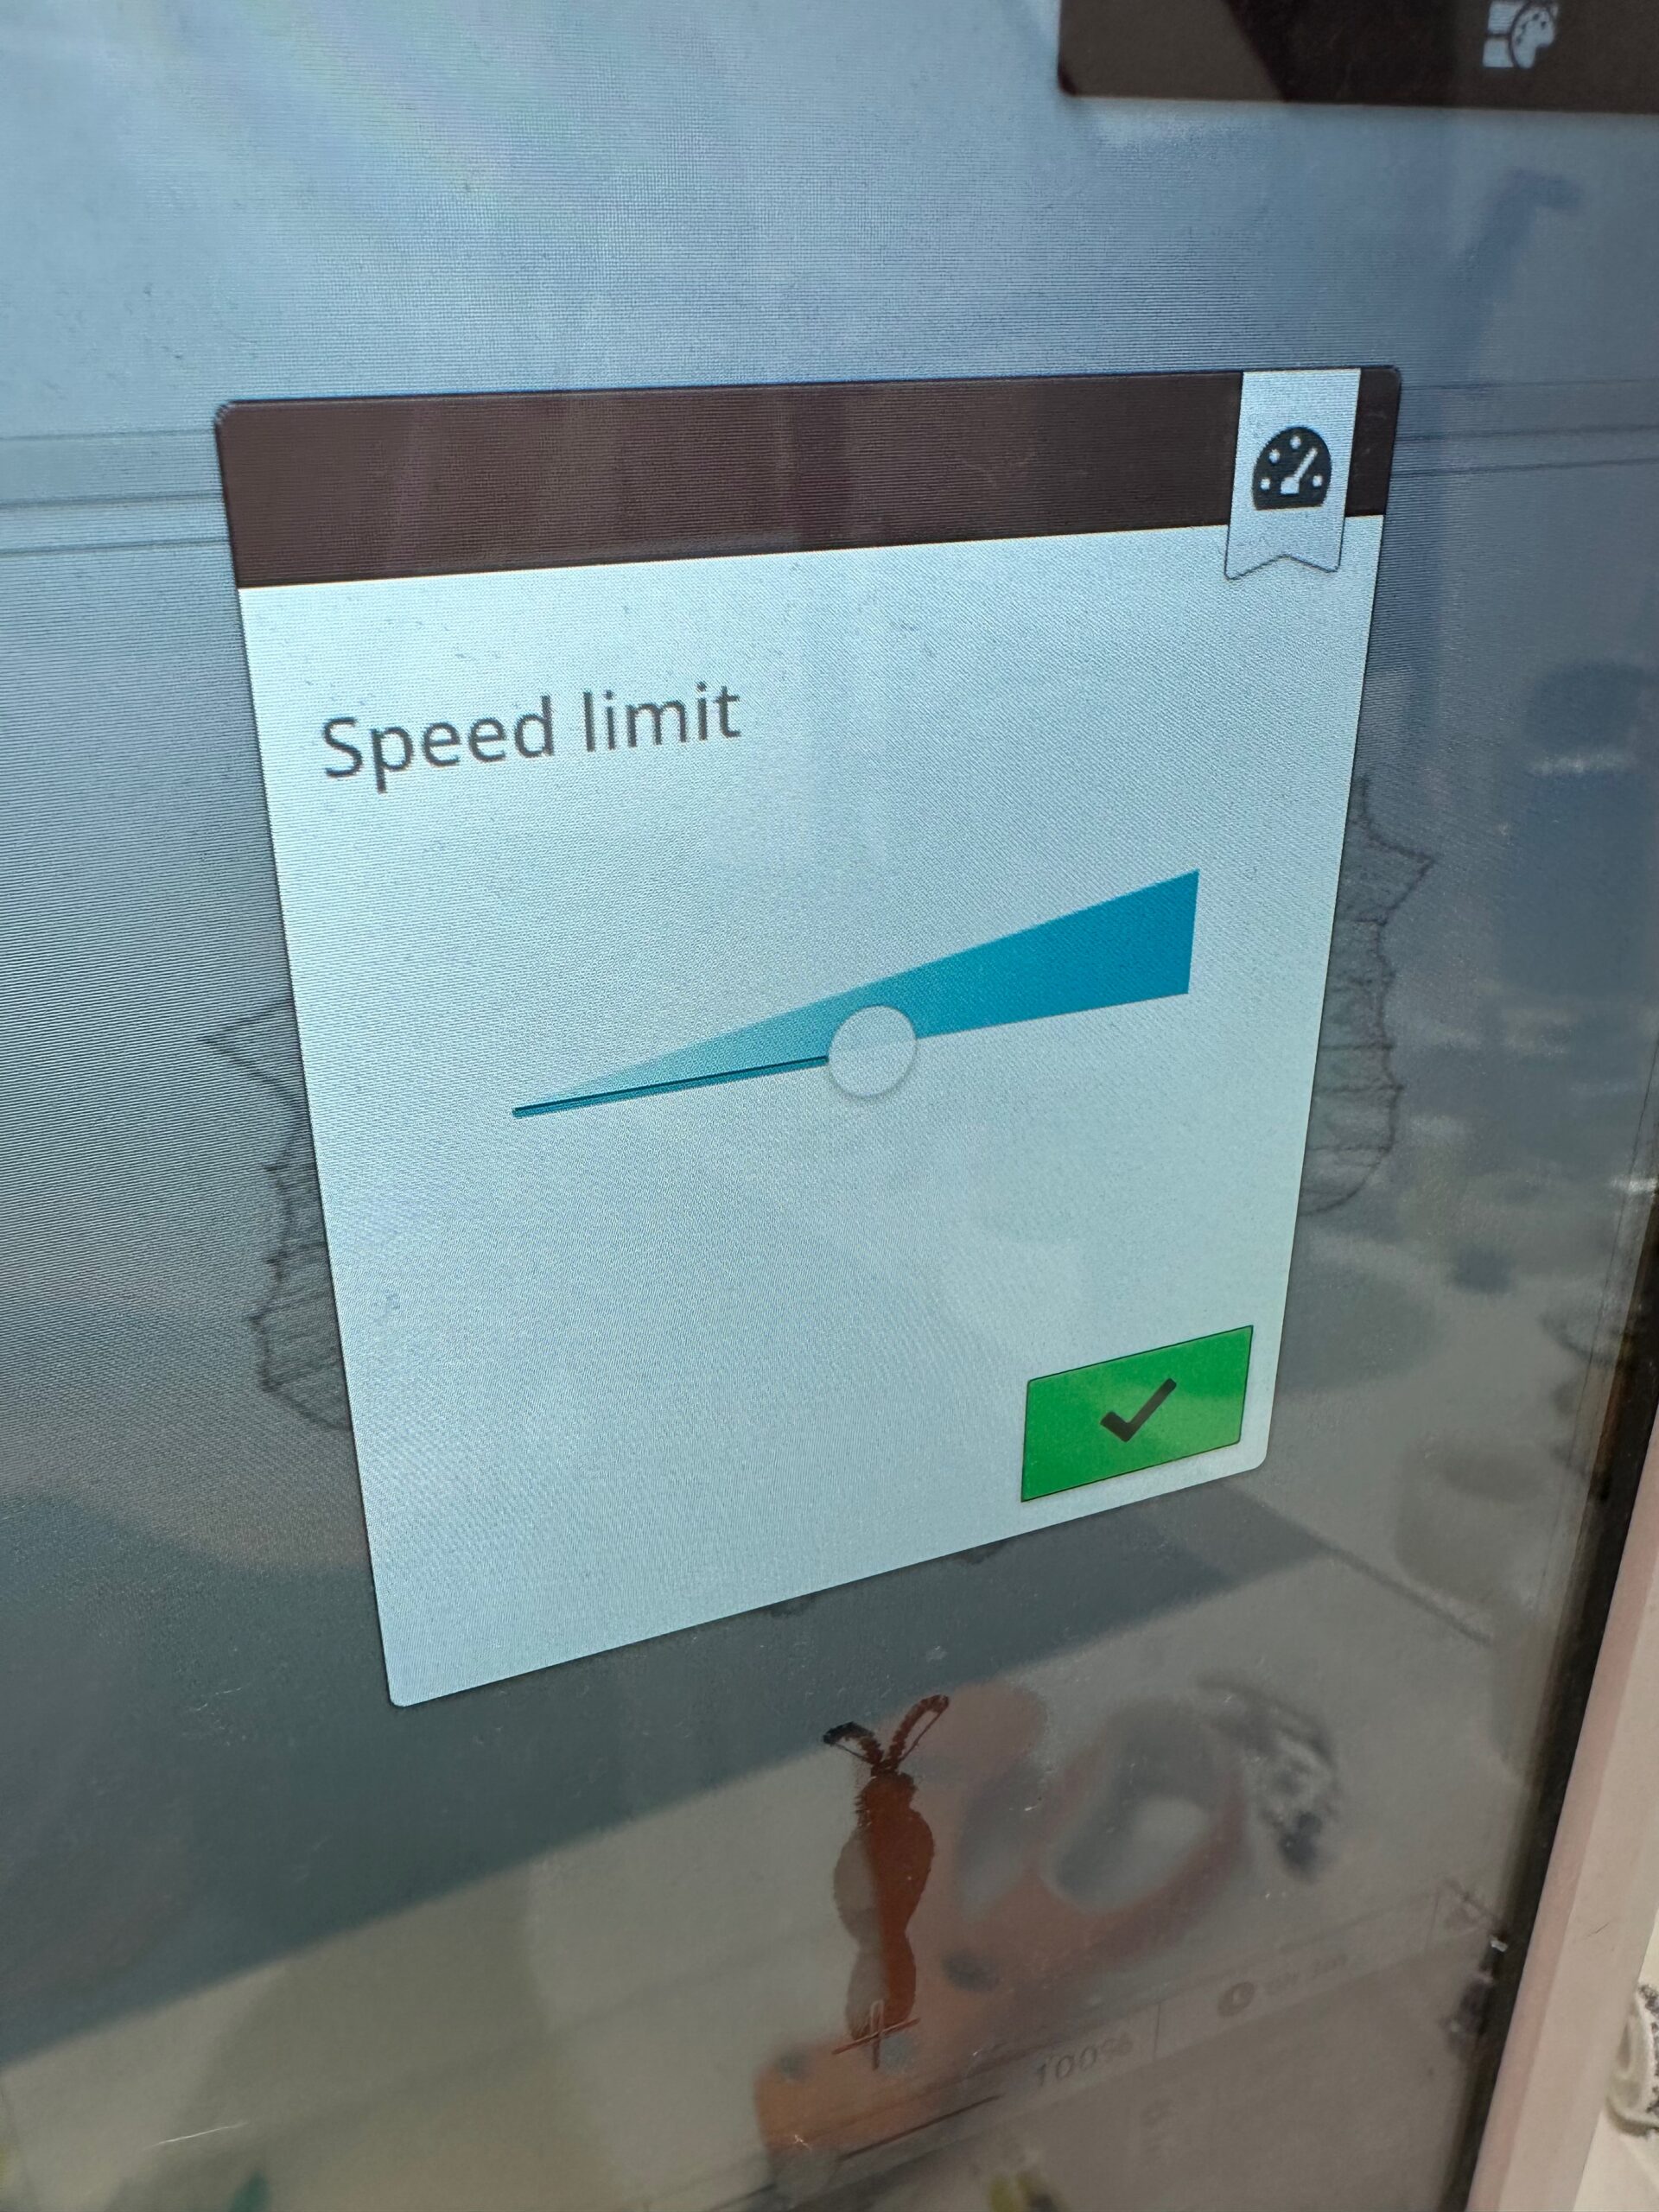
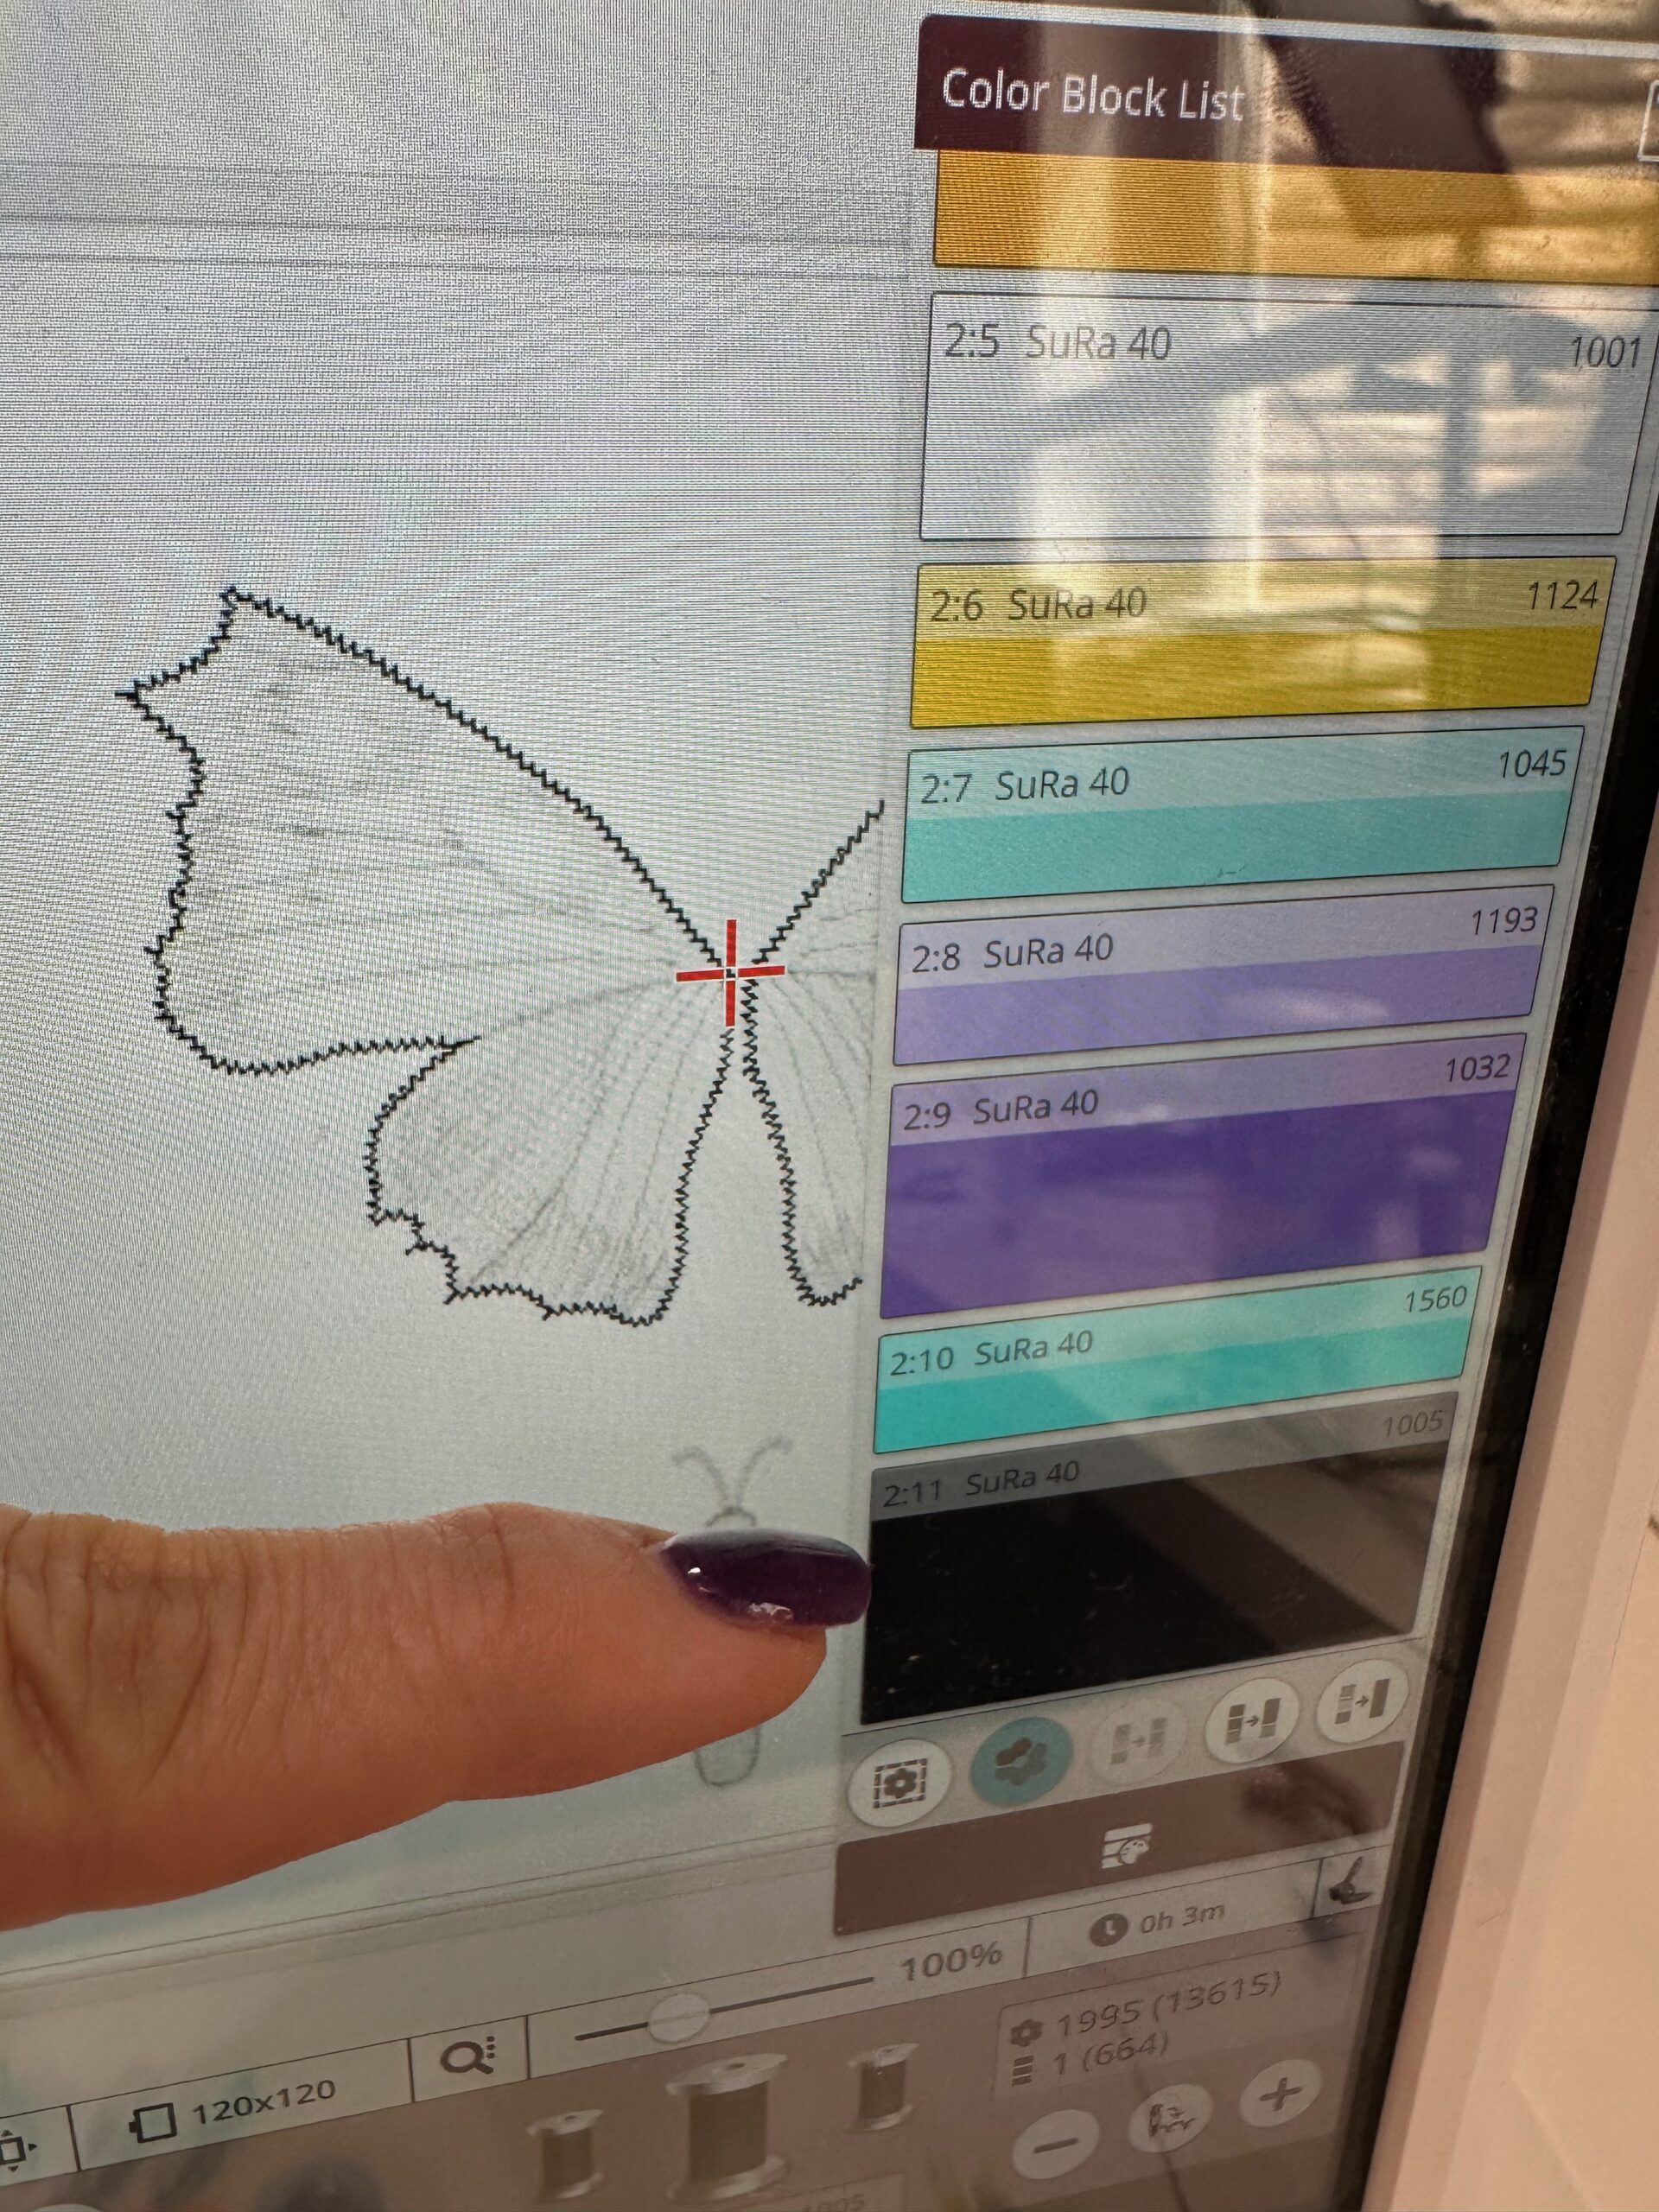
Depending on the order you load the Butterfly Body and Butterfly Wing designs, the machine will either stitch one or the other first. The body is straightforward and stitches all in one step, with Black Poly Deco Thread in the needle and bobbin. Slow the machine speed by at least half for stitching the Butterfly Body.
For the Wings, follow these instructions for the napkin rings:
Embroider the first step of the design, which is the placement line for the background butterfly fabric.
Then, remove the hoop from the machine or put the hoop in “trim” position. Use Sulky KK 2000 Temporary Spray Adhesive to secure the butterfly background fabric to the stabilizer, completely covering the stitches. Place the hoop back onto the machine.
Stitch the next step, which tacks the fabric in place.
Then, remove the hoop again and trim the fabric close to the stitching line using appliqué scissors.
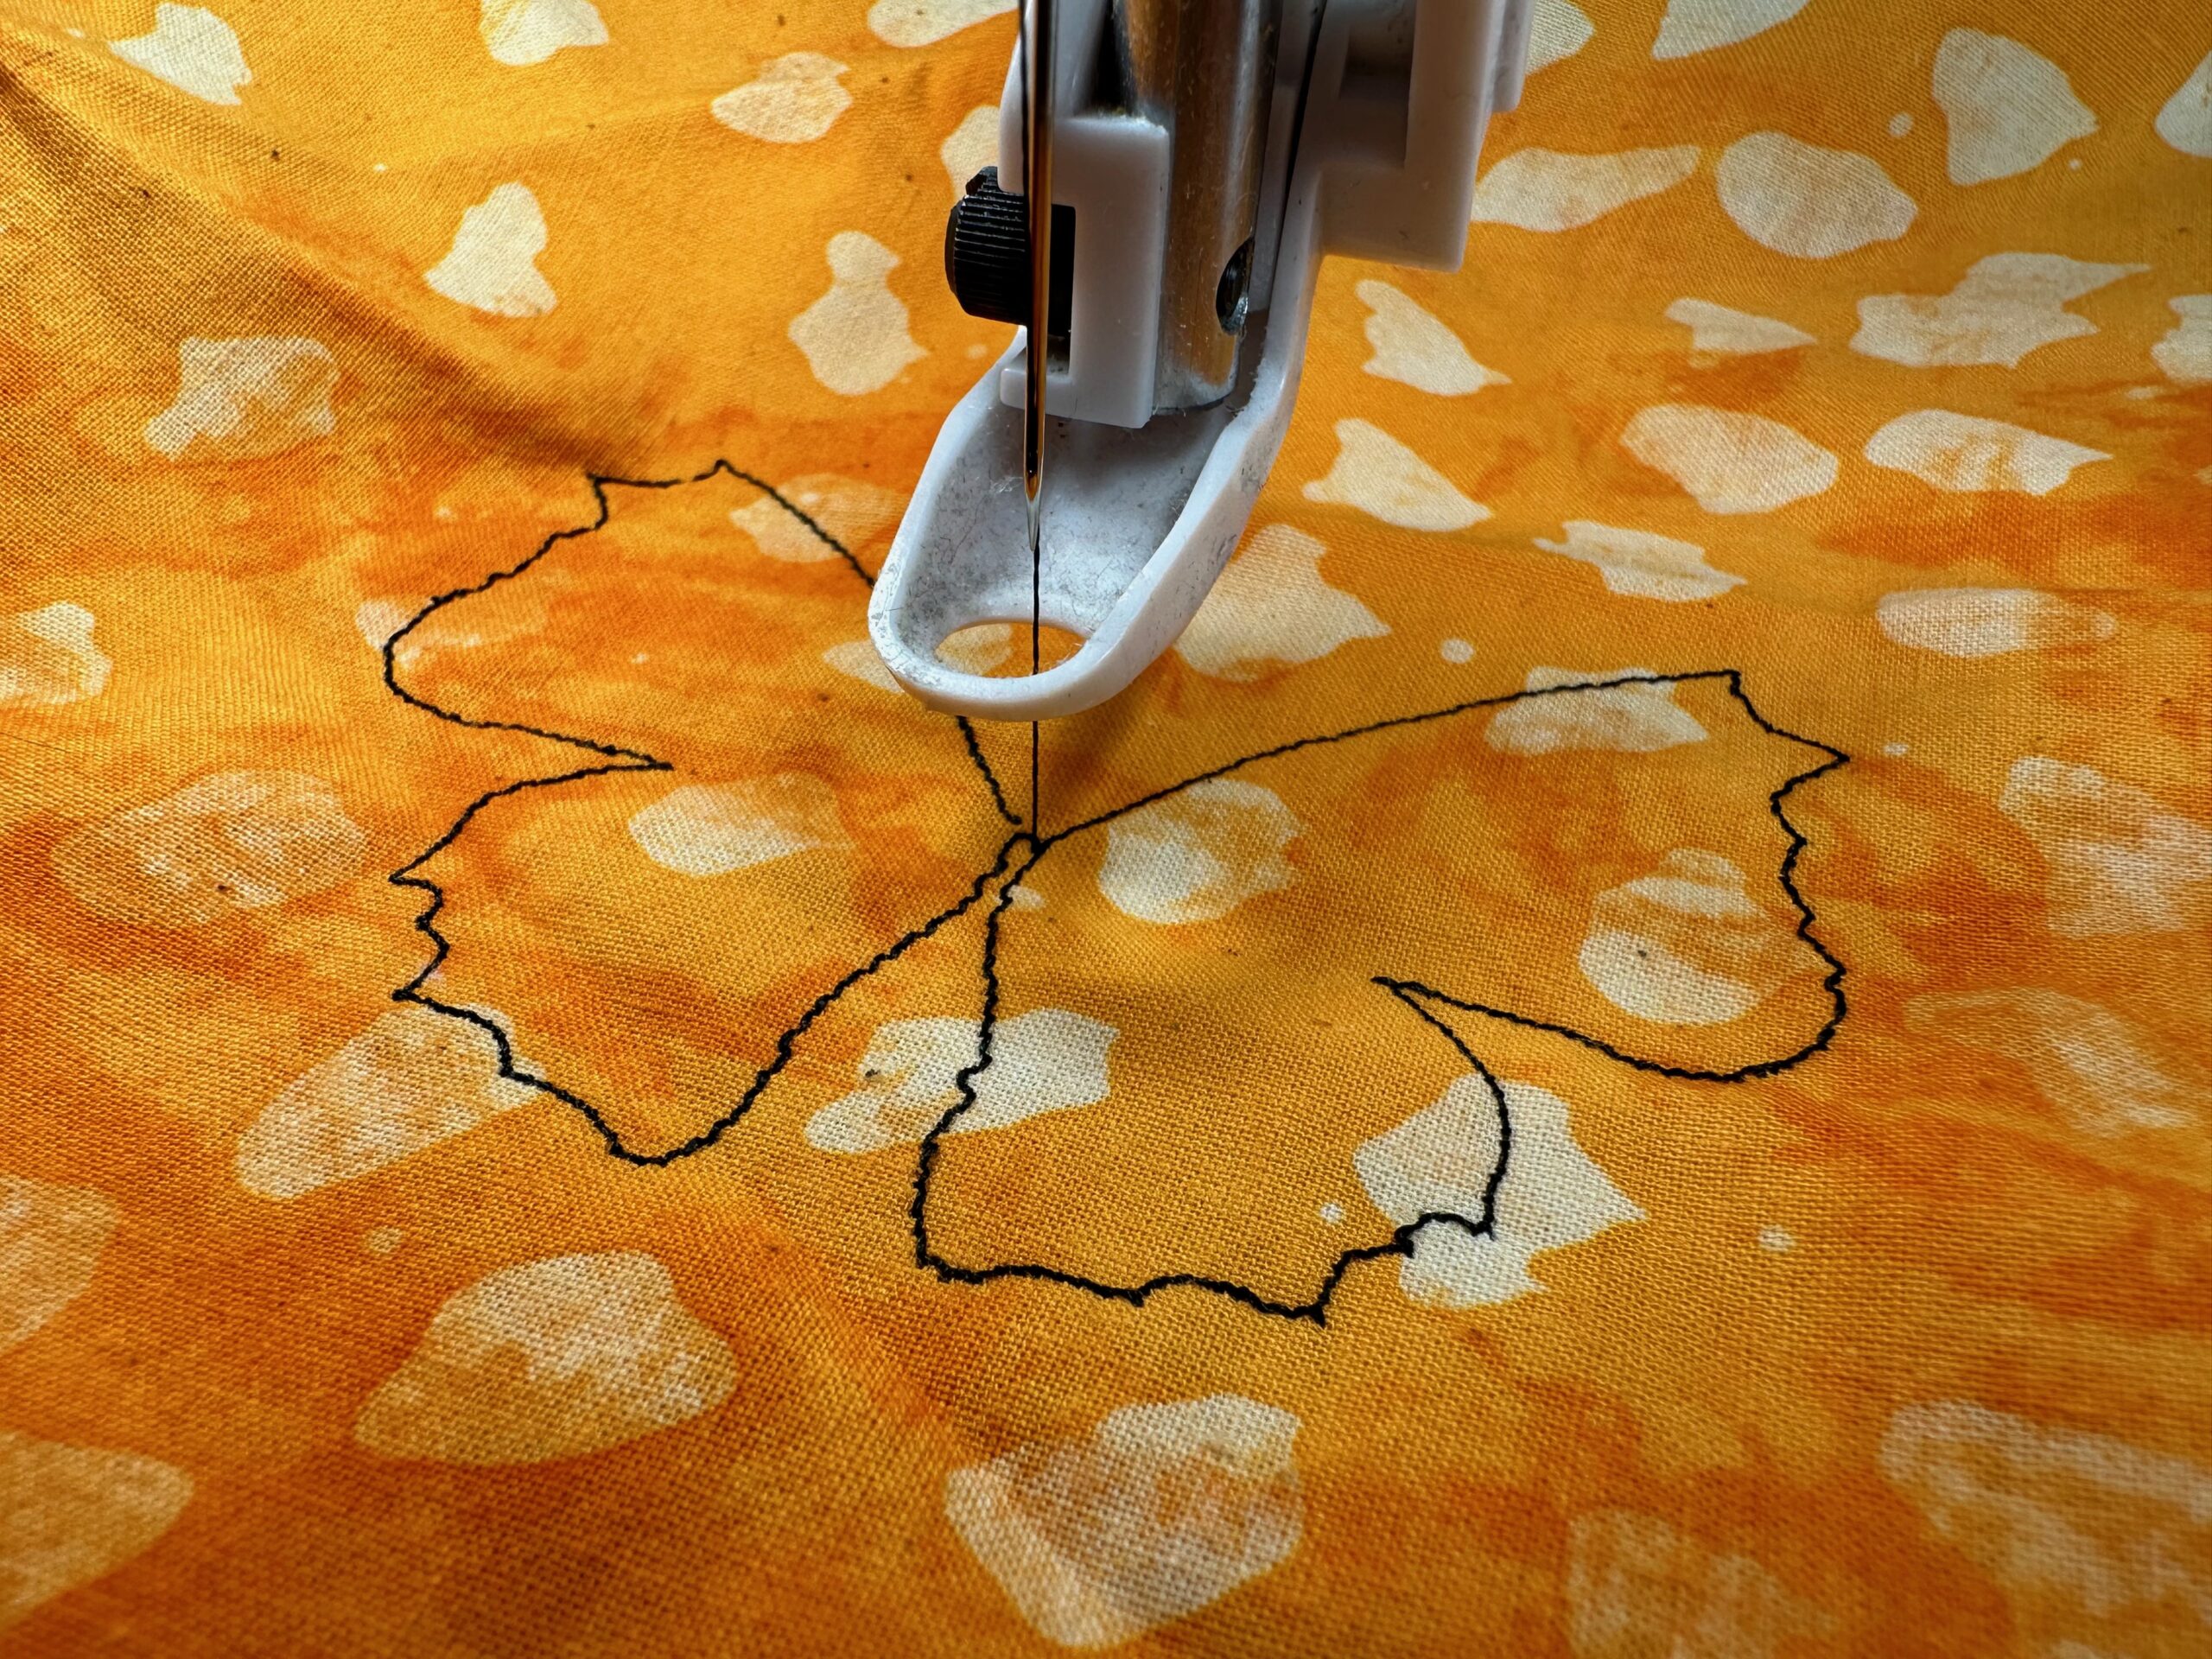
Next, place the hoop back onto the machine and continue stitching the design, clipping jump threads with each thread change.
Before stitching the last step, which is the final satin edging of the wings, remove the hoop from the machine.
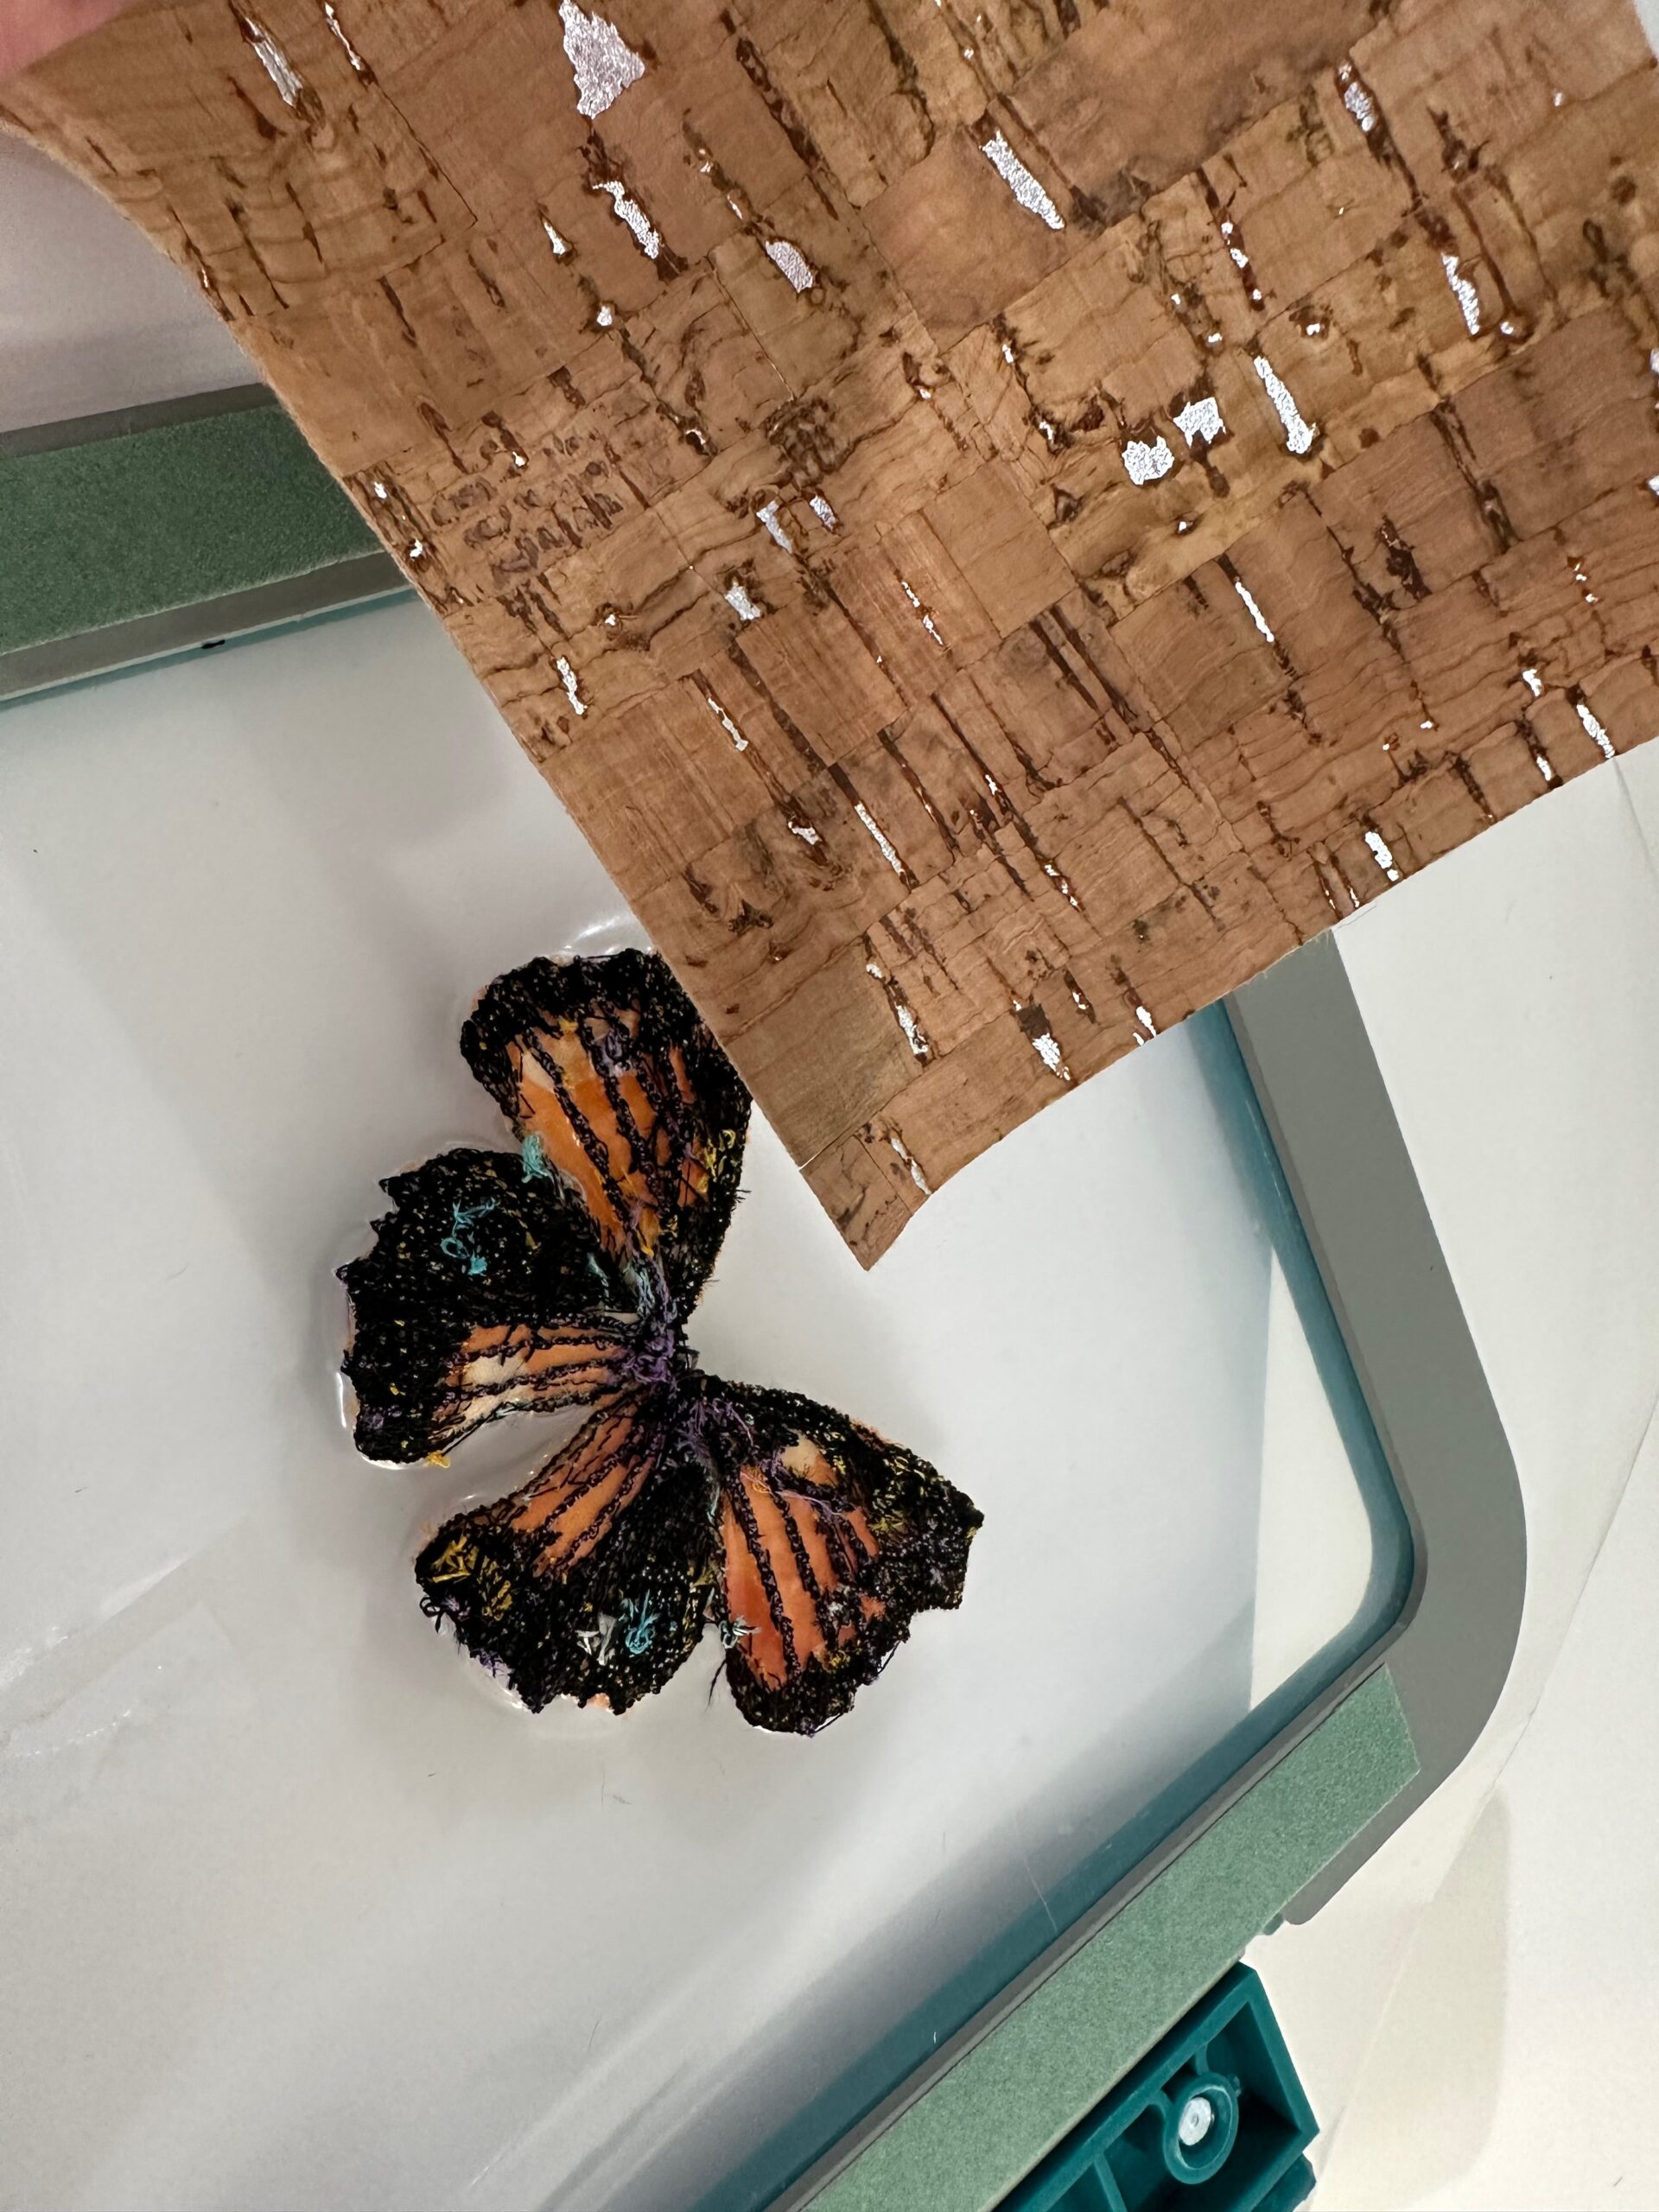
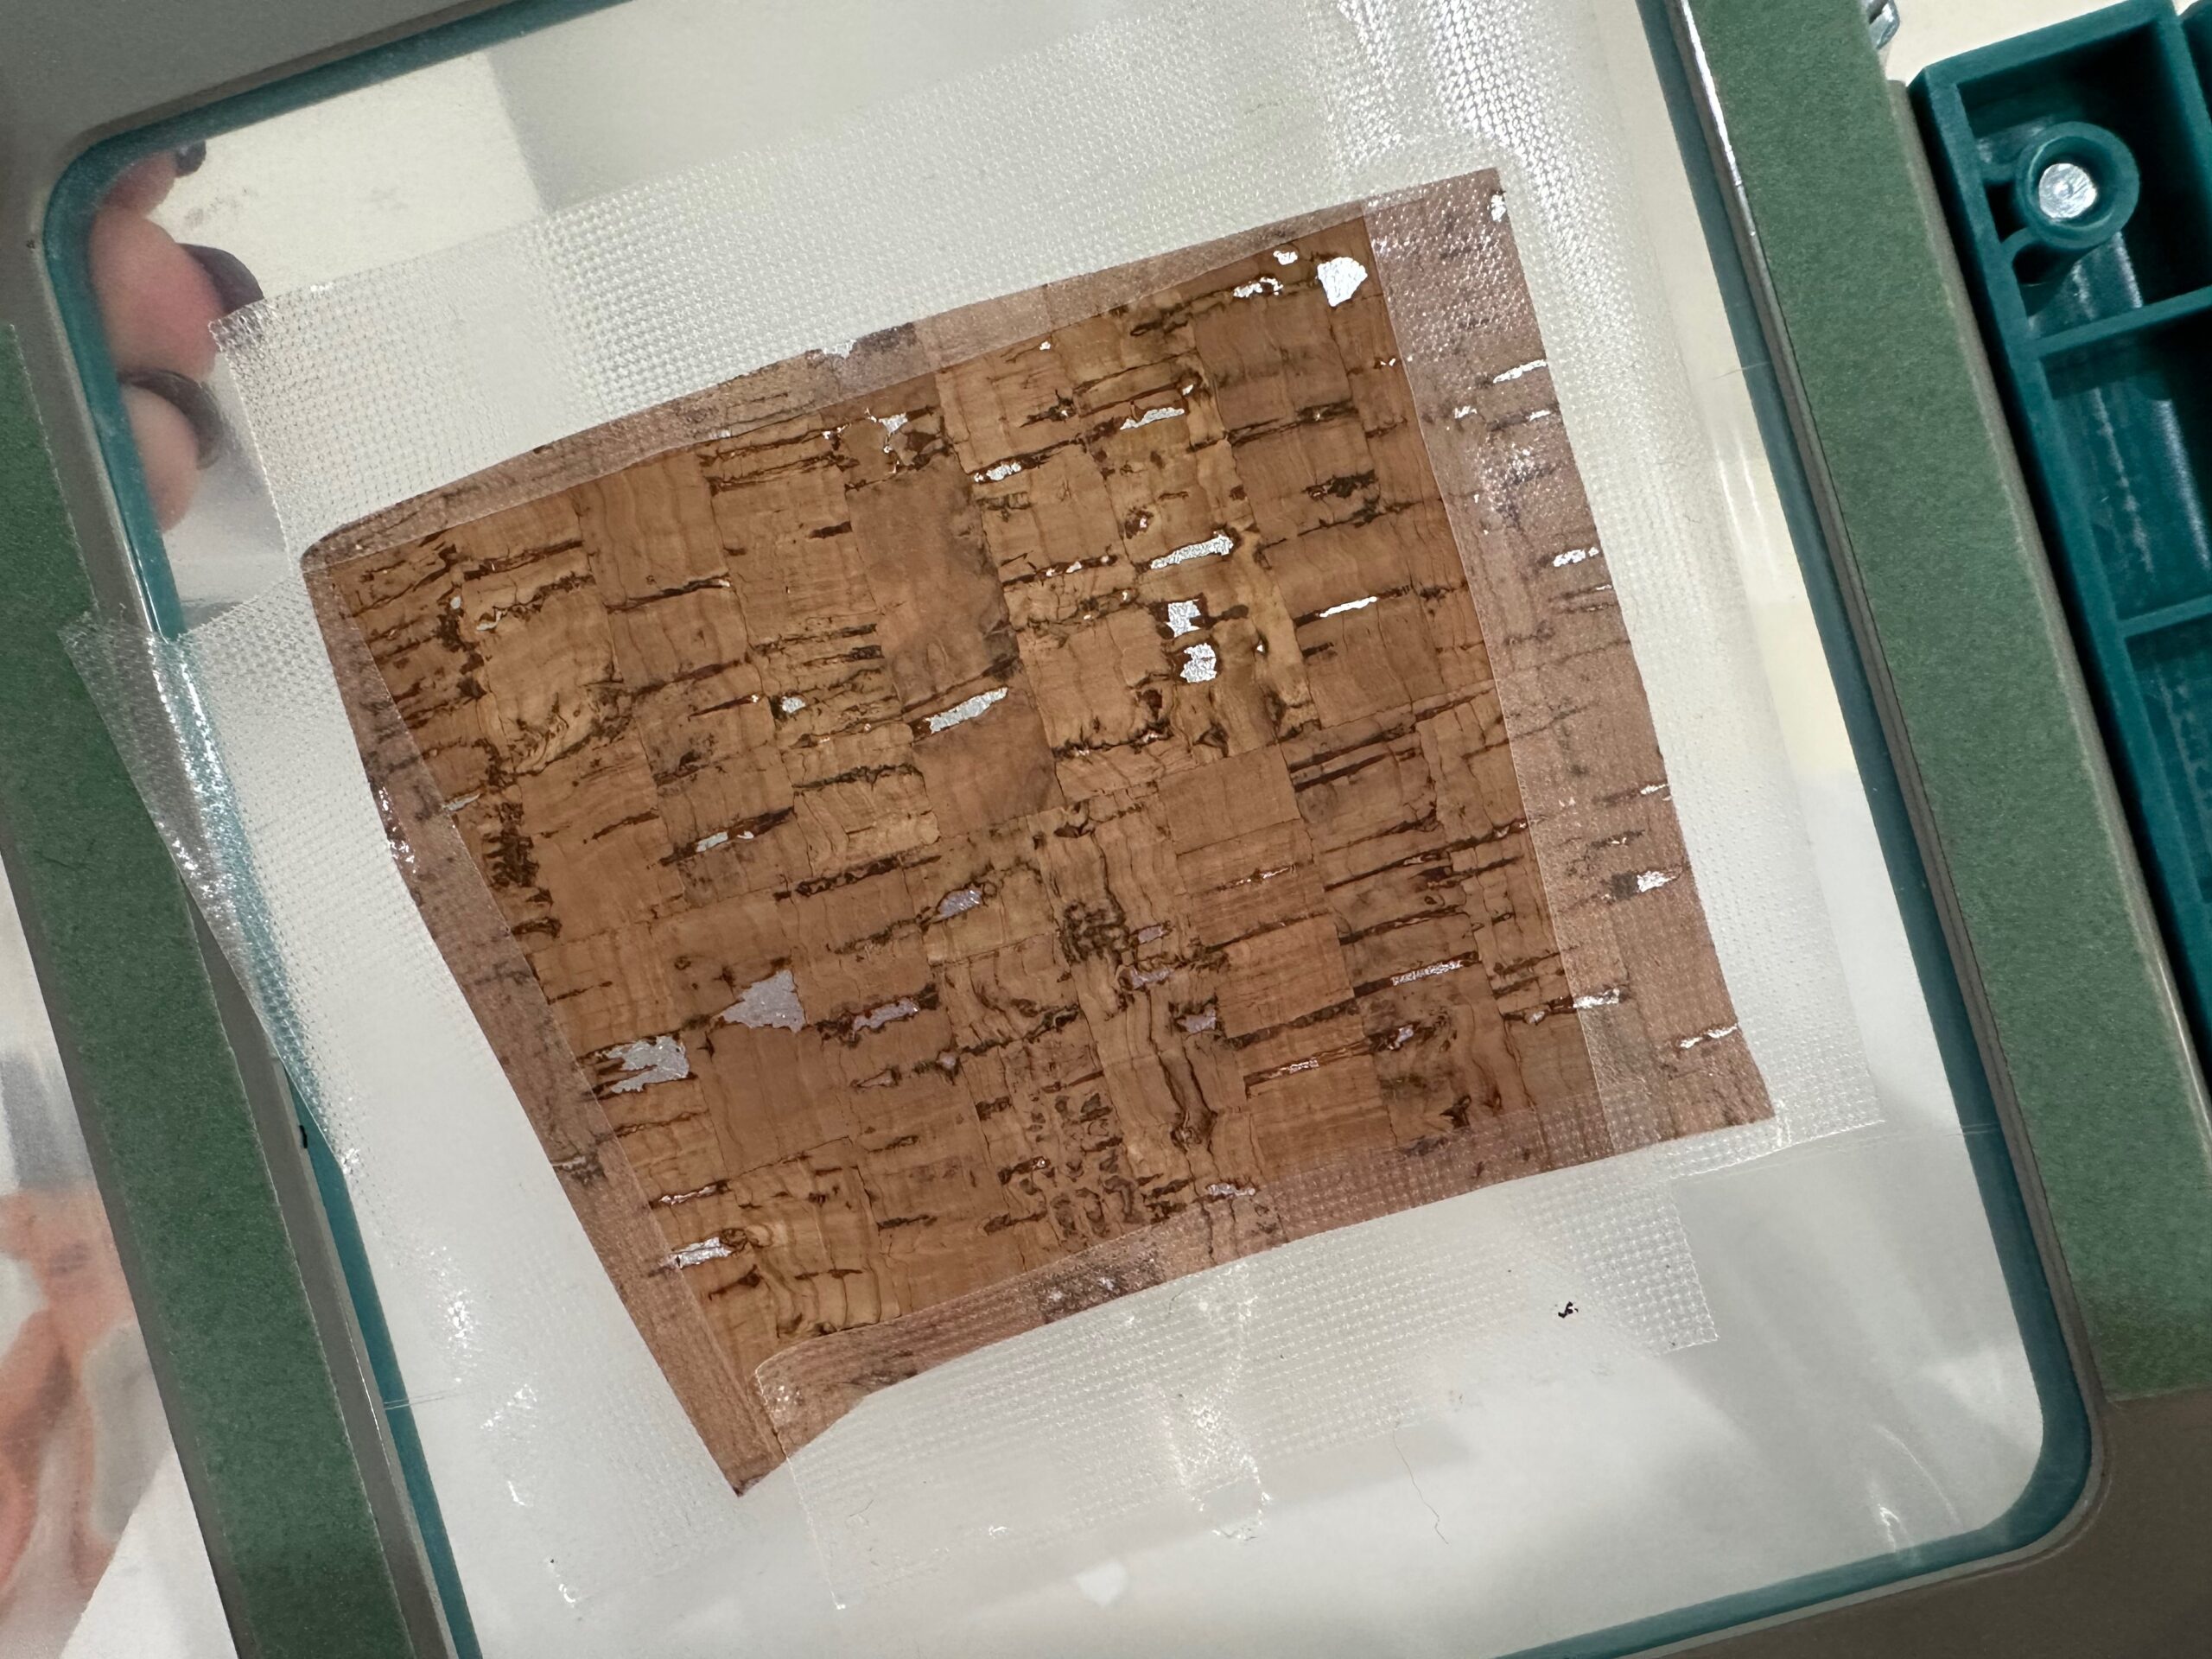
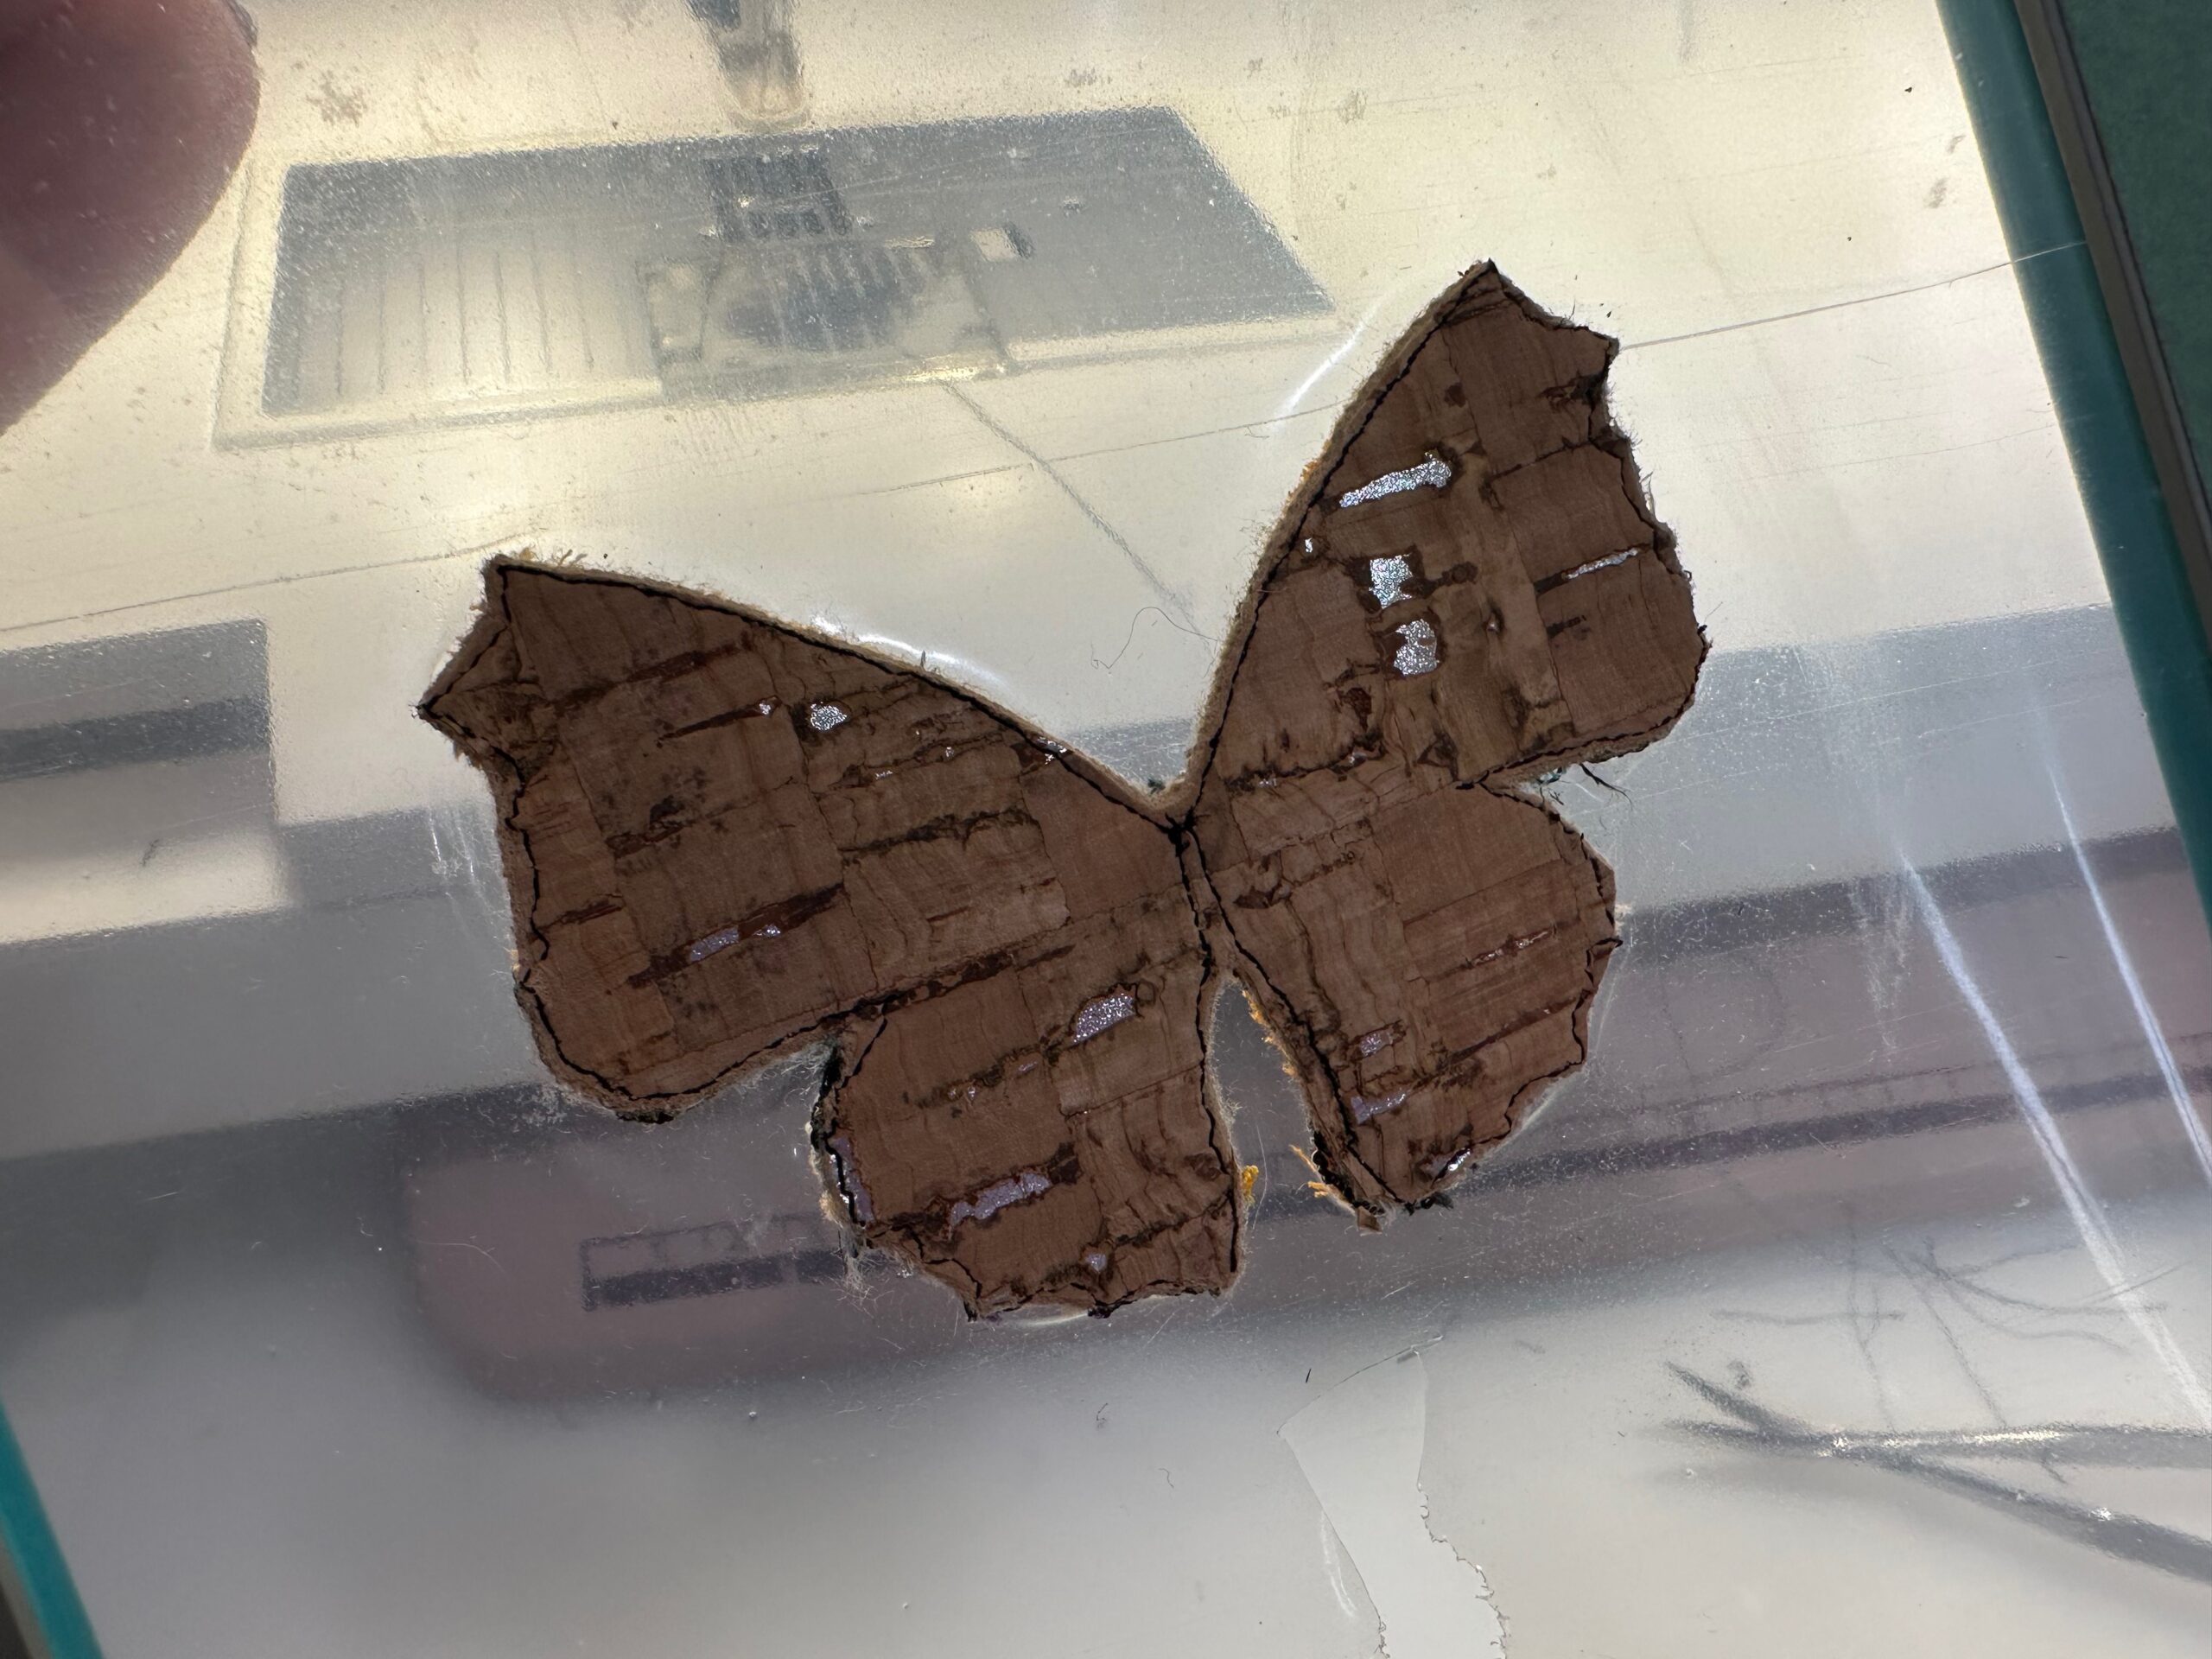
Turn the hoop over so the wrong side is facing up. Place a cork or faux leather scrap right side up on the stabilizer back.Using Sulky Clear Embroidery Tape, tape all four edges of the fabric scrap to secure it to the stabilizer.
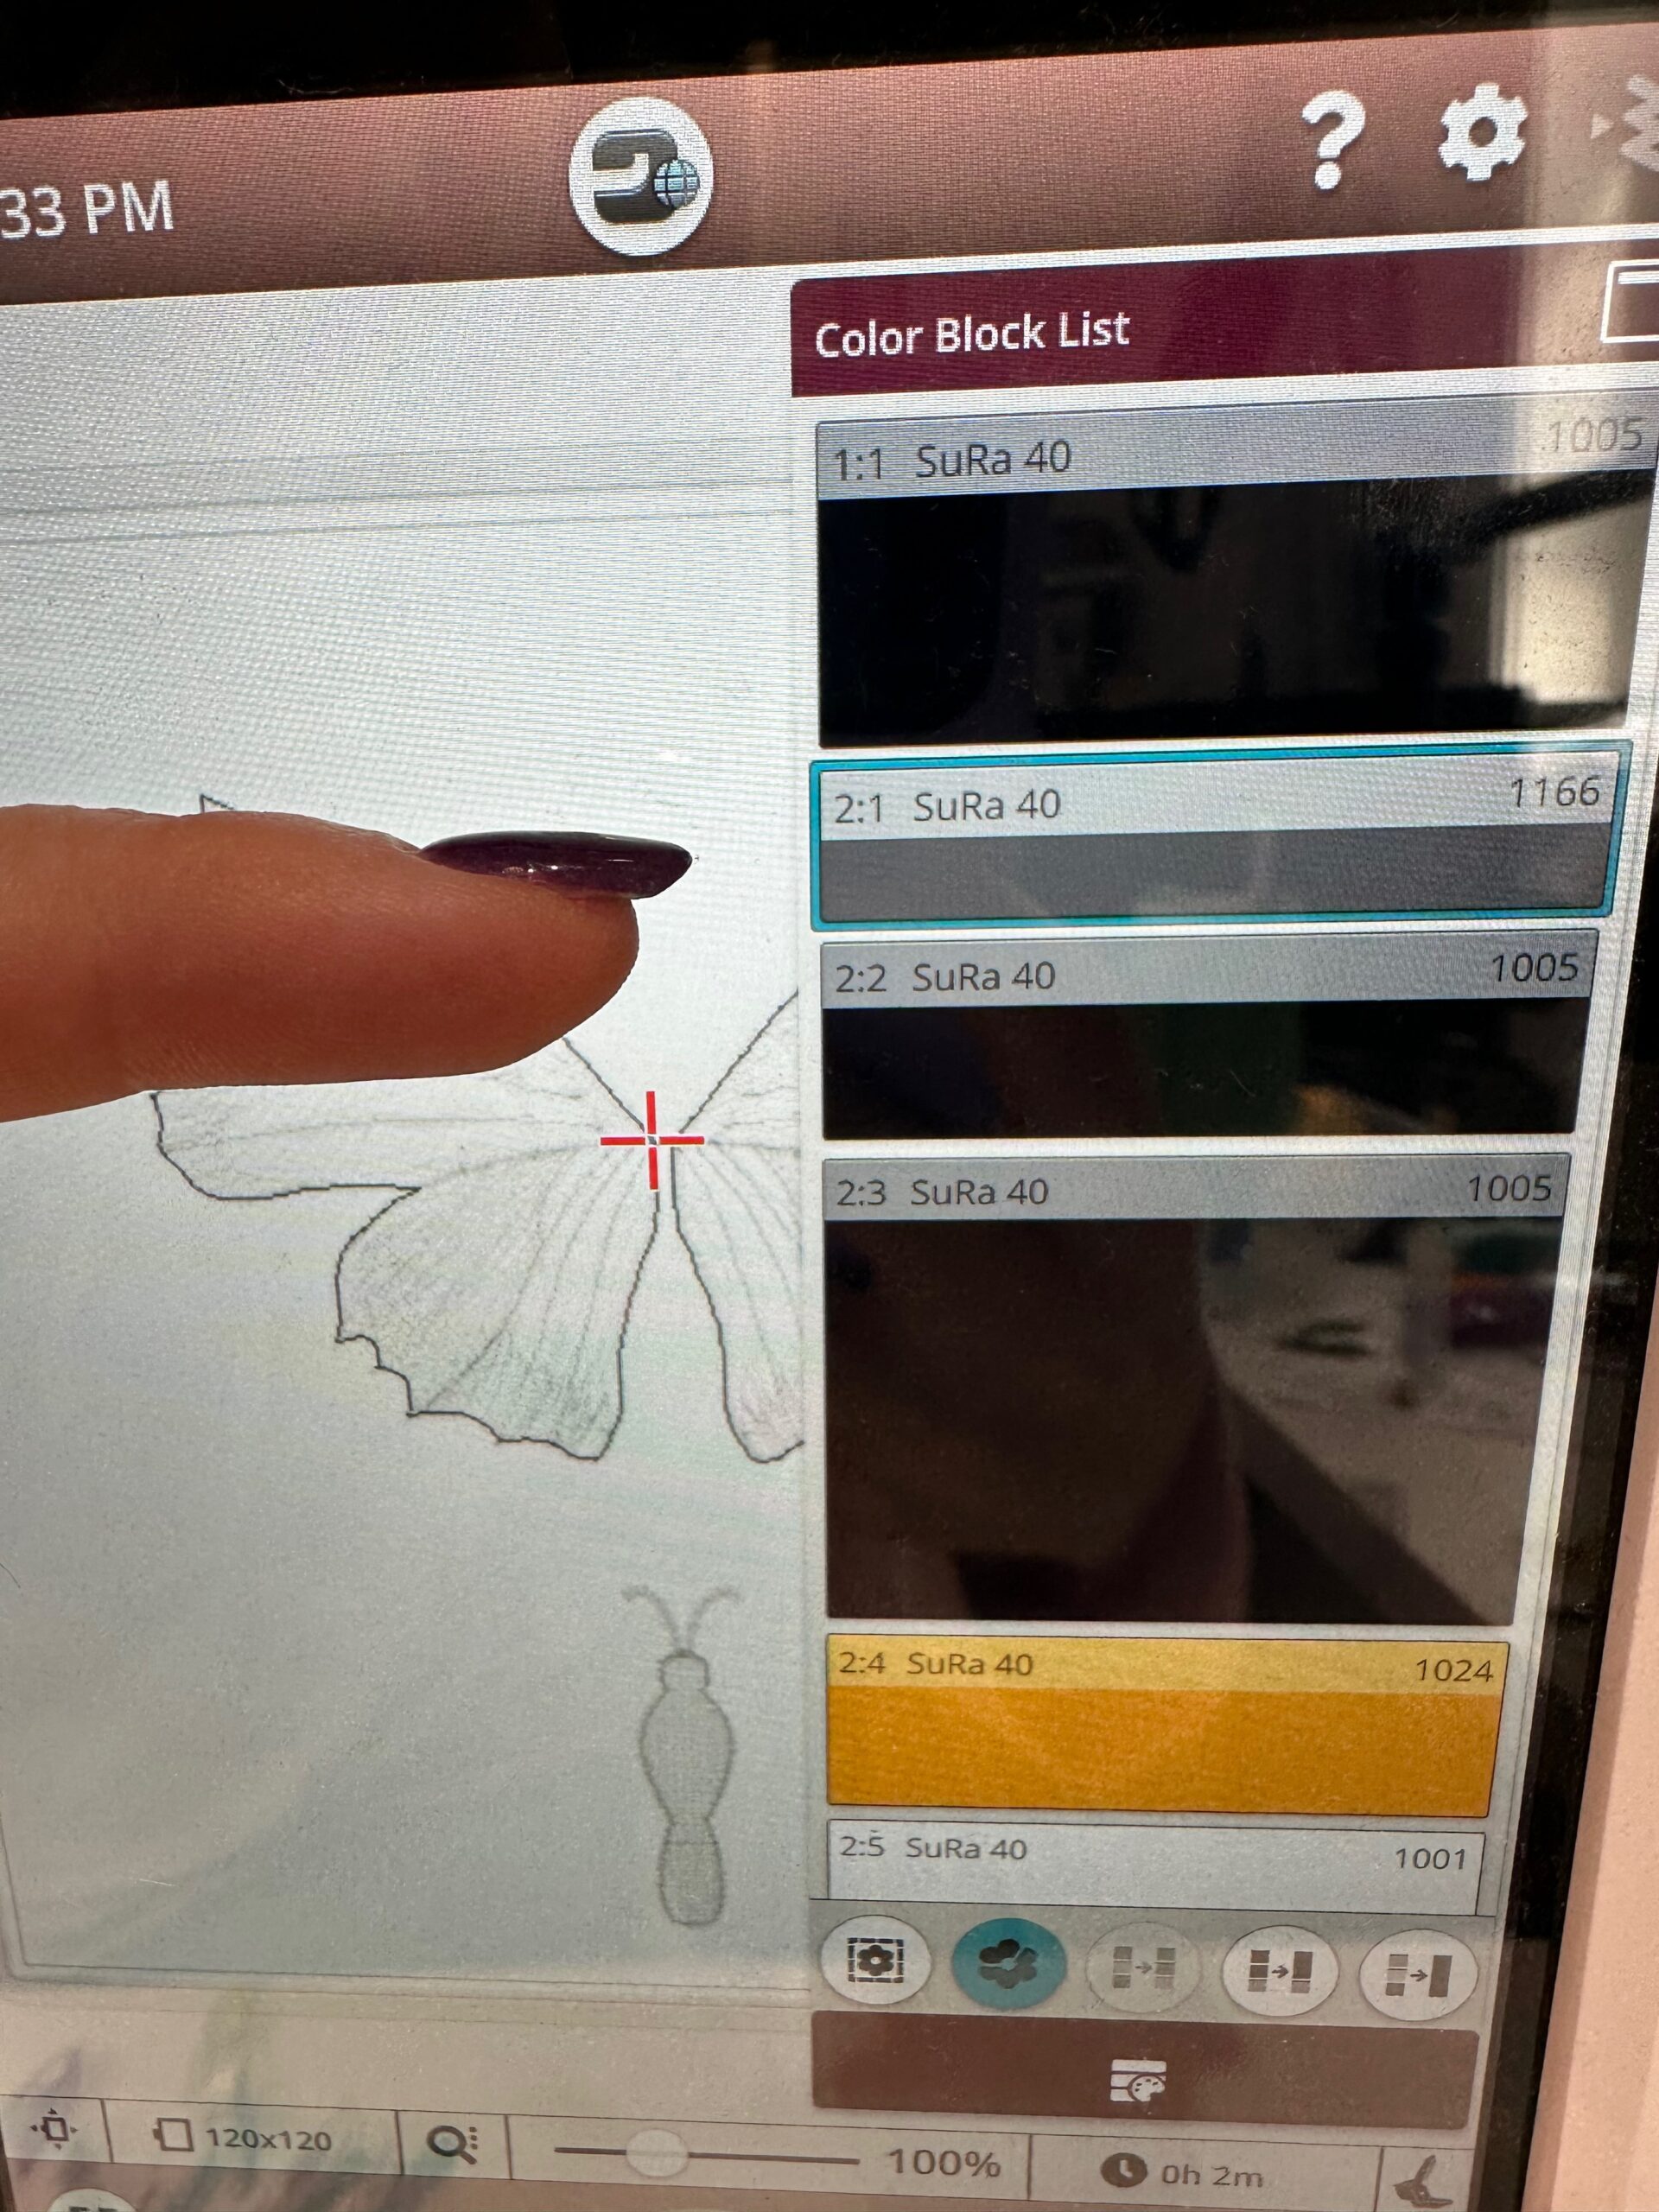
Then, place the hoop back onto the machine and stitch STEP 1 of the design, which originally was the placement line for the first fabric scrap.

When the stitching is complete, remove the hoop from the machine. Remove the Clear Embroidery Tape. Then, trim the cork or faux leather fabric close to the stitching line.
Next, place the hoop back onto the machine. Advance the design to the last step, which is the final satin stitching edge.
When the embroidery is complete, remove the hoop from the machine and trim the stabilizer from the hoop.

Moisten a cotton swap with water, and then run it along the Butterfly Wing perimeter to release it.
Do the same with the Butterfly Body, being extra careful with the antennae (remember there are two layers of Ultra Solvy under the body so you may need to rinse and/or submerge the Body in water to completely remove the stabilizer).

NAPKIN RINGS
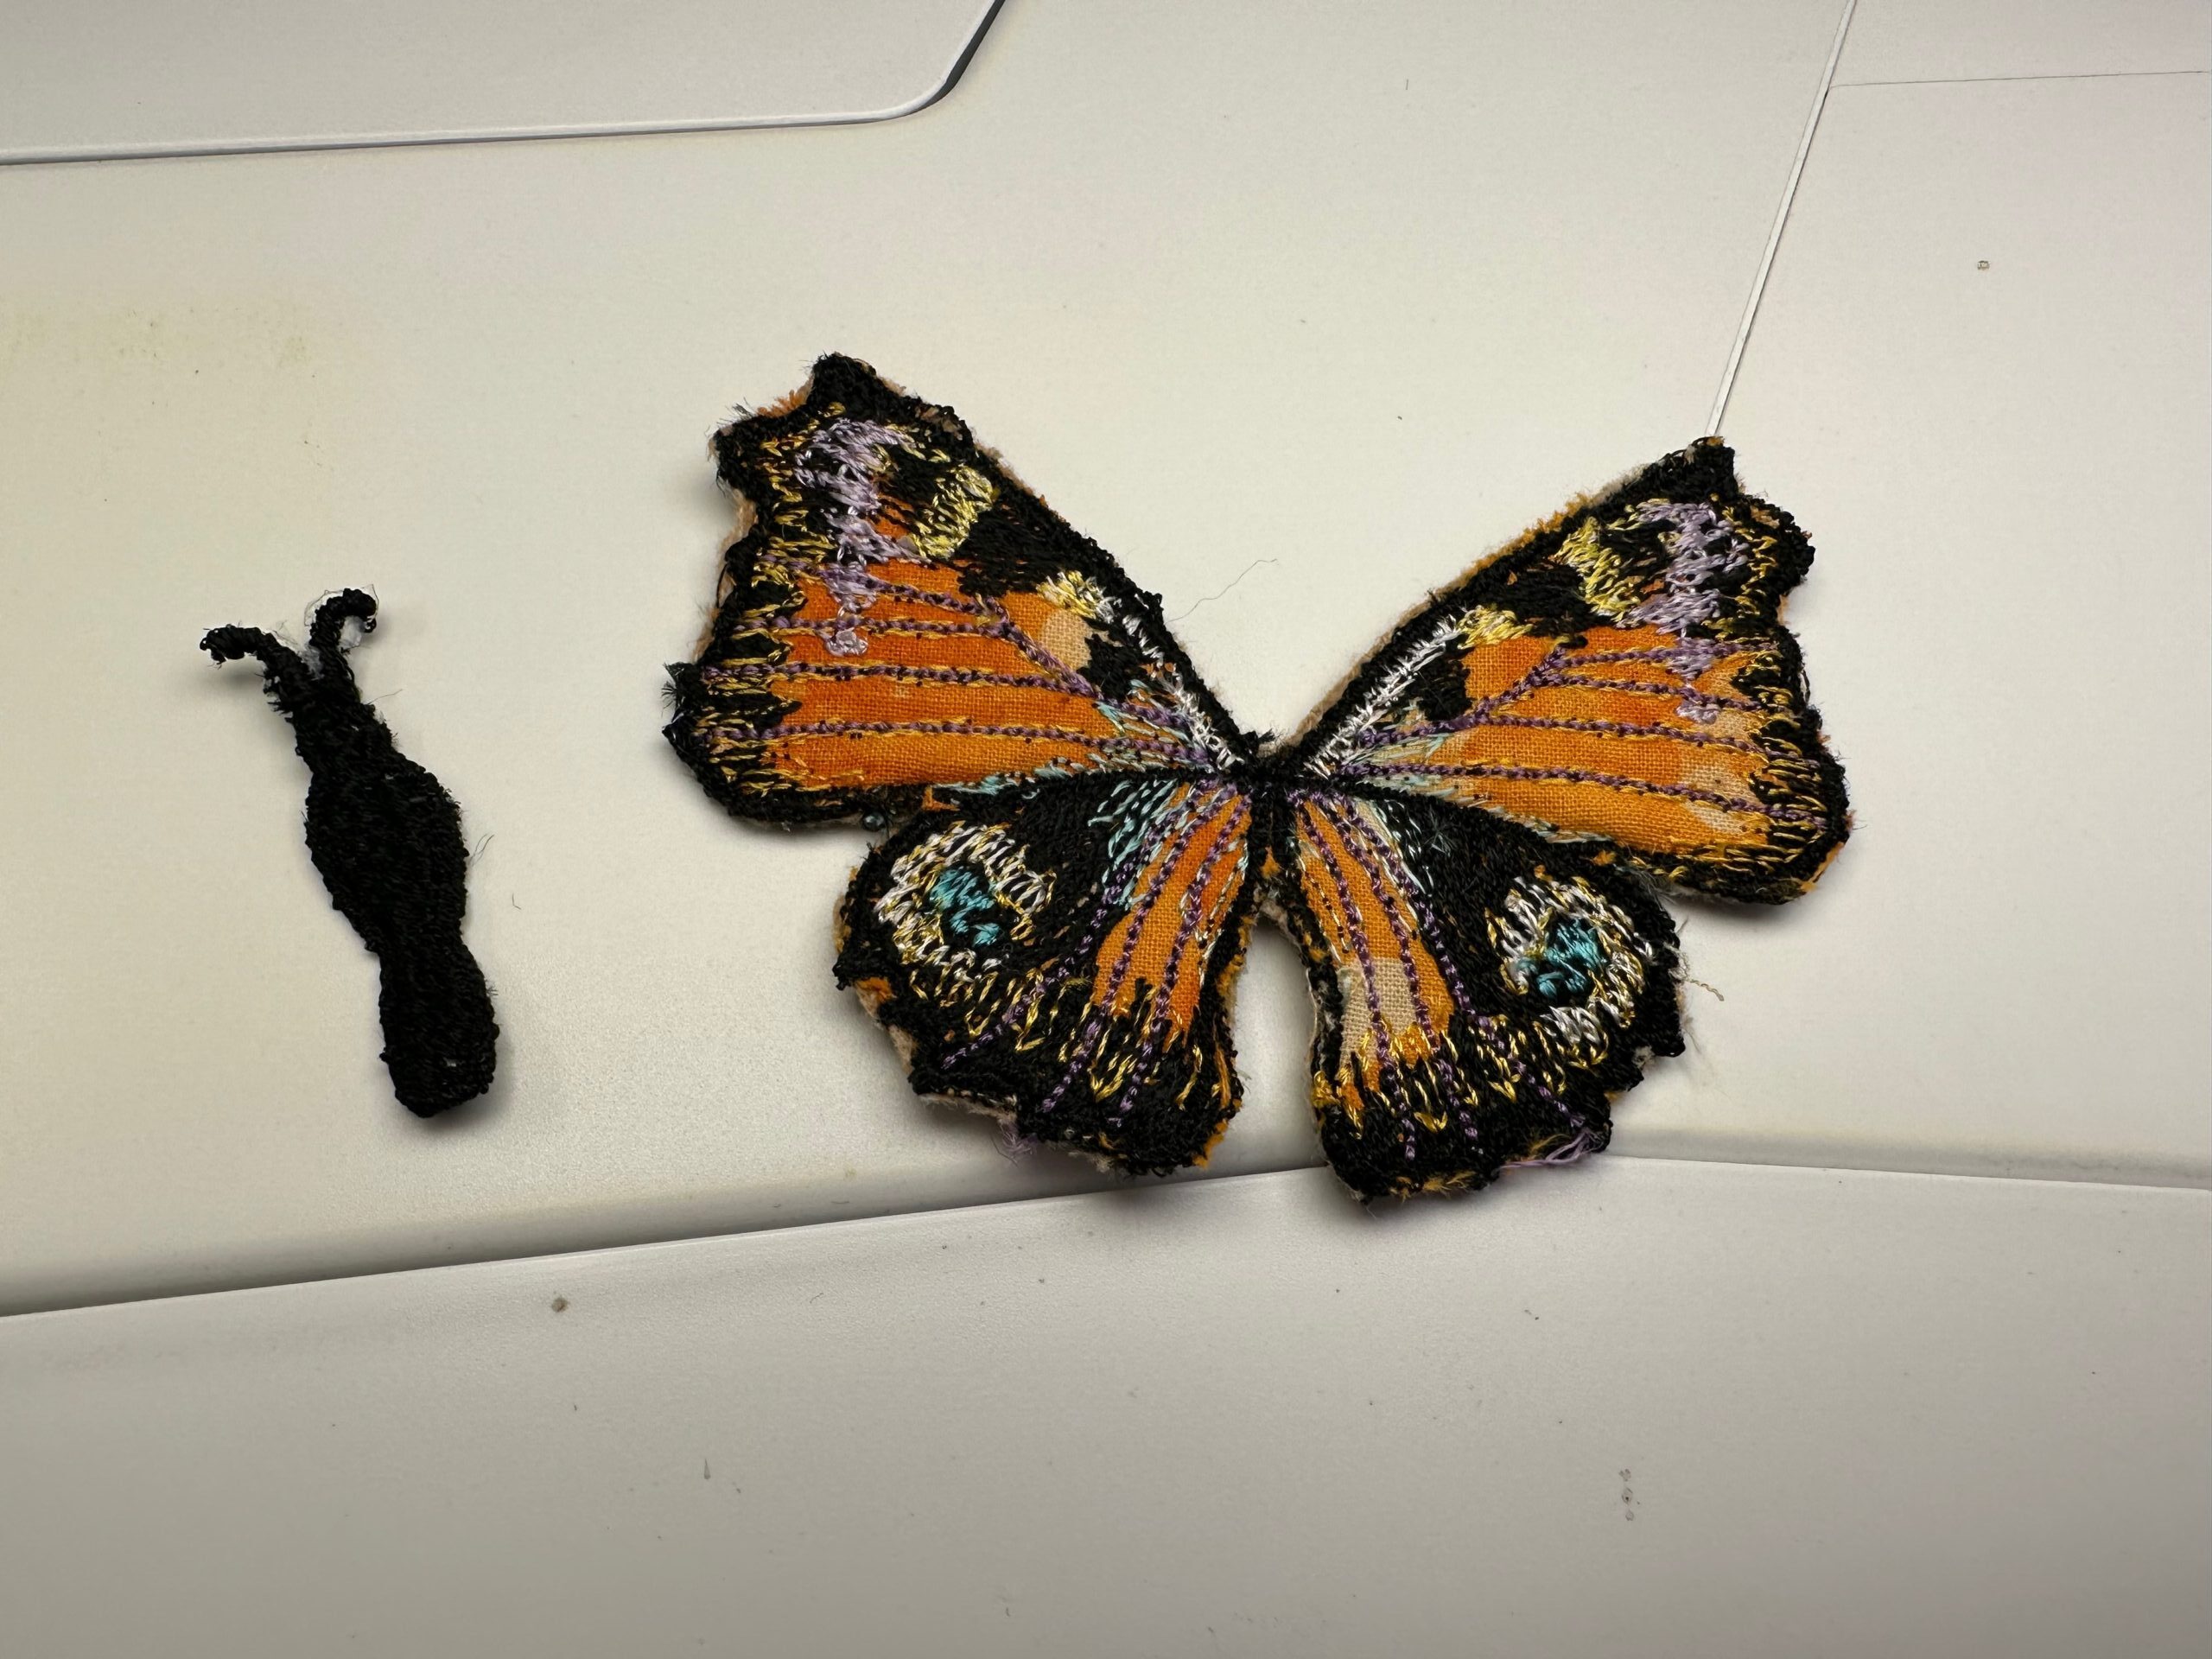
Place the Wings right side up on a flat work surface. Place the Body in the middle of the Wings. Hand stitch or machine stitch the Body to the Wings, just inside the middle Body portion.

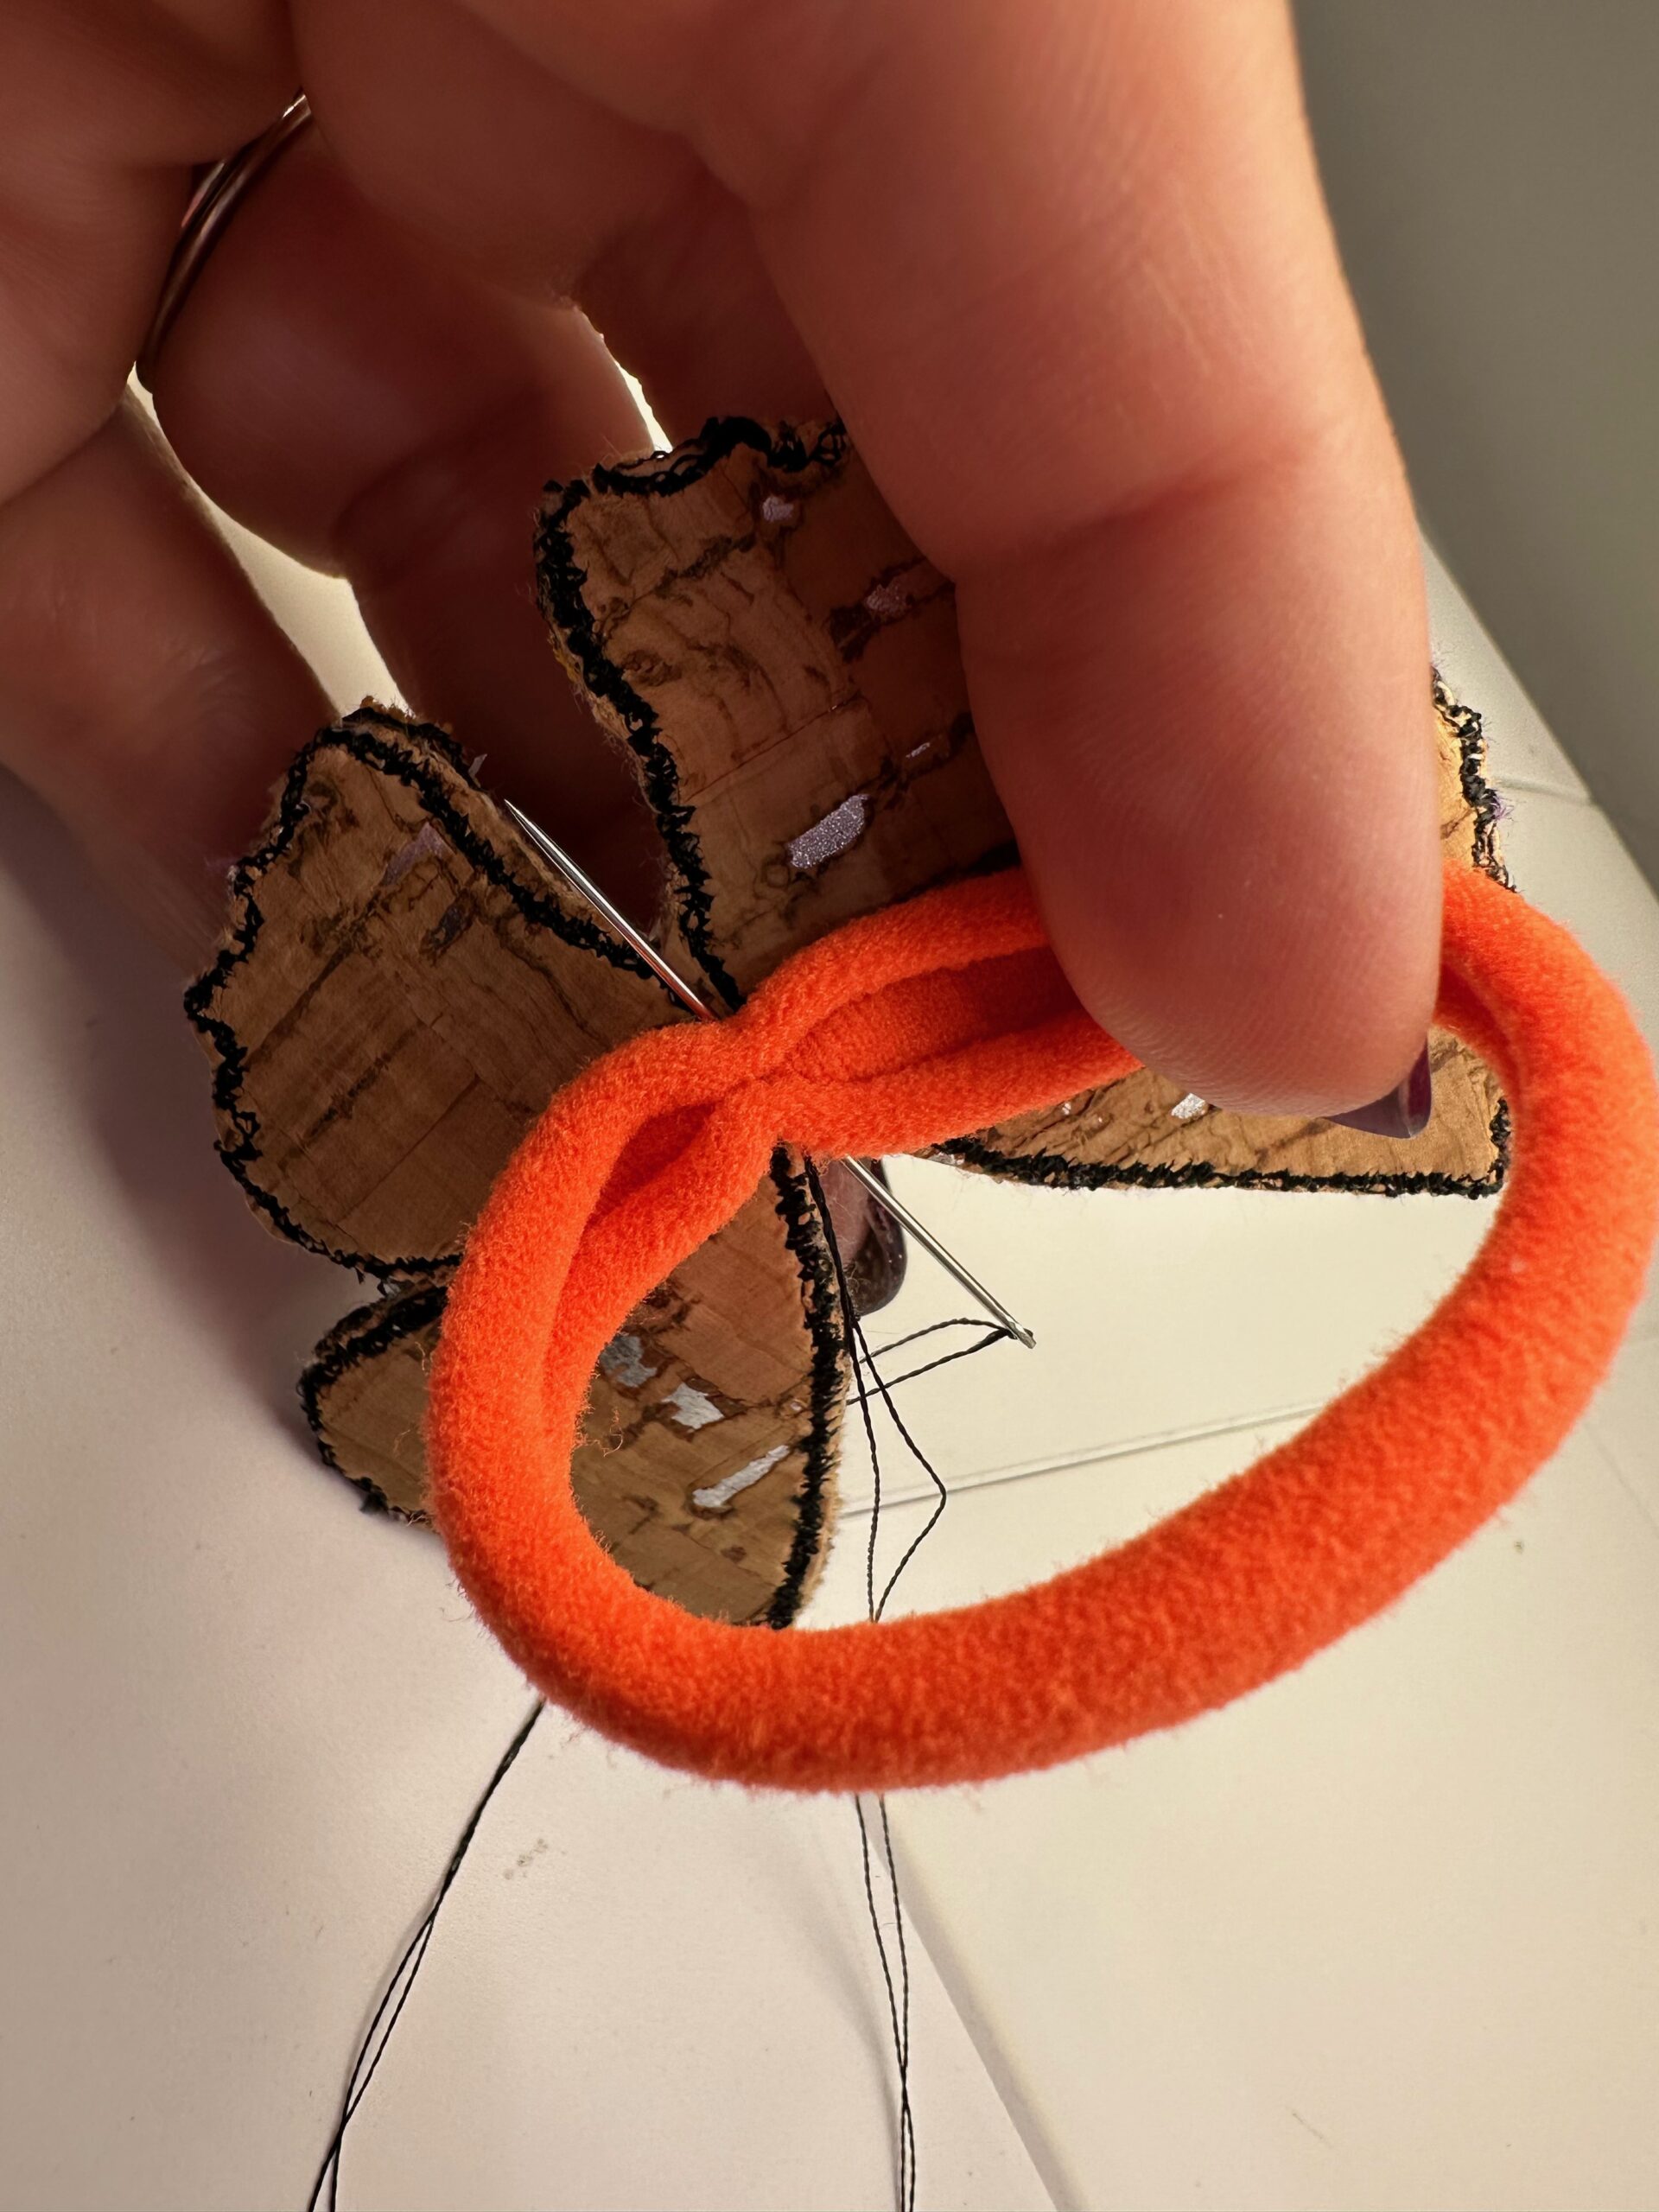
Place a nylon/elastic hair tie centered along the Wings wrong side. Make sure to orient the tie so it’s horizontal rather than vertical when opened.

Hand tack the hair tie in place, using several passes of thread.
Wrap the hair tie around a folded napkin and place at your summer table. Repeat to make as many Butterfly napkin rings as desired!