
COFFEE SLEEVE MUG HUG PATTERN
Earlier in the month, I made this Mug Rug using the scraps leftover from making the Speedy Spiral Christmas Tree Skirt.
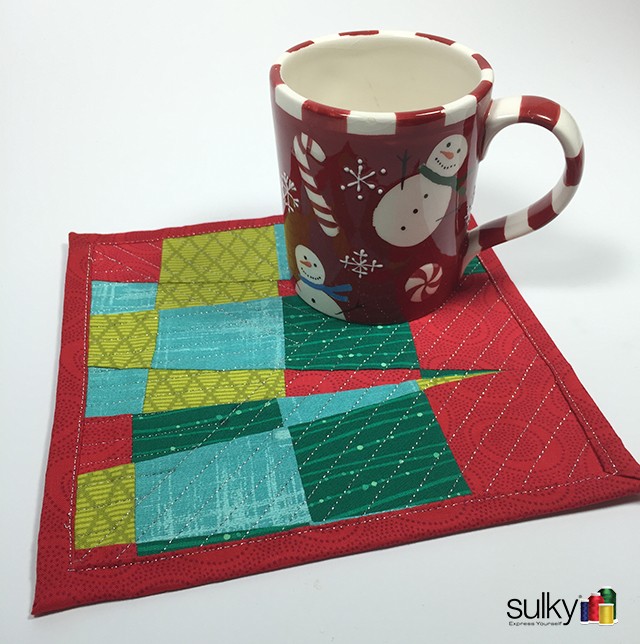
One of my wonderful readers asked if I would do a tutorial for a Mug Hug pattern as well. Without further ado, here it is!
TO satisfy all coffee (and hot beverage) drinkers, I did 2 Mug Hug pattern sizes. The first is the kind you use on a tapered cup, like the kind you get when you go to Starbucks. Why use that silly cardboard sleeve when you could use one of these!
These are pretty easy, first download the mug hug pattern template here: Coffee Sleeve
TAPERED COFFEE CUP MUG HUG VERSION
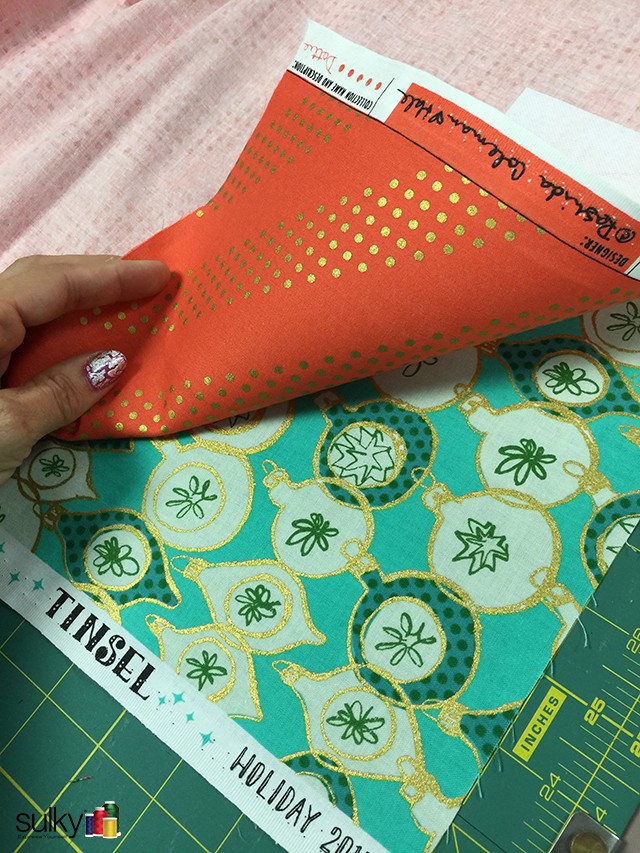
Now pick out 2 fabrics that you love. You will need a strip of each about 4-1/2″ x 11″

I used a Sulky Transfer Pen to transfer the pattern to the wrong side of one of my two chosen fabrics.
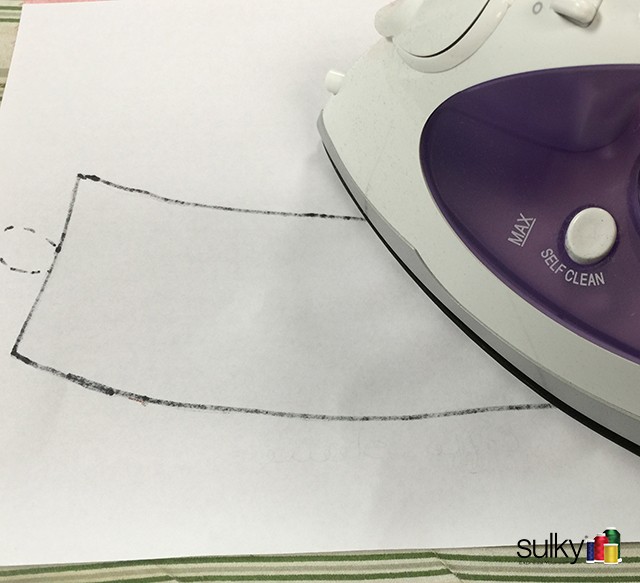
Once you trace over the solid line (NOT the placement X or the dotted line), with the pen, iron the pattern to the wrong side of the fabric. The pen may transfer better if you warm up the fabric with the iron first, then iron the pattern onto the fabric. (For more detailed instructions on using the Sulky transfer pens, check out this post)
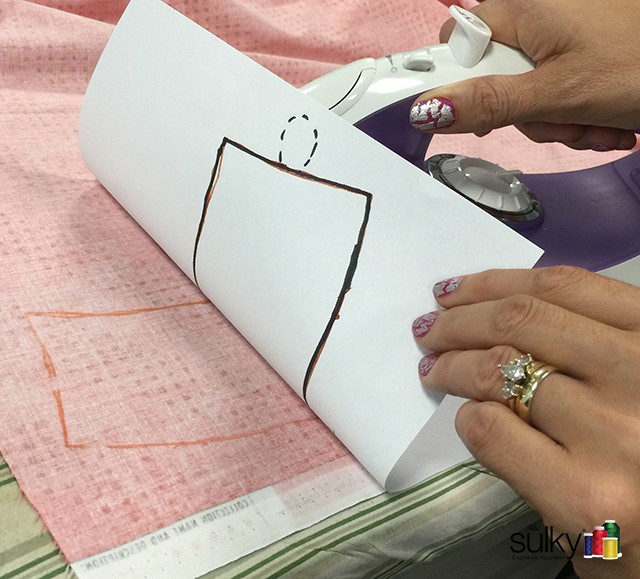
Check and make sure the line transferred.
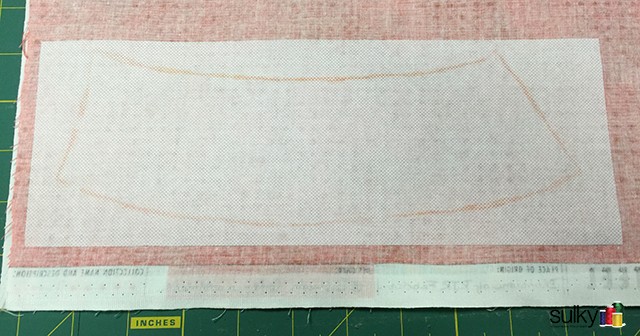
Iron a piece of Sulky Fuse ‘n Stitch™ to the fabric. You should be able to see the pattern line through the Fuse ‘n Stitch.
Next, put your two chosen fabrics right sides together, with the fabric that you transferred the design to on the top. Use your transfer line to cut out both fabrics. Cut directly on the line.
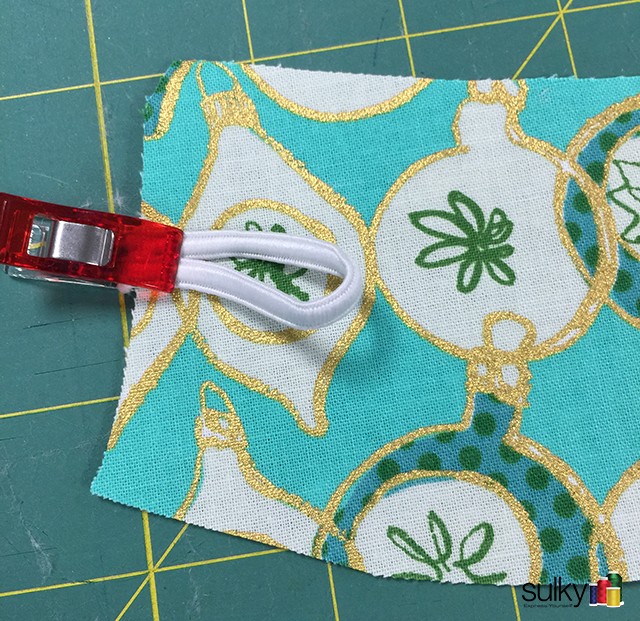
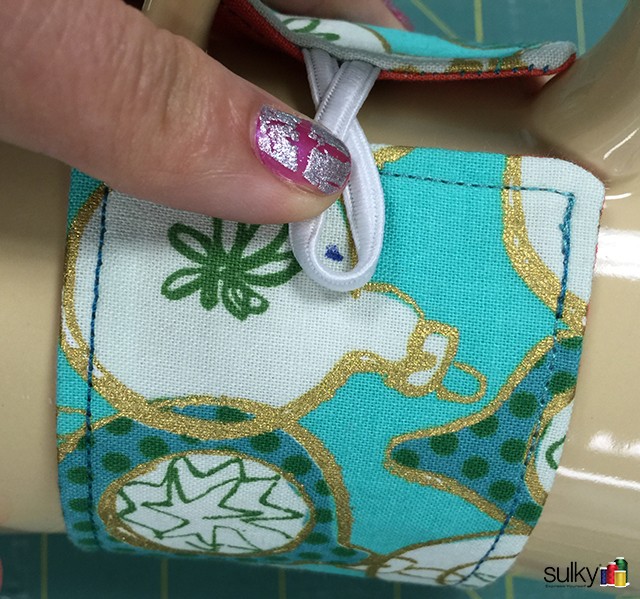
Cut a piece of elastic approximately 3″ and use the placement guide on the pattern to see which side to place the loop. Use a clip or pin to hold the loop of elastic, facing in, on the less slanted side.
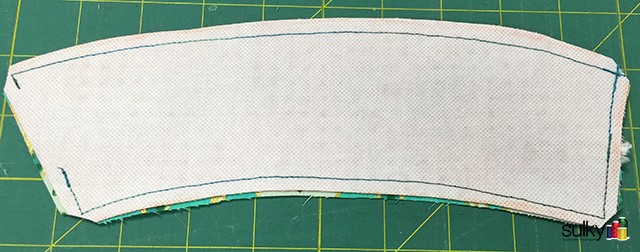
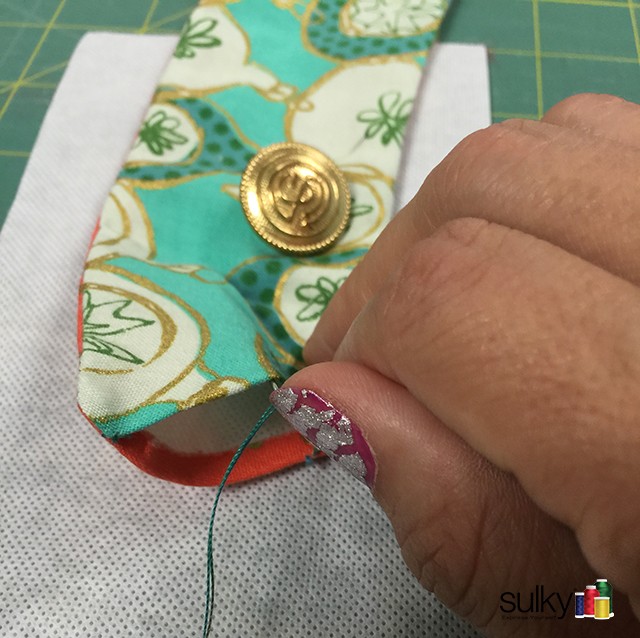
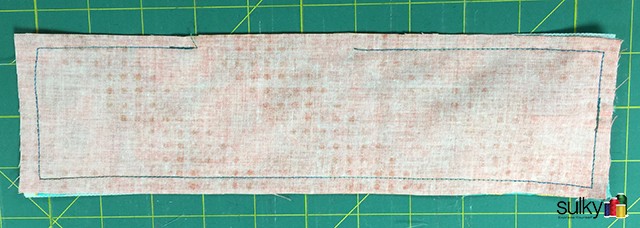
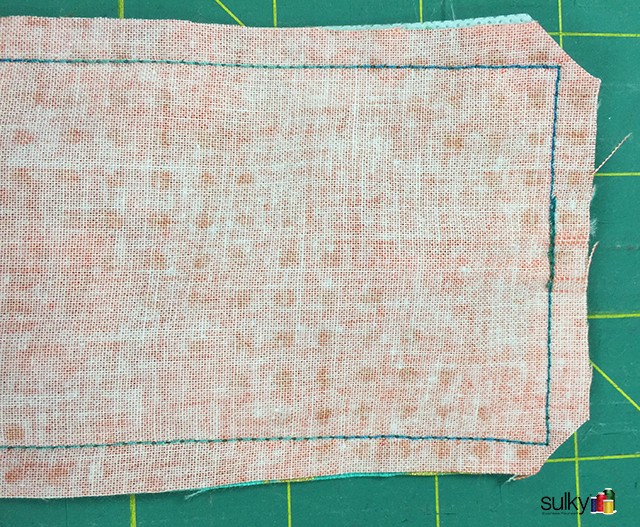
Then, sew with a 1/4″ seam allowance around the entire piece leaving an opening for turning on the button side, the short side opposite of where you put the elastic loop.
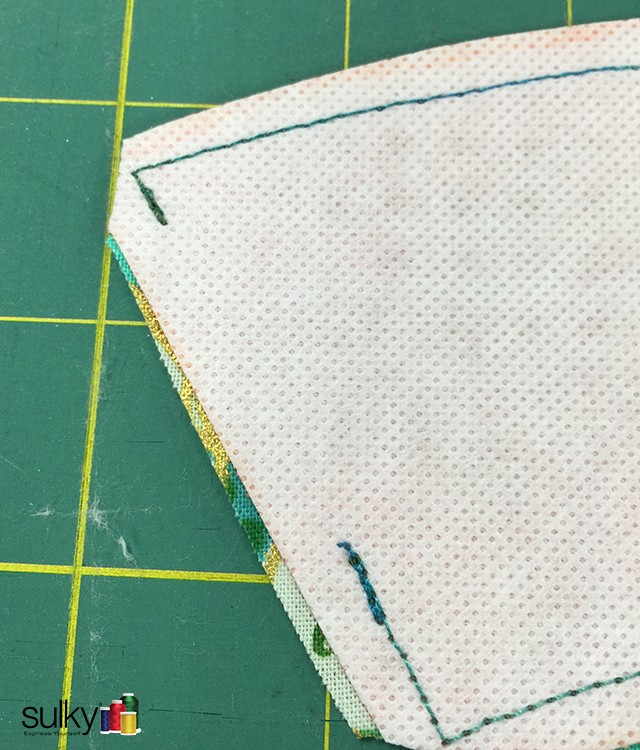
Be sure to back stitch and cut off the corners. Now, turn the sleeve and press flat with the seam allowance for the opening pressed in.
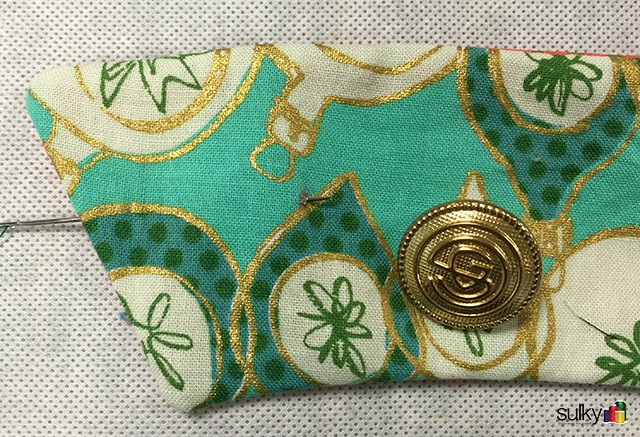
If you don’t want the stitching for the button to show, go in through the opening that you have for turning, and hand-sew on the button. You can use the placement guide on the pattern (the big X). Or, audition your sleeve around the cup you will be using it with for the button placement.
After you have sewn the button in place, you can hand-sew the opening closed or topstitch around the entire sleeve. One down one to go!
STANDARD COFFEE CUP VERSION
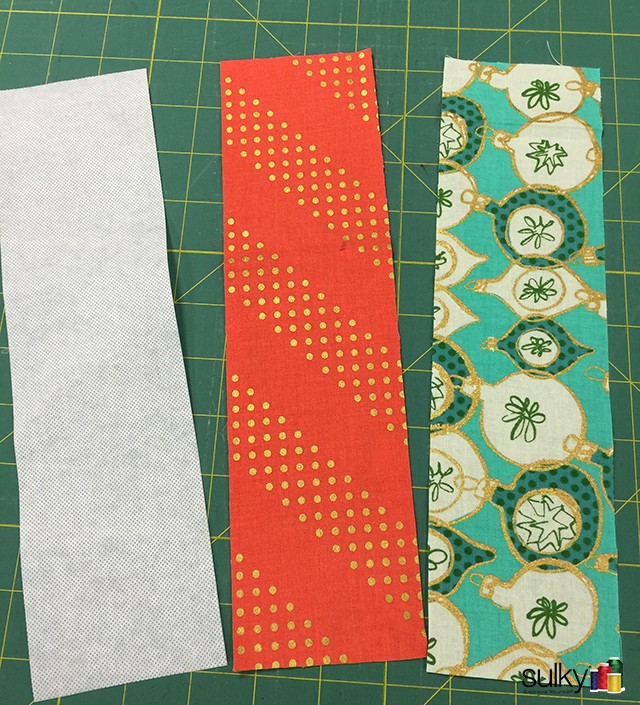
For the kind of mug hug that fits around a regular coffee mug, you don’t need the mug hug pattern template. You do, however, need 2 strips of fabric and 1 strip of Sulky Fuse ‘n Stitch 3″ x 11″
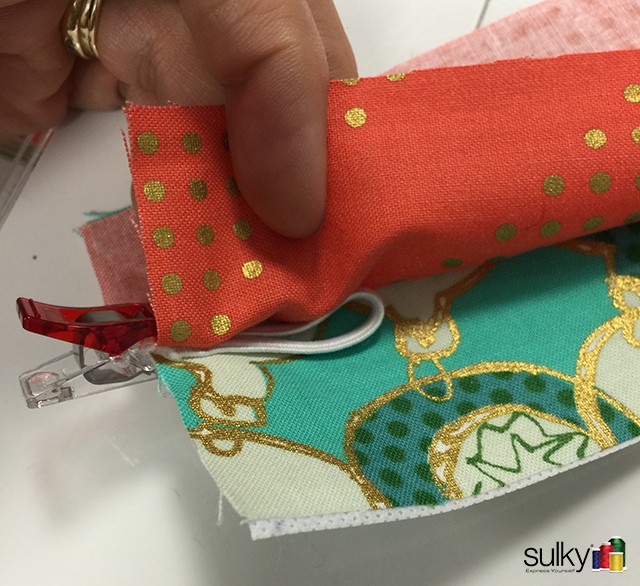
Now, fuse the Fuse ‘n Stitch to one of the fabrics then put the fabrics right sides together. Add a loop of 3″ of elastic, in between the two fabrics, at one of the short sides – facing in, and clip it into place.
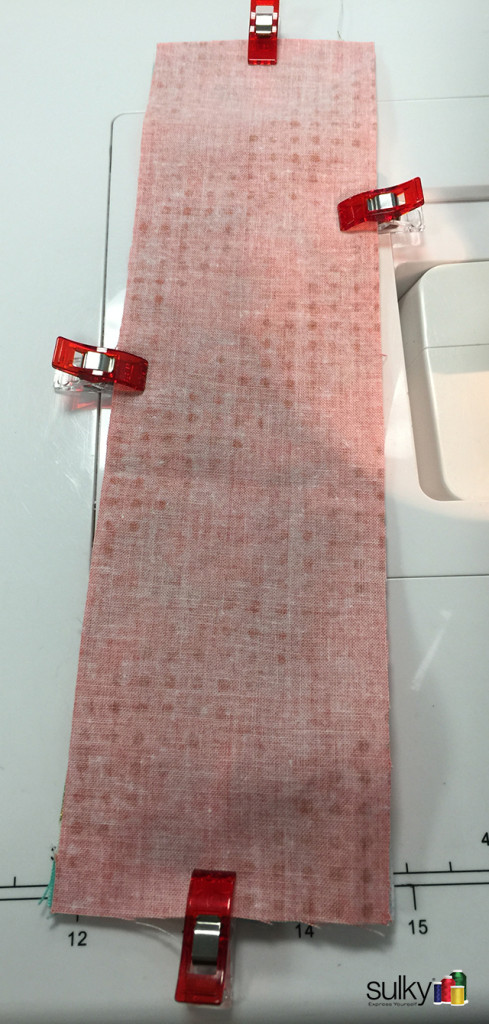
Clip a few places around the piece to hold it in place while sewing.
Next, sew around all four sides leaving an opening for turning. On this one, I left my opening at the top. If you want to hide the stitches for the button, you will need to leave the opening on the short side opposite of the elastic as in the first mug hug above.
Clip your corners and turn right side out. Then, topstitch all the way around the entire piece, closing your opening that you used for turning.
Next, wrap the Mug Hug around a mug. Then, use a FriXion pen to mark where you will sew on your button.
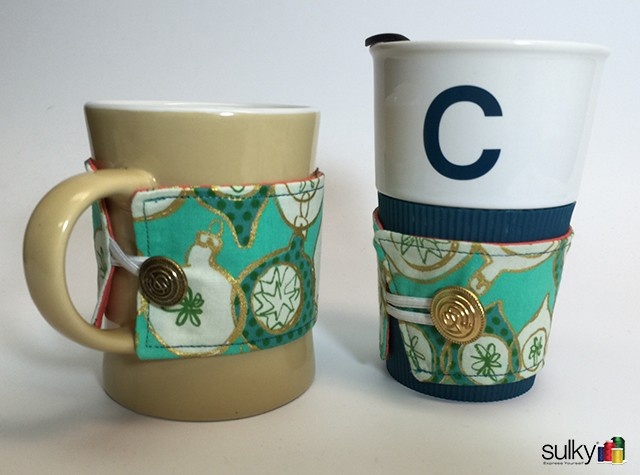
Ta-da! They are both done. These mug hugs are so quick and easy. You could probably make 10 of them in the same amount of time as it took you to make 2! So go ahead, get sewing! These make great gifts.
Happy Sewing!

Really a cute idea! Also love your nail polish.
Hi Kelly,
Thanks heaps – they look great & your instructions are really easy to follow. I have been away for a few days & this was a lovely surprise to come home to! Anne
Really Cool.
Really a cute idea! Also love your nail polish.
Pingback: C'mon Get Scrappy! 5 Uses for Fabric Scraps - Sulky