Make an Easy Baby Quilt
using fat quarters!
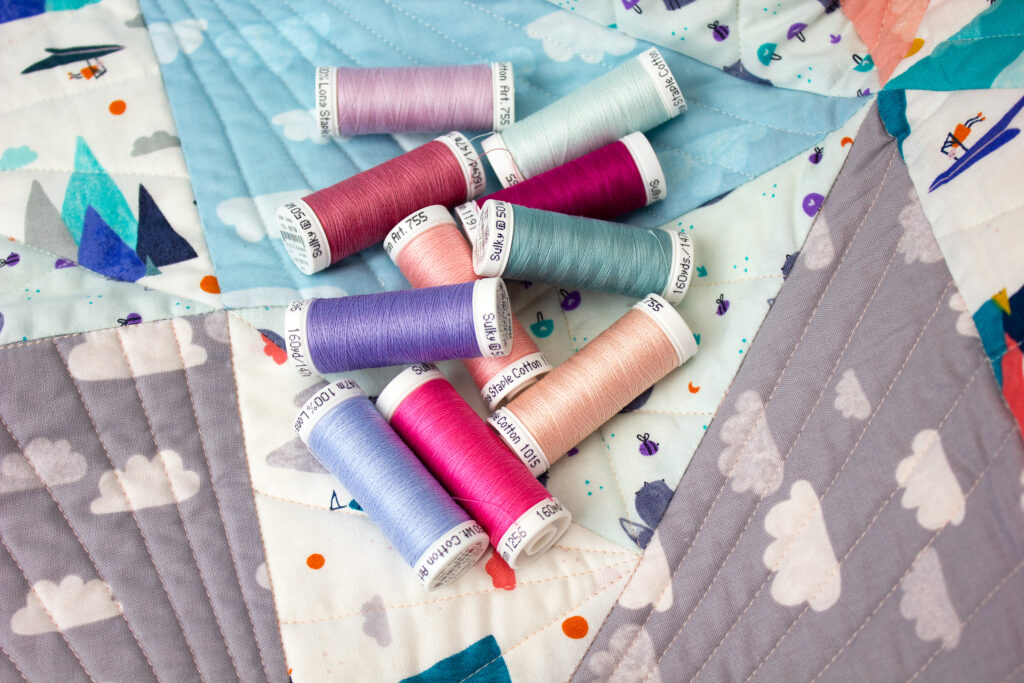
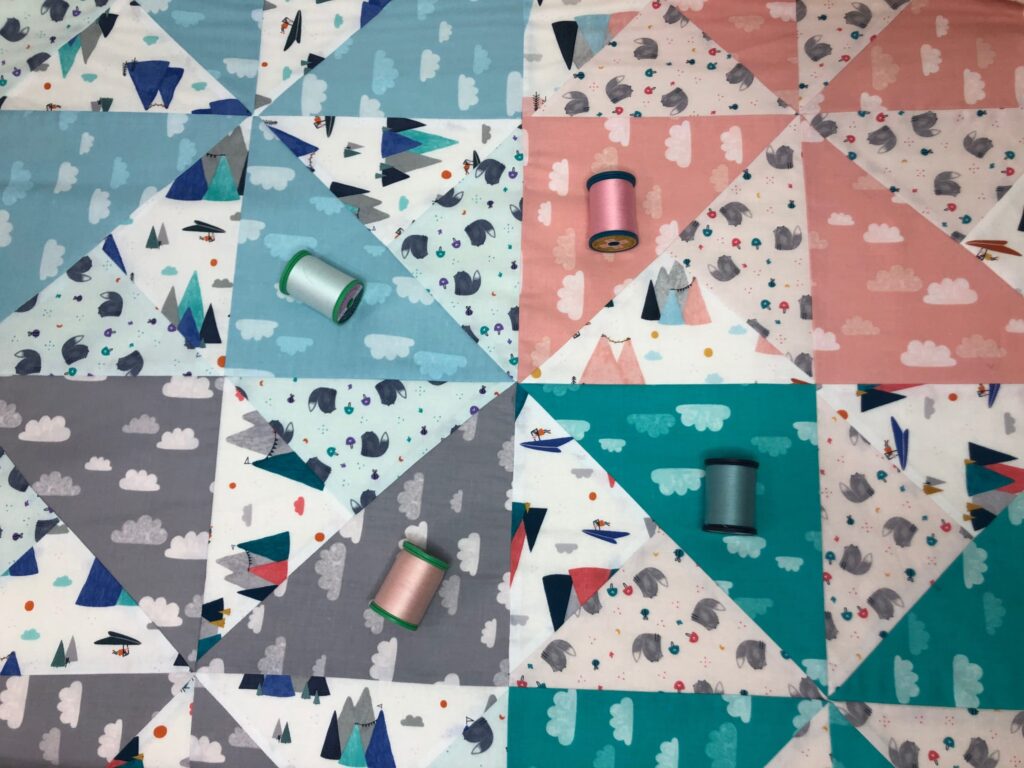
Give the gift of an easy baby quilt to a new mom! Start with this free quilt pattern from Sew Can She, and personalize it in numerous ways. Grab the Blooms & Breezes 50 wt. Cotton Thread Palette for Quilting to have 10 thread spools in shades that are perfect for a baby of either gender. With blues, pinks, purples and teals, you’ll be able to switch threads based on your chosen fabrics for each block. In addition to quilting, use this thread for piecing, creating crisp seams and strong joins.
SUPPLIES
- Sulky Blooms & Breezes 50 wt. Cotton Thread Palette for Quilting
- Organ® Needles: size 75/11 Quilting
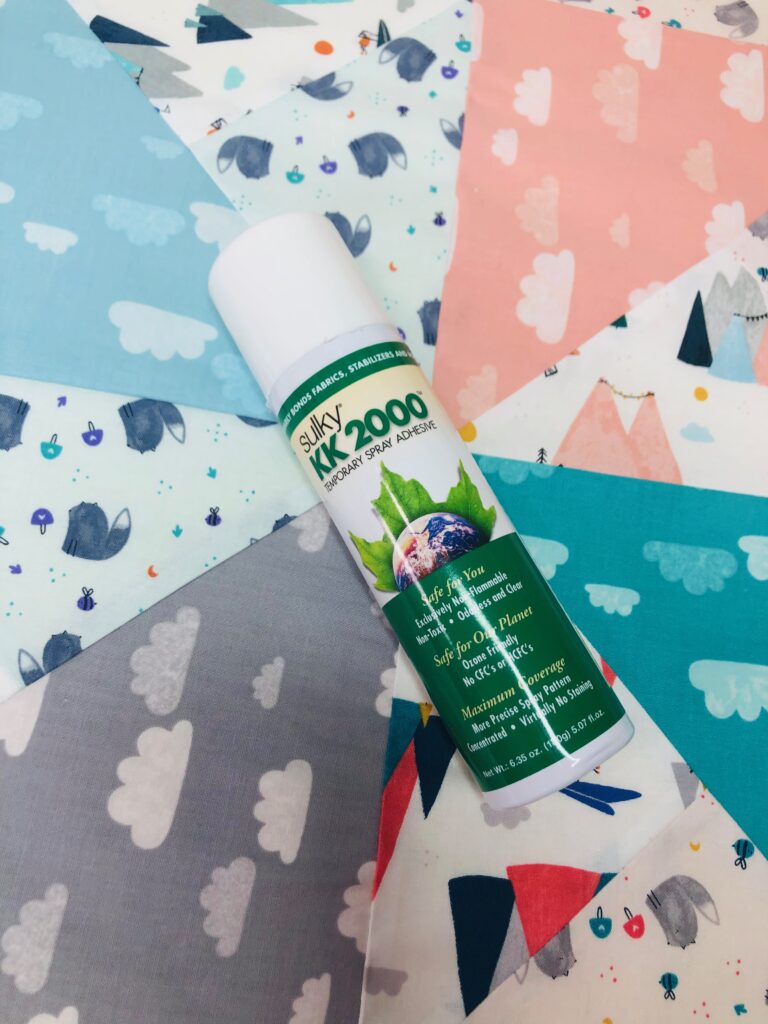
- Sulky KK 2000™ Temporary Spray Adhesive
- Various quilting cotton fat quarters and/or fabric yardage according to pattern (The featured pattern is 36″ x 54″ and includes instructions for cutting yardage for the quilt top, backing and binding. The sample here measures 32″ square and includes 8 fat quarters for the quilt top and 1 fat quarter for the lining. 1 yard of fabric was used for the backing, cut to size after quilting. See “Quilt Personalization Options” below for more info.) Featured fabrics from the Summer Skies fabric collection by Cotton+Steel for RJR Fabrics.
- Cotton Batting (size determined by desired finished quilt size), such as Warm & Natural
- Fast2Cut™ quilting ruler (optional; for plotting quilting lines)
- Wonder Clips (optional; for binding)
*We may earn a commission from items purchased through links posted on this page.
QUILT PERSONALIZATION OPTIONS
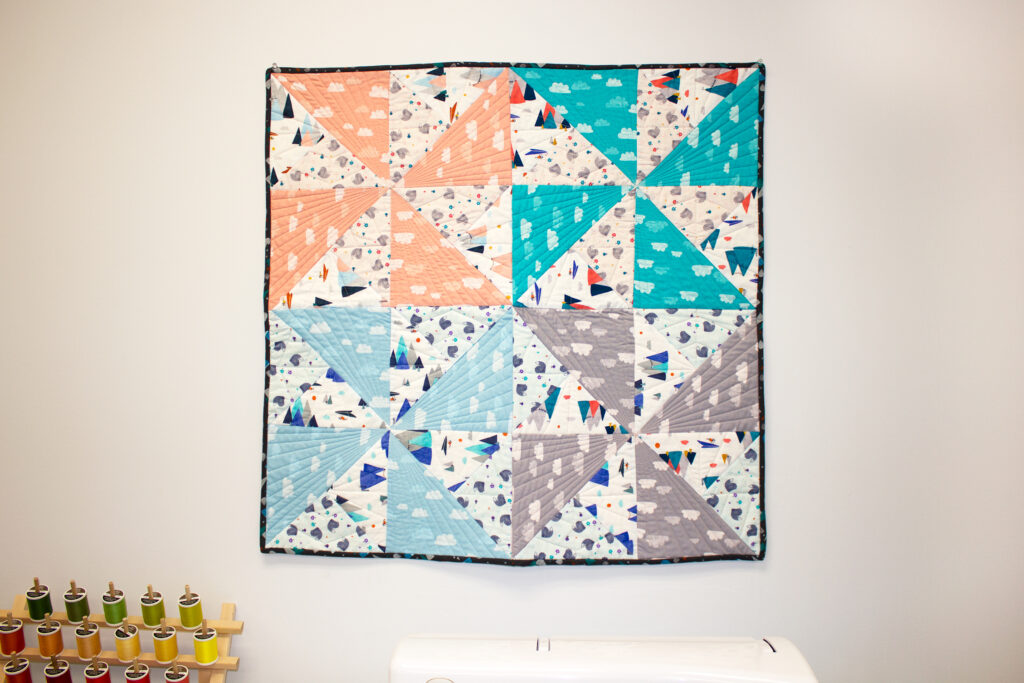
The featured pattern calls for six finished blocks, pieced together to make the larger quilt. I created four finished blocks to make a smaller floor mat or lap quilt. I also cut my squares for the blocks 2″ smaller than the pattern directions so I could use a fat quarter collection. Decide how large you’d like your quilt before purchasing yardage and/or fat quarters for the project.
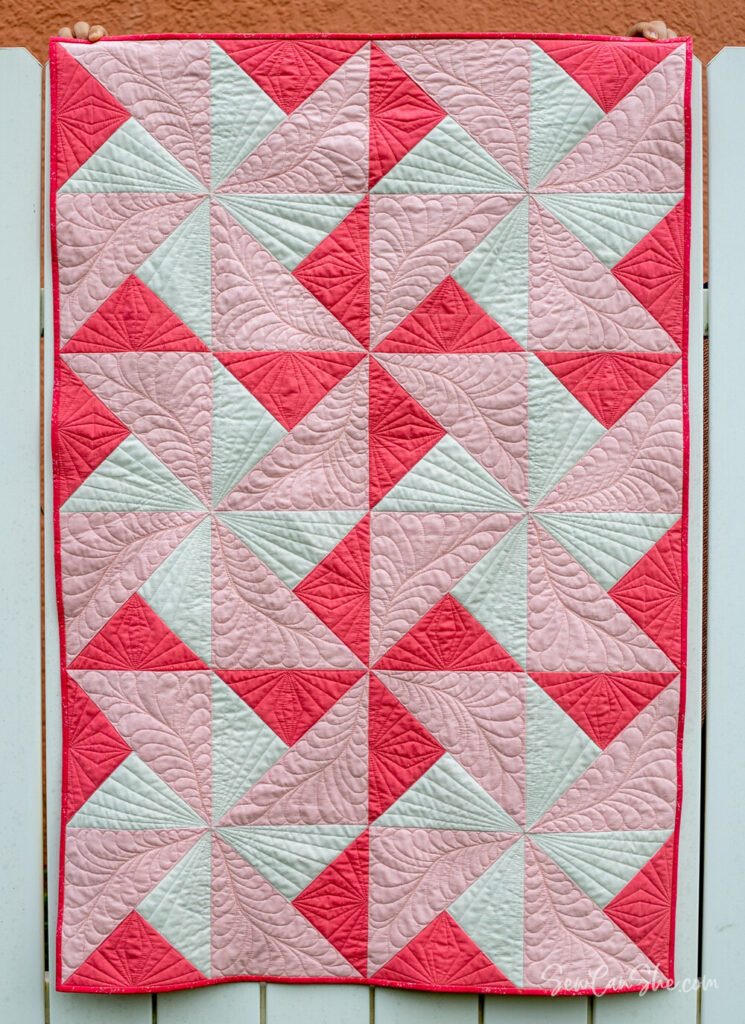
Choose solid fabrics, shown below courtesy of Sew Can She, or go with a fat quarter print collection (don’t forget extra fabric for the backing!). If choosing a collection of prints, either make the pinwheels exactly the same, or change it up using the same prints in different colorways. This is a great option if you don’t know the gender or color scheme for the baby’s room.
PIECING WITH 50 wt. COTTON THREAD
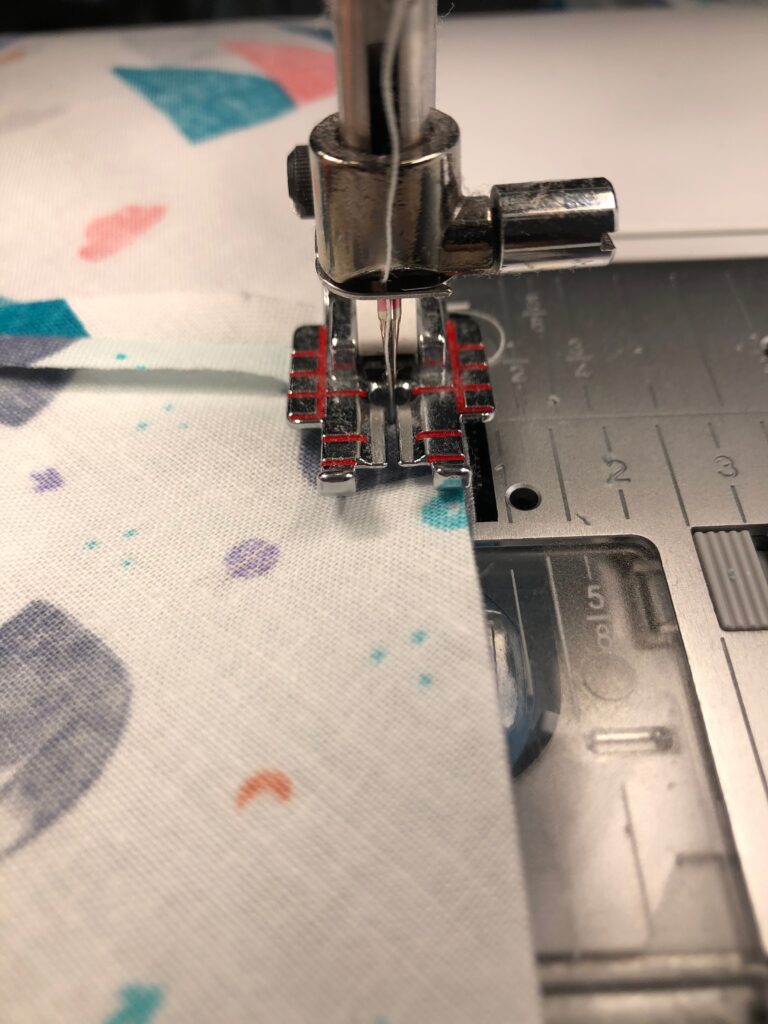
When working with 50 wt. Cotton Thread, choose a size 70/10 Microtex or 75/11 Quilting needle. Use the former for very lightweight fabrics, such as cotton voile or sateen. Use the latter for quilting cottons.
The thread is high-quality, long-staple thread that produces an almost invisible seam! There is no telltale “bump” when pressing open seams or pressing to one side, indicative of a thicker thread.
If you want to use all one color of thread, instead of switching colors in the Blooms & Breezes Quilting Palette, choose Cotton+Steel Thread by Sulky. This is on a larger spool, with 660 yards so you can piece all the blocks and do all the quilting with one spool (depending on the quilt size).
QUILTING OPTIONS
After piecing is complete, create a quilt sandwich. Use Sulky KK 2000™ Temporary Spray Adhesive to secure the quilt top and backing to the batting. Spray the fabric, rather than the batting, to ensure a nice, even coating. This spray is air-soluble, so if you won’t be quilting the entire quilt in one sewing session, you may need to reapply the spray to ensure proper basting effectiveness. (Alternatively, store the spray-basted project in a zip-top bag with all the air squeezed out.)
With any quilt pattern, the quilting options are truly endless. With this beginner-friendly pattern, you can choose different quilting styles within each block section or quilt-in-the-ditch of each seam for an all-over option that’s easy and effective.
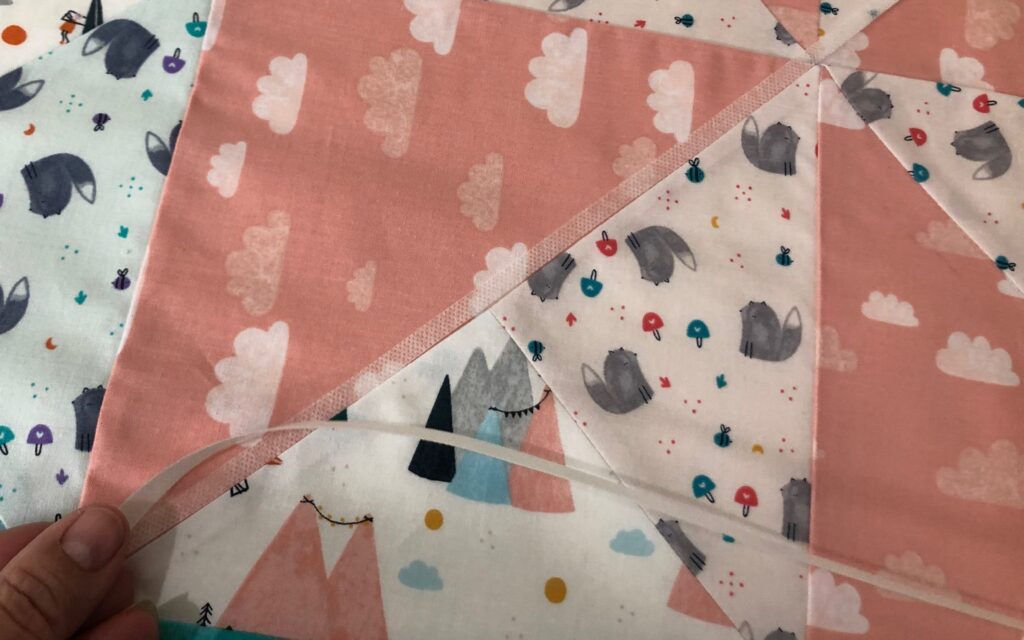
Try your hand at free-motion quilting, if desired. Drop the feed dogs on your sewing machine and install a free-motion foot. Stitch back and forth, side to side, rolling the excess quilt out of the way of the section you’re working on. If you’re a free-motion beginner, guide your stitching path by using strips of Sulky Sticky Fabri-Solvy™.
Cut the stabilizer into strips, and stick them on the quilt top.
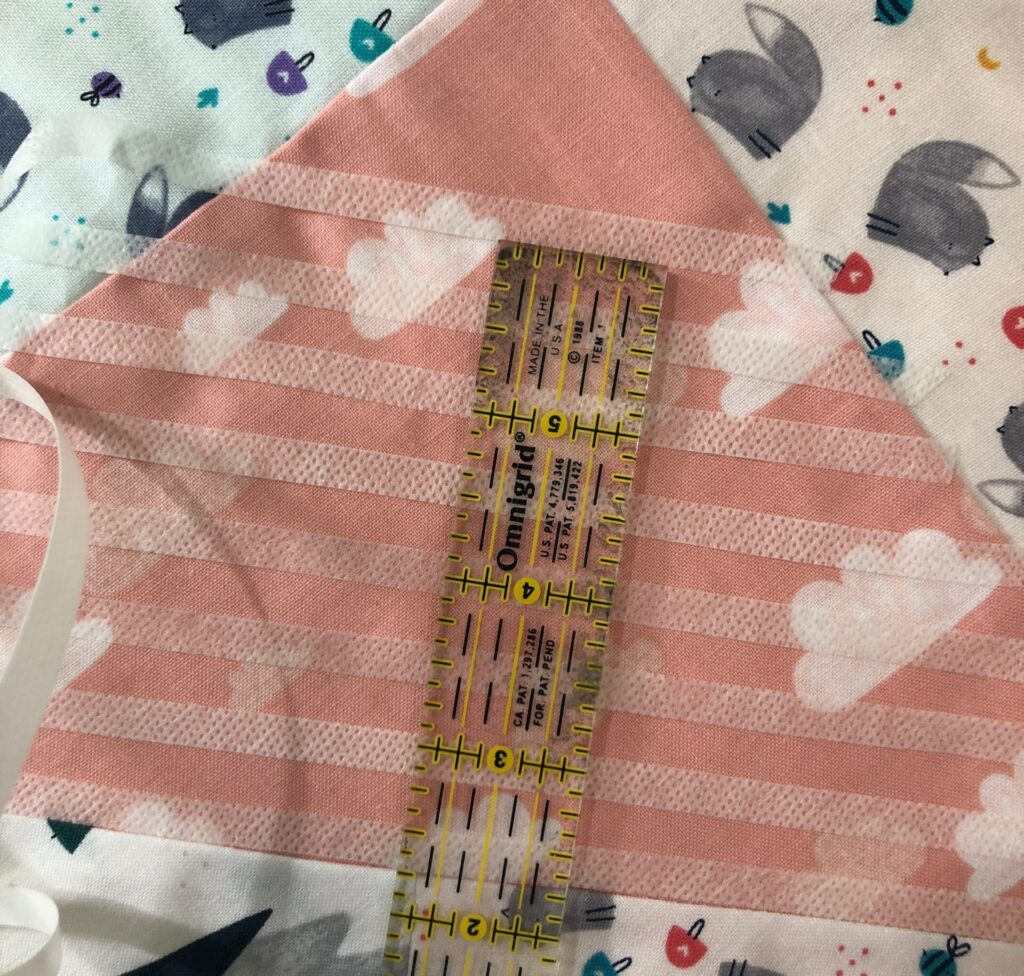
Simply follow the strips with the needle. The best part is that you can stitch over the strips and they are completely water-soluble. So you can easily remove them by washing the finished quilt once it’s bound. (Learn free-motion techniques from Sulky Educator, Eric Drexler, in a fun course!) A small ruler is a great way to evenly space the stabilizer strips, if desired.
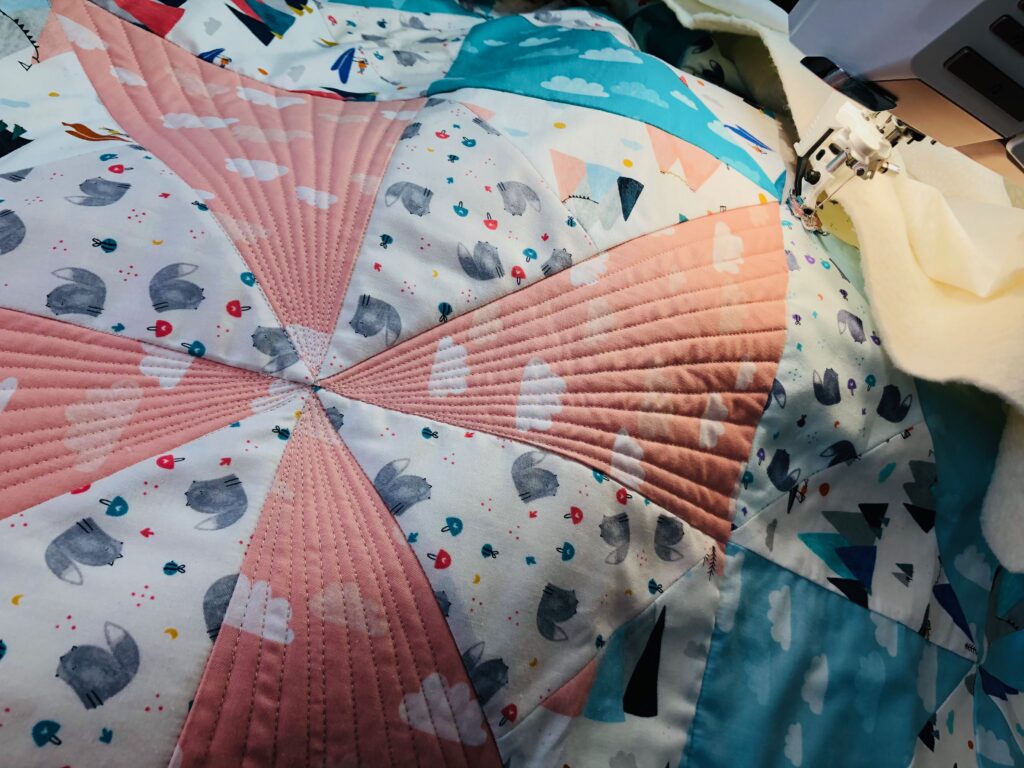
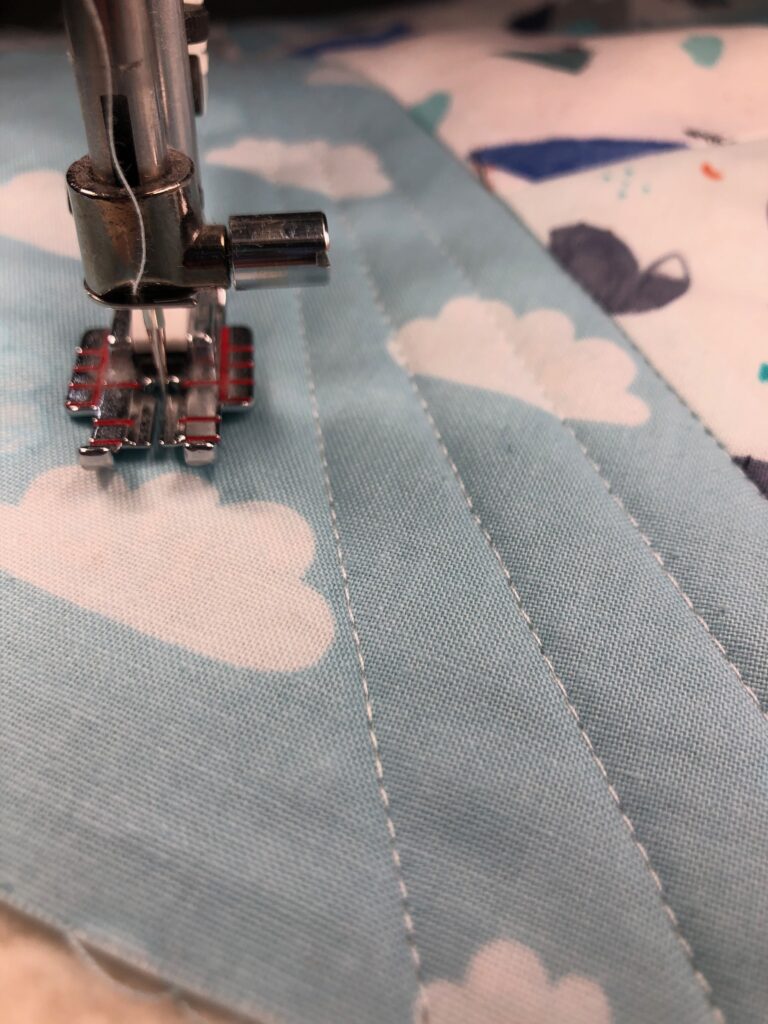
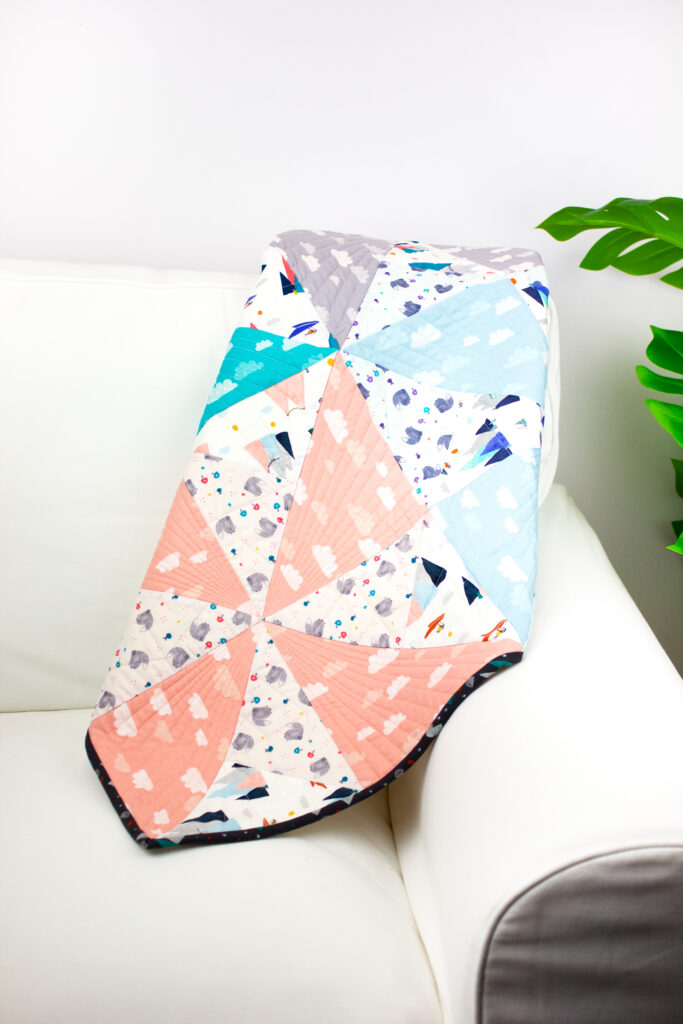
For the featured sample, I took inspiration from the pattern photo and quilted the large pinwheel sections with straight lines, radiating out from the center.
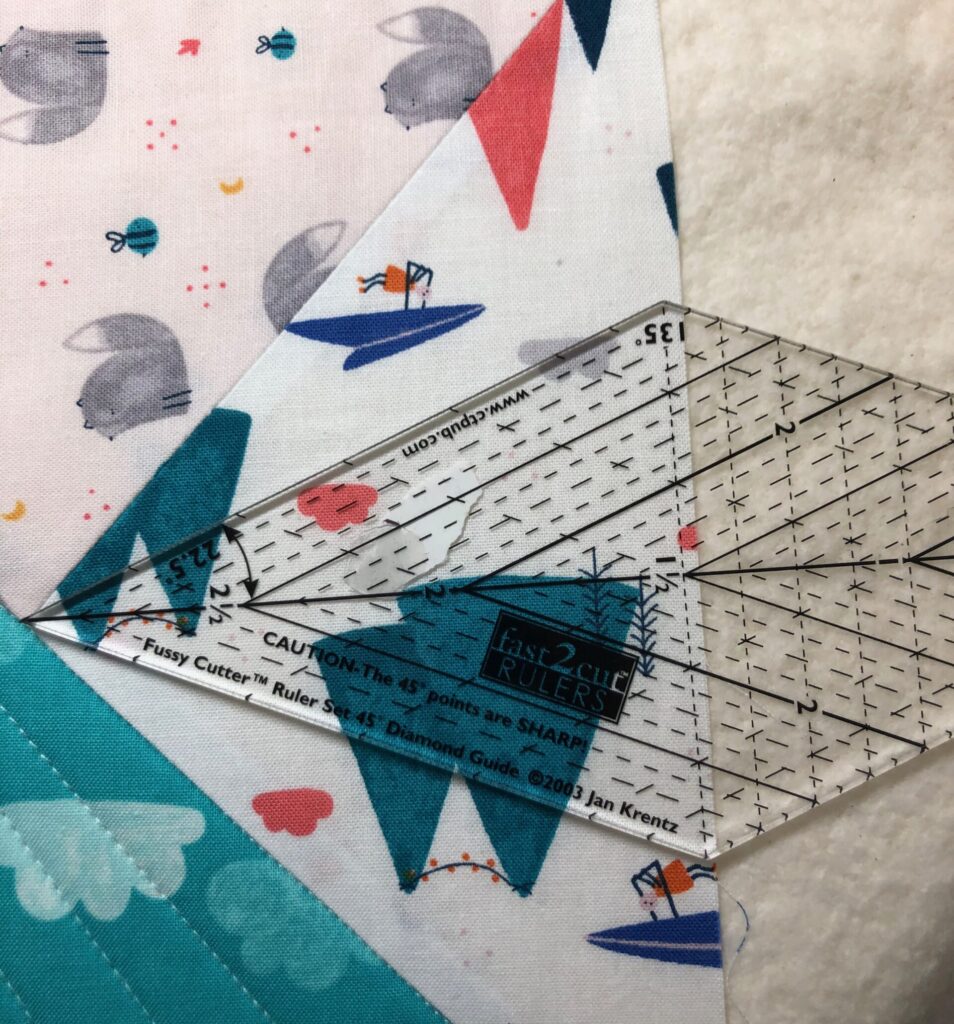
Then I used a Fast2Cut™ quilting ruler to mark various straight lines in different patterns for the remaining block portions. Quilting rulers are great not only for cutting templates, but for plotting quilting lines as well!
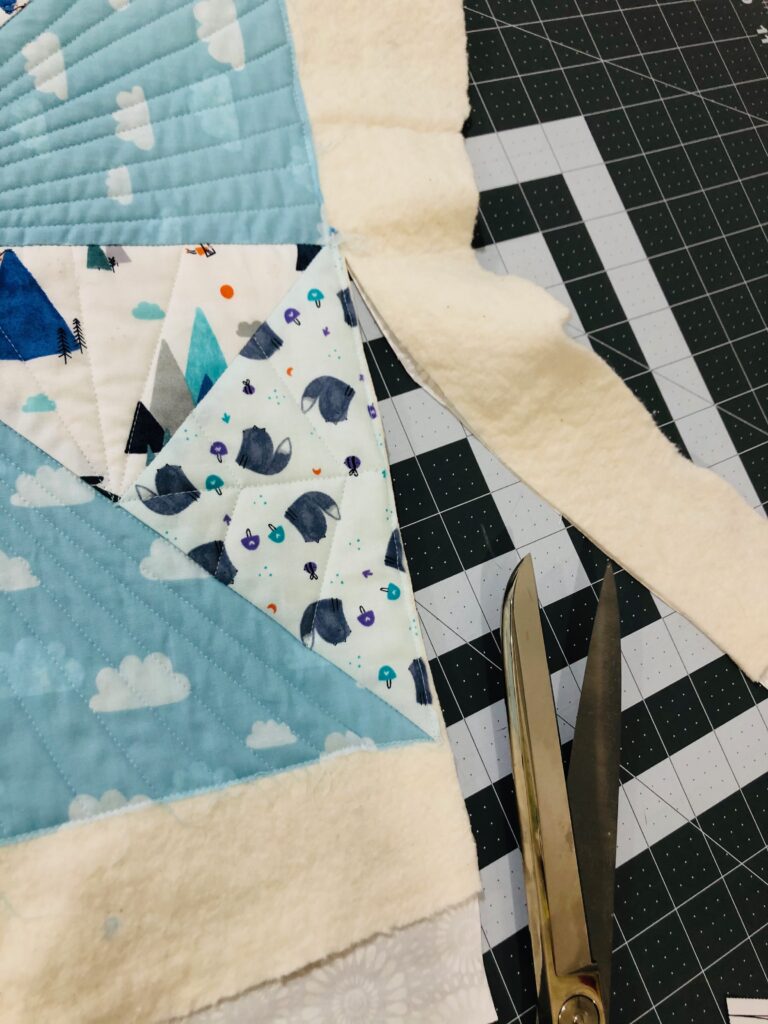
After quilting is complete, trim the quilt edges so they’re even.
BABY QUILT BINDING OPTIONS
For the modified quilt size (32″ square), one fat quarter was used for the binding.
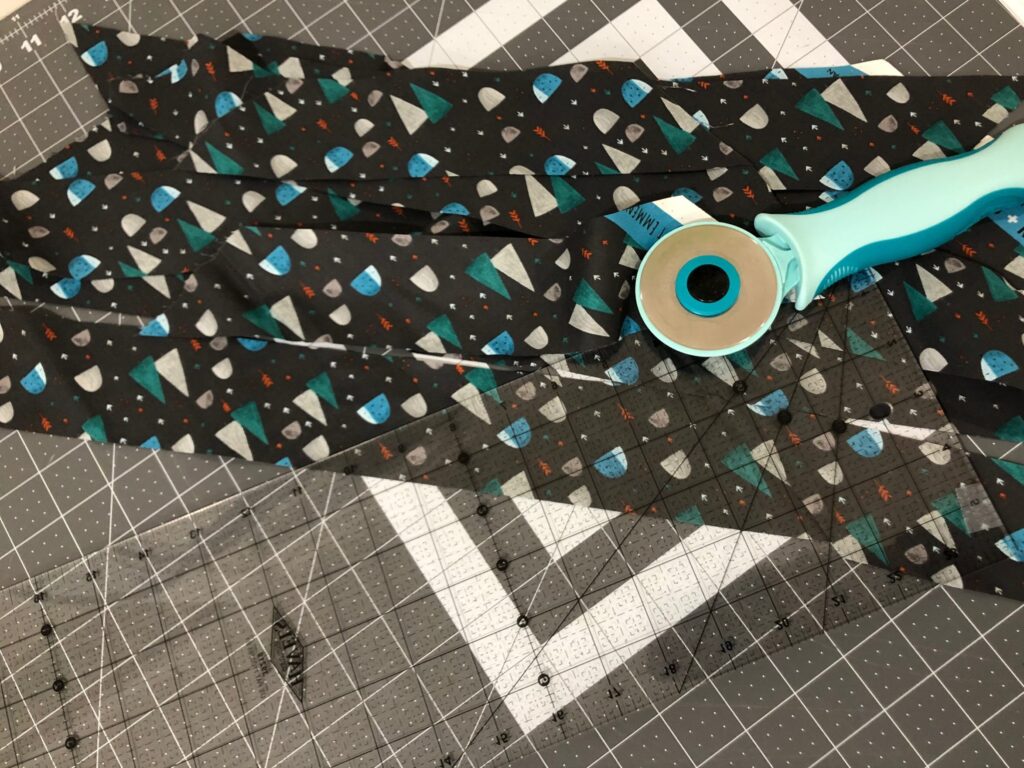
Cut 2 1/4″ fabric strips from the fat quarter at a 45-degree angle.
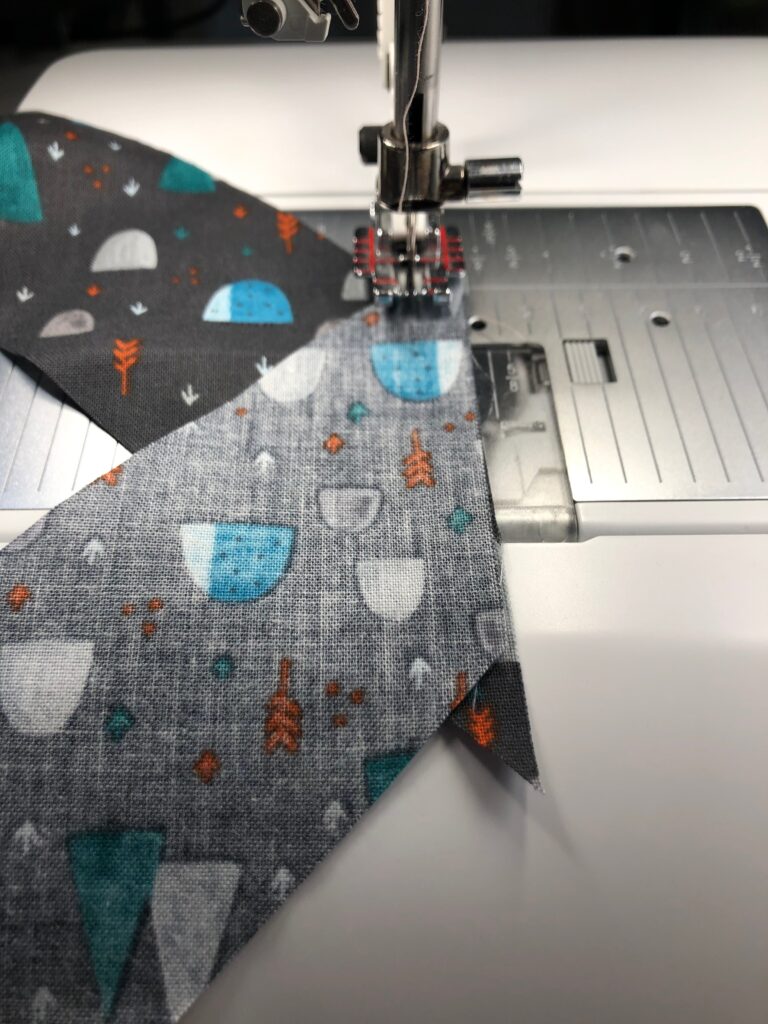
Piece together the strips, offsetting the corners to account for a 1/4″ seam allowance.
Fold one binding strip end 1/4″ to the wrong side; press. Then fold the strip in half lengthwise with wrong sides together; press. Trim away the little corners poking out beyond the strip long raw edge.
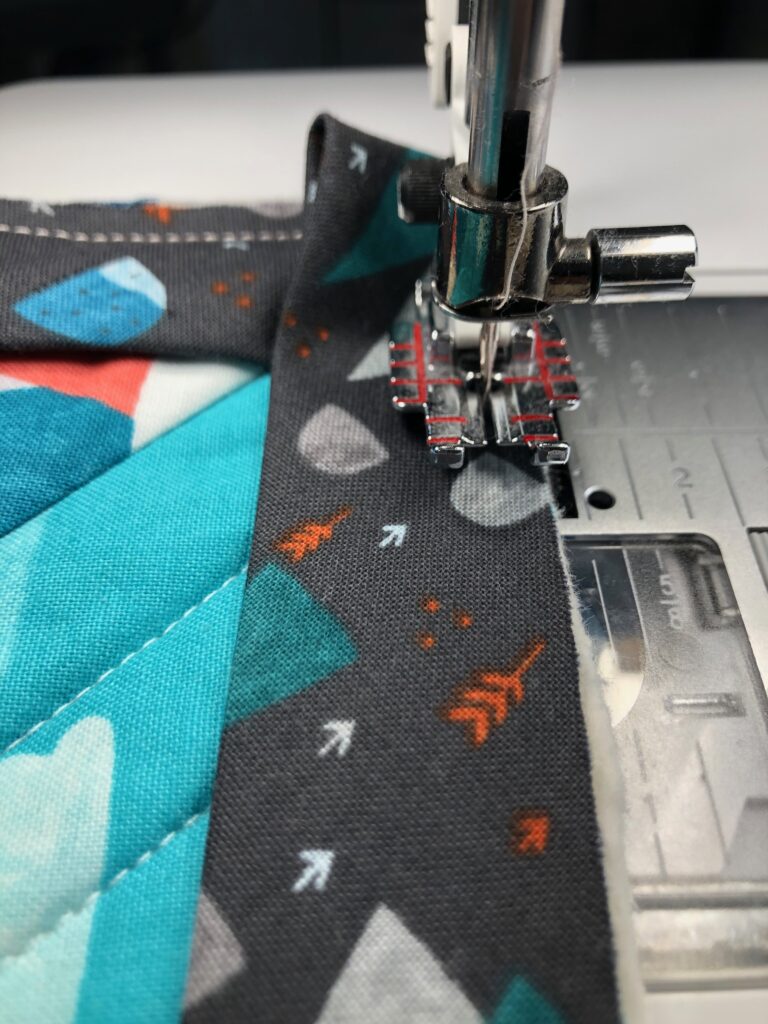
Place the binding folded end centered along one quilt edge. Pin or use Wonder Clips to secure the binding to the quilt edge. Stitch, beginning 4″ from the folded binding edge. At each corner, fold the strip up and over itself, then back down along the adjacent quilt edge.
At the binding beginning, overlap the end about 3″ beyond the beginning. Trim the excess, and then pin or clip in place. Finish stitching the binding, nesting the binding end within the binding beginning fold.
Wrap the binding raw edge to the quilt back; use pins or Winder Clips to secure. Hand sew the binding fold along the quilt backing.
EASY BABY QUILT GIFT
Wrap the finished quilt up with some personalized, embroidered onesies, burp cloths or bibs. Or include a pack of diapers for the new mom.
If you have leftover fabric scraps, use them for appliqué portions of designs used on the onesies to continue the theme.


I have read the pattern several times. I don’t see any instructions for cutting the blocks and how to make the pin wheel
Hi Joann, Did you go to this site for the full pattern: https://www.sewcanshe.com/blog/pinwheel-daydreams-free-baby-quilt-pattern?
You can’t really get the baby quilt pattern without either paying for it or printing the entire blog, that’s really long! It’s a cute pattern, but the original poster is misleading with the “free” title.
Hi Karen,
If you don’t want to print the pattern you can save and/or bookmark the blog and refer to it during construction.