Embroidered Rope Tray
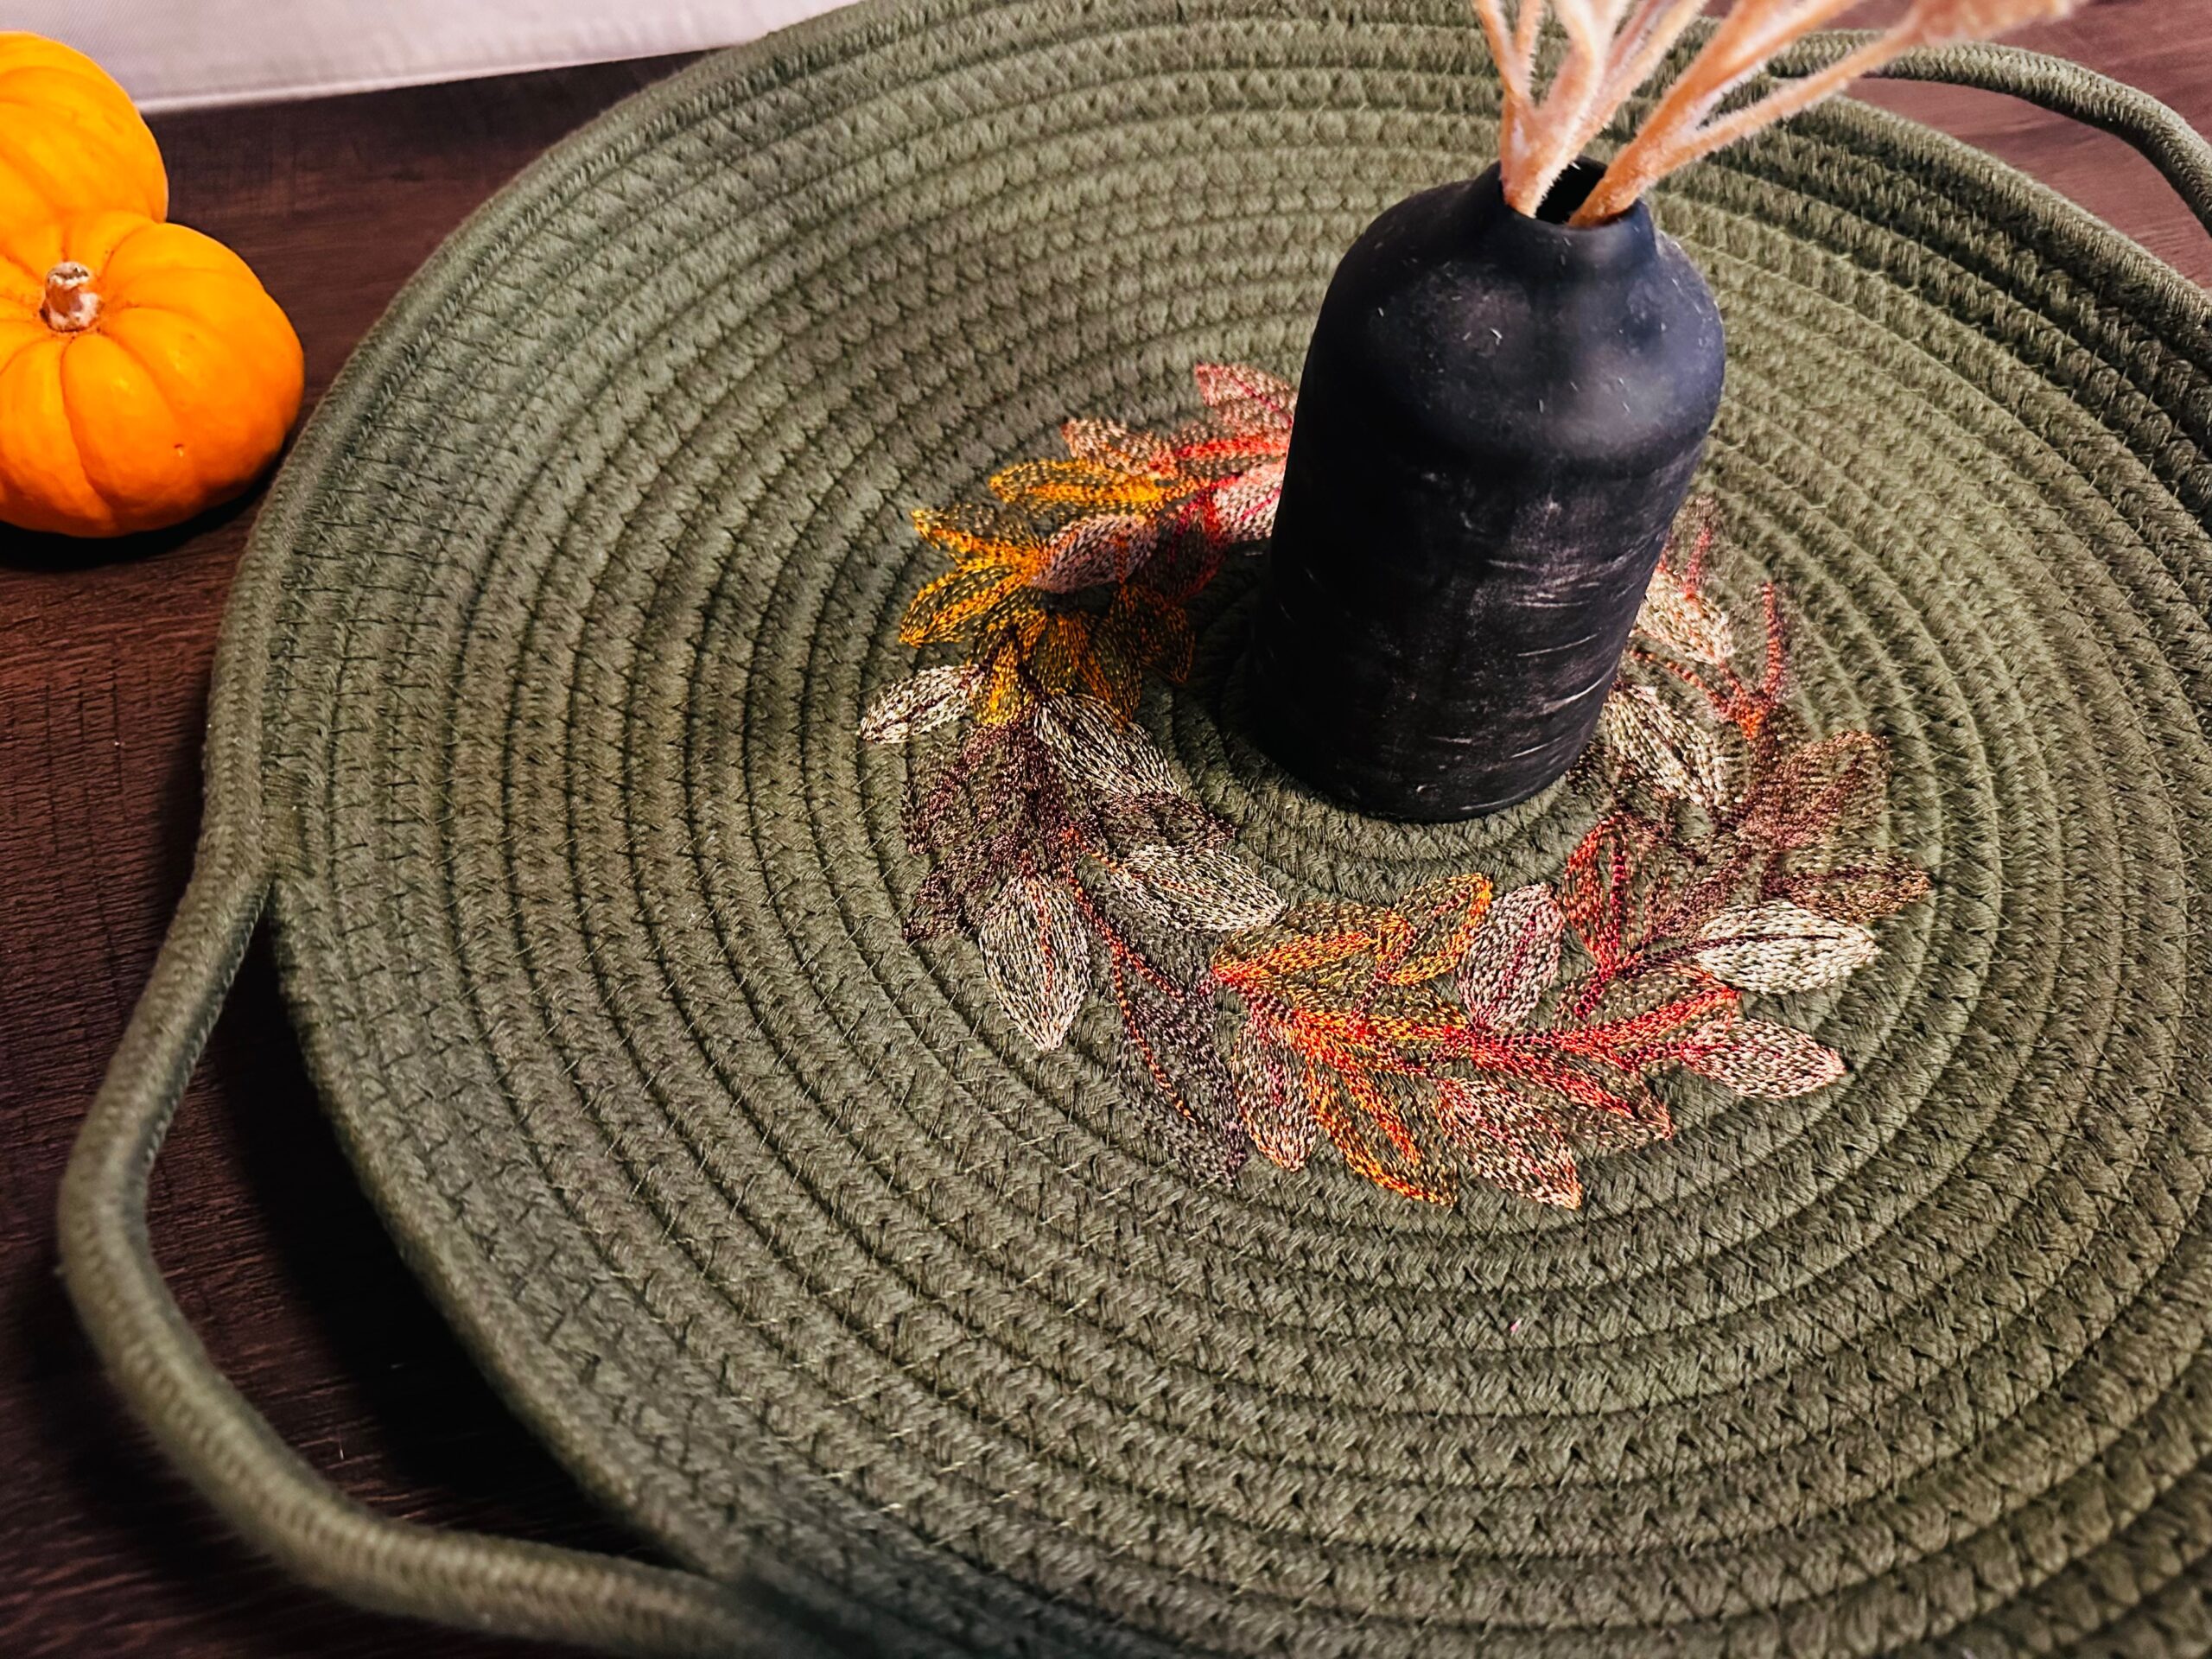
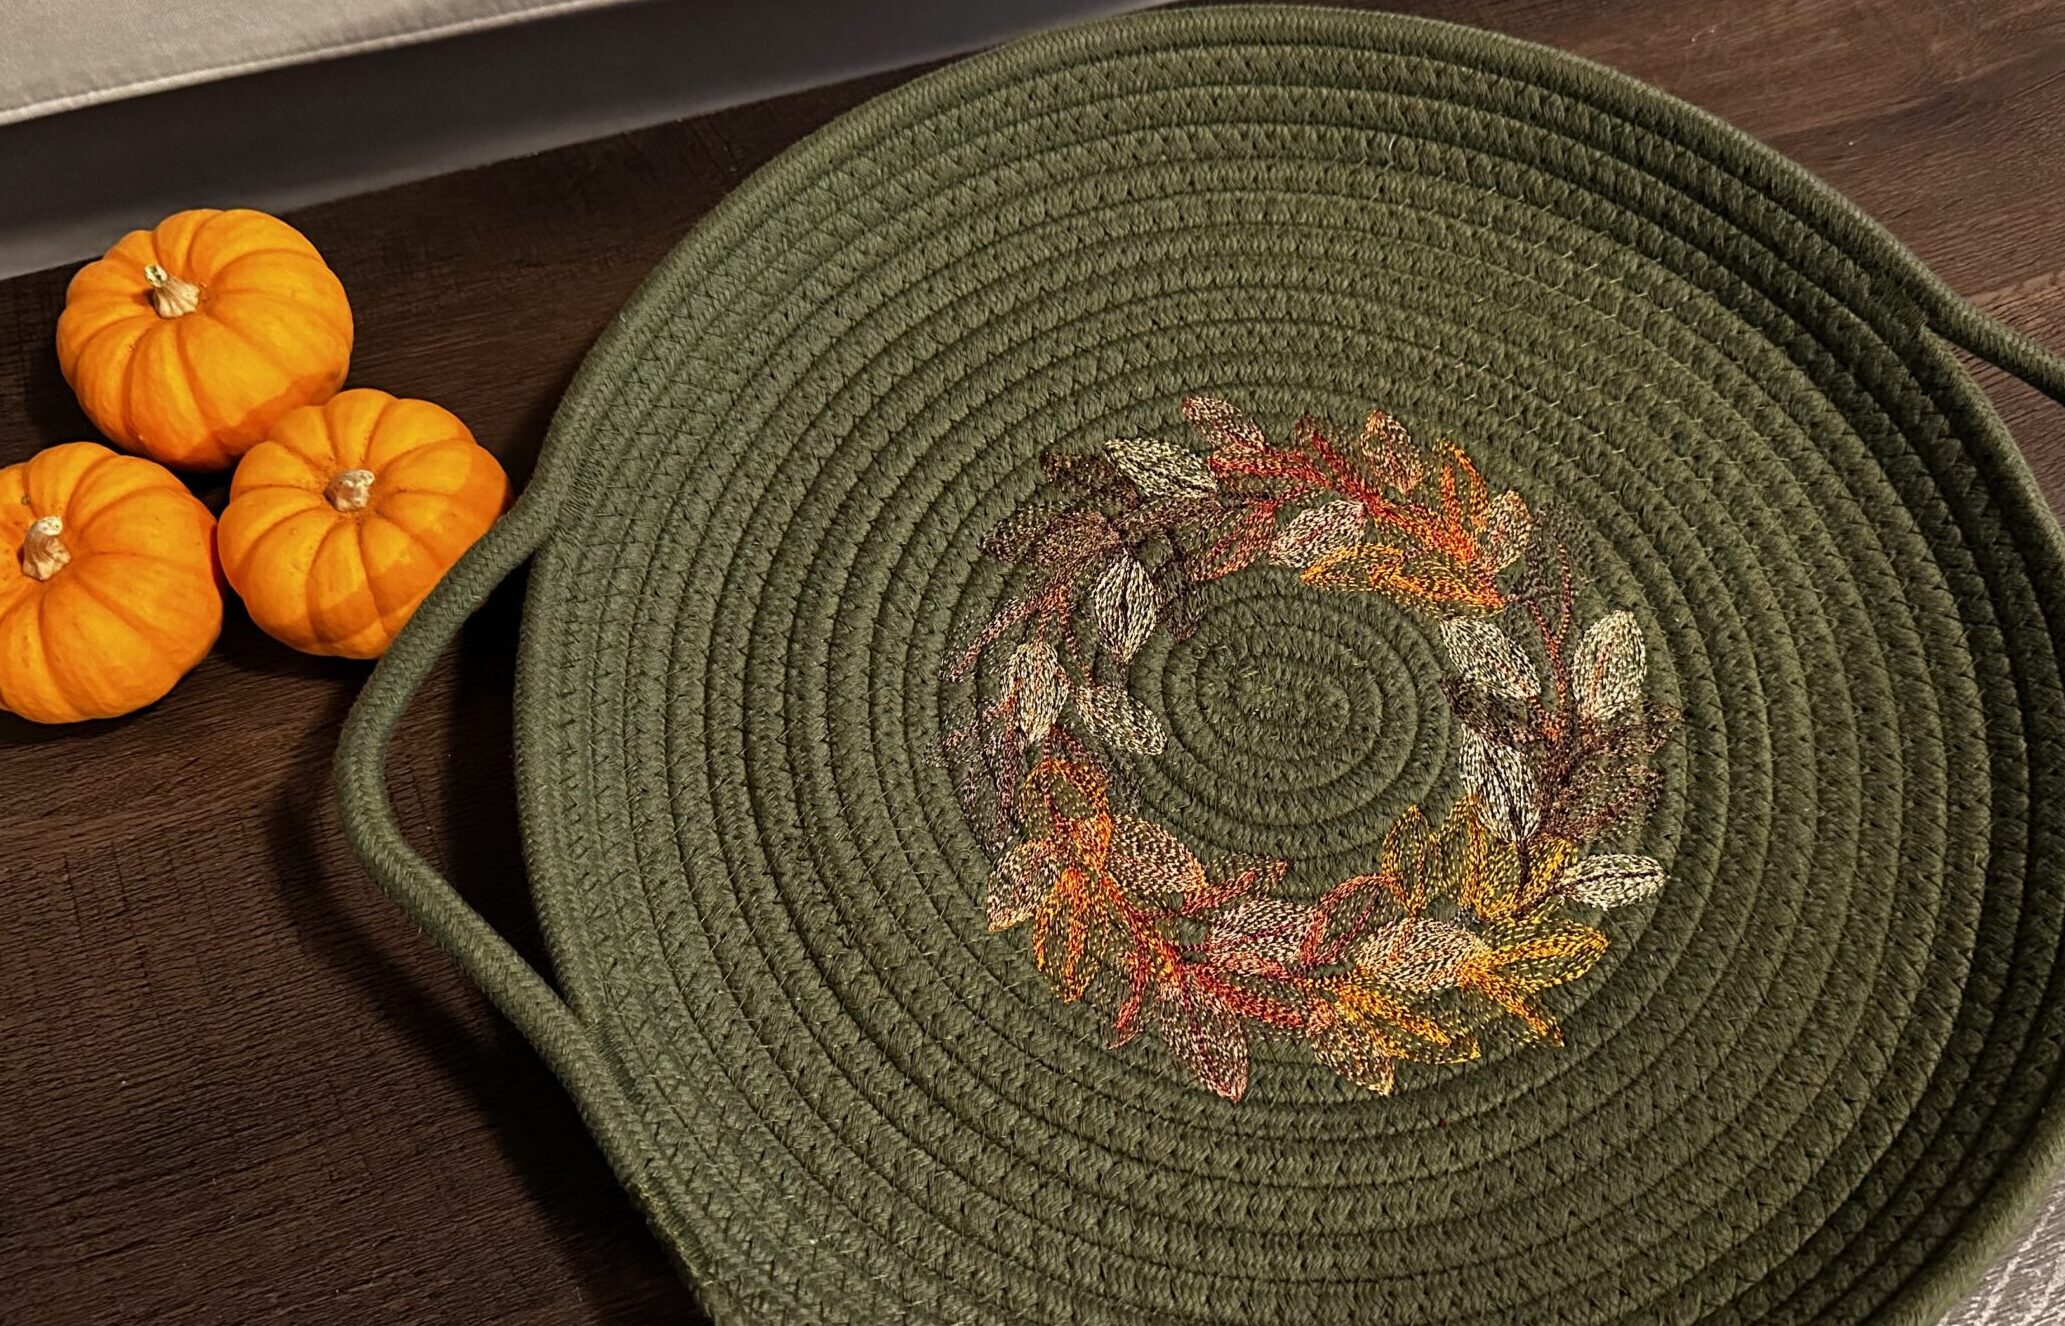
An embroidered rope tray makes a stunning centerpiece for your fall table. Place a scented candle in the center of the embroidered rope tray, or add a fall-themed floral arrangement and a few pumpkins, gourds and decorative grasses. No one will believe you made it yourself!
HOW TO SEW A ROPE TRAY
Create a rope tray using 7/32″ clothesline rope (and this Embroidery Session as your guide), or purchase a readymade rope tray. The featured rope tray was purchased at Target in the dollar bin section (for only $3). However, it was difficult to find and is now seemingly discontinued! The good news is that it’s pretty simple to create your own rope tray.
Purchase the Clothesline Rope to sew a tray >>
Purchase a Basic Rope Basket Kit to sew & embroider a tray (with 100′ of rope, Ultra Solvy Stabilizer & Microtex Needles) >>
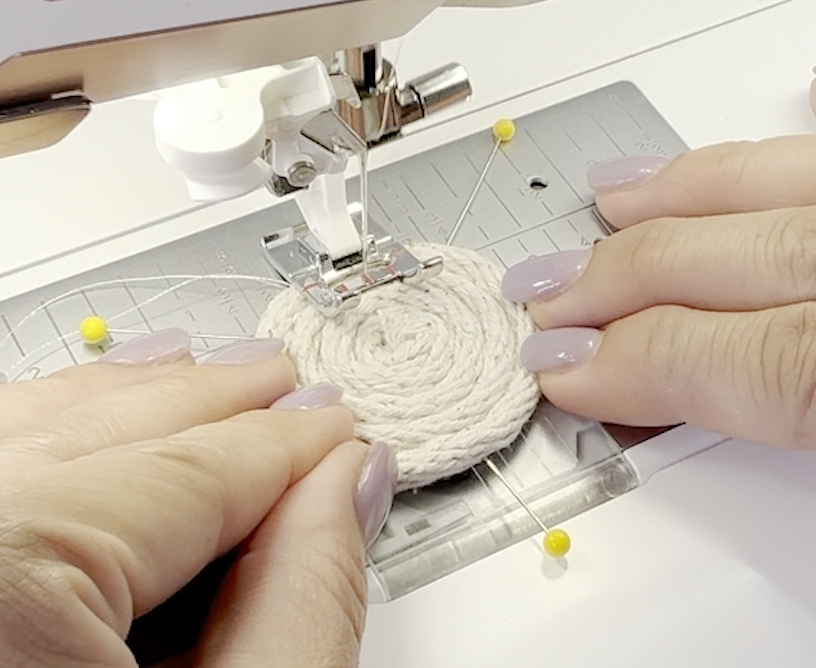
Begin by coiling the clothesline rope to create the base.
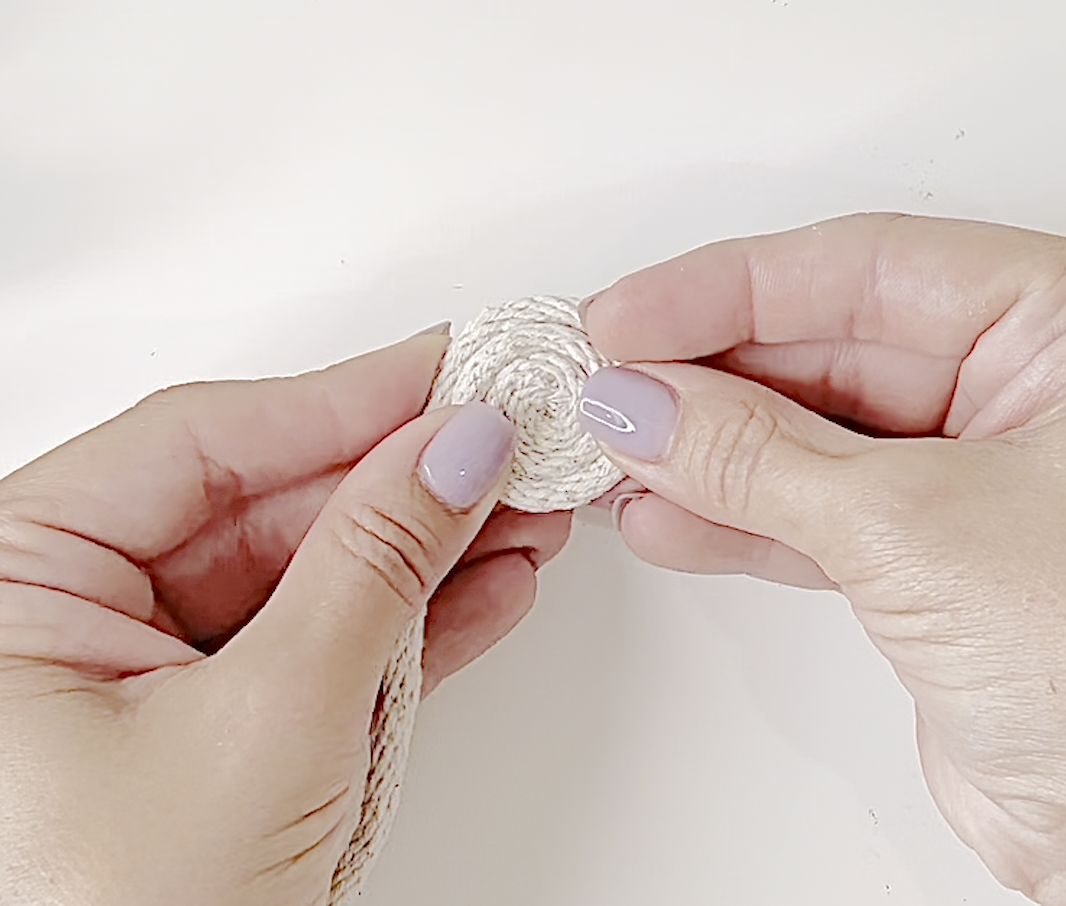
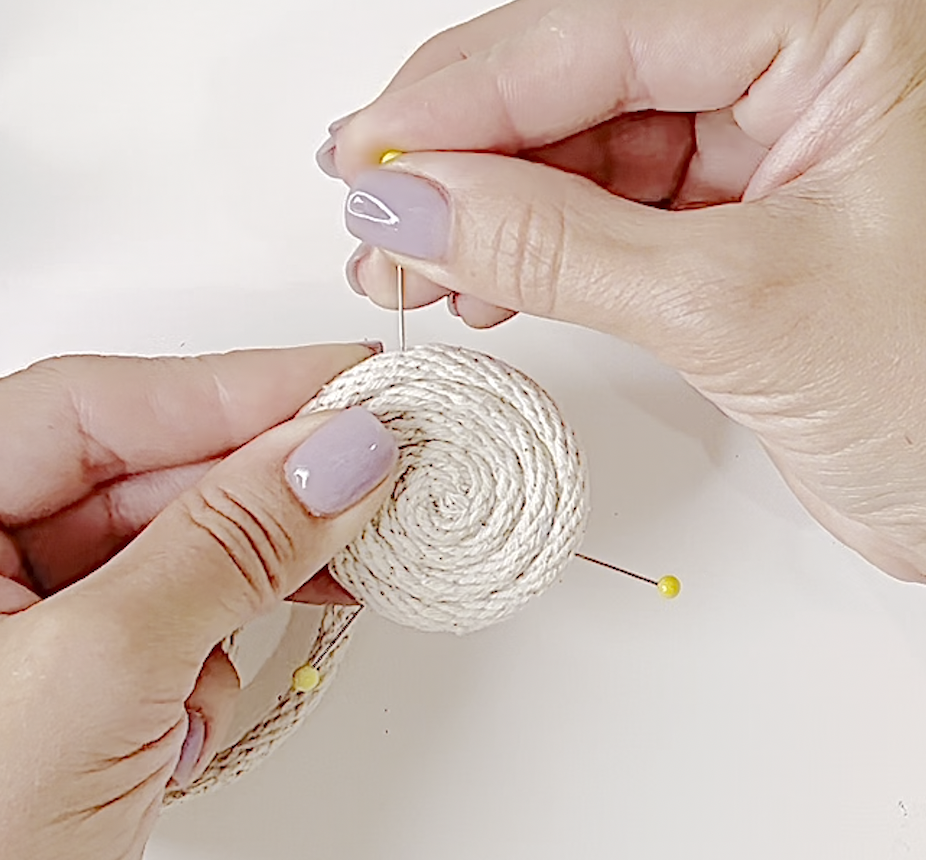
When the coil reaches about 1″ to 1 1/2″ diameter, place pins through the rope at the upper, lower and side centers to secure it.
STITCHING THE ROPE TRAY
Set the machine for a zigzag stitch. Wind a bobbin with Sulky 60 wt. Polylite Thread in a color that matches the rope.
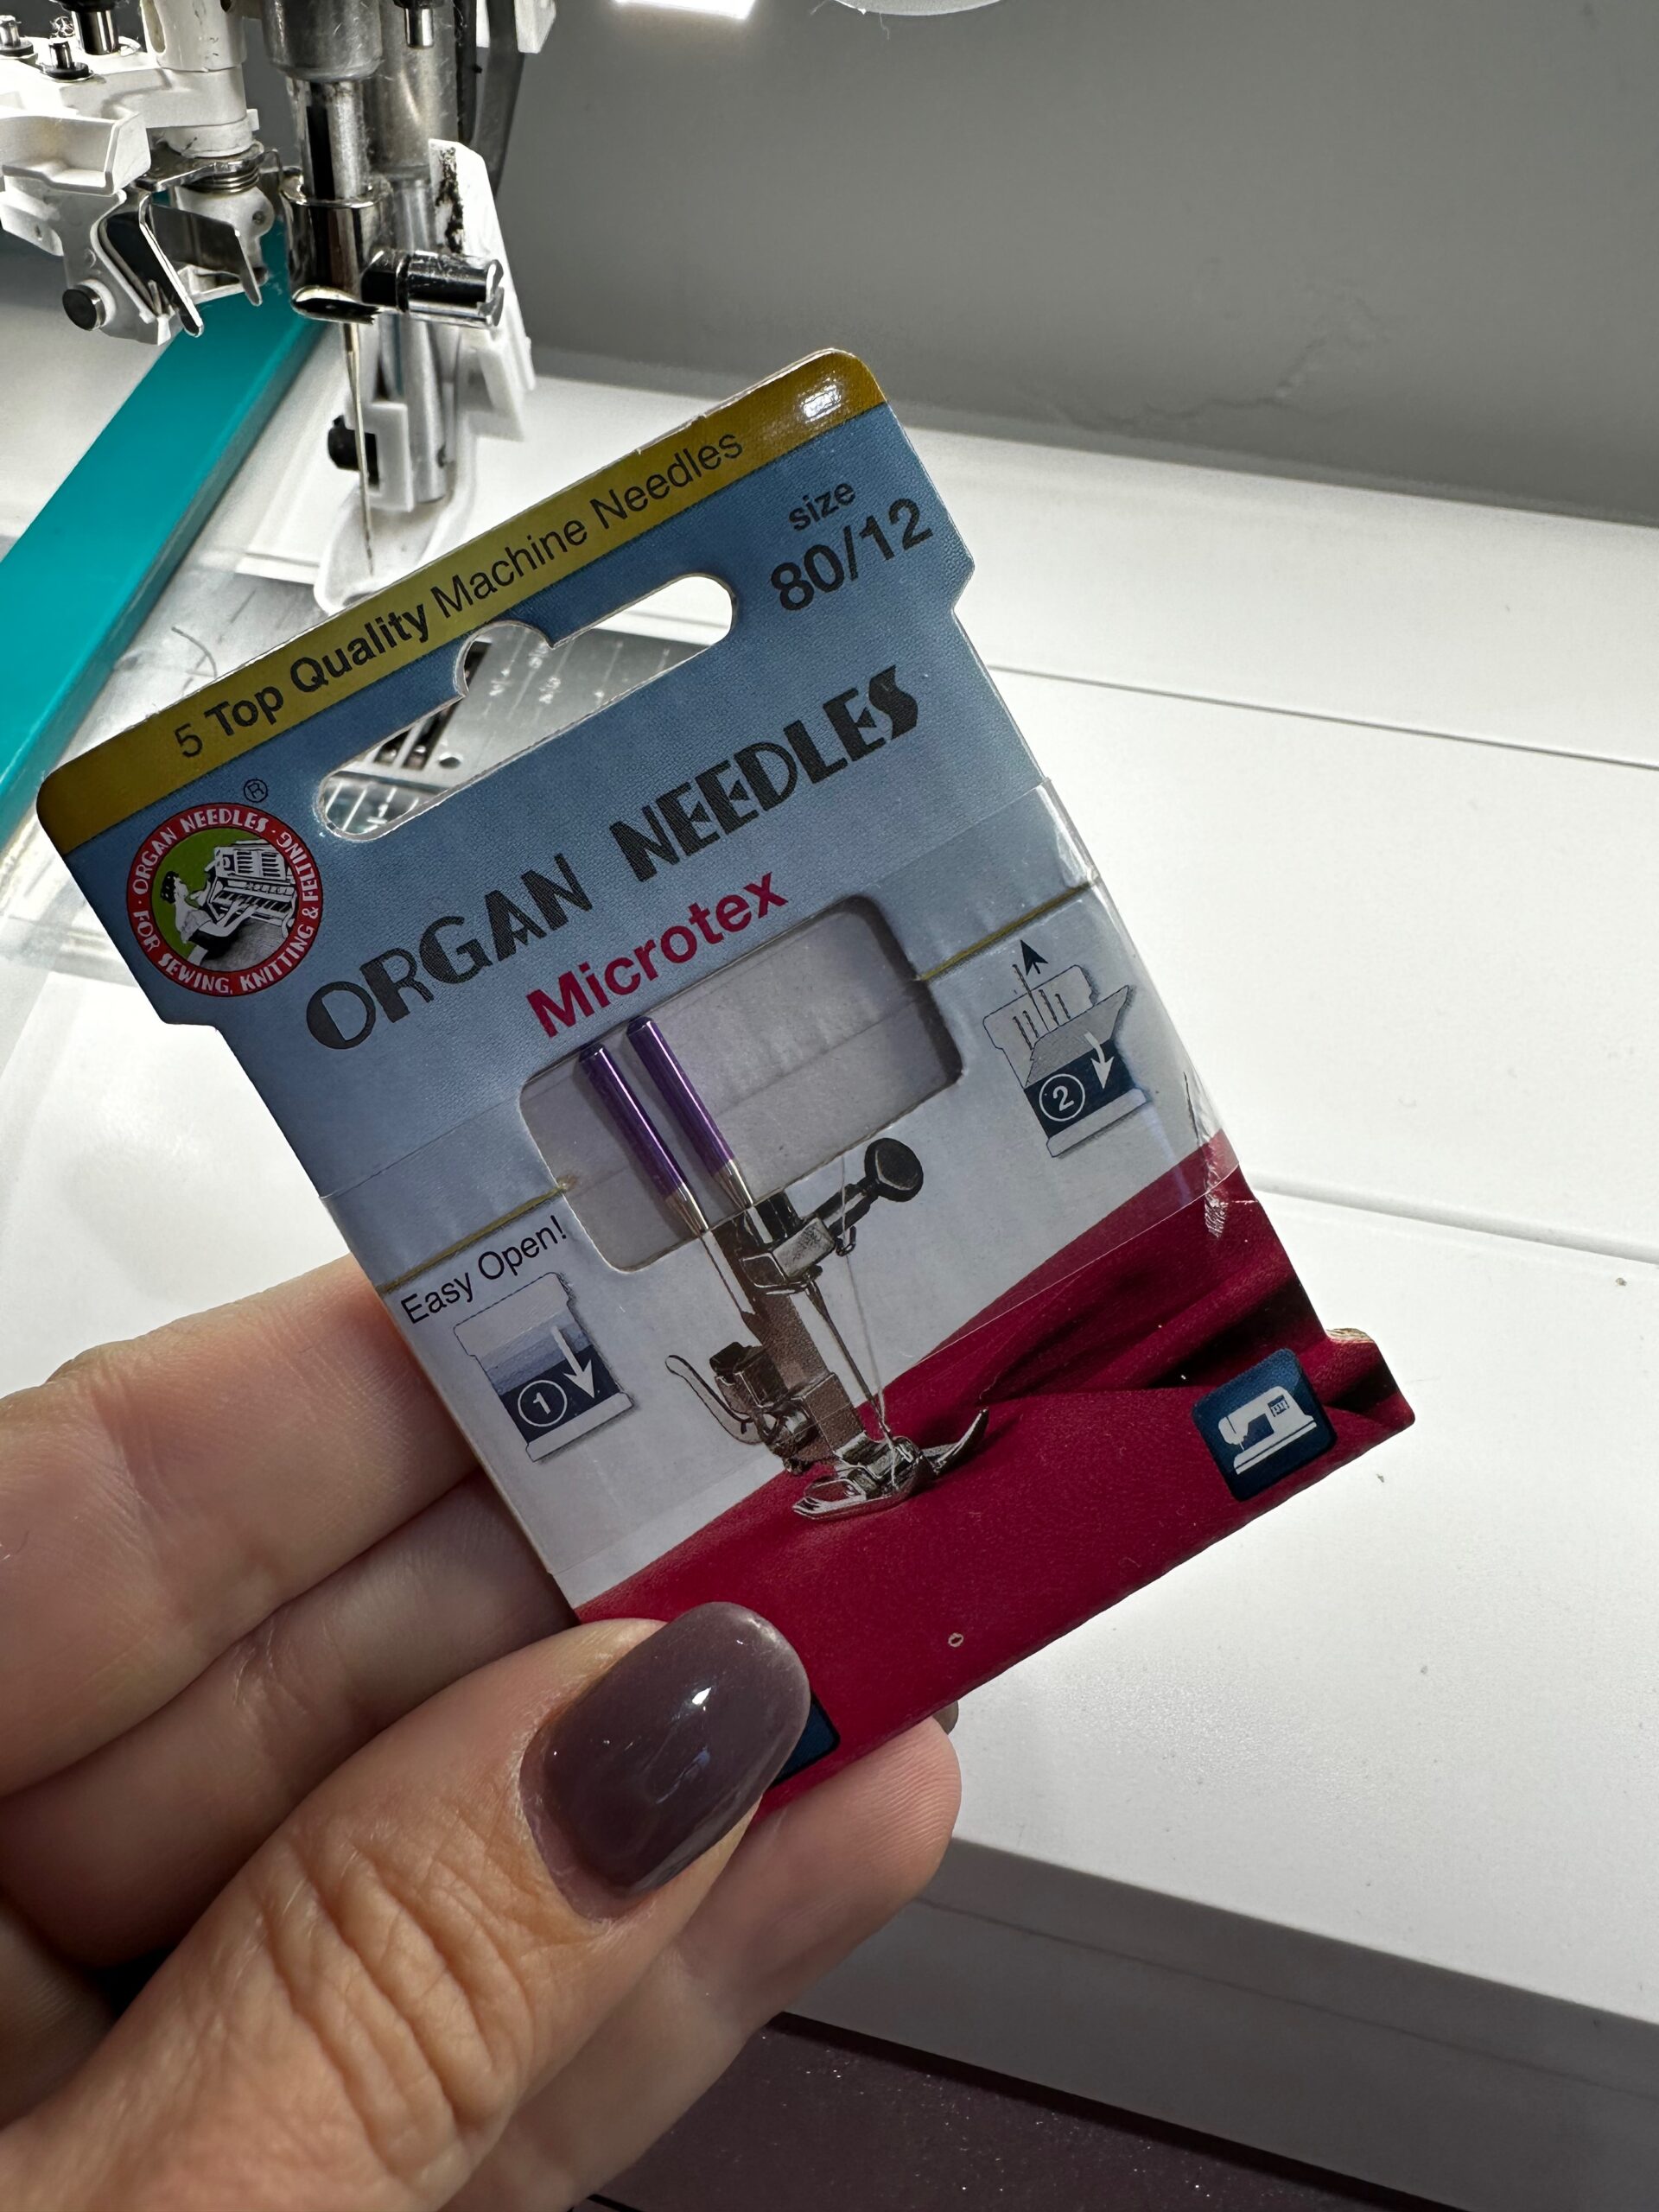
Install a size 80/12 Microtex Needle. Thread the needle with 40 wt. Poly Deco Thread that matches the rope.
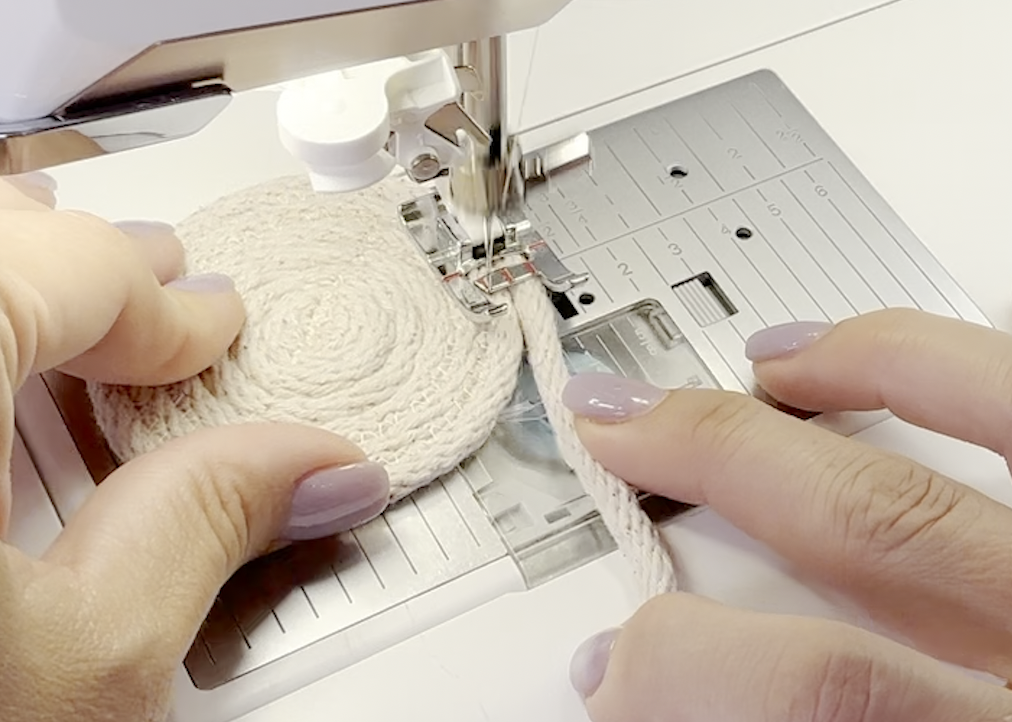
Zigzag stitch across the rope from the upper to lower edge and from the center side to opposite center side, removing the pins as you reach them. You may need to adjust the presser foot pressure if the foot is scrunching the rope, making the stitches stack or appear more like satin stitching than zigzags.
Stitch rope rows to the center coil, making sure the “zig” hits one rope edge and the “zag” hits the other.
Do not pull or stretch the rope while sewing. Consult our Rope Basket Embroidery Sewing Session for specifics and full video tutorials for making the rope base. (The Session includes multiple Lessons, including how to change the shape, add fabric accents, and more!)
TIP: If you want the rope a certain color, some people have had success dyeing the rope prior to constructing a tray or basket. Search the Internet for the best method for your materials, time and budget. Or add fabric strips, following our Rope Basket Embroidery Sewing Session video tutorials.
Continue adding rope rows until the desired rope diameter is achieved. The featured readymade rope tray base measures 15″ diameter.
If desired, add “walls” to the tray now, or after embroidery is complete. To add the walls, refer to our Rope Basket Embroidery Sewing Session for specifics and full video tutorials. The featured rope tray walls measure 1 1/2″ tall. Rope handles were added to the outermost rope row. (Note: The Rope Basket Embroidery Sewing Session also contains a video and written instructions for adding rope handles as well as faux leather/fabric handles.)
EMBROIDERED DESIGN CHOICE
Choose an embroidery design with little to no fill stitching, ideally in a circular or “wreath” pattern. Make sure the size is at least 3″ smaller in diameter than the rope tray.
The featured design is Sweet Autumn Leaves Wreath, from Embroidery Library. The design measures 7.78″ (w) x 7.35″ (h).
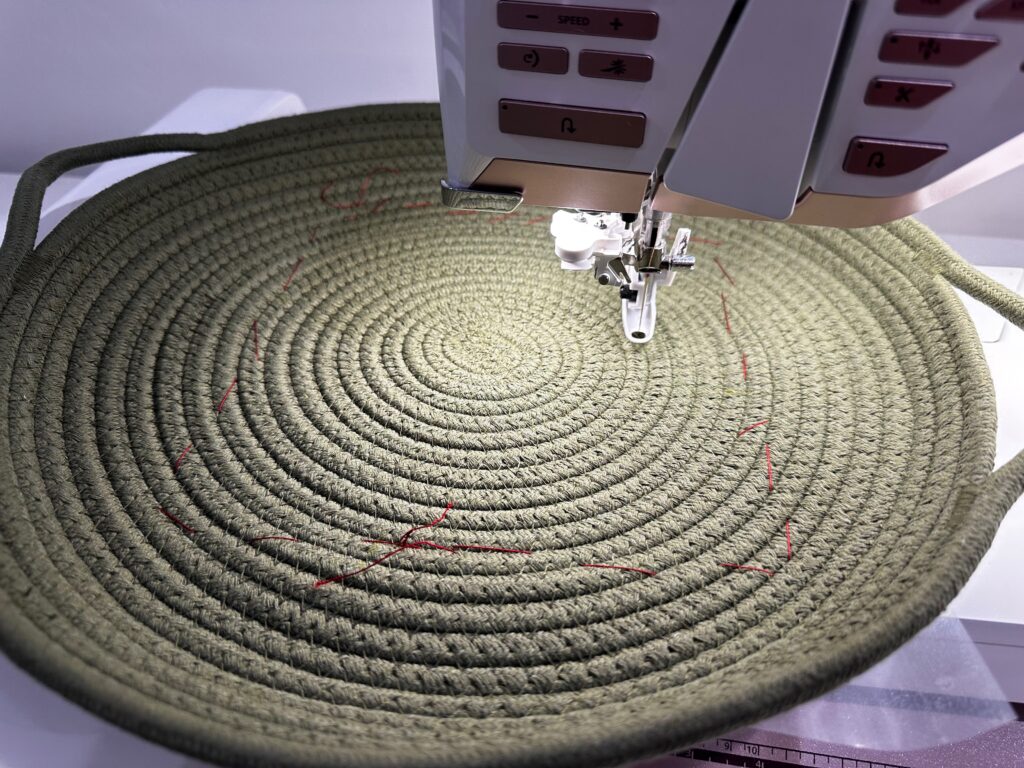
Follow the instructions in our Rope Basket Embroidery Sewing Session to mark the embroidery placement onto the rope tray base.
EMBROIDERY
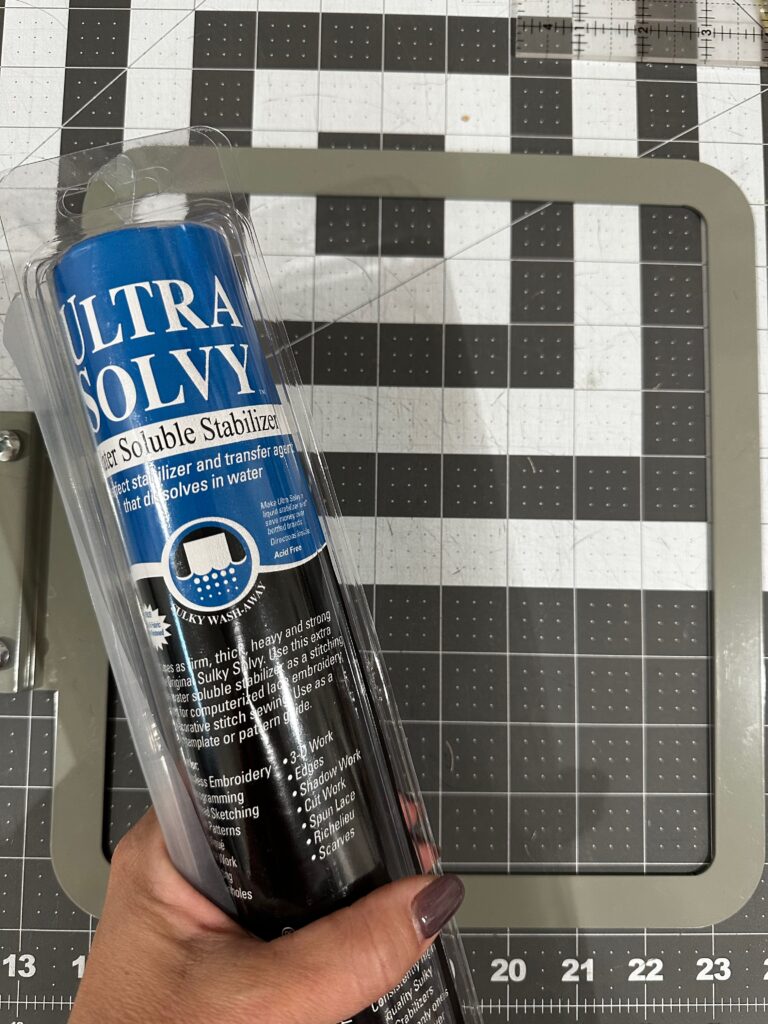
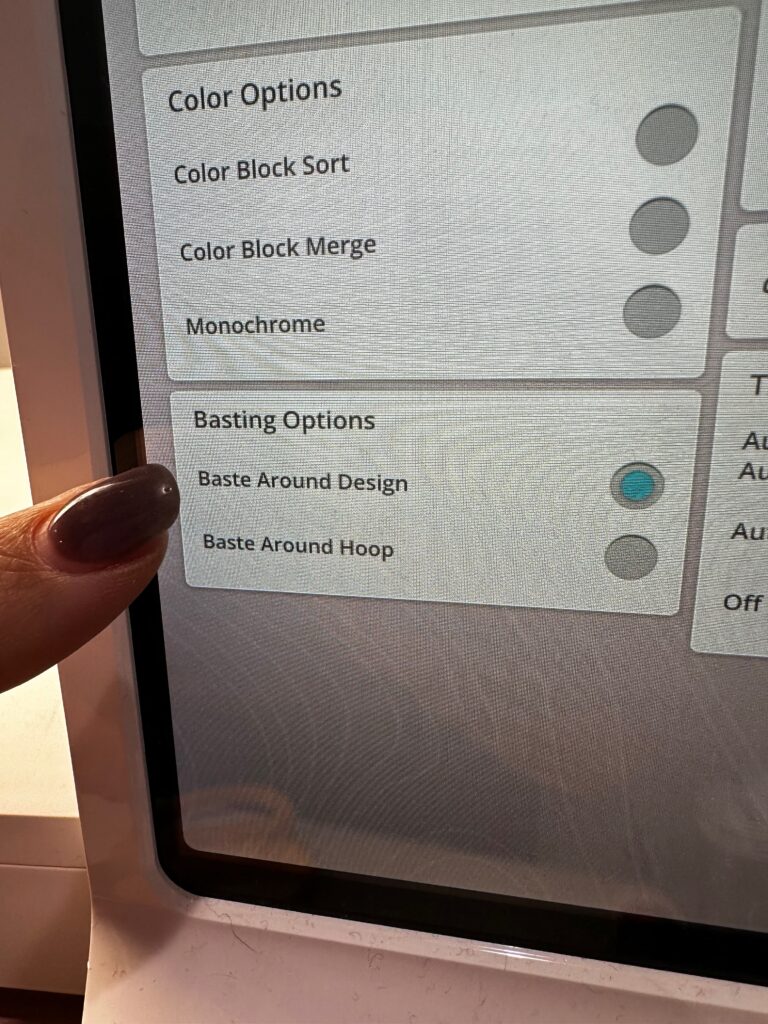
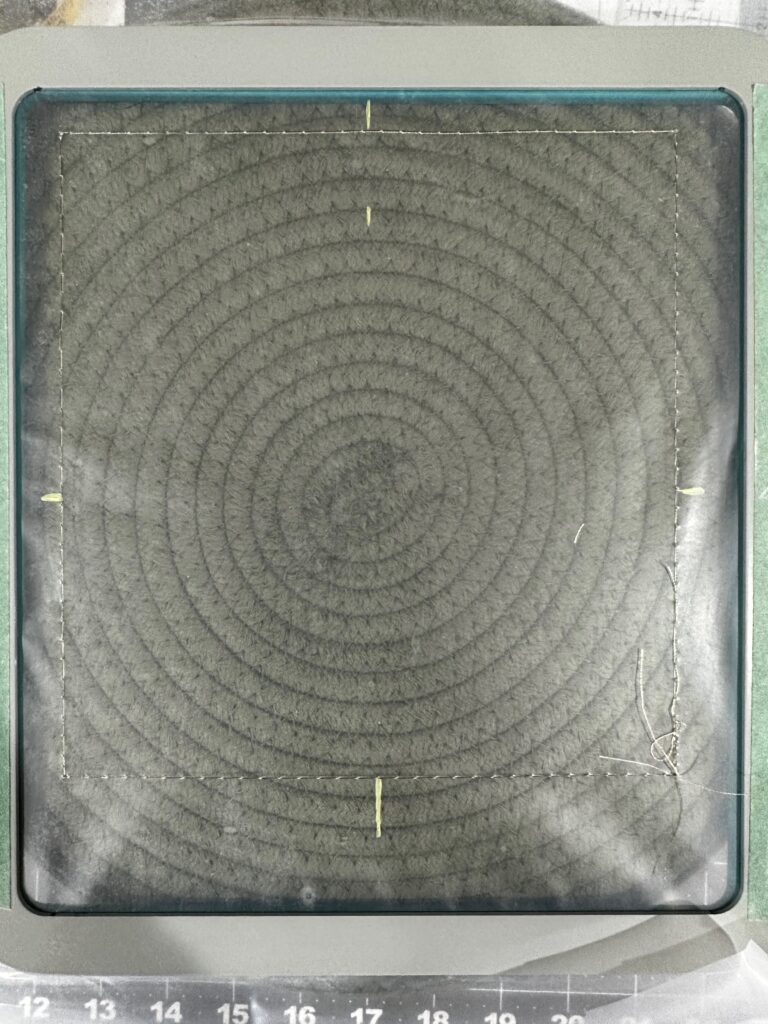
Hoop a piece of Sulky Ultra Solvy Stabilizer. Direct the machine to add a basting stitch around the design perimeter prior to stitching out the design.
Perform the first stitch sequence, which is the basting step. Then, remove the hoop from the machine.
Align the rope tray base so the design center is oriented properly in the hoop. Use Sulky KK 2000 Temporary Spray Adhesive to secure the rope tray base to the stabilizer. Then, hand-baste the rope to the stabilizer beyond the basting box perimeter. Do NOT skip this step.

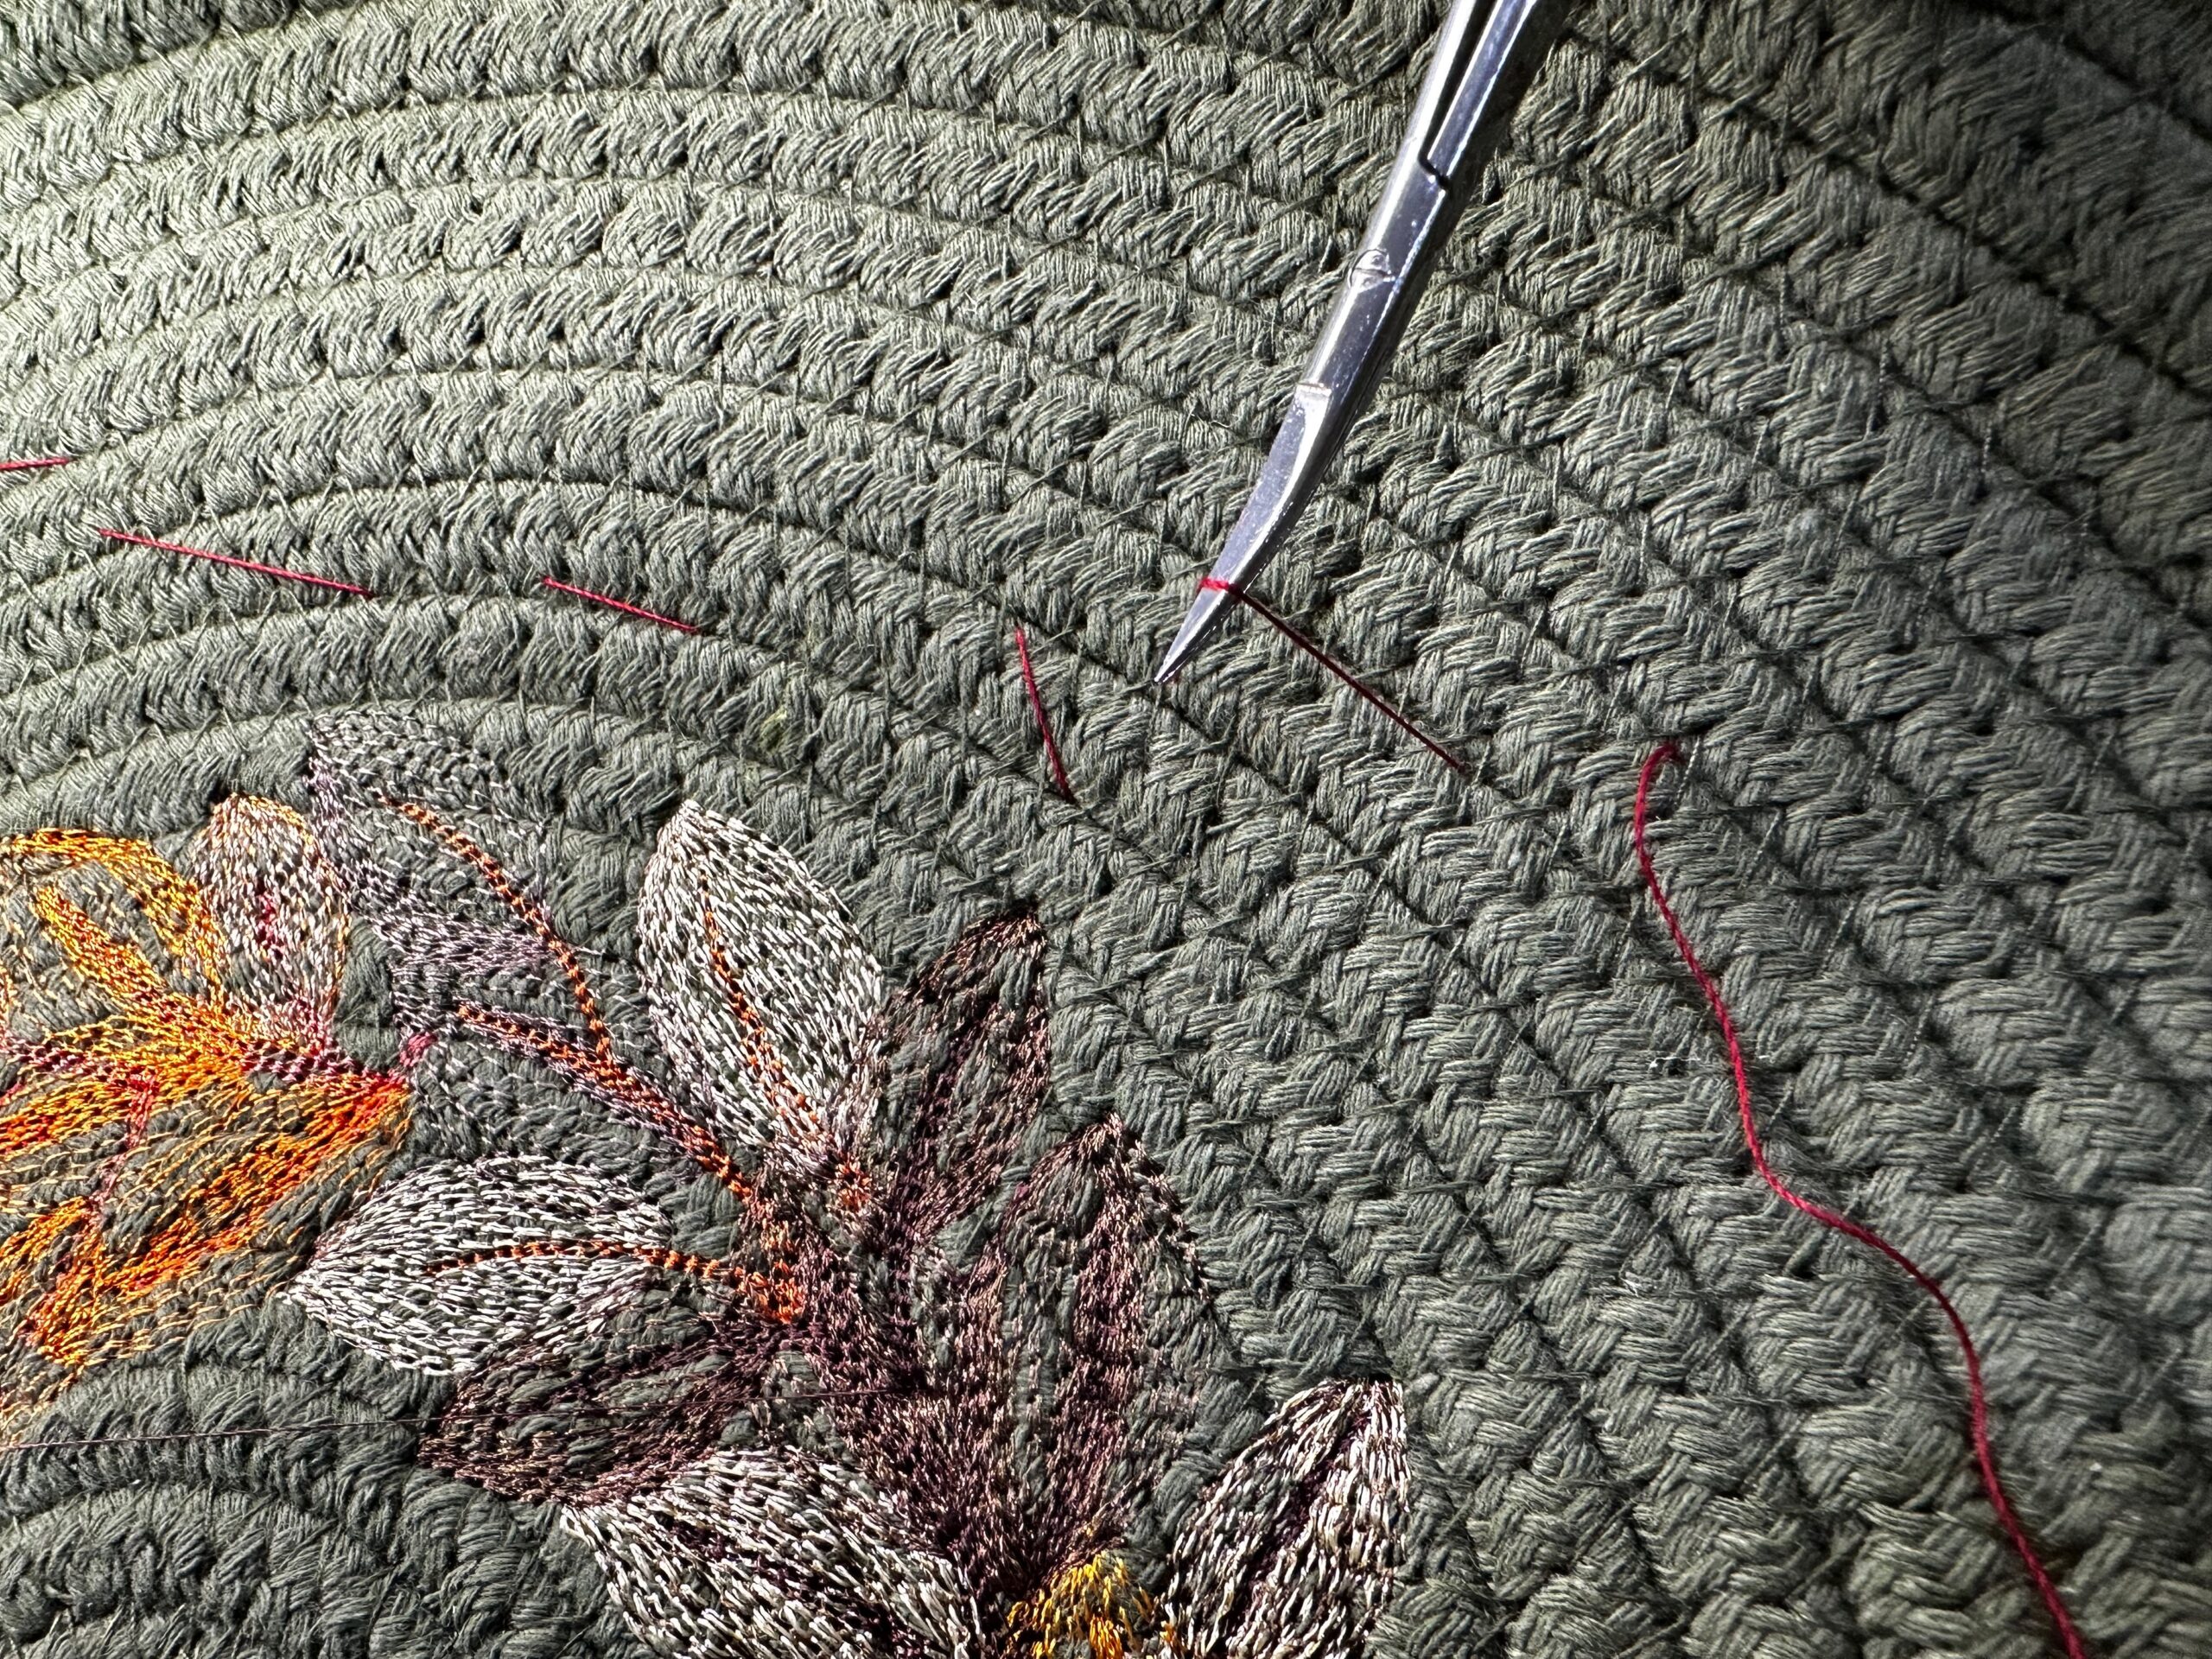
Embroider the design with 60 wt. Polylite Thread in the bobbin (that matches the rope) and 40 wt. Poly Deco Thread in the needle (using colors per the design). Clip jump threads on both the right and wrong side of the rope tray base, using Curved Tip Squeezers.
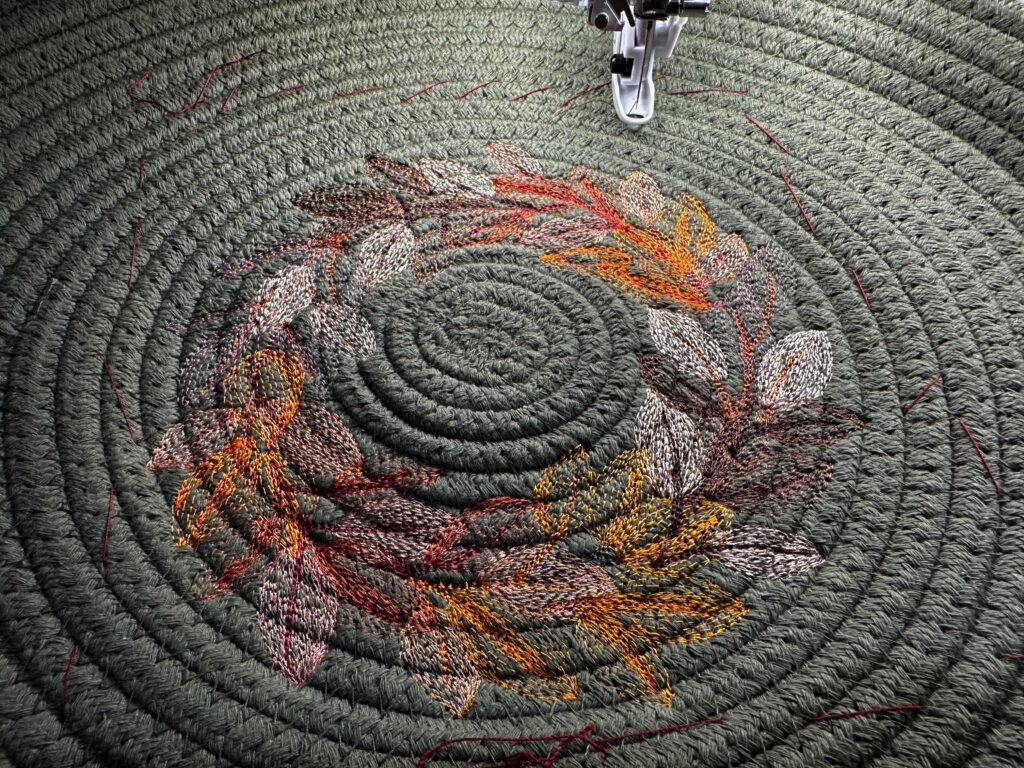
TIP: Swap Sulky 30 wt. Poly Sparkle Thread for some elements in the design. Make sure the areas you use this heavier thread are open running and/or straight stitches so there’s enough room within the motif to accommodate the additional thread thickness.
EMBROIDERED ROPE TRAY FINISHING
When the embroidery is complete, remove the hoop from the machine.
Then, remove the basting stitches.
Finally, remove the stabilizer with embroidered rope tray from the hoop. Trim away as much stabilizer as possible close to the stitching outlines.
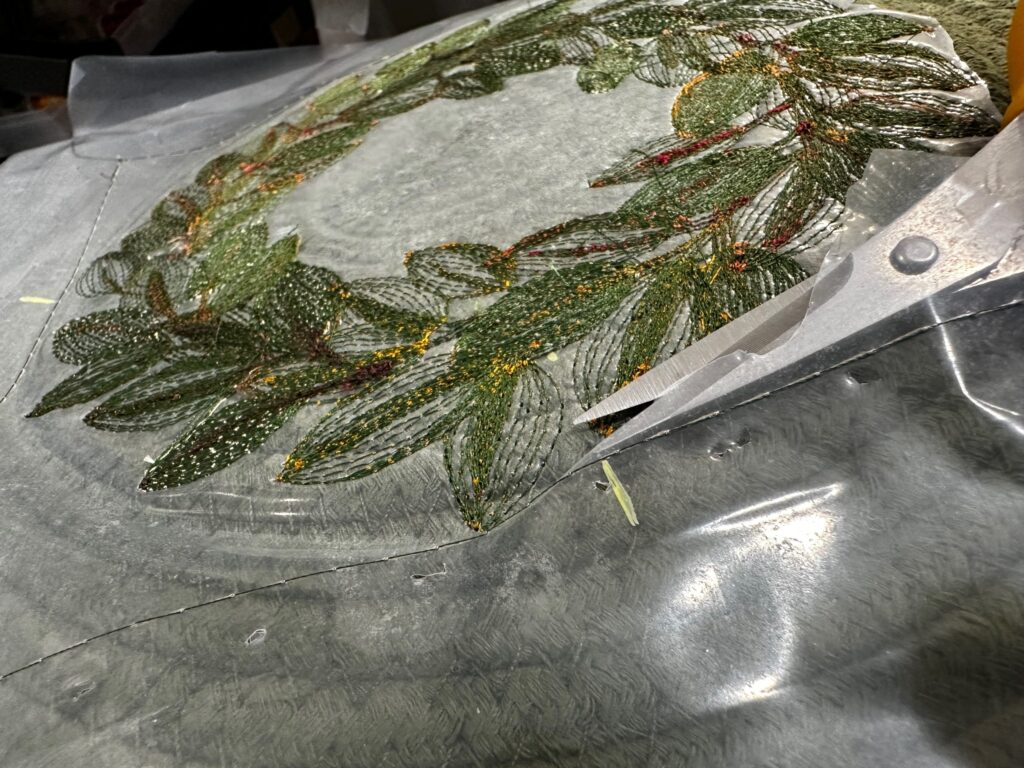
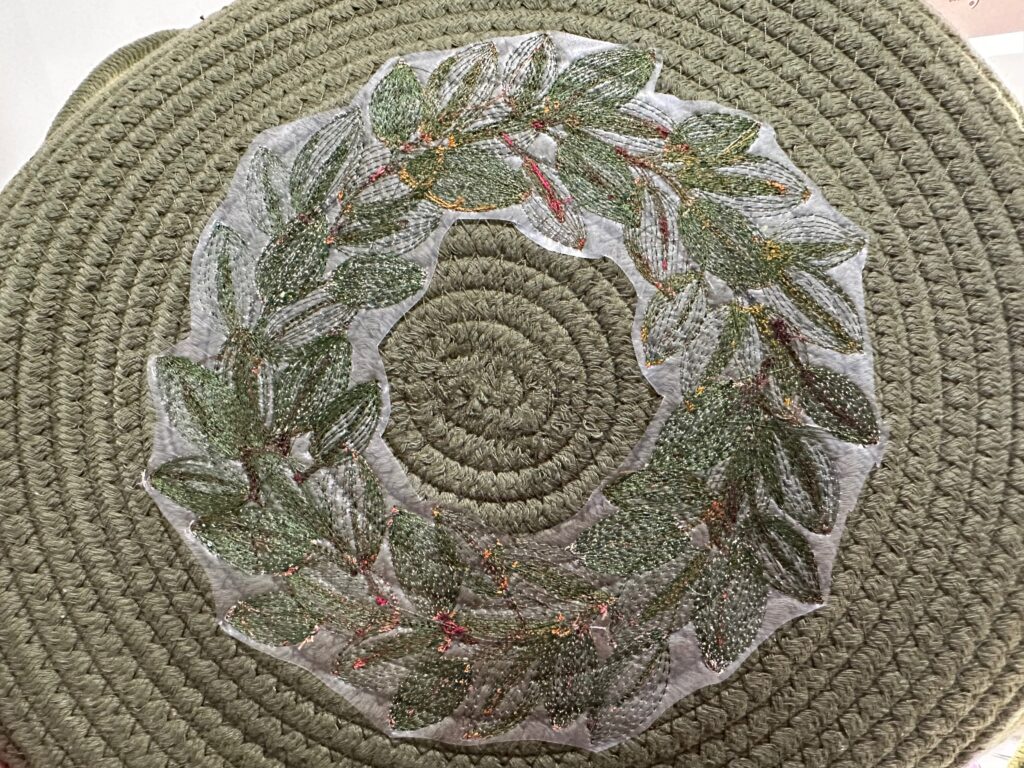
To remove the remaining stabilizer, soak the rope tray base in warm water. Use a bit of agitation from your fingers to make sure the stabilizer rinses cleanly away.
Let the rope tray dry thoroughly, flat on a towel. You may want/need to place a heavy object inside the tray to ensure it lays flat to dry.
Trim any remaining jump or stray threads from the rope tray wrong side, if needed.
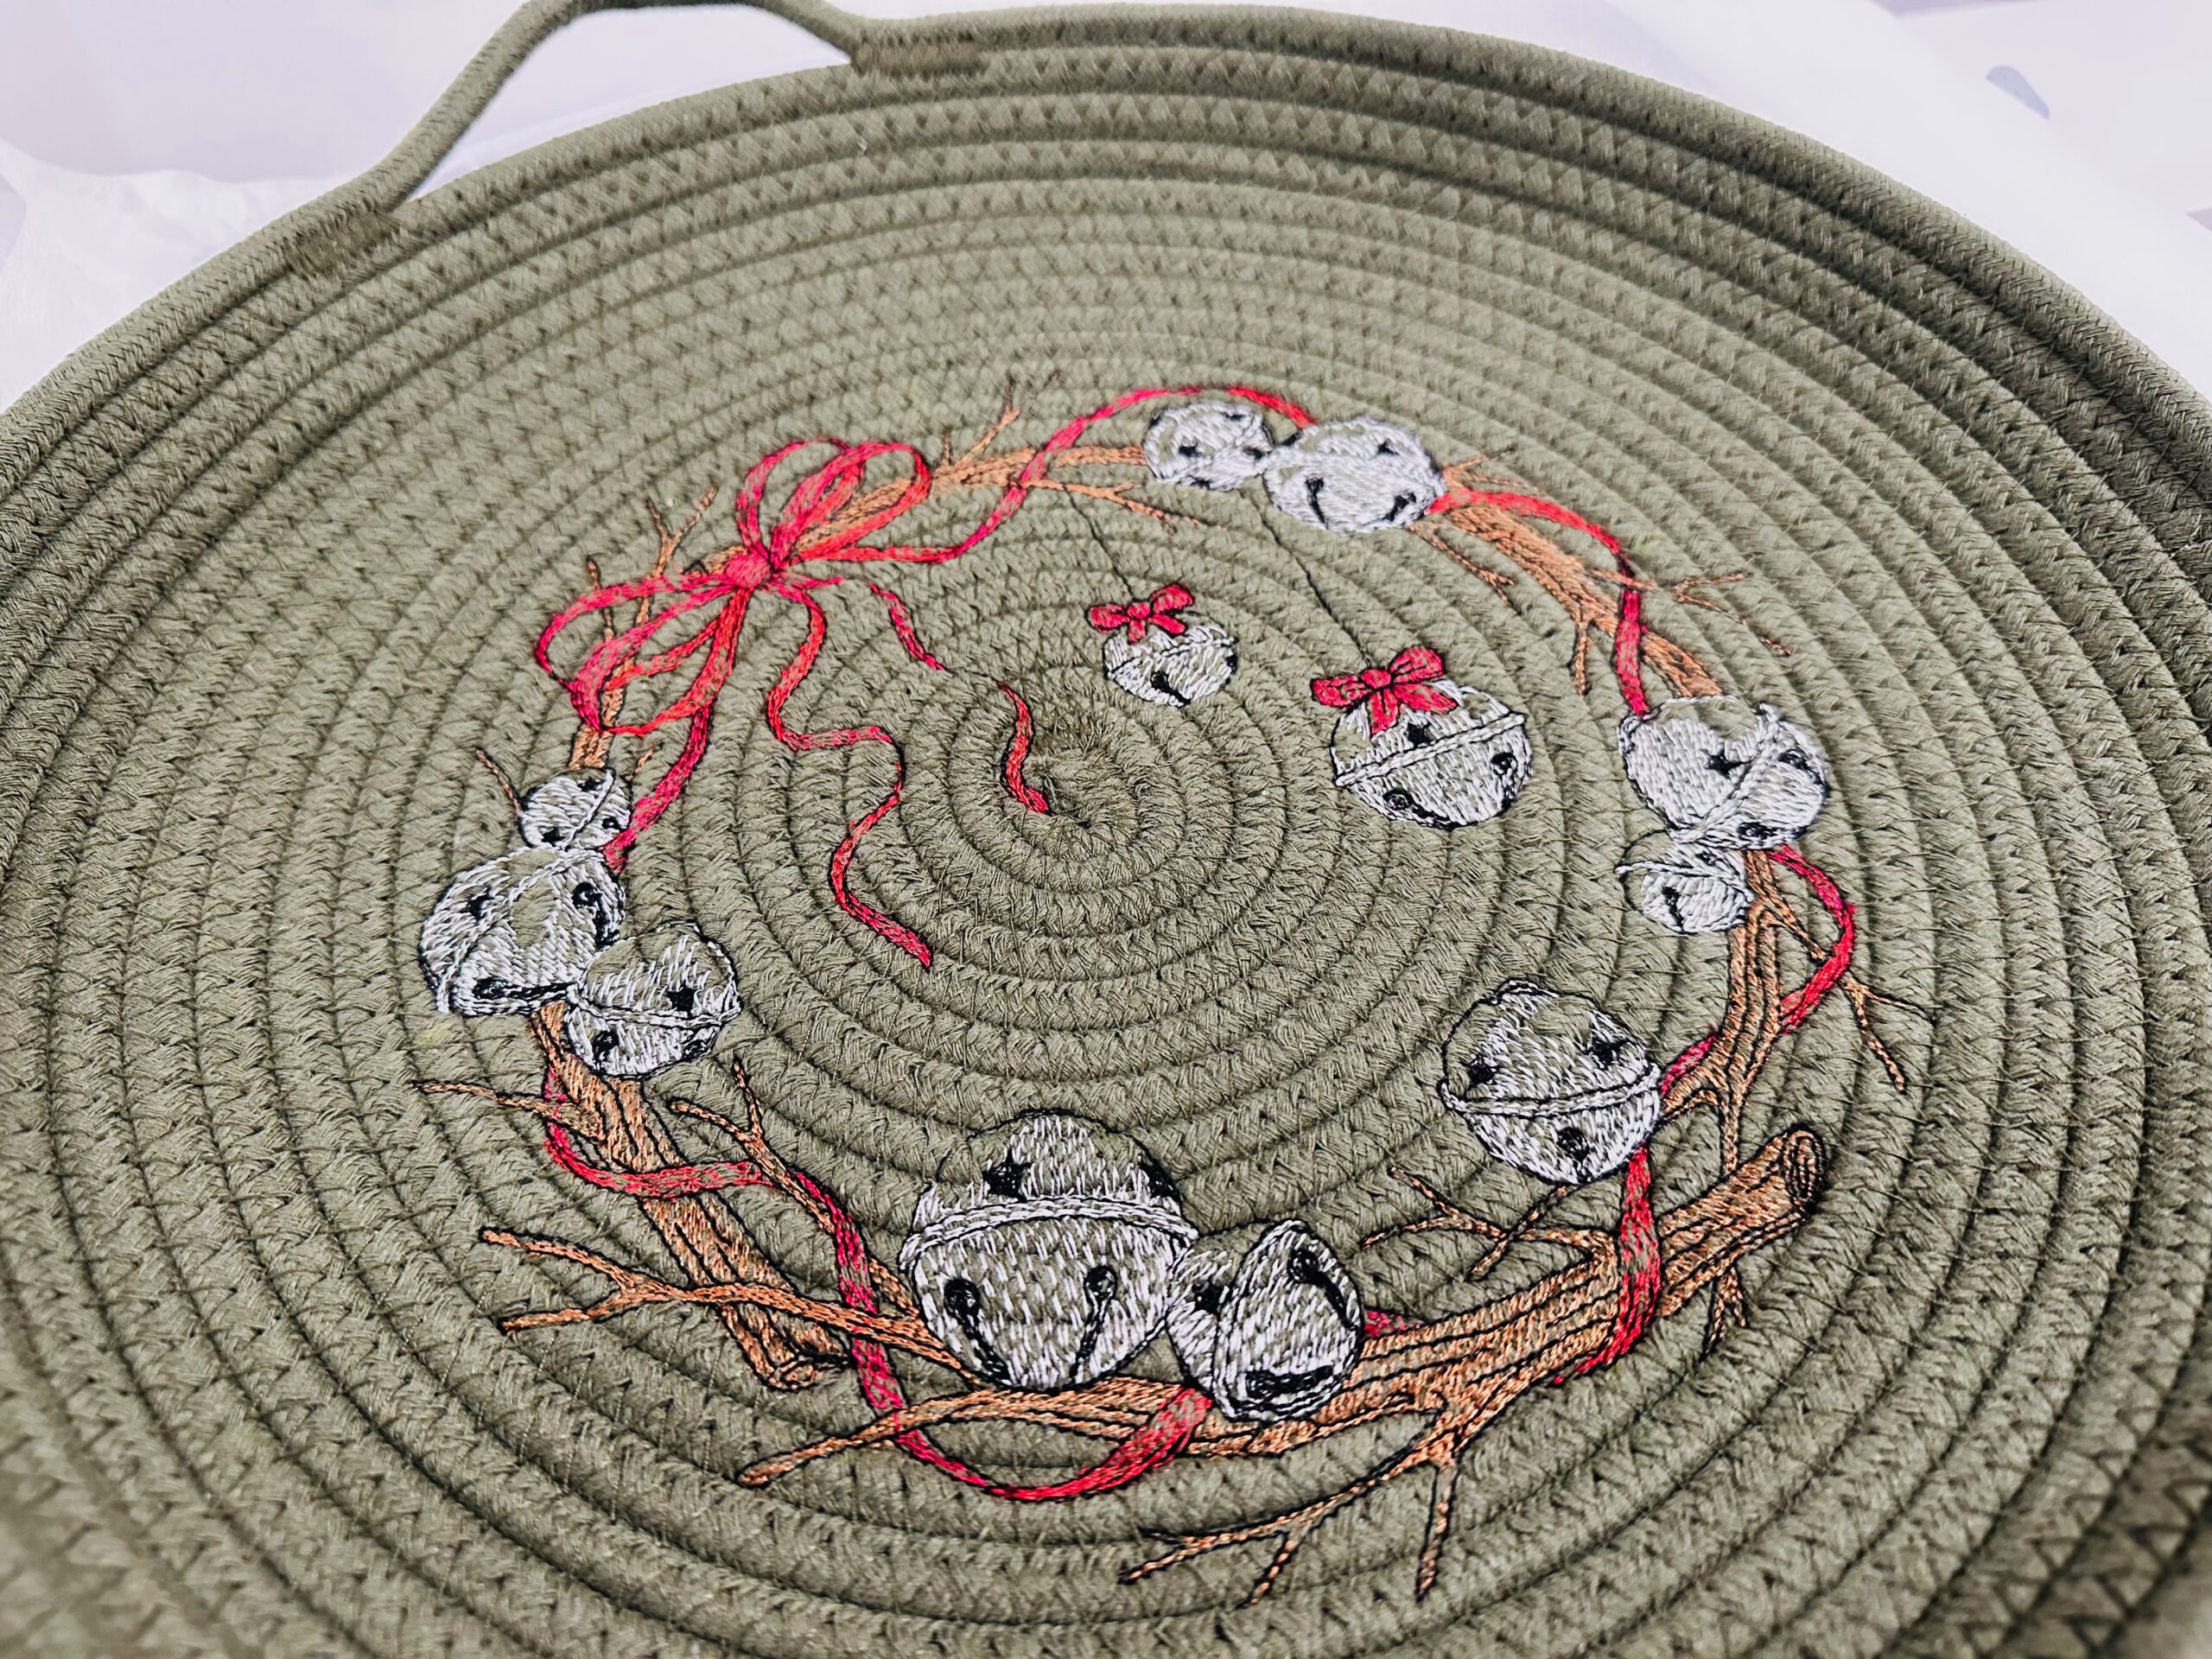
Now that you’ve made one, create another for Christmas or Hanukkah! This Christmas Bells Wreath design from Embroidery Library is a beautiful choice.
Purchase the Clothesline Rope to sew a tray >>
Purchase a Basic Rope Basket Kit to sew & embroider a tray (with 100′ of rope, Ultra Solvy Stabilizer & Microtex Needles) >>

Ellen, did you dye your basket after sewing it or did you dye the cord?
Beautiful, very useful