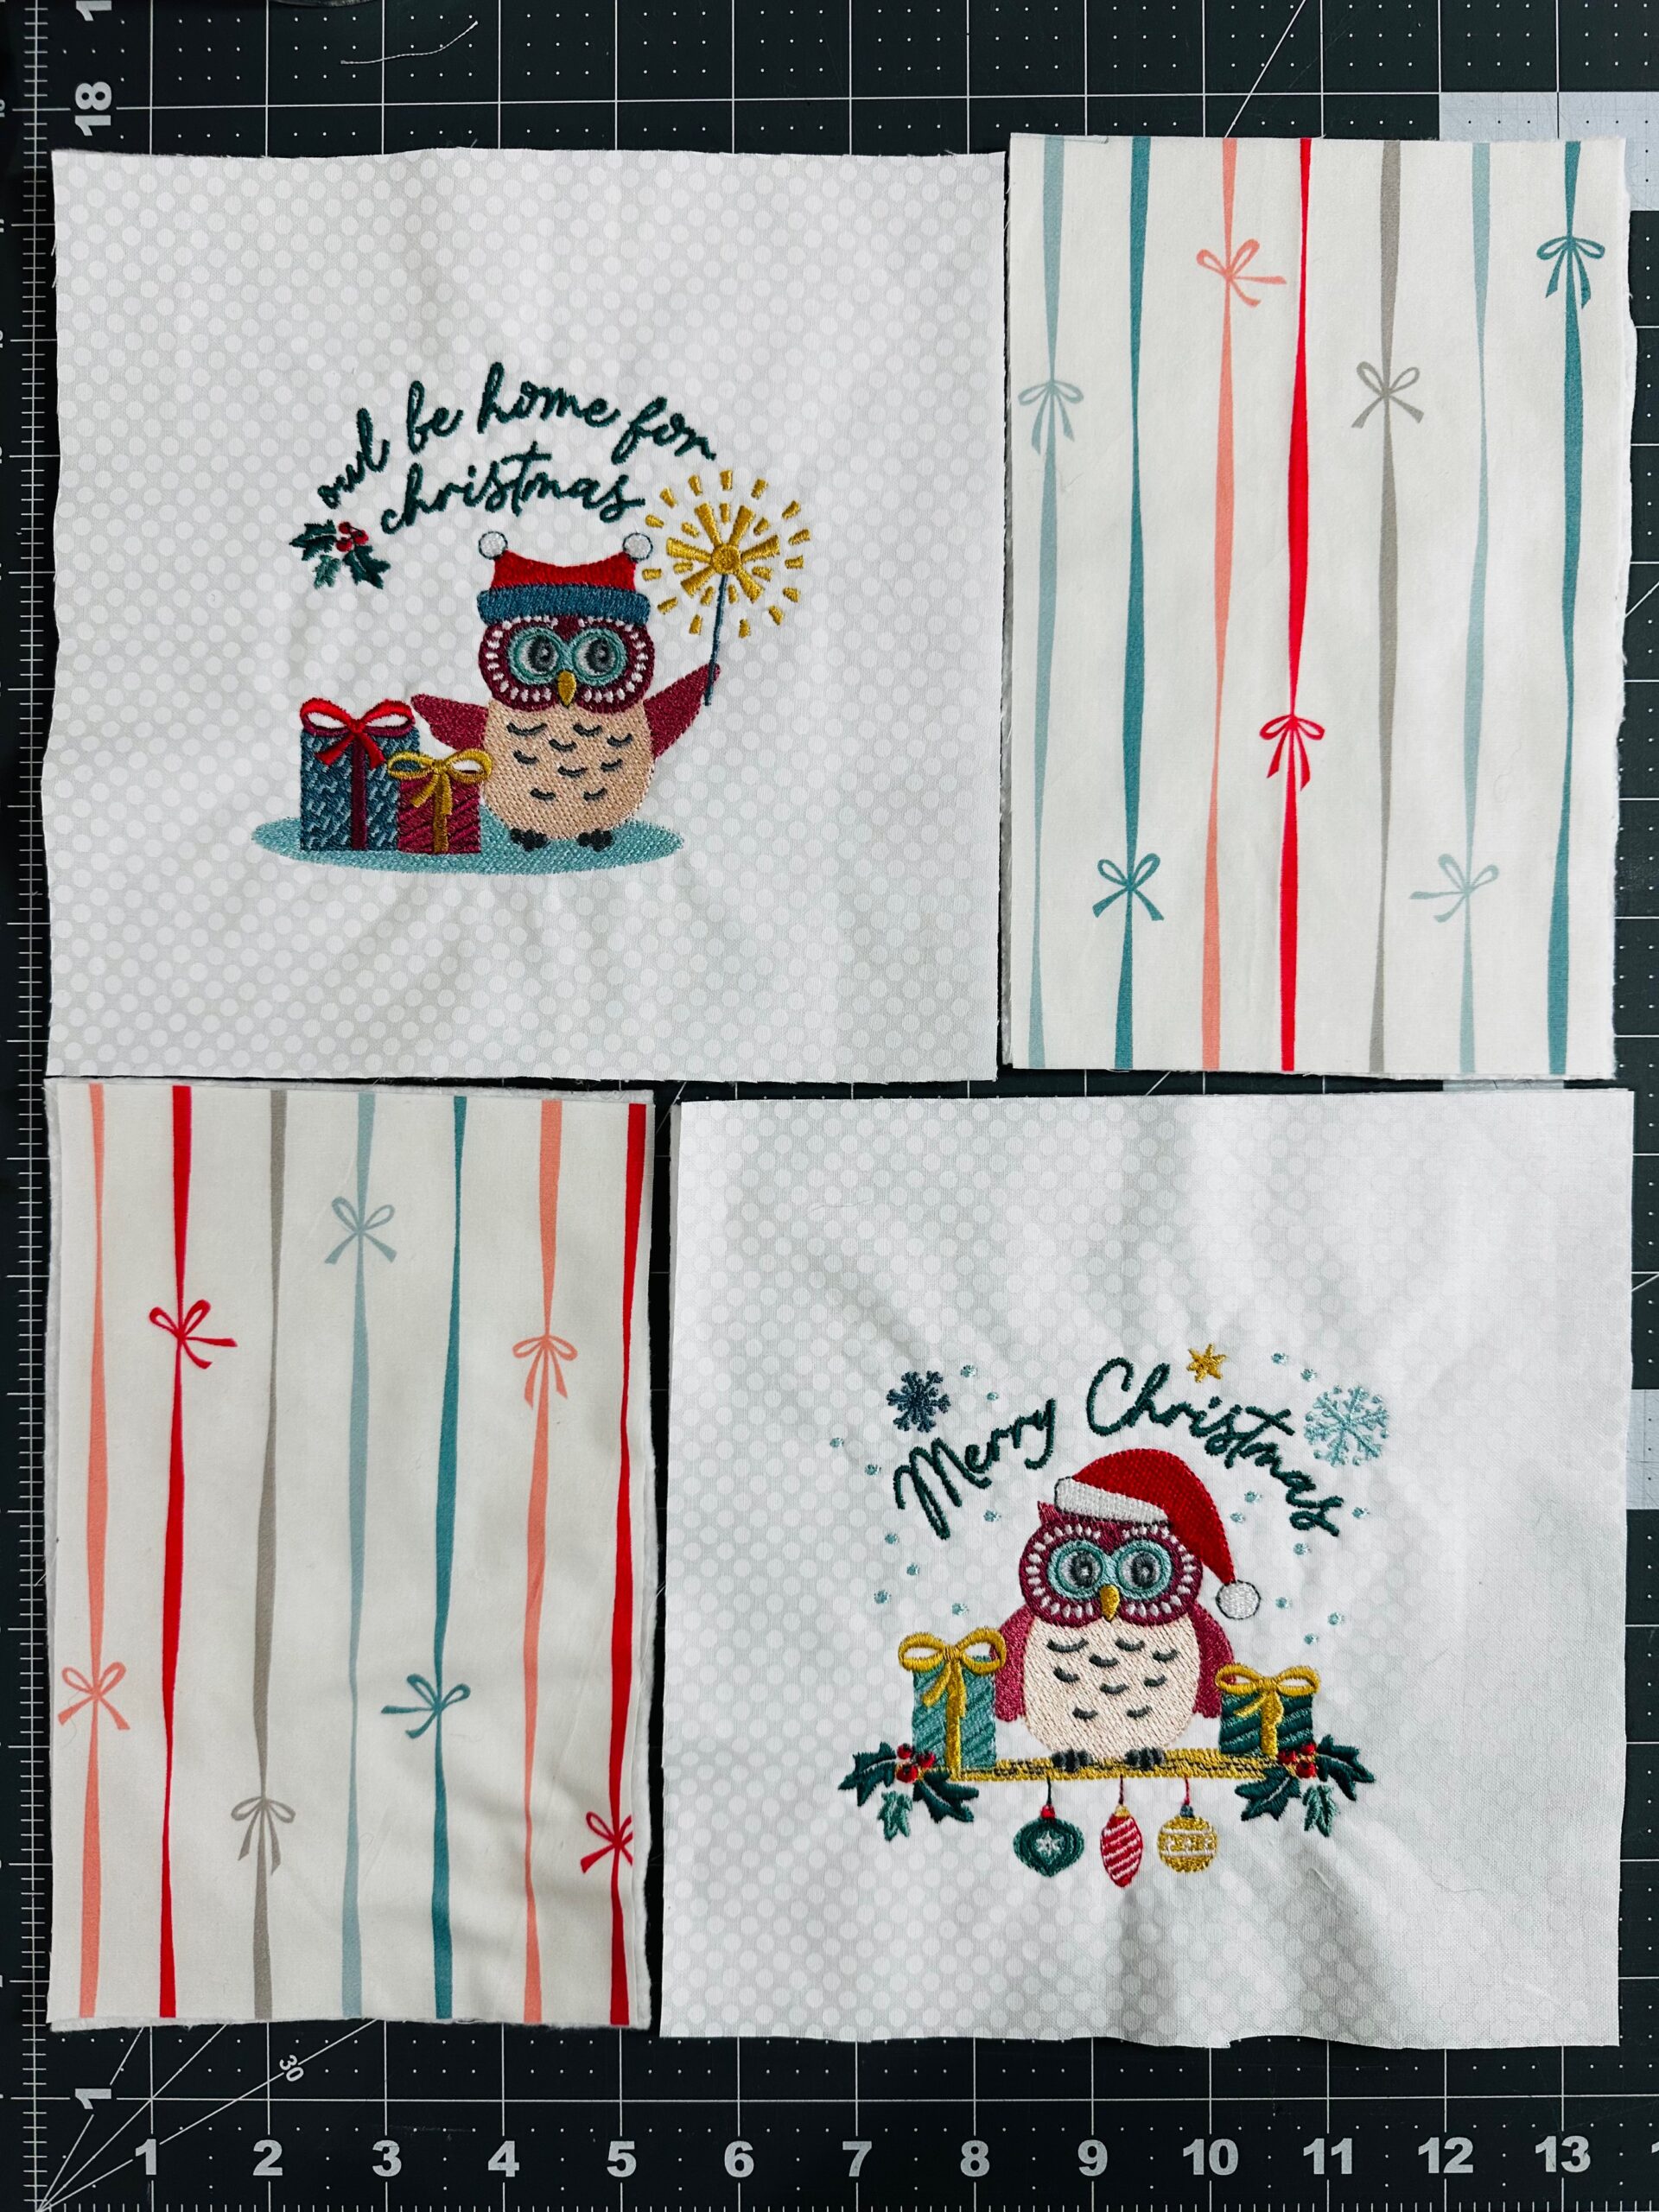
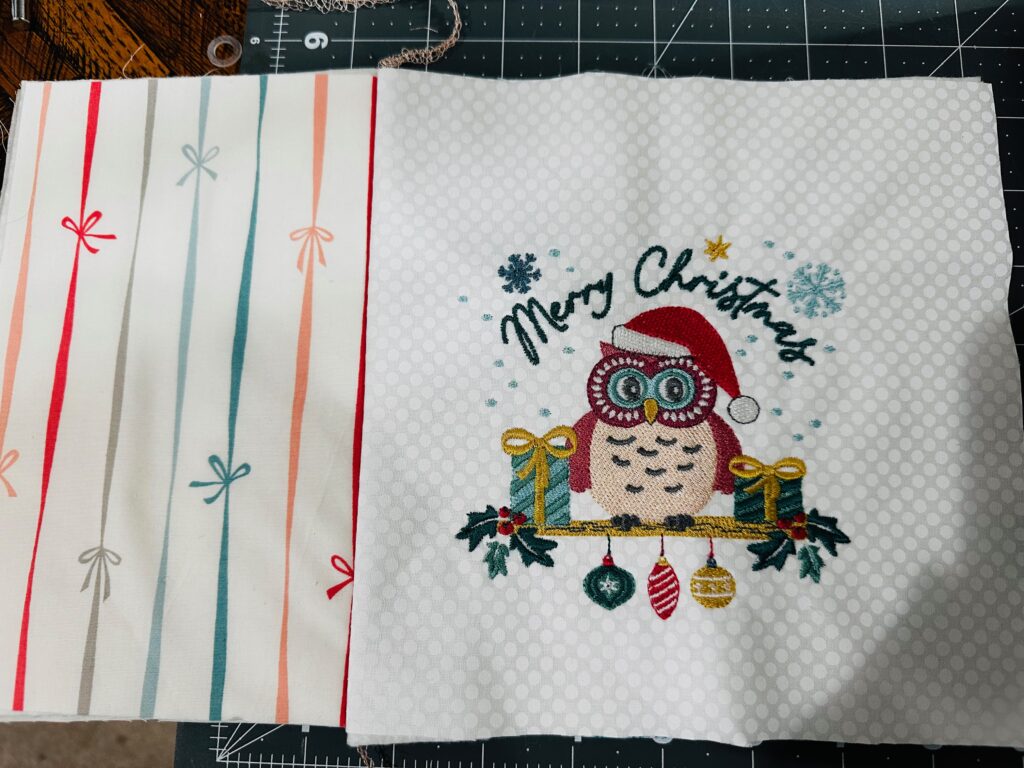
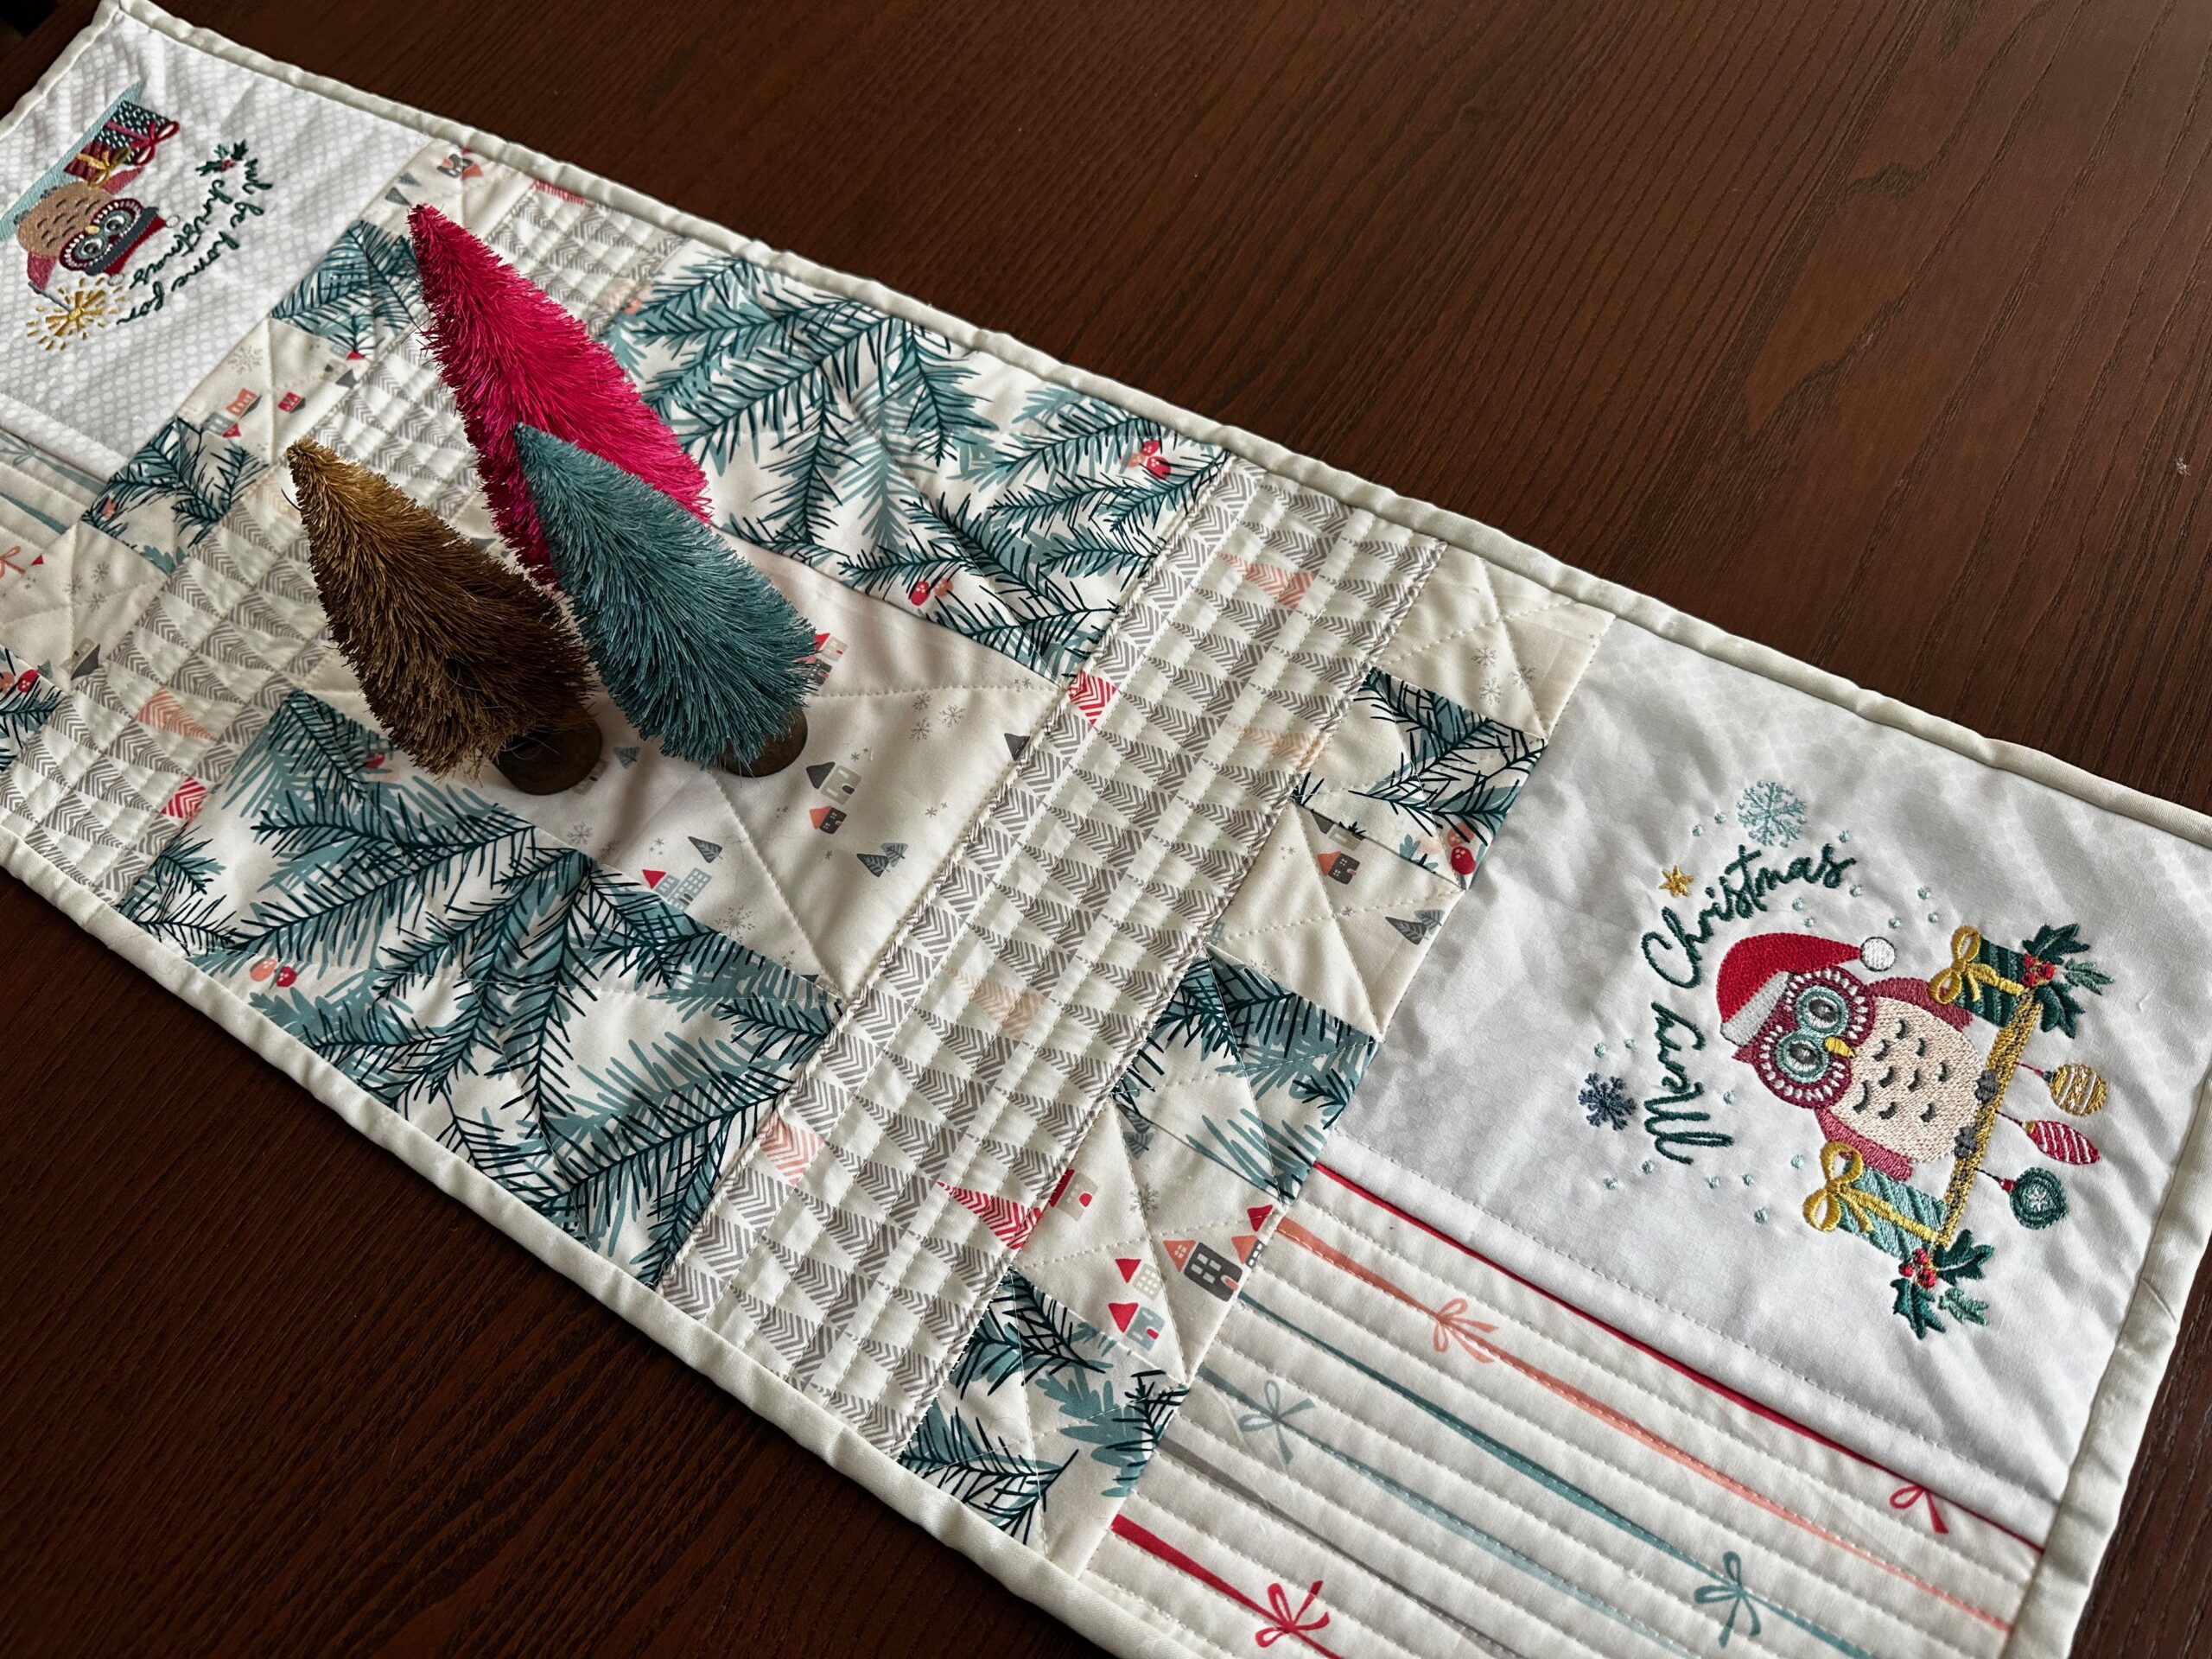
Owl Embroidered Table Topper
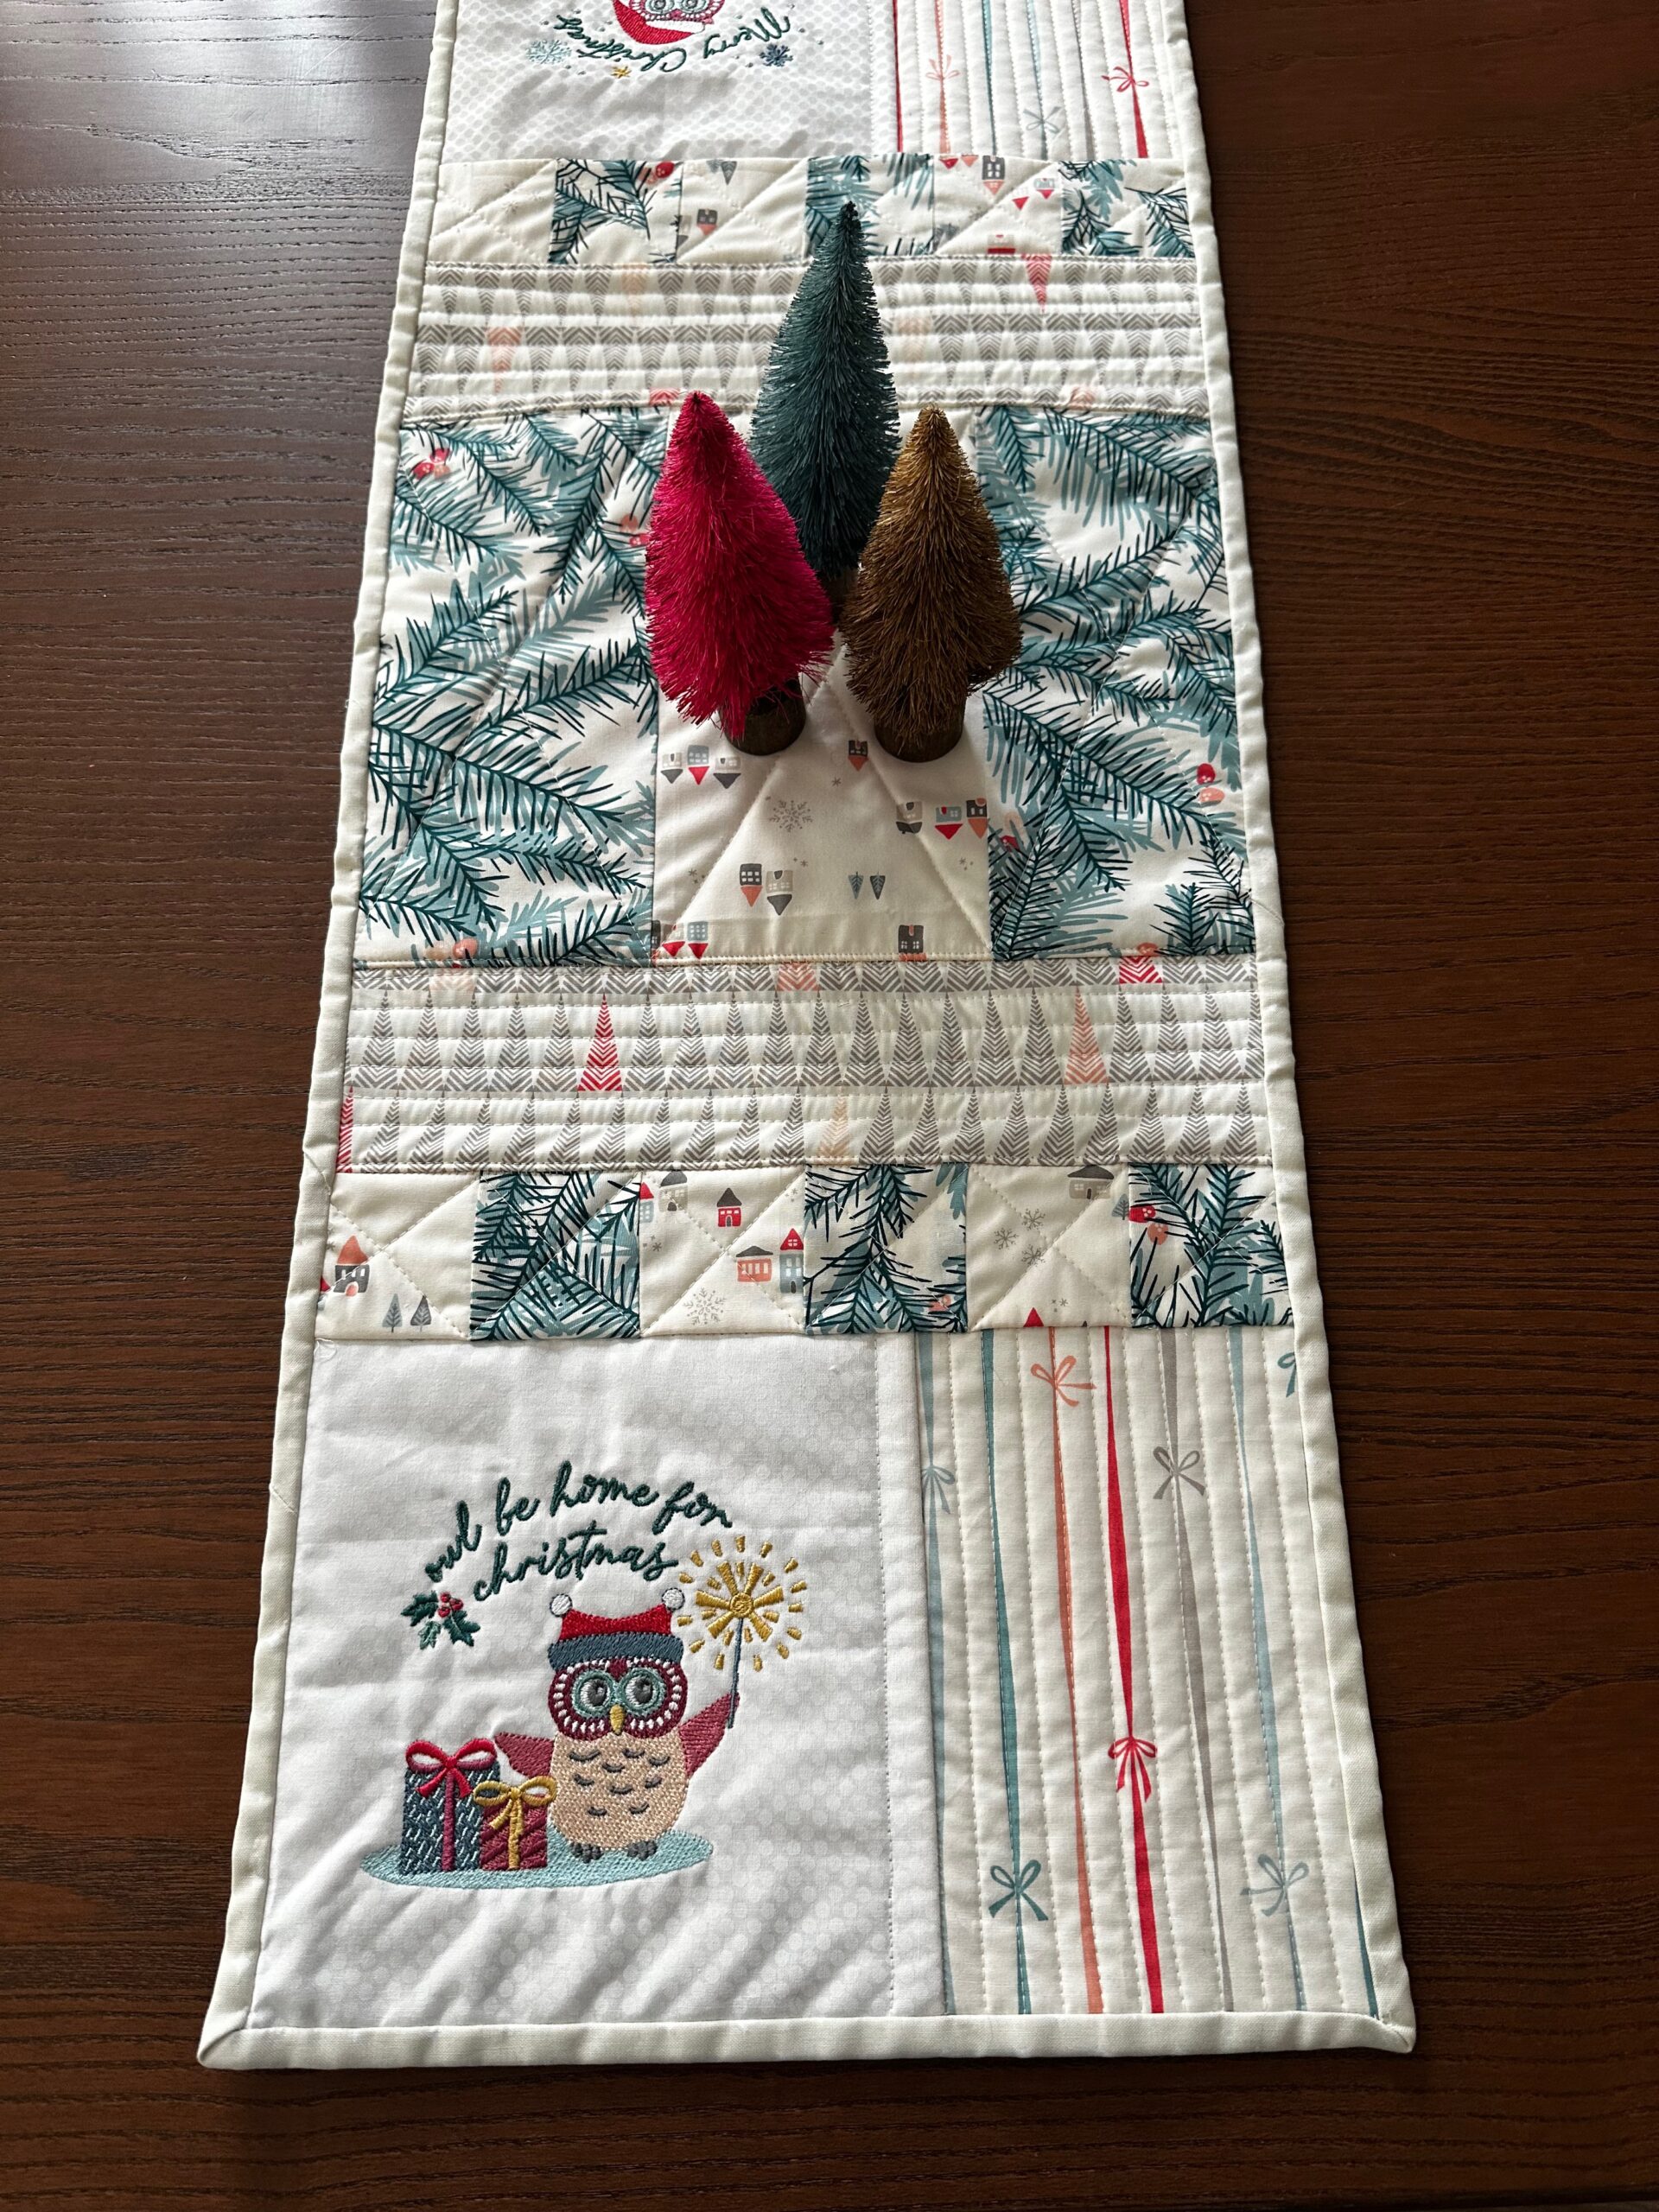
This owl embroidered “Owl is Calm” Table Topper is a serge-as-you-go quilted table runner with owl motifs that add Christmas spirit to your home décor. If desired, swap the Christmas motifs for Hanukkah designs or any holiday you choose. This method makes it easy to create a reversible table topper, too. Display one holiday on one side and a different one on the other.
Approximate size: 12” x 32”
OWL EMBROIDERED TABLE TOPPER SUPPLIES
- Owl Be Home for Christmas Machine Embroidery Collection
- Sulky Rayon Threads (colors according to designs; featured: 942-0580 Mint Julep, 942-1001 Bright White, 942-1017 Pastel Peach, 942-1070 Gold, 942-1119 Dk Mauce, 942-1166 Med Steel Gray, 942-1190 Med Burgundy, 942-1204 Pastel Jade, 942-1257 Deep Coral, 942-1284 Dk Winter Sky, 942-1517 Coachman Green, 942-1819 Outback)
- Sulky Tear-Easy Stabilizer
- Fabrics:
- (2) 10” squares each of white blender (embroidery)
- (2) 7¾” squares of print fabric (Fabric A; embroidery backing)
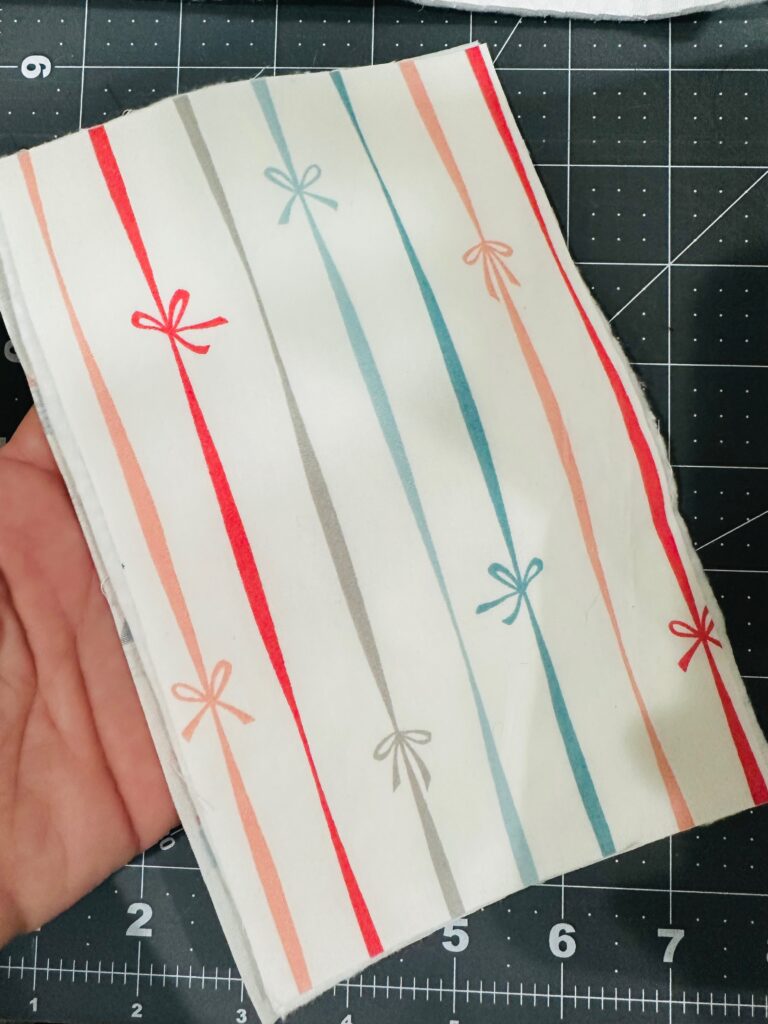
- (2) 5” x 7¾” rectangles each of 2 contrast coordinates (Fabric B: front & Fabric C: backing)
- (6) 2½” squares each of 2 coordinates (Fabrics D & E; front square border piecing)
- (2) 2½” x 12¼” rectangles of white blender (front square border piecing backing)
- (2) 4” x 12¼” rectangles each of two coordinates (Fabrics F & G)
- 4 ¾” x 10 ½” rectangle (Fabric H; centermost panel)
- 4” x 10 ½” rectangles (Fabric I; outer center panels)
- 12” x 10 ½” rectangle (Fabric J; center panel backing)
- Binding: 2 ½”-wide fabric strips or premade double-fold bias binding
- Batting
- 10” squares (embroidery)
- 5” x 7¾” rectangles
- 2½” x 12¼” rectangles
- (2) 4” x 12¼” rectangles
- 2” x 10 ½” rectangle
- Magnetic Hoop (optional)
OWL EMBROIDERY
Hoop a piece of Sulky Tear-Easy Stabilizer with one batting square and one white-blender fabric square right side up. Use Sulky KK 2000 Temporary Spray Adhesive to secure the layers.
If not using a Magnetic Hoop, first hoop only the stabilizer. Then, secure the batting and white-blender fabric using KK 2000. Place the fabric/batting on the hooped stabilizer, using more Kk 2000 to secure. Direct the machine to add a “baste-around-design” function before the stitchout, which will further secure the fabric layers in the hoop.
Embroider the design, clipping jump threads with each thread change.
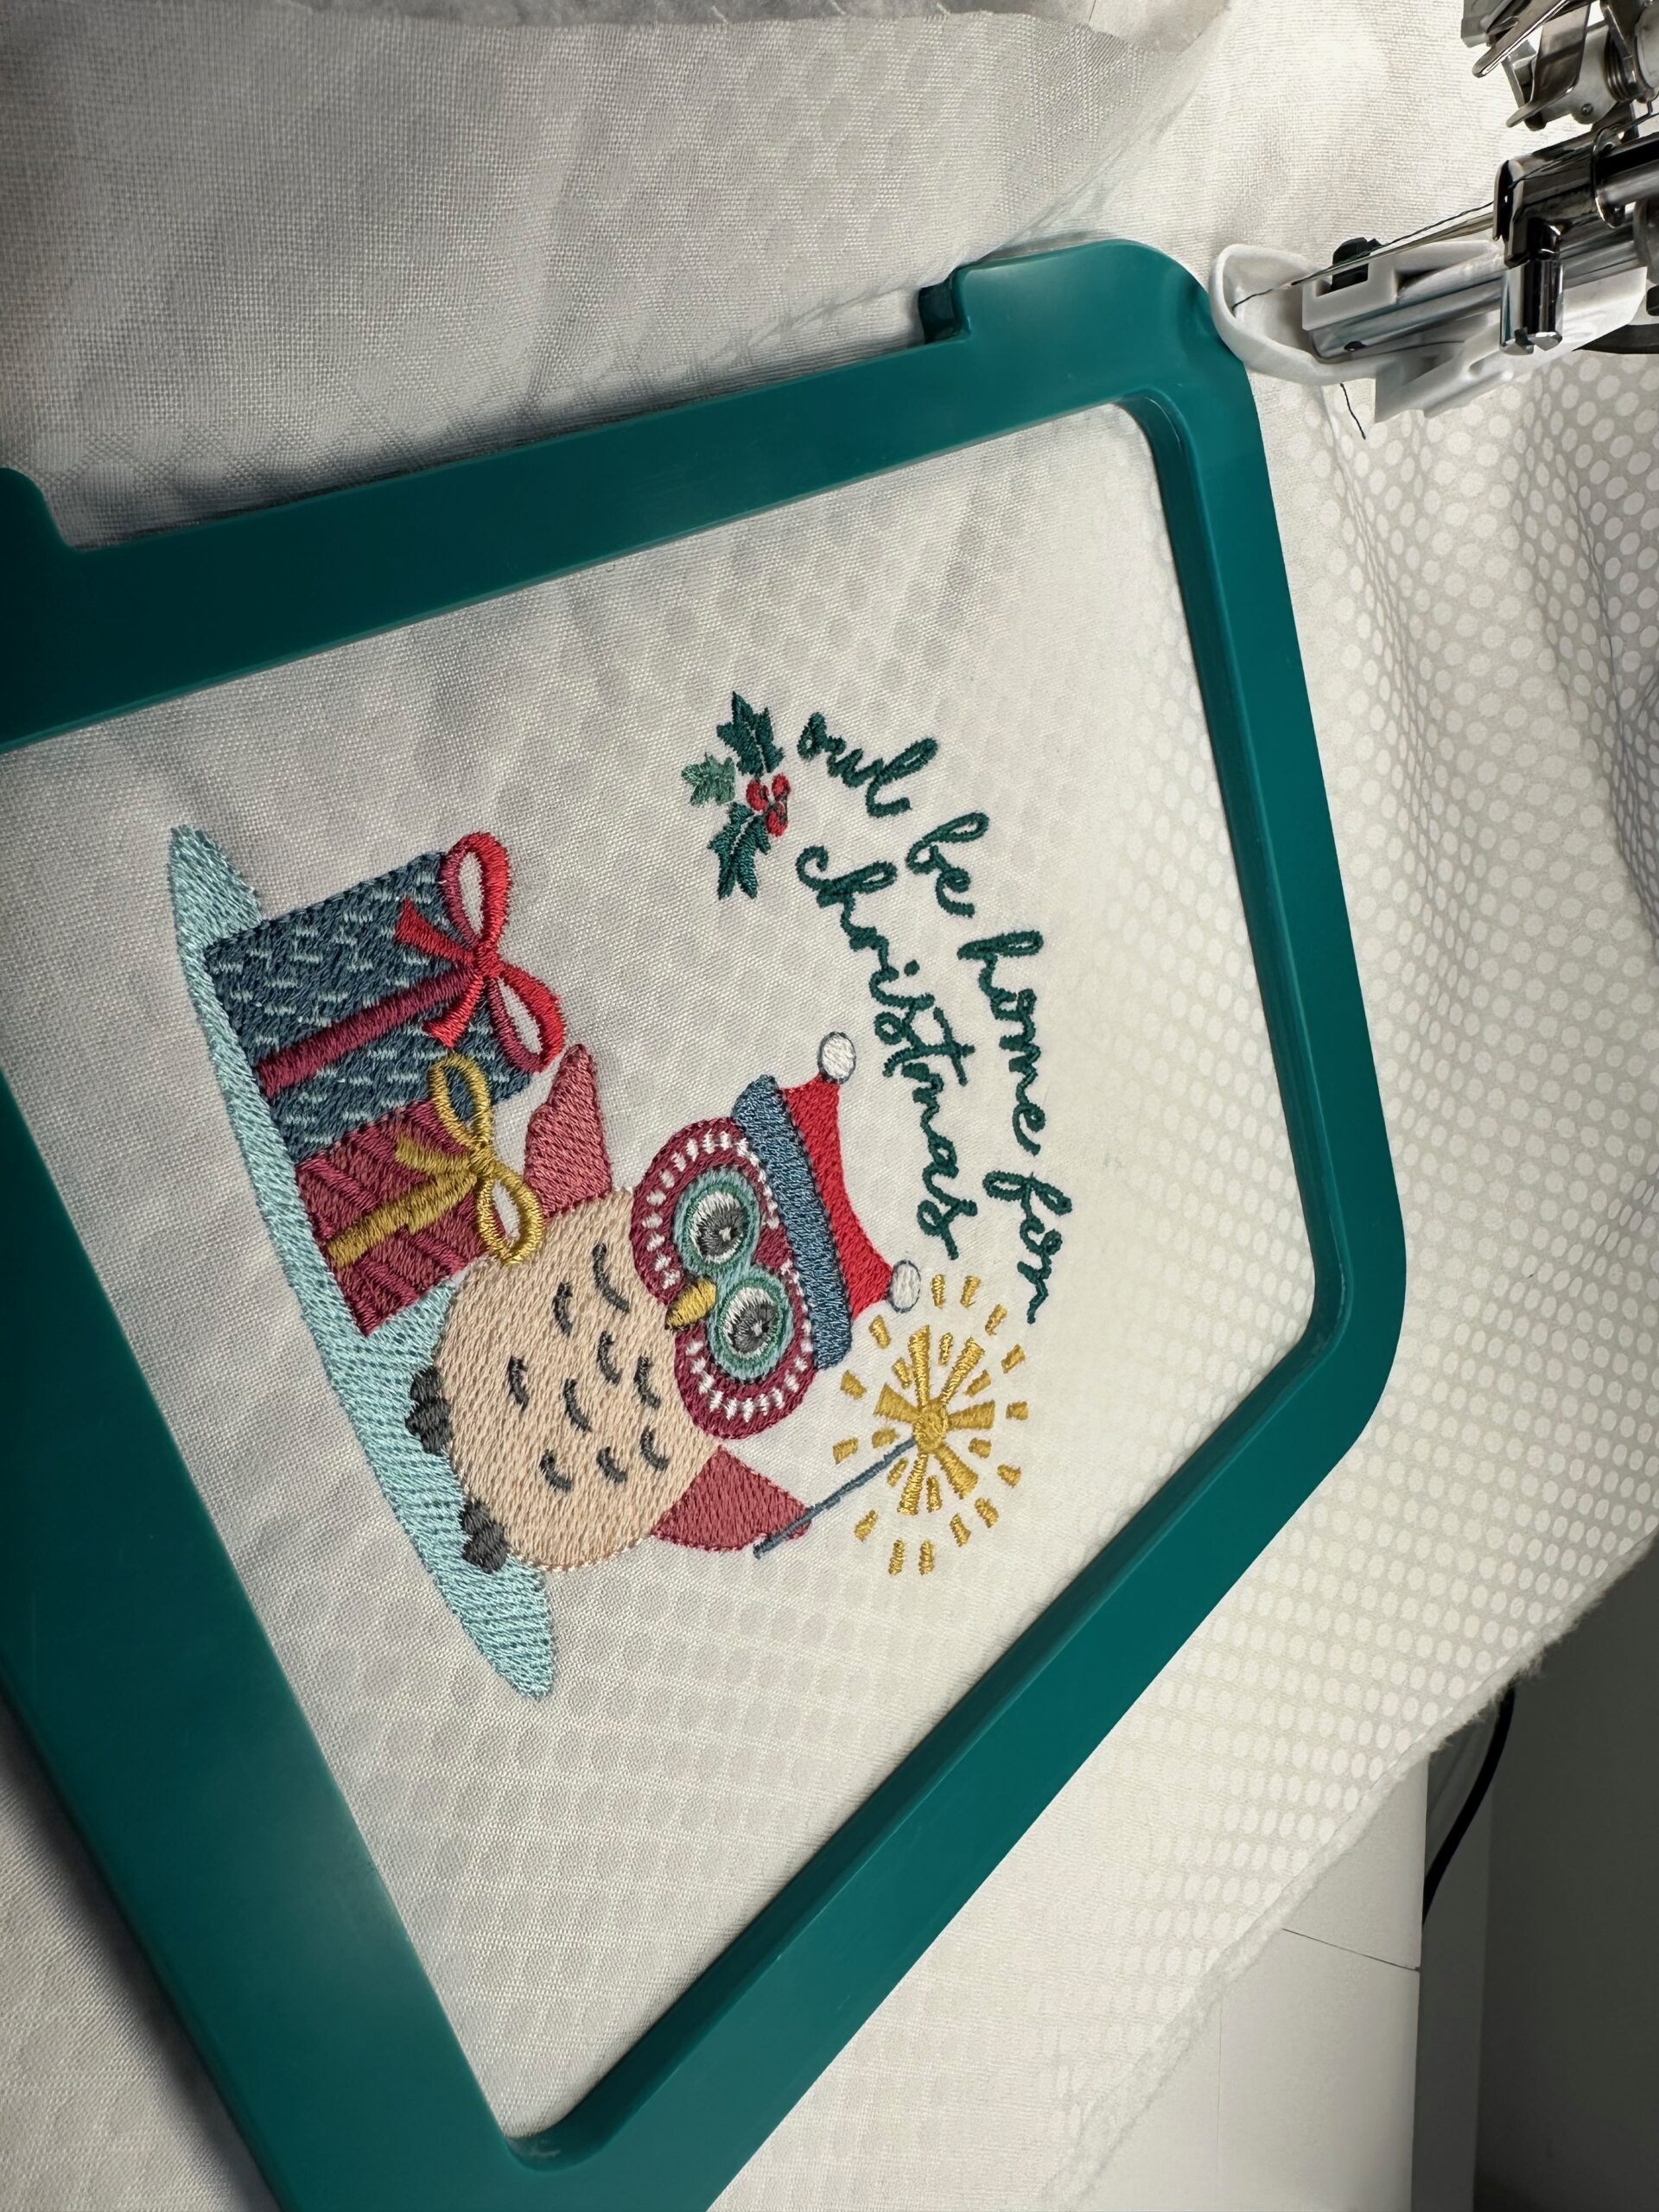
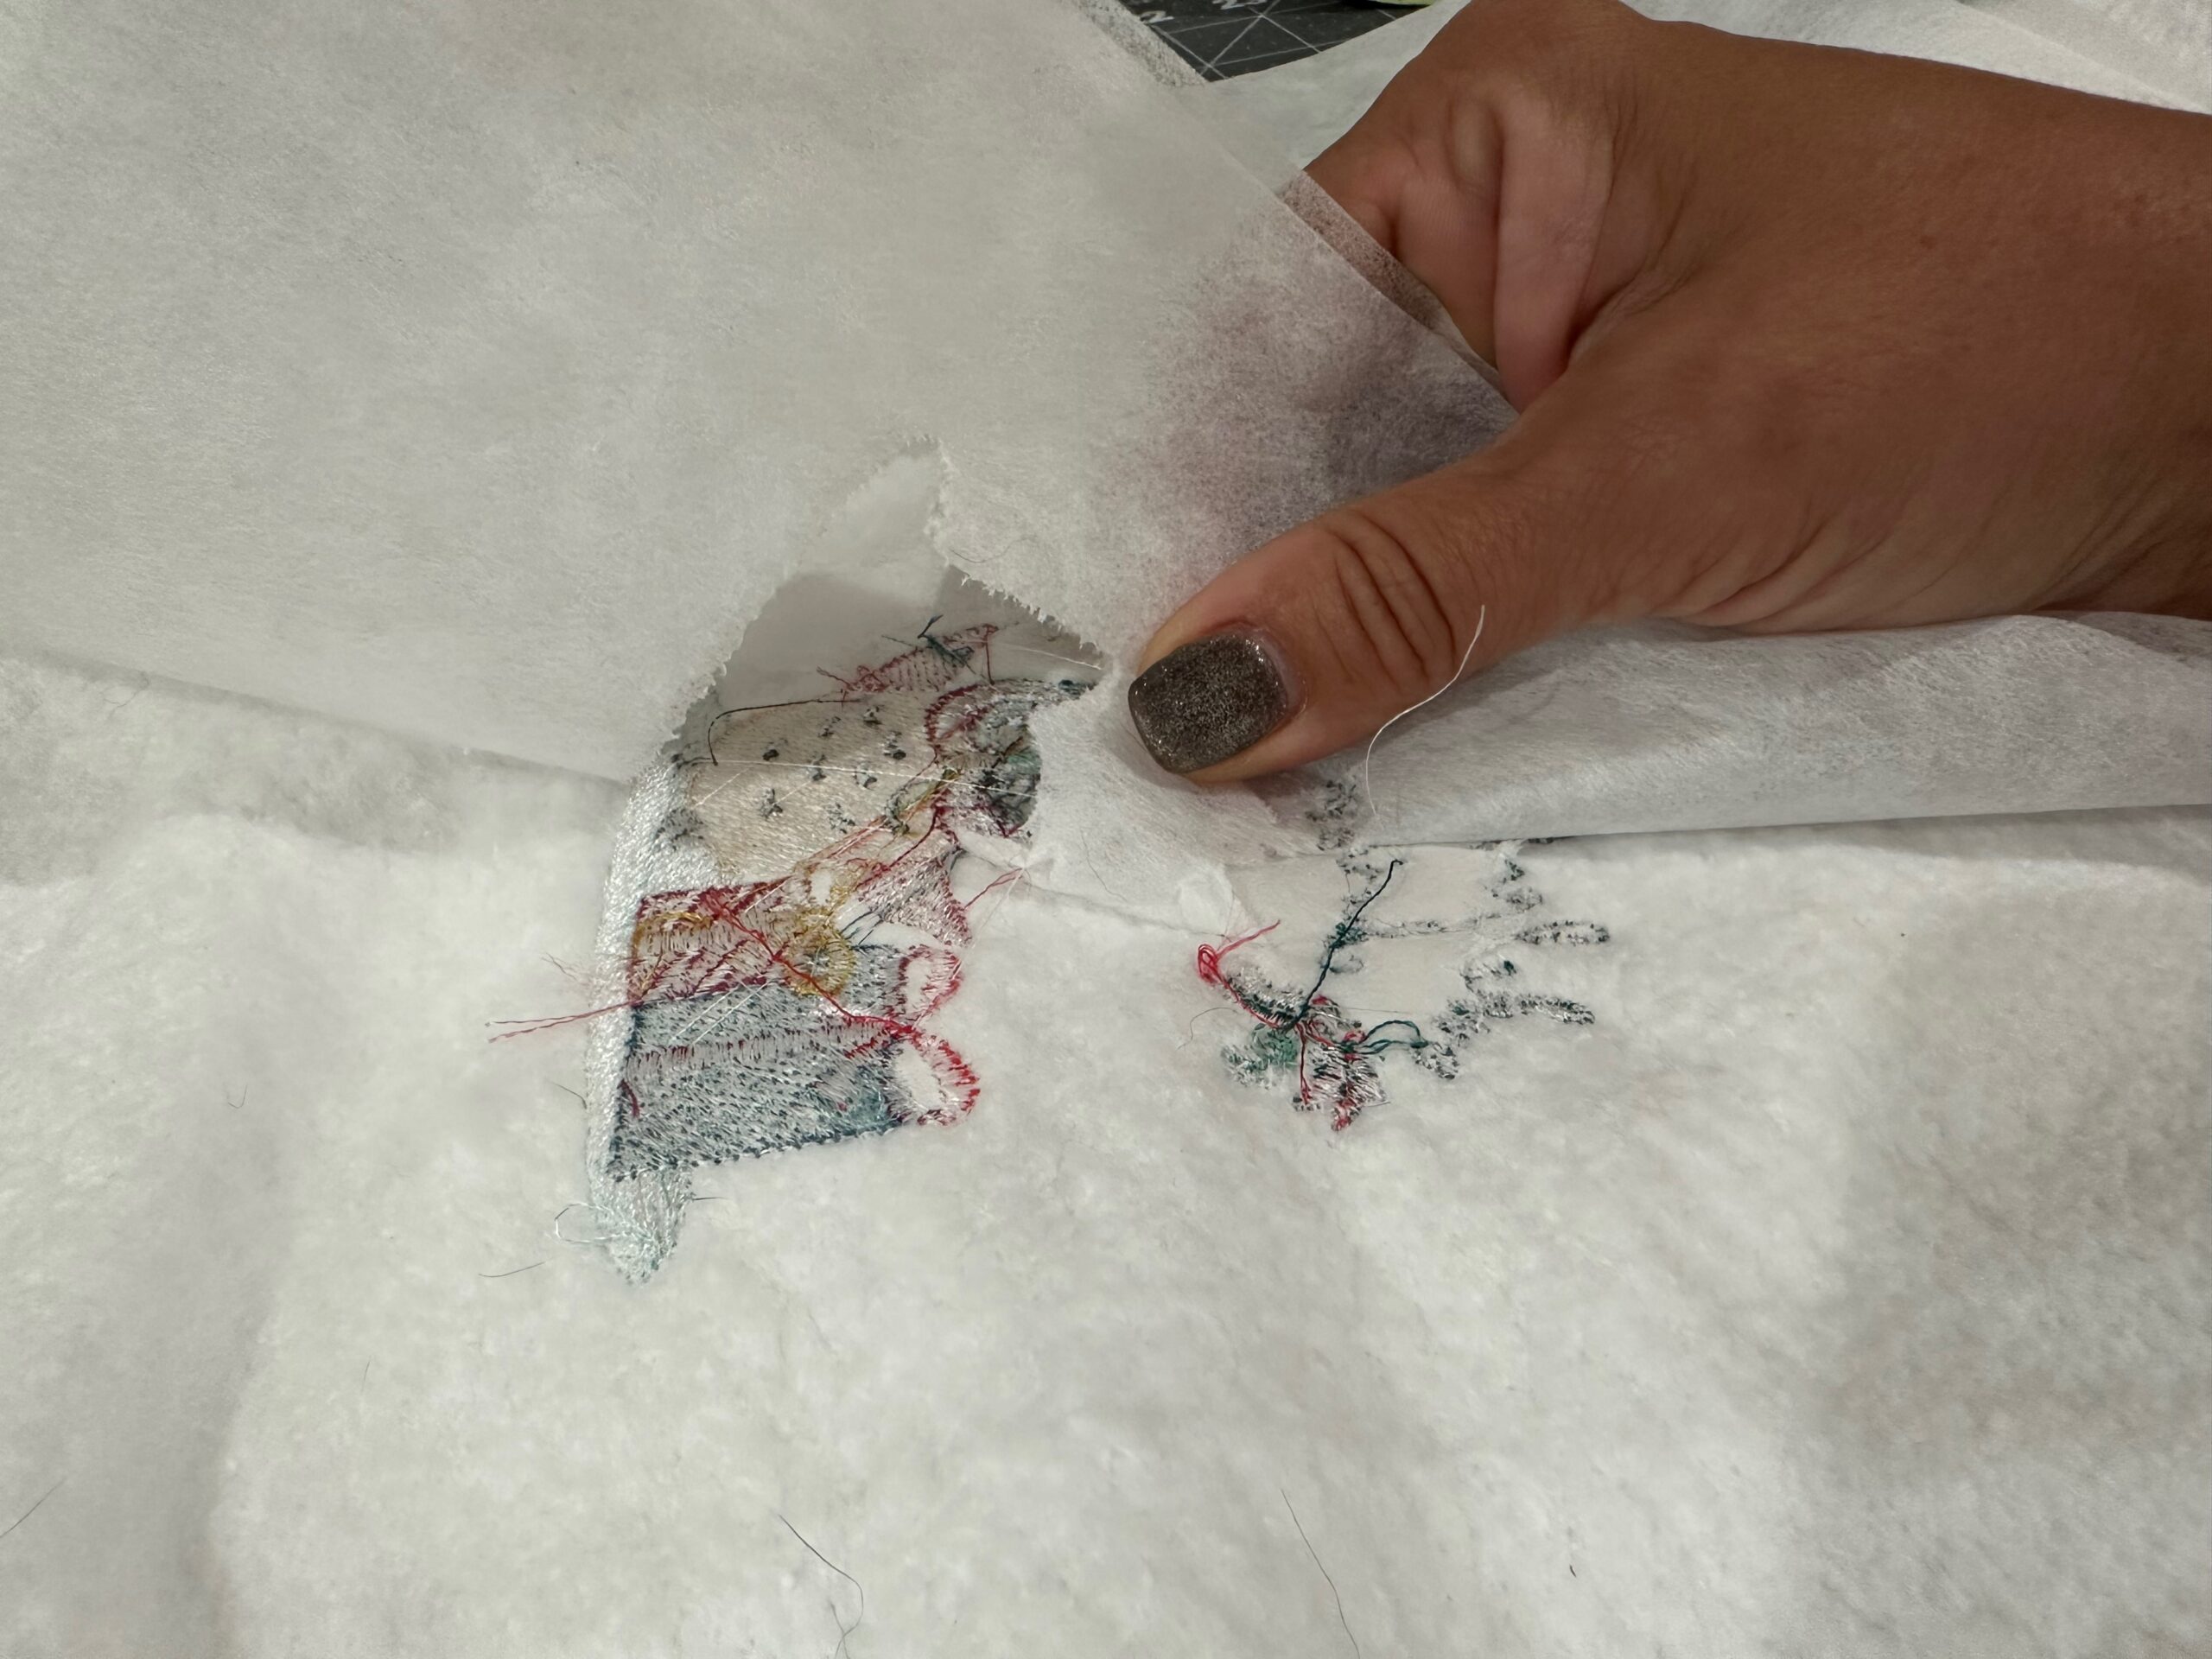
When the embroidery is complete, remove the fabric/batting from the hoop. 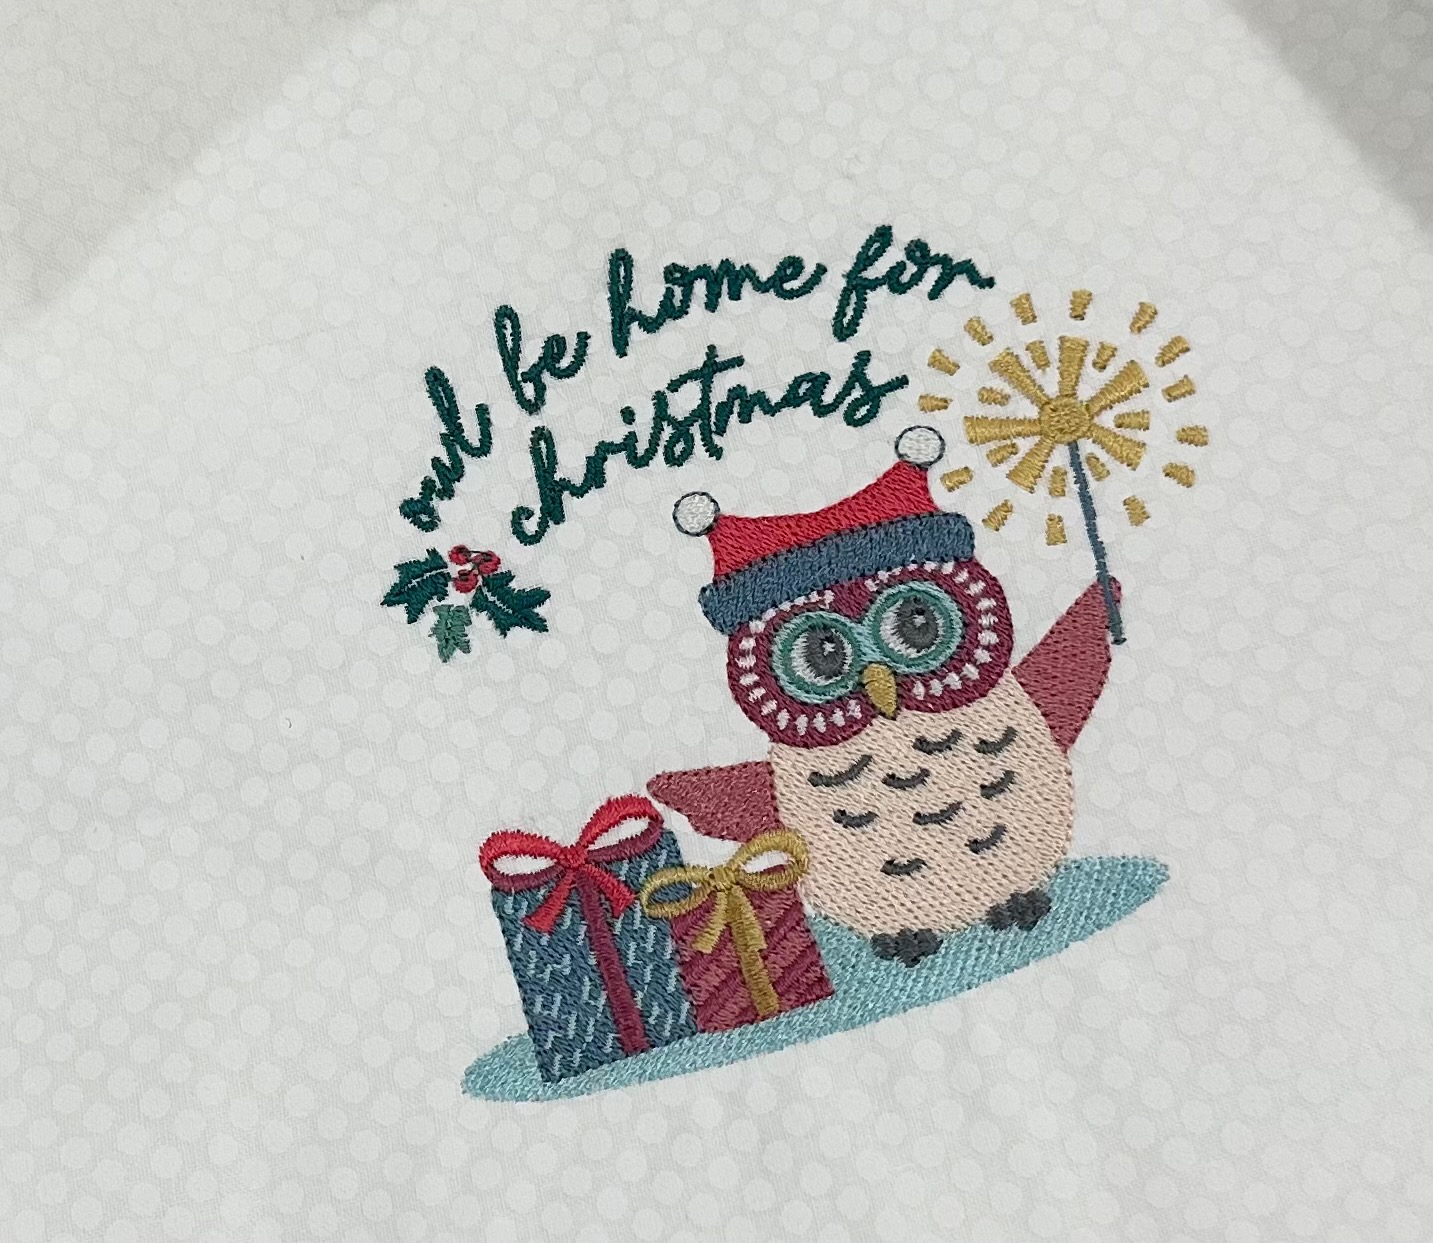
Gently tear away the excess stabilizer beyond the design perimeter.
Repeat to embroider the remaining white-blender fabric square.
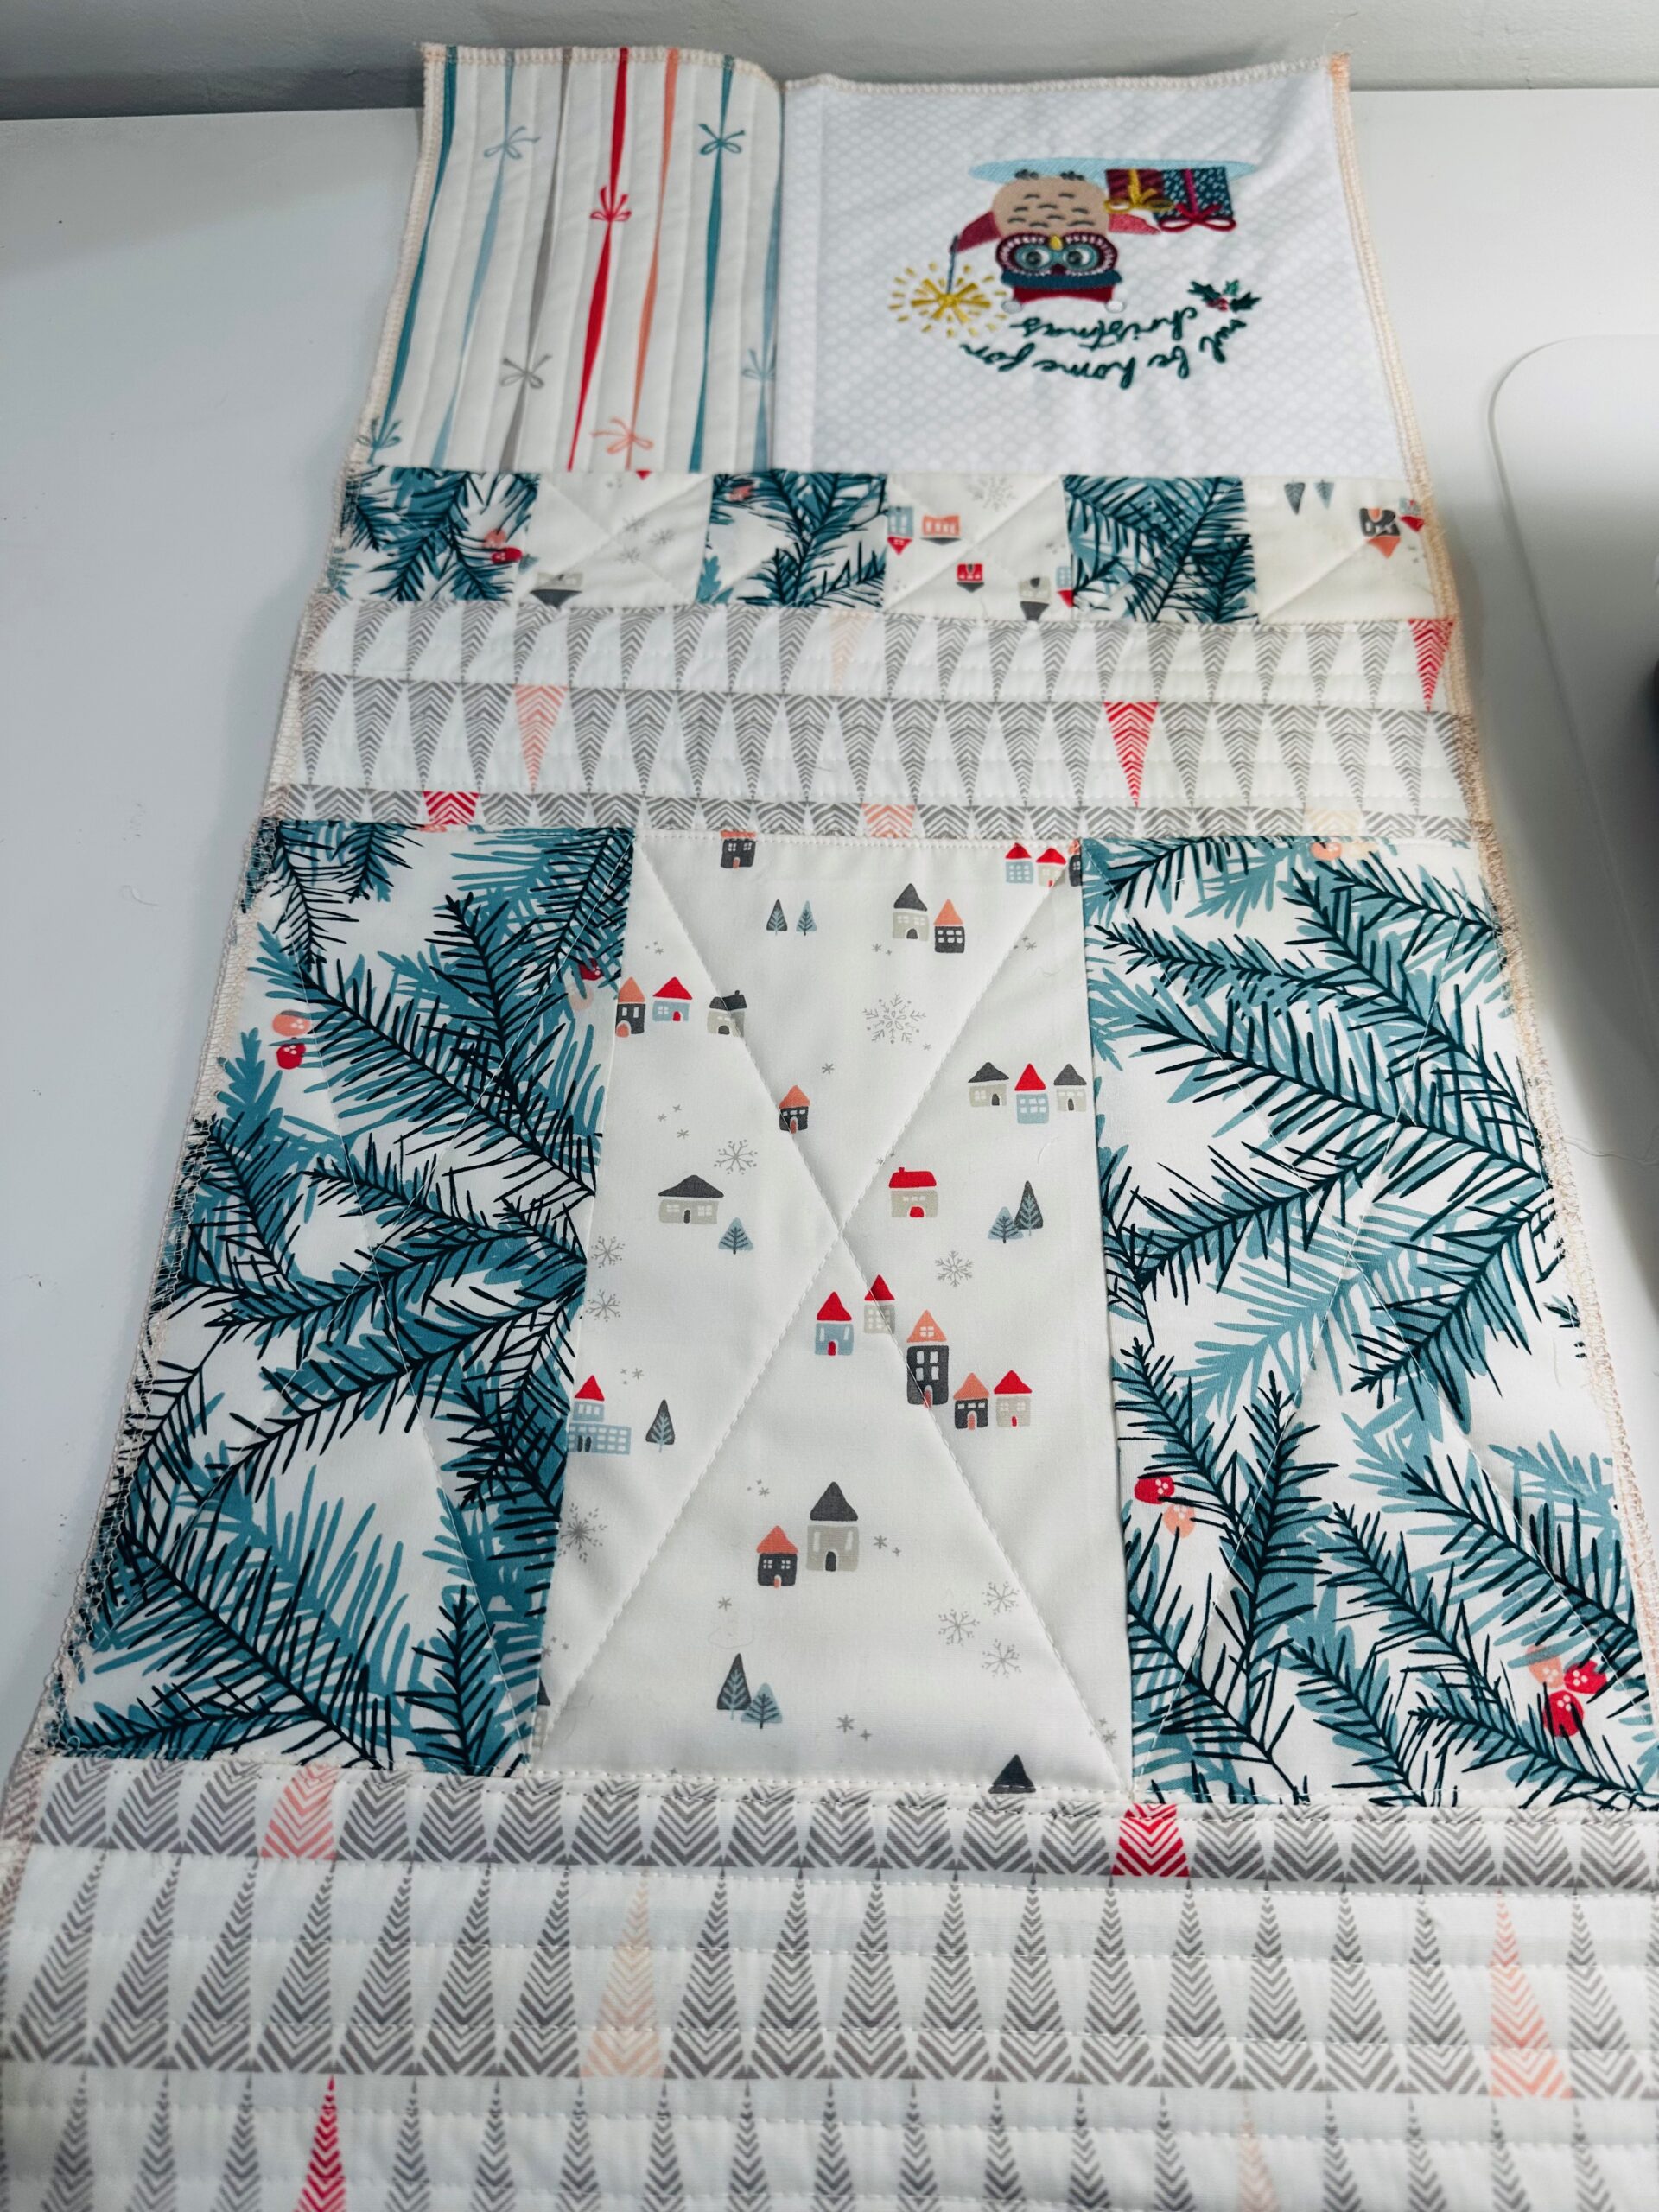
TABLE TOPPER CONSTRUCTION
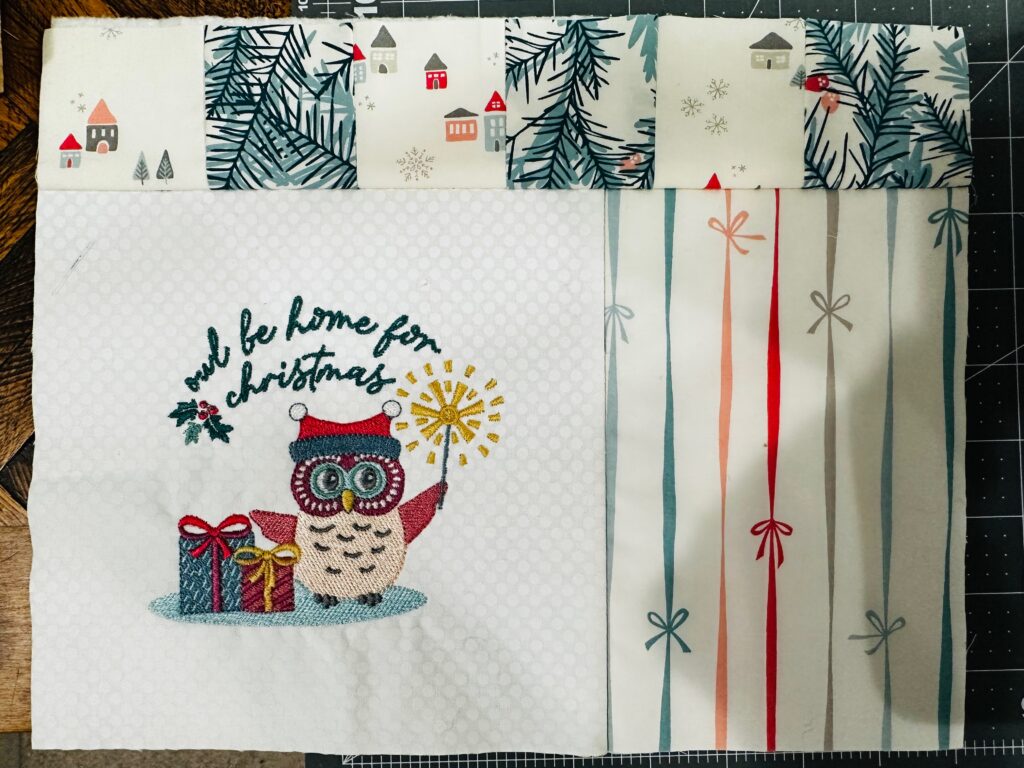
Trim the two embroidered fabric squares (with batting attached) to 7¾” square, centering the design.
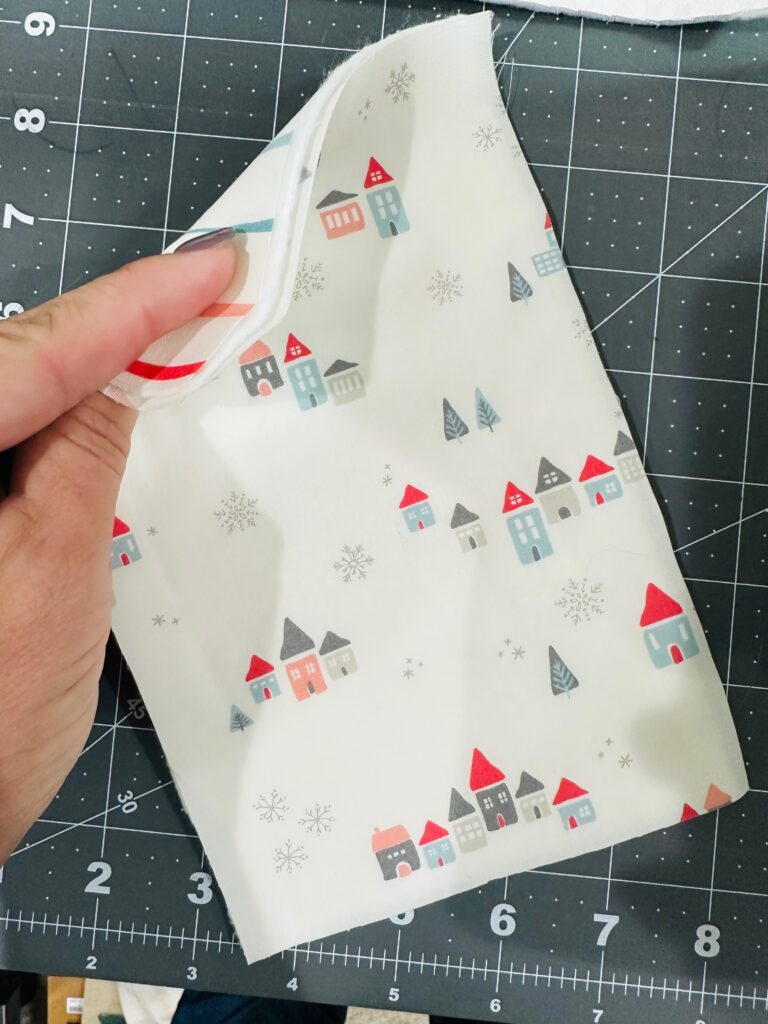
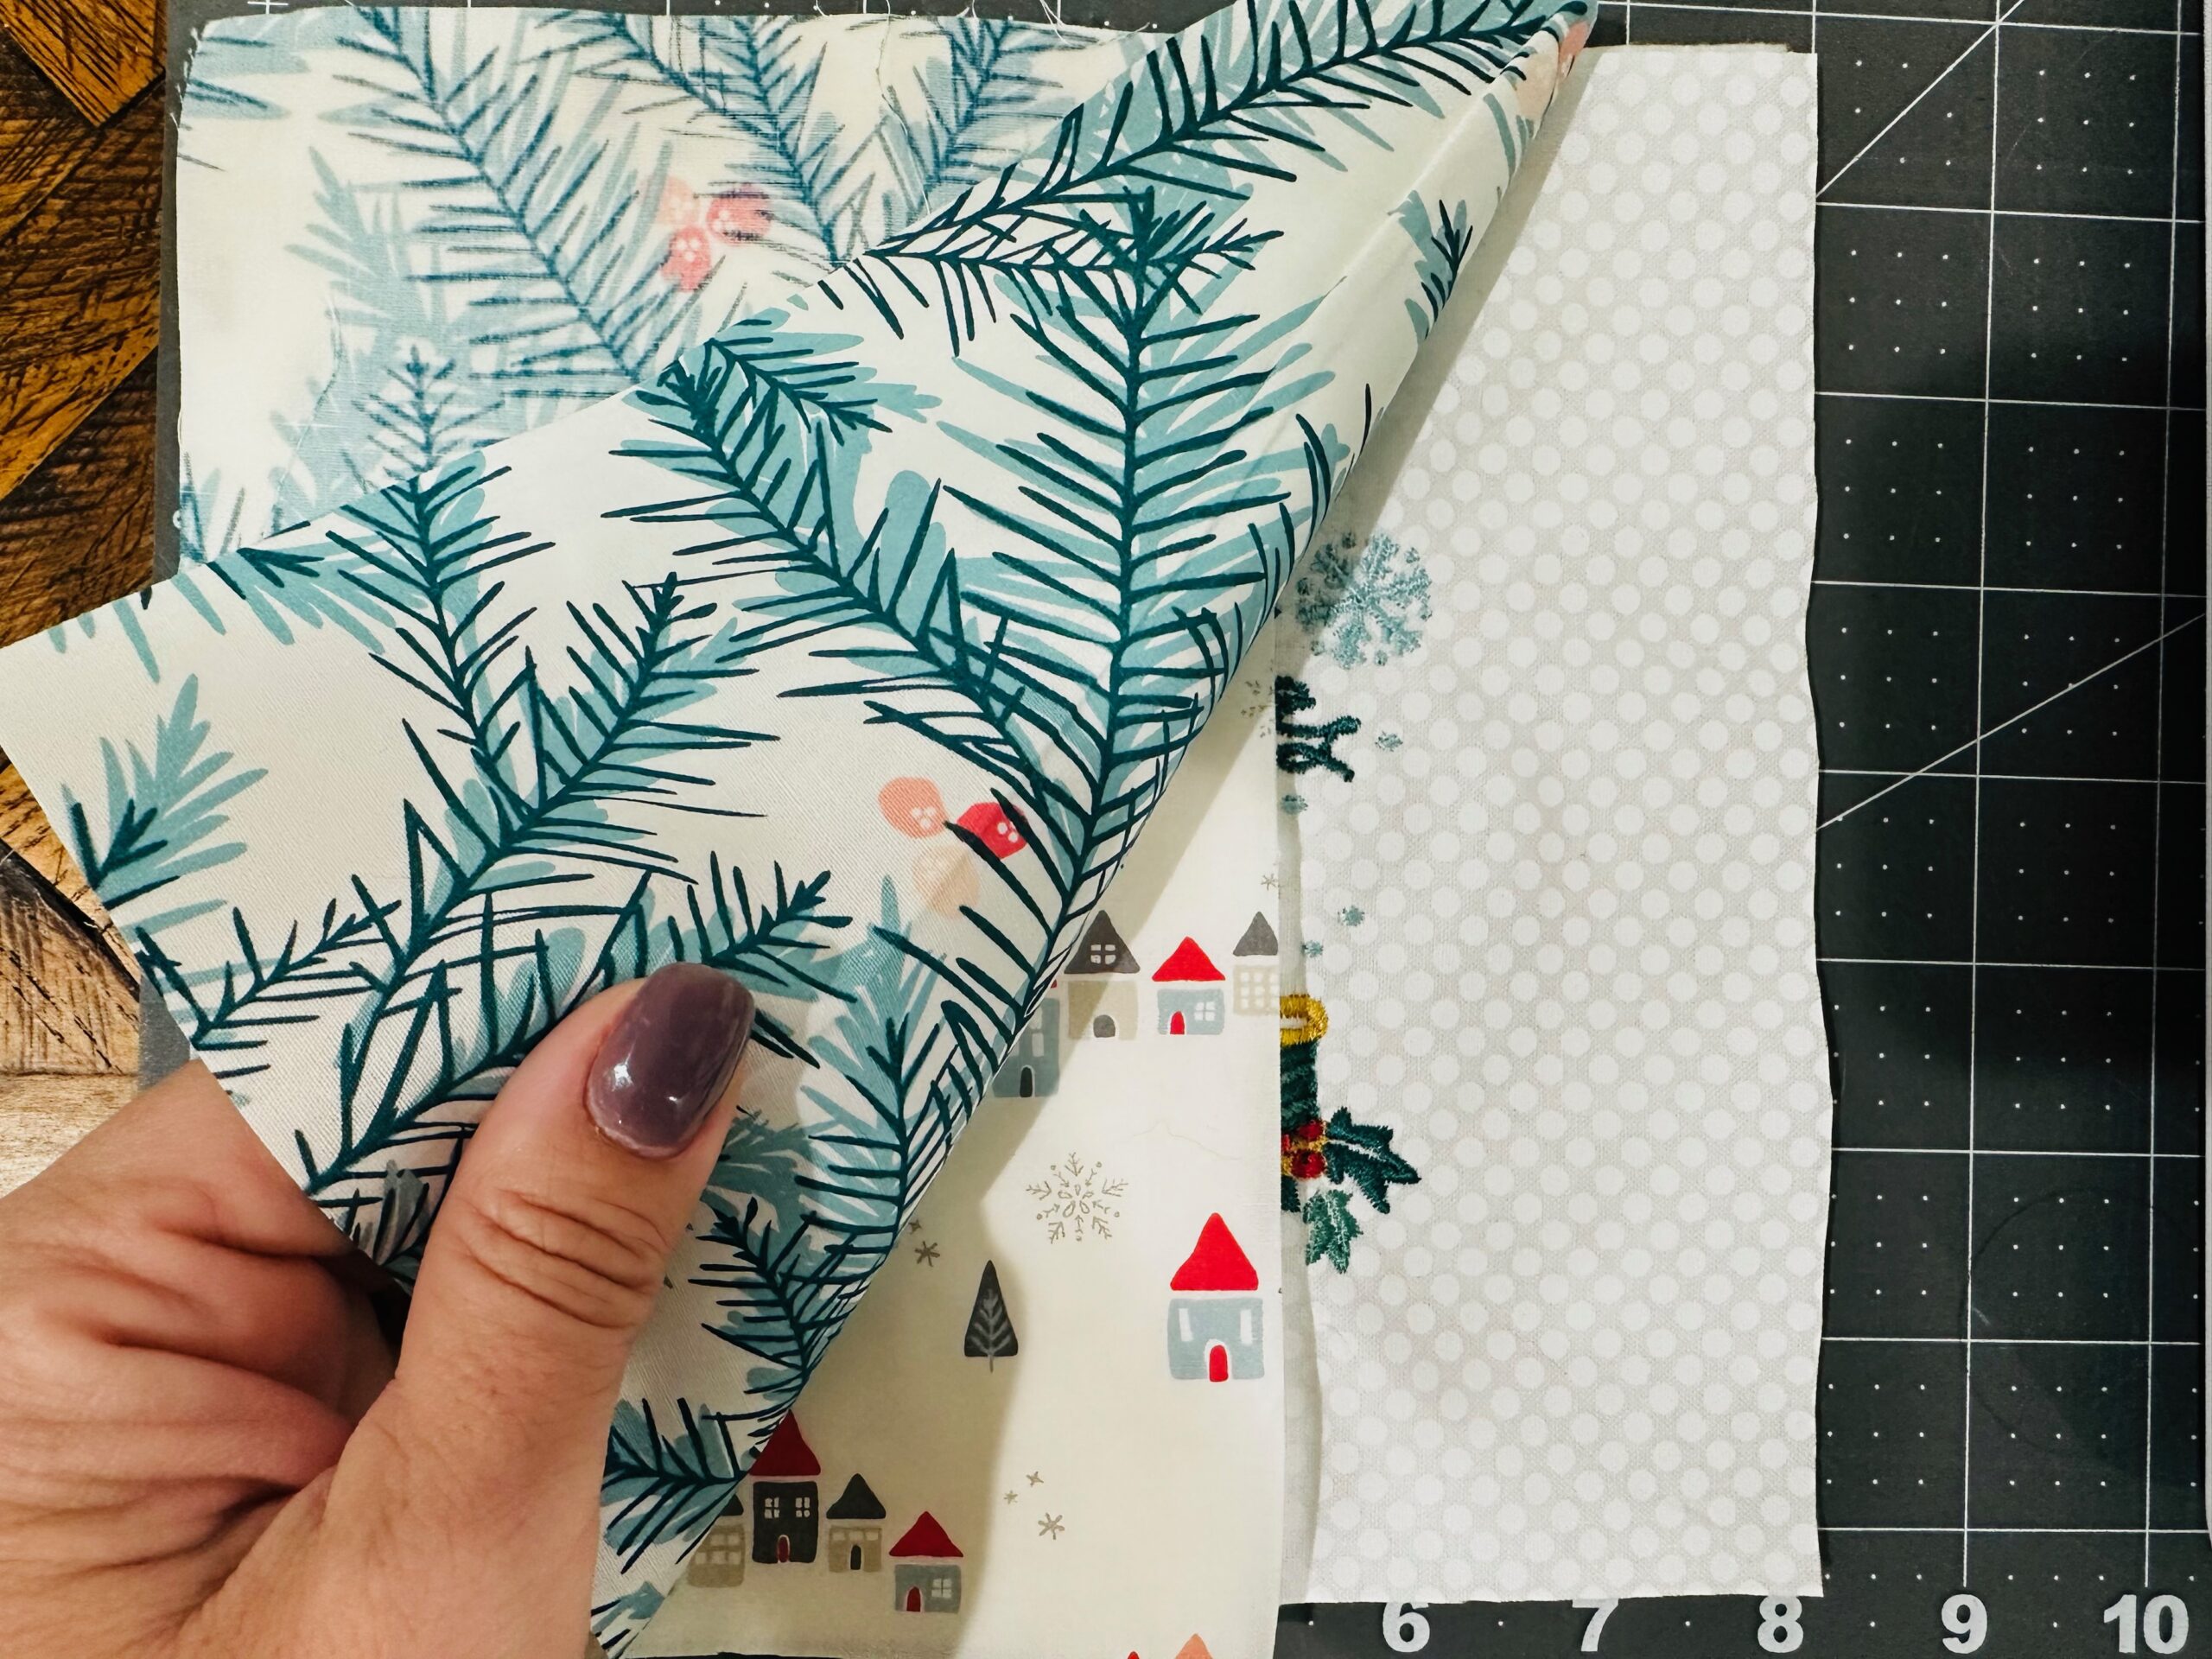
Place one Fabric B and C rectangle wrong sides together, with the matching batting rectangle between the layers; use Sulky KK 2000 Temporary Spray Adhesive to secure the fabrics to the batting, creating a sandwich.
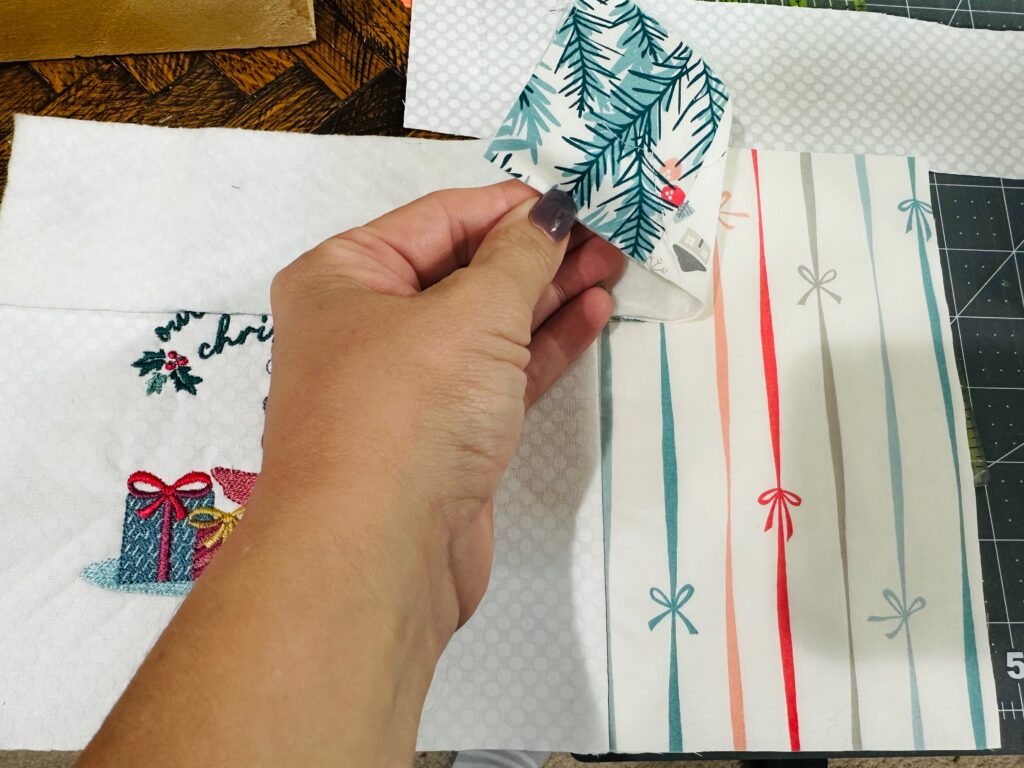
Position the left edge of the fabric sandwich along the right edge of one embroidered fabric square, making sure right sides are together and fabric prints are oriented correctly.
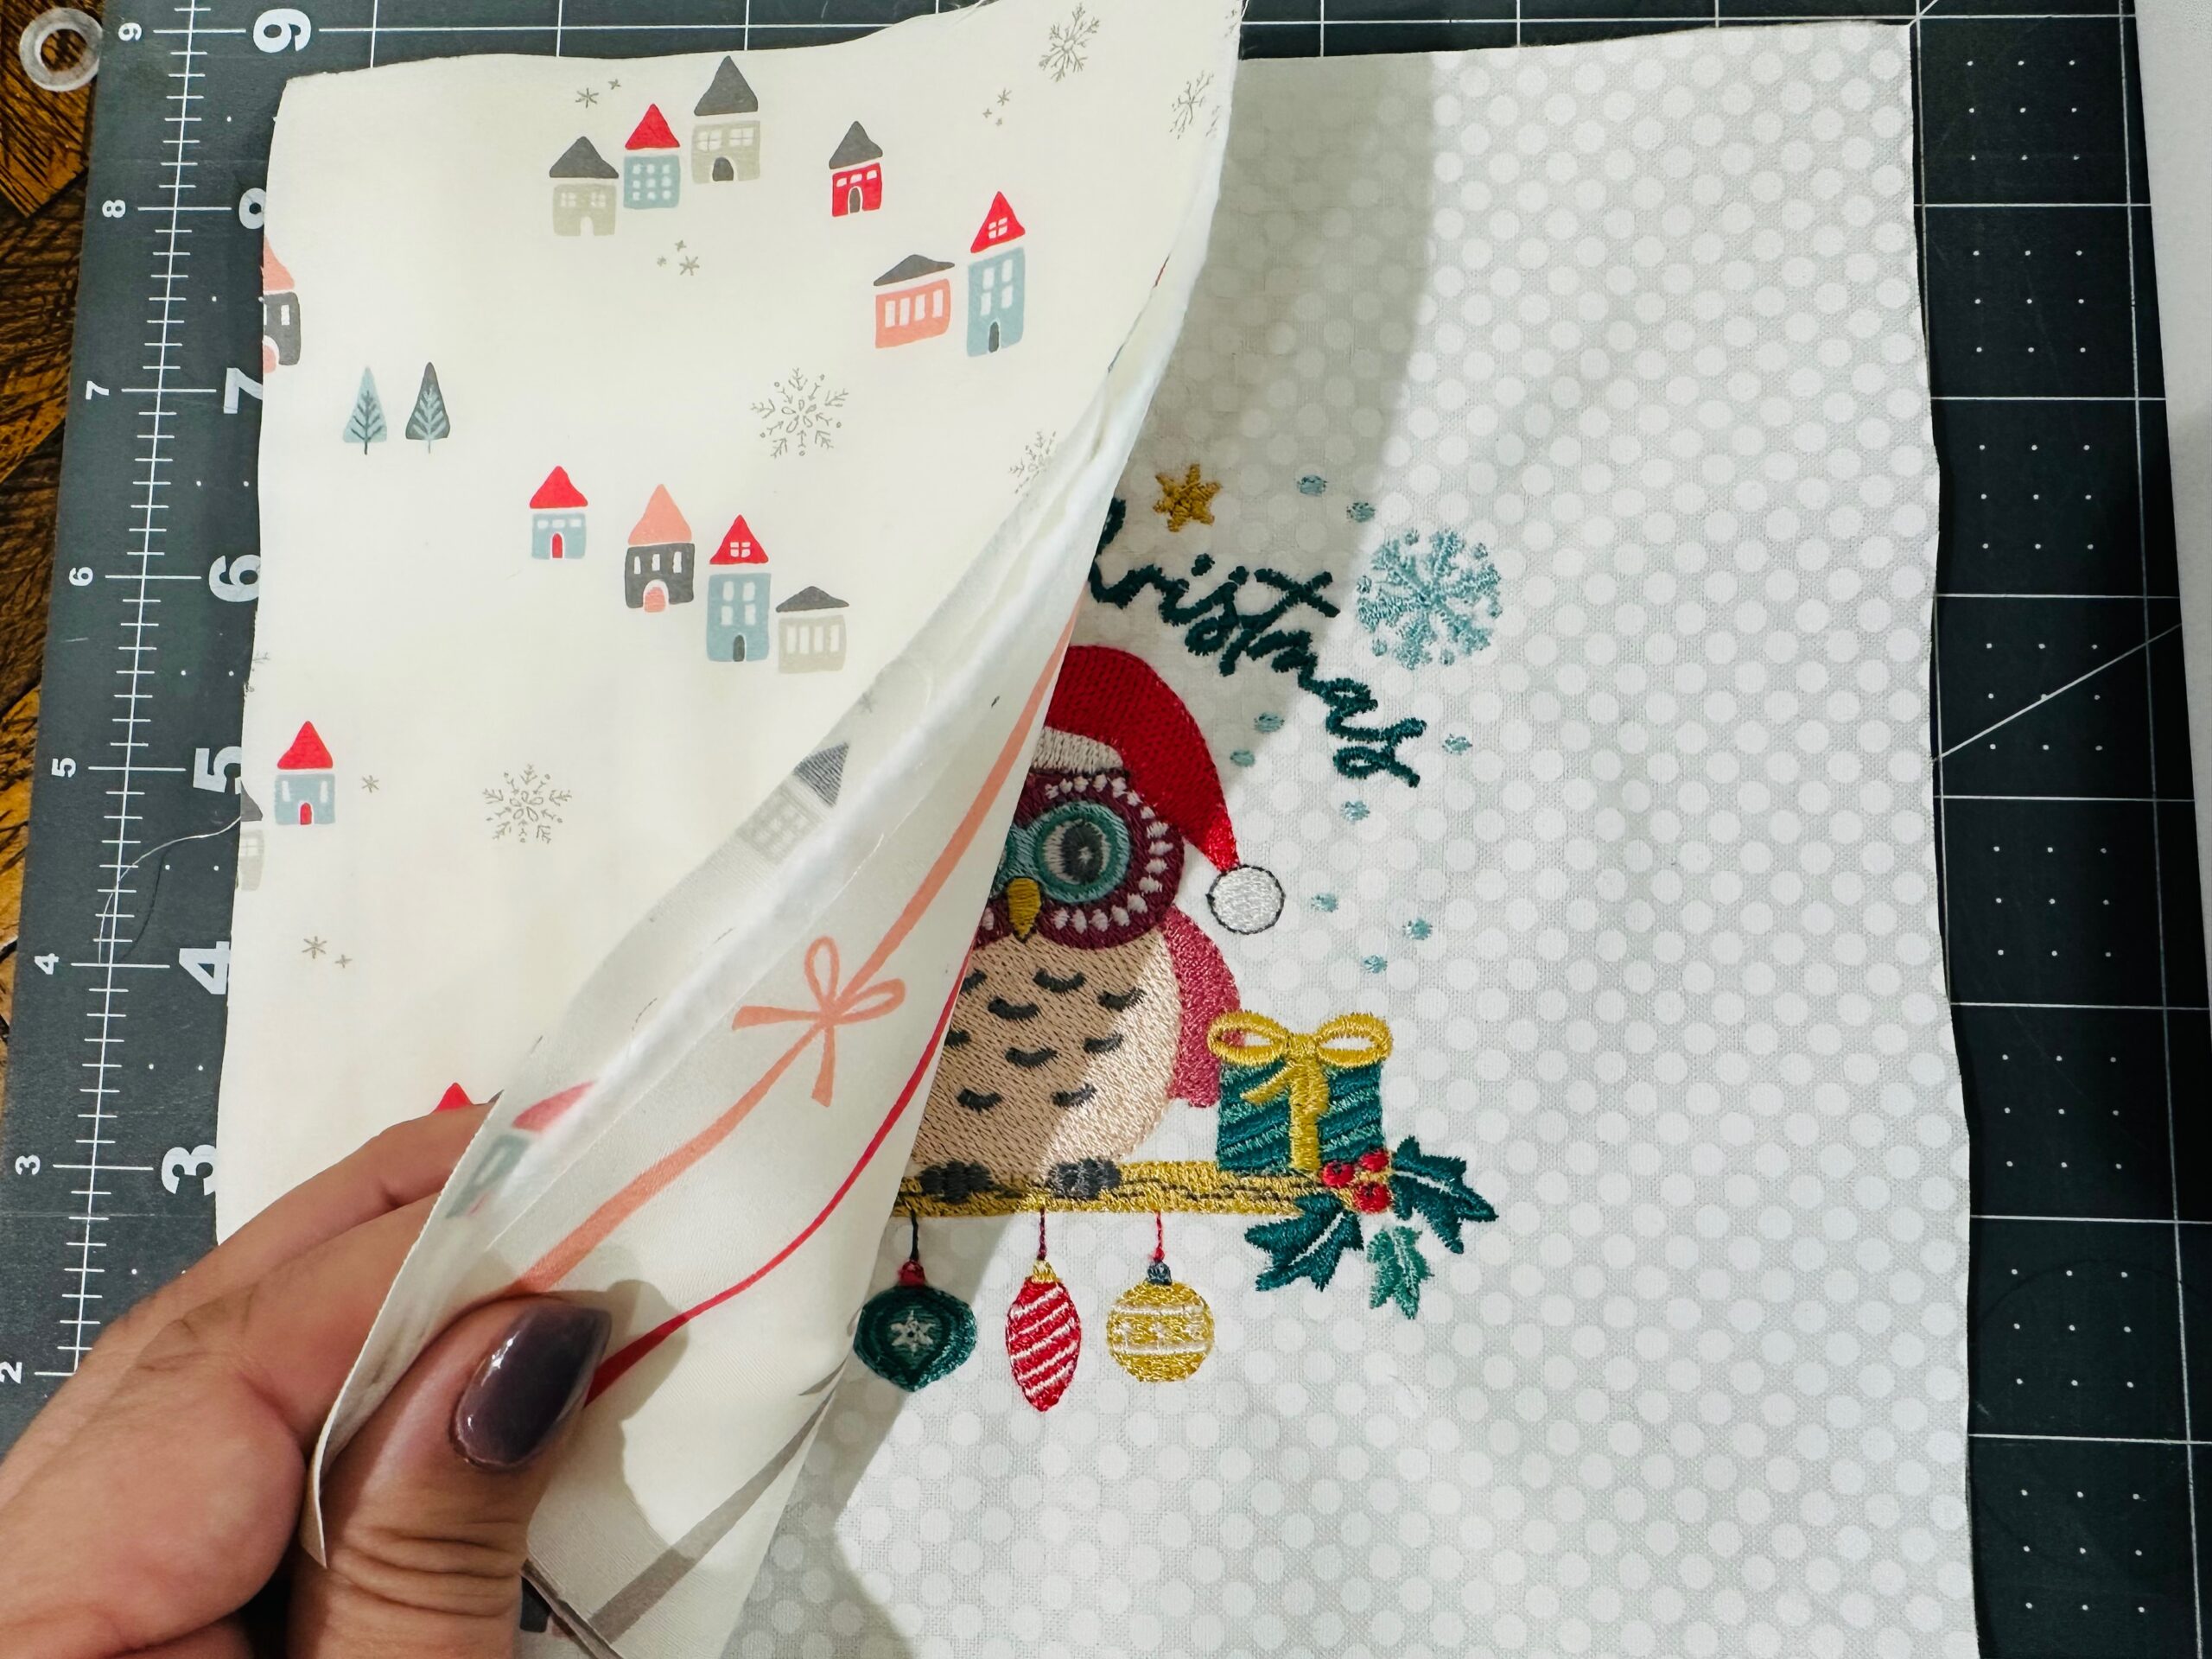
Then, place one Fabric A square wrong side up over the embroidered fabric square, with all edges and corners aligned. Pin or clip the bulky edge to secure, if needed.
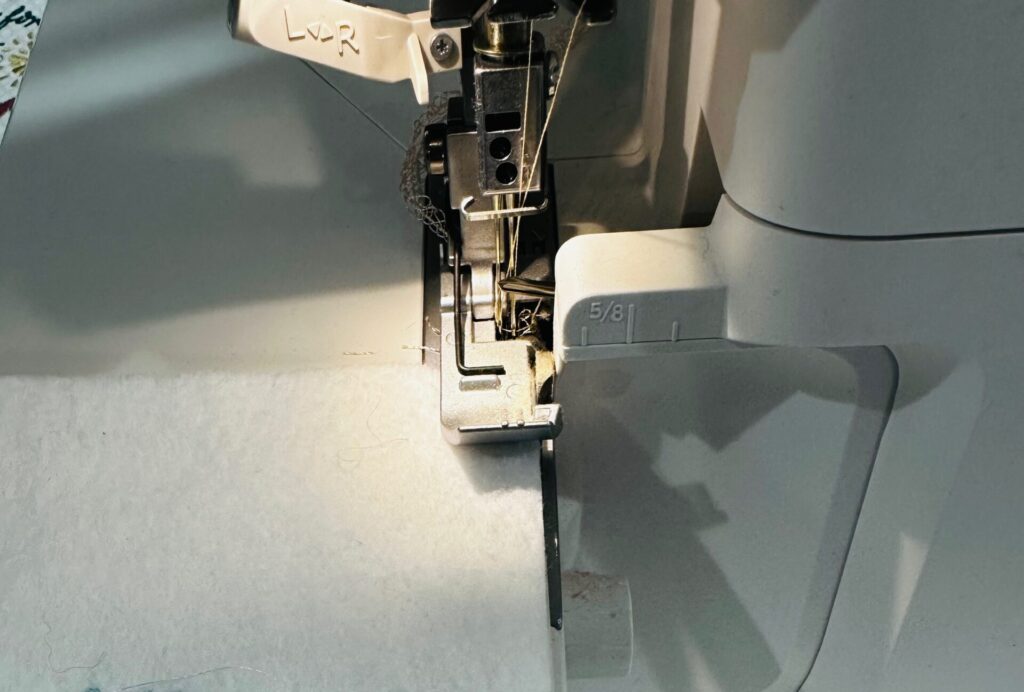
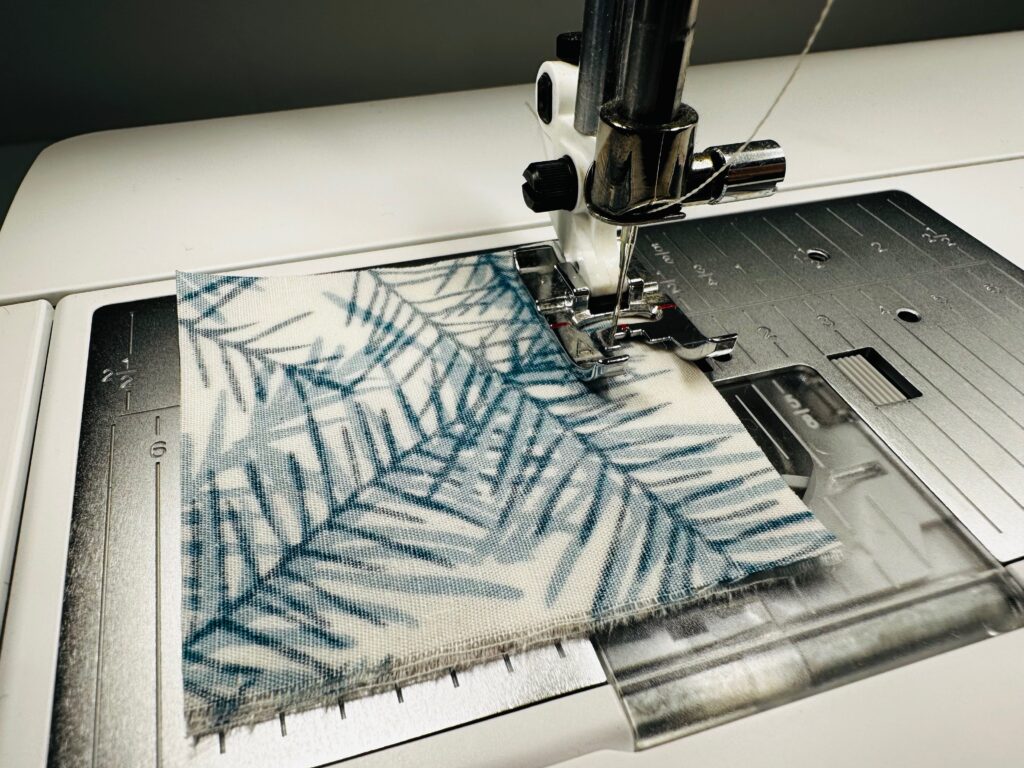
Serge the bulky edge.
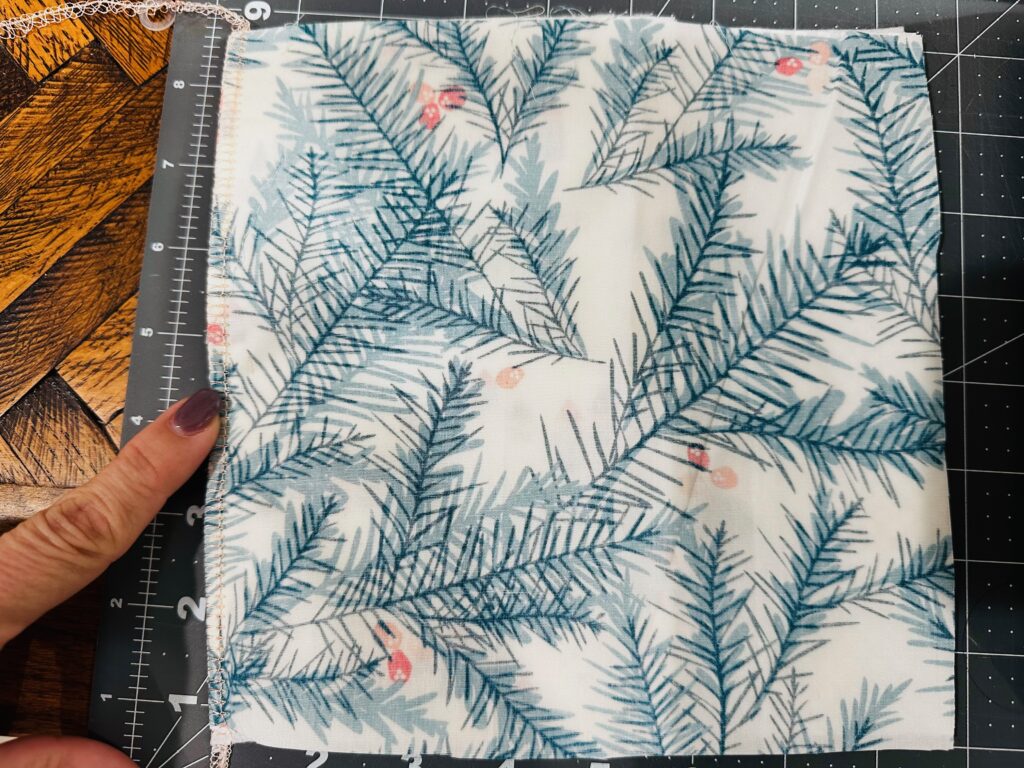
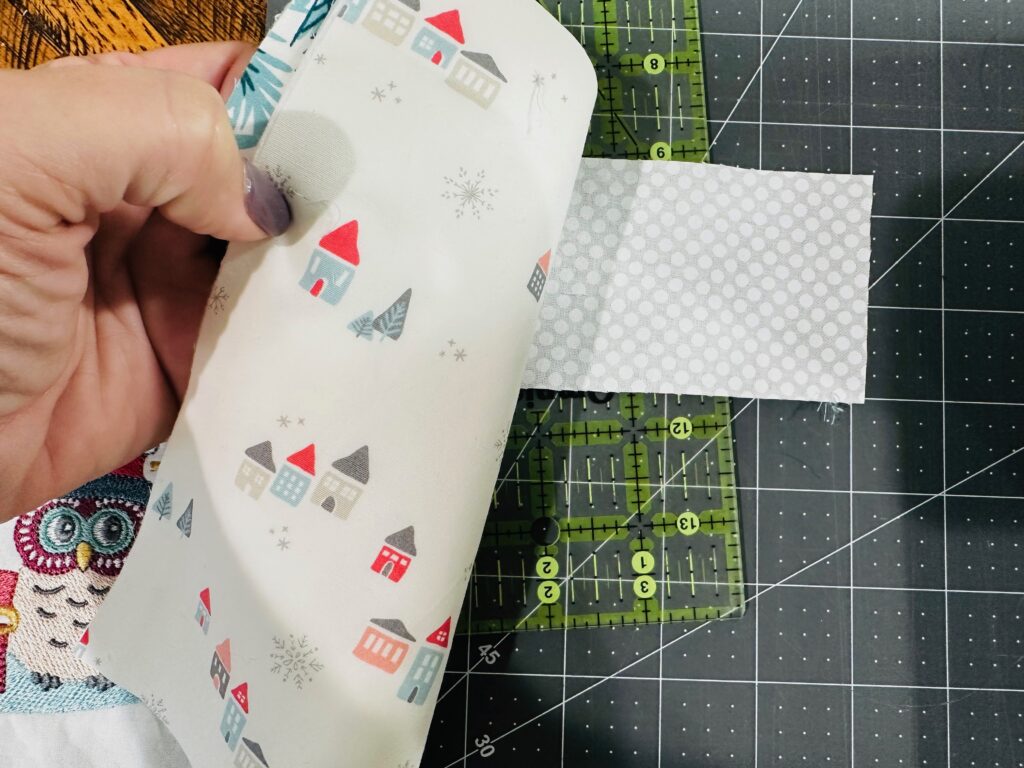
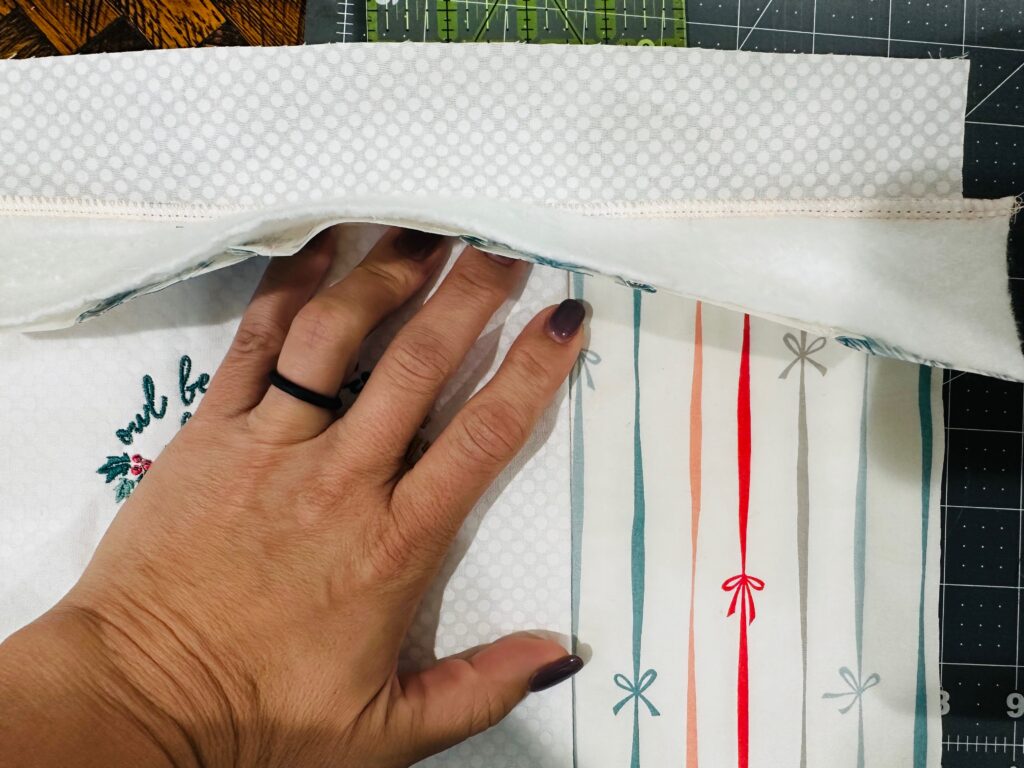
Turn the fabrics right side out so the embroidered fabric wrong side faces the Fabric A wrong side and the fabric sandwich rectangle extends beyond the right-side edge. Press.
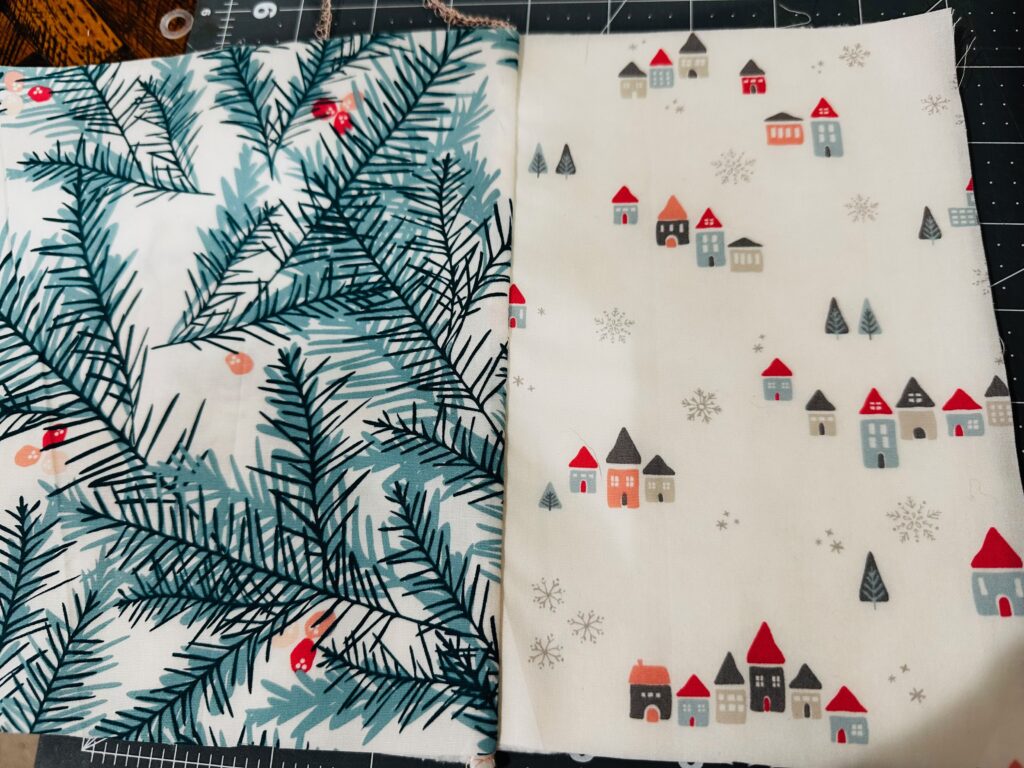
Trim the pieced rectangle to 7 ½” x 12 ¼”. This is now Section 1.
Piece together six 2 ½” Fabric D & E squares, alternating prints. Repeat to piece together the remaining six fabric squares. Press the seams toward the darker fabric. You should have two 2 ½” x 12 1/4” pieced rectangles. Set one aside.

Place one pieced rectangle right side down on a matching batting rectangle; secure with KK 2000. Position the lower edge of the pieced rectangle against the upper edge of Section 1 with right sides facing. Place the 2 ½” x 12 ¼” white blender rectangle right side up on a flat work surface. Place Section 1 right side up on the blender rectangle, aligning the Section 1 upper edge with one blender rectangle long edge. Pin or clip the bulky edge to secure, if needed.
Serge the bulky edge.
Turn the fabrics right side out so the small rectangle wrong sides are facing. Press. Trim the edges evenly, if needed. This remains Section 1.
Layer one Fabric F rectangle right side down on a matching batting rectangle; secure with KK 2000. Position the lower edge of the rectangle against the upper edge of Section 1 with right sides facing. Place one Fabric G rectangle right side up on a flat work surface. Place Section 1 right side up on the Fabric G rectangle, aligning the Section 1 upper edge with one rectangle long edge. Pin or clip the bulky edge to secure, if needed.
Serge the bulky edge.
Turn the fabrics right side out so the small rectangle wrong sides are facing. Press. Trim the edges evenly, if needed. This remains Section 1.
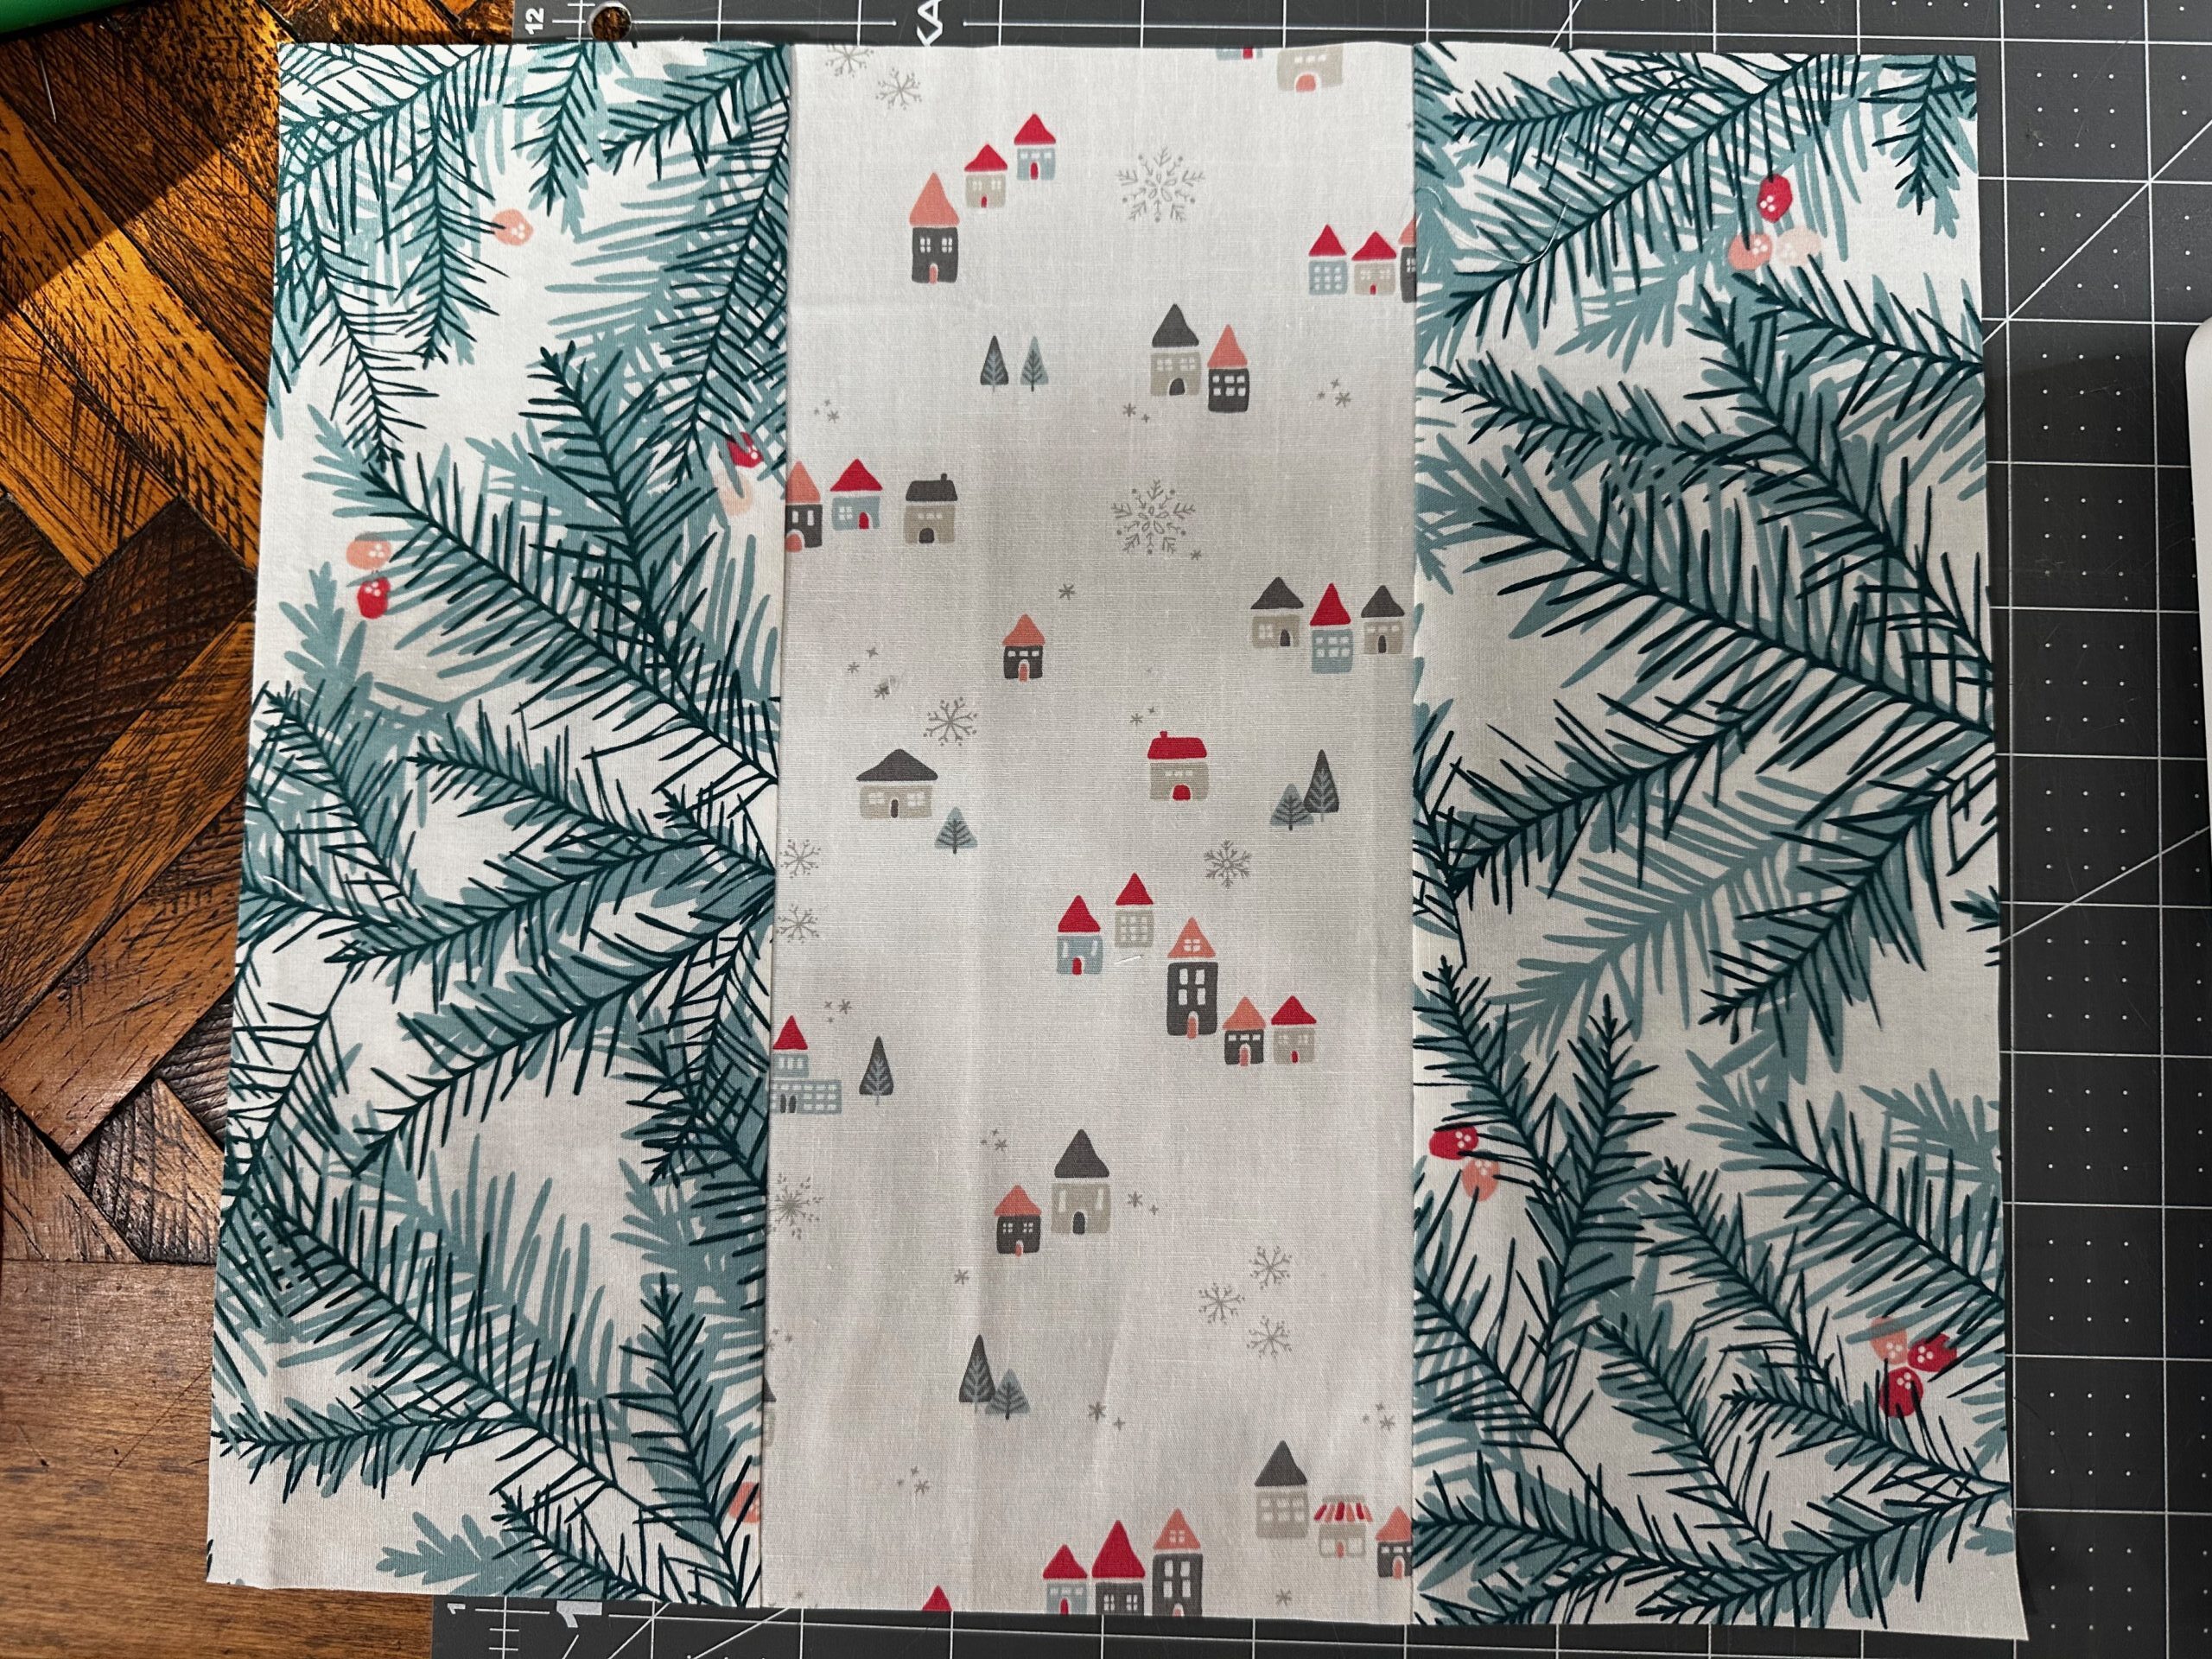
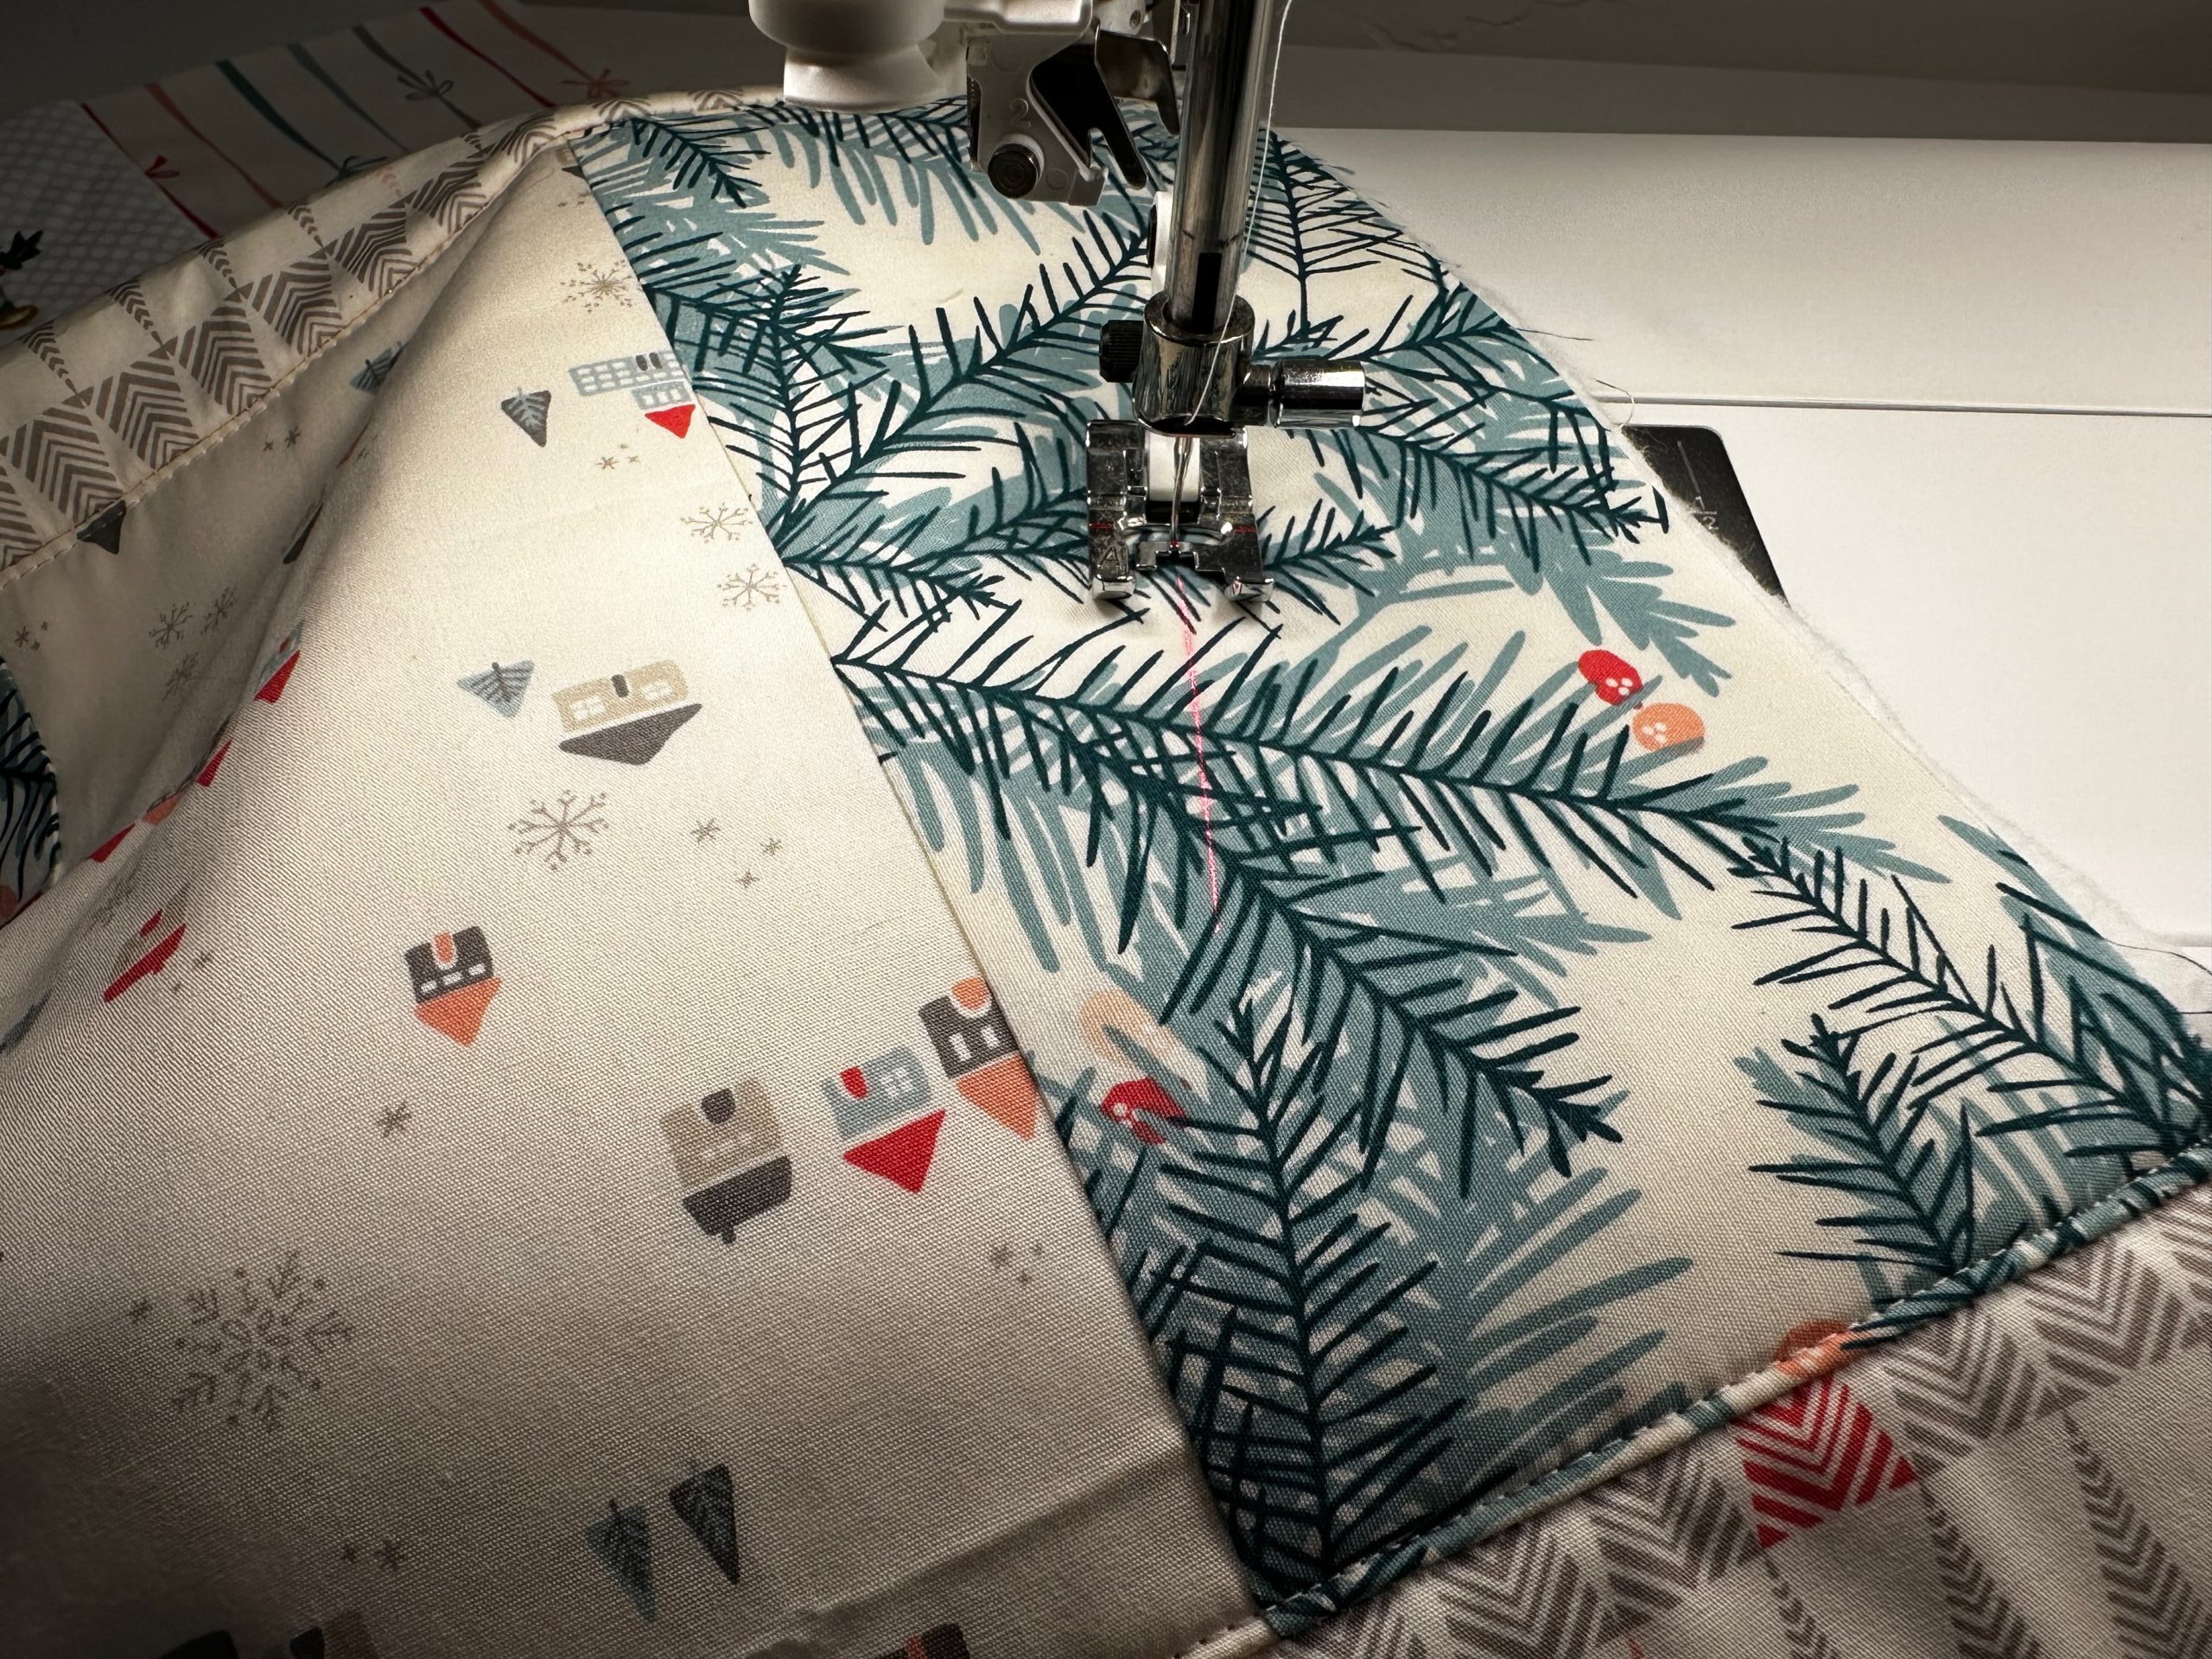
Piece together the center panels, with Fabric H in the middle of both Fabric I rectangles. Press the seams toward the darker fabric.
Place the pieced center panel right side down on a flat work surface. Center the matching batting rectangle on the pieced center panel wrong side; use KK 2000 to secure. Position the lower edge of the rectangle against the upper edge of Section 1 with right sides facing.
Place one Fabric J rectangle right side up on a flat work surface. Place Section 1 right side up on the Fabric J rectangle, aligning the Section 1 upper edge with one rectangle long edge. Pin or clip the bulky edge to secure, if needed.
Serge the bulky edge.
Turn the fabrics right side out so the small rectangle wrong sides are facing. Press. Trim the edges evenly, if needed.
Repeat the process to complete the table topper. To Section 1, first add Fabrics F & G, then the reserved pieced Fabrics D & E, and then the reserved Fabrics A, B, C and remaining embroidered square.
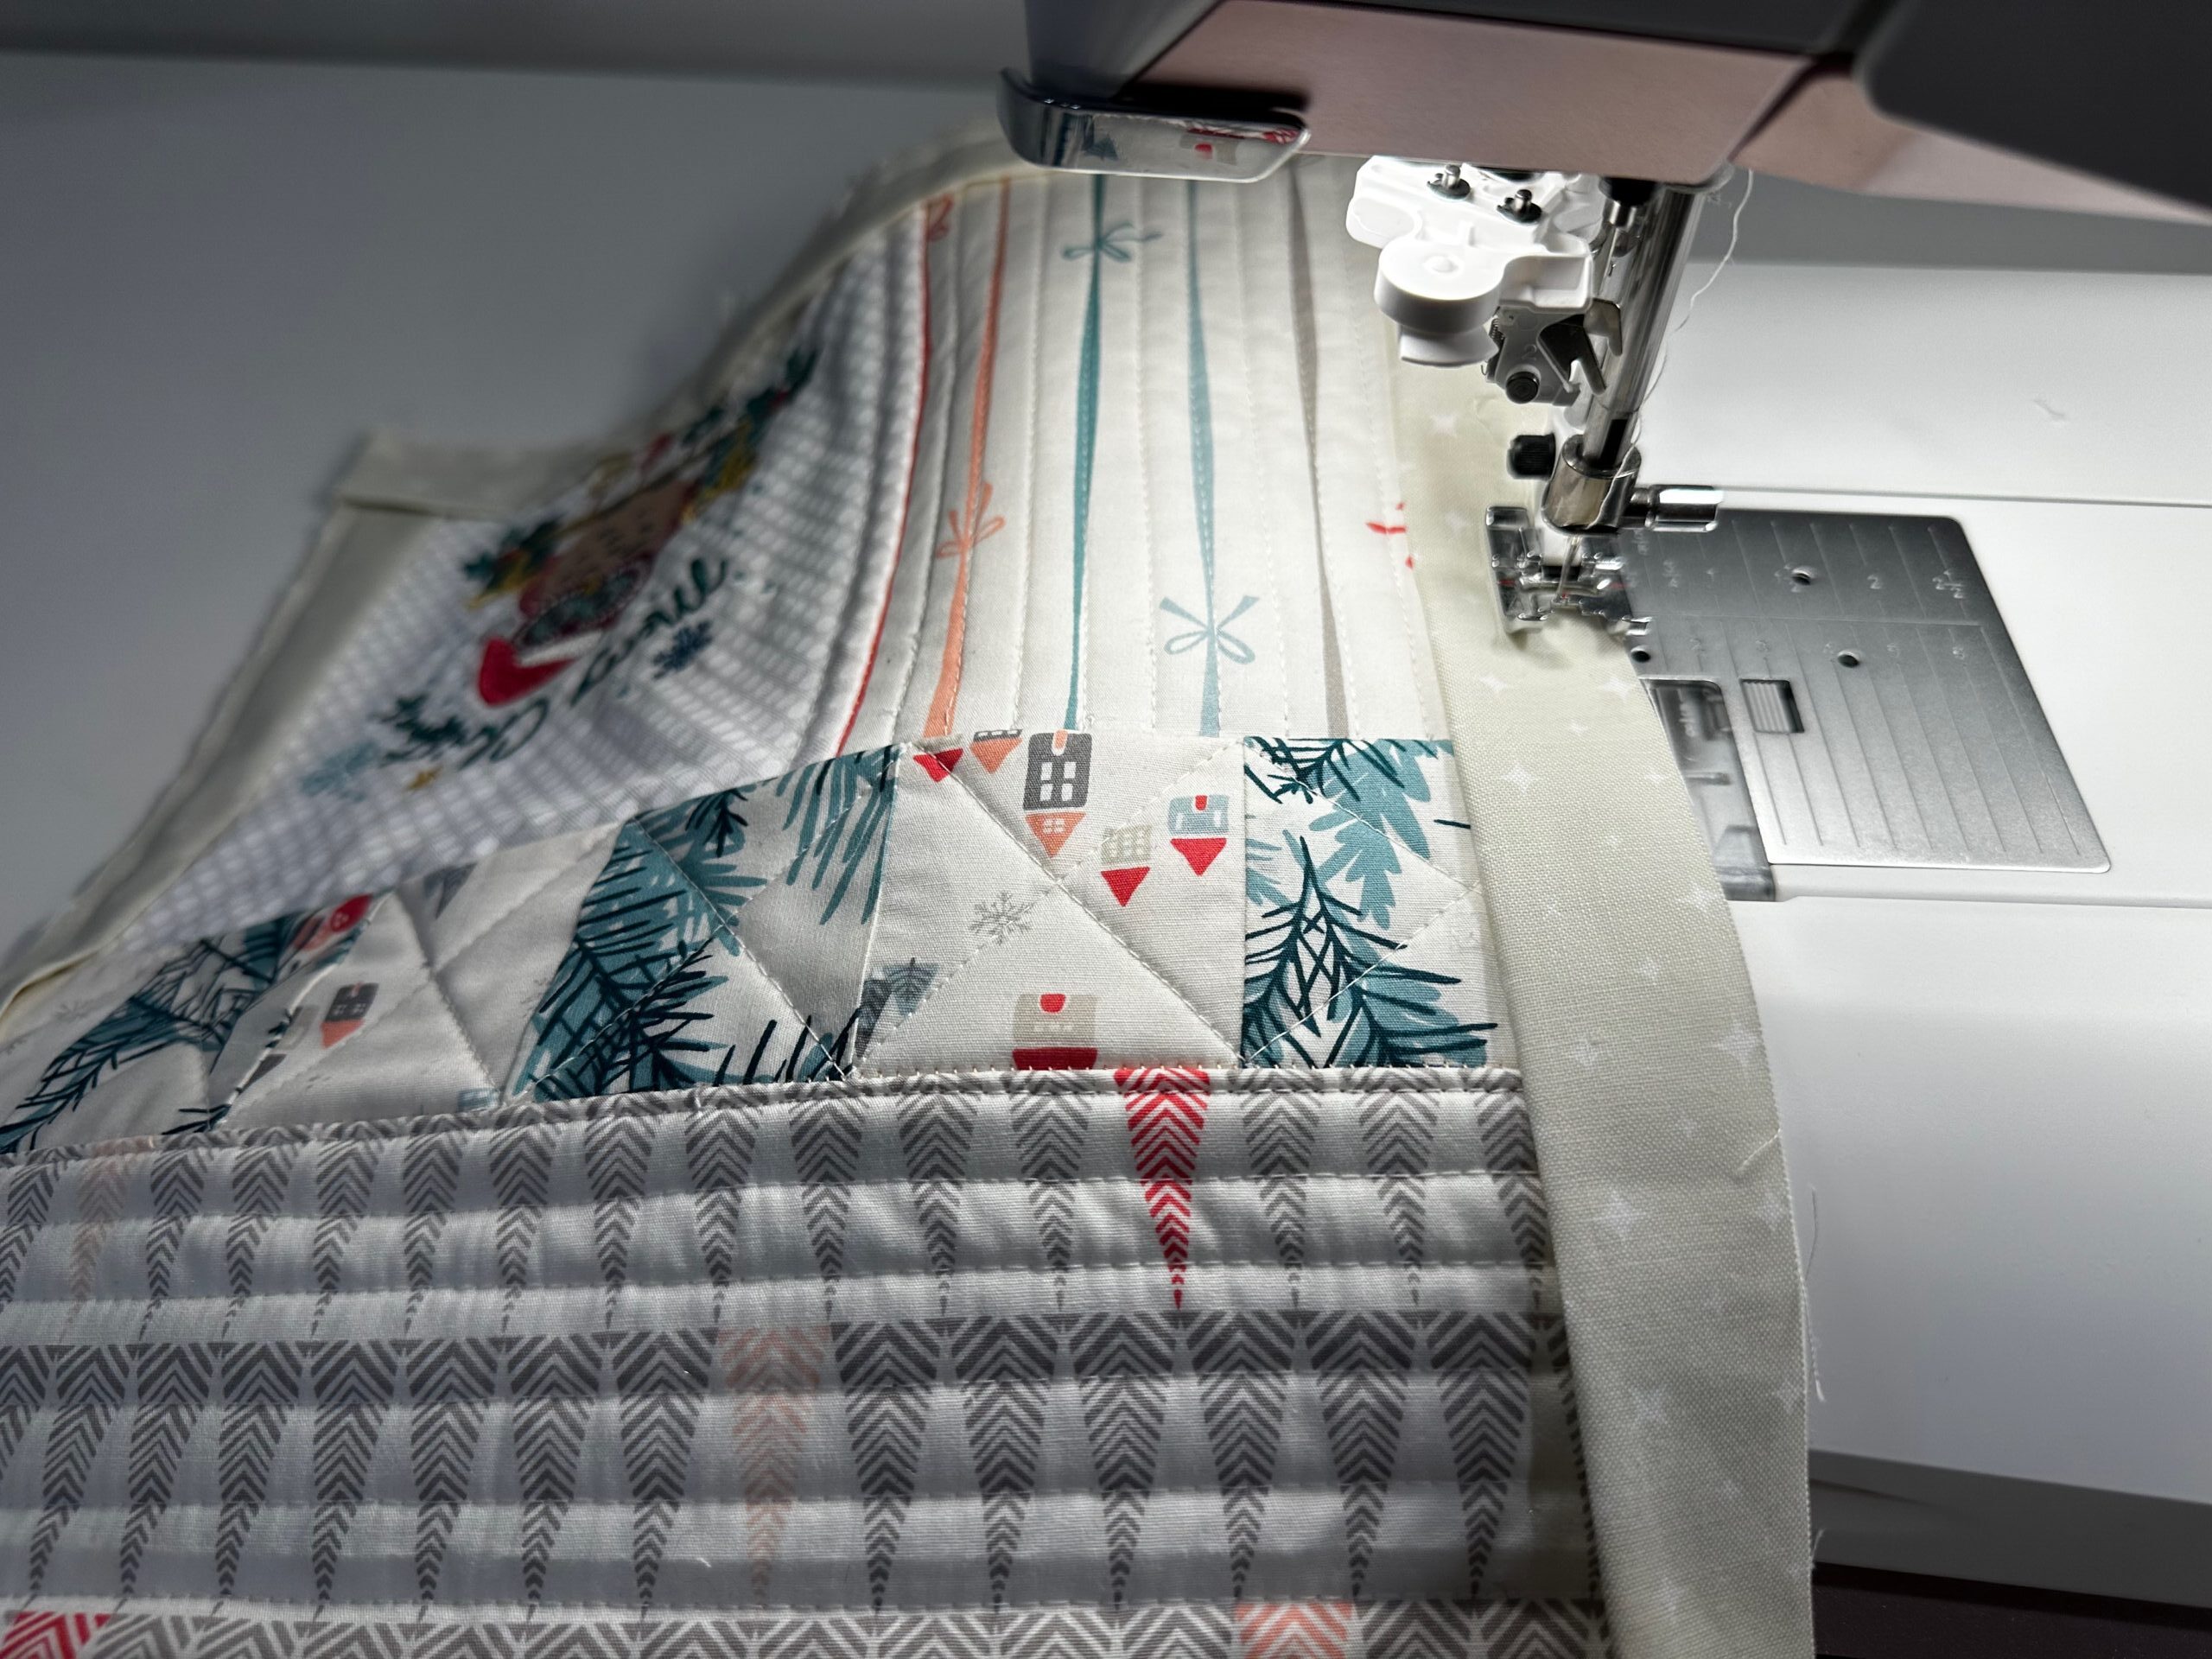
QUILTING & FINISHING
Quilt the table runner further, if desired.
Try straight line quilting, echo quilting around the machine embroidery motifs, crosshatch quilting or free-motion work.
After quilting is complete, trim the table runner so all edges are even. If desired, serge-finish the table topper perimeter.
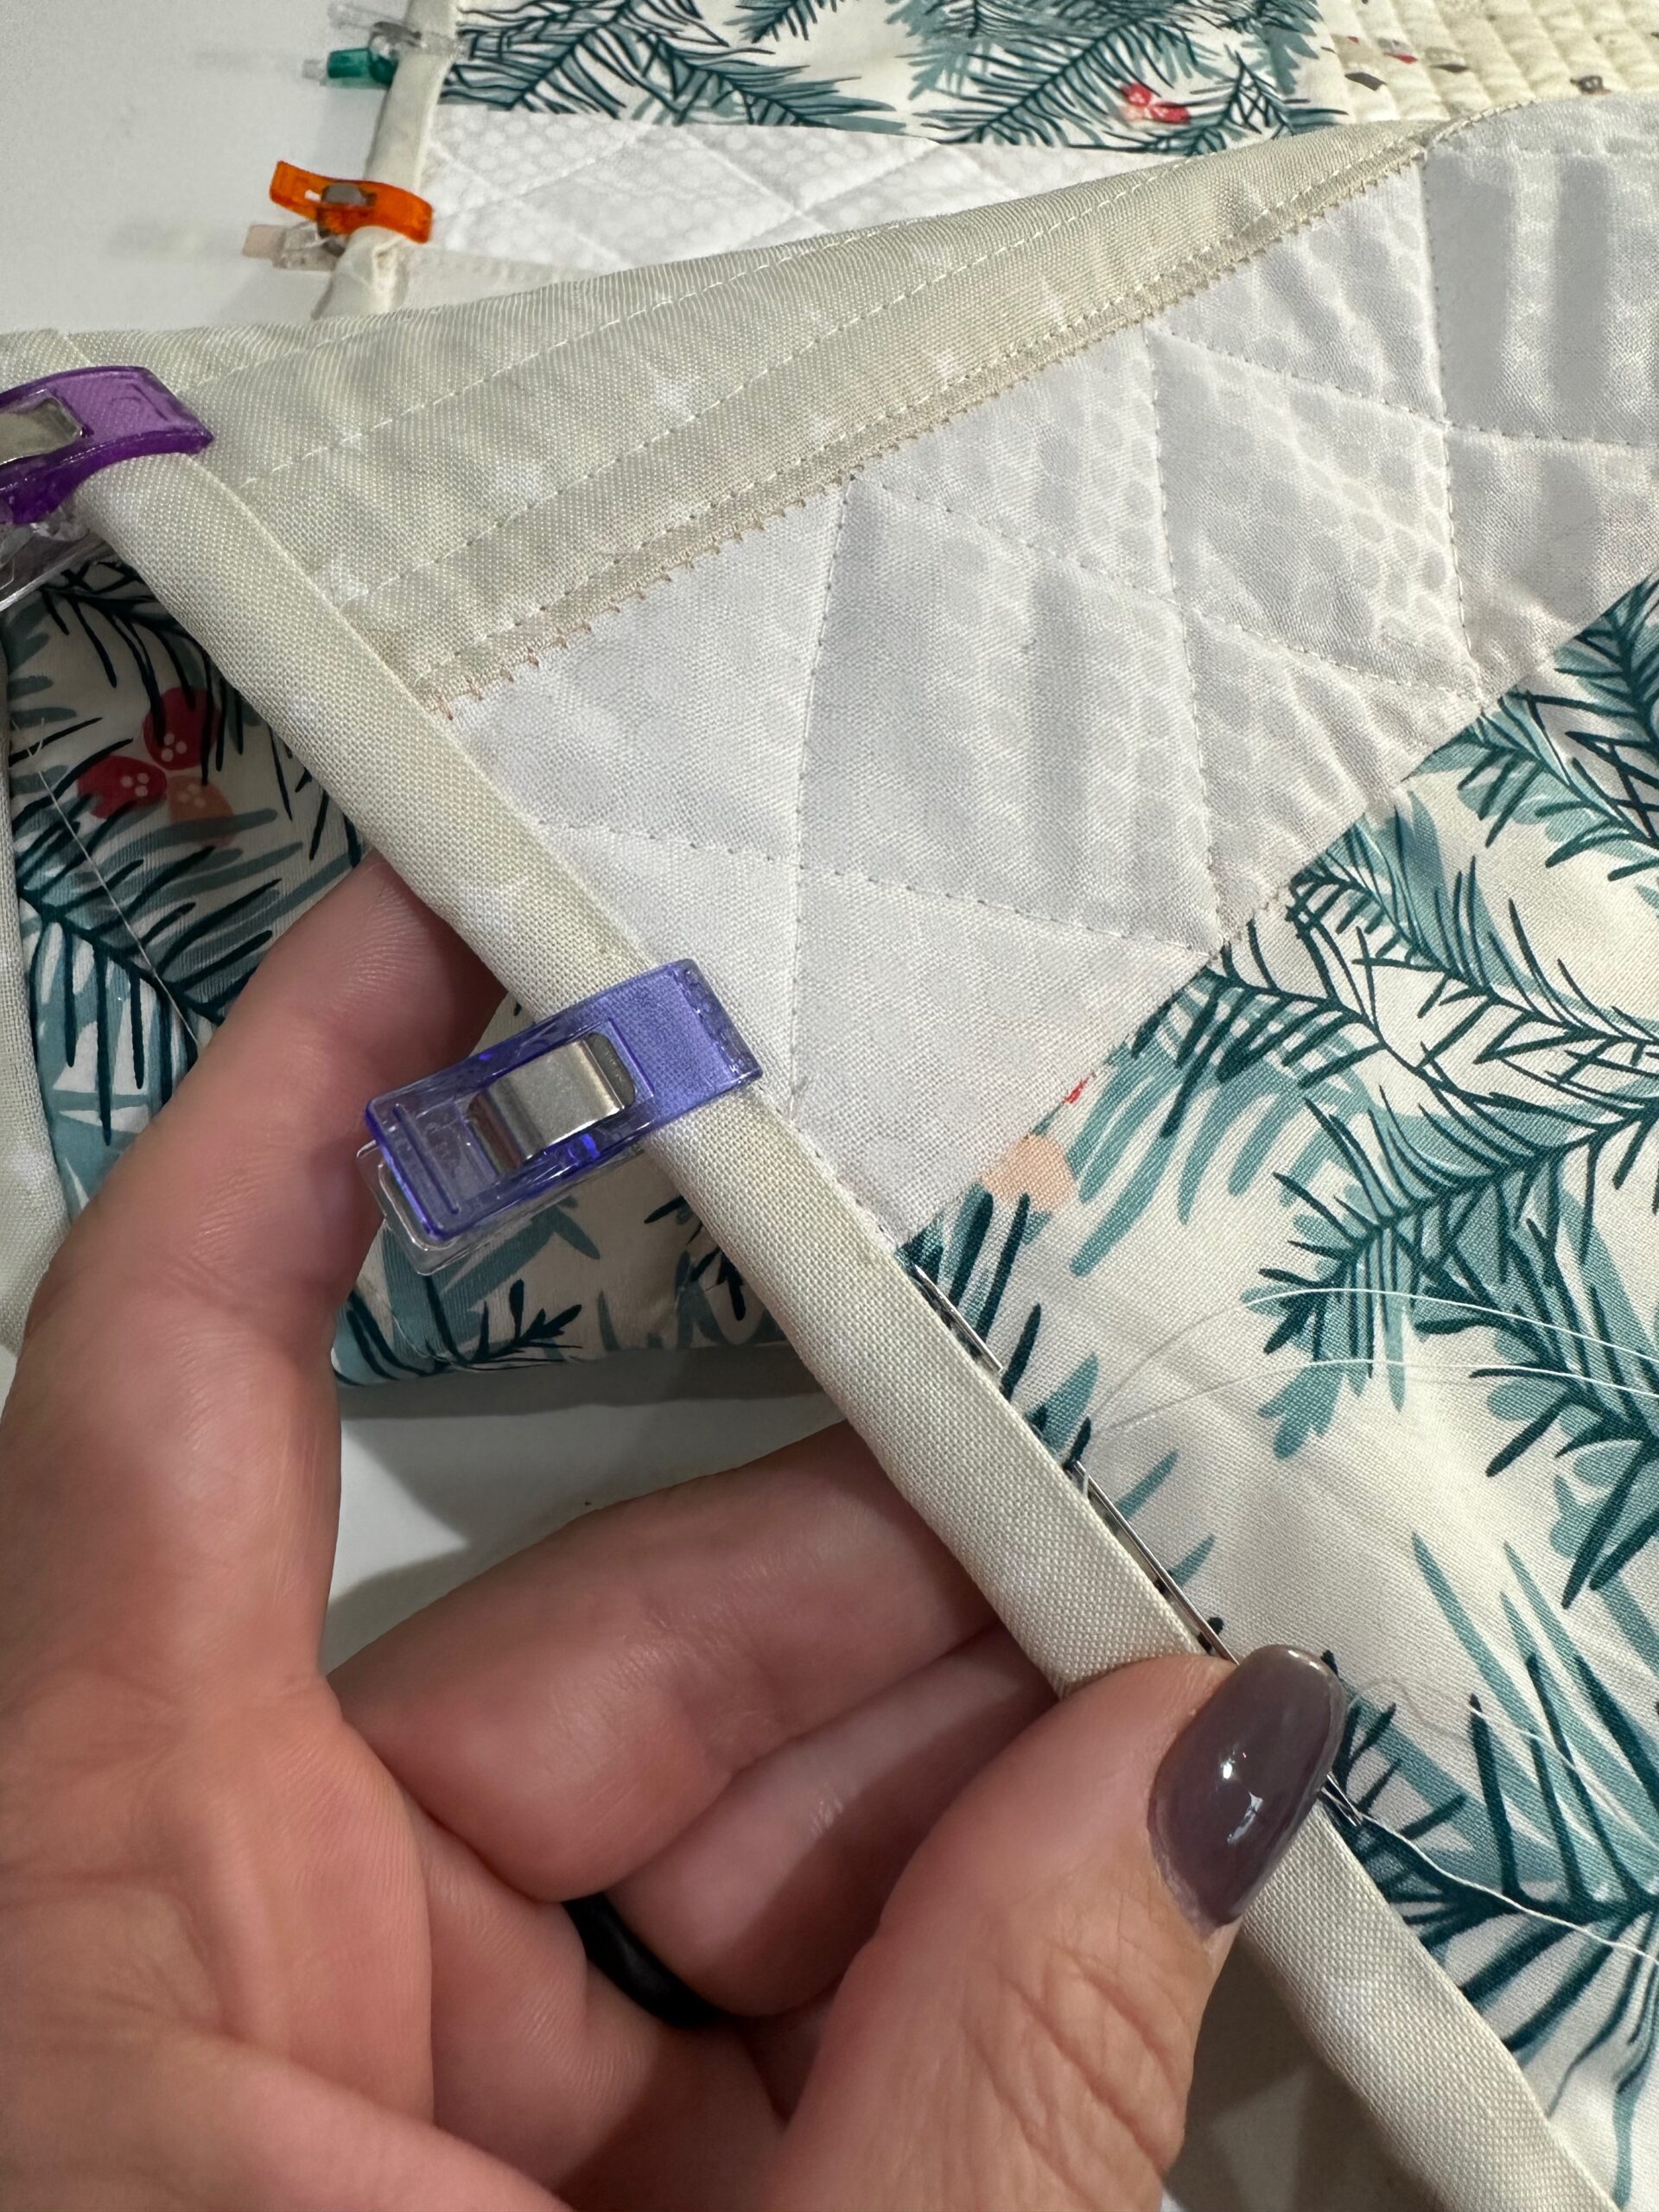
Bind the table runner in the method of your choice. Use premade bias binding strips or cut your own strips on the bias or straight grain.
To create your own binding, Cut 2 ½”-wide strips, and then piece them together along the short ends. Fold the long strip in half lengthwise with wrong sides facing. Apply the strip per your favorite binding method.
Display the owl embroidered table topper on your holiday table. It works well into winter, beyond the holidays, too! Don’t forget to use different fabrics for the backing pieces to make a reversible runner, suitable for Valentine’s Day or St. Patrick’s Day décor!

Sew cute! What is the name of the fabric used in this project, please.
Most of the fabrics shown are from Art Gallery Fabrics: https://liveartgalleryfabrics.com/portfolio/bundle-up-winterland-winter-theme-fabric-bundle/
The binding and white blender fabric are from my stash and were remnants without selvage edges to discern the fabric company/collection.
This is sew cute! Where do we get the owl emb. designs?
Thank you !! Just upgraded to a modern air threader serger. Can’t wait to make this.