Iron-on Transfer Pens – a Must-Have Embroidery Tool
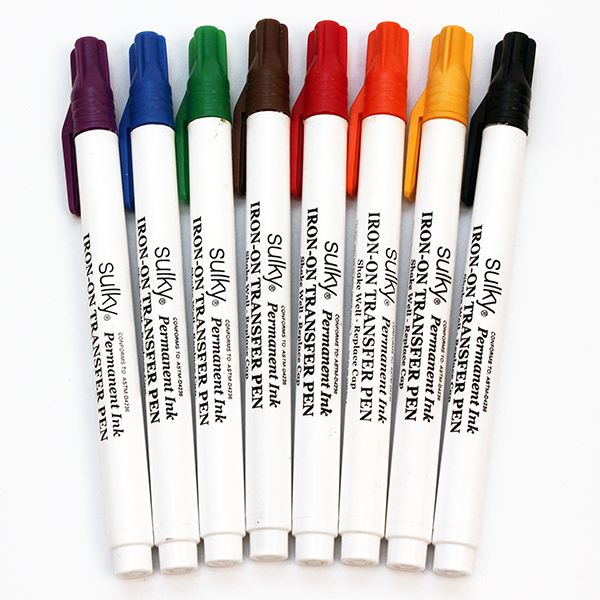
Learn how to use Sulky Iron-on Transfer Pens for hand embroidery and embellishments. With eight colors to choose from, you can color-code your designs to have a visual clue for when to switch thread colors during embroidery. Plus, if your stitches don’t cover the area as intended, the subtle hue peeking out from beneath the thread conceals imperfections.
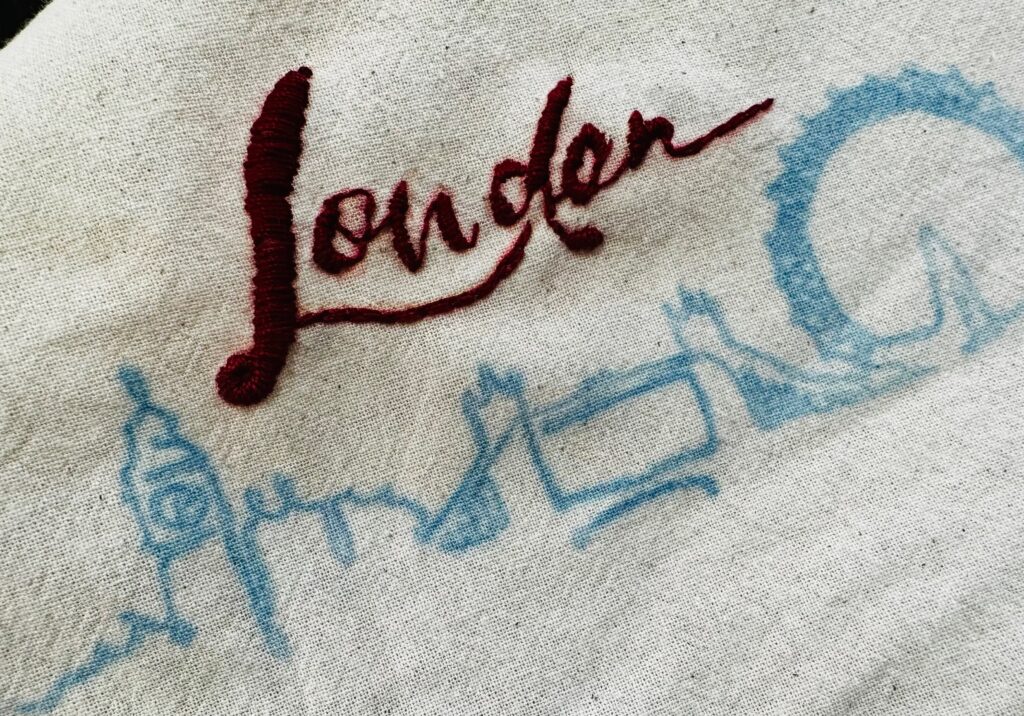
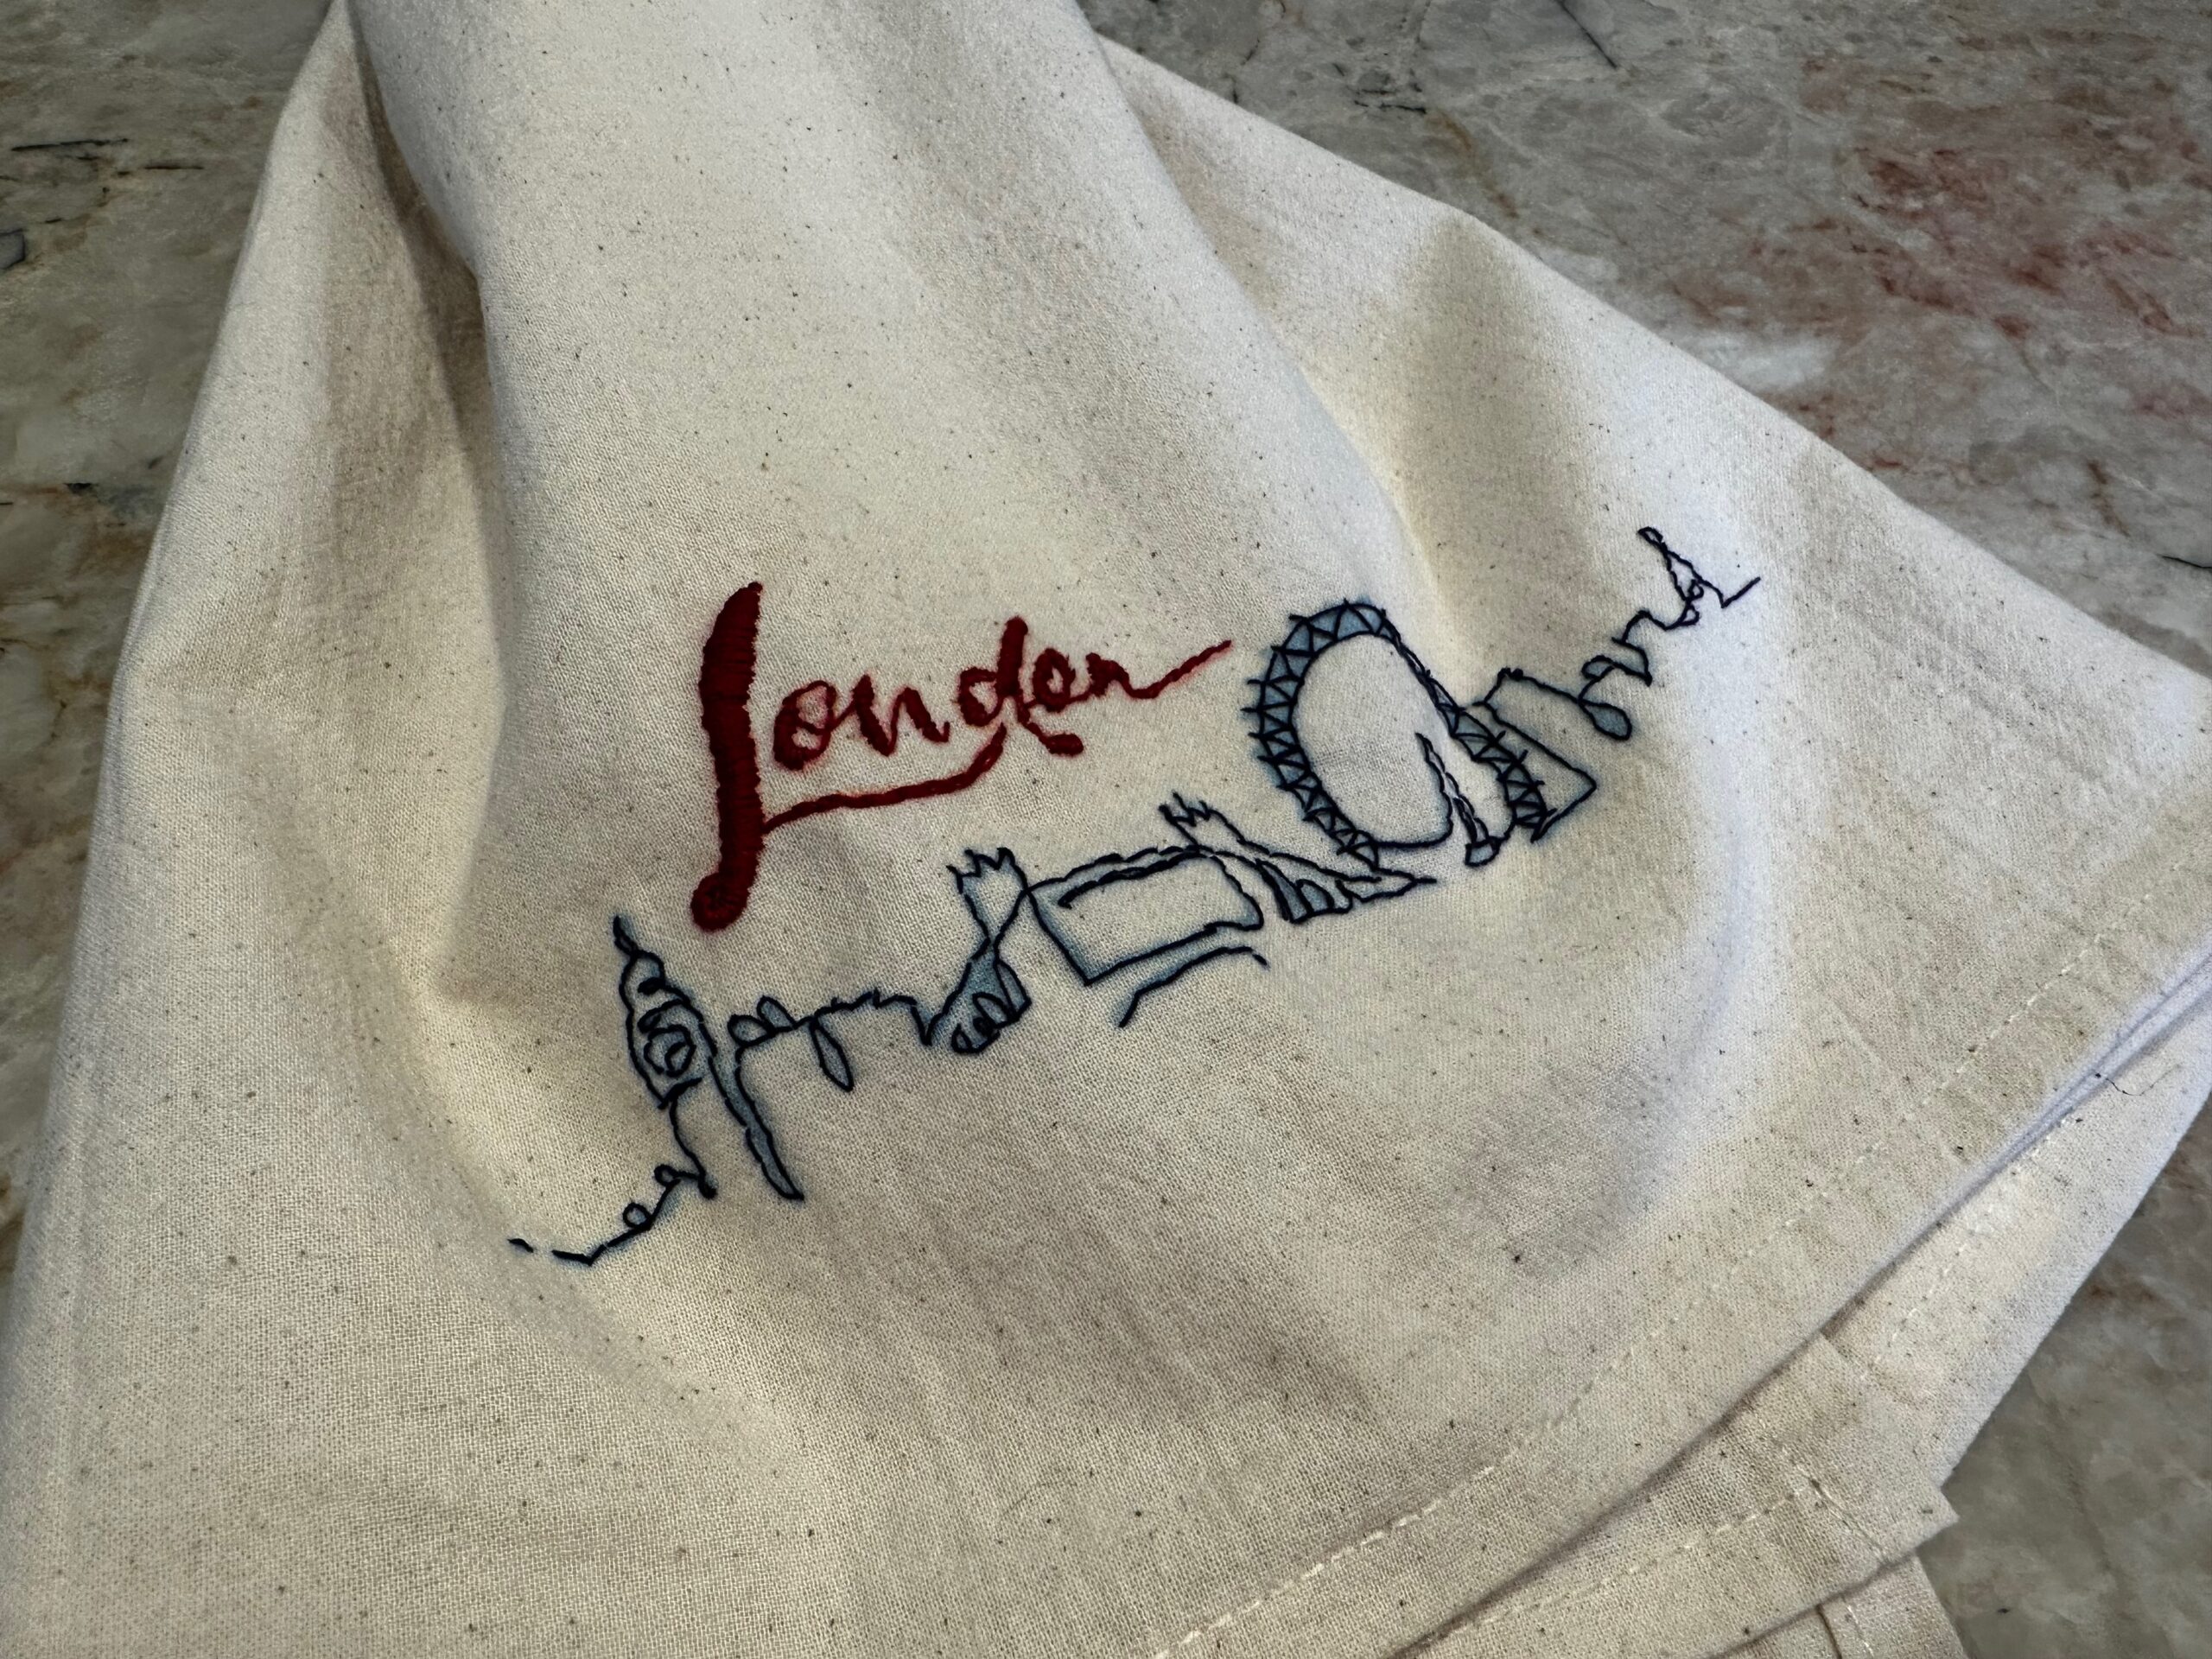
The featured project below is a tea towel blank, hand embroidered with a “London” design for our tourmates on our 2023 London Craftours trip. This workshop includes both the Iron-on Transfer Pen method and the Sulky Stick ‘n Stitch method for embroidery transfer. Tourmates can decide which method is right for them after learning both. (Live workshops are a bonus of traveling with us! Each person receives a full kit to create a project that commemorates our travel experience. Check out our 2024 tours (and beyond) HERE>)
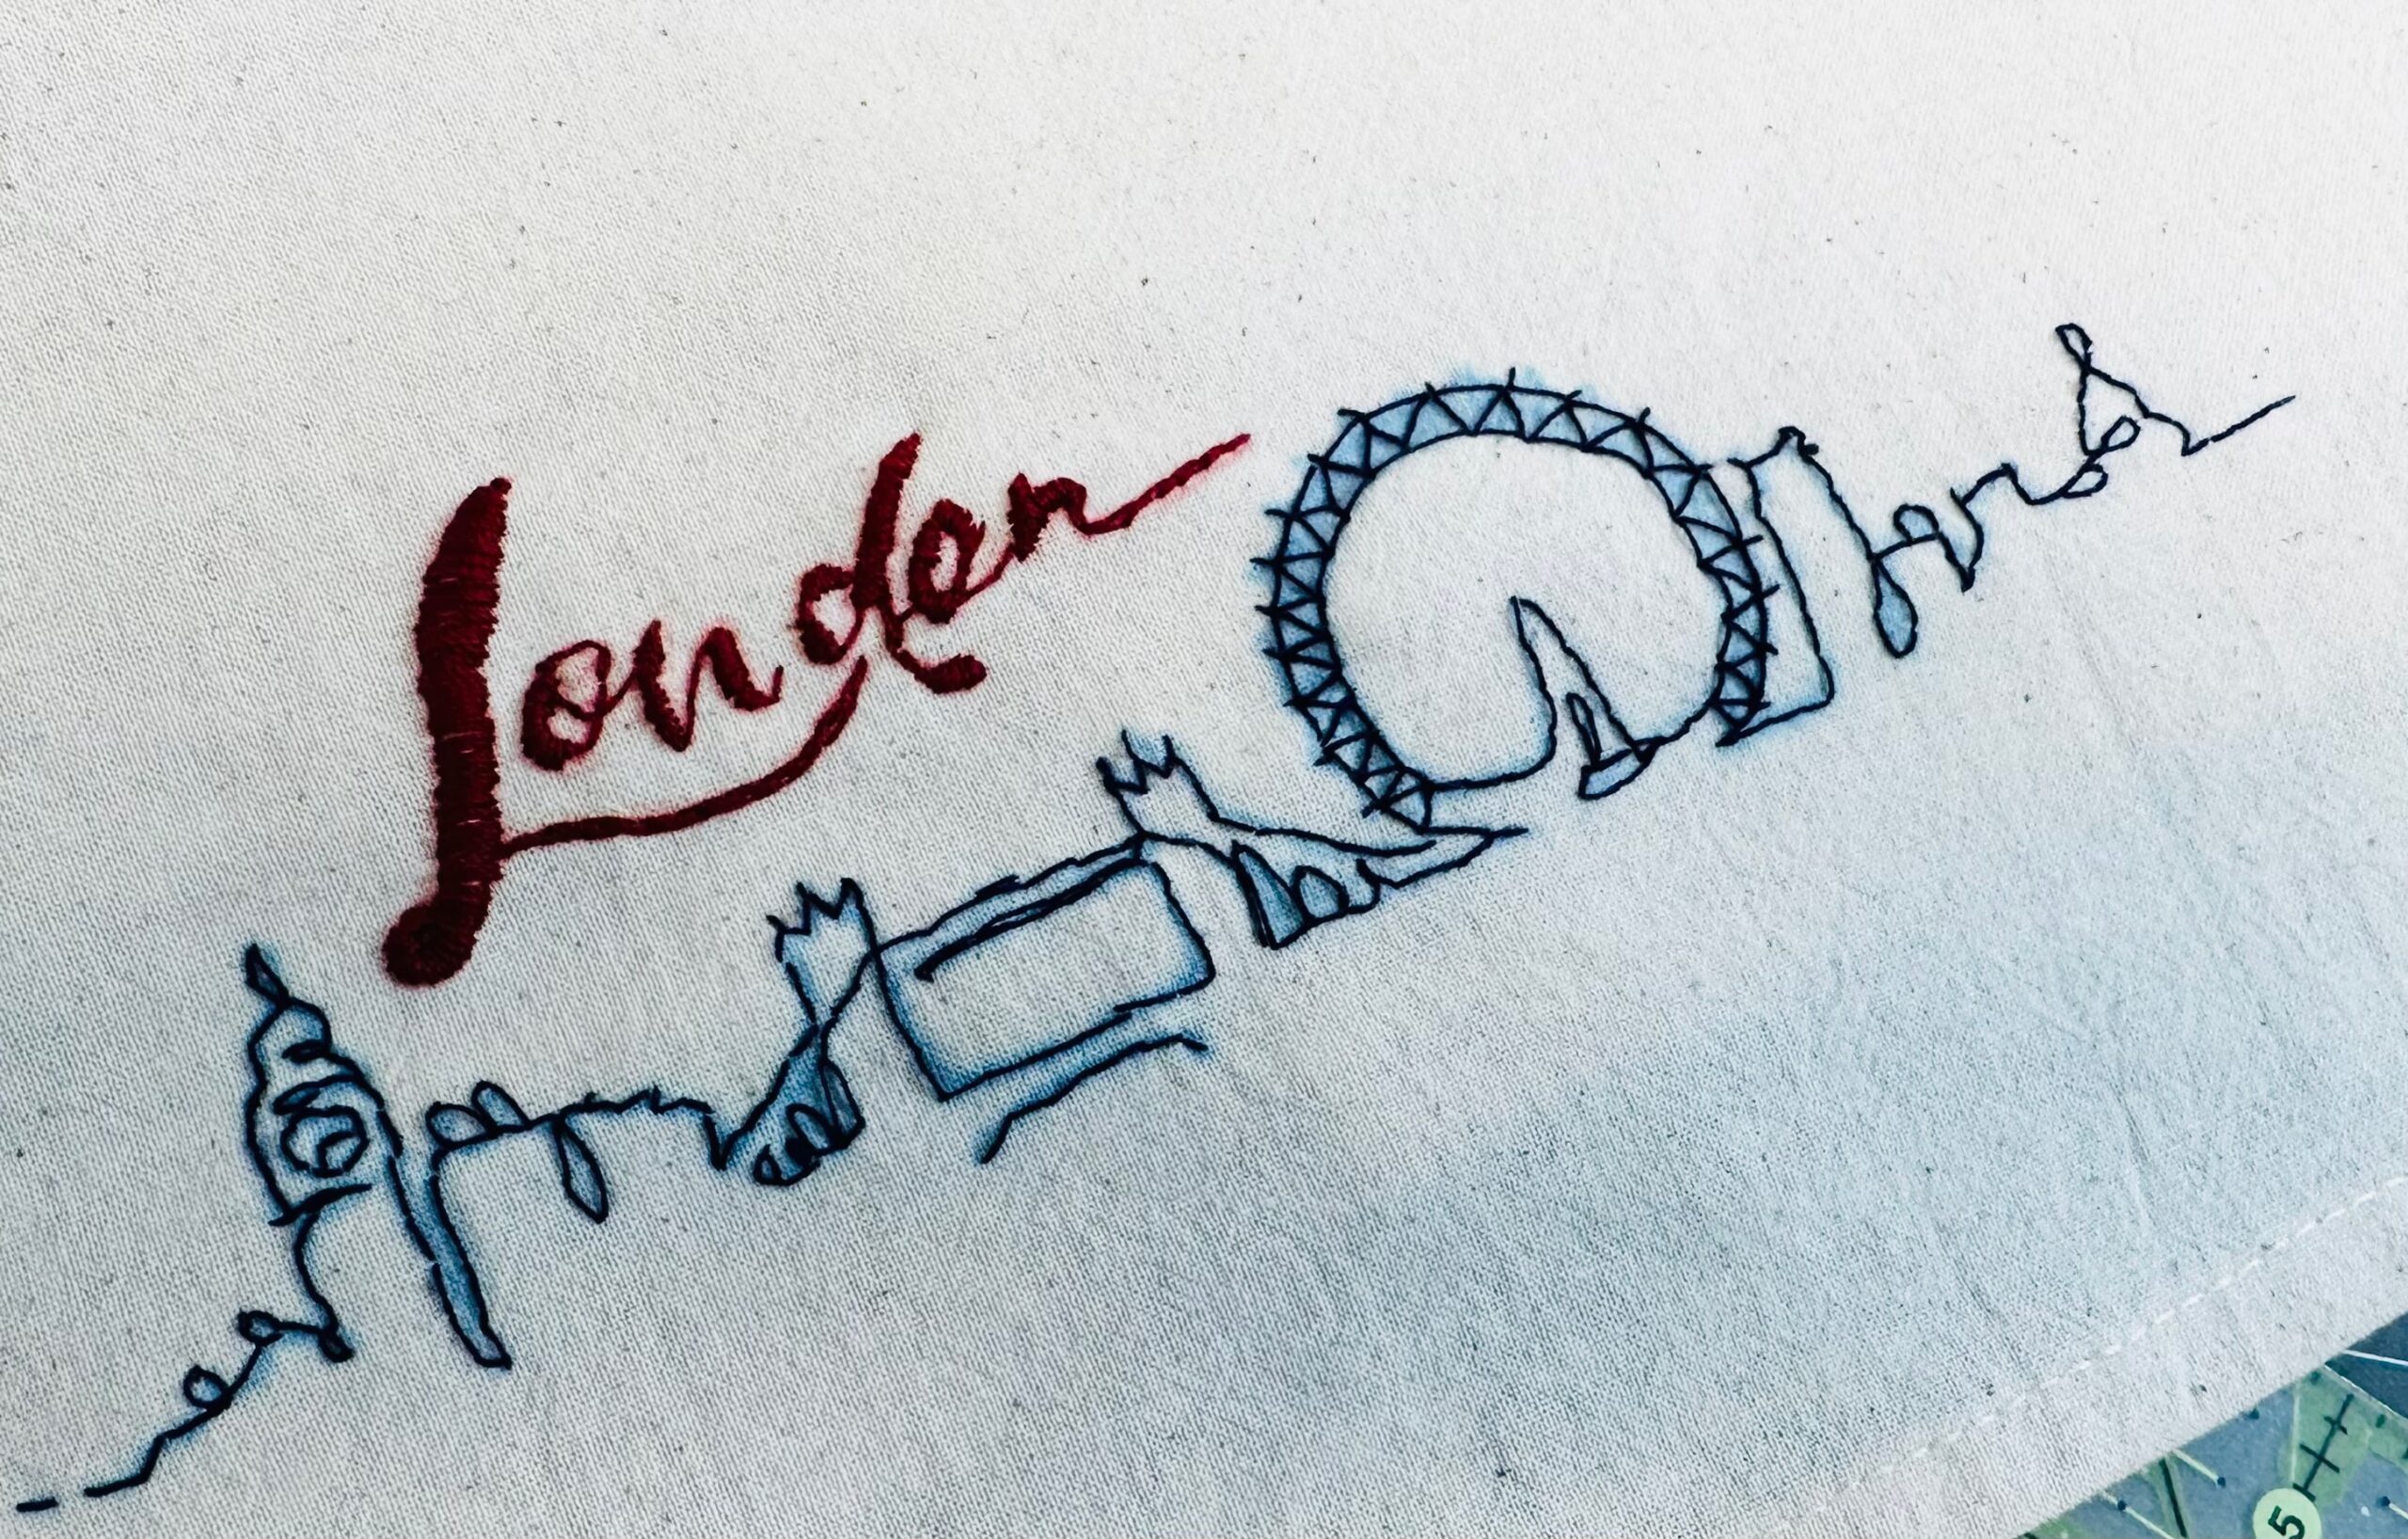
Each participant received a tea towel, two spools of Sulky 12 wt. Cotton Petites Thread for embroidery, two Iron-on Transfer Pens, a handwork needle, two printed designs for Iron-on Transfer Pen method, one Stick ‘n Stitch template and a pair of snips. (Plus, each tourmate also gets a welcome gift and a BONUS project kit this year!)
About Iron-On Transfer Pens
Sulky Iron-on Transfer Pens allow you to easily transfer designs onto fabric, canvas, wood, stabilizers or just about any surface that tolerates heat from an iron. Each transfer can be reused 3 to 5 times with one application.
The 8-pack assortment package contains one of each: black, blue, brown, red, green, orange, yellow and purple. The colors are also available individually. Or purchase black, brown, blue and red in a convenient 4-pack.
How to Use Iron-on Transfer Pens
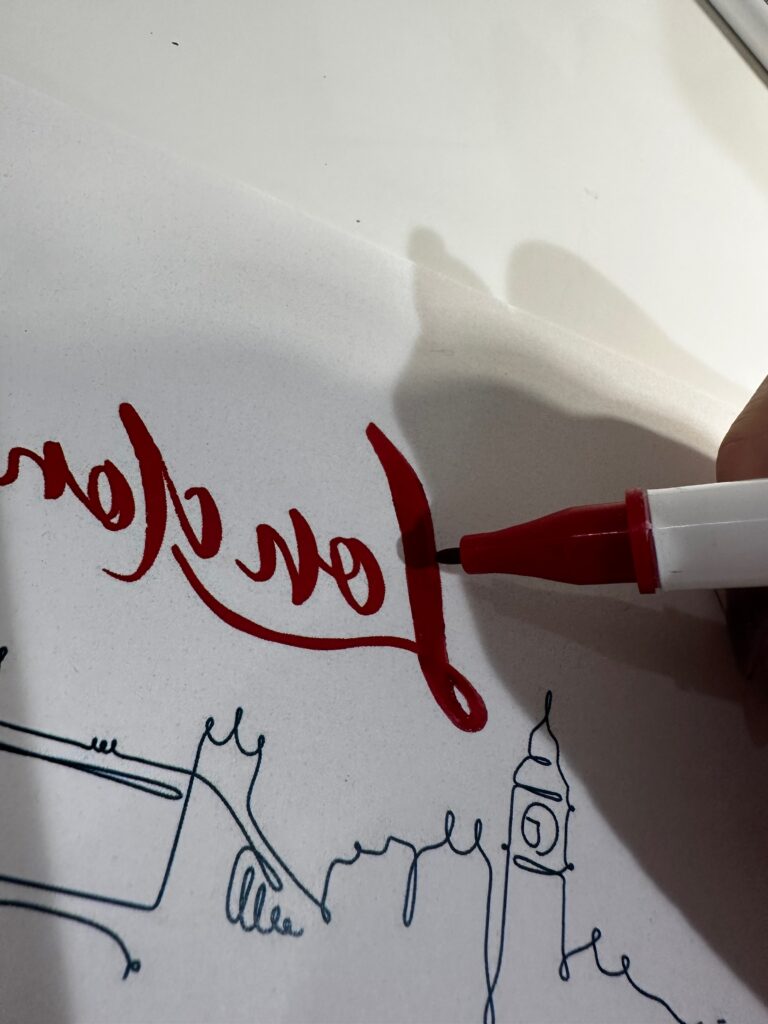
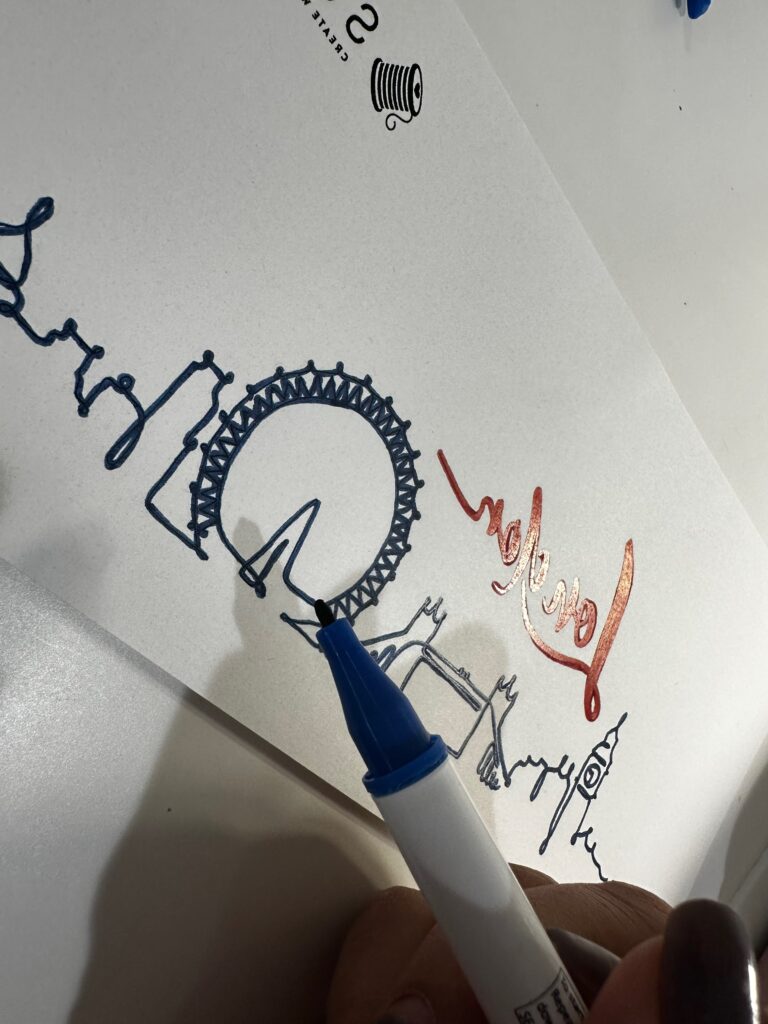
Use the pens to make a permanent, non-bleeding transfer. First, make sure to print out the chosen design as a mirror image, so when you transfer it the design is oriented correctly. Either print it as-is and trace on the reverse side of the paper, using a lightbox to see through the paper. Or, reverse the design in your word processing program before printing.
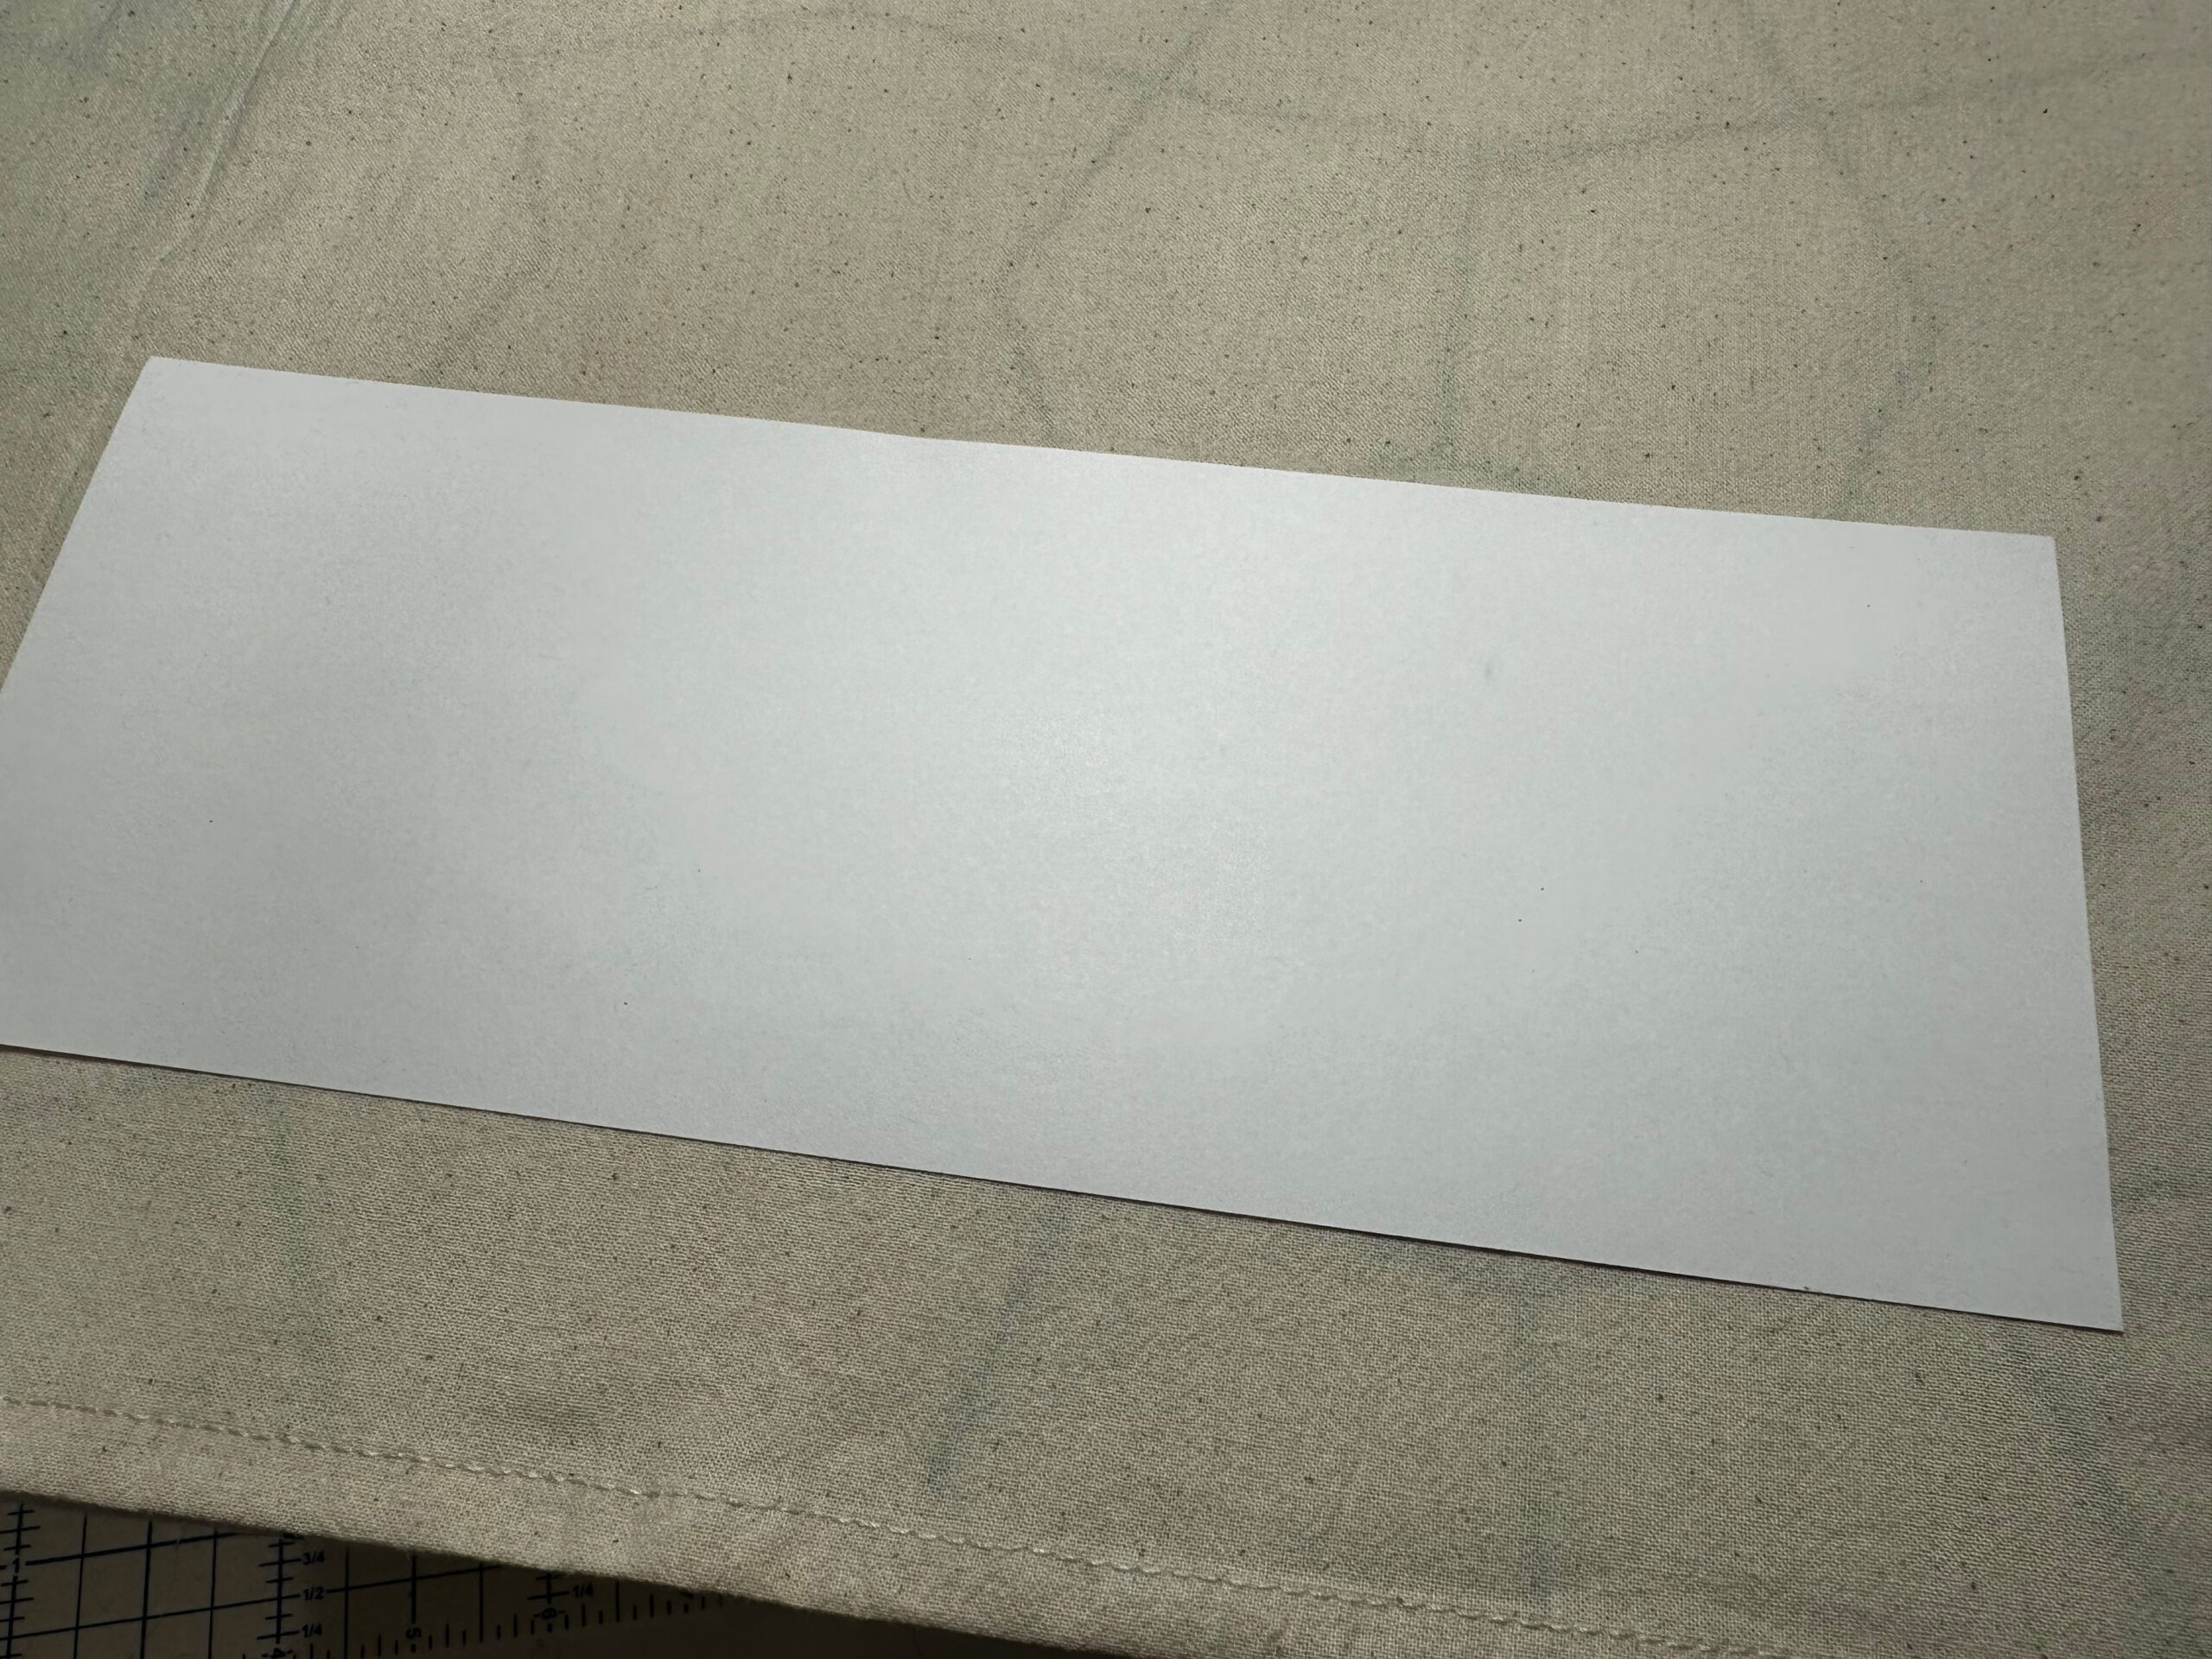
Use a thicker paper, if possible, for the transfer so nothing bleeds through when tracing. Or be sure to protect the surface you’re using to avoid staining. The Iron-on Transfer Pens are permanent!
To get the ink flowing, push the pen tip down onto a scrap paper (also protected) until the ink flows freely.
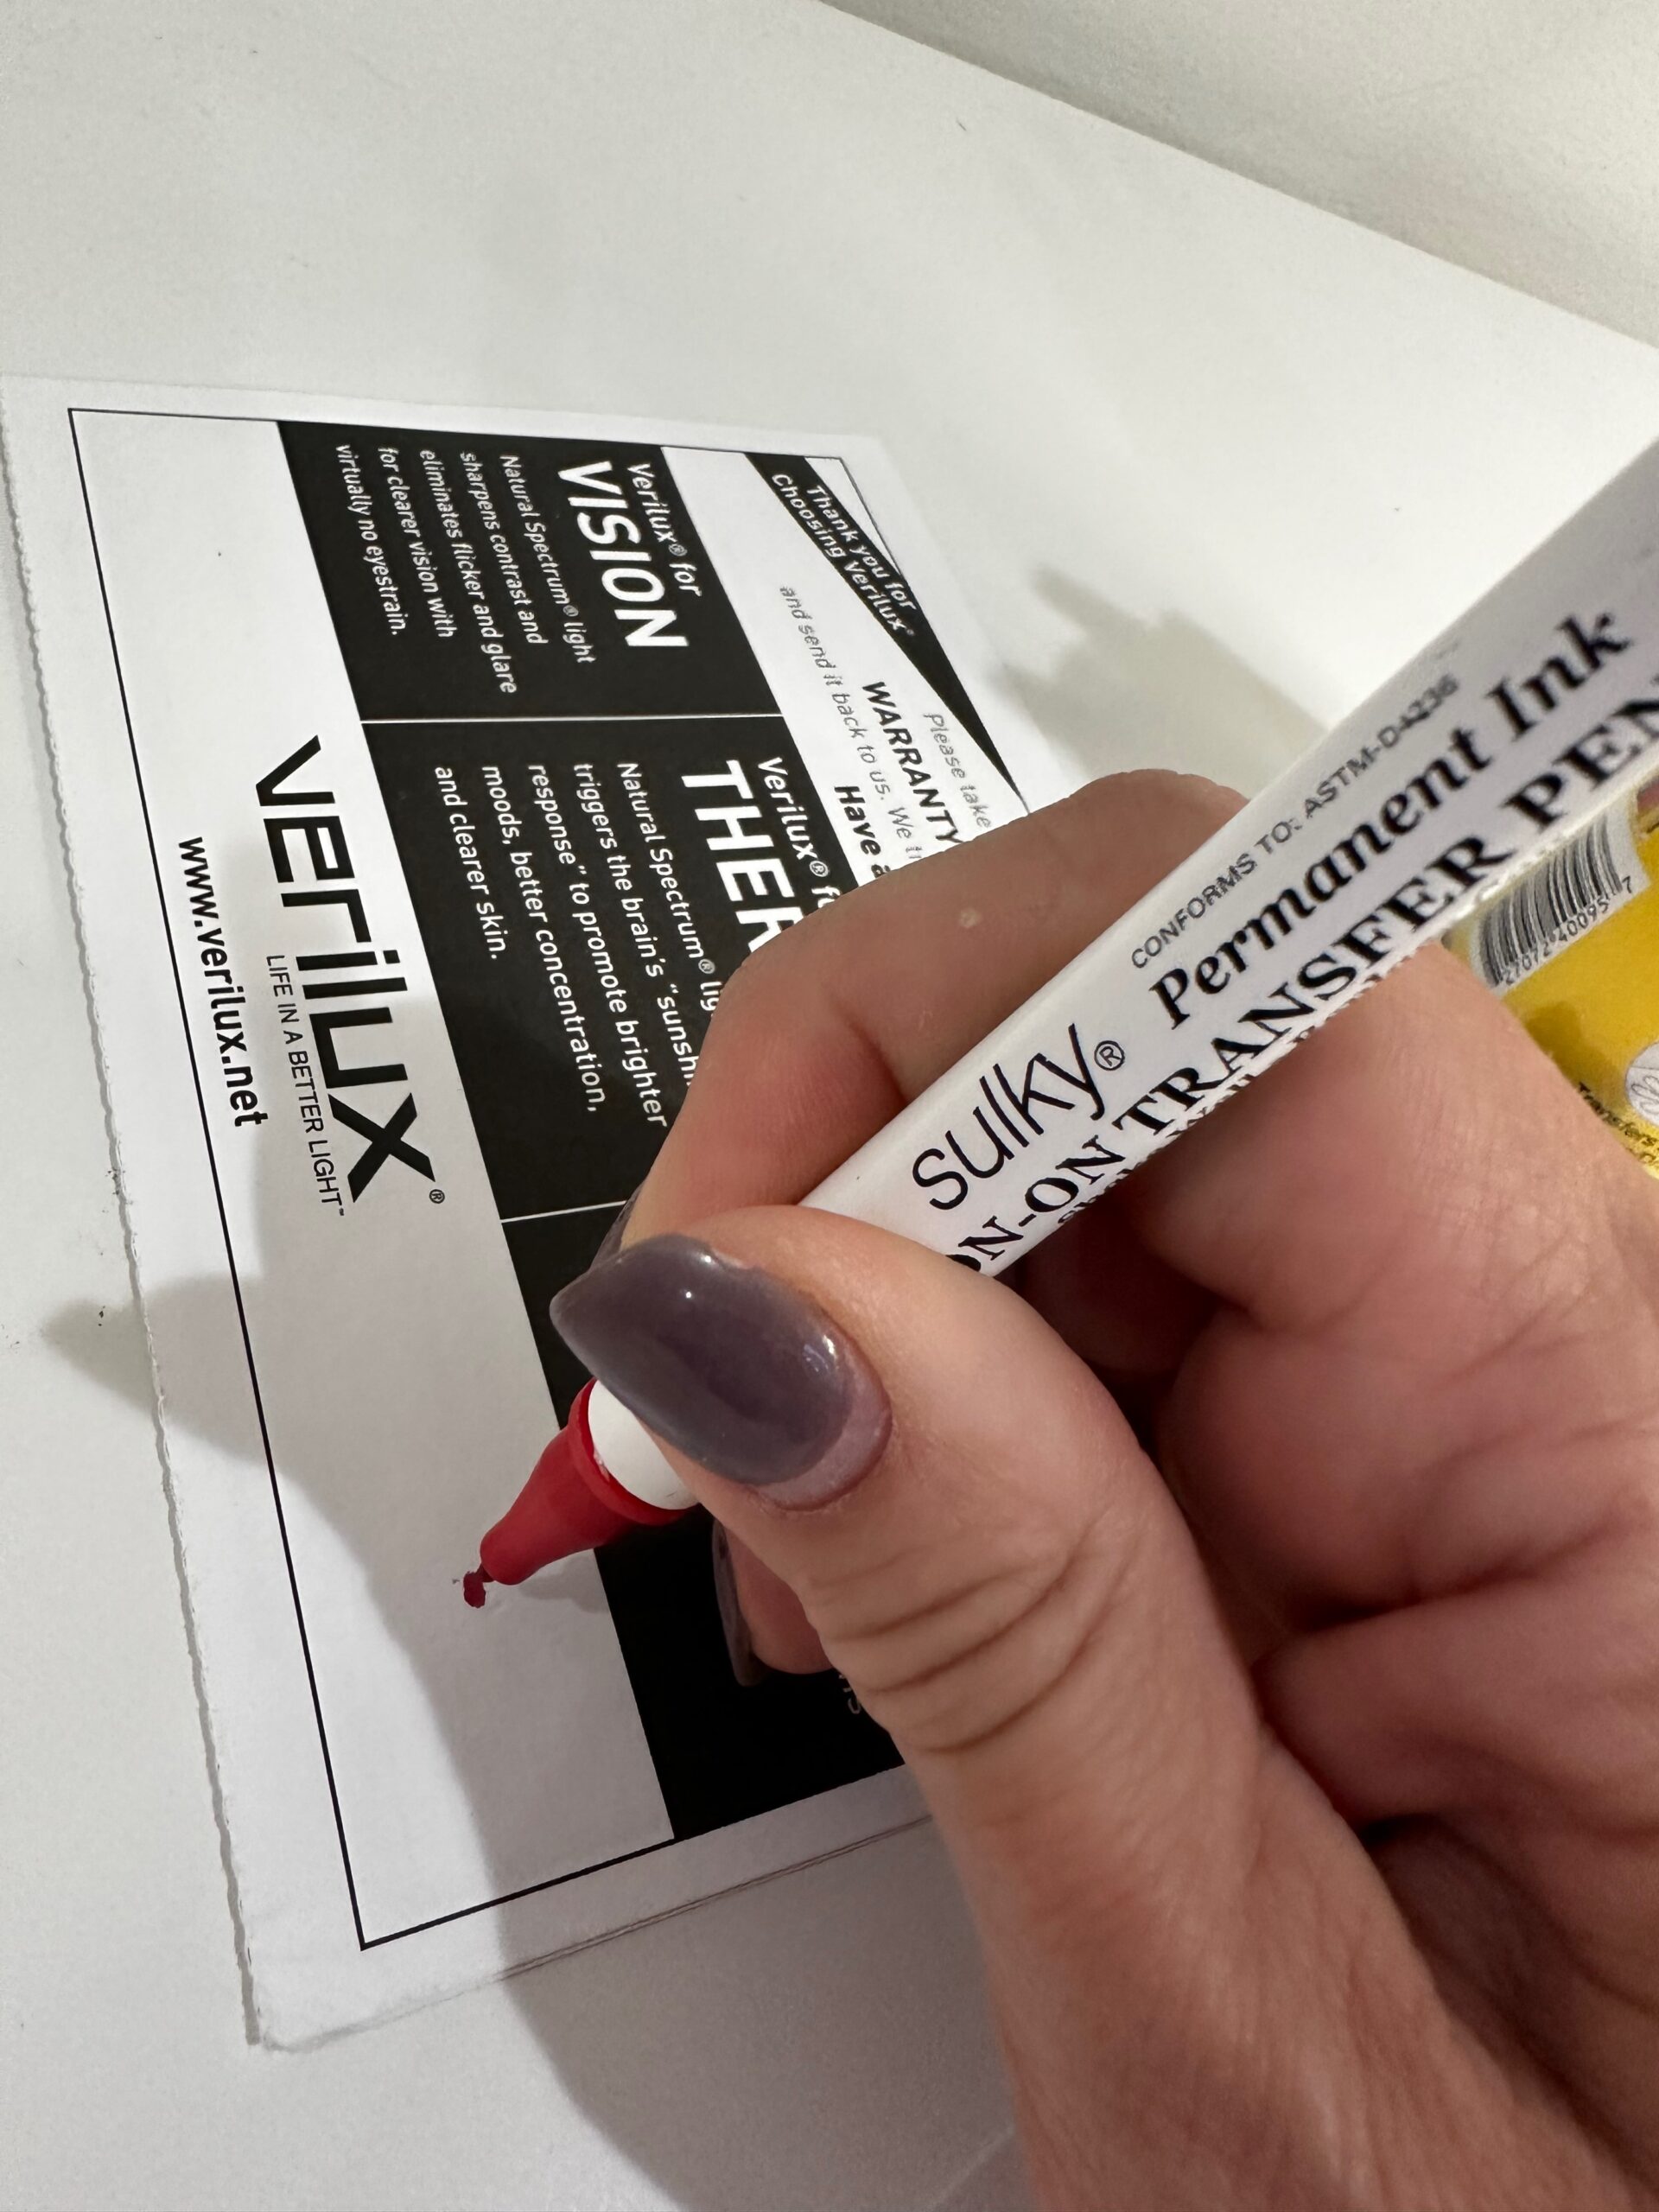
Trace the chosen design, switching pen colors as needed along the design (if desired).
Using the Transfer
Apply heat from an iron to the fabric (or object) you’re transferring the design onto. A warm surface will accept the ink better. Make sure the ironing board or pressing surface is protected so nothing transfers to it as well.
Place the transfer ink side down over the fabric right side, where desired. Place the hot iron over the paper. Do not slide the iron back and forth; rather, pick the iron up and move it to other spots until the design is transferred. If you move the iron by sliding it over the fabric, a blurry transfer will result.
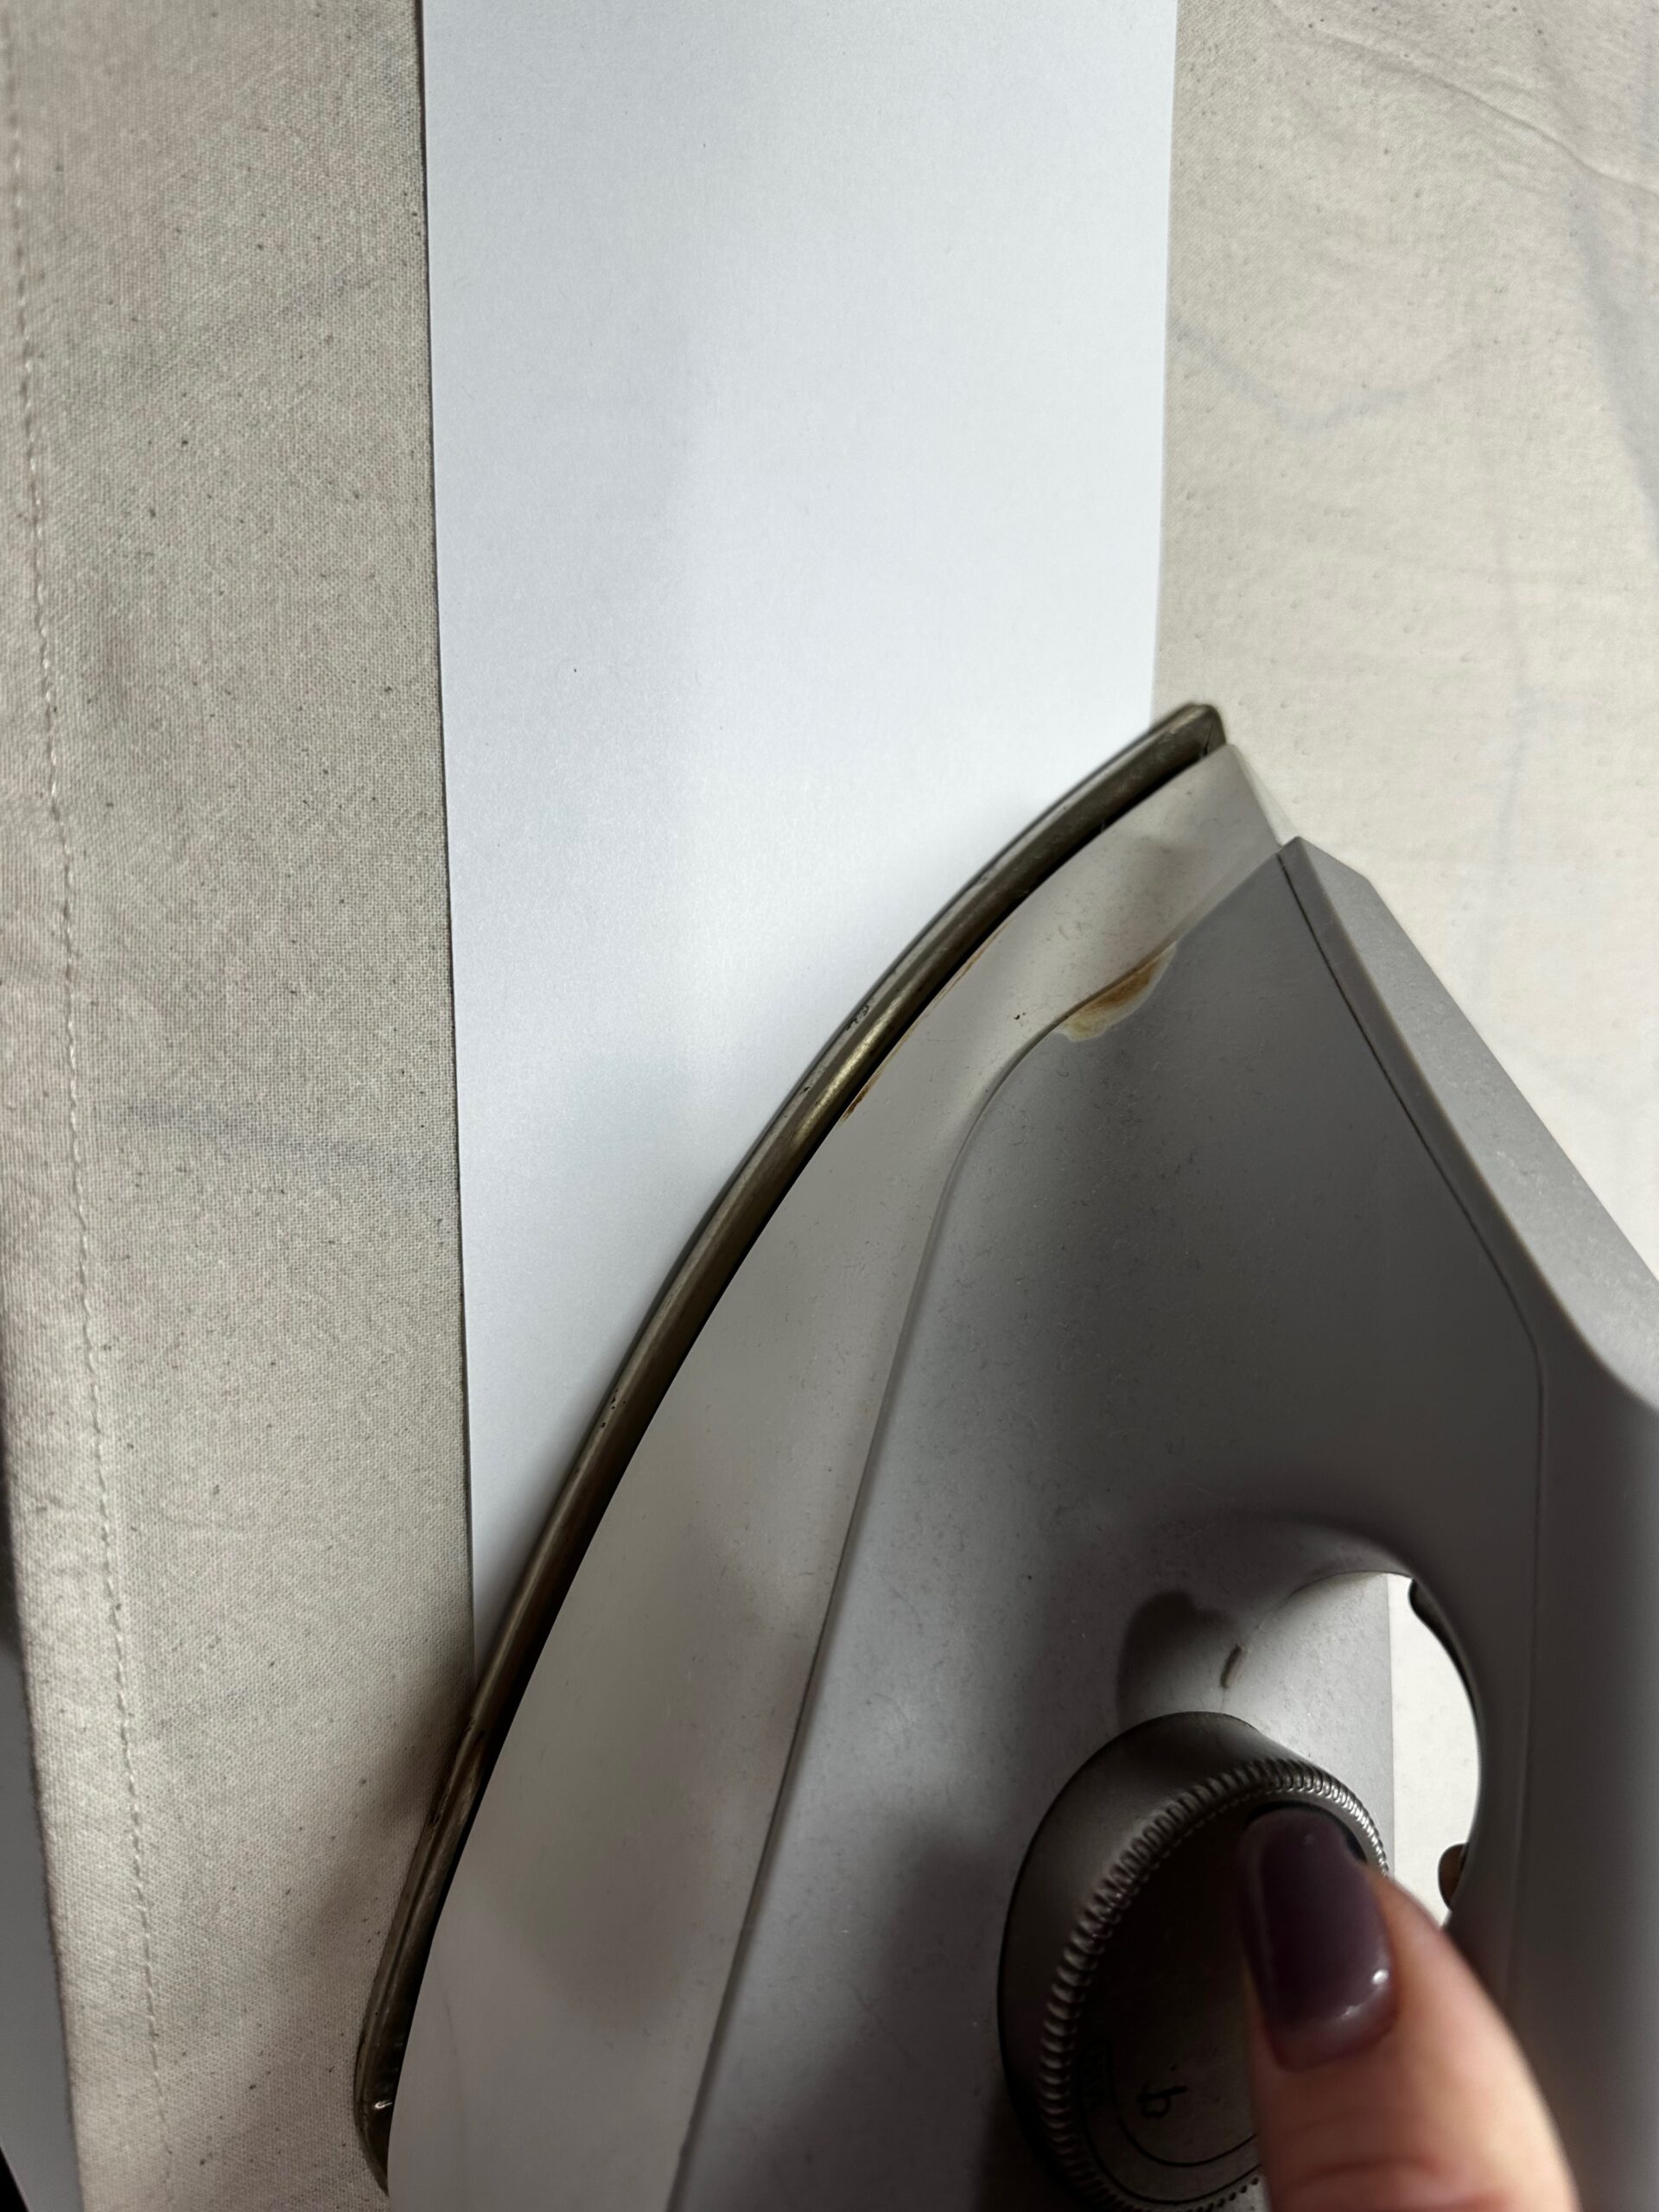
How do you know when the design is transferred? You will begin to see some of the ink showing through (or becoming more visible) on the transfer wrong side.

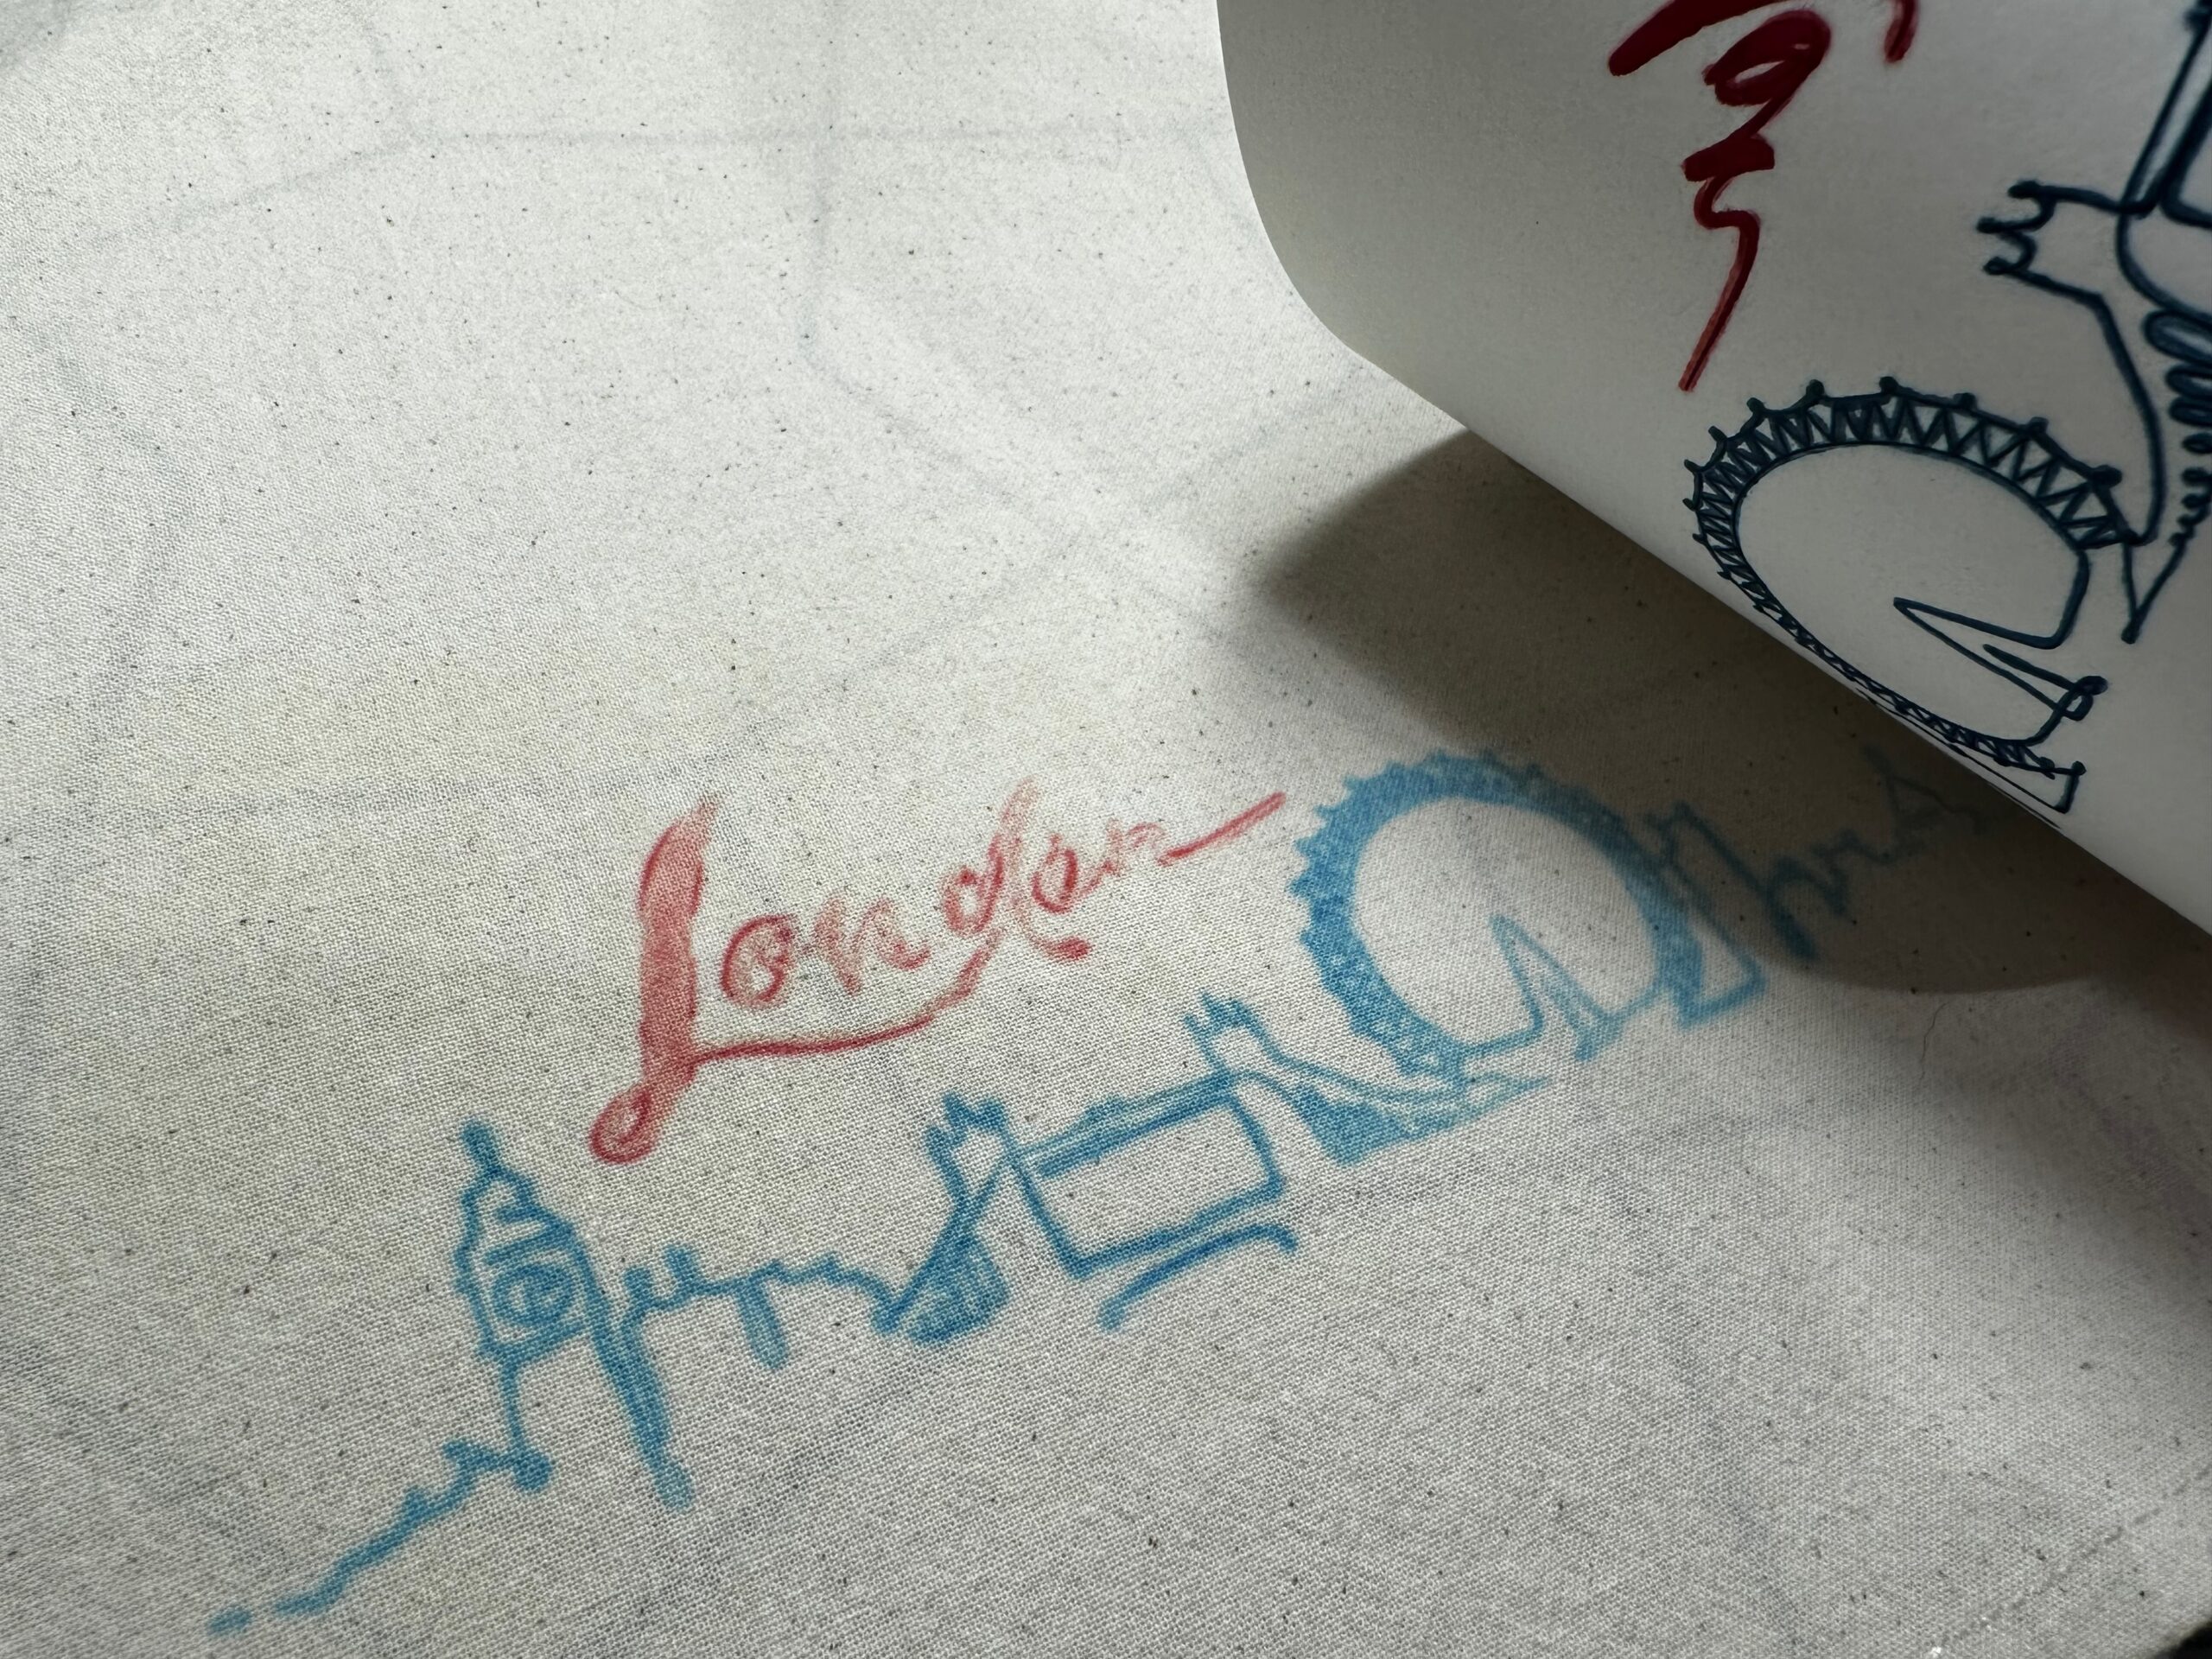
Gently lift up the transfer to make sure the lines are transferred as desired. Then, remove the template.
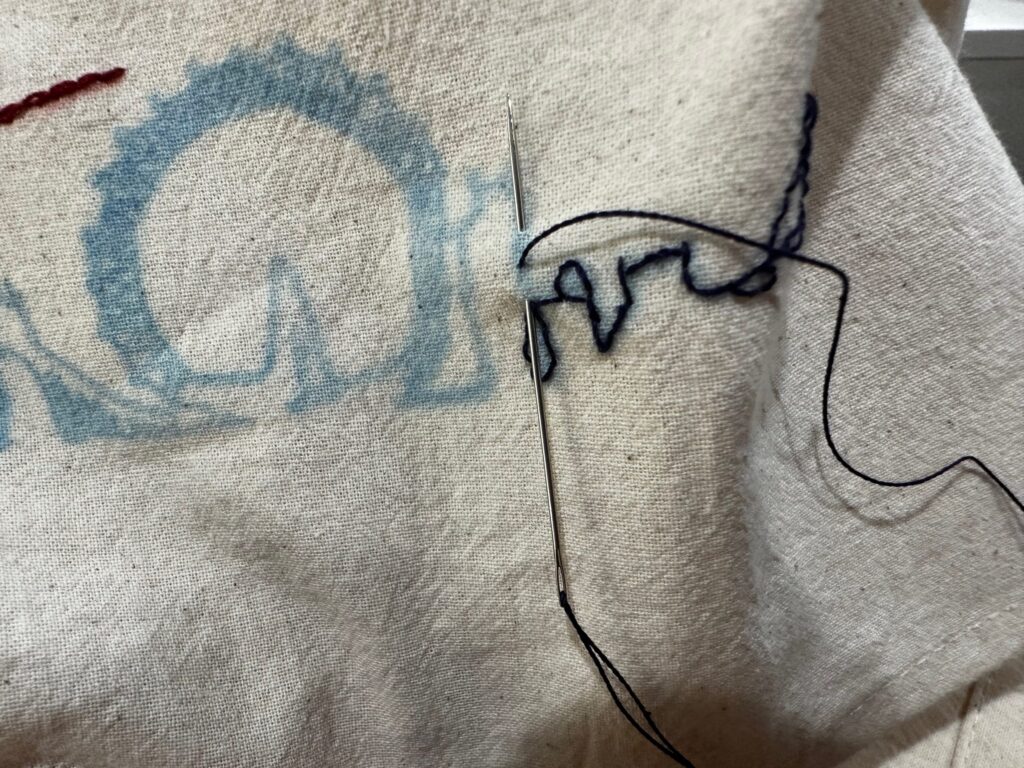
Hand Embroidery
Now the fabric (or object) is ready for embroidery! Follow the transferred lines with stitches, using any hand embroidery stitches you choose. Remember: The pens are permanent, so you’ll want to completely cover the ink with thread during stitching. If a bit of ink shows from beyond the stitching, this can result in a pretty watercolor look. You can also leave the transfer marks without adding any thread work and create all sorts of designs onto towels, T-shirts and more.