 Have you noticed a theme in my Halloween Decor? I love spiders! I think they are fascinating; the way they make their webs, how they move around so much, even the designs on their bodies. It’s probably because “Charlotte’s Web” and “Be NiceTo Spiders” were my favorite books growing up.
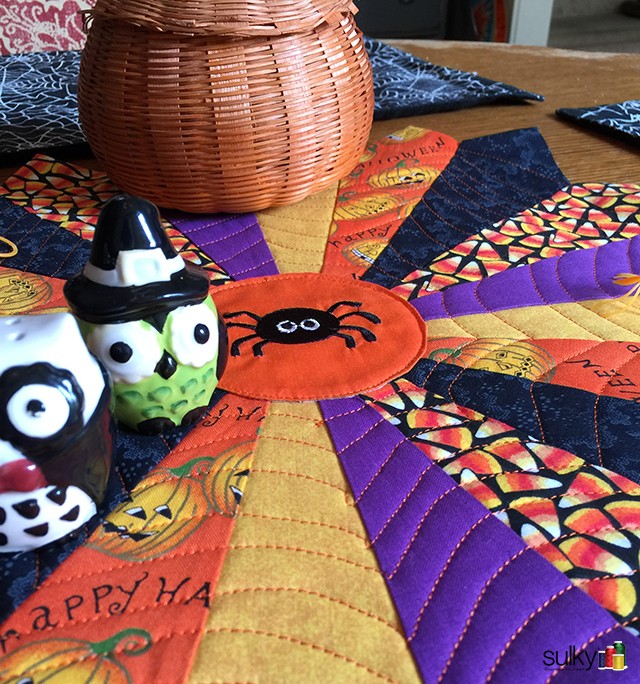
Halloween gives me a chance to put cute, spider-y things all over the house! (Let’s be honest, spider decor all year round is just creepy). A few years ago I bought cute spider web placemats for my breakfast table but the center of the table was naked! It needed a little something, so I made this wonderful placemat for the center. It went together pretty quickly and I am in love with the results. Here is the Step by Step Tutorial:
 Supplies:
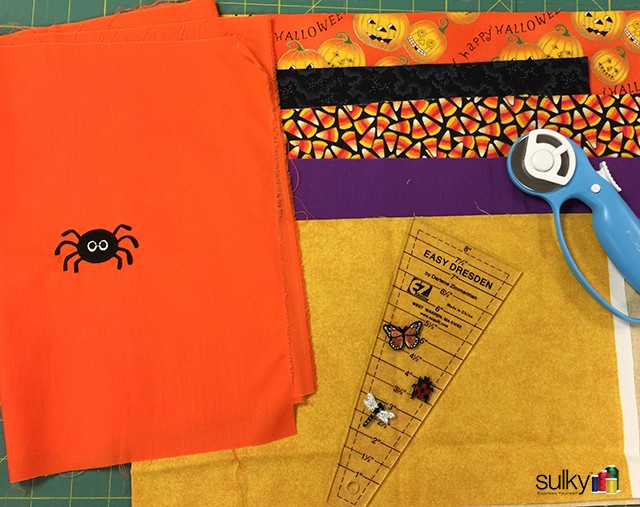
5 different Halloween-y fabrics
The Easy Dresden Quilt Tool by EZ Quilting®
Rotary Cutter and Mat
The Spider from the Sulky Embroidery Club Halloween Fun Set
The Sulky PolyDeco™ Halloween Thread Collection
Sulky Soft ‘n Sheer Extra™ Stabilizer
Sulky Tear-Easy™ Stabilizer
Batting
Backing fabric
FriXion™ Marking Pen (optional – disappears with heat)
Sulky KK 2000™ Temporary Spray Adhesive
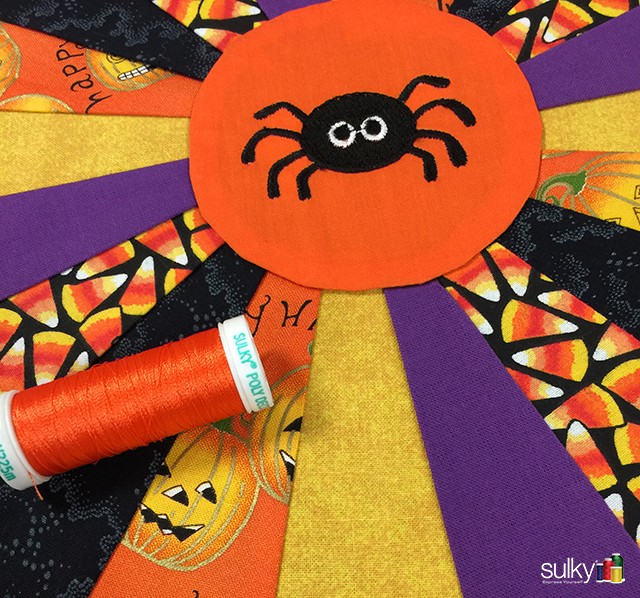
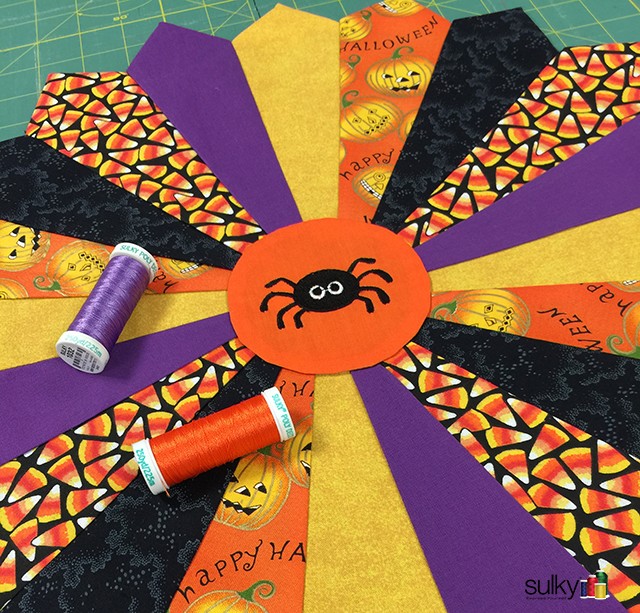
The first step is to embroider the spider onto the center circle fabric. I used a nice bright solid orange. Hoop the fabric with a piece of Sulky Tear-Easy and use Sulky 40 wt. PolyDeco thread in black and white from the Sulky PolyDeco Halloween Thread Collection.
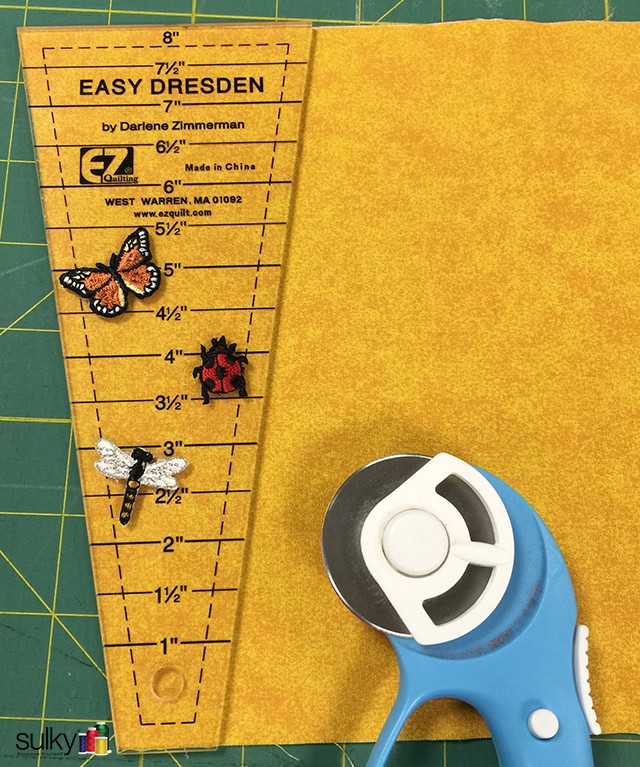
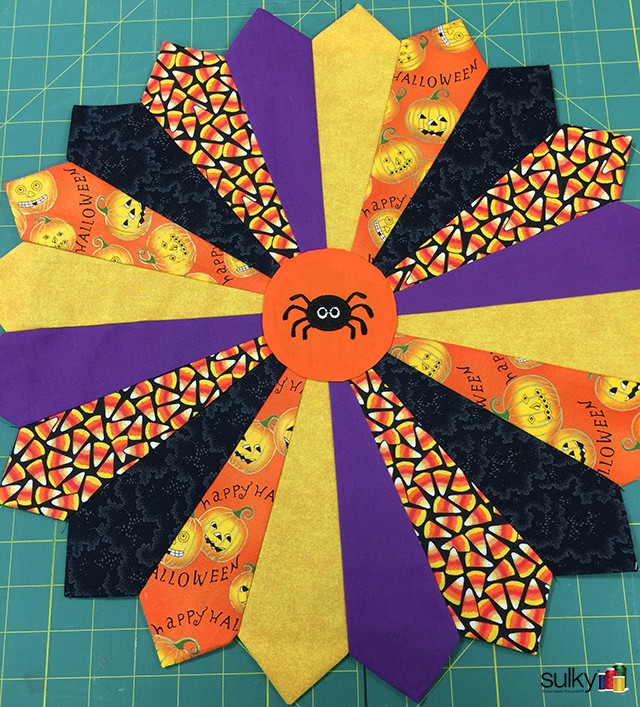
Next, cut the blades of the Dresden Plate from your fabrics using the Easy Dresden Quilting Tool by Darlene Zimmerman. I like this particular ruler because it’s easy to use and the directions included with the tool are well written. I cut my blades the full length of the tool, 8″. Simply follow the directions that come with the tool to put together the Dresden Plate. I used Sulky 40 wt. PolyDeco in black from the Halloween thread collection to do my piecing.
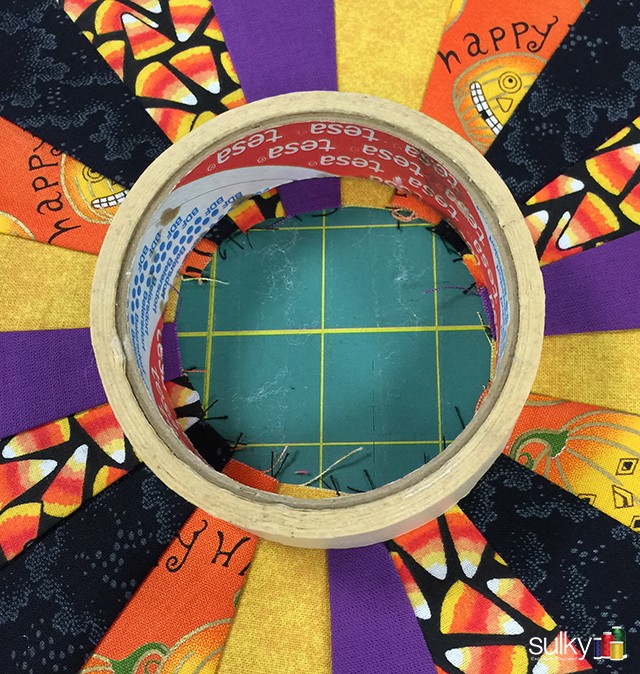
When the Dresden Plate is finished, it’s time to cut out the spider. As usual, I audition things from around my sewing studio until I find something to use as a circle template. I know my finished center circle needed to be at least 1/4″ bigger than the opening and this roll of tape was a good fit.
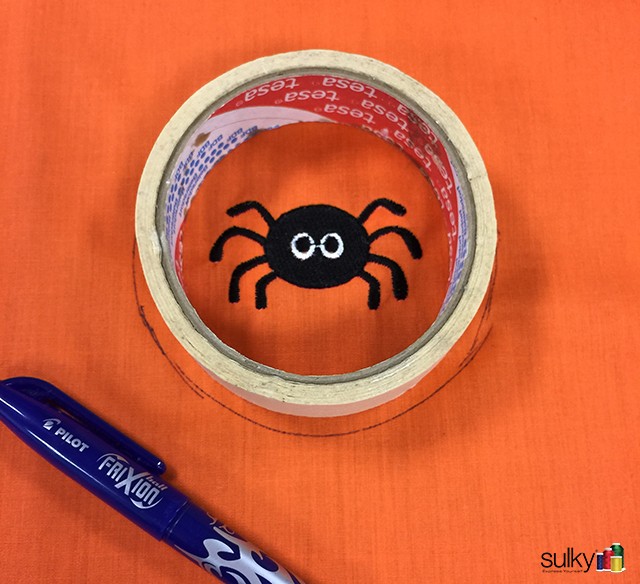
I used the roll and a FriXion™ Pen to draw around the spider adding an additional 1/4″ for a seam allowance.
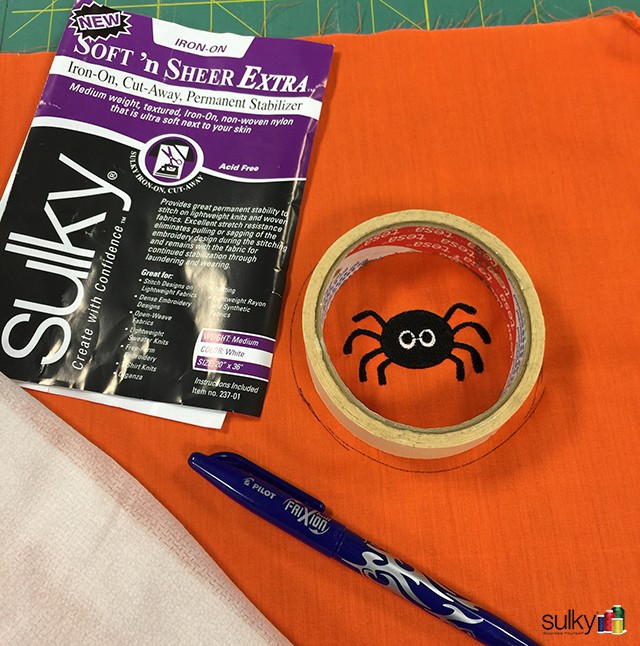
Next, I traced that same circle onto a piece of Sulky Soft ‘n Sheer Extra.
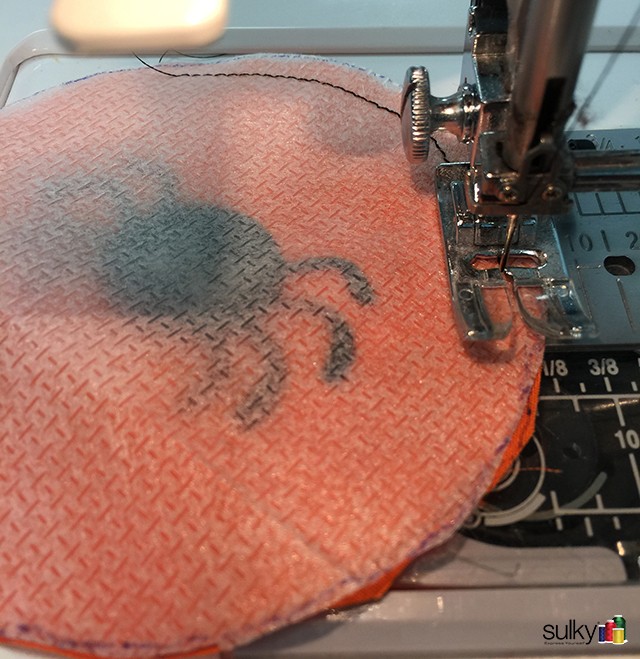
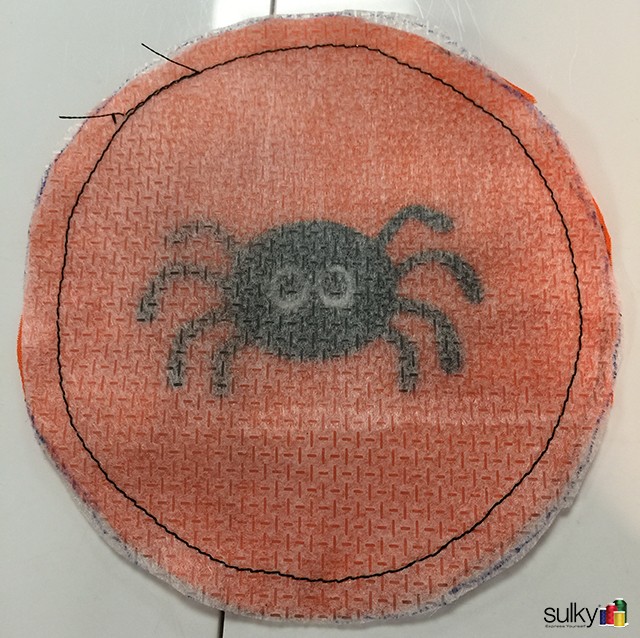
Put the bumpy side of the Soft ‘n Sheer Extra to the right side of the spider (do not iron!). Use a 1/4″ seam allowance to sew all the way around the circle.
Using very sharp scissors, carefully cut a slit in the center of the Sulky Soft ‘n Sheer Extra only.
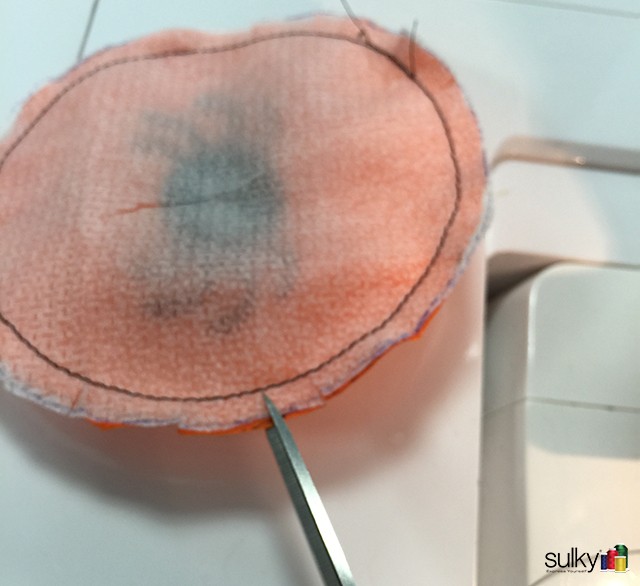
Clip around the edges.
Turn the center and press into place. Be sure to put an appliqué pressing sheet down on your ironing board. Remember the space under the spider is open!
Sew the circle down with matching thread.
If you want, you could decide this is finished, put it on your table and move onto something else. It is a Halloween placemat after all, not your entry into Paducah, but I really felt it needed some cute quilting. (Of course, I did!)
I auditioned thread from my PolyDeco Halloween Thread Set and decided on the orange.
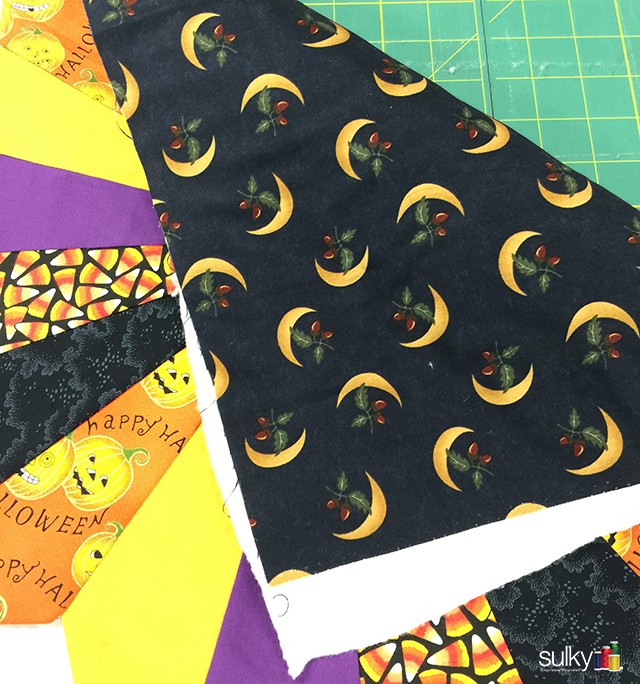
Next, I found the ugliest fabric I could find in my stash (Seriously, what was I thinking when I bought that? I don’t even understand the design), and I layered the backing fabric, batting and the top to make my quilt sandwich. I used Sulky KK 2000 to hold everything together. (HINT: If you want it to to serve as a hot mat on your table, you could use Insul-Bright instead of batting)
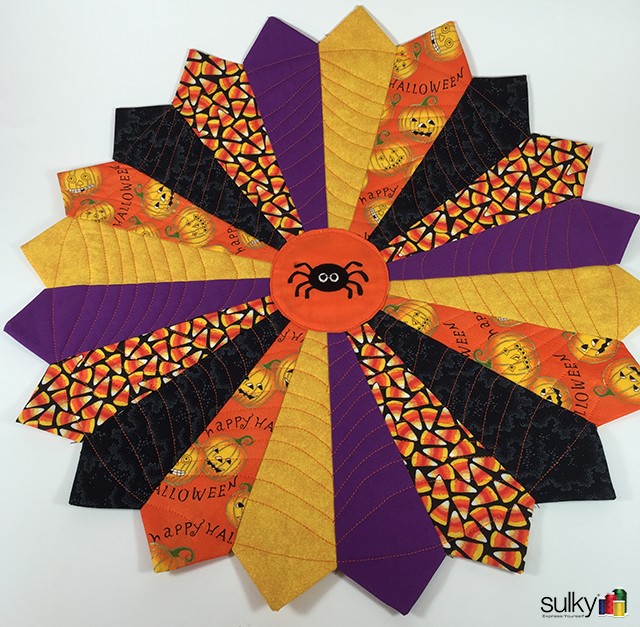
I left the batting and the backing over-sized while I quilted. I started by going around the center circle again and then sewed the outer edge about 1/4″ in from the points of each blade.
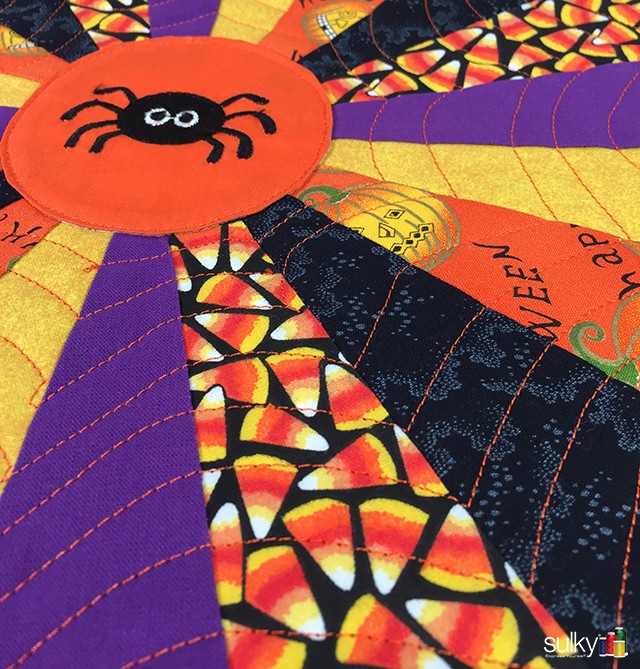
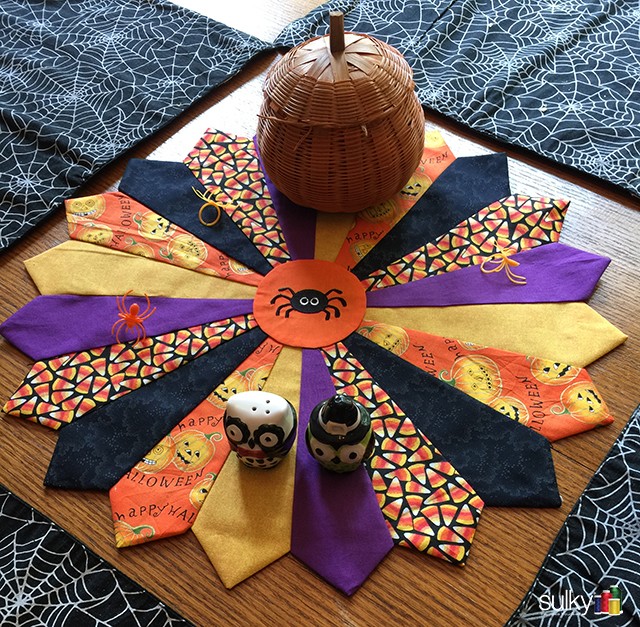
Next, I went back and did the spiderweb quilting design. I used my walking foot and just did gentle curves between two blades all the way around until the entire piece of quilted. I love this quilting because it looks way more complicated to do than it actually is!
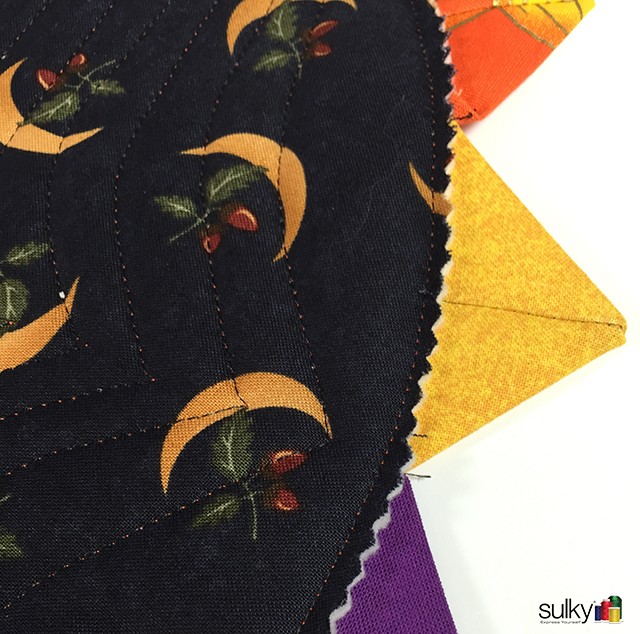
I finished it off by carefully cutting the batting and backing away using pinking sheers.
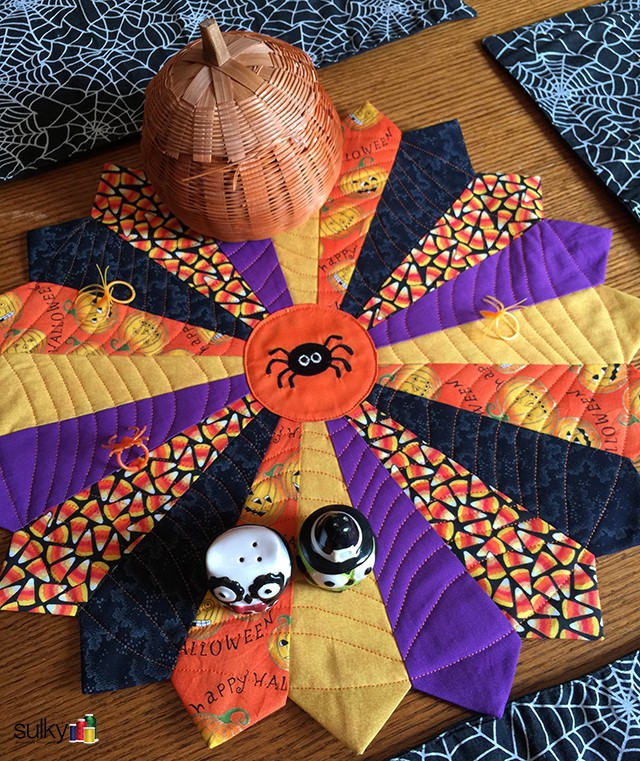
And it’s done!
I must admit, I just love this one! What do you think?
Happy Halloween and Happy Sewing!
Looking for more great Halloween ideas? Check out all my Halloween blog posts here.

It’s Beautiful and just right for October and Halloween!!!
Oh I LOVE this table topper!!! I’m adding it to my list of favorite Halloween items to make!!
Is there a way to print out this project? Is it in off format someplace?
Hit the PDF icon at the top of the post and then you can save and print the post. Thanks for reading the blog!
LOVE IT!!! I am going to try and make one 🙂
Thanks! Actually, I see this pattern in all sorts of ways; for every occasion!!!! The circle in the center could be embroideried for any holiday!
This is really cute. AND easy!!
There is Not a PDF block or symbol to click onto for this Halloween Placemat at all! I’m using the MacBook Pro laptop..
Where can I find this on this site? Thanks So Much for your help. This is So Stinking Cute & would Love to make for our two Grandkids..
The icons are at the very bottom of the post on the right side. You can print, make it a pdf or email it. I am so glad you like it! It was fun to make