Halloween Machine Cross-Stitch Flag to Make
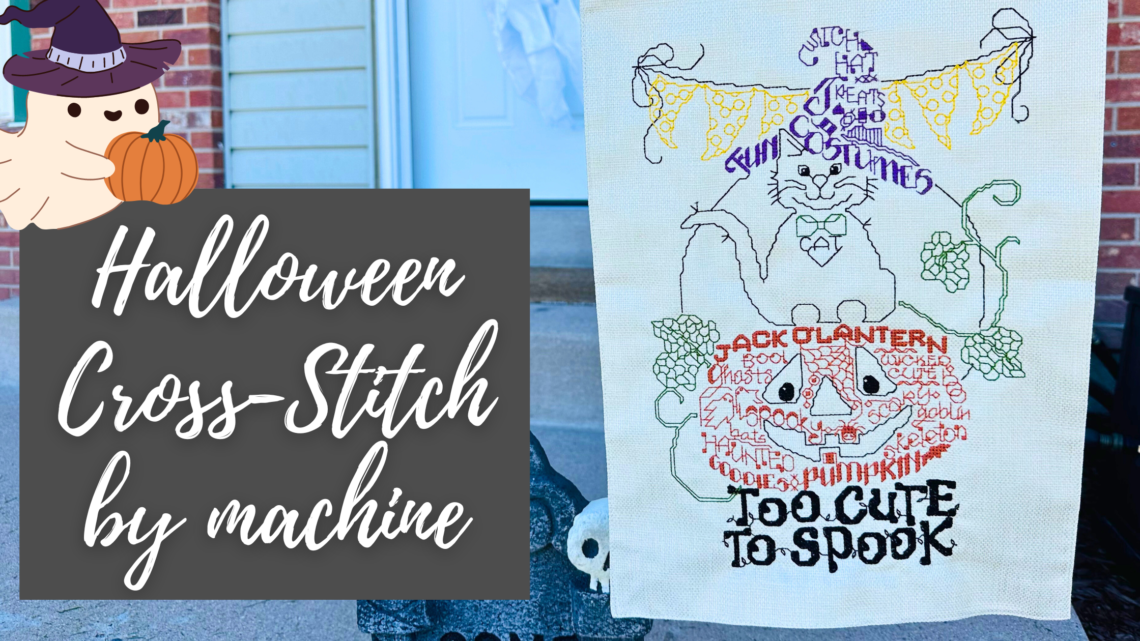
Halloween Machine Cross-Stitch
for garden flags, signs, totes & more!
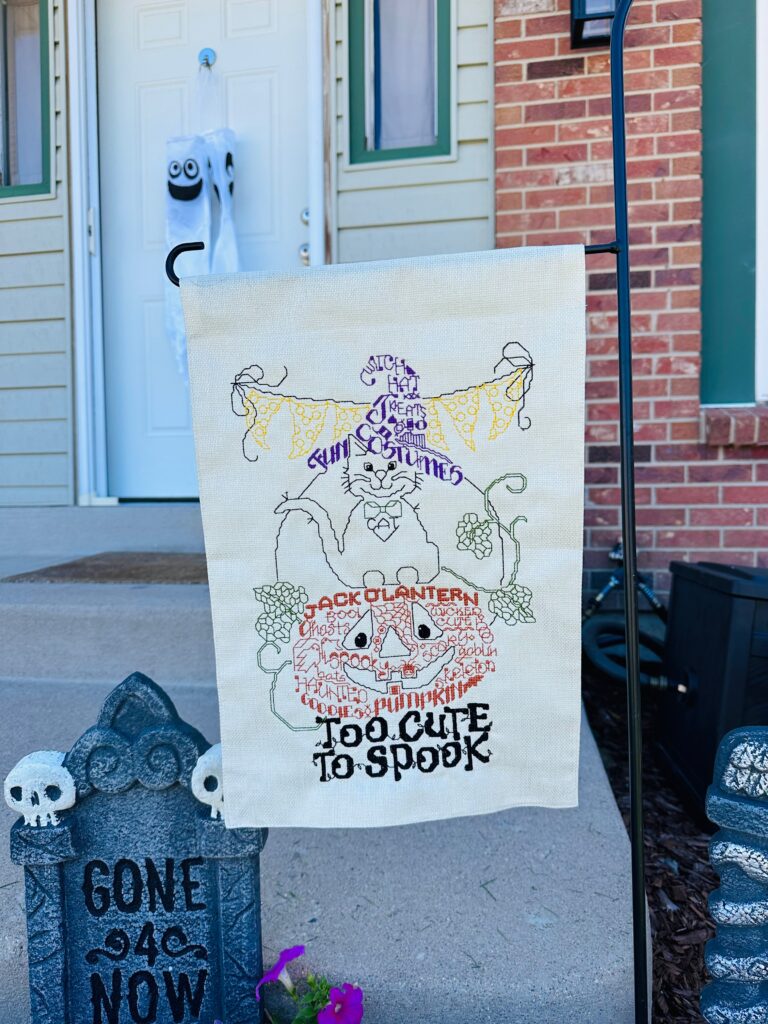
Stitch a quick Halloween machine cross-stitch garden flag to hang near your front door. This design is available as a single download (with tons of size options) and as part of a collection of four. Designed by Urusula Michael, this cross-stitch is done entirely on the embroidery machine so you don’t have to count a thing! Grab a garden flag blank to make things even simpler, or stitch your own using fun Halloween-print fabrics.
HALLOWEEN MACHINE CROSS-STITCH FLAG SUPPLIES
- Garden flag blank (or fabrics to make your own)
- Halloween machine cross-stitch design of your choice
- Sulky Tear-Easy™ or Fabri-Solvy™ Stabilizer
- KK 2000™ Temporary Spray Adhesive
- Sulky Poly Deco™ Threads (colors determined by chosen embroidery design)
- Sulky 60 wt. Bobbin or PolyLite™ Thread
- Curved Tip Squeezers
- Garden flag stake
Some of the above links are affiliate links. If you make a purchase through those links, we may earn a small commission.

MACHINE CROSS-STITCH DESIGN DETAILS
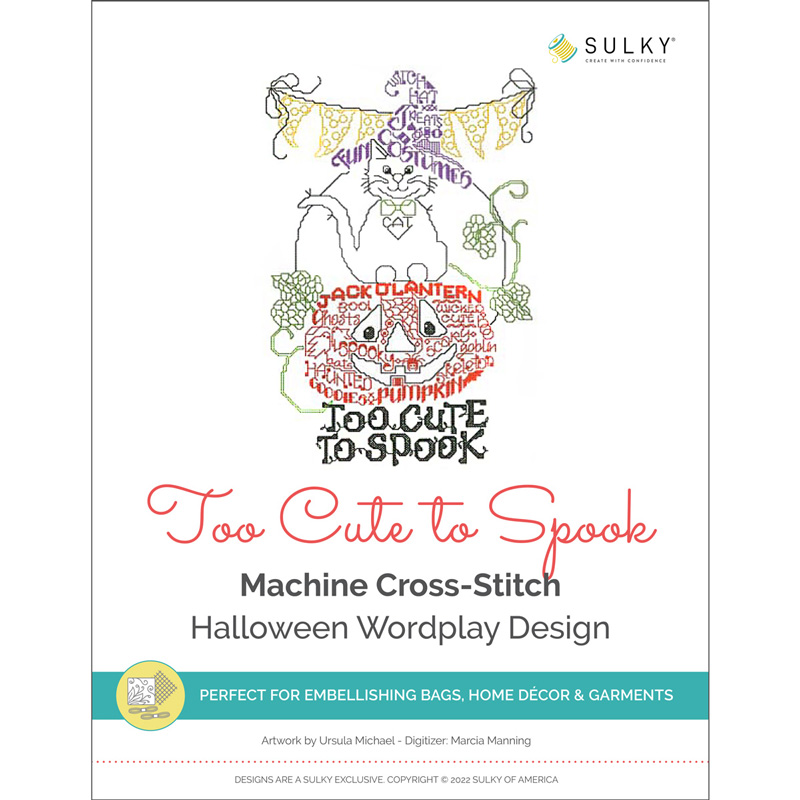
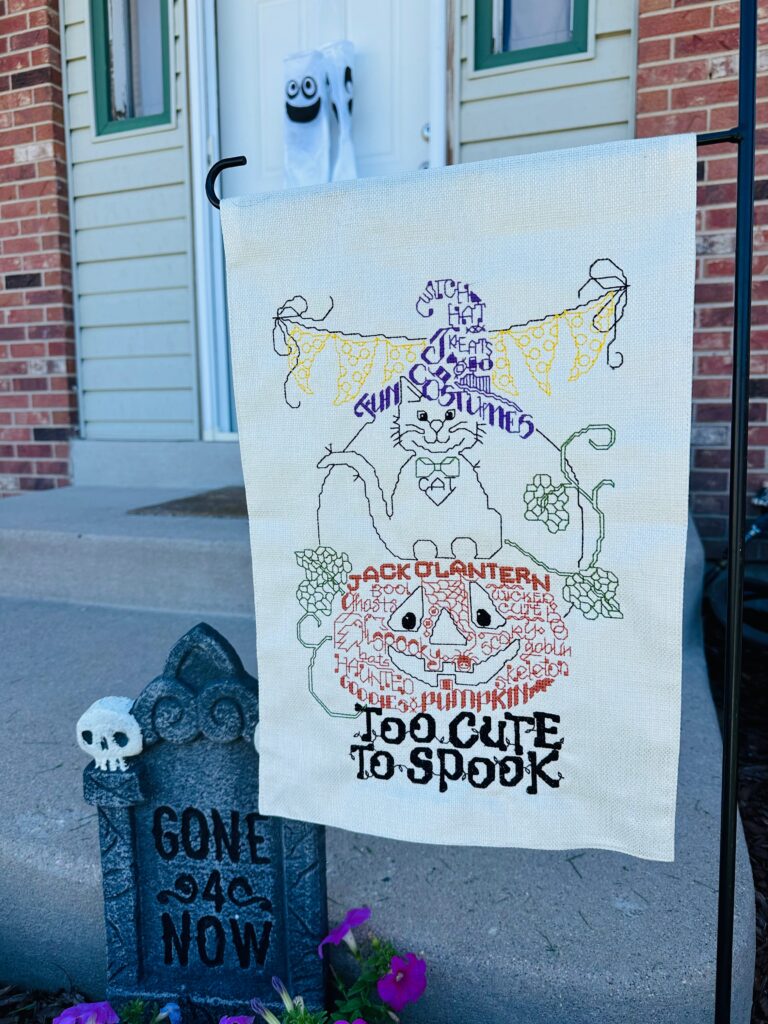
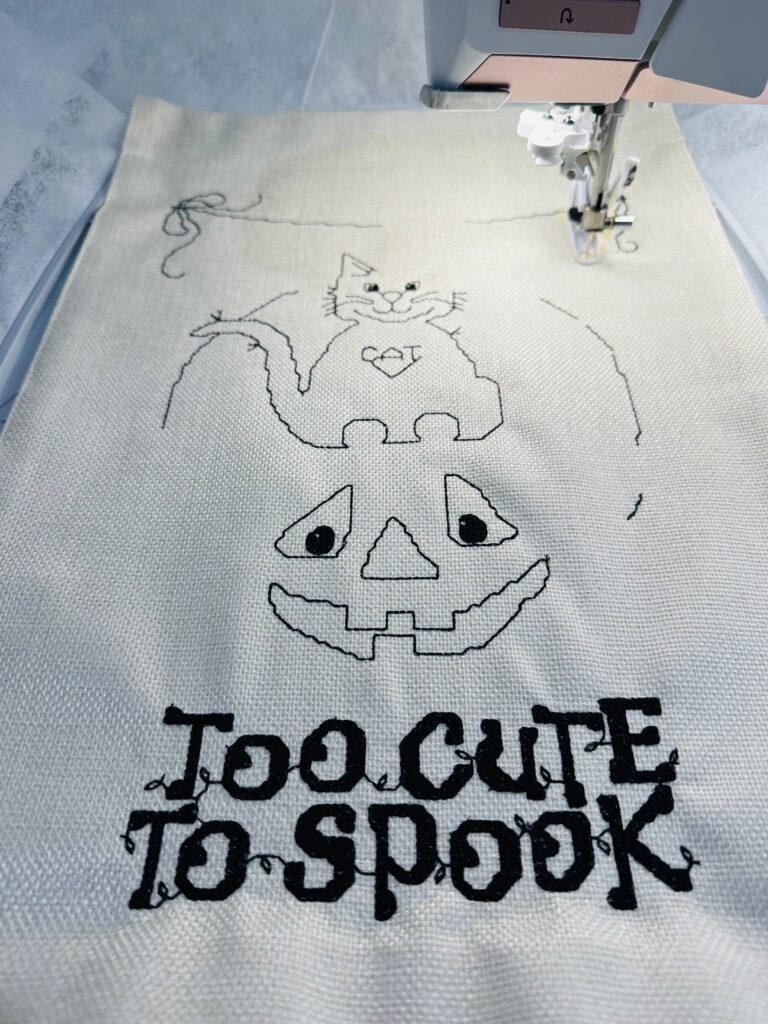
The featured design, Too Cute to Spook, comes with a bunch of cross-stitch counts and sizes. For the featured garden flag blank, the 11-10 count size is showcased to fit within a 12″ x 16″ embroidery field. (The flag measures 12″ x 18;” however, the upper 2″ is the casing for hanging so no stitching is placed in that area.)
Design sizes and stitch counts:
- 22-2 – 5.24″ x 7.70″ – 19,157 stitches
- 18-4 – 6.12″ x 8.98″ – 21,591 stitches
- 16-4 – 6.99″ x 10.27″ – 21,591 stitches
- 16-6 – 6.99″ x 10.27″ – 24,021 stitches
- 14-4 – 7.87″ x 11.55″ – 21,591 stitches
- 14-6 – 7.87″ x 11.55″ – 24,021 stitches
- 11-8 – 10.49″ x 15.40″ – 26,455 stitches
- 11-10 – 10.49″ x 15.40″ – 44,391 stitches
Depending on the flag size you’re making, choose the size and count that best fits. The count number represents how many threads there are per inch of fabric. The number 14 means there are 14 cross-stitches in one inch. So a size 11 count has less stitches per inch than a size 14 count.
The second number represents the density of the design, or how many times the thread is passed over the “x.” For a thicker thread appearance, choose a larger number for the count you’ve chosen. In the featured sample, the 11-10 design is used to have the largest size with the most prominent stitching.
MACHINE CROSS-STITCH STABILIZER
For the featured Halloween machine cross stitch flag, Sulky Tear-Easy is used in the hoop. Then, the flag is placed over the hooped stabilizer, secured with KK 2000 Temporary Spray Adhesive.
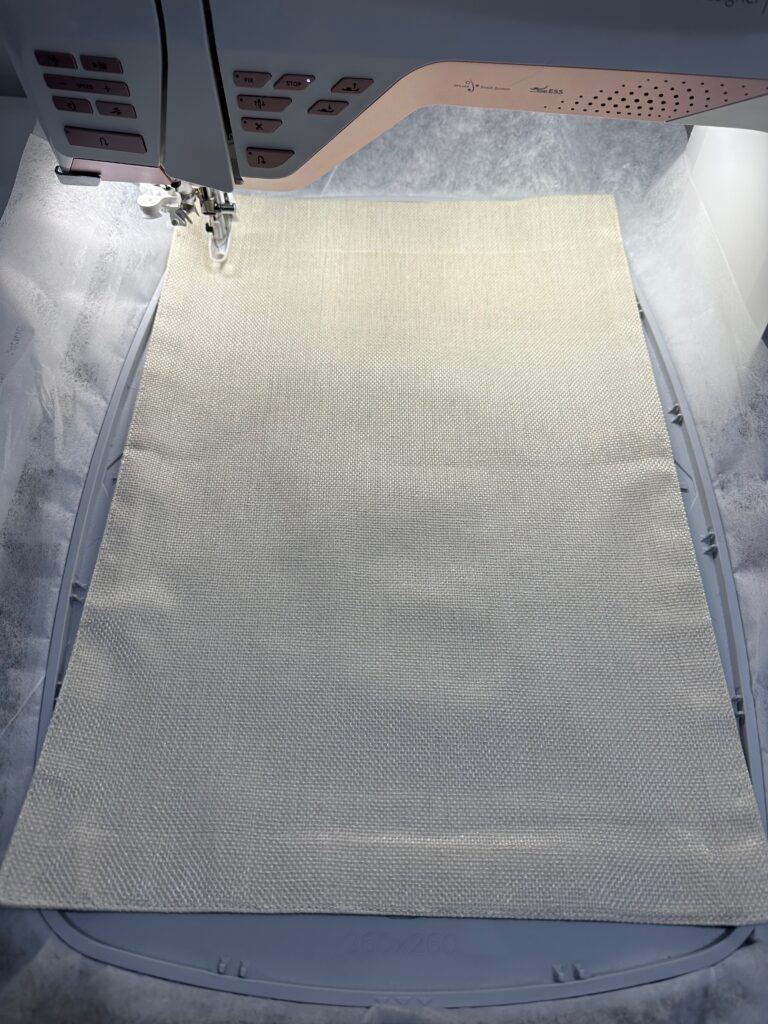
This stabilizer provided adequate stability for the flag during the stitchout. But, when the stabilizer is removed by tearing away beyond the stitching, some bits remain intact due to the stitch formations in the design. It’s virtually impossible to remove all of the stabilizer between all those tiny x’s.
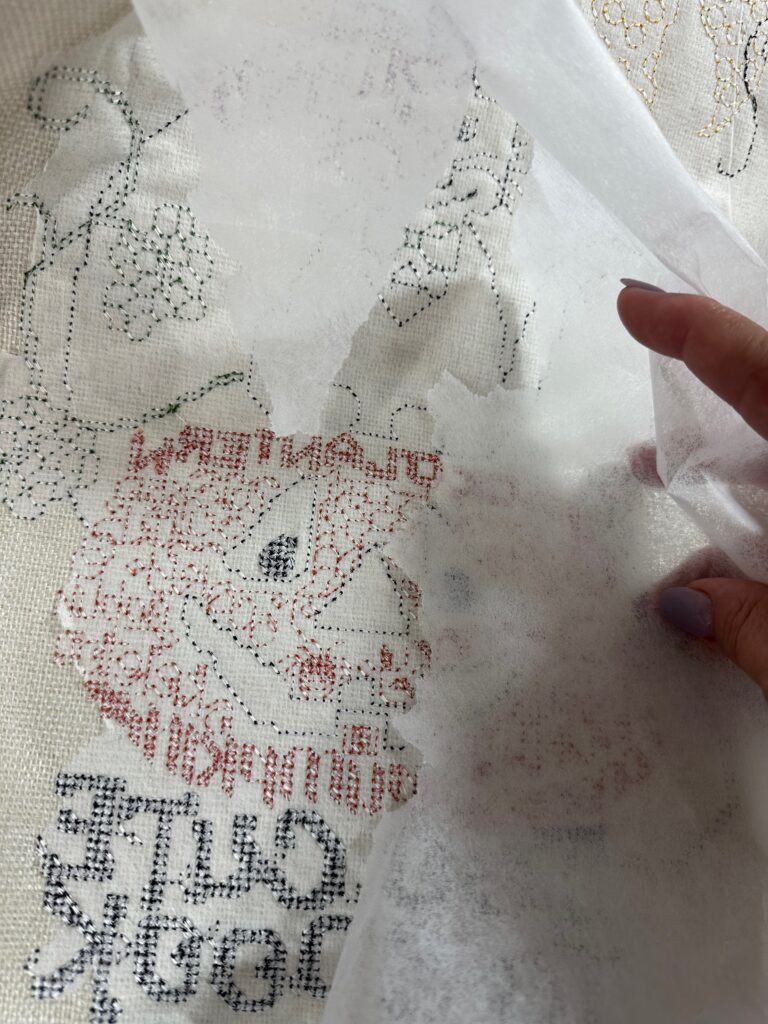
As this is a garden flag blank, the back of the flag is seen to anyone who walks behind it. If this doesn’t bother you (it doesn’t bother me!), feel free to stick with Tear-Easy as your stabilizer of choice.
If you don’t want to see any stabilizer after embroidery is complete, choose Sulky Fabri-Solvy stabilizer. Again, hoop only the stabilizer, and then secure the flag to it using KK2000 before the stitchout.
After embroidery is complete, remove the Fabri-Solvy using running, warm water. Then, let the flag dry before hanging.
THREAD CHOICE FOR FLAG
Whenwver embroidering something that may be subjected to lots of sunlight or the elements, it’s best to choose Sulky Poly Deco Thread over Rayon. Poly Deco is colorfast yet still as lustrous as Rayon. Plus, it’s the same weight. So, if a design is digitized for 40 wt. Rayon, it’s safe to substitute 40 wt. Poly Deco.
Pair the Poly Deco in the needle with Sulky 60 wt. Bobbin or PolyLite™ Thread for a balanced stitchout.
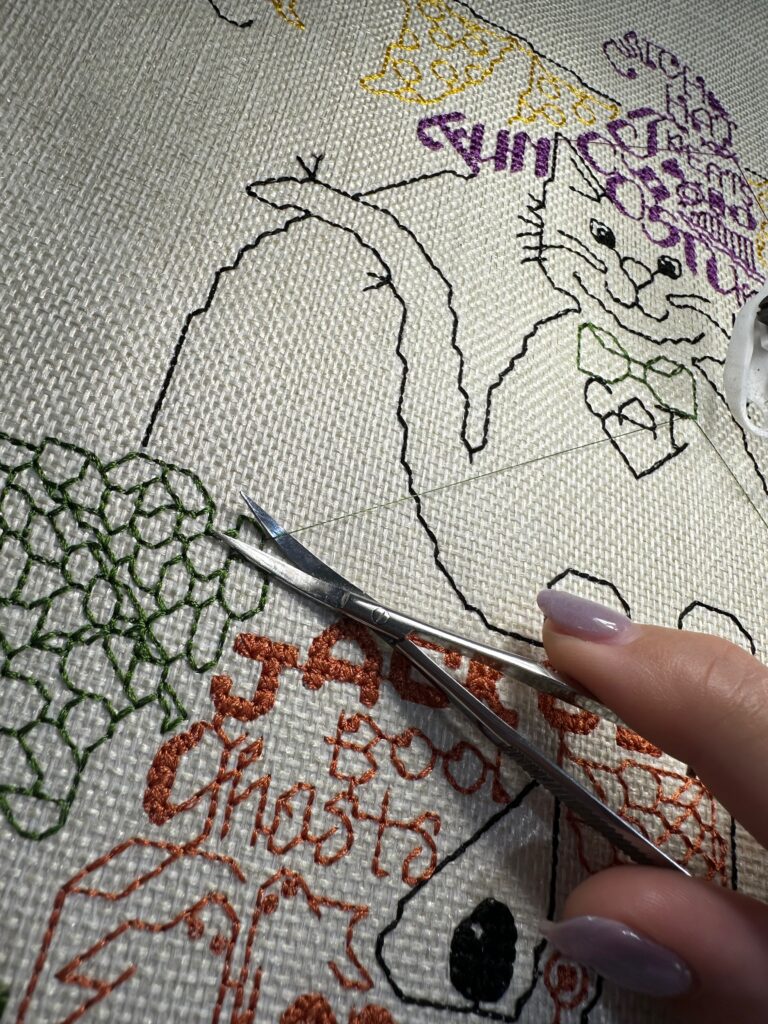
Make sure to clip jump threads with each thread change so the subsequent cross-stitches and needle movement won’t snag on the threads. A pair of Curved Tip Squeezers comes in handy for this job!
After embroidery is complete and the stabilizer is removed, hang your Halloween Machine Cross-Stitch Flag out front with your other spooky decorations!

Ellen March
I am the Director of Content for Sulky of America. The former Editor in Chief of Sew News and Creative Machine Embroidery magazines, I hosted Sew it All TV on PBS for nine seasons. I've appeared on It's Sew Easy on PBS, DIY Network's Uncommon Threads, Hallmark's Marie Osmond Show, MacPhee Workshop and more! Come sew with me!


2 Comments
Anita L Jackson
It’s Great that you feature so many designers. And OhMyGoodness, I love Halloween everything!
conniehatch123
Connie