Felty Ireland Ornament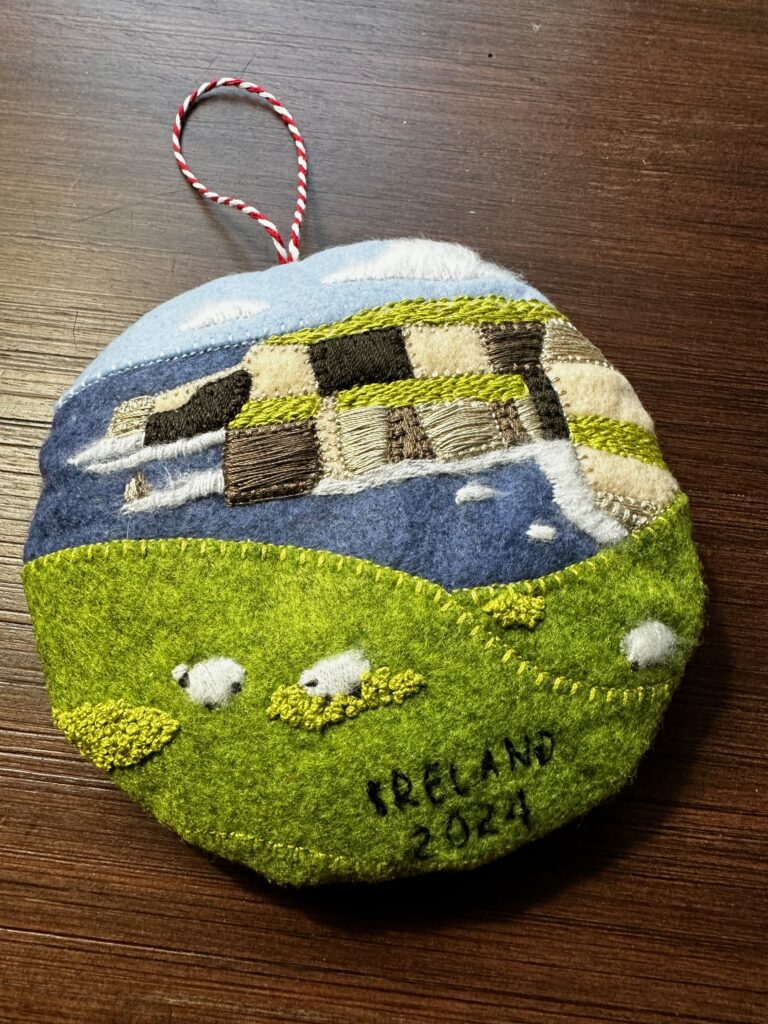
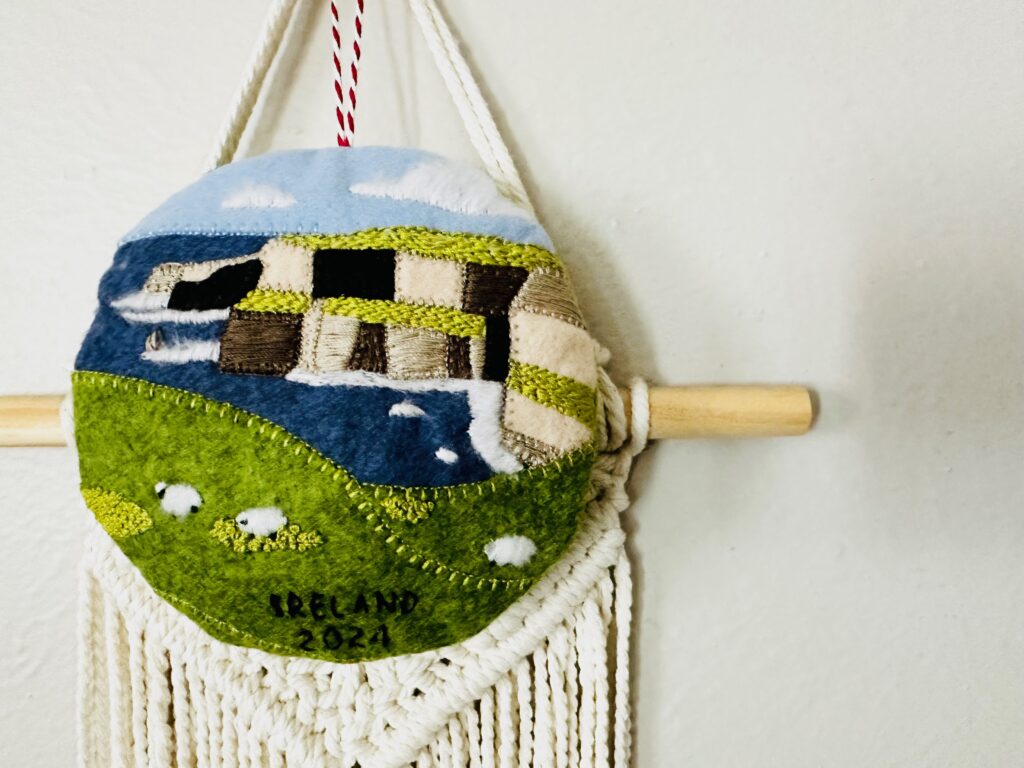
A Felty Ireland Ornament is a great holiday ornament for anyone with Irish roots. If you traveled with us to Ireland this past week, you took the workshop for this appliqué and embroidery project with me, Ellen March! Here’s how I turned the Ireland design into a hanging ornament to commemorate our day trip to the Cliffs of Moher.
IRELAND ORNAMENT SUPPLIES
- Ireland 2024 Appliqué & Hand Embroidery Pattern
- Sulky Felty (Beige, Heather Green, Pastel Blue, Heather Blue)
- Perfect Appliqué Fusible Web
- Sulky Stick ‘n Stitch Stabilizer
- Sulky 12 wt. Chtton Thread: 712-1838 Cocoa Cream, 712-1180 – Truffle Taupe, 712-1131 – Cloister Brown, 712-1834 – Pea Soup
- 12 wt. Filaine Thread – Soft White
- Filaine Wire Brush
- Sulky 50 wt. Cotton Thread (construction)
- Hand embroidery needle
- Ribbon, twine or string (for hanging)
- Sulky Multipurpose Turning Tool
- Polyester fiberfill
FELTY CUTTING & PREP
Follow the chart below to cut the Felty sheets into the needed rectangles for each appliqué. The Heather Blue Felty sheets are the background and ornament back pieces.
| Felty – 4″ x 8″ | BEIGE |
| Felty – 6″ x 8″ | HEATHER GREEN |
| Felty – 4″ x 10″ | PASTEL BLUE |
| Felty – 8″ x 10″ (2) | HEATHER BLUE |
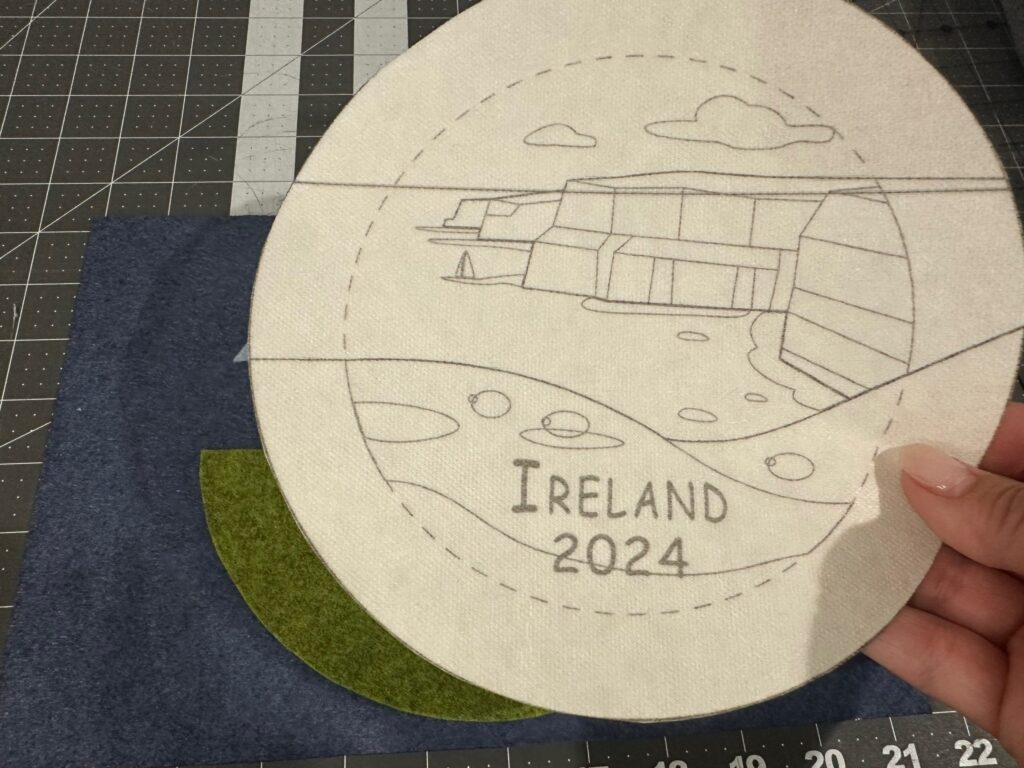
Grab the free Ireland 2024 Appliqué & Hand Embroidery Pattern; download and print on standard computer paper (except for page 3). Print page 3 (the hand embroidery template) onto a sheet of Sulky Stick ‘n Stitch Stabilizer. Be sure to print on the fabric-like side and set the printer to “draft” or the lowest ink setting, if possible. After printing, trim the stick ‘n Stitch slightly larger than the outer circle line.
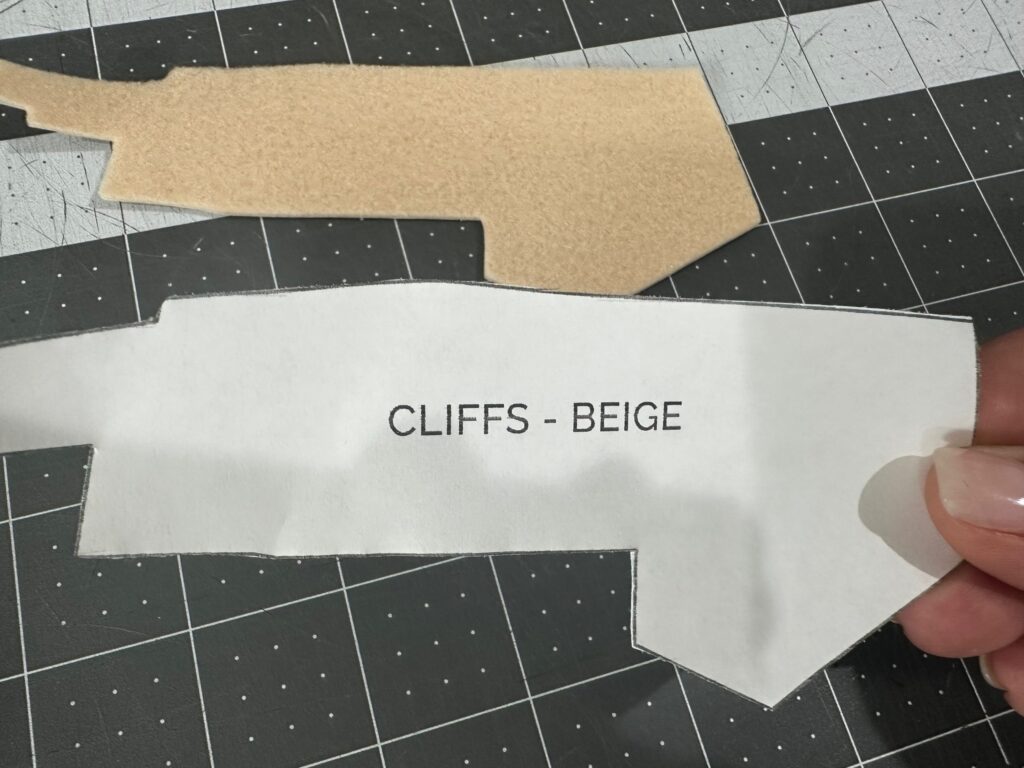
Cut out each appliqué shape from the printed paper pattern, leaving a bit of a border.
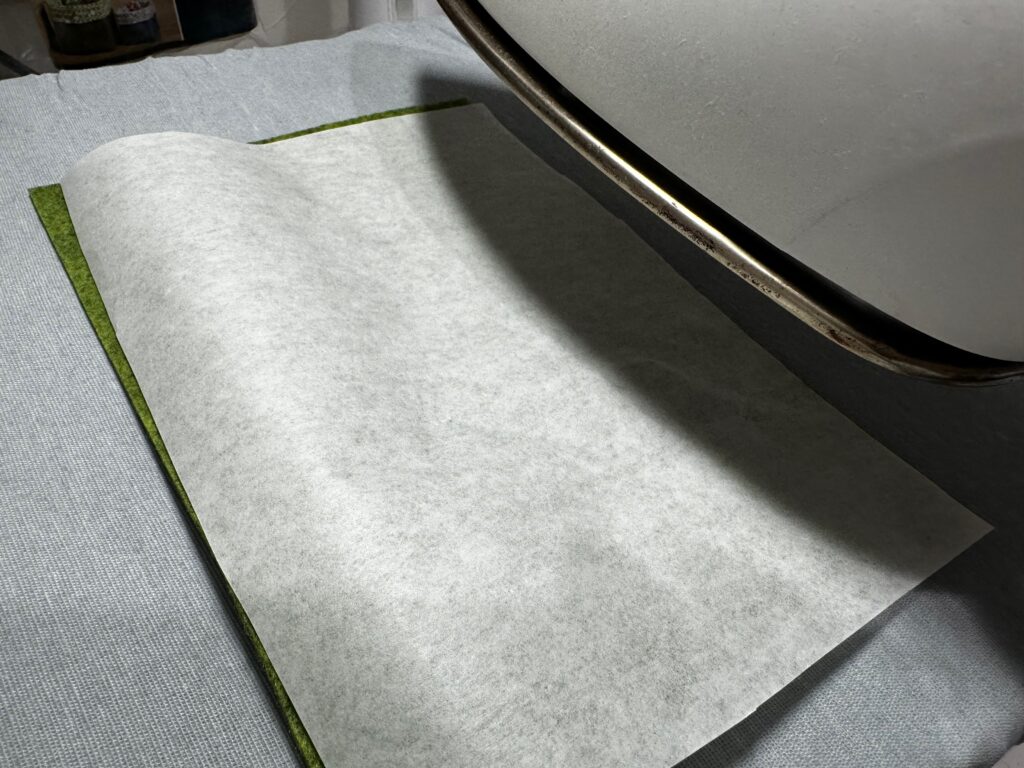
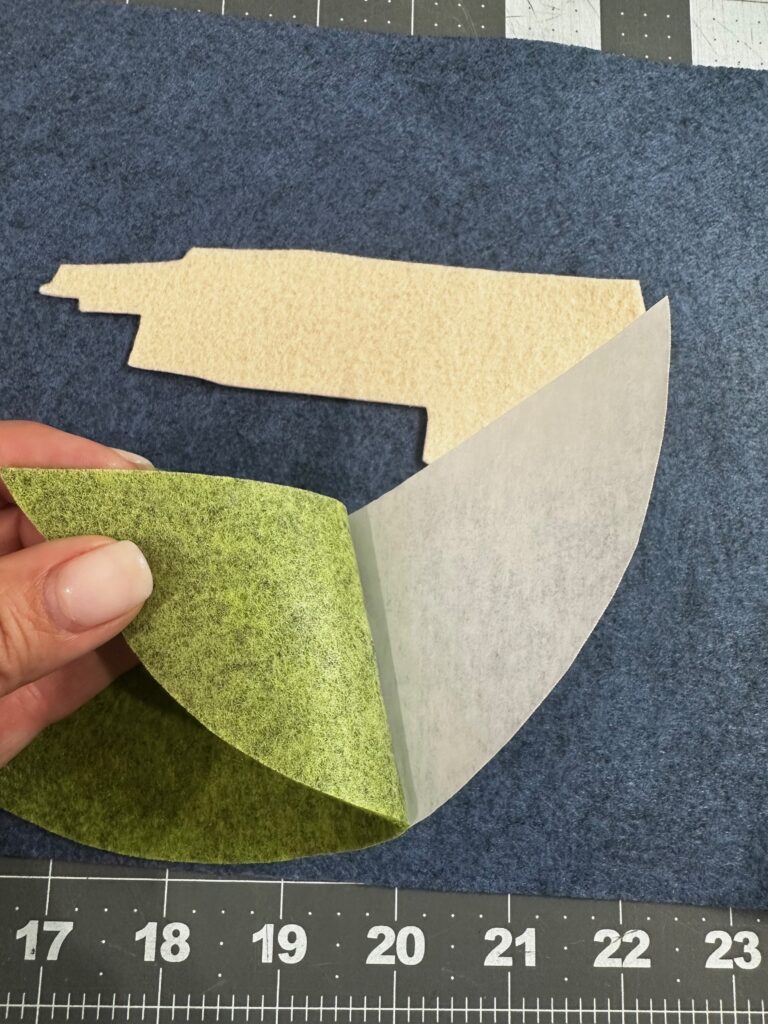
Fuse a piece of Perfect Appliqué to each Felty rectangle, except for the background and back pieces (Heather Blue).
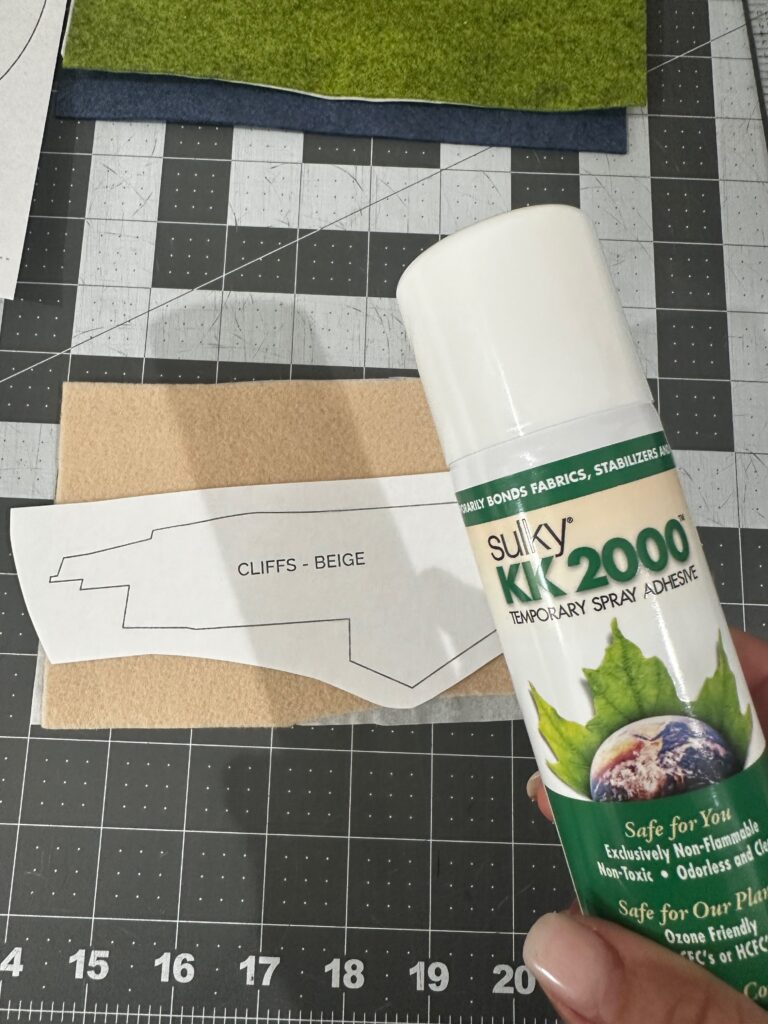
Then, place each paper appliqué pattern on the right side of a prepared Felty sheet. Use Sulky KK2000 to secure the paper pattern before cutting.
Next, cut out each appliqué piece.
Then, remove the fusible web paper backing.
IRELAND CLIFFS OF MOHER APPLIQUÉ
Place the backing Felty sheet on a flat work surface with one long edge as the lower edge.
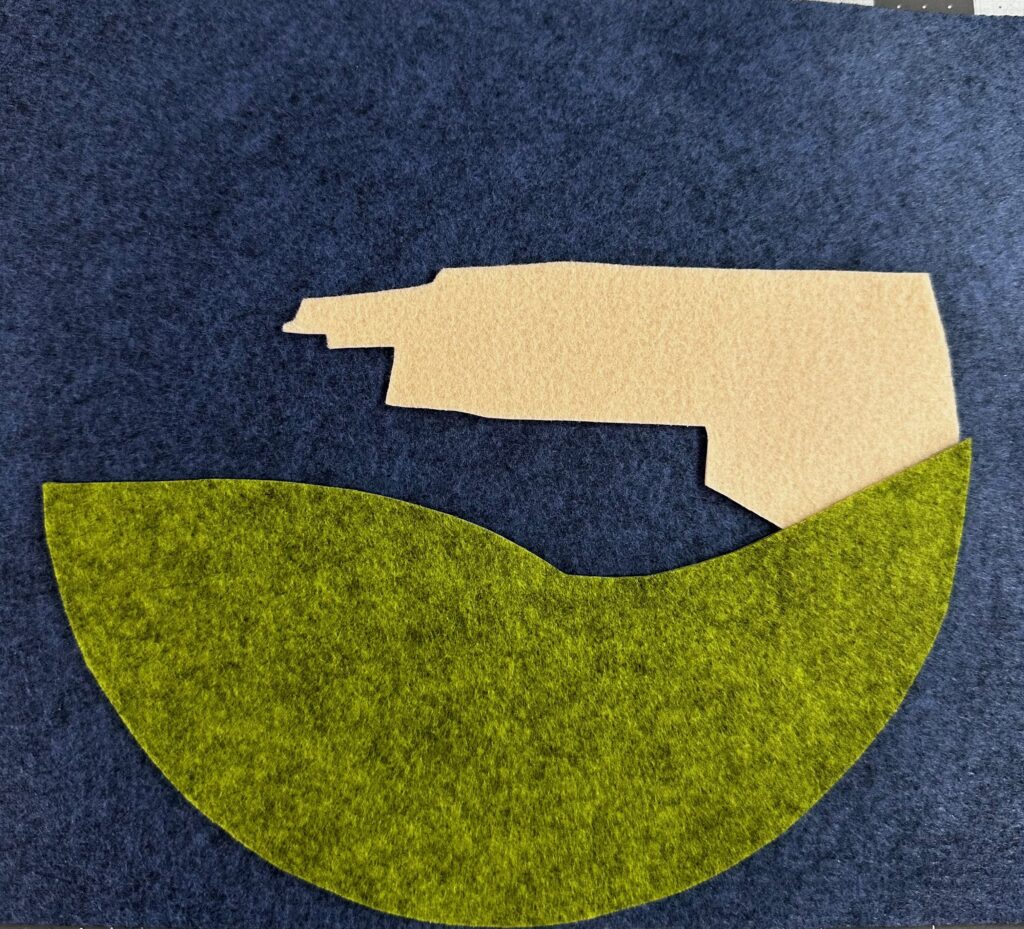
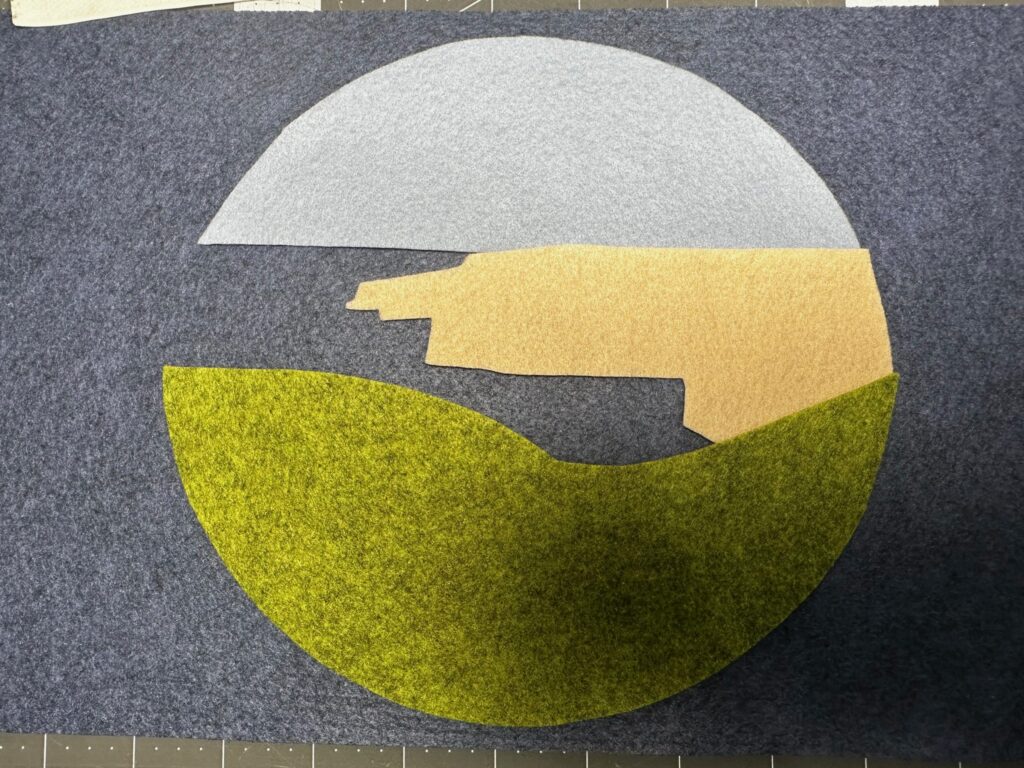
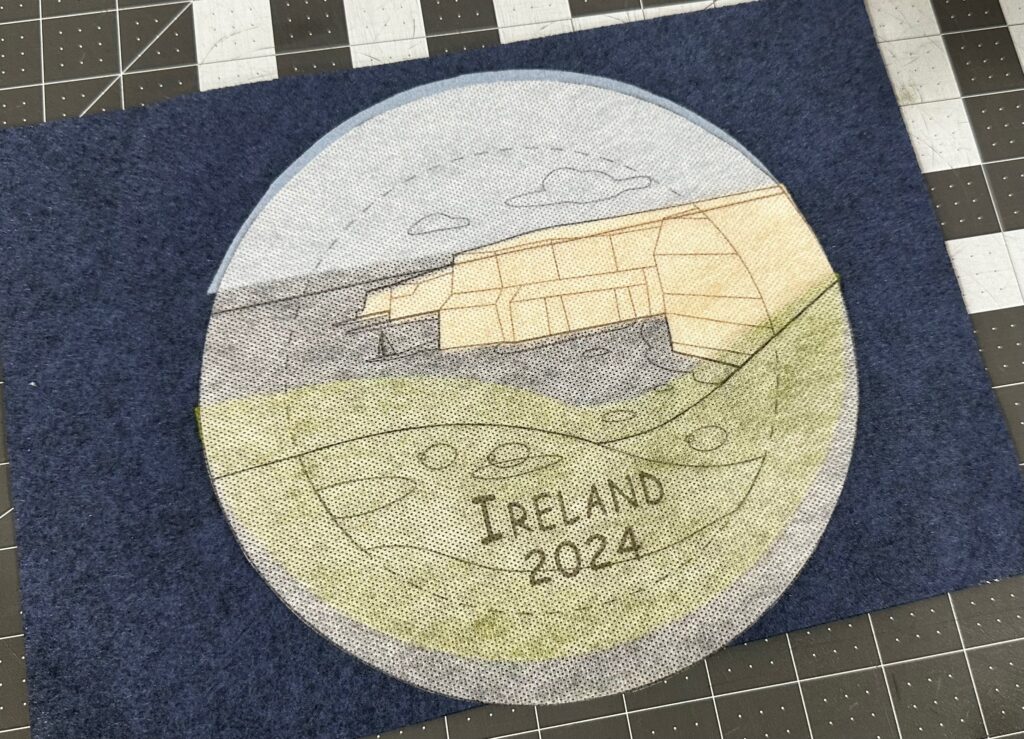
Using the Ireland 2024 Appliqué & Hand Embroidery Pattern template, position the appliqué shapes, making sure they slightly overlap along adjoining edges.
Fuse the appliqués to the Felty background, once satisfied with the placement.
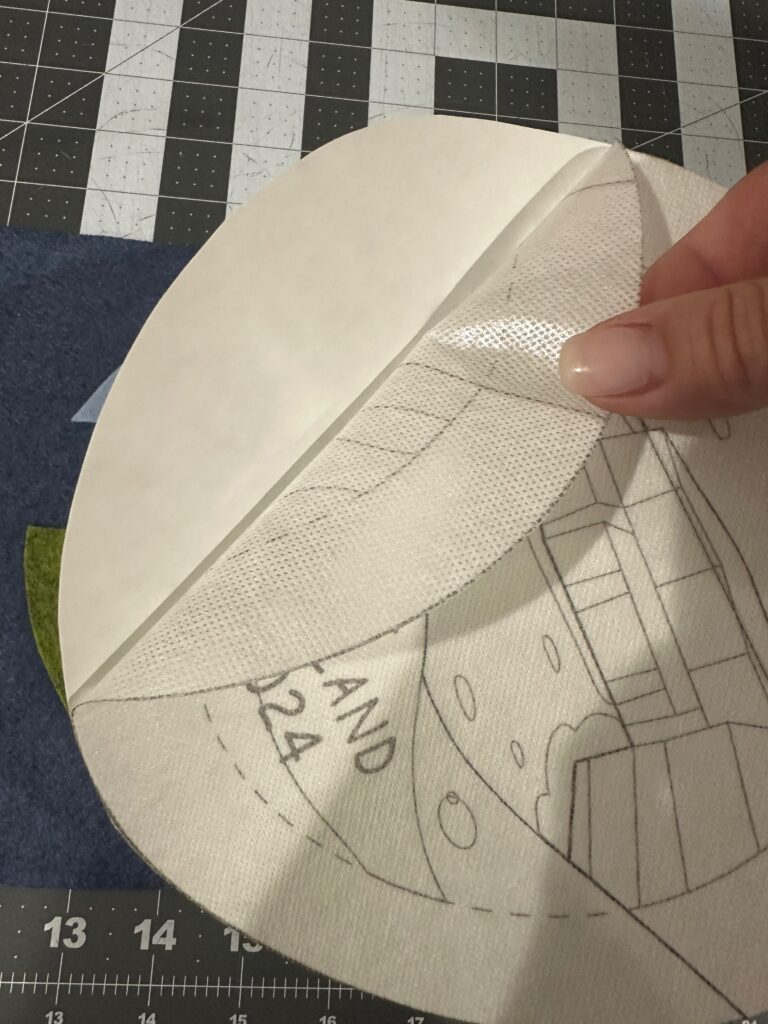
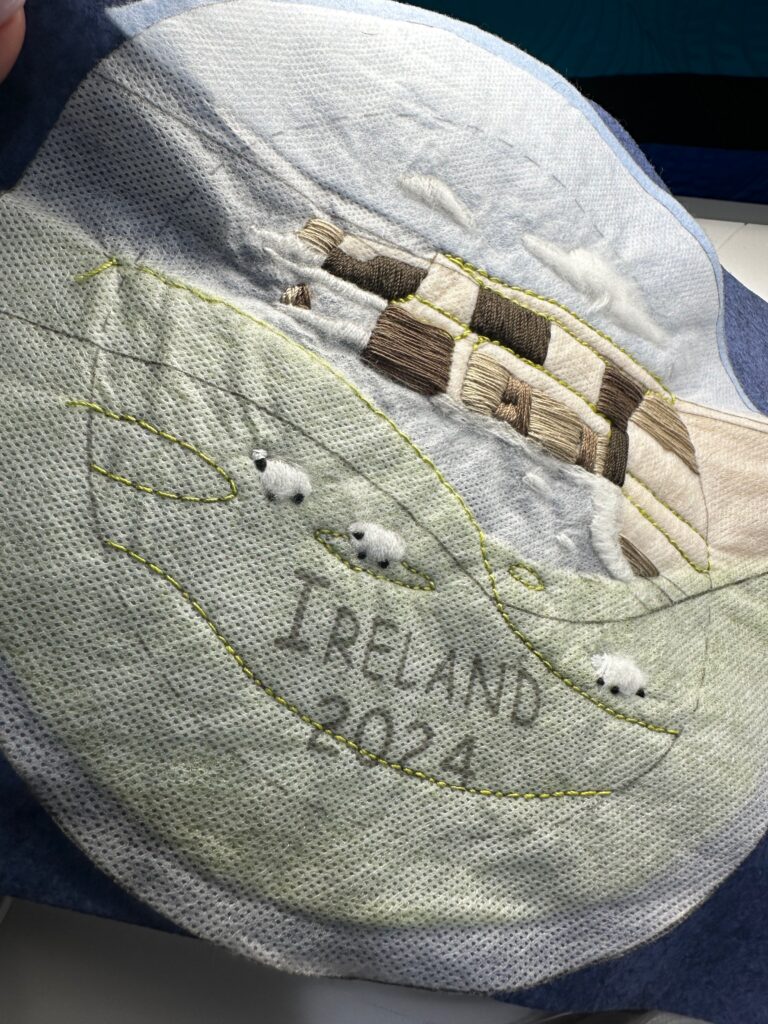
Next, remove the paper backing of the the Stick ‘n Stitch hand embroidery transfer sticker. Place it right side up over the appliqué shapes. If the appliqué edges don’t entirely match up with the template, that’s fine! Just try and get the sticker as close to accurate as possible.
HAND EMBROIDERY
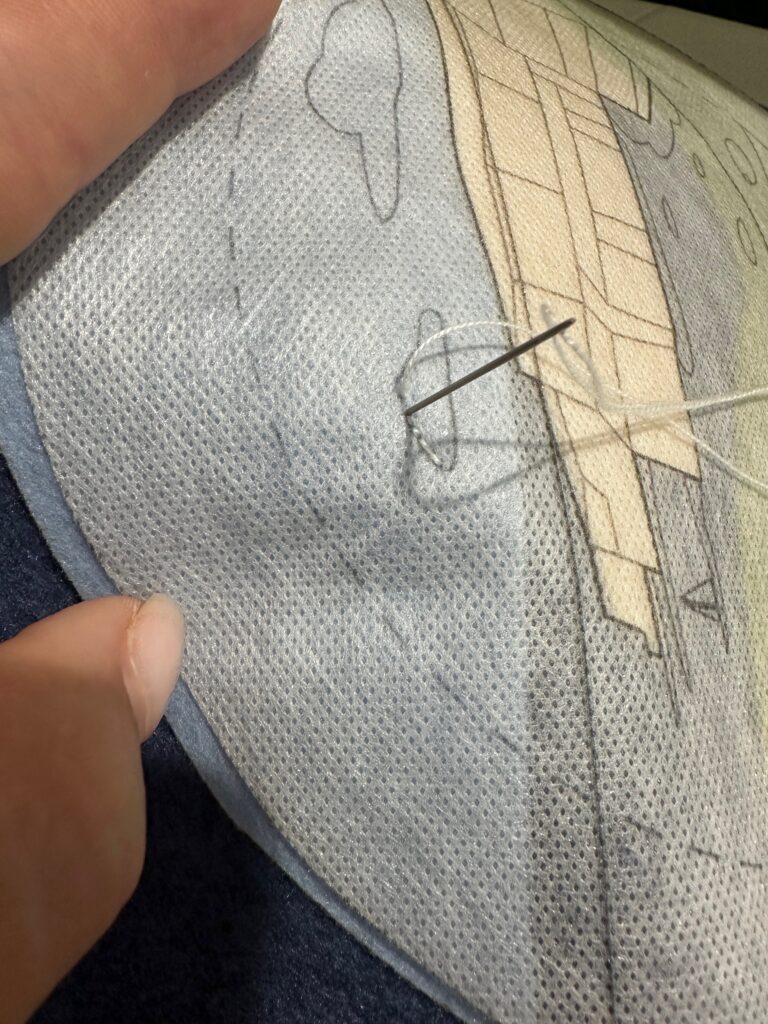
Thread a hand sewing needle with one or two strands of Sulky 12 wt. Filaine Thread. Embroider all the Filaine portions of the design, consulting the chart in the pattern. Use long-and-short stitches, satin stitches or other fill stitches to really fill the white areas with thread.
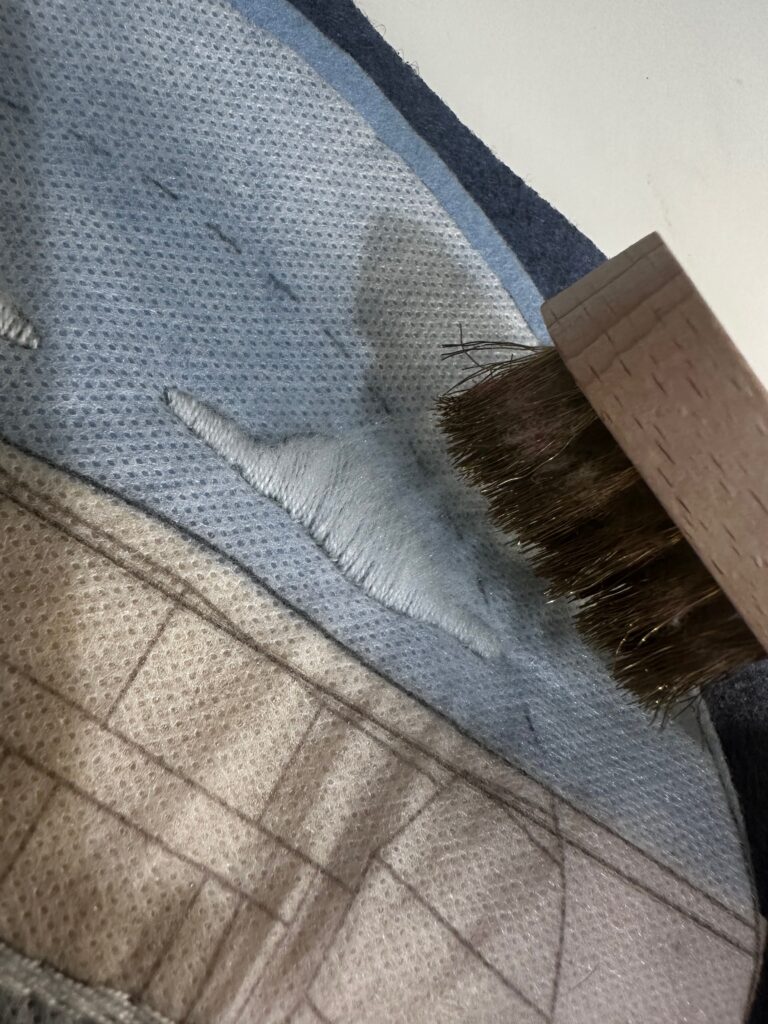
After the Filaine stitching is complete, brush the stitched areas using the Filaine Wire Brush until the desired amount of “fluff” is achieved. This thread and the 3-D effects are great for the water, clouds and sheep!
Next, hand embroider the remaining design portions using the assorted 12 wt. Cotton Threads. Use one or two strands, depending on desired coverage and stitches used.
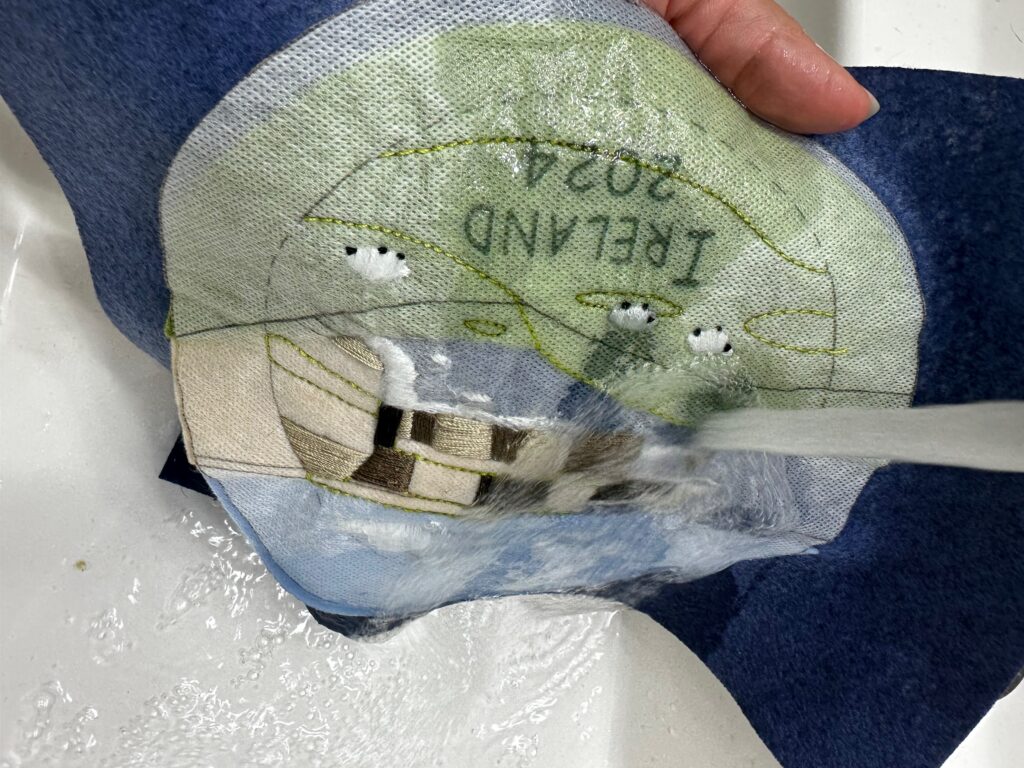
After embroidery is complete, rinse away the Stick n Stitch using warm, running water. (Notice I washed away my stabilizer before embroidering the lettering! I had to reapply a new sticker transfer and hand embroider “Ireland 2024” because of my mistake!)
After the stabilizer is dissolved, let the Felty dry flat on a towel.
ORNAMENT CONSTRUCTION
Hoop the finished embroidery art in a 6″ Wooden Embroidery Hoop. Or turn it into an ornament!
Trim the embroidered Felty 1/4″ beyond the dashed lines on the pattern. Then, place it right side down over the Felty backing sheet.
Fold a piece of ribbon, twine or string in half to create a loop. Place the loop ends along the circle upper-edge center, between the layers; clip to secure.
Using Sulky 50 wt. Cotton Thread, stitch 1/4″ from the circle edge. Leave an opening for turning along one of the circle sides.
Next, turn the ornament right side out through the opening. Use a Sulky Multipurpose Turning Tool to smooth the seamline between the layers.
Stuff the ornament with a bit of fiberfill to the desired plumpness. Then, hand stitch the opening shut.
Hang the ornament on a tree or wall display.


Can I buy a kit for the Ireland ornament? I looked at the felty and it looks like I would need to buy all 3 packs to get the right colors? I took Craftours to Ireland in 2023!
Unfortunately we don’t have a kit for this project, but I’m so glad you like it! If you get the Felty Heather Assortment you might be able to make it work, but you’d have a light gray sky instead of light blue. https://sulky.com/felty-heather-assortment-12-sheets-8-x-11