Fly a Kite Banner to Embroider & Sew
Fly a Kite Banner
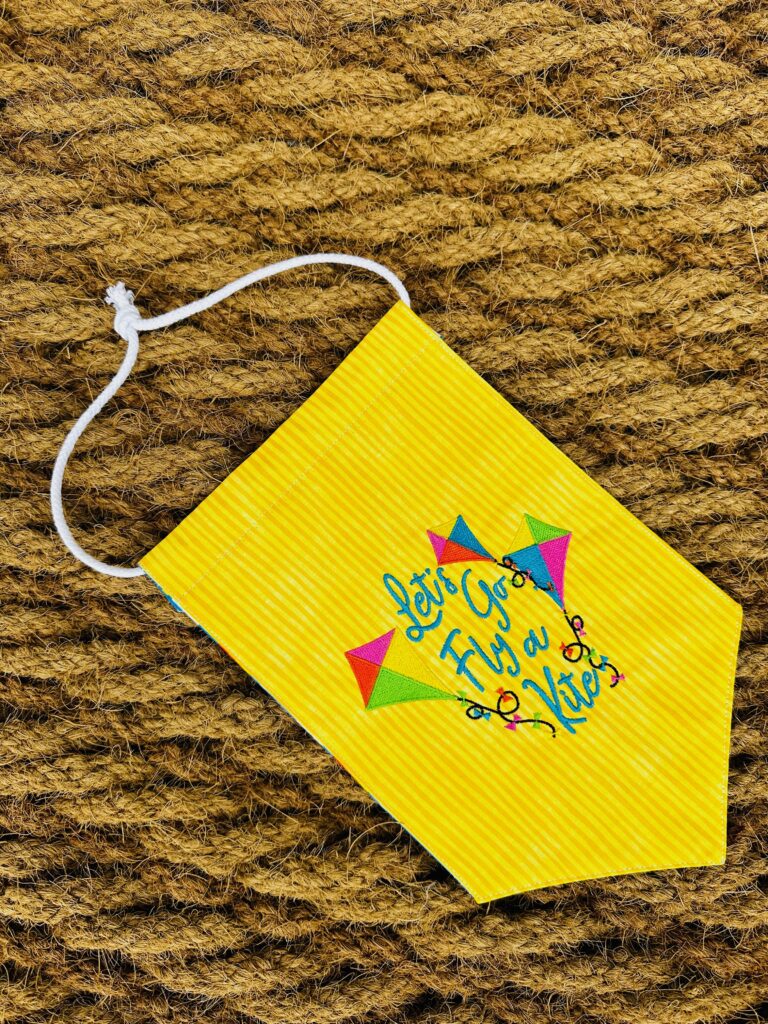
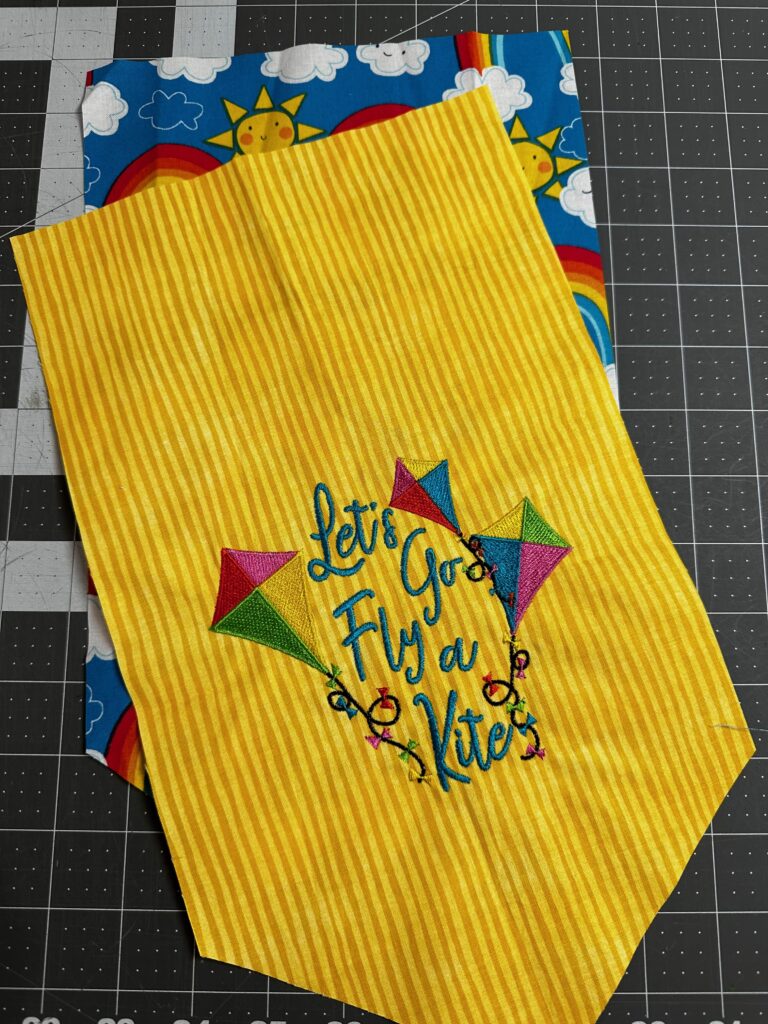
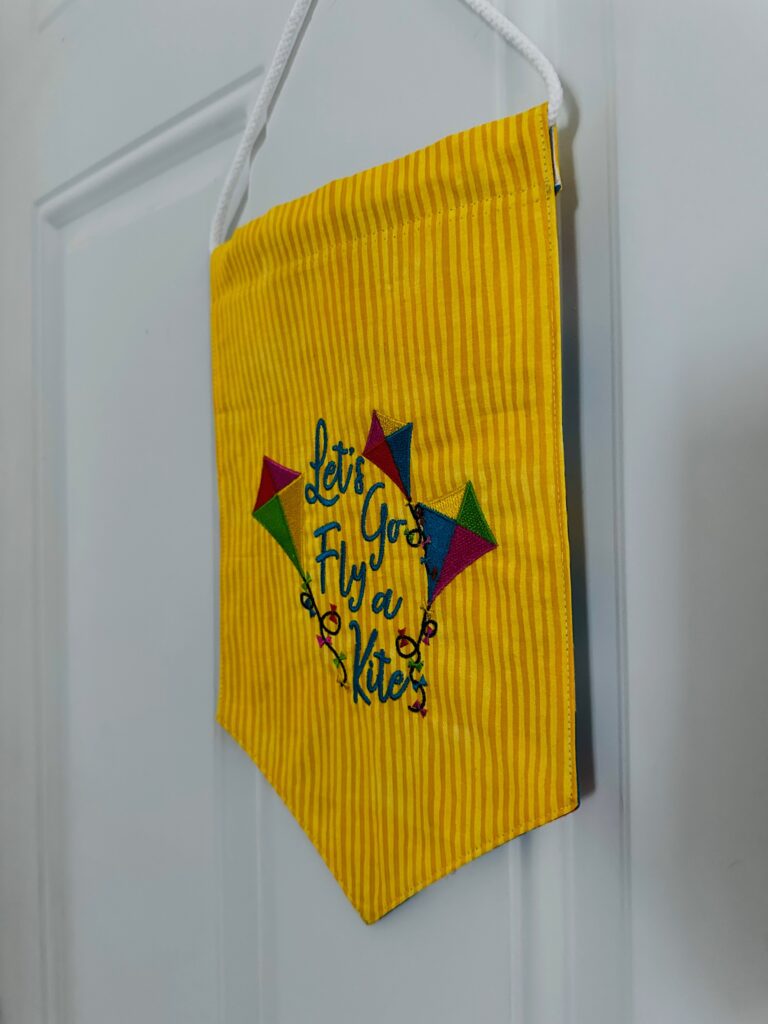
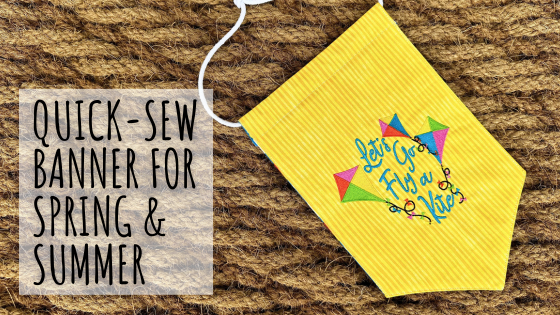
Stitch a “Fly a Kite” banner to hang on your front door, pin to a message board or display on a garden flag stake. Add a fun machine embroidery design to celebrate the changing seasons and celebrate the beautiful days ahead!
FLY A KITE BANNER SUPPLIES
- Sulky Hot Cocoa Wall Hanging Pattern (it’s free!)
- Fat quarter of fabric (front & back) or (2) 10″ x 16″ coordinating fabrics (front & back)
- Sulky 50 wt. Cotton Thread (construction)
- Hello Summer Machine Embroidery Palette (includes 10 spools of Sulky Rayon Thread and six summer-themed machine embroidery designs in 3 sizes; featured design: Hello Summer Kite)
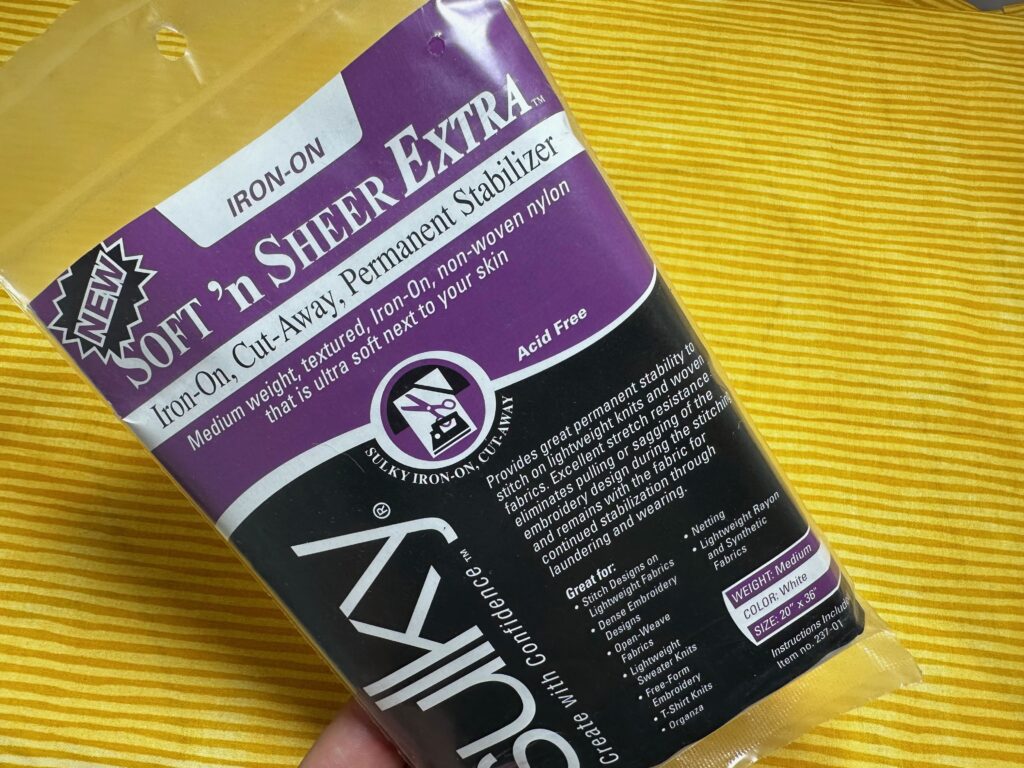
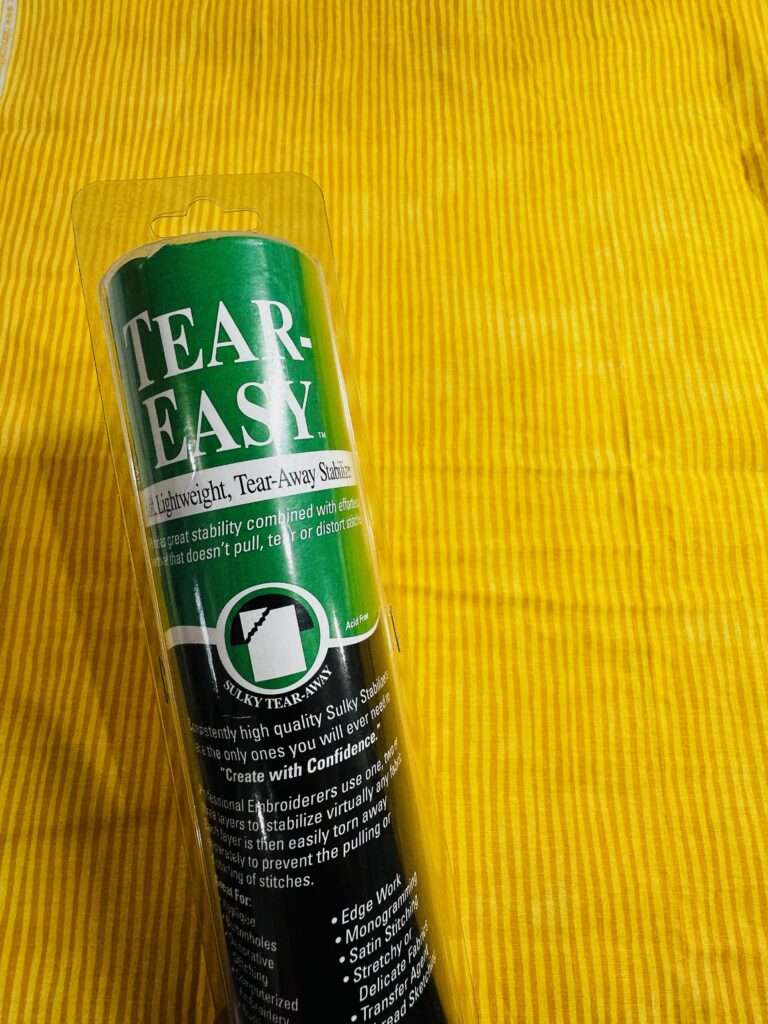
- Sulky Stabilizers: Soft ‘n Sheer Extra & Tear-Easy
- Organ® Needles: size 75/11 Embroidery & size 70/10 Universal
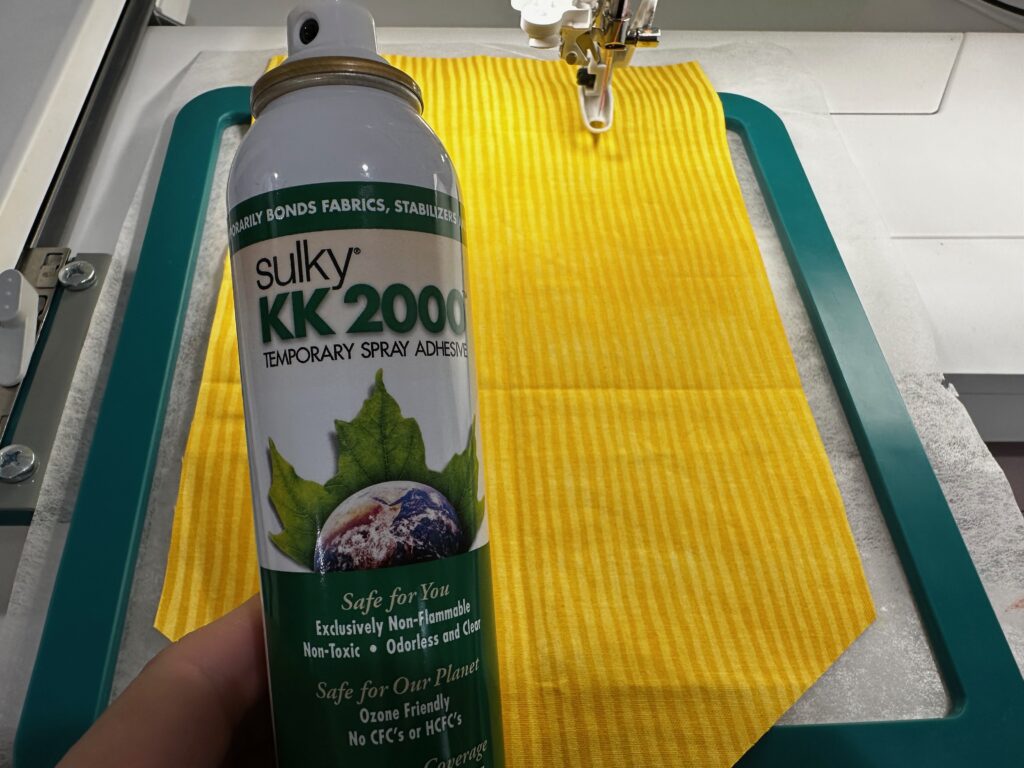
- Sulky KK 2000™ Temporary Spray Adhesive
- Sulky Multipurpose Turning Tool
- Cotton cording (for hanging)
- Sulky 60 wt. Bobbin Thread
- Clover® Wonder Clips
BANNER PATTERN DETAILS
The Hot Cocoa Wall hanging pattern by Chelsea Briner, of Sew Simple Home, is a great starting point for this project. Use the same construction instructions and pattern pieces for this Kite Banner, but substitute machine embroidery for her hand embroidery design. Download the pattern and print the two pattern pages (you won’t need the Hot Cocoa hand embroidery template until later in the fall when temps cool down again!).
KITE EMBROIDERY
Install a size 75/11 Embroidery Needle into the machine. Using the thrad from the Hello Summer Palette, thread the machine with the first color in the design. Use Sulky 60 wt. Bobbin Thread in the bobbin.
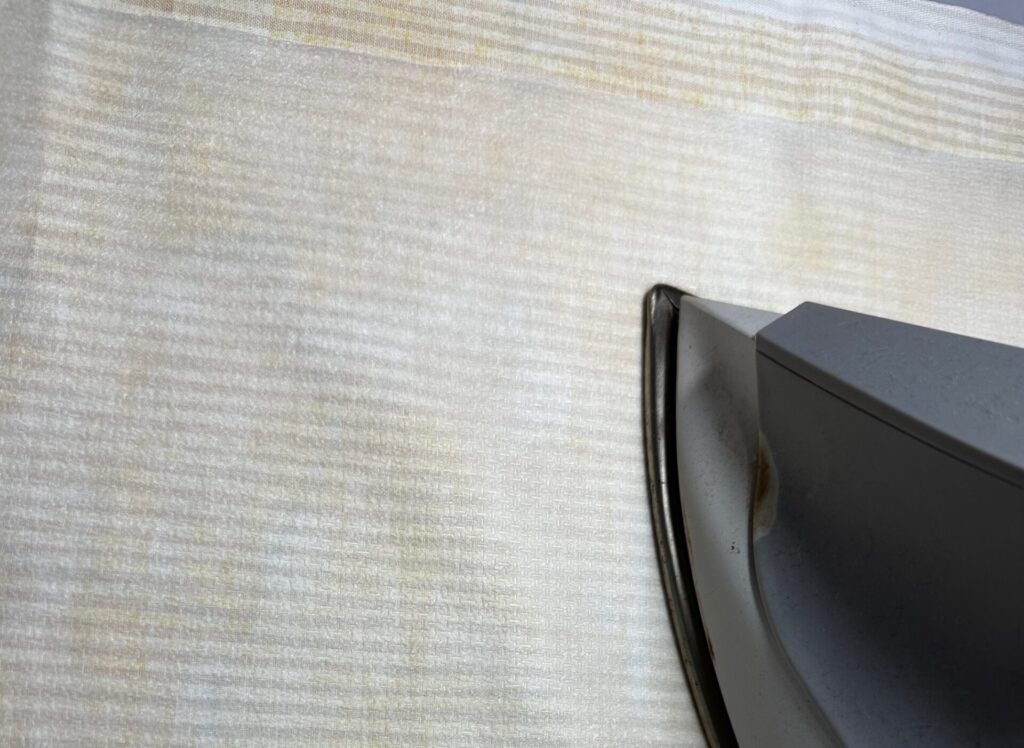
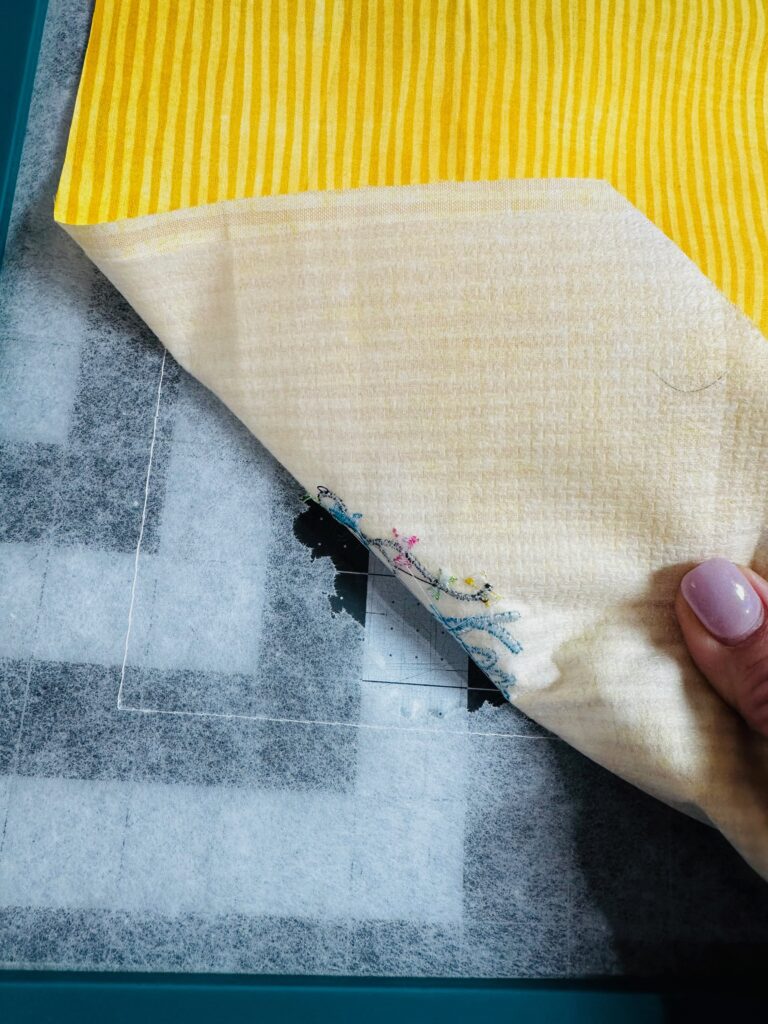
Apply Sulky Soft ‘n Sheer Extra to the wrong side of the front fabric piece.
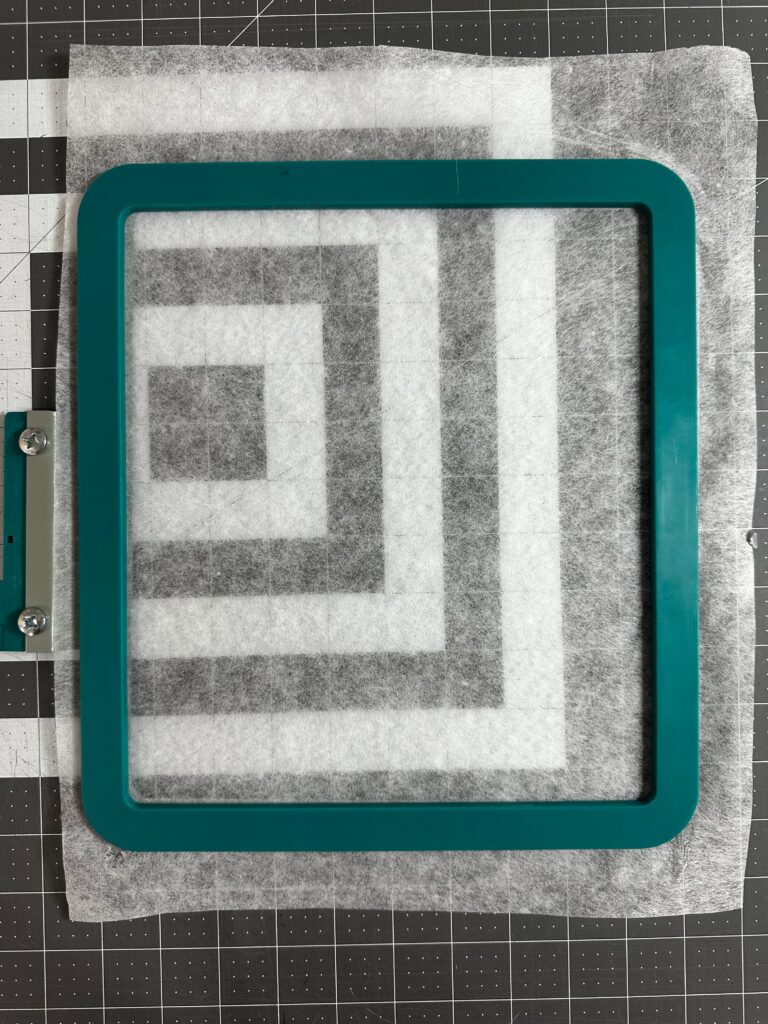
Next, hoop a layer of Sulky Tear-Easy stabilizer in a standard or Magnetic Hoop.
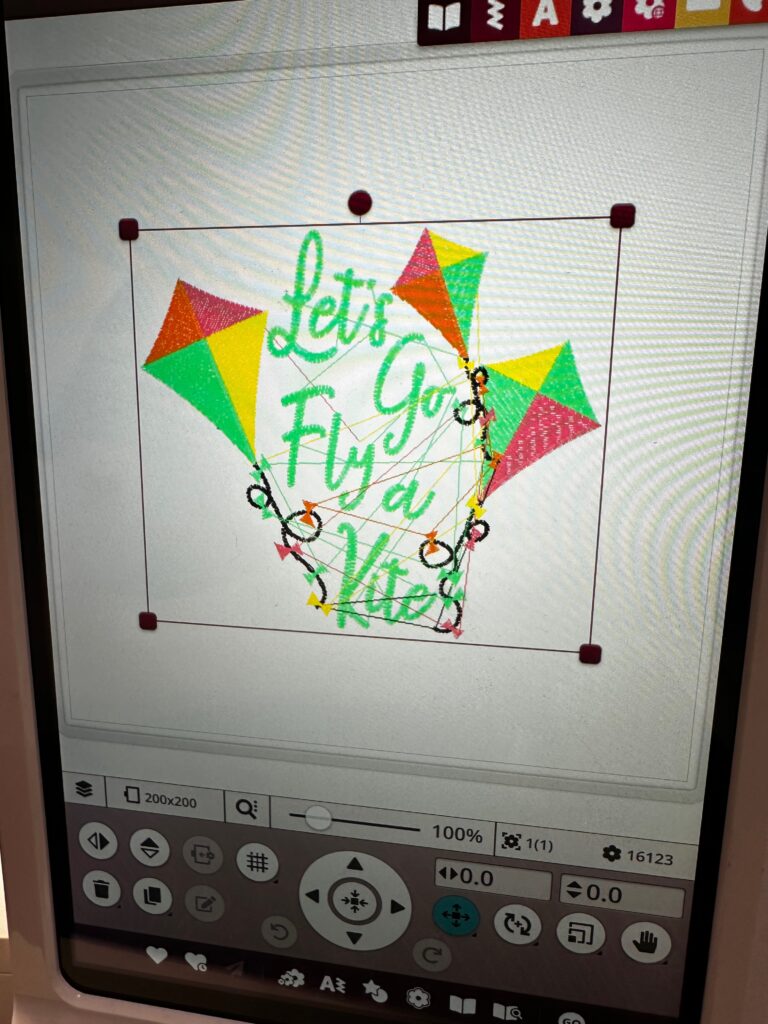
Load the Hello Summer Kite design into the machine. The 5×7 size works for this design, but if you have hoop limitations the 4×4 size also works.
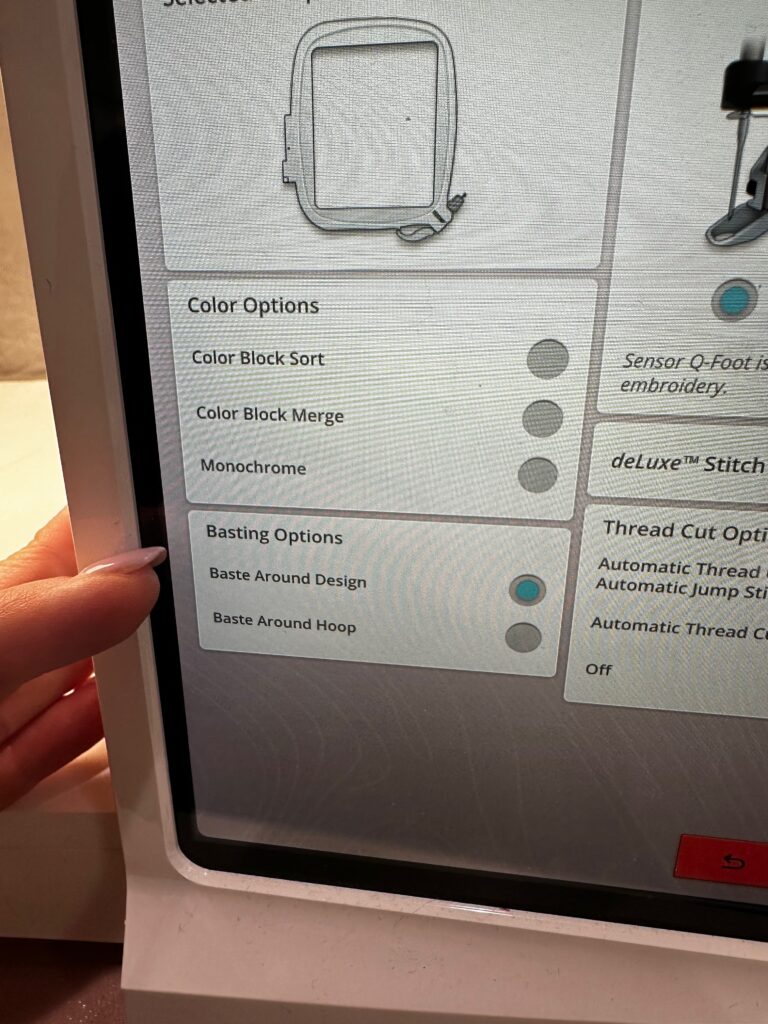
Direct the machine to add a baste-around-design function before the stitchout, if possible, to aid in fabric placement.
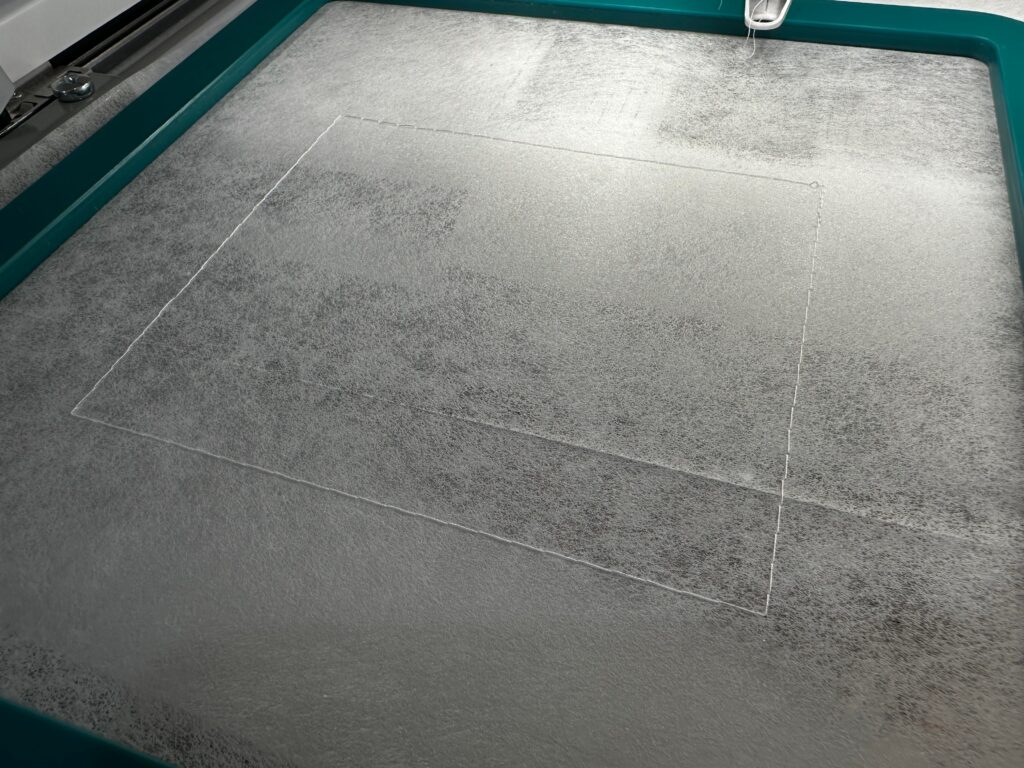
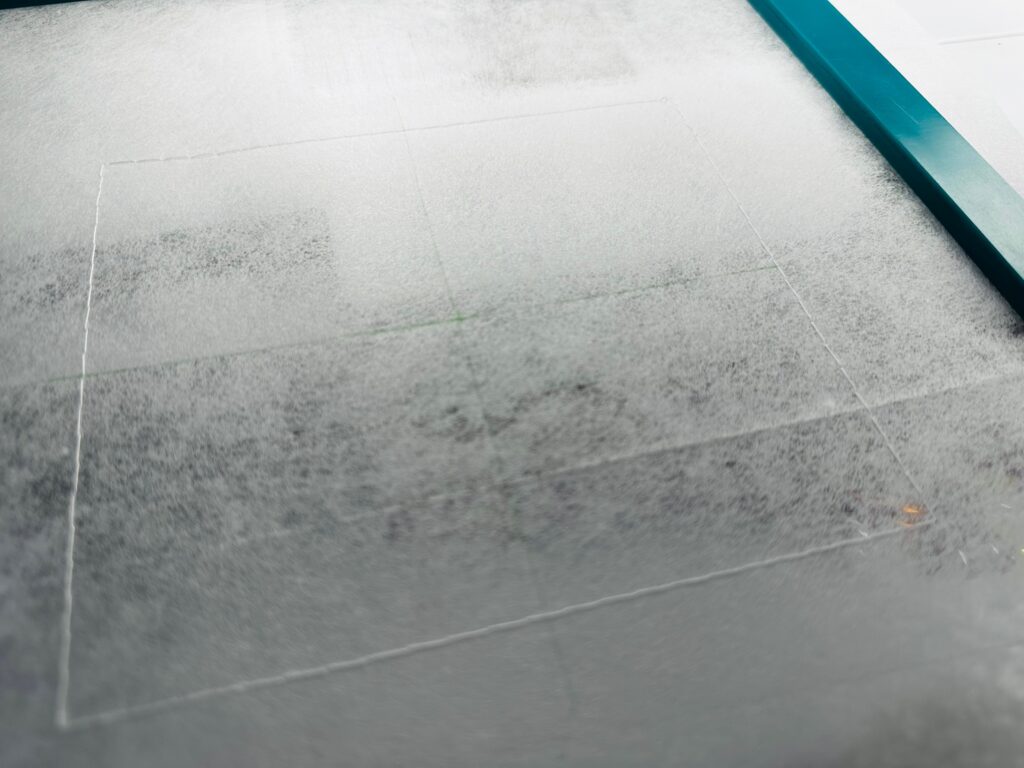
Place the hoop onto the machine and stitch only the basting step, right onto the stabilizer only.
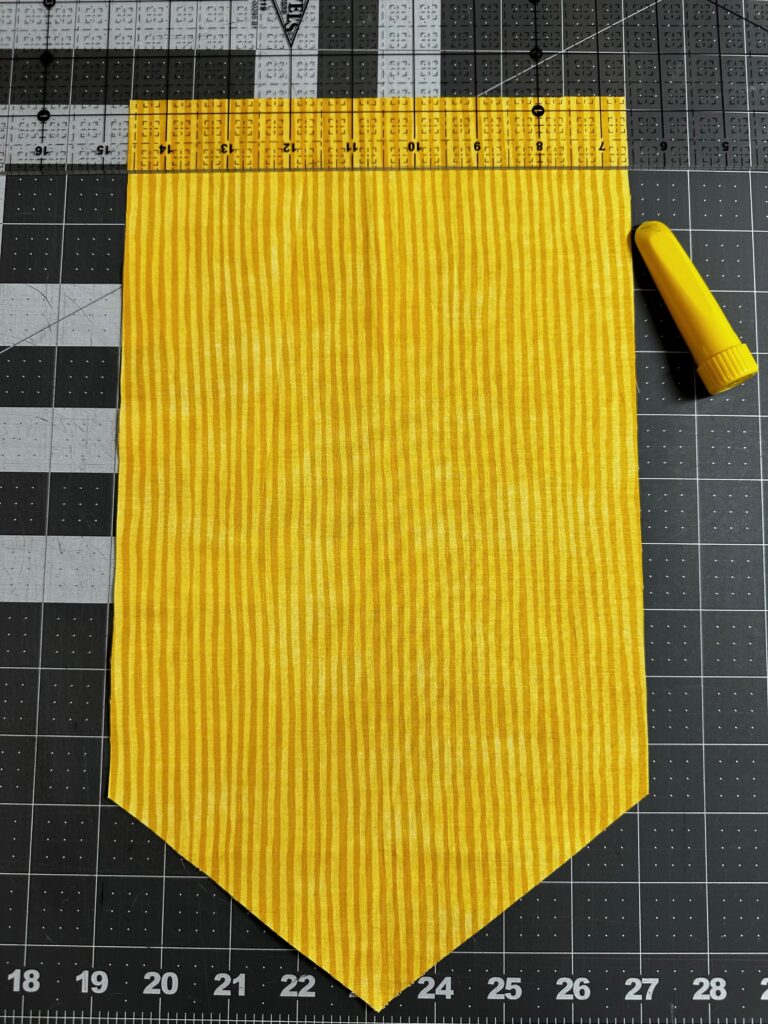
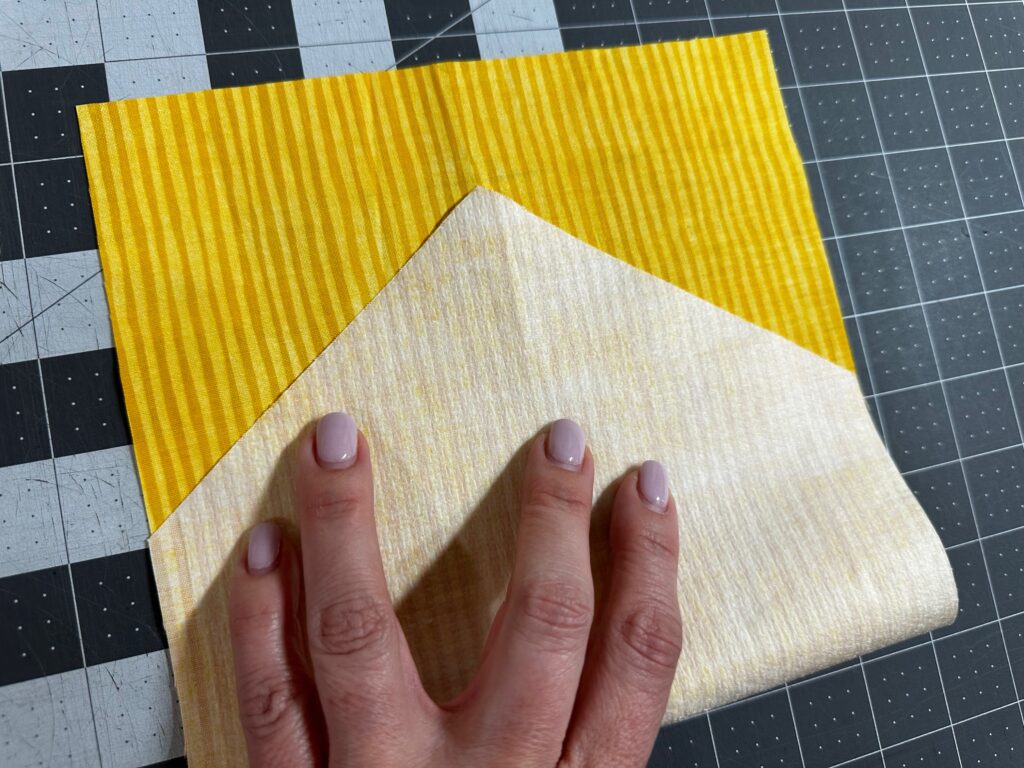
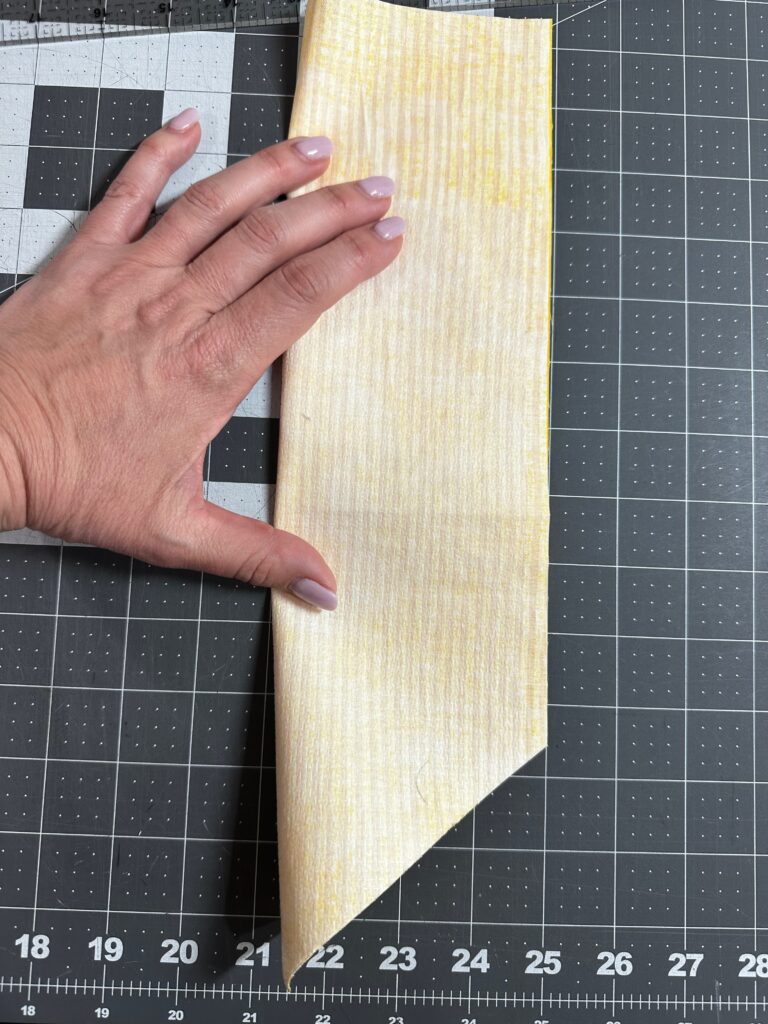
Mark the front banner piece 1¼” from the upper edge to denote the casing stitching line. Fold the front banner fabric piece lower-edge corner up to meet the marked line at the upper-edge center. Press to set the foldline. Then, unfold. Next, fold the front banner piece in half lengthwise to denote the vertical center. Again, press to set the foldline. Then, unfold.
Mark the stabilizer inside the basting box to denote the center cross marks. Extend the marks slightly beyond the basting stitches to easily see them when placing the fabric on the hooped stabilizer.
Next, place the front banner fabric over the hooped stabilizer, aligning the marks. Use Sulky KK 2000 Temporary Spray Adhesive to secure the fabric to the stabilizer.
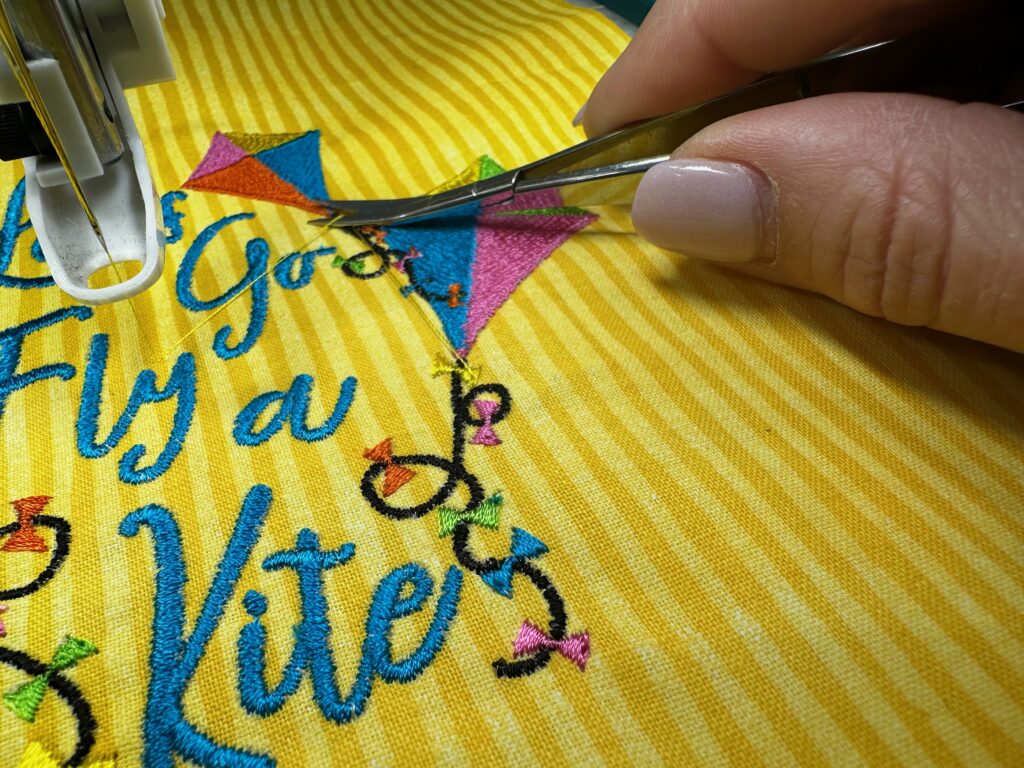
Embroider the design, clipping jump threads with each thread change.
KITE EMBROIDERY FINISHING
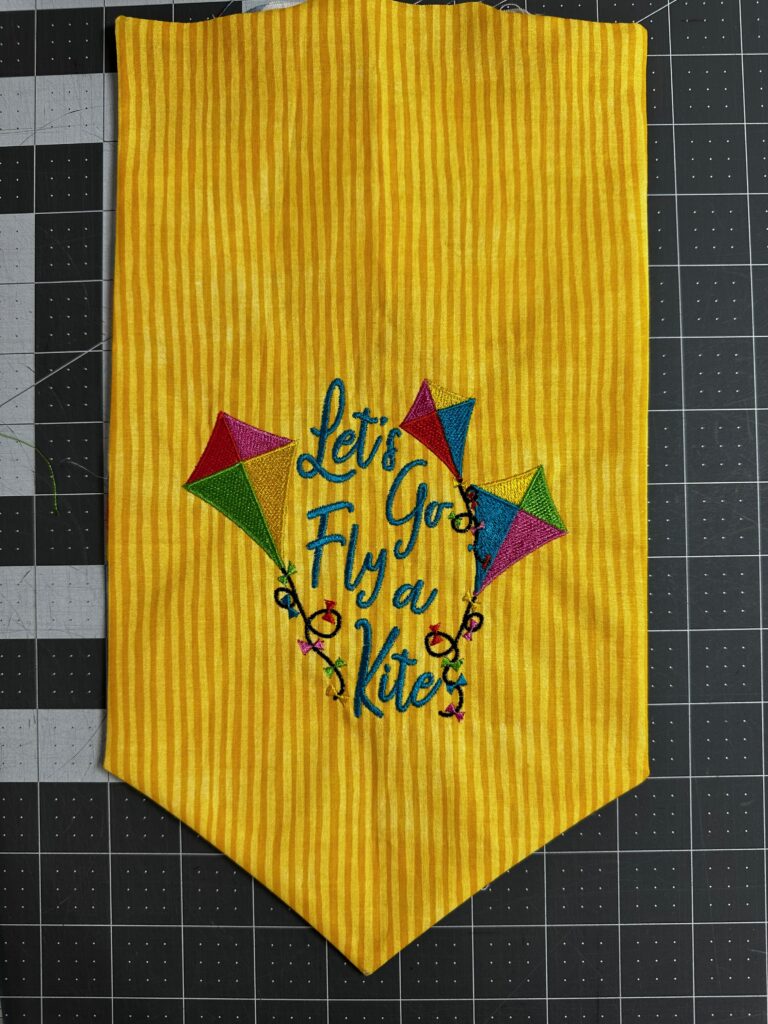
When the embroidery is complete, carefully tear away the Tear-Easy stabilizer beyond the stitching. The Soft ‘n Sheer Extra remains as a permanent stabilizer so help support the design and fabric when hanging.
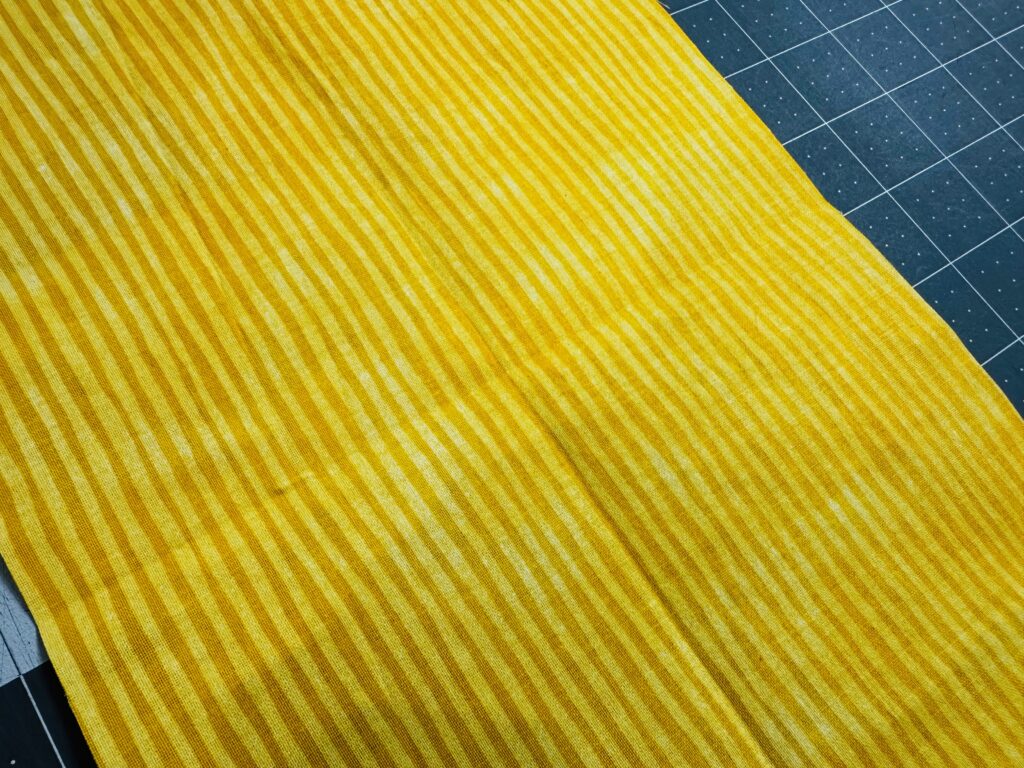
Press the front banner fabric piece to remove any wrinkles, if needed.
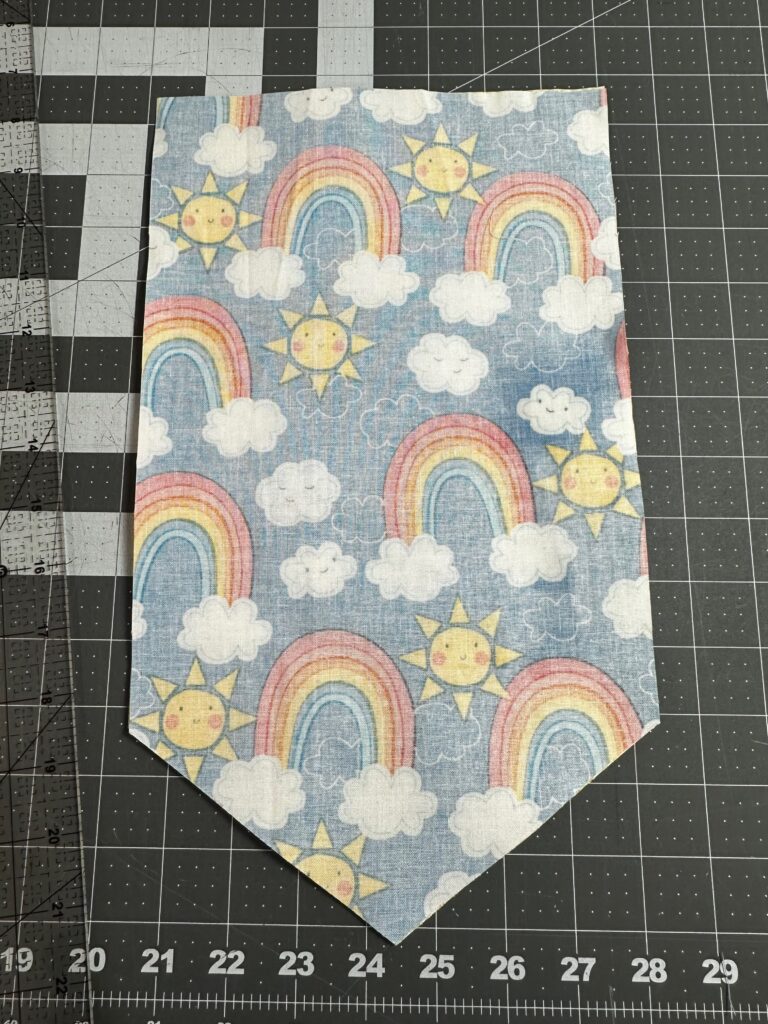
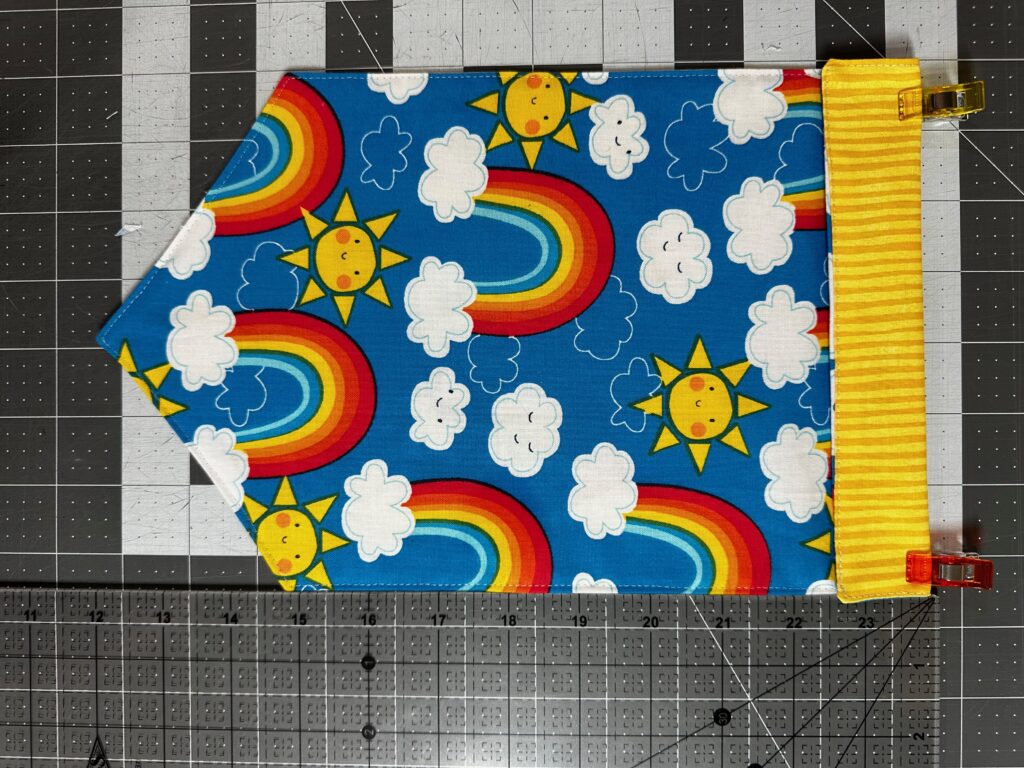
Next, place the front banner fabric piece over the back banner fabric piece with right sides together.
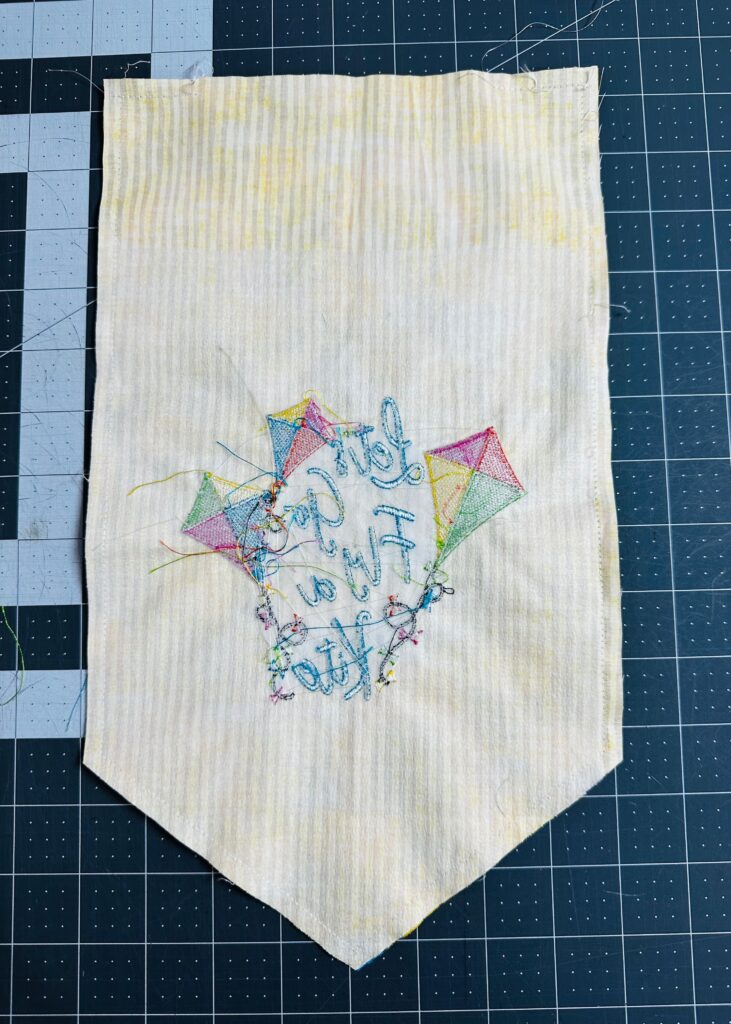
Note: The featured pattern does NOT have a lining piece. This piece is added for this machine embroidery version to conceal the stitching wrong side and provide a substantial backing when hanging outdoors.
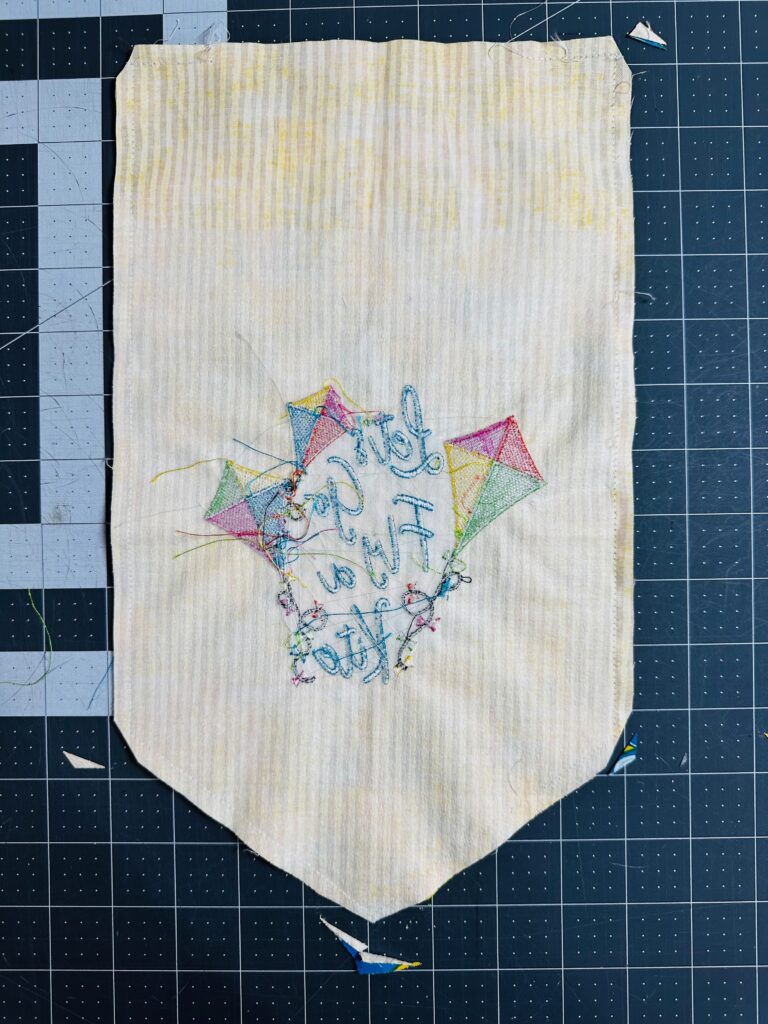
Stitch the sides and lower corners, and about 2″ from each upper-edge corner. Leave approximately 4″ free at the kite banner upper edge. Then, clip the corners.
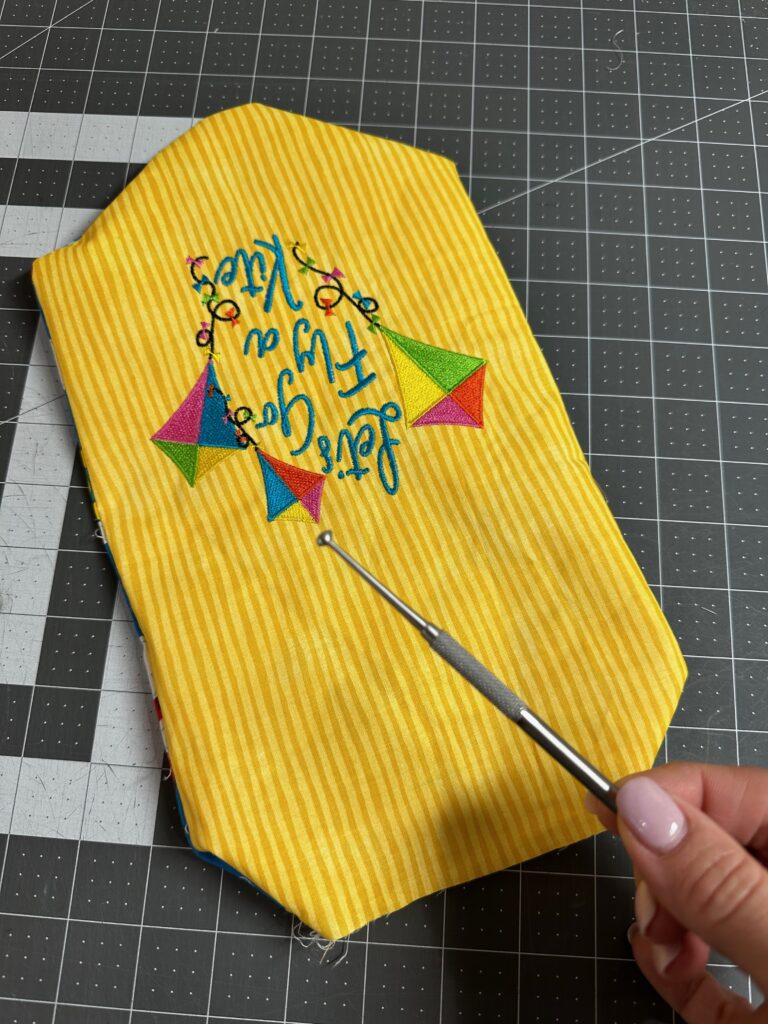
Turn the kite banner right side out through the upper-edge opening. Use a Sulky Multipurpose Turning Tool to carefully poke out the corners and flatten the seams. Then, press the banner flat. Fold the opening seam allowances toward the wrong side. Pin or use Wonder Clips to secure the opening shut.
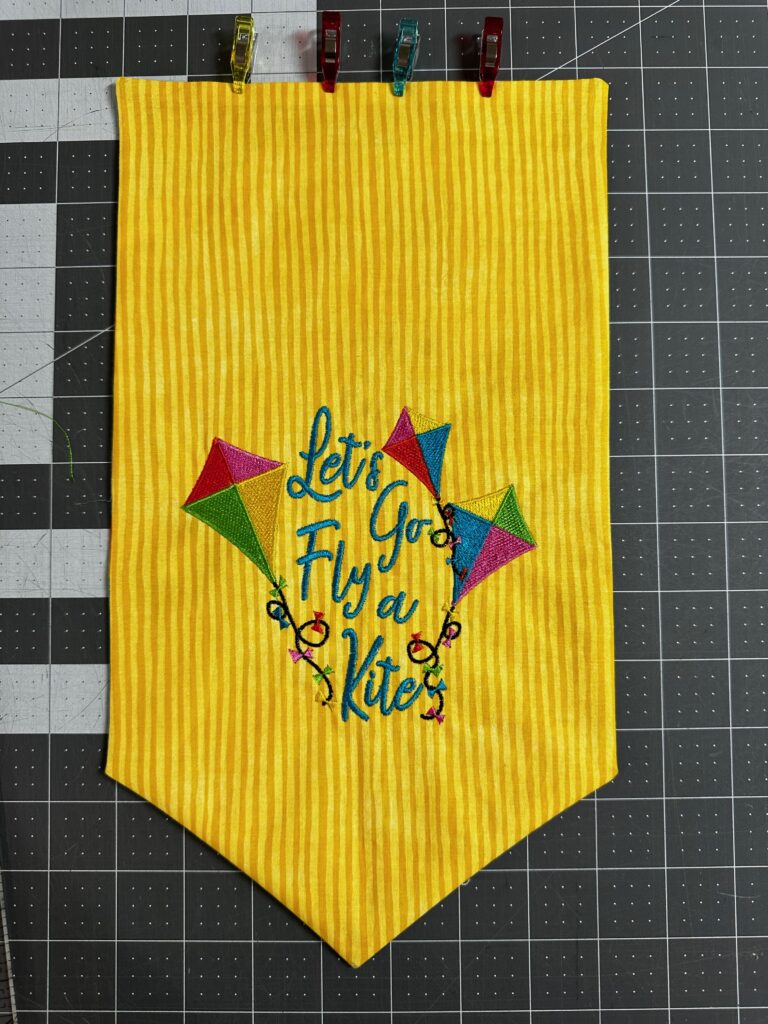
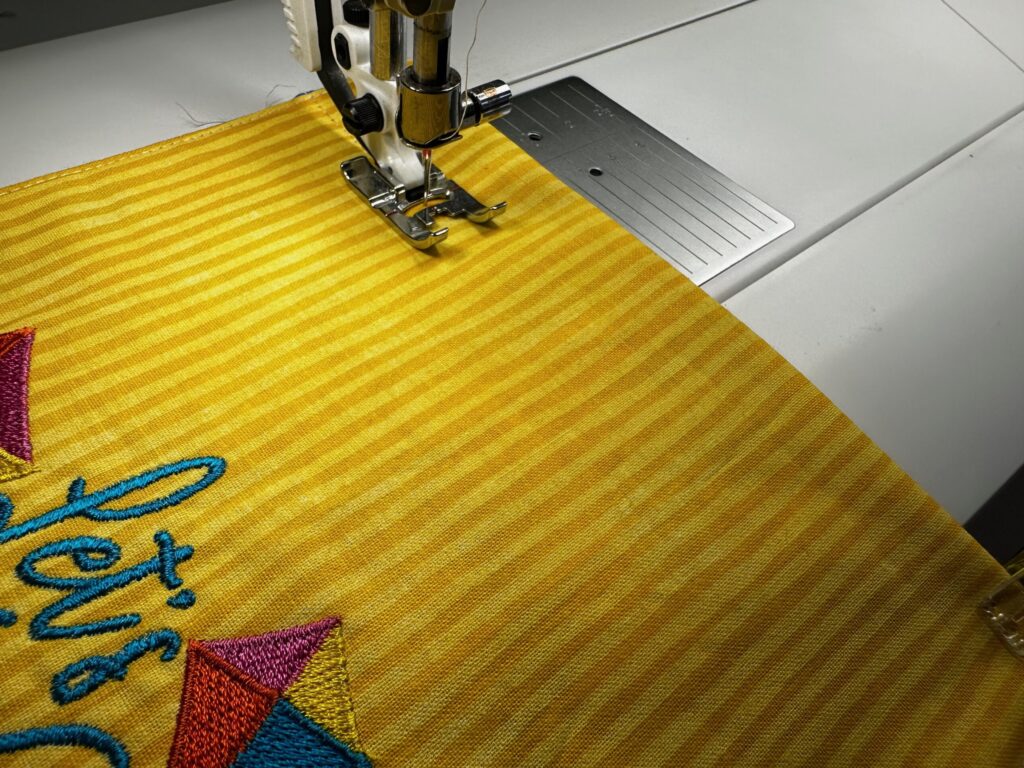
Next, fold the upper edge 1¼” toward the lining; pin or clip in place. Stitch the casing in place from the right side, approximately ⅛” from the casing lower edge.
BANNER HANGING
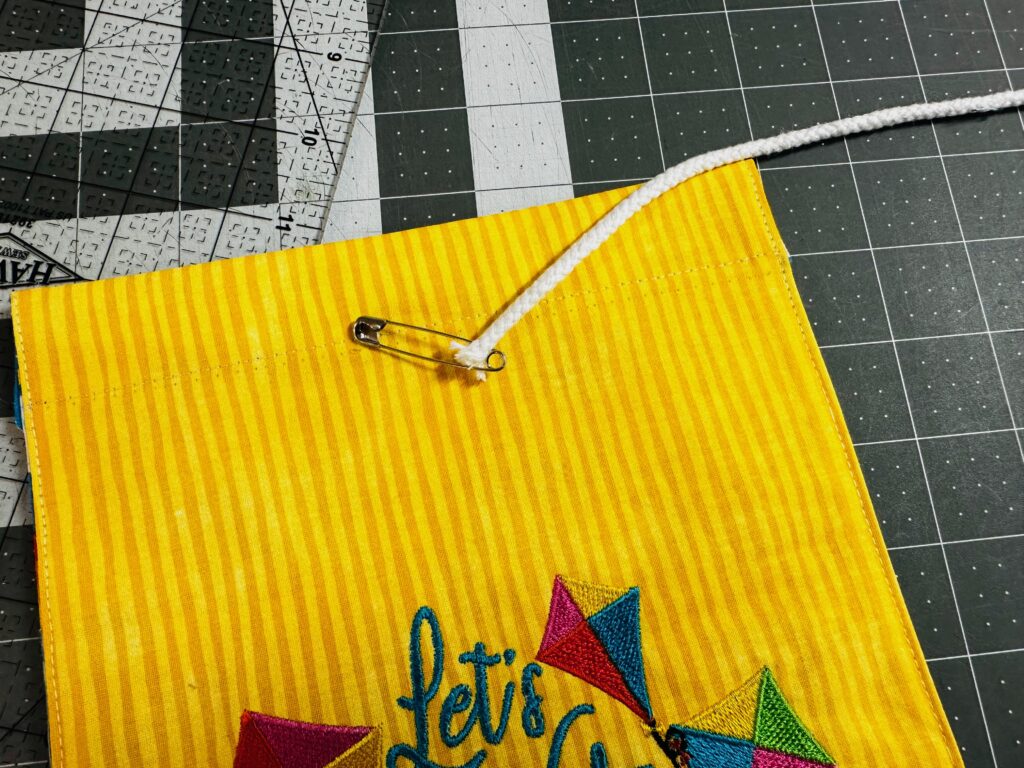
Add a safety pin to one cording end. (The length of cording depends on personal preference and where you plan to hang the Kite Banner.)
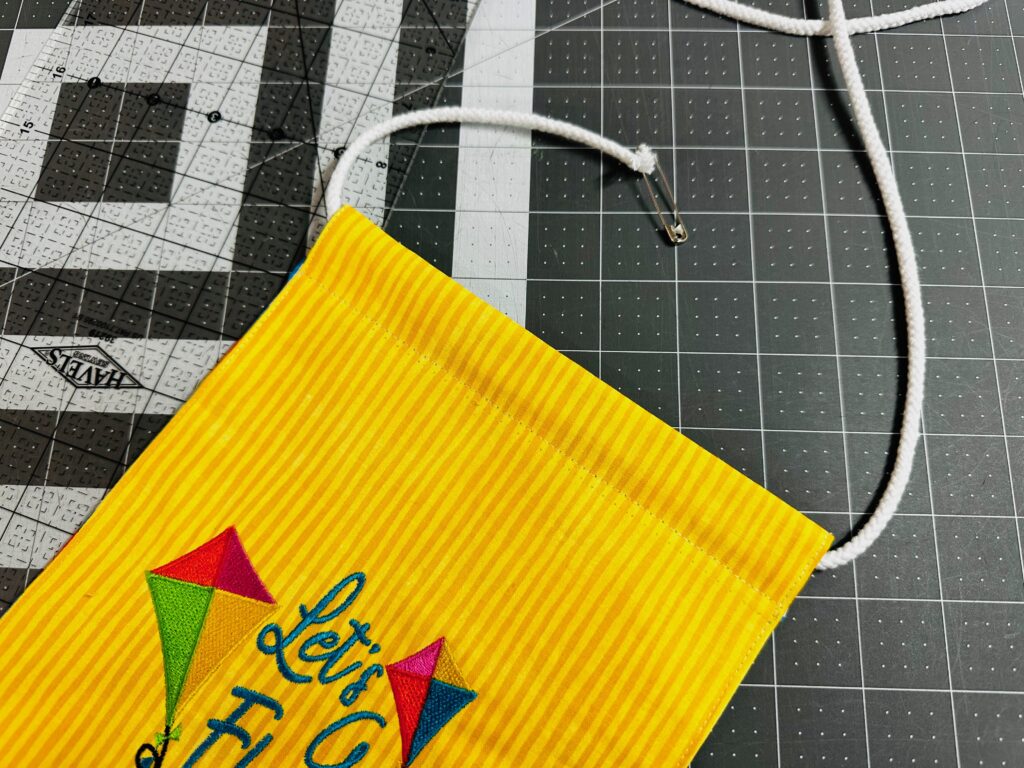
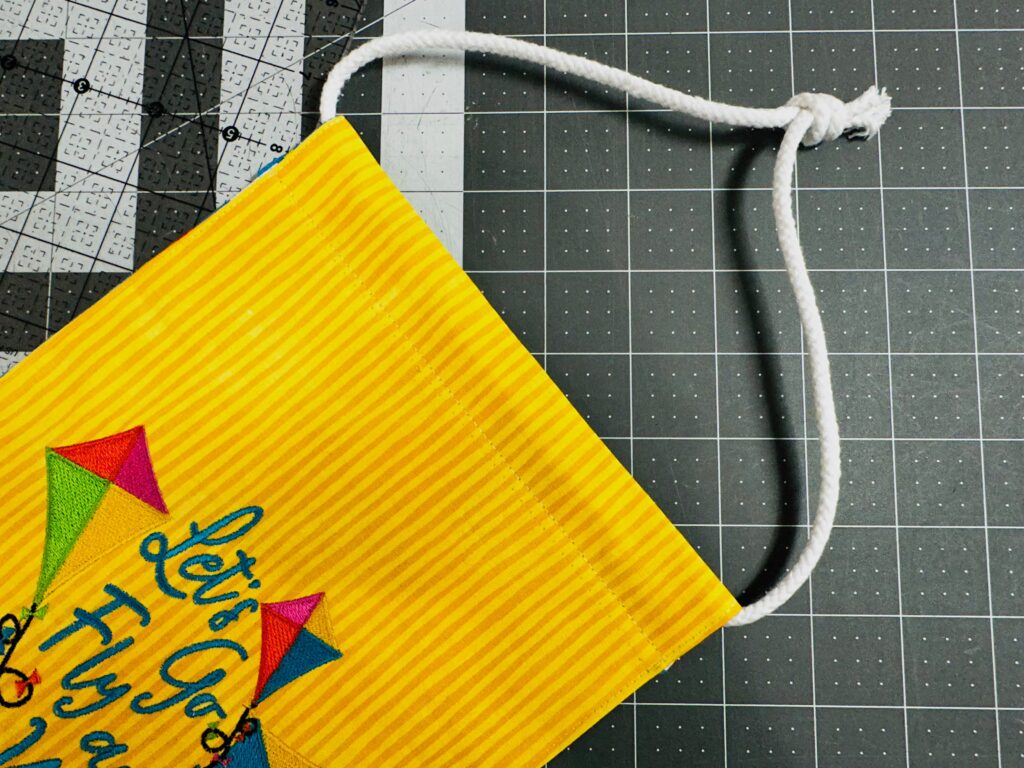
Thread the cording through the casing, using the safety pin. Then, match the cording ends and tie together in a knot.
Hang the Kite Banner on a door or wall, or place it on a garden flag banner out front to celebrate spring and welcome summer!


