Free-Motion Quilting FAQs
Eric Drexler takes the fear out of free-motion quilting!
Free-motion quilting may seem intimidating, but Sulky educator Eric Drexler makes it easy to attempt and even easier to enjoy with his “Fearless Free-Motion” Sulky courses. We asked Eric to answer the FAQs of FMQ (free-motion quilting) to inspire you to try it for yourself. Read on and kick off National Quilting Month with us.
THREAD FOR FREE-MOTION QUILTING
Q: Do I have to use the same thread in the top and bobbin for FMQ?
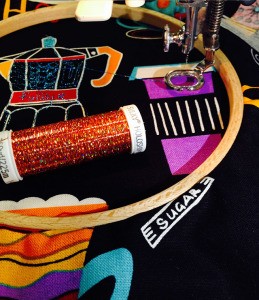
A: Not at all. You are “allowed” to use different types of thread in the needle and bobbin, and even sometimes encouraged when using thicker or specialty threads. When free-motion quilting, I like to use a lightweight thread, such as Sulky 50wt Cotton and Steel Thread, in the bobbin because it goes a long way and doesn’t add bulk. This gives me the freedom to use light, medium or even heavy threads in the needle – or even metallics to add a little jazz. It just might take a needle change or some tension adjustment to create a balanced stitch. Do a test stitch first and adjust as needed.
Q: When should I use a heavyweight thread versus a lightweight thread?
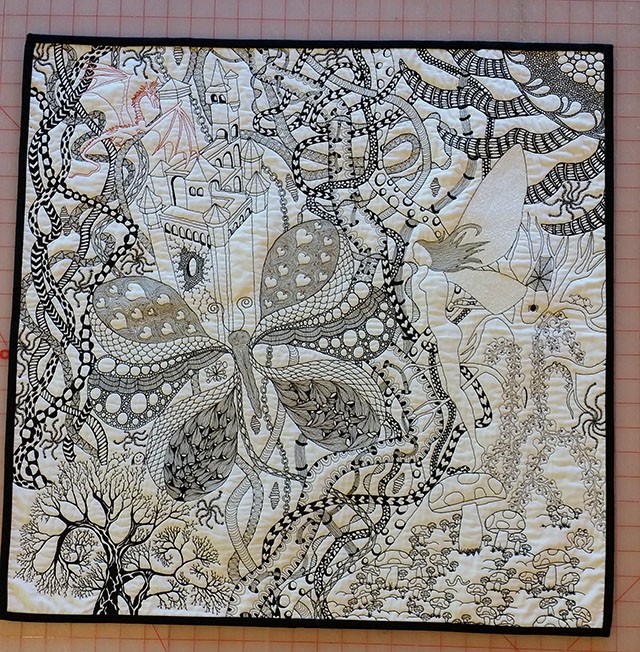
A: My favorite time to use a heavy thread, like 12 wt. Cotton, is along borders and in the sashing. This area is a great place to showcase your skills and some pretty thread. Thick thread stands out way more than medium or lightweight. I like using a finer thread, like 50 wt. Cotton, for detail work, like Zentangle quilting featured below, or if I’m doing print embellishment to accent some of the fabric features. I can use a lot of thread without adding much bulk.
Q: Are there different threads to use for piecing than quilting?
A: That is a tough question, as I use both. Sulky 50 wt. Cotton is great for piecing and binding because it’s so thin and doesn’t create thick seams. I do like using it for fine free-motion quilting, too. Typically, thicker 30 wt. and 12 wt. Cotton Threads are meant to be seen on the surface of the quilt to make a statement with your stitching rather than blend in with it.
Q: Do I need to use quilting gloves when I free-motion quilt?
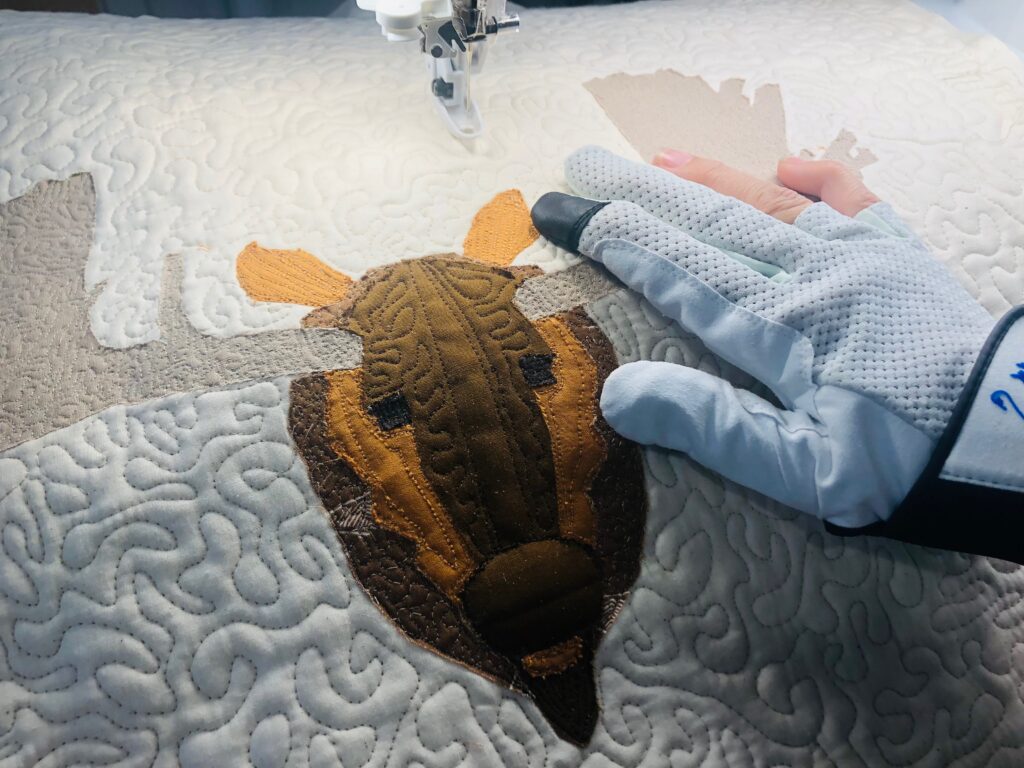
A: I personally don’t use gloves when I am sewing, driving or gardening. But I do see the benefit in them, as they help grip the quilt as you sew. If you’re a beginner, gloves might be just the thing to help you gain confidence for free-motion quilting. If you’re a seasoned quilter, gloves might help if arthritis is setting in as a little extra grip may keep you quilting longer. Sulky carries great quilting gloves recommended by quilter MJ Kinman. CHECK THEM OUT>
Q: Why does the thread break when I’m free-motion quilting versus regular sewing?
A: Most thread breakage happens by moving the fabric too fast or too slow. Moving too fast creates very long stitches and can snap the thread. Moving the fabric too slow creates lots of knots with no stitch in between, creating a buildup that can break the thread. Consistent stitches per inch, like 10-12, greatly reduces the problem.
Q: Do you recommend anything to put on thread to make it easier to sew?
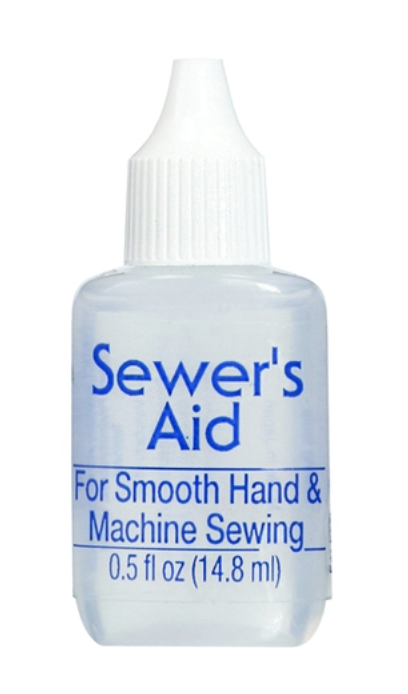
A: I love using Sewer’s Aid® when I am using a sticky backed stabilizer or metallic threads, but I do not put it on the thread. Instead, I put it on the needle to help penetrate the fabric or keep the glue off the needle. I simply put one drop on my finger and rub it on the needle before sewing. I know when it needs more by the sound or look of the fabric going up and down. Simply reapply as needed. Sewer’s Aid is water based, so there’s no fear of oily residue transferring to your fabric.
NEEDLES FOR FREE-MOTION QUILTING
Q: What needle size should I use?
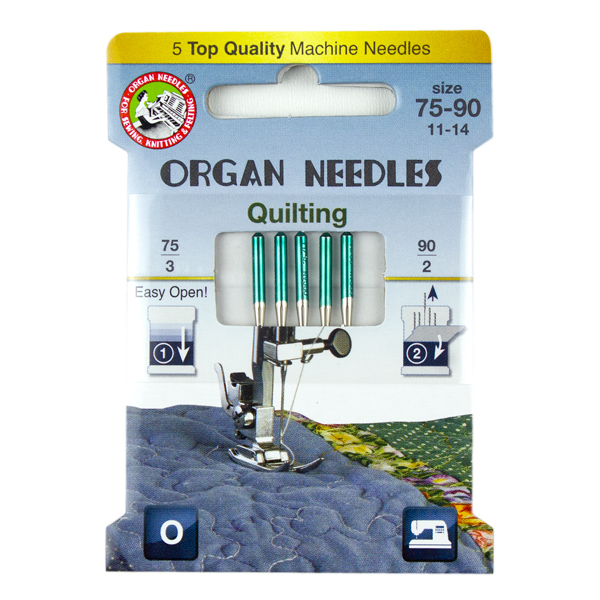
A: I recommend an Organ® Quilting Needle, with the size depending on the thread thickness. Most all Sulky Metallic and medium to heavyweight Cotton Threads work on my machine with a size 90/14 Top Stitch or Metal Needle. If using Sulky 50 wt. Cotton, I use a size 70/10 or 80/12 Needle.
FMQ DESIGNS
Q: What’s the easiest way to transfer a design onto my quilt?
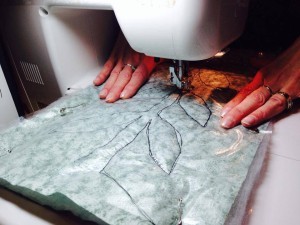
A: I recommend Sulky Sticky Fabri-Solvy™ to transfer designs. It is so easy to use. Simply download a pattern or scan it with your printer, and then print it directly onto an 8 ½” X 11” sheet of the water-soluble stabilizer. Then, cut out the design, peel off the release sheet and stick it to the quilt right side. FMQ through all layers, and then wash away the stabilizer when the quilt is finished. This method has saved me hours of tracing! It also makes it easy to resize the same design for different areas of the quilt, and print them separately for easy transfer.
STABILIZER & FREE-MOTION QUILTING
Q: Do you recommend using stabilizer for free-motion quilting?
A: Stabilizer isn’t really needed for free-motion quilting. The batting and backing are enough to stabilize the top during the quilting process, in most cases. However, there are some instances when stabilizer certainly benefits quilting. For example, if transferring a design using Sticky Fabri-Solvy™ you’ll also have the benefit of the stabilizer keeping everything nice and flat during stitching. If quilting a lightweight quilt with loads of thread, the addition of stabilizer helps the fabric “accept” the thread and add thread count. Lastly, if quilting a T-shirt quilt or a quilt with a lot of bias seaming, a lightweight stabilizer, such as Tender Touch™ or Soft ’n Sheer™, can help prevent stretching and puckering when passing over the fabric with needle and thread.
TECHNIQUE TIPS
Q: Do you recommend placing slippery items on the bed of the machine for easier FMQ?
A: I definitely see the benefit of a slippery surface under the quilt, as it makes things move very easily. Supreme Slider™ is a big name in the industry. It’s slippery on top with a rubberized mat on the bottom, placed on the bed of your machine. The only downfall I’ve seen is it not staying down all the time. Mine shifted and the needle sewed through where it wasn’t supposed to. To fix this problem, simply put painter’s tape across the corners so it won’t move while you’re quilting.
Another product by Sew Steady is a Quilting Slider Mat Grid. It’s marked like a rotary cutting mat with a grid and angles to follow.
*We may earn an affiliate commission through sales earned by clicking the links above.
Q: Why should I grab and hold versus pressing down when I’m quilting?
A: Pressing down creates too much friction and it’s hard to move the quilt around under the presser foot. I prefer to roll up and grip the quilt about 5″ away from the needle on each side. This gives me lots of control over a small area. When I need to move on, I simply roll up the finished part while I unroll the next part to quilt.
Q: Why is it so important to go slow while I’m FMQ?
A: Slow down for better control. If you’re simply stippling or meandering, it’s ok to go a little faster. But, if tracing around a print or template, it’s best to go slower to ensure your stitches per inch are consistent. Use the speed control on the machine to help limit your speed when you step all the way down on the pedal.




Thank you for this FAQ