I love Halloween! I love decorating my house, the costumes, the trick or treating; it’s all just good clean fun. I am so glad that I live in a neighborhood where we get lots of Trick or Treaters!
Since Halloween is on a Saturday this year, my annual Halloween party will be bigger than ever. That means I need to make a lot more decorations. I started with this fun and easy table top decoration.
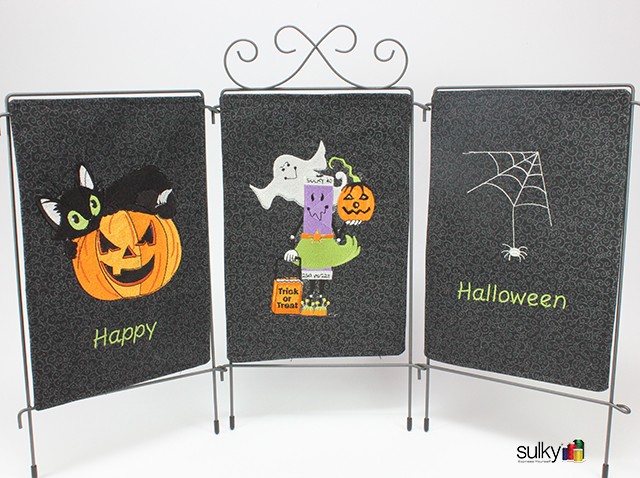
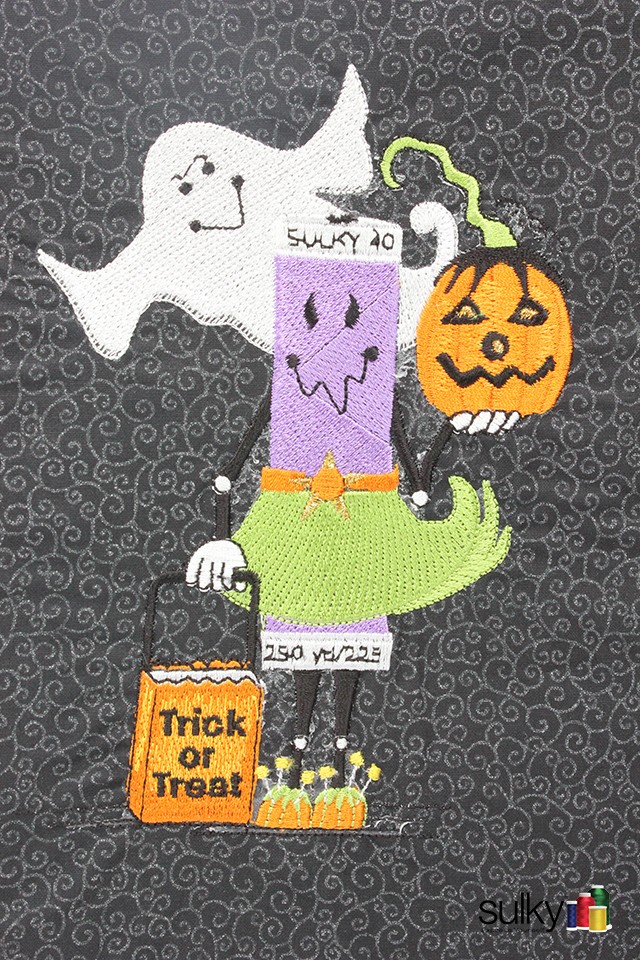
I got all the embroidery designs from The Sulky Embroidery Club! I used this Halloween Spoolie,
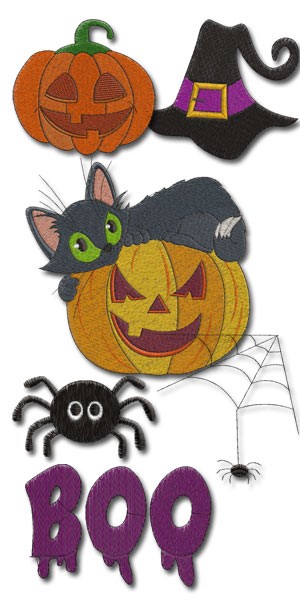
And I chose these other two designs from a Halloween set in the Sulky Embroidery Club.
I used a font that is built into my embroidery machine to add the ‘Happy Halloween’.
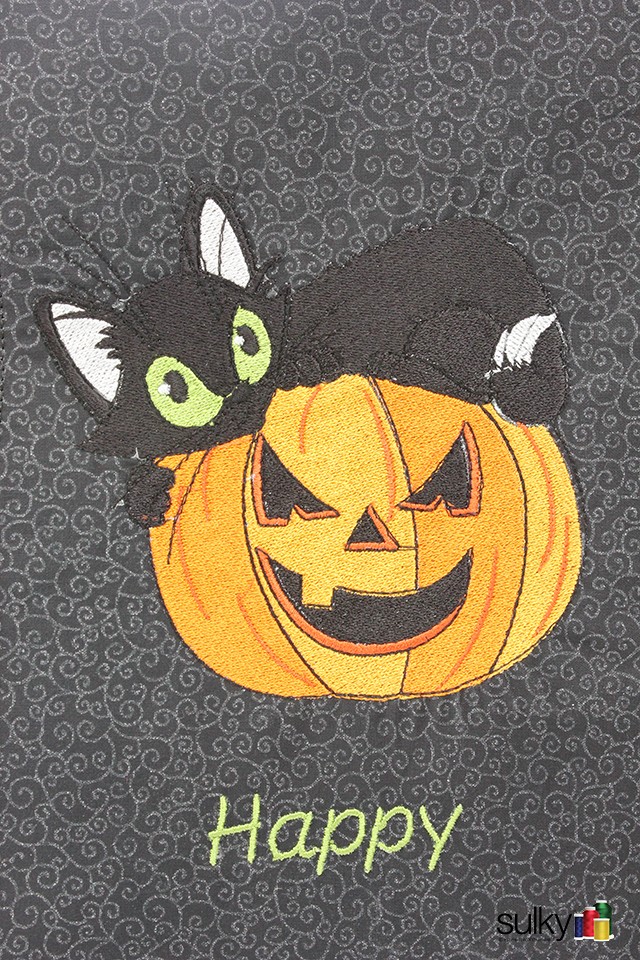
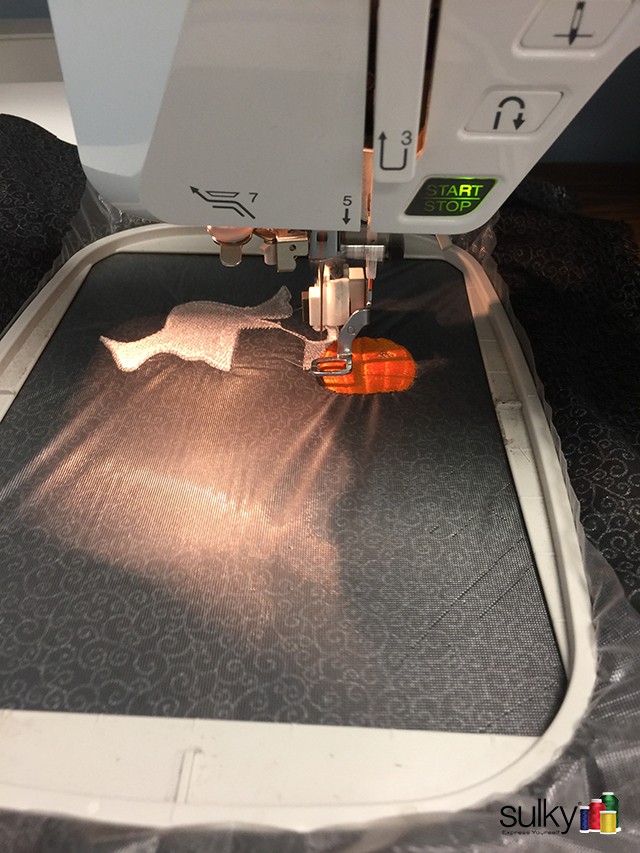
I changed the colors from those suggested on the color sequence chart for the Cat on the Pumpkin and used the colors in our limited edition Sulky Halloween Rayon Set in our brand new Halloween Boo-tique on Sulky.com!
My color sequence for the cat and pumpkin is:
- #1005 Black
2. #1065 Orange Yellow
3. #1168 True Orange - #1833 Pumpkin Pie
- #1325 Whisper Grey
- #1005 Black
- #1325 Whisper Grey
- #1332 Chartreuse
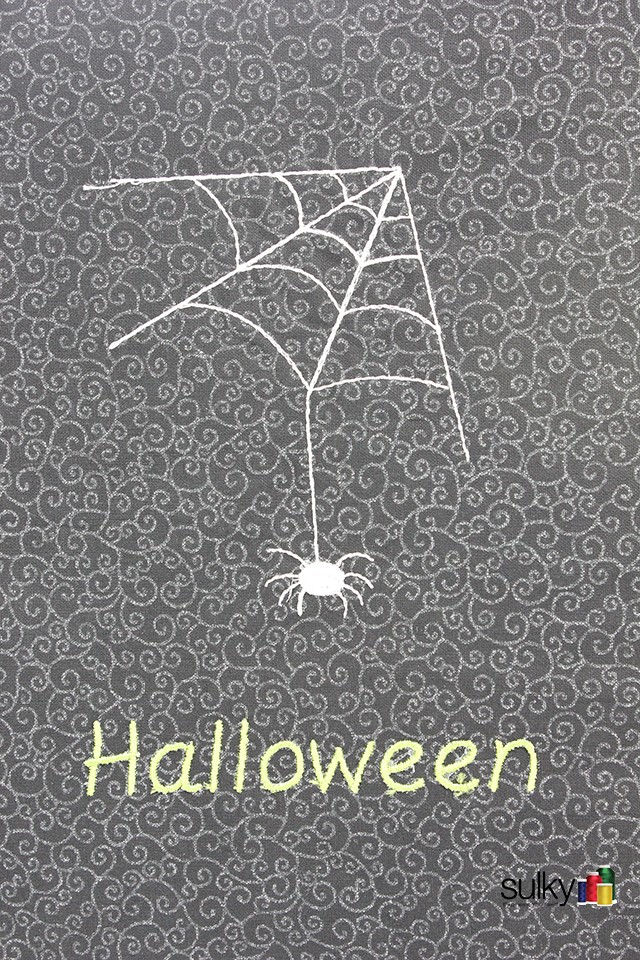
I stitched the words ‘Happy Halloween’ in Sulky 40 wt. Rayon #1332 Charteuse as well.
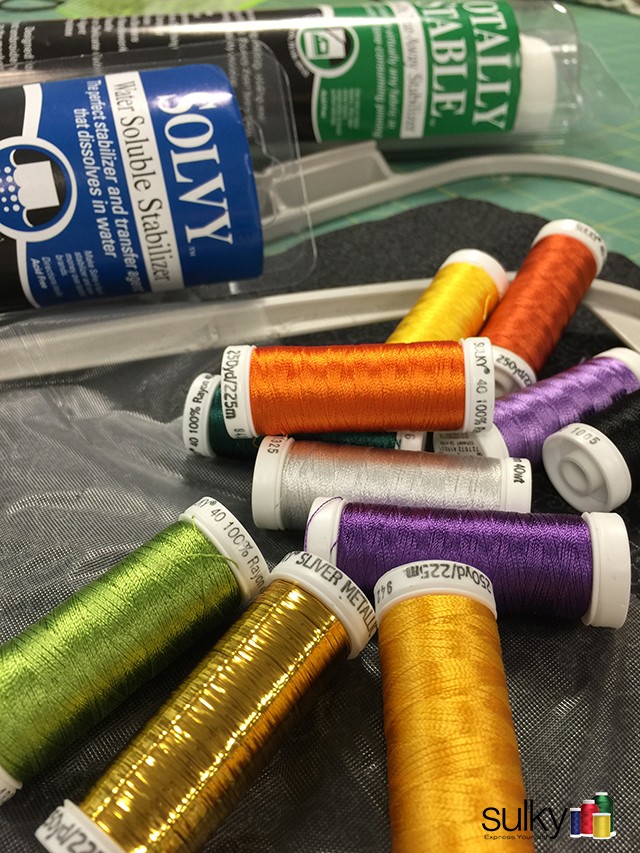
I used Sulky Totally Stable® on the wrong side of the fabric and used Sulky Solvy® as a topper. With designs that have this much detail, I like to use Solvy just to be sure all the cool details will show up nicely. As I have said before, I would rather use more stabilizer than I need than have to stitch the design out again and ruin my fabric.
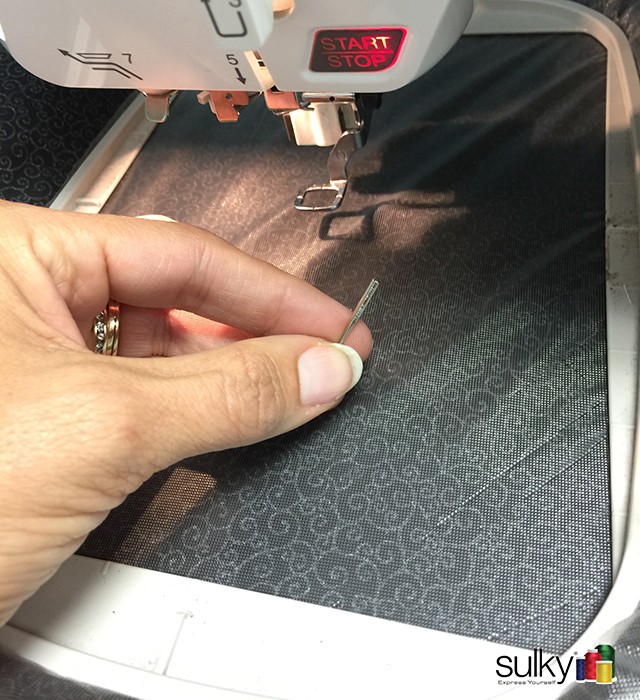
Another really important thing to do is to change the needle before starting a big embroidery project like this. Between the three designs and the words, I am stitching out more than 52,000 stitches!
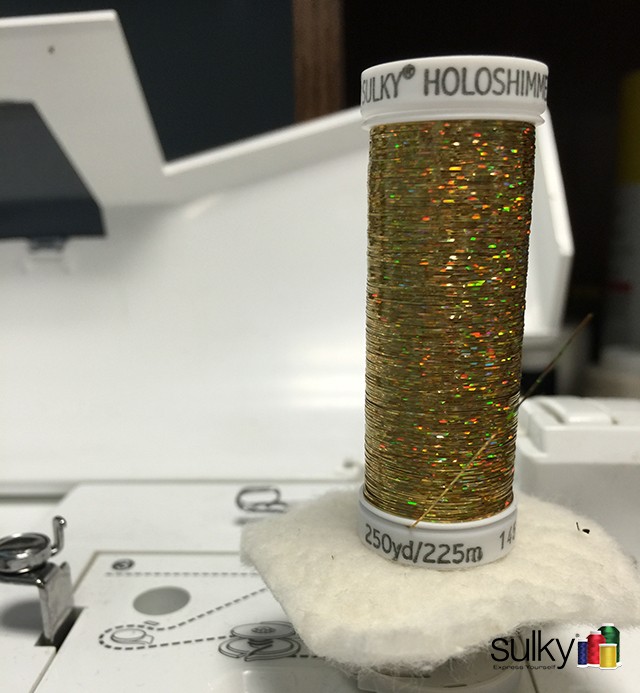
One of the cool details in the Halloween Spoolie is the use of Sulky Holoshimmer™ for the belt buckle and the pumpkin’s eyes. I love using Sulky Metallic threads in embroidery designs, but you do have to prepare for success. First, change your needle to a topstitch 90/14 or a metallic needle. Both of these needles have large eyes so it gives the thread room to flow through without breaking or shredding.
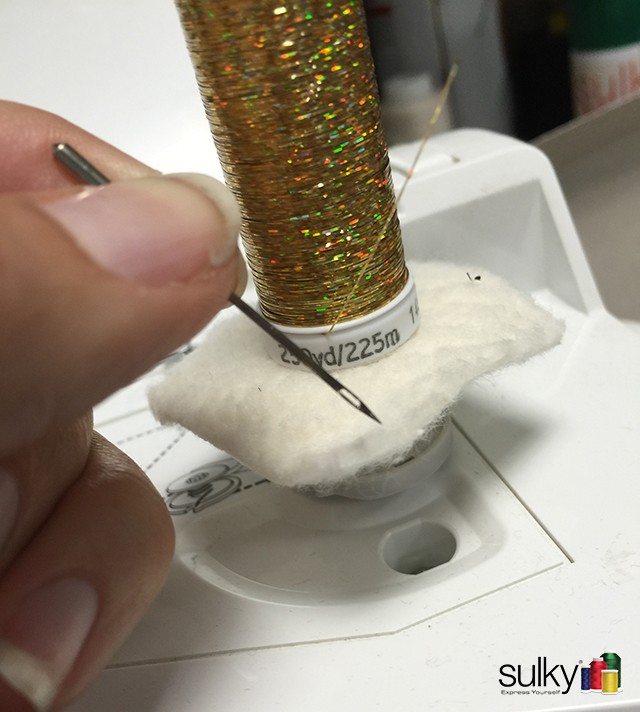
Next, put your thread on the vertical spool pin. Metallic thread like Holoshimmer needs to come off the spool flat and the vertical spool pin helps that to happen. Lower your top tension a bit more than your machine already does.
Lastly, (an option) I like to use some Sewer’s Aid on the needle. This is a thread lubricant that doesn’t stain the fabric and helps to prevent breakage.

Some people also have to adjust tension or slow their stitching down. I don’t on my machine, but if you have never used any Sulky Metallic Thread in your embroidery machine before, you will want to test out the perfect settings for your machine on a scrap piece of fabric.
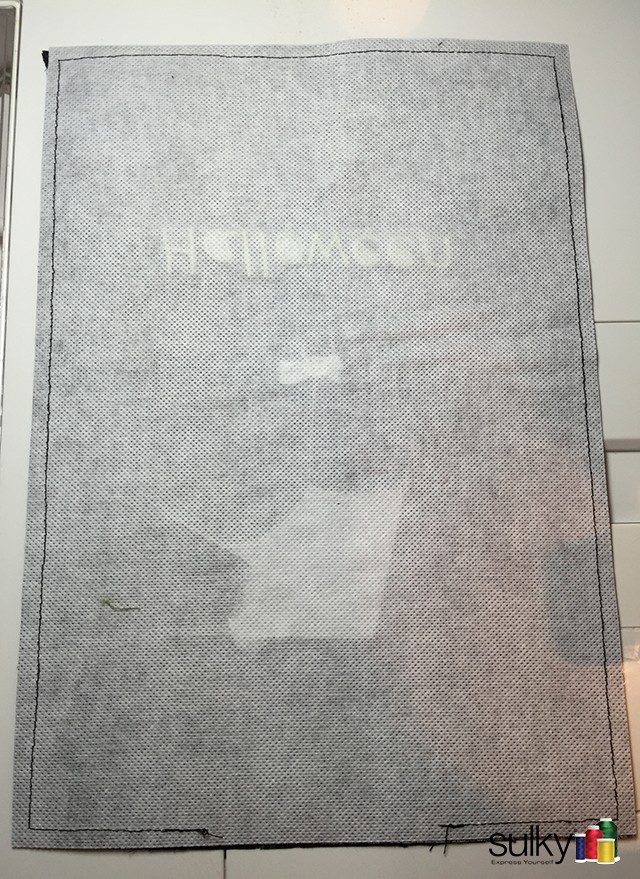
After all the embroidery designs were stitched out, I removed all the stabilizers, cut the fabric down to fit in my little table top triple frame and added a piece of Sulky Fuse n Stitch™ to the back. Fuse ‘n Stitch is perfect for a project like this because it will keep your design nice and flat and doesn’t add the bulk that batting or fleece would cause. I then cut a piece of backing fabric, put that right sides together with the design and sewed all the way around, leaving an opening for turning. I used Sulky PolyDeco thread in Black for this. It’s a nice strong thread.
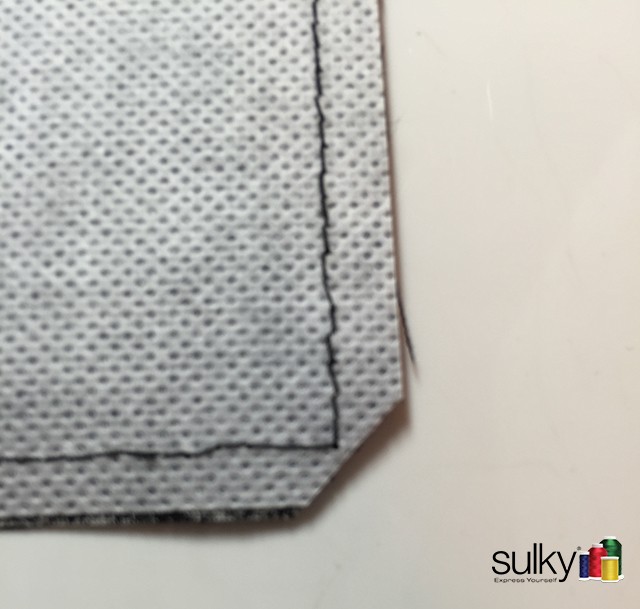
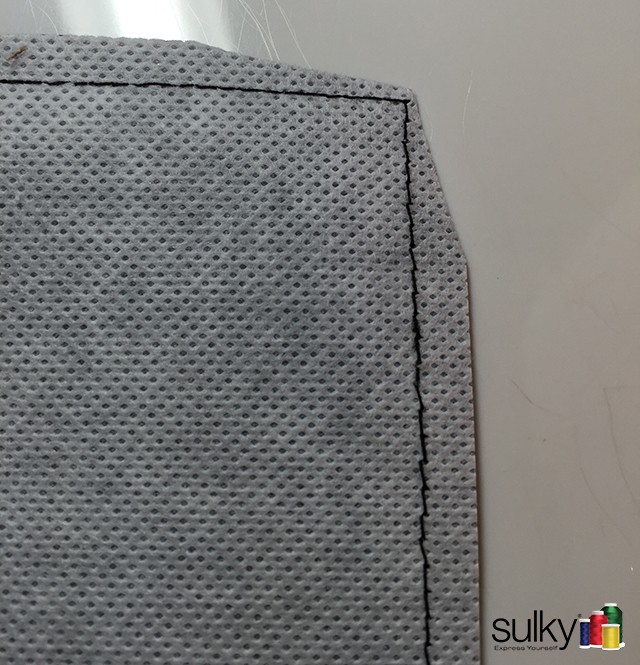
Before turning and topstitching, I clip my corners so I will get a nice crisp edge even at the corners. Most of the time it is sufficient to just cut off the tip of the corner like in the picture above, but for projects without any batting, I like to cut the corners like in the picture below. It eliminates more bulk and gives a crisper corner, in my opinion.
Once you have turned all three of your pieces and topstitched around the edges, you are done! Okay, almost done. You do have to add a little sleeve to the back of each piece :). Now you are ready for Halloween.
Happy Halloween and Happy Sewing!
Looking for more great Halloween Ideas? Check out all my Halloween blog posts here.

Too cute
Love, that you explain each step so thoroughly, assuming we are newbies! I learn with each project! This one is too cute,Kelly!
Thank you. Beautiful embroidery designs. I think this link can also give some ideas to digitize. Funny tshirt for embroiderer just in case you don’t have time to embroider your own tshirt for Halloween
https://www.amazon.com/gp/aw/s/ref=is_s?k=i+eat+embroidery+thread+likraf+tshirt
Not affiliate link.
As usual my tshirt will be the last tshirt I embroider