Hamburger Pouch Quick Gift
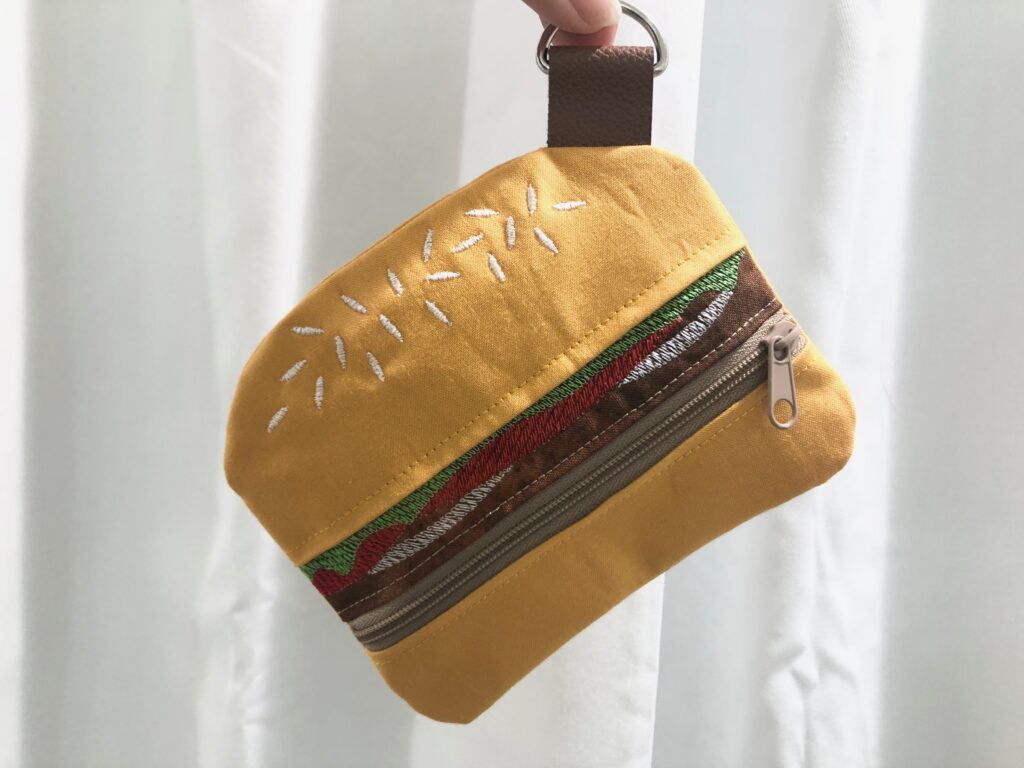
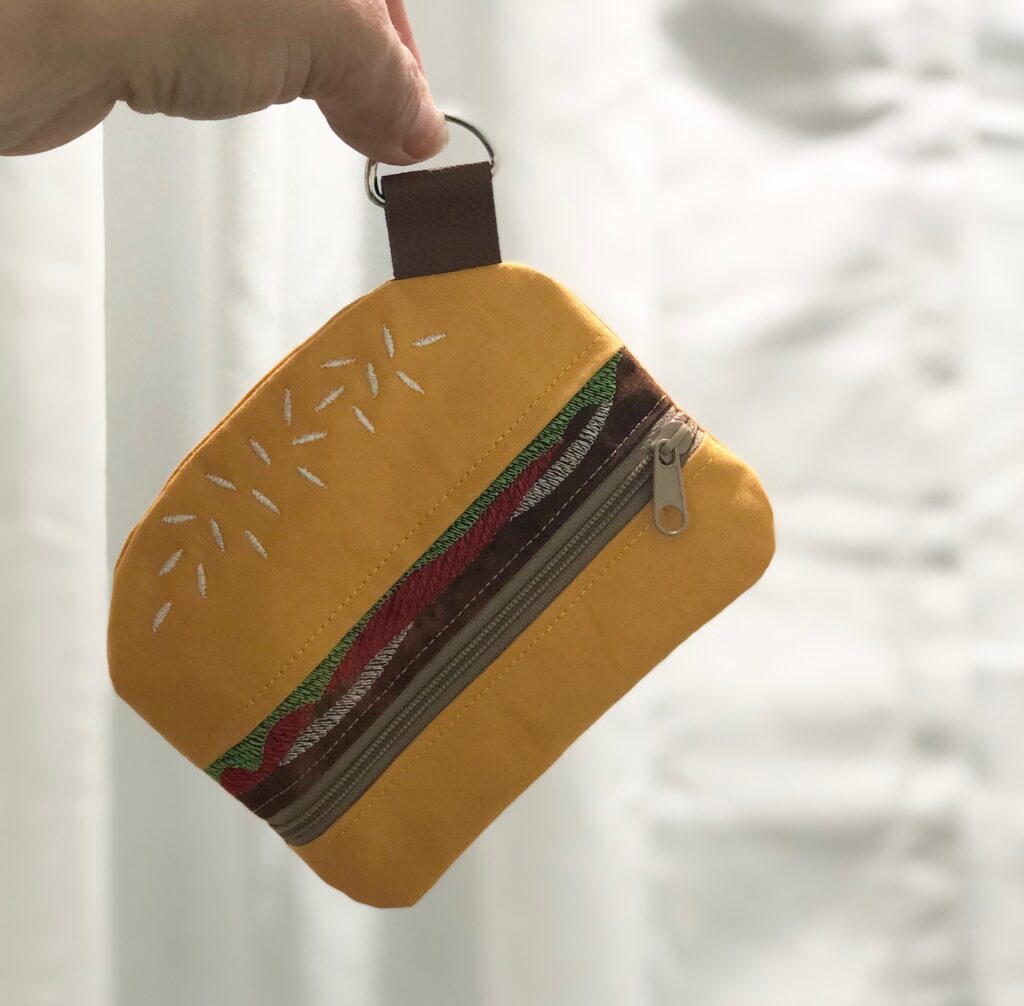
This hamburger pouch in-the-hoop design, from Embroidery Online, is a cute last-minute graduation gift, a great travel pouch for trinkets, and a fun party favor for summer birthdays. Make several assembly-line style and fill them with coins to gift to the kids during your next BBQ.
HAMBURGER POUCH SUPPLIES
- Hamburger Pouch Design
- Sulky Rayon Threads (featured colors: Cocoa Cream 1838, Lt. Red 1037, Nile Green 1274, Off White 1071, Goldenrod 1024)
- Tear-Easy™ Stabilizer
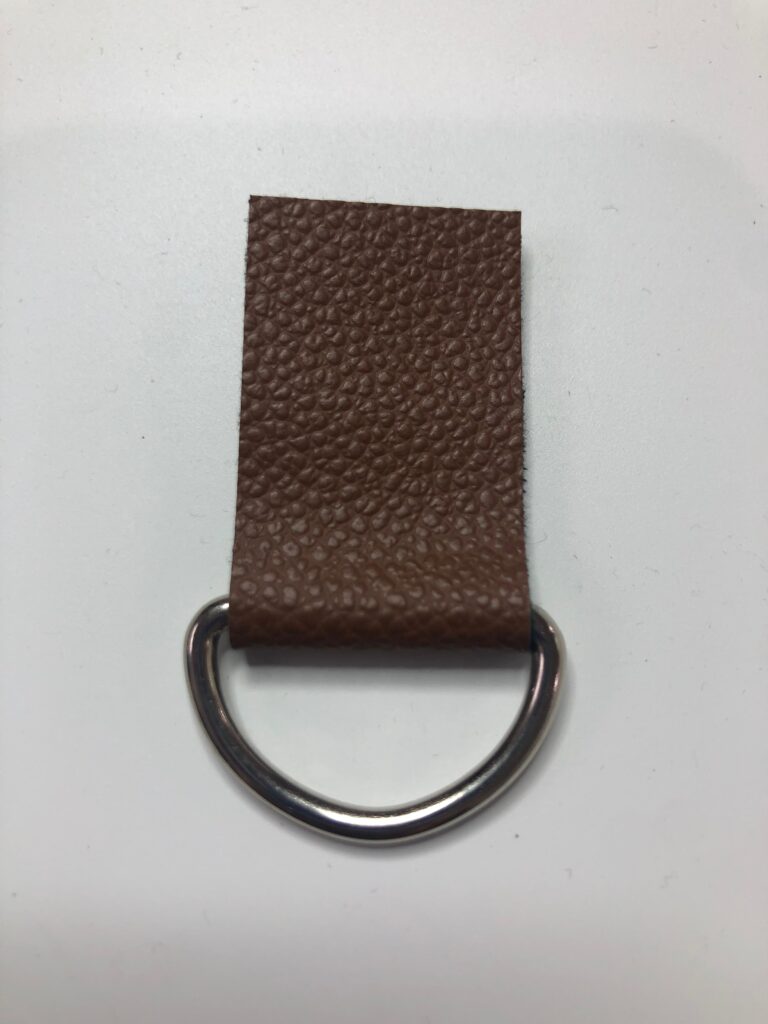
- Fabric & notions according to design specs (Note: Instead of ribbon loop, the featured pouch was made with a strip of faux leather cut to size.)
- Double-sided basting tape (1/4″- or 1/2″-wide)
*We may earn an affiliate commission from products featured through the above links.
DESIGN TIPS
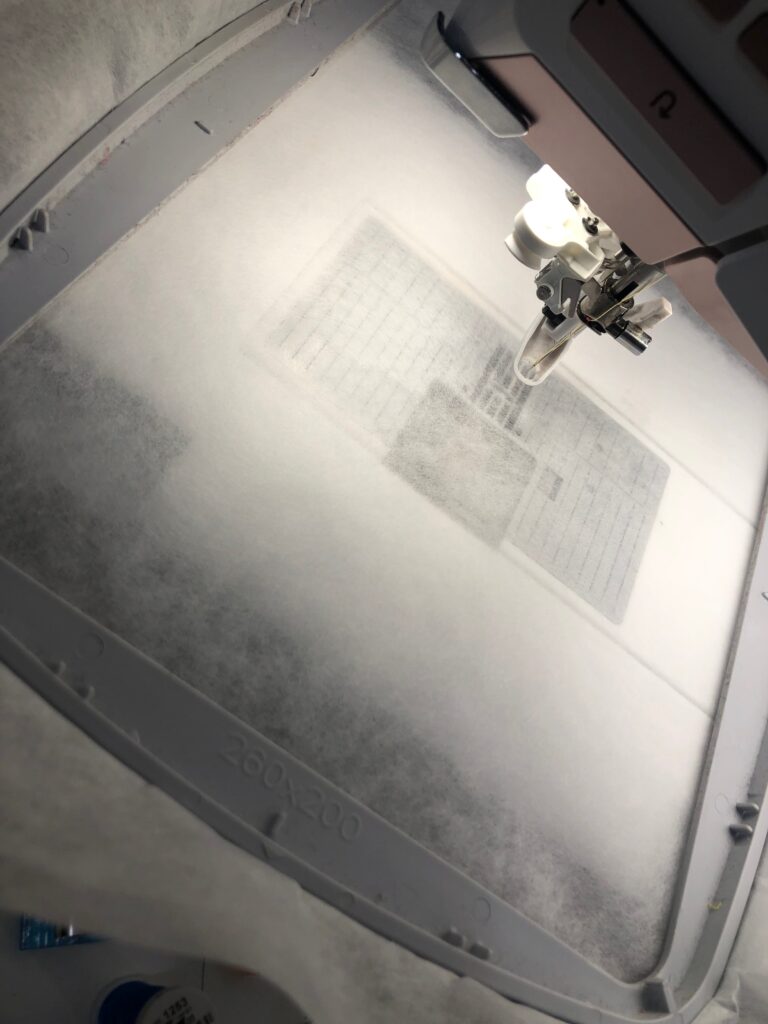
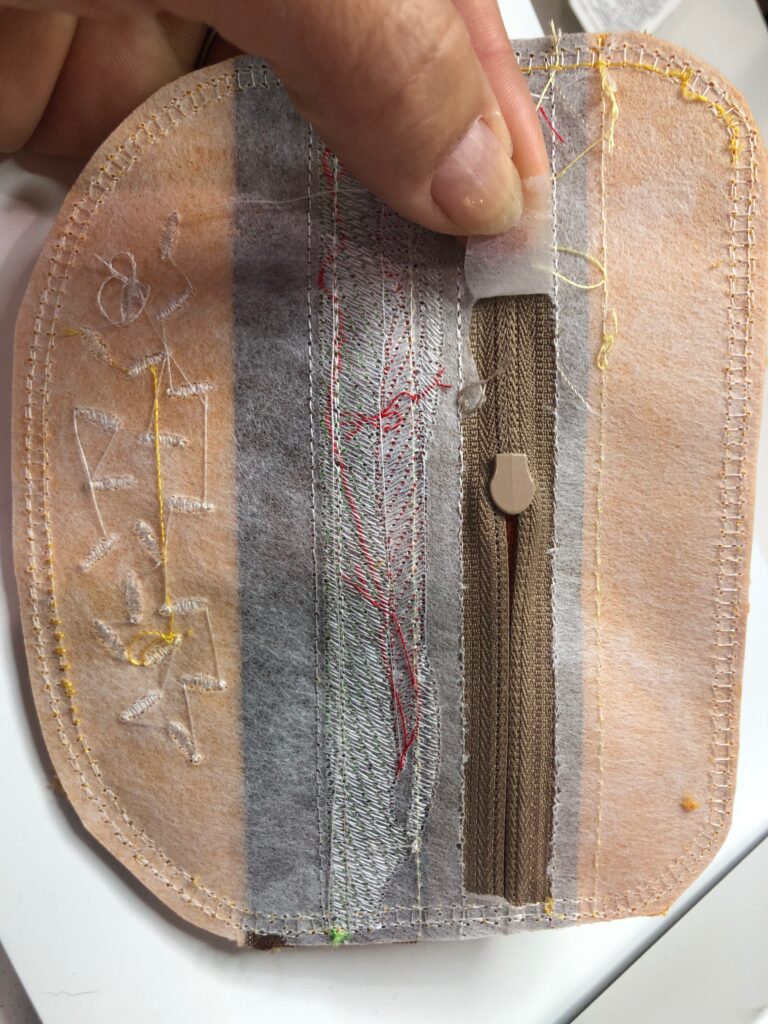
To begin, hoop a piece of Sulky Tear-Easy Stabilizer. Alternatively, if you want to be able to remove all of the stabilizer after the project is complete, use Sulky Fabri-Solvy™. The tear-away stabilizer will remain underneath a good bit of stitching area and is slightly visible in the inside of the hamburger pouch.
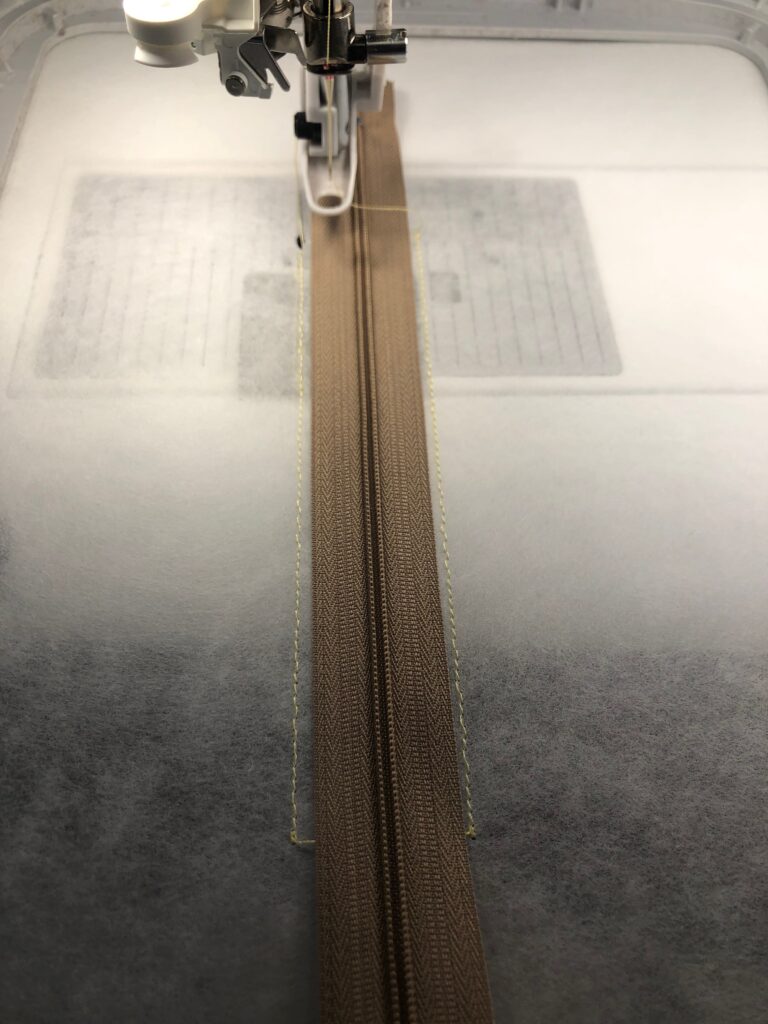
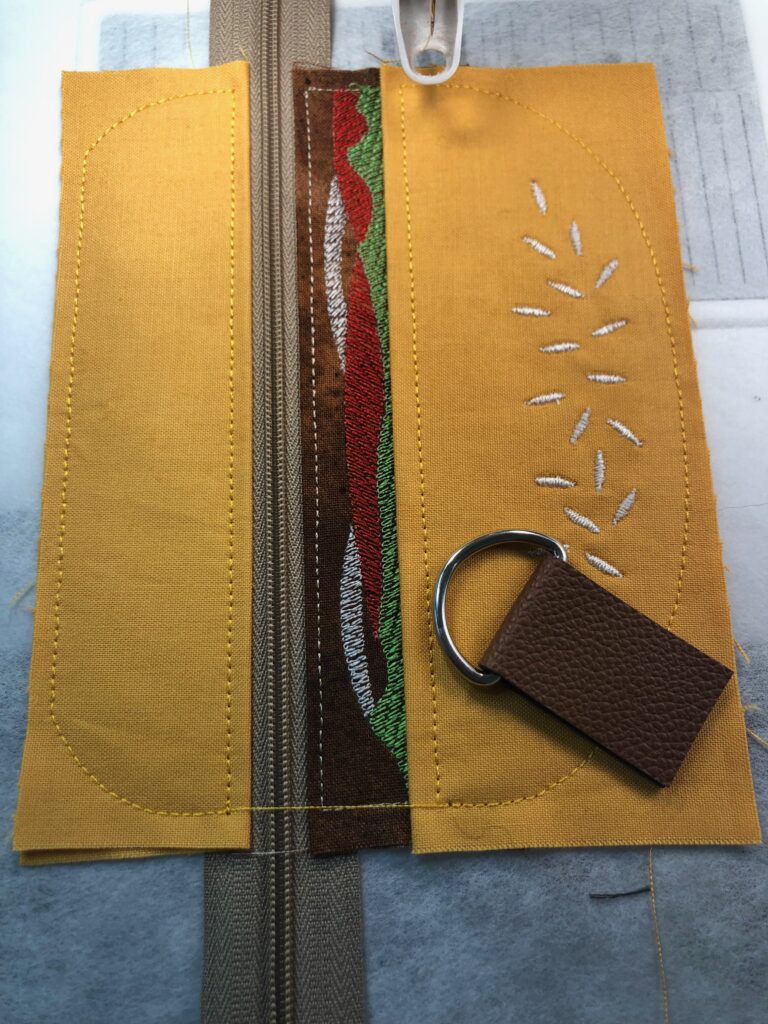
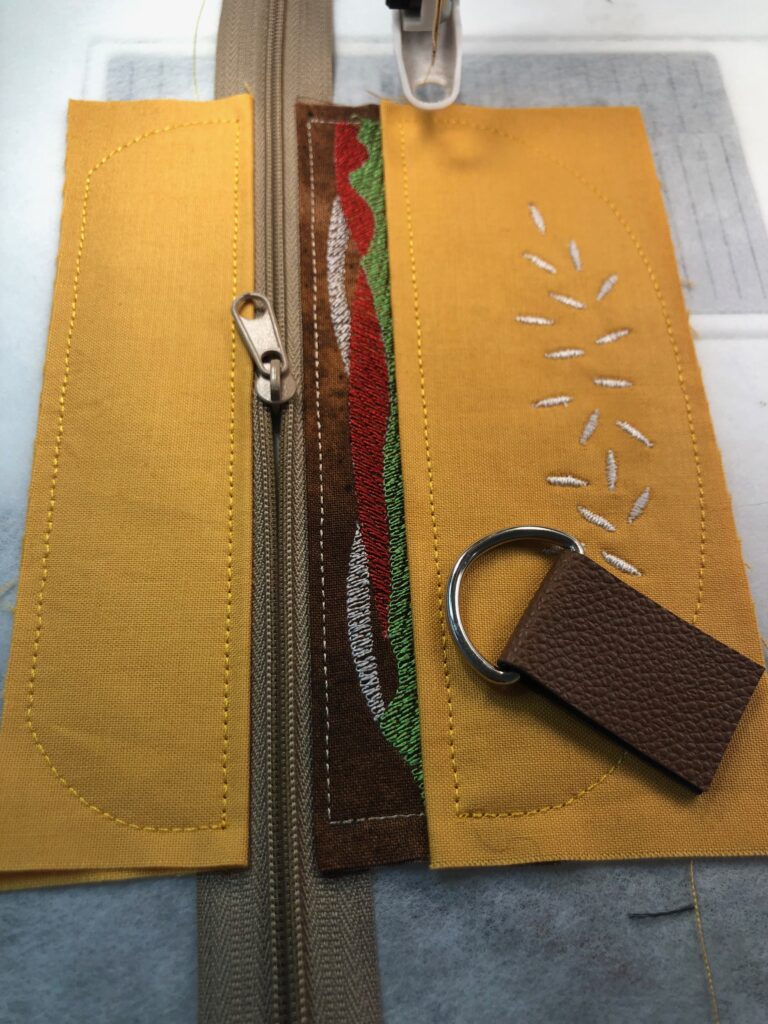
When adding the zipper, make sure the zipper stop and zipper pull extend beyond the placement stitching lines. The needle will skip over the teeth, so there is no need to stop the machine during the stitchout to avoid stitching over the teeth during these steps. However, the last stitch, which secures the pouch back, WILL go over the teeth. So be sure to NOT use a metal zipper.
The design indicates to use a yellow zipper to represent the cheese on the hamburger. Alternatively, use a brown zipper to “beef” up the patty sans cheese. Celebrate National hamburger Day on May 28 with a cheese-less pouch!
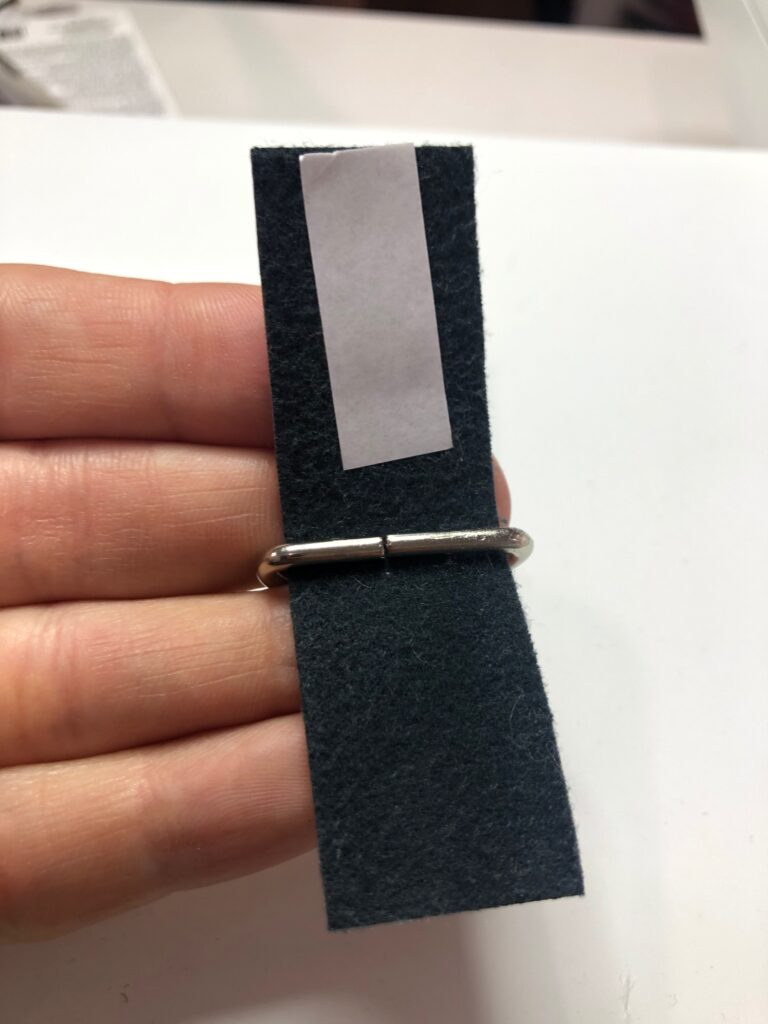
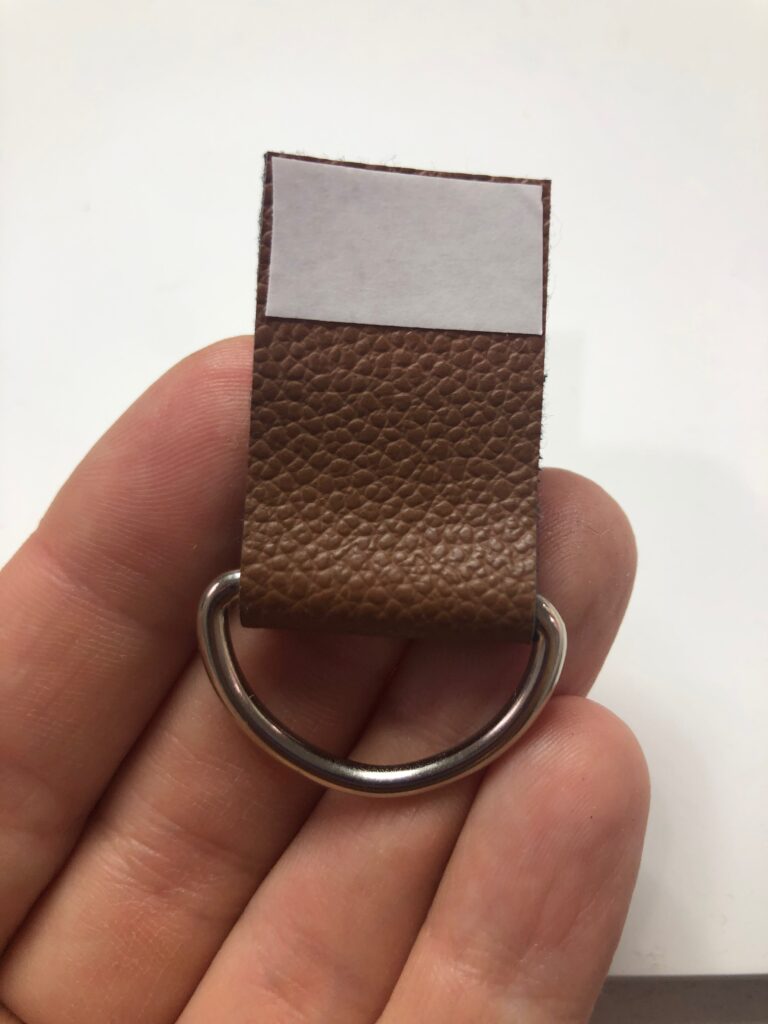
As mentioned in the supply list, the featured pouch showcases a faux leather strip rather than ribbon to secure a keyring. Double-sided basting tape is great for securing the faux-leather layers as well as place it on the fabric for stitching, avoiding shifting. This tape also works great if using ribbon.
After placing the loop (whether ribbon or faux leather or other no-fray fabric), move the zipper pull to the center to avoid stitching over it and provide a way to turn the hamburger pouch right side out.
FINISHING THE POUCH
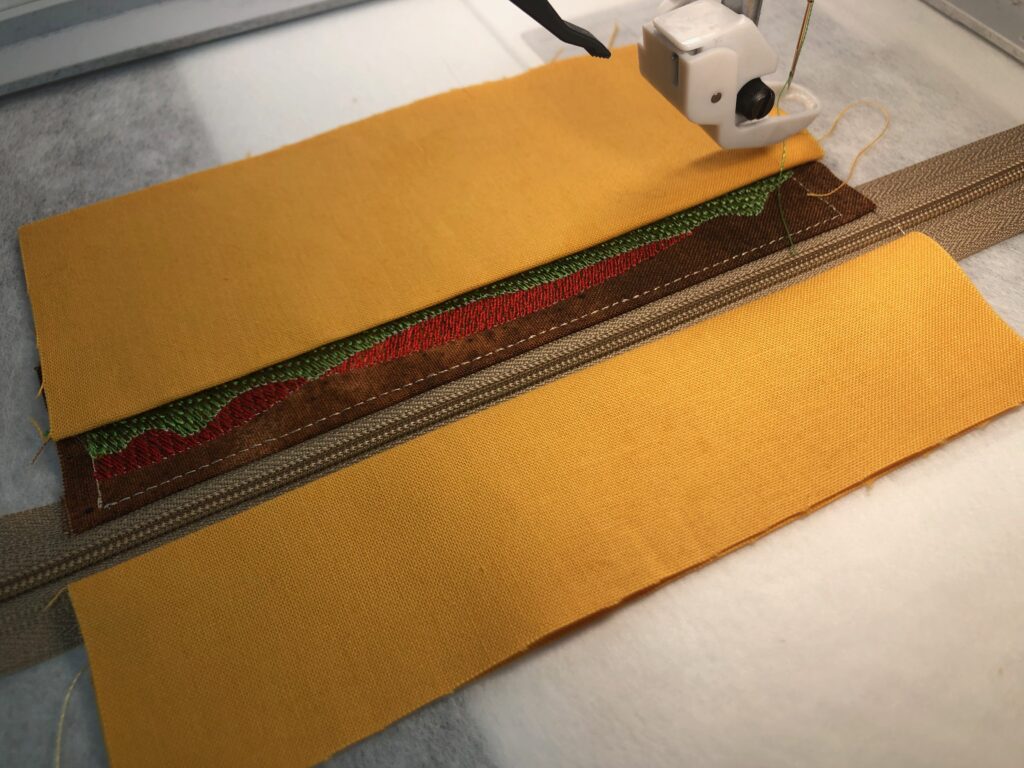
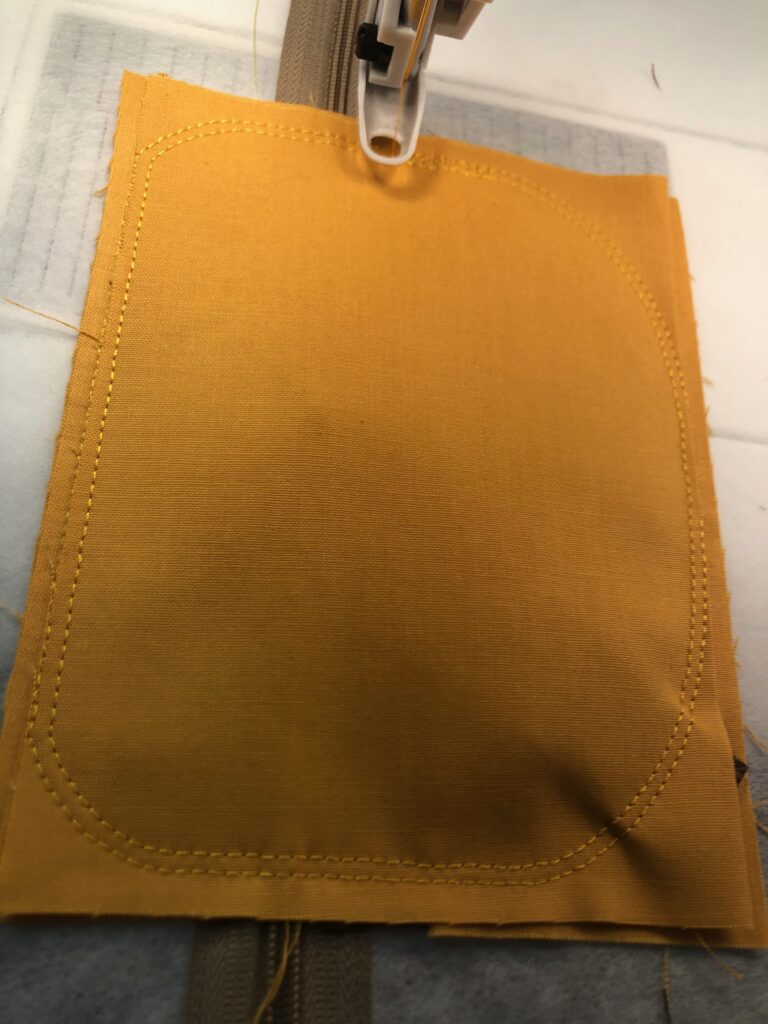
The backing fabric is folded in half to also act as a lining, stitched in one step. Cut the backing piece 1/2″ to 1″ longer, as the stitching just barely hits both edges of the hamburger top and bottom buns during the stitchout.
Trim the pouch 1/8″ to 1/4″ beyond the outer stitching line, and then remove as much of the stabilizer as possible.
Clip the jump threads on the project wrong side to remove as much stabilizer as possible.
If using Fabri-Solvy, moisten a Q-tip or cotton swab and run it along the zipper stitching lines to remove. Then, remove the rest of the stabilizer by rinsing it under running water. Let dry.
Press from the wrong side if needed.
Repeat to create as many hamburger pouches as desired!


In the details of supplies there was no listing for the zipper. I would like to know how long the zipper needs to be.
Hi Linda,
The zipper needs to be at least 7″. I only had a 22″ zipper on hand, so after the zipper tackdown stitches and before adding the backing fabric, I trimmed it to fit.